


Heat press time and temperature for HTV

Why time & temperature matter in HTV projects
Crafting with heat transfer vinyl (HTV) is more than just a creative outlet—it’s a booming industry for hobbyists, small businesses, and apparel brands alike. But no matter your experience level, one challenge every HTV user faces is achieving perfect adhesion through proper heat press settings. Time and temperature aren’t just technical details, they’re the foundation of a successful transfer.
Applying too much heat can scorch your fabric or cause the vinyl to shrink, while too little heat or pressure might result in peeling, lifting edges, or faded designs after a single wash. That’s why understanding your heat press machine settings—and how they vary based on material and HTV type—is critical to delivering long-lasting, professional-looking results.
In this ultimate guide, we’ll walk you through everything you need to know about heat press time and temperature for HTV. Whether you're using cotton, polyester, DTF, or sublimation materials, you’ll learn how to dial in your settings and avoid the most common transfer mistakes.
Let’s dive in and make sure your next project presses perfectly.
What Is HTV and how do heat press machines work?
Heat Transfer Vinyl (HTV) is a specialty vinyl used to create custom designs on textiles like t-shirts, tote bags, hats, and more. It comes in rolls or sheets with a heat-activated adhesive on one side and a clear carrier sheet on the other. You cut your design using a vinyl cutter, weed away the excess material, and then apply it to fabric using heat and pressure.
That’s where the heat press machine comes in.
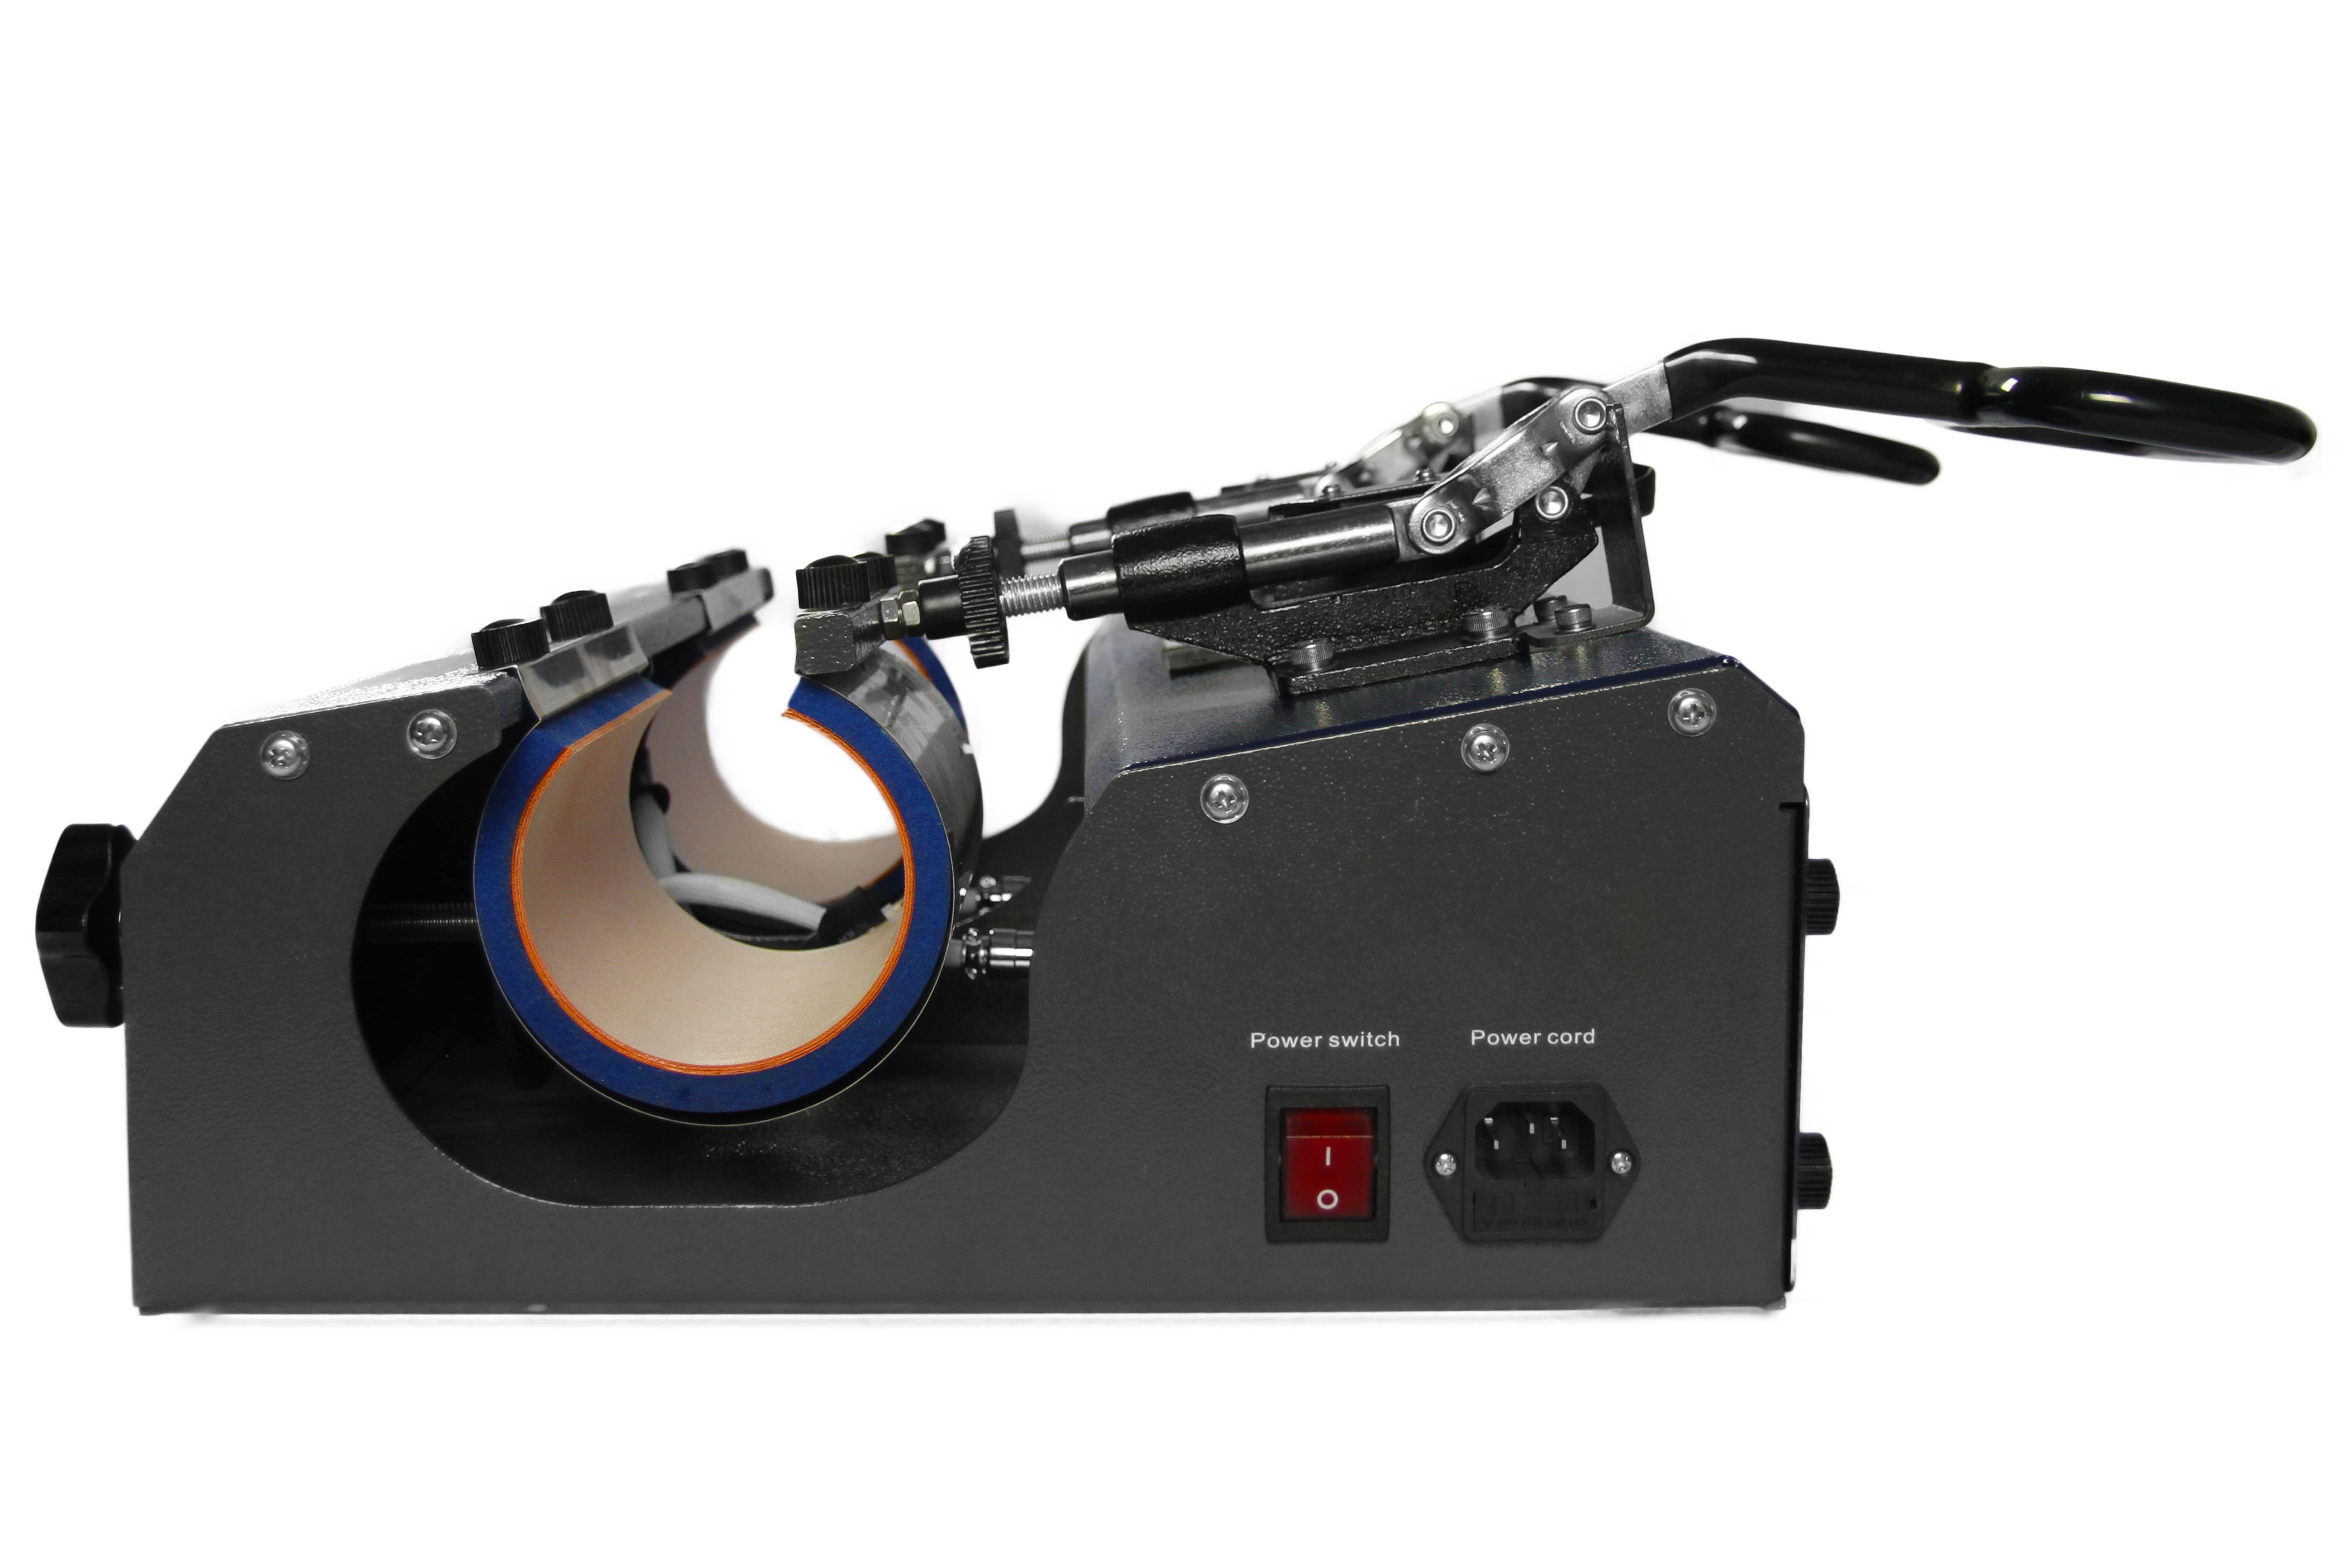
A heat press machine is a tool that allows you to apply precise heat and pressure to activate the adhesive and bond the vinyl to the fabric. Unlike a household iron—which produces uneven heat and limited pressure—a heat press ensures consistent results across every transfer. It’s especially useful for production environments or small businesses that need to produce high-quality custom items at scale.
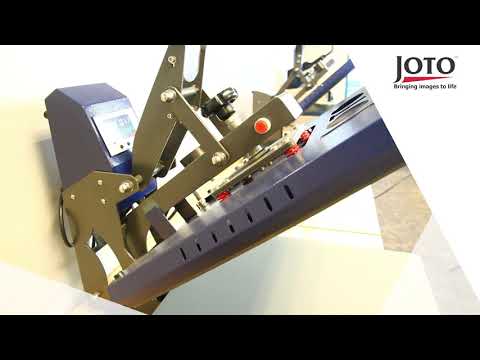
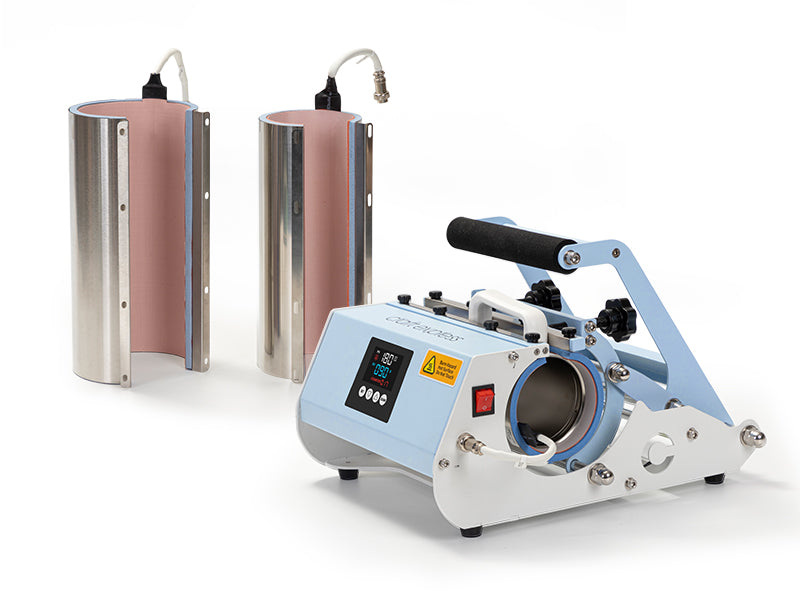
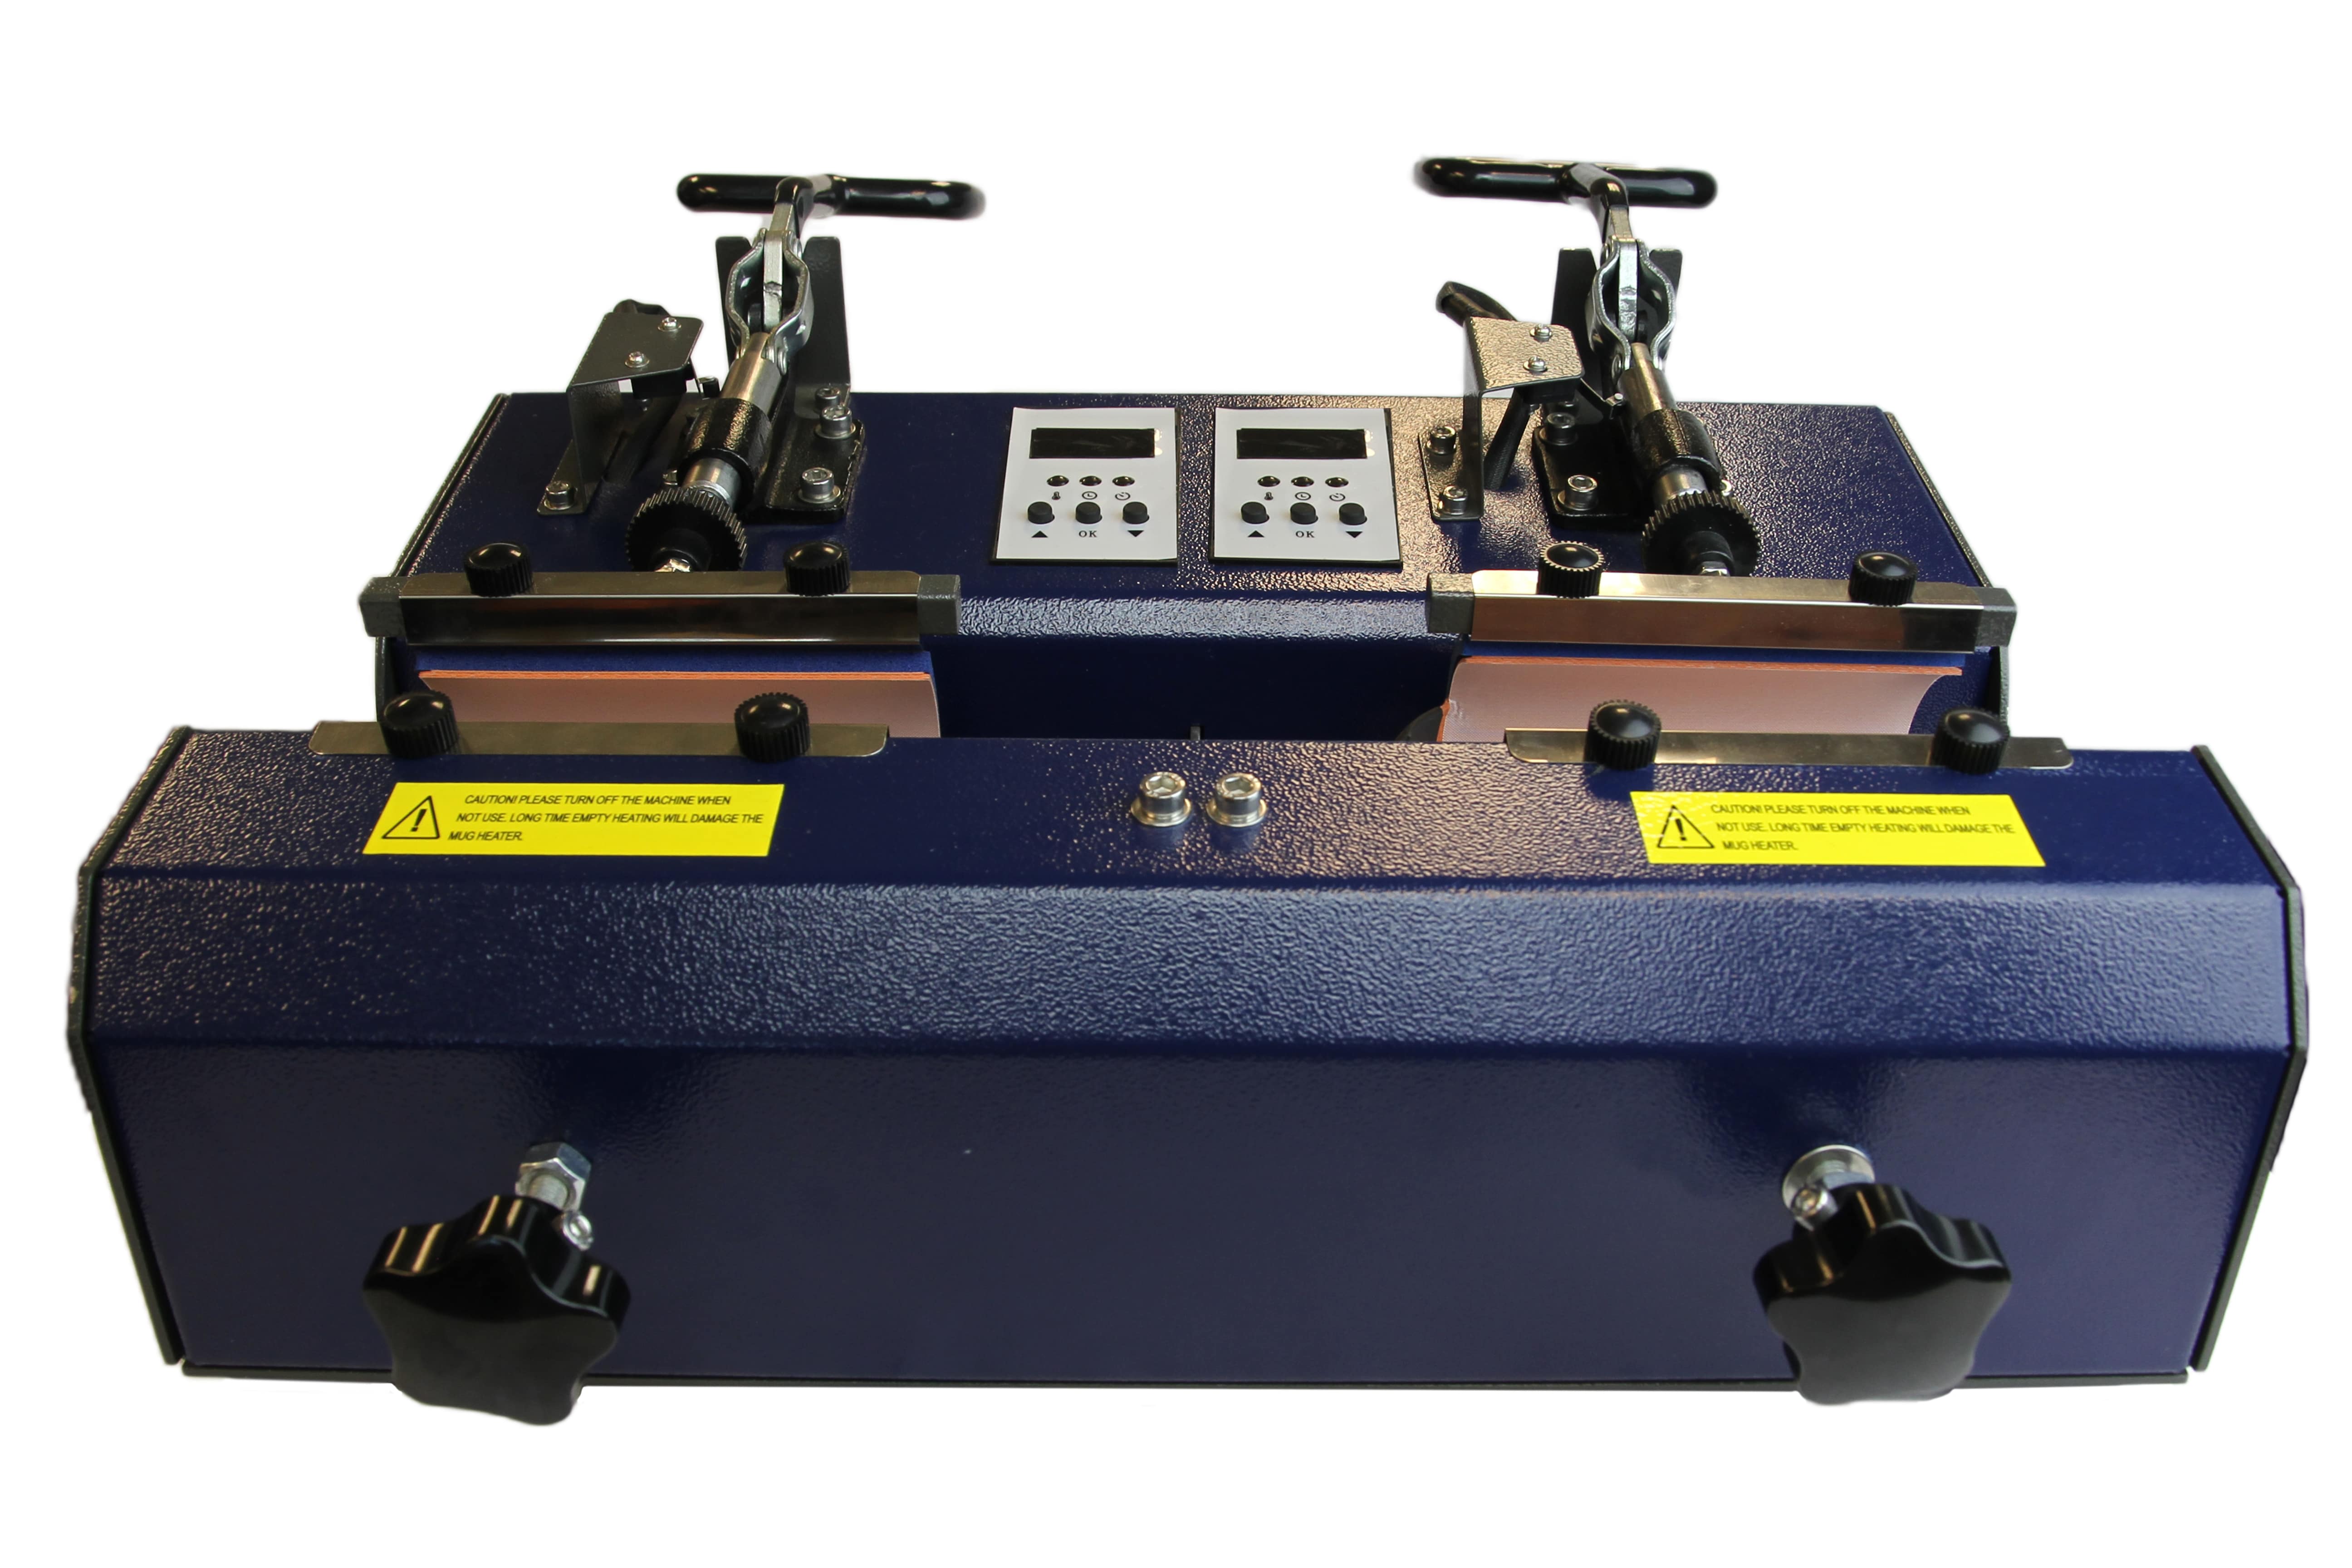
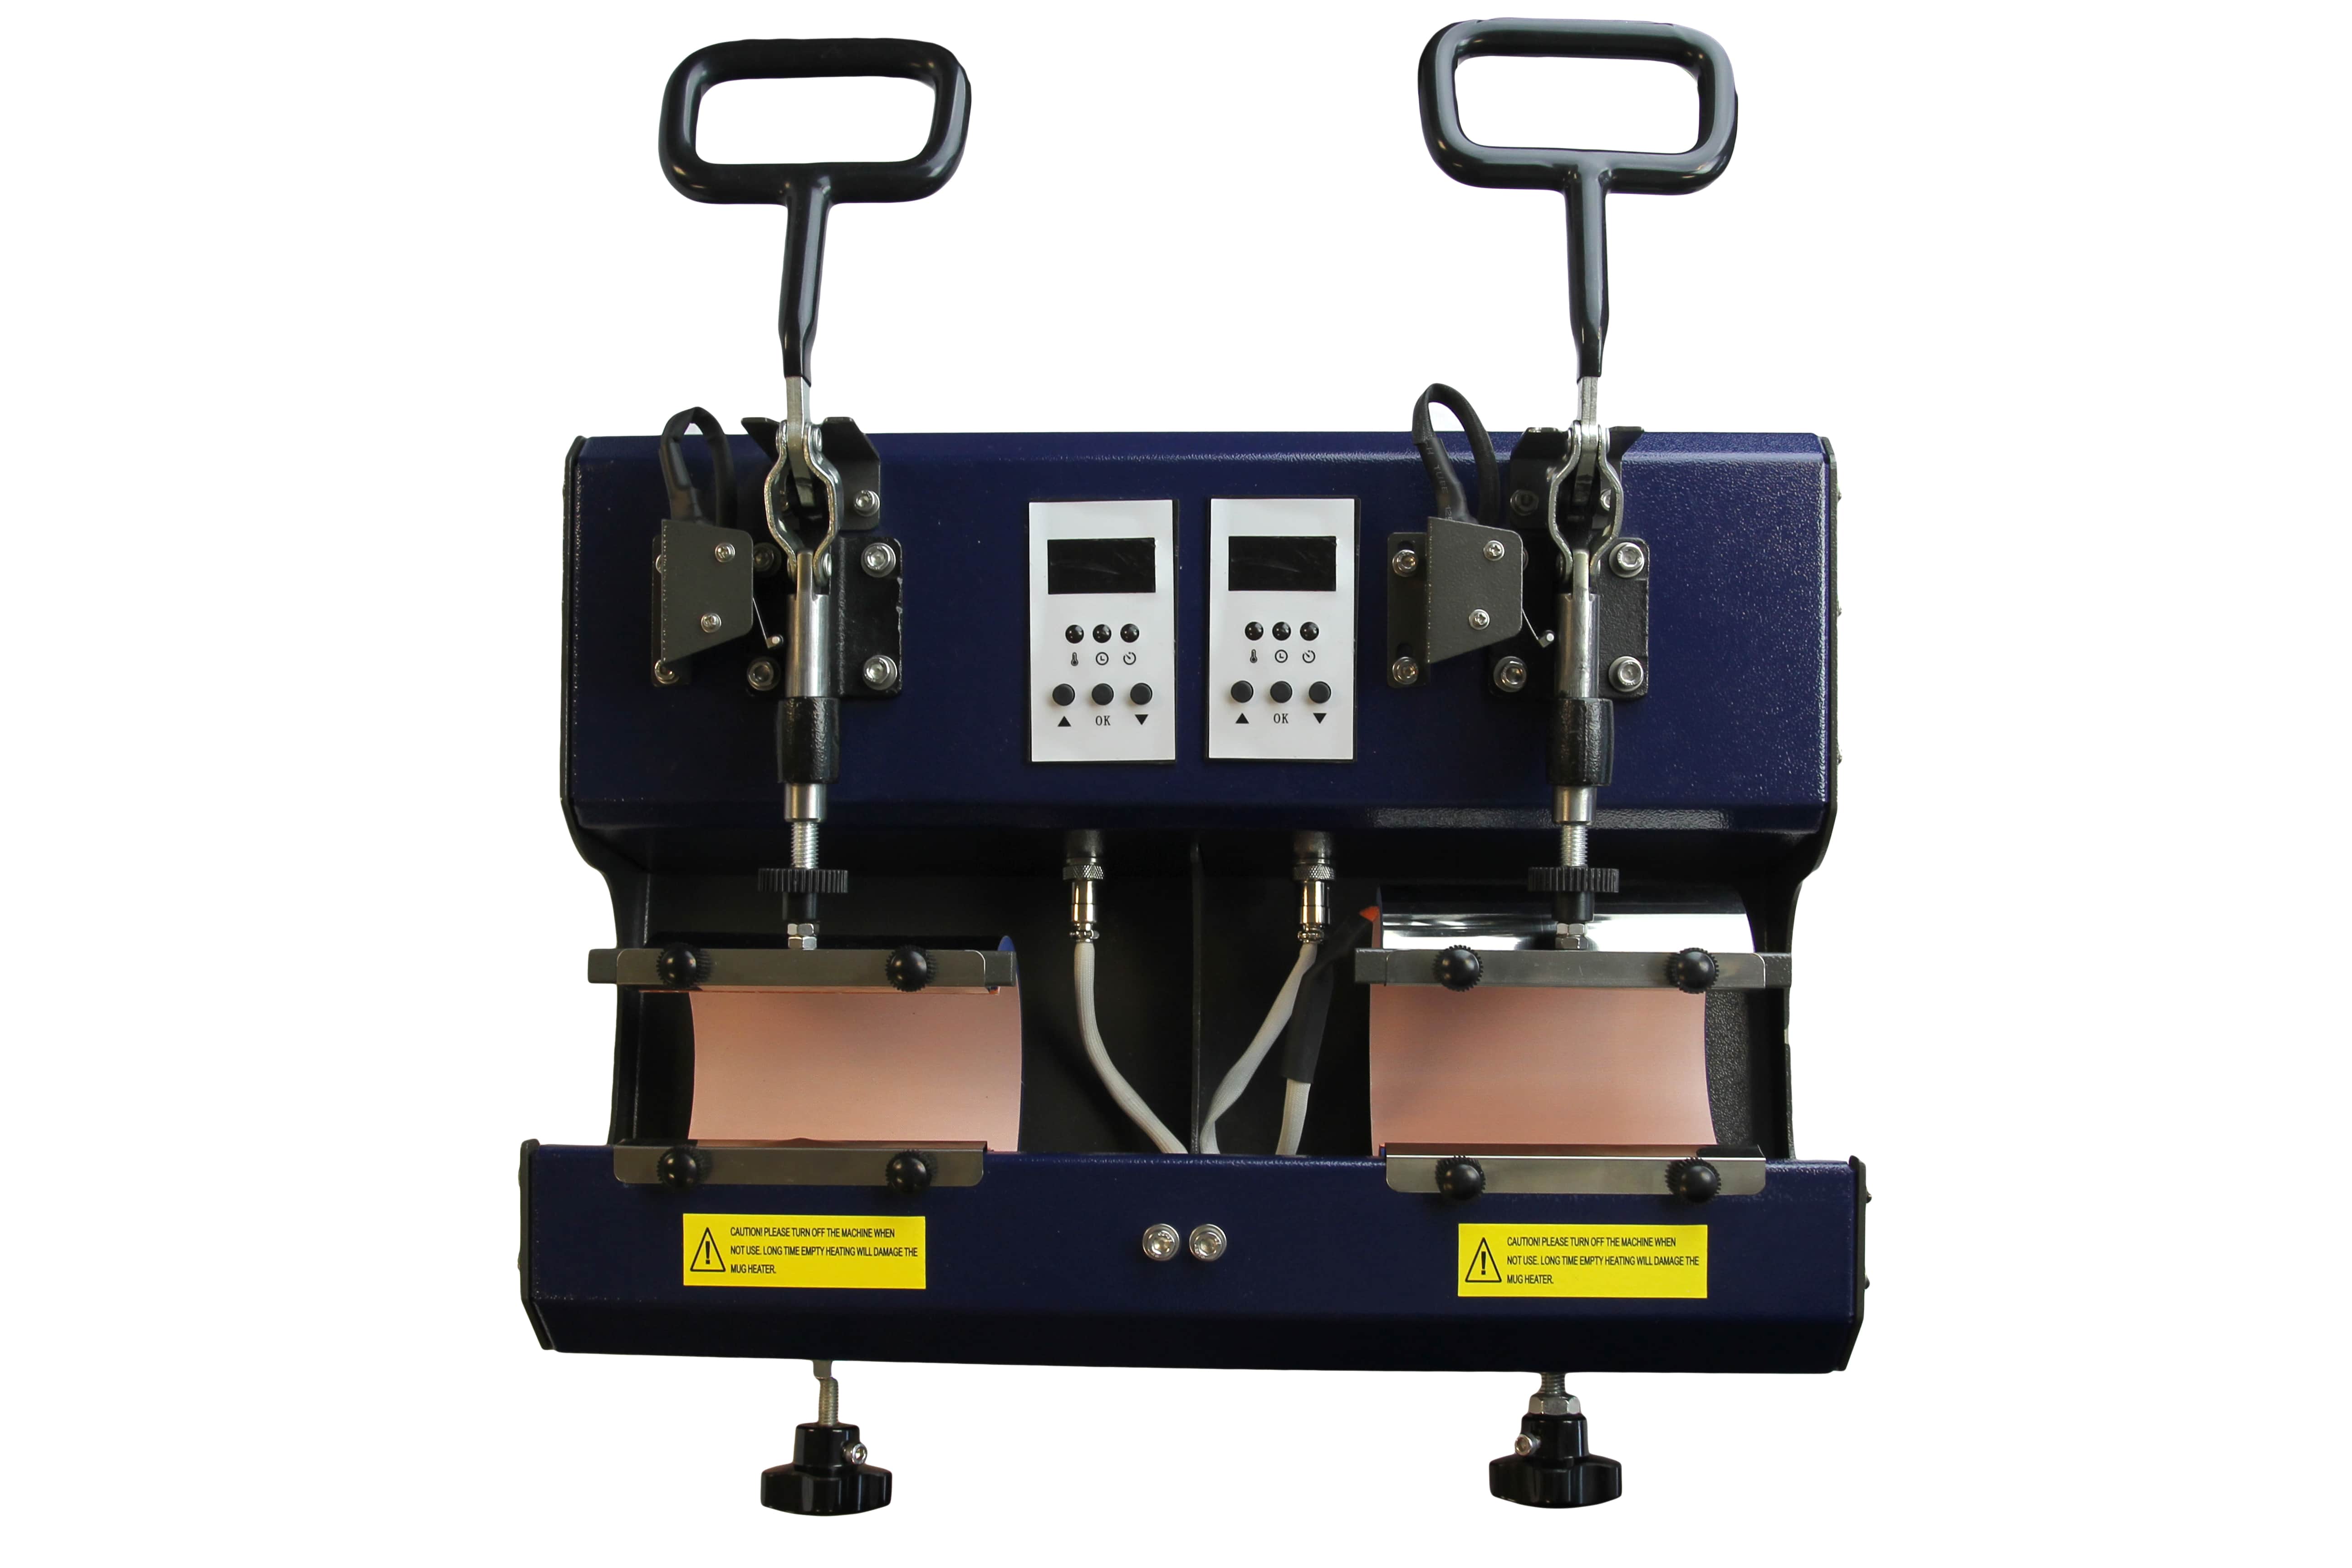
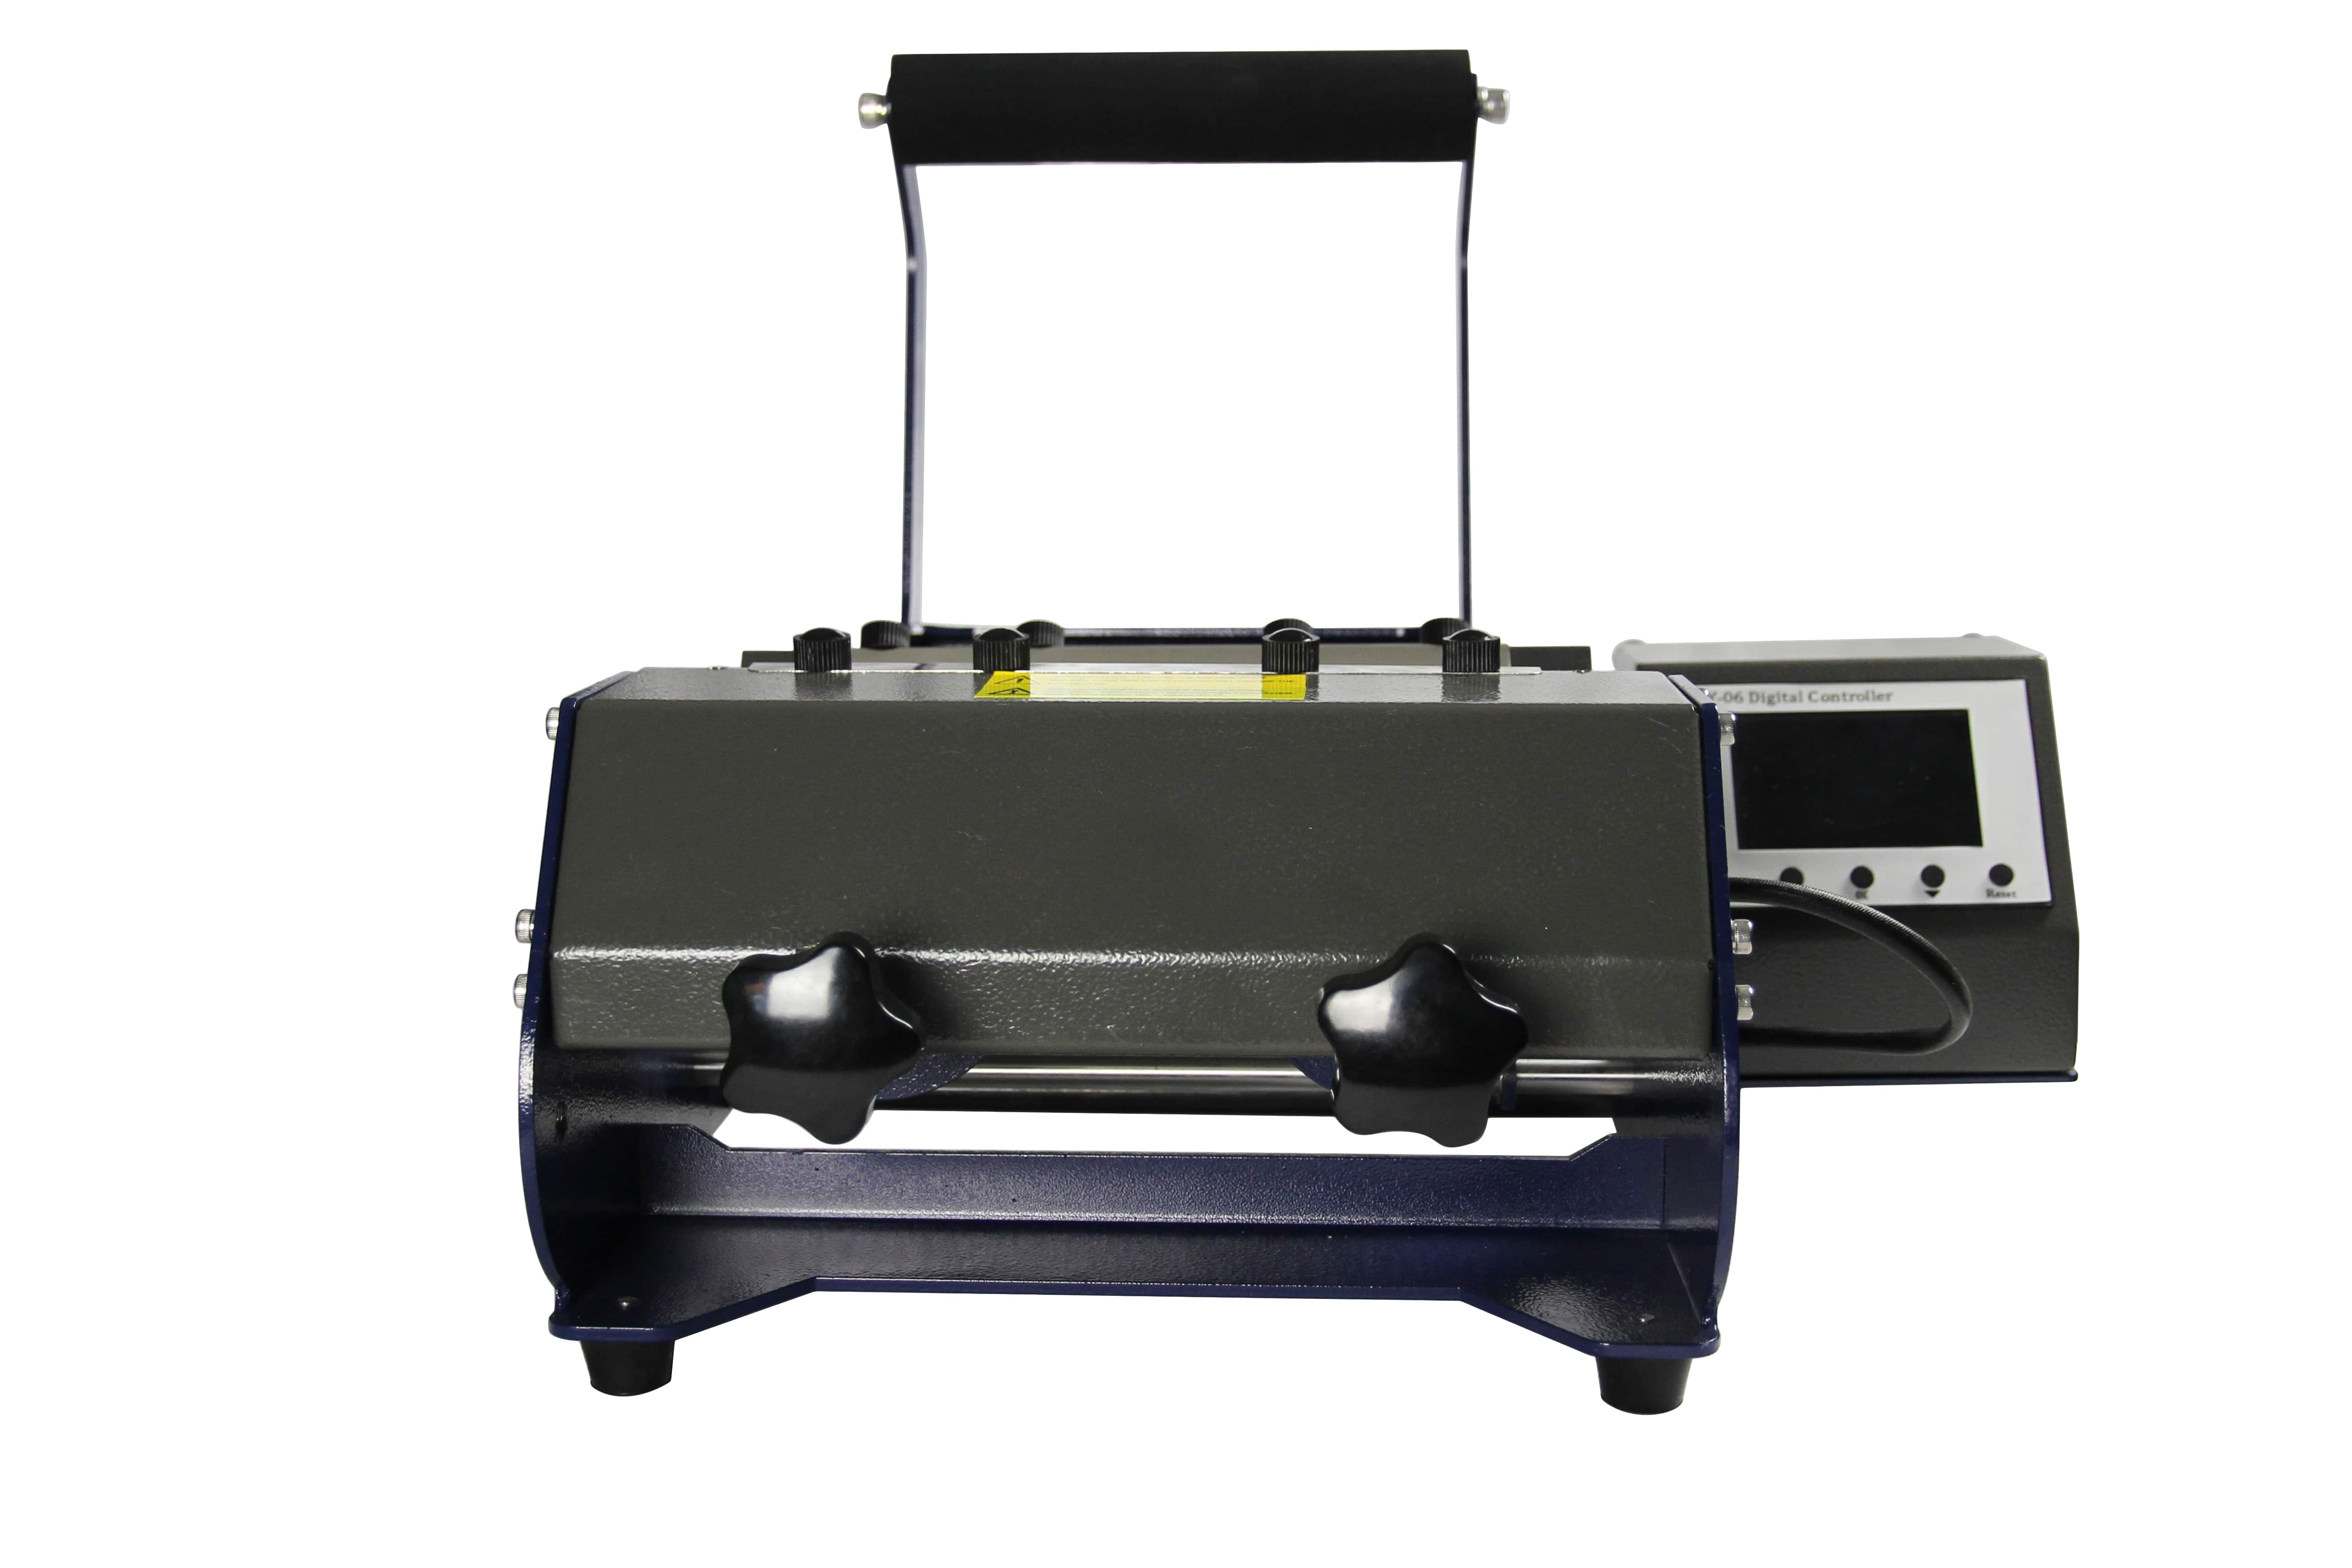
Modern heat presses come with digital controls that allow you to set the exact time and temperature, switch between Fahrenheit and Celsius, and even adjust the pressure. Some models from Joto Imaging Supplies, for example, include auto-release features, specialty platens for mugs and hats, and compact sizes ideal for small craft studios.
Mastering your heat press settings is key to flawless application—and that’s exactly what we’ll guide you through in the next sections.
Essential Heat Press Temperature Chart
Understanding the correct time and temperature for each material is the foundation of a clean, long-lasting transfer. While each vinyl brand may have its own instructions, here’s a general heat press temperature and time chart to help you get started with the most common applications:
| Material / Application | Temperature | Time | Pressure | Peel Type |
|---|---|---|---|---|
| Sublimation on Polyester | 385–400°F (195–204°C) | 45–60 seconds | Medium | Hot |
| HTV on Cotton | 305°F (152°C) | 10–15 seconds | Medium | Hot or Cold |
| HTV on Polyester | 270°F (132°C) | 10 seconds | Medium | Cold |
| DTF Transfers | 320–325°F (160–165°C) | 15–20 seconds | Medium | Cold |
| Ceramic / Hard Surfaces | 400°F (204°C) | 60–90 seconds | Medium-Heavy | Hot |
⚠️ Pro Tip: Always consult the product label or instruction sheet of your HTV or transfer paper before pressing. Settings can vary depending on the brand and coating used.
This chart gives you a reliable starting point, but fine-tuning comes with experience. Next, we’ll show you exactly how to set your heat press machine to get consistent results every time.
Step-by-Step – How to set time and temperature on a heat press
Getting flawless HTV results starts with knowing how to properly configure your heat press. Whether you're using a clamshell, swing-away, or auto-release model, the process for setting time and temperature is similar across most machines—especially those from Joto Imaging Supplies.
Here’s a simple, step-by-step guide:
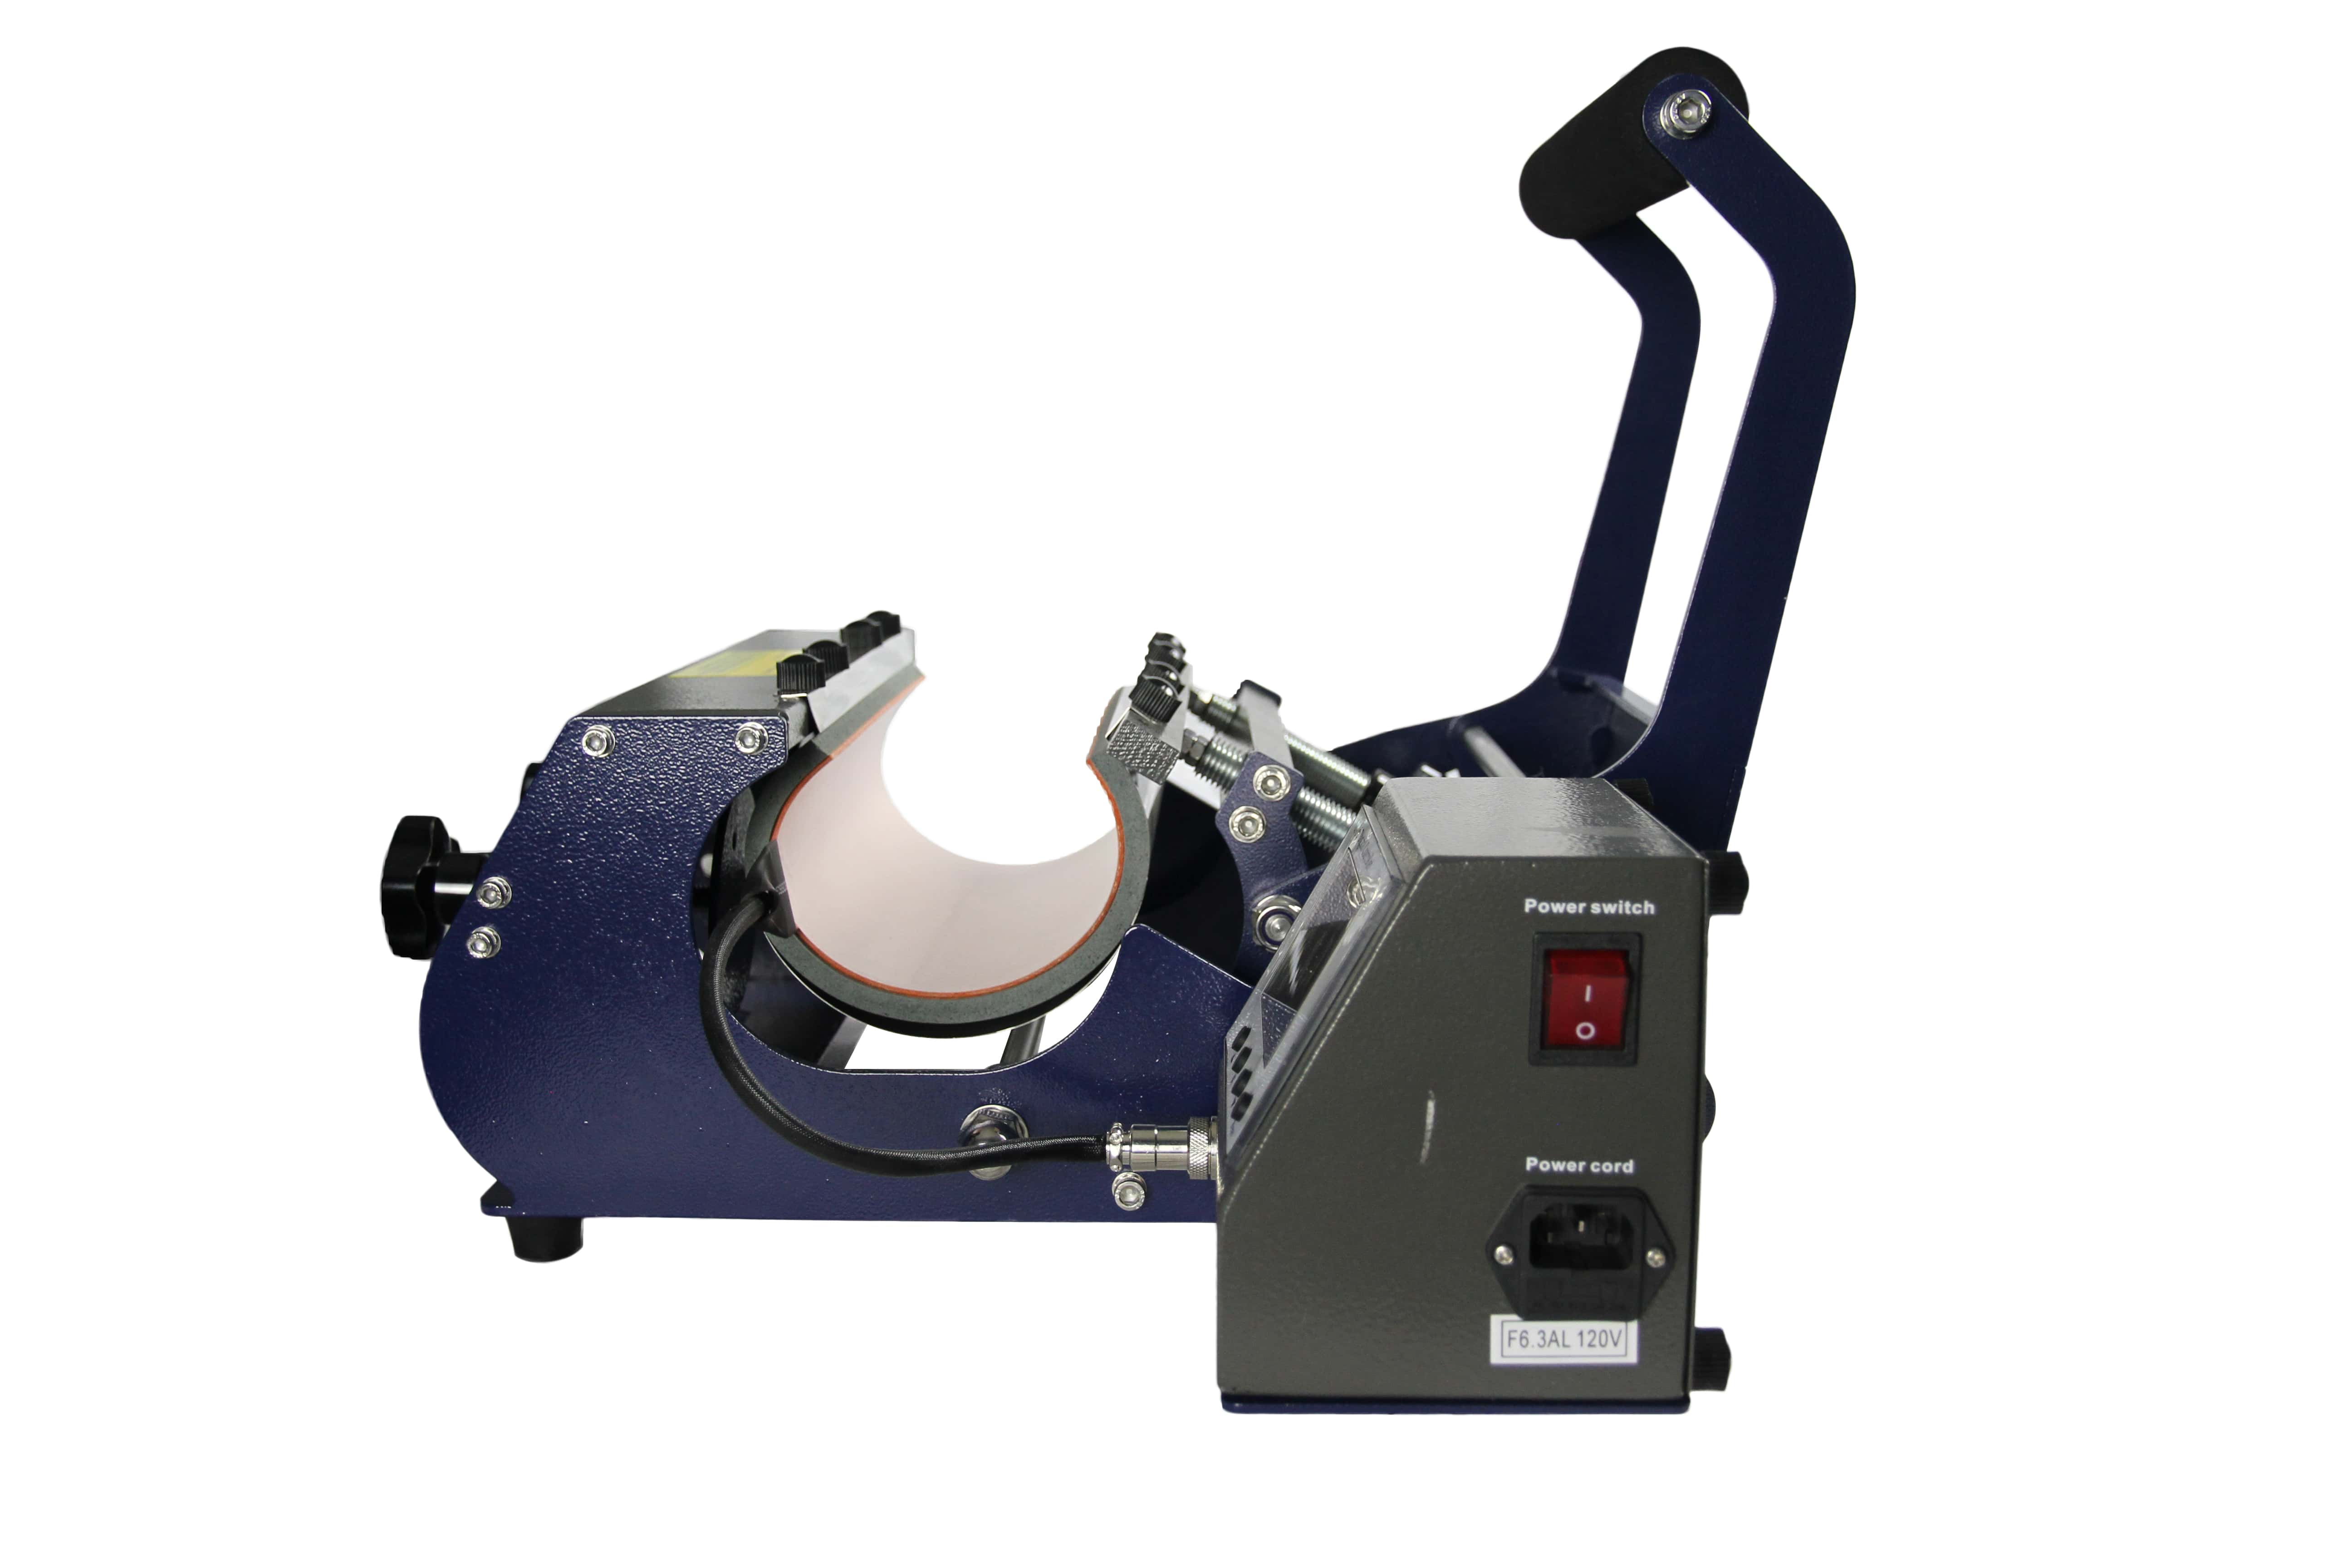
1. Power on the machine
Plug in your heat press and turn it on using the main power switch. Allow it to initialize—this usually takes a few seconds.
2. Access the control panel
Locate the digital control panel, typically found on the front or side of the machine. You’ll see buttons or arrows to adjust the temperature, time, and sometimes pressure.
3. Set the temperature
Press the “TEMP” or “SET” button. Use the arrow keys to adjust to the correct temperature based on your material. Example: For cotton HTV, set to 305°F.
4. Set the time
Next, press the “TIME” or “SET” button again. Use the arrow keys to select the correct duration—usually between 10 and 15 seconds for HTV. Confirm the setting with another press of the "SET" button.
5. Wait for preheating
The display will show the current and target temperatures. Wait until the machine reaches the desired heat before starting your press.
6. Position your design
Place your garment or substrate on the lower platen. Align your weeded HTV design, sticky-side down. Use a Teflon sheet or parchment paper on top if needed.
7. Start pressing
Close the press handle to apply pressure. The machine will count down and beep when the time is up. Open the press carefully and remove the carrier sheet based on the vinyl’s peel type.
8. Test and adjust
Do a test press first, especially with a new material. Slight adjustments in time, temp, or pressure can make a huge difference in quality.
HTV time & temp settings by material
Different fabrics and surfaces respond differently to heat, which is why it’s so important to fine-tune your settings based on the type of material you’re pressing onto. Below is a breakdown of the most common materials and how to work with them using HTV:
Cotton
- Temperature: 305°F (152°C)
- Time: 10–15 seconds
- Pressure: Medium
- Peel: Hot or Cold (check HTV brand)
Cotton is the most forgiving fabric and works great with most standard HTV. Use a firm surface and ensure even pressure.
Polyester
- Temperature: 270°F (132°C)
- Time: 10 seconds
- Pressure: Medium
- Peel: Cold
Because polyester is heat-sensitive, always use lower temperatures to avoid scorching or leaving shine marks. Cold peel ensures the adhesive bonds properly.
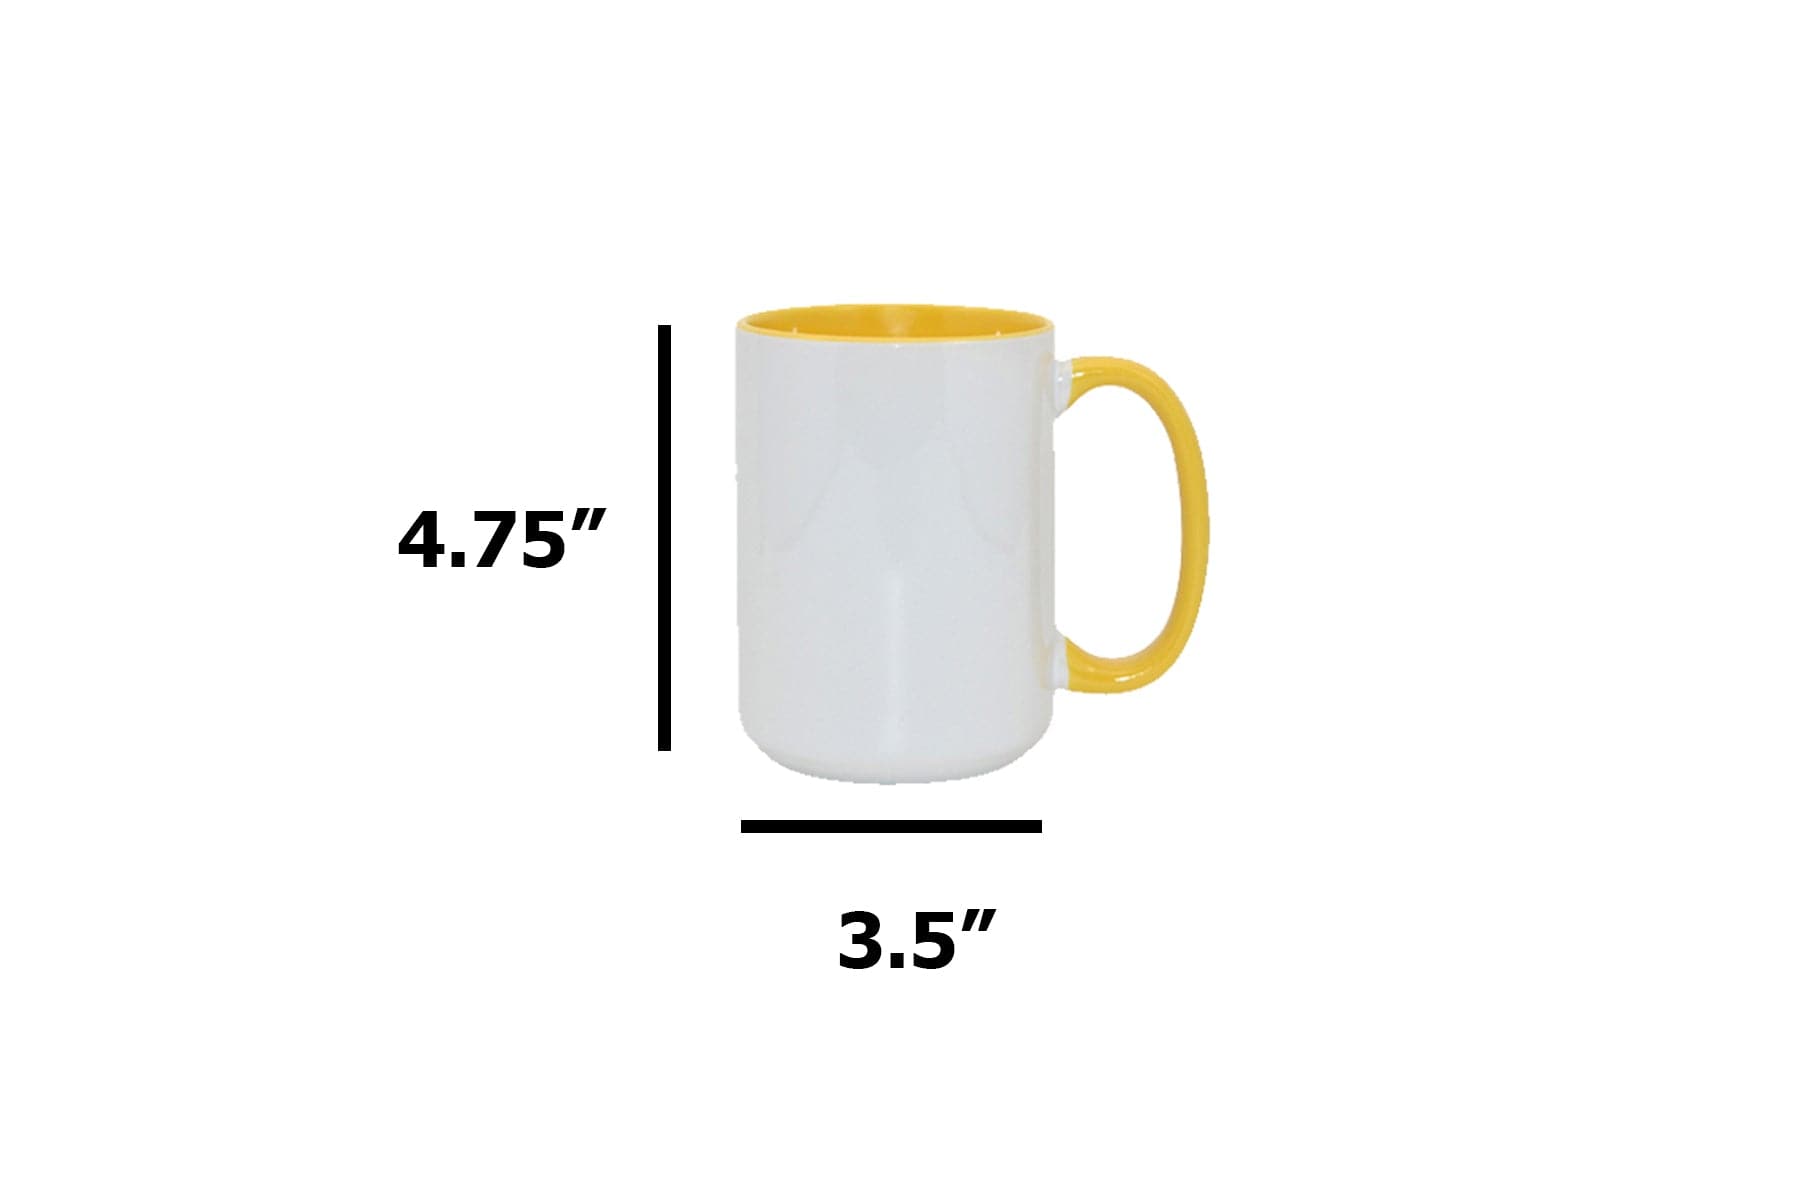
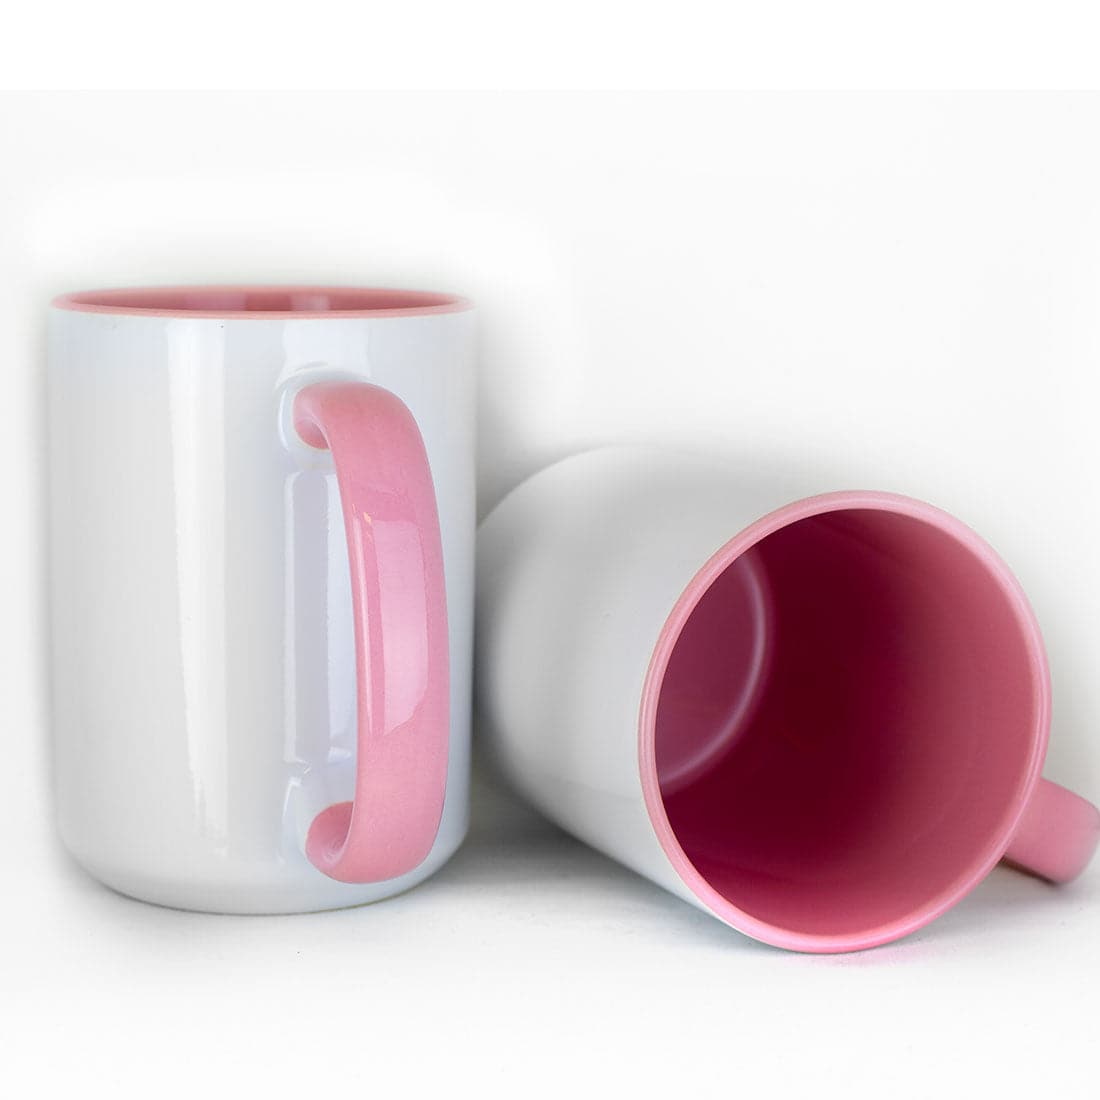
Ceramic & Hard Surfaces
- Temperature: 400°F (204°C)
- Time: 60–90 seconds
- Pressure: Medium to Heavy
- Peel: Hot
Great for mugs, tiles, and coated aluminum. Be sure to use appropriate blanks (polymer-coated) and allow items to cool before handling.
Fabric Blends (e.g., Poly-Cotton)
- Temperature: 285–300°F (140–149°C)
- Time: 10–12 seconds
- Pressure: Medium
- Peel: Varies by HTV type
Test a small area first. Some blends may react unpredictably due to synthetic content.
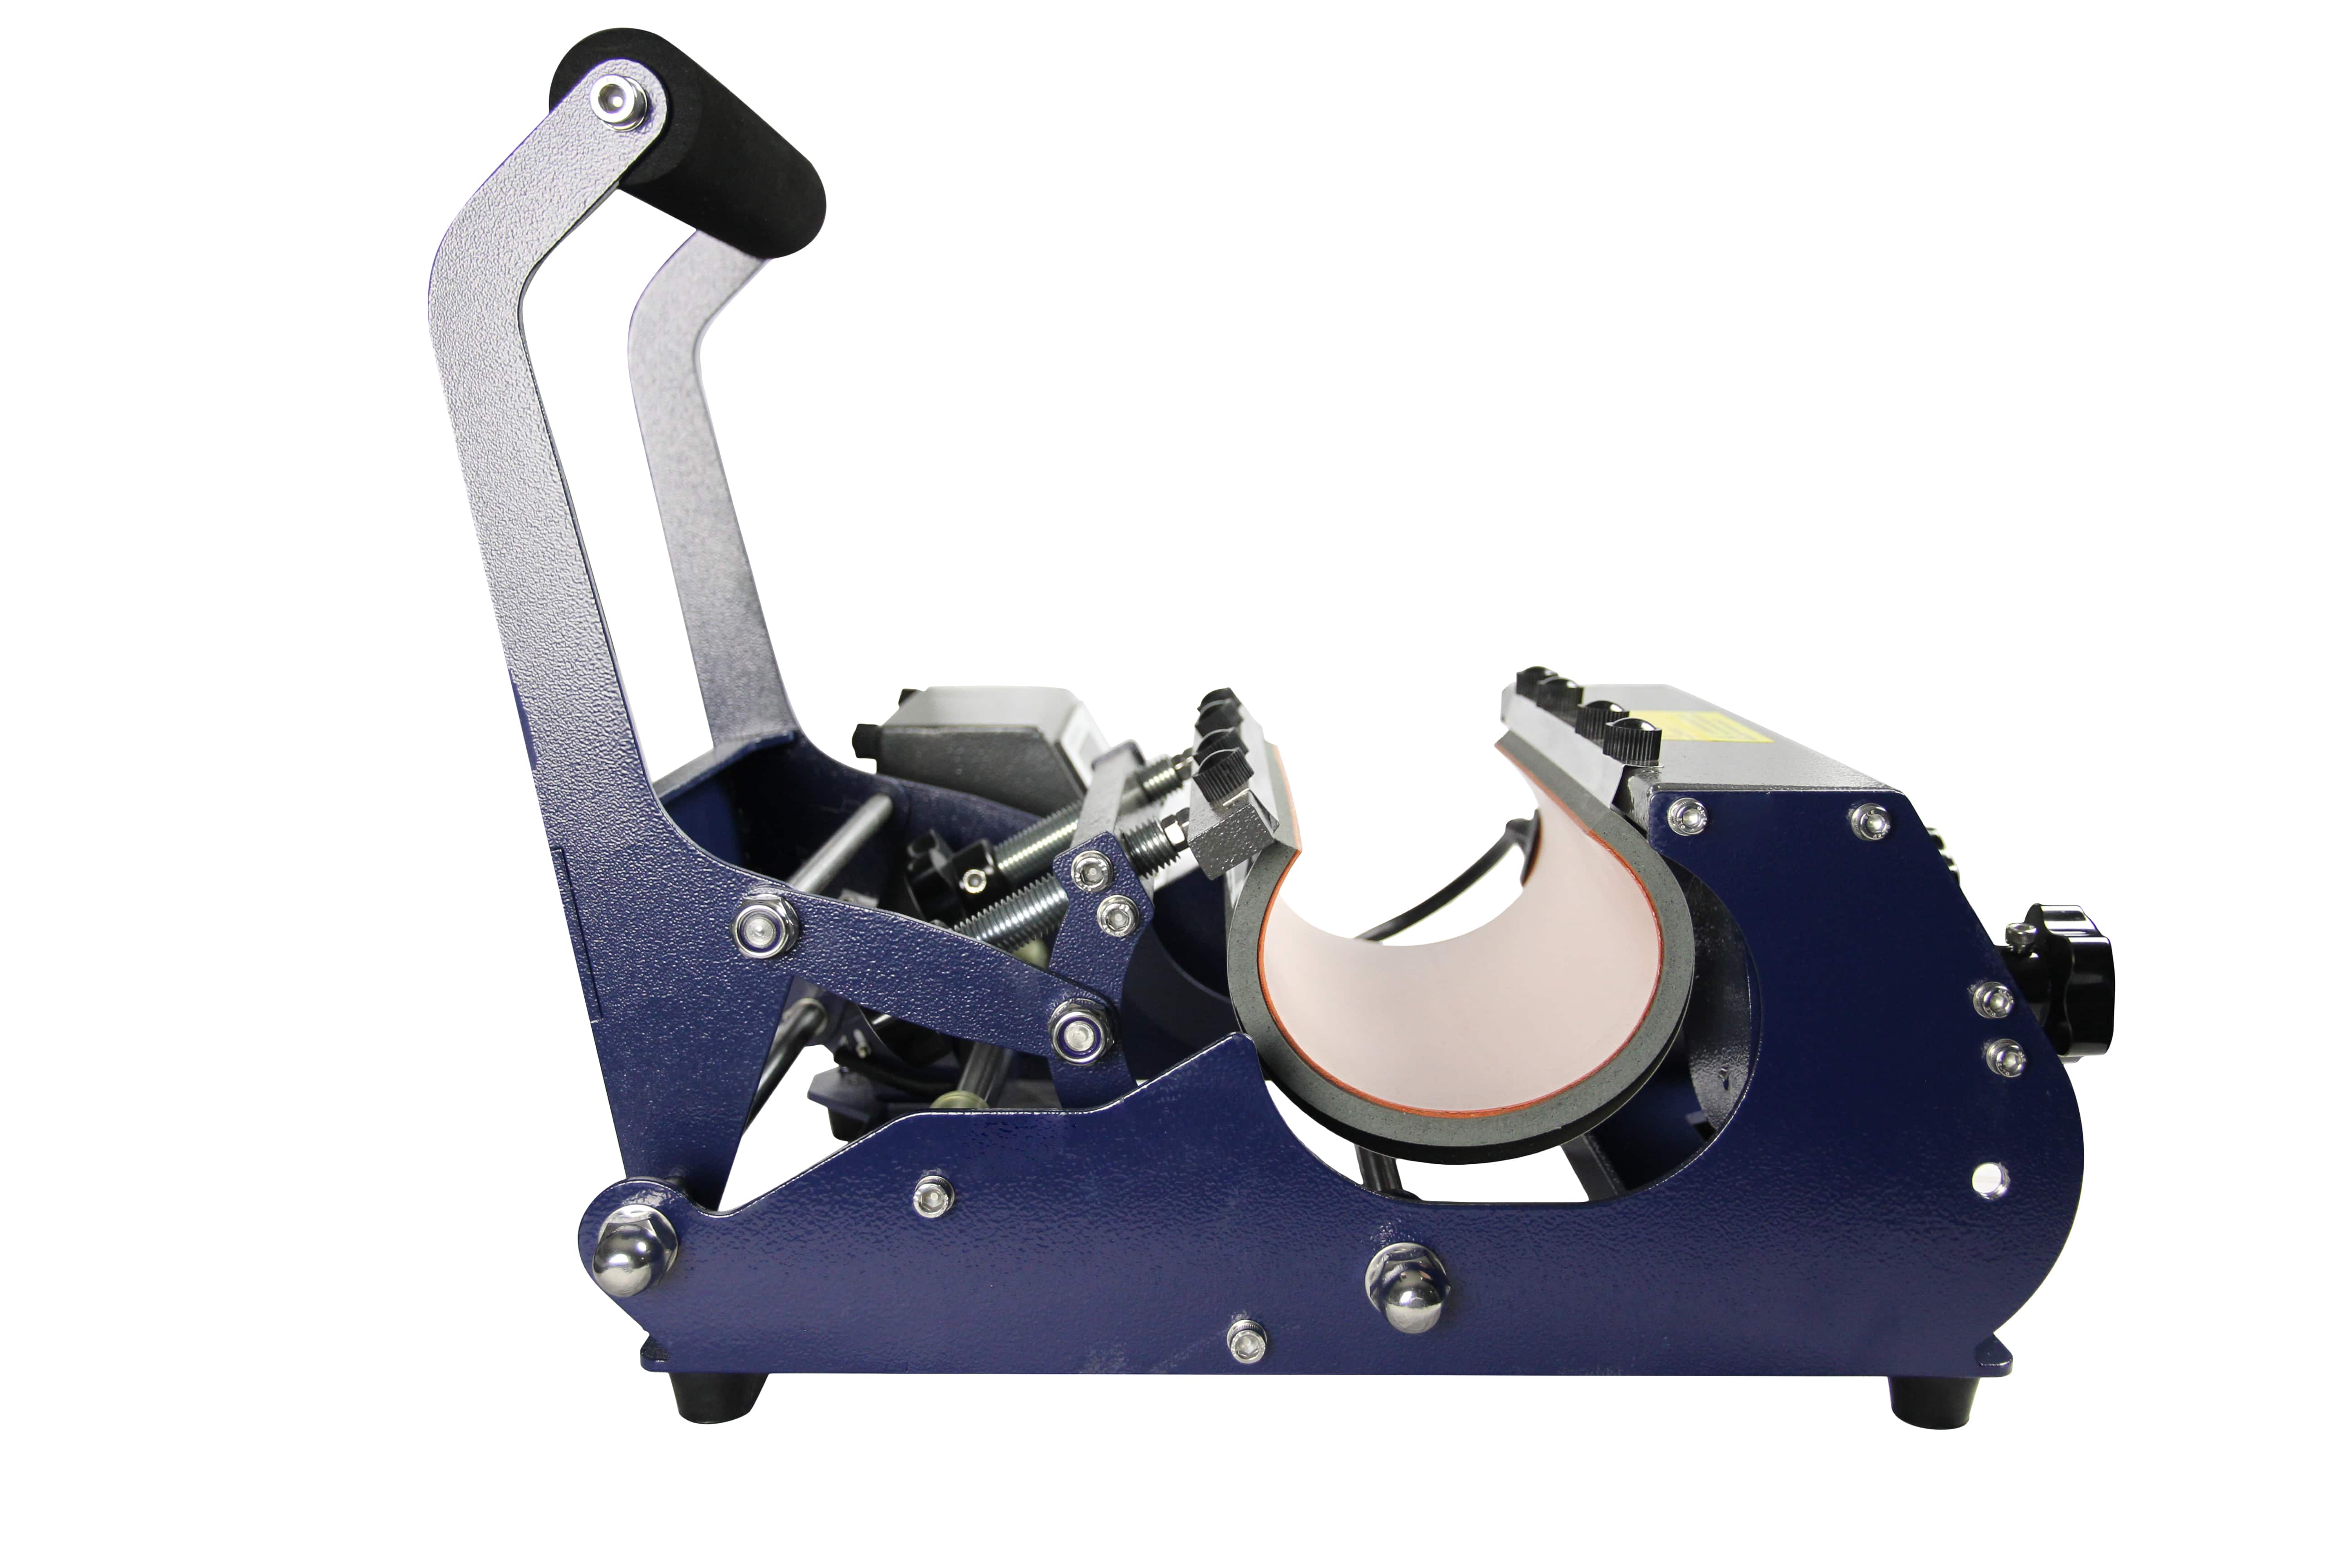
Caps & hats (Curved Surfaces)
Use a cap press attachment, adjust to 305°F, and press for 10 seconds. Apply firm pressure and always pre-press the hat to eliminate moisture and wrinkles.
Troubleshooting & pro tips
Even with the right equipment and settings, HTV projects don’t always go as planned. Here are some common issues and how to fix them—plus a few expert tips to make your heat press process smoother and more professional.
Common HTV issues & fixes
Problem: HTV is peeling after washing
- Fix: The temperature may have been too low, or pressure too light. Repress the design with a Teflon sheet for 5–10 seconds.
Problem: Vinyl didn’t stick at all
- Fix: Double-check your time and temperature settings. Confirm you're using the correct side of the HTV (shiny carrier up, adhesive down).
Problem: Fabric is scorched or shiny
- Fix: Reduce the heat. Materials like polyester are sensitive—always check the chart and do a test press first.
Problem: Design shifted during pressing
- Fix: Use heat-resistant tape to secure the transfer in place before lowering the press.
Pro tips from the Joto team
- Always pre-press your fabric for 3–5 seconds to remove moisture and wrinkles. This ensures a flat, dry surface for bonding.
- Use a heat press pillow or pad for pressing over seams, zippers, or uneven surfaces.
- Store your HTV in a cool, dry place and avoid direct sunlight—it can affect the adhesive over time.
- Label your settings for each material you commonly use and keep a heat log if you're producing in volume.
Mistakes are part of the learning process—but with the right setup and some experience, you’ll be pressing pro-quality designs in no time.
Conclusion
Heat transfer vinyl is one of the most accessible, customizable, and profitable methods for creating standout designs on apparel and more—but it all comes down to mastering your heat press settings. Time, temperature, and pressure aren’t just technical details—they’re the key to consistent, long-lasting results.
Whether you’re pressing cotton t-shirts, polyester jerseys, or ceramic mugs, following the right guidelines makes all the difference. And remember: don’t hesitate to run test presses and make adjustments until you find the sweet spot for your materials.
Ready to take your crafting to the next level? Explore Joto Imaging Supplies’ full line of heat press machines, HTV, sublimation blanks, and expert support—everything you need to press with confidence and grow your creative business.