


Sublimation on glass is a vibrant, high-impact printing method that allows you to transform everyday glass items into personalized works of art. Whether you're customizing tumblers, ornaments, coasters, photo frames, or signage, the end result is sleek, professional, and incredibly durable. But one of the most common questions people ask is: Can you really sublimate on glass? The answer is a resounding yes, with the right tools, materials, and technique.
Unlike traditional printing, sublimation fuses ink directly into the specially coated surface of the glass, creating a permanent bond that won’t peel, scratch, or fade easily. It opens the door to brilliant, high-resolution designs with a glossy finish that adds a touch of elegance to any product.
This guide walks you through everything you need to know about sublimating on glass—from choosing the right type of glass and preparing your design, to safety tips, troubleshooting, and creative ideas for your next project. Whether you're just starting out or looking to improve your results, this complete guide will help you master the process and take your sublimation skills to the next level.
Let’s get started and explore the bold, colorful world of glass sublimation together!
What is sublimation glass?
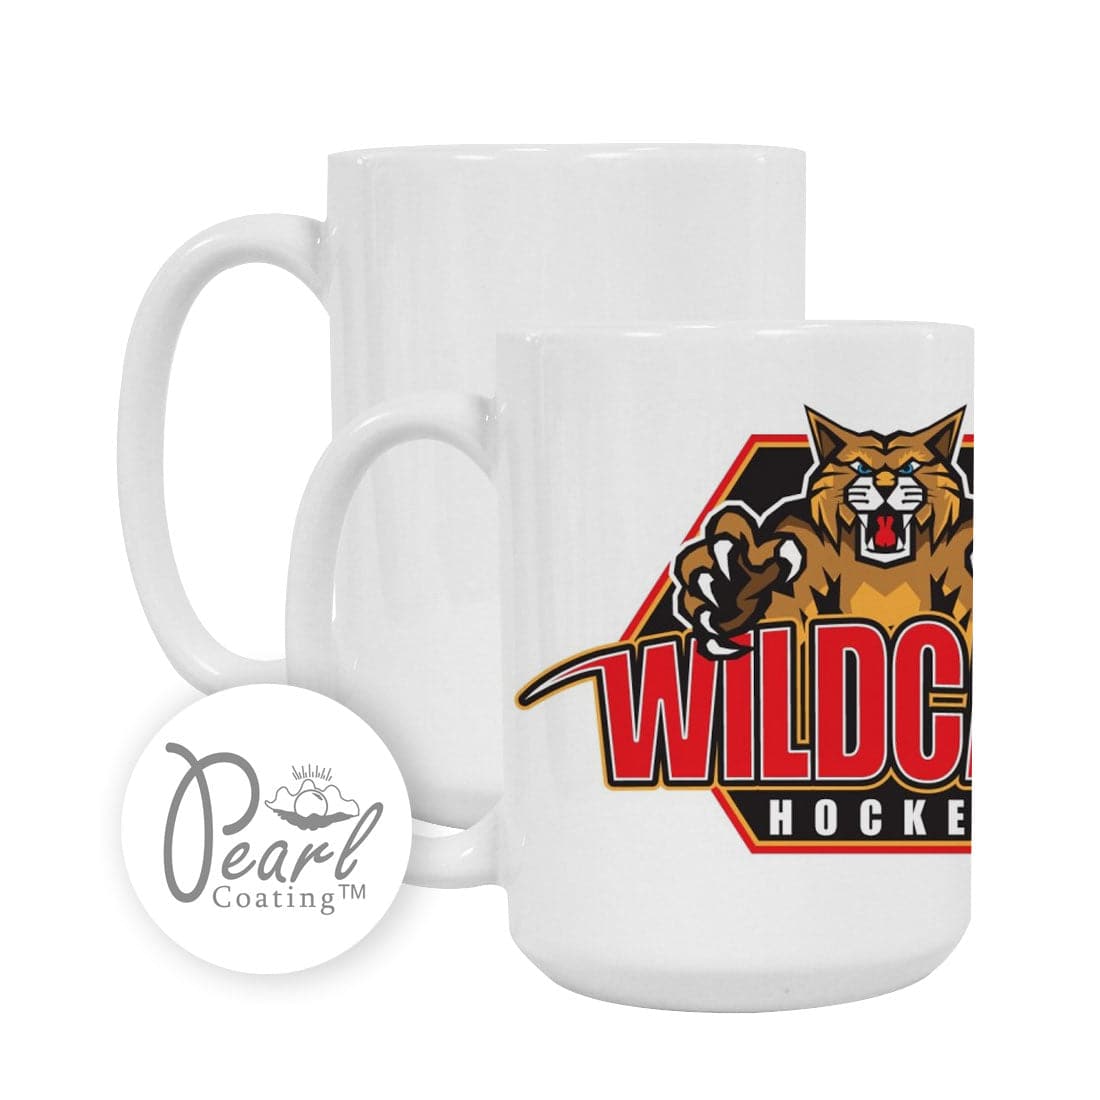
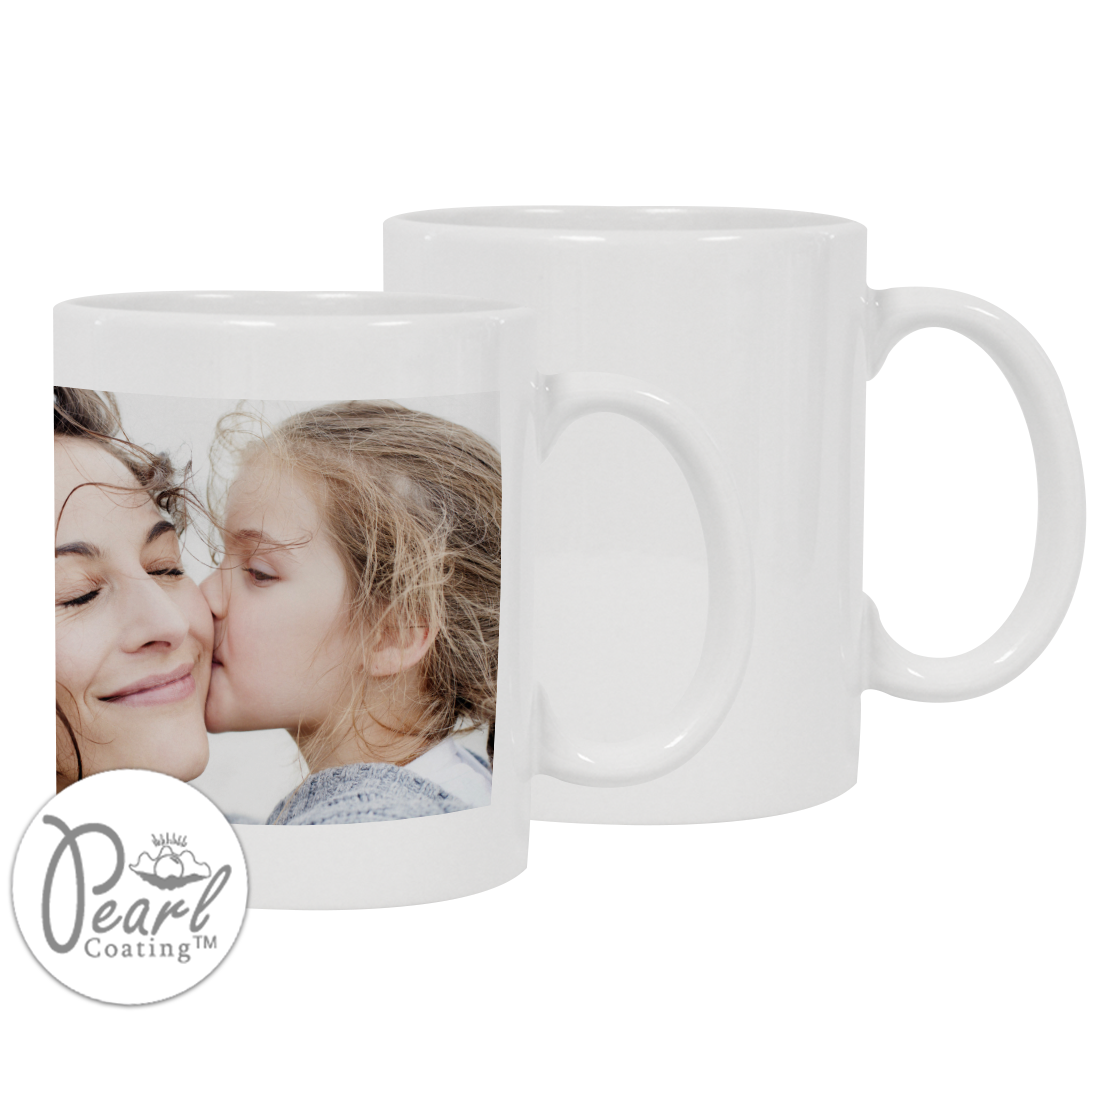
Sublimation glass refers to glass items that have been specially coated to accept sublimation ink. While standard glass surfaces won’t bond with sublimation dyes, sublimation-ready glass comes with a polymer-based coating, often branded as Pearl Coating™, that allows the heat-activated ink to permanently fuse into the surface. This coating is usually applied on one side and gives the glass a slightly frosted or opaque appearance, which enhances color vibrancy and prevents bleed-through.
When heated, the sublimation dye turns into a gas and embeds itself into the coating on the glass, creating vivid, high-resolution, and durable prints. The result? Designs that are not just on the glass, they become part of the glass.
Sublimation glass is used for a wide variety of items, including:
- Tumblers and drinkware
- Photo panels and frames
- Cutting boards
- Ornaments and plaques
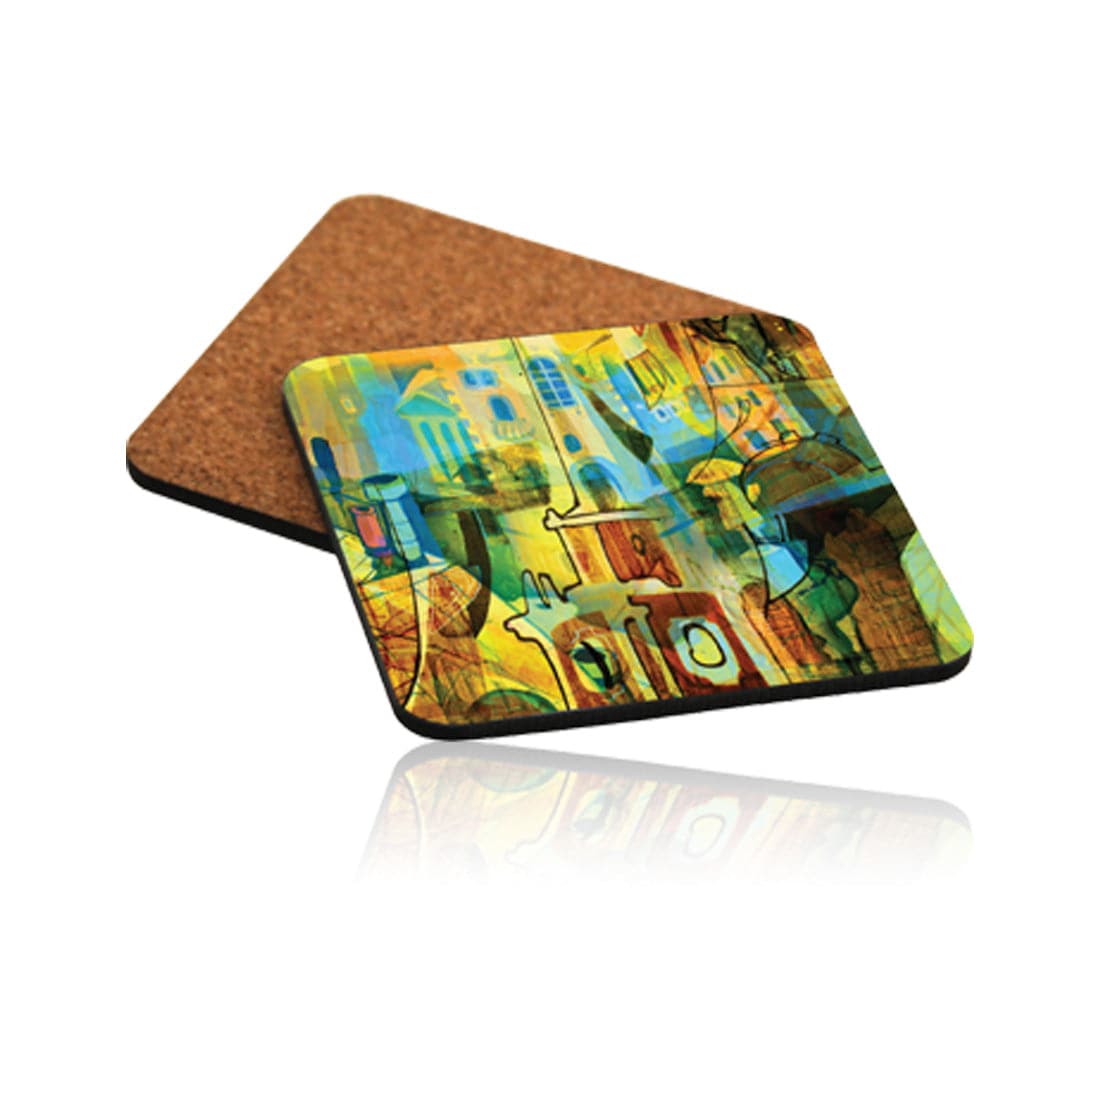
- Coasters and display pieces
It’s important to note that not all glass is suitable for sublimation. Clear glass without coating won’t work unless a special base layer is added (which we’ll cover later). Always ensure you’re working with glass labeled for sublimation, or apply a compatible coating yourself if experimenting.
Whether for personal gifts or commercial products, sublimation glass offers stunning, long-lasting results that stand out from other print methods.
Cleaning the glass surface before sublimation
Before you press a single design onto glass, the most important first step is simple: clean thoroughly. Any dust, fingerprints, lint, or oil residue on the glass surface can interfere with ink transfer, causing faded spots, uneven colors, or blurry edges.
To ensure the cleanest possible result:
- Use a lint-free microfiber cloth to remove particles and debris.
- Apply isopropyl alcohol (at least 70%) or a mild glass-safe cleaner to cut through oils or residue.
- Let the surface dry completely before taping your design in place.
If your glass blank comes with a protective film, remove it just before cleaning to avoid reintroducing dust or static.
This step might seem basic, but it's one of the top reasons sublimation prints fail on glass. A clean surface ensures better ink bonding, sharper details, and fewer frustrating do-overs.
💡 Pro tip: Always wear gloves when handling cleaned glass blanks to avoid transferring oils from your hands.
Safety tips for sublimating on glass
While sublimation is a creative and rewarding process, working with glass, especially at high temperatures, comes with a few safety considerations you shouldn’t ignore.
1. Always use heat-resistant gloves
Glass retains heat longer than metal or ceramic. After pressing, sublimated glass items can reach temperatures over 400°F (204°C). Use thick, heat-resistant gloves to handle blanks safely and avoid serious burns.
2. Work in a well-ventilated area
During pressing, sublimation ink releases gas. While generally safe, prolonged exposure in poorly ventilated spaces isn’t ideal. Use fans, open windows, or consider a fume extractor for enclosed areas.
3. Handle glass with care
Glass blanks can crack or shatter if dropped or cooled too quickly. Place hot items on heat-safe mats or wooden surfaces to let them cool gradually. Never expose hot glass to cold water or surfaces.
4. Follow chemical guidelines
If you use adhesive sprays or cleaning solvents, always follow the manufacturer’s instructions and wear gloves to avoid skin irritation or damage to the coating.
Taking these simple precautions will keep you safe while ensuring your projects go smoothly from start to finish.
Benefits of sublimating on glass
Sublimating on glass isn’t just possible—it’s one of the most impressive ways to showcase high-quality designs with a sleek, professional finish. Whether for personal projects, gifts, or commercial products, glass sublimation offers several key advantages:
1. Vivid, High-Definition Prints
Thanks to the smooth polymer coating, sublimation on glass produces incredibly sharp details and bold colors. The ink bonds beneath the surface, creating a glossy, premium look that outshines traditional printing methods.
2. Exceptional Durability
Unlike vinyl or surface-level printing, sublimated designs are embedded into the coating, meaning they won’t peel, fade, or scratch easily. This makes glass sublimation ideal for both decorative and functional items like coasters, drinkware, and signage.
3. Versatility for Custom Projects
Glass can be used in countless creative ways—from personalized photo frames and ornaments to promotional items, awards, and branded merchandise. It’s a favorite for boutique product sellers and craft businesses because of its polished finish and high perceived value.
4. Easy to Clean & Maintain
Sublimated glass is easy to wipe down with a soft cloth, making it ideal for home décor, office settings, or retail displays.
If you’re looking for a way to stand out with bold, lasting results, glass sublimation delivers.
Essential tools and materials for sublimating on glass
To achieve professional-looking results with glass sublimation, you need the right combination of tools and materials. Cutting corners on quality often leads to poor color transfer, fading, or even damage to your blanks—so it’s worth investing in reliable equipment from the start.
1. Sublimation Printer
A dedicated sublimation printer—such as the Sawgrass SG500/SG1000 or a converted Epson EcoTank—is essential. These printers use sublimation ink to produce high-resolution prints designed for heat transfer.
2. Sublimation Ink and Paper
Use premium sublimation ink that’s compatible with your printer model. Pair it with sublimation paper that holds the ink during printing and releases it cleanly during pressing. Avoid generic or off-brand paper that can result in uneven transfers.
3. Sublimation Glass Blanks
Choose glass items specifically labeled as sublimation-ready, they come with a special polymer coating that allows ink bonding. Common blanks include:
- Glass coasters
- Photo panels
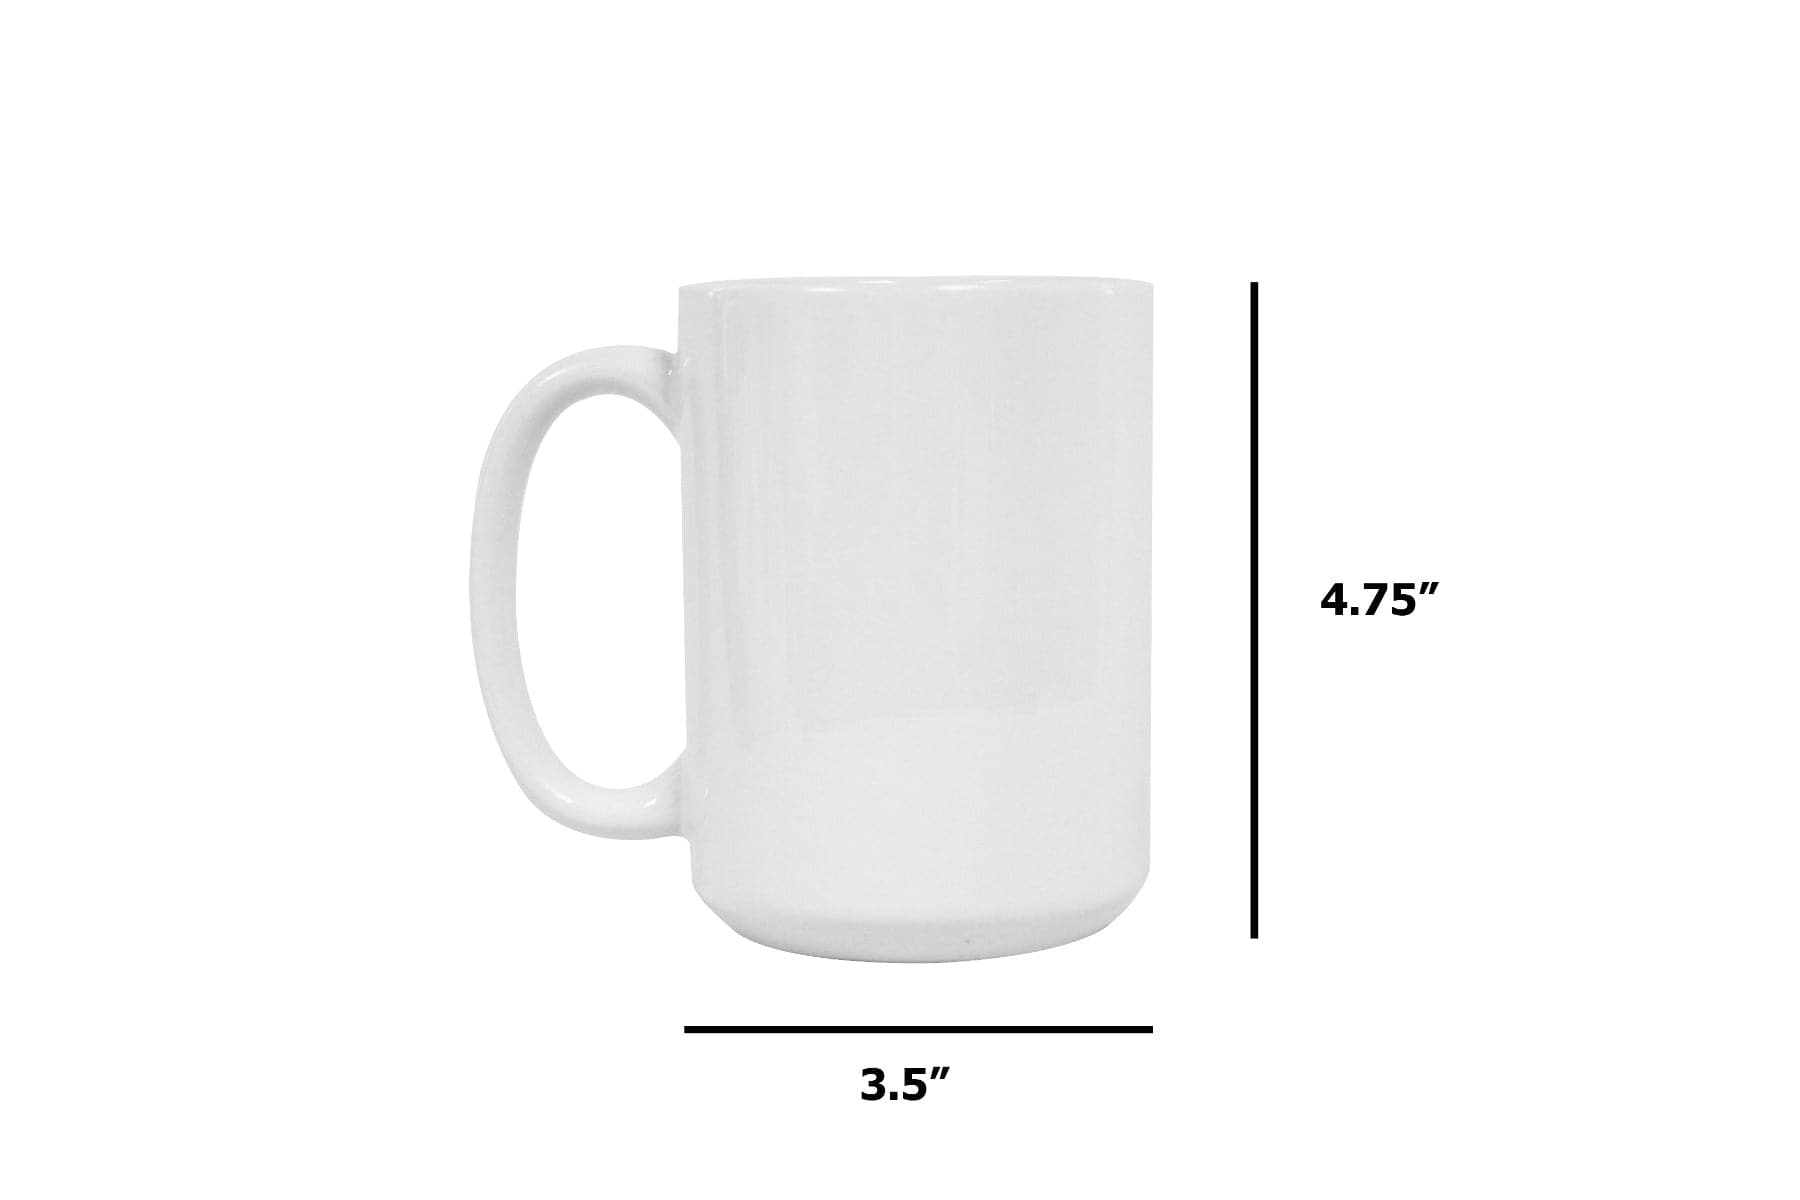
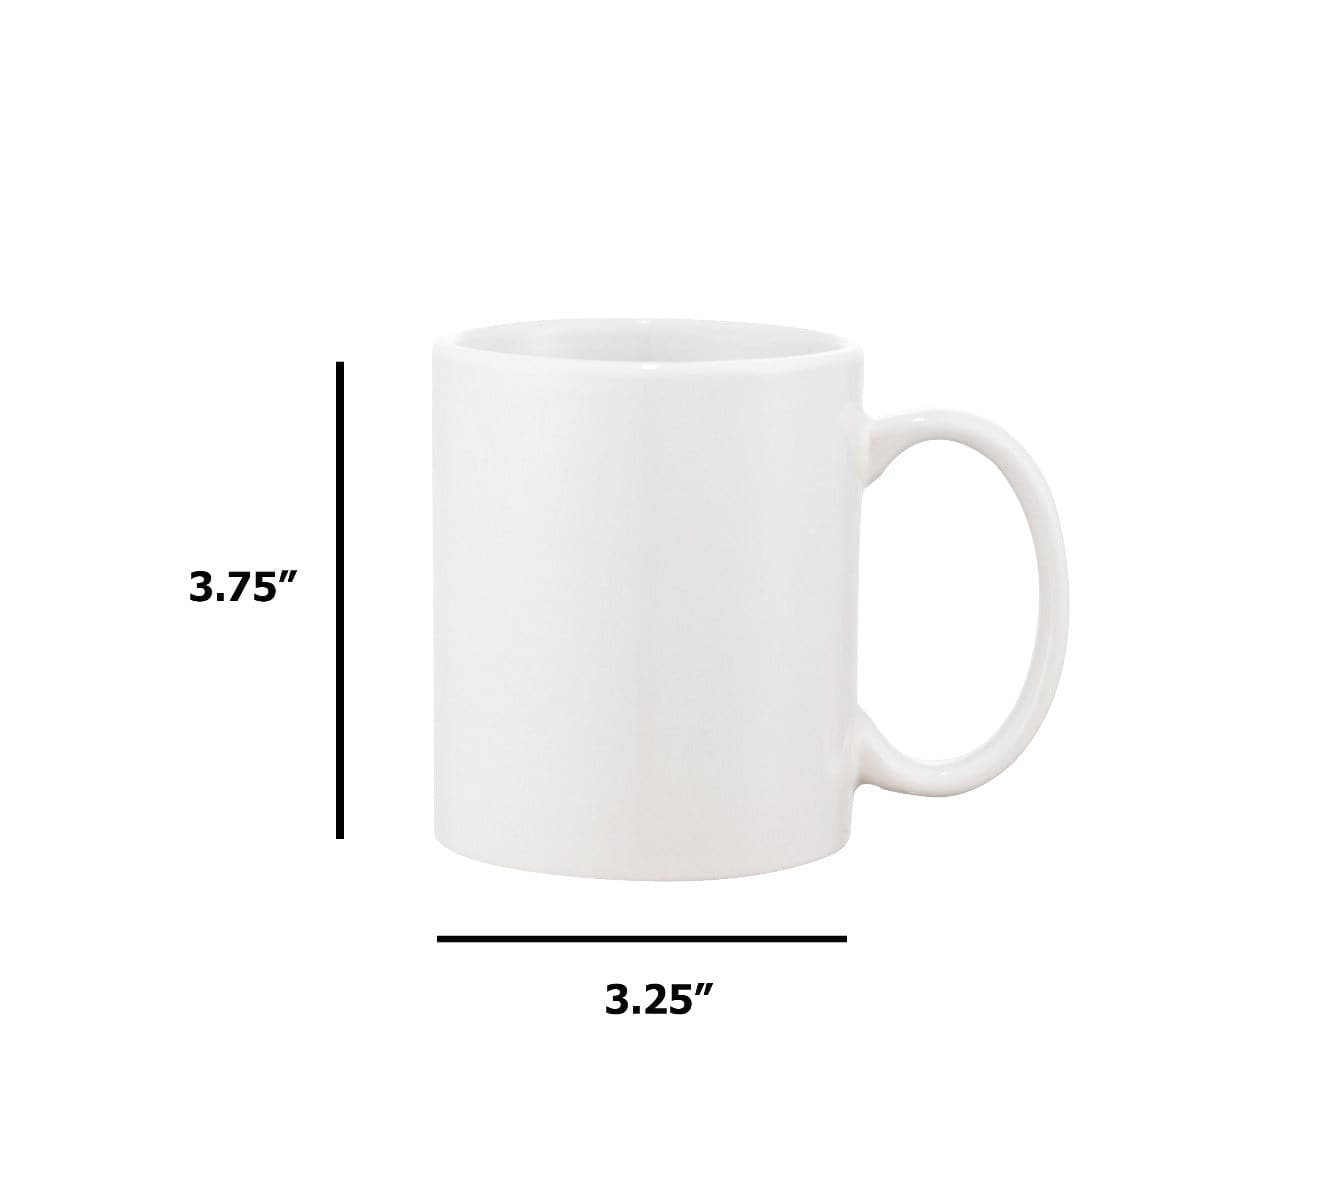
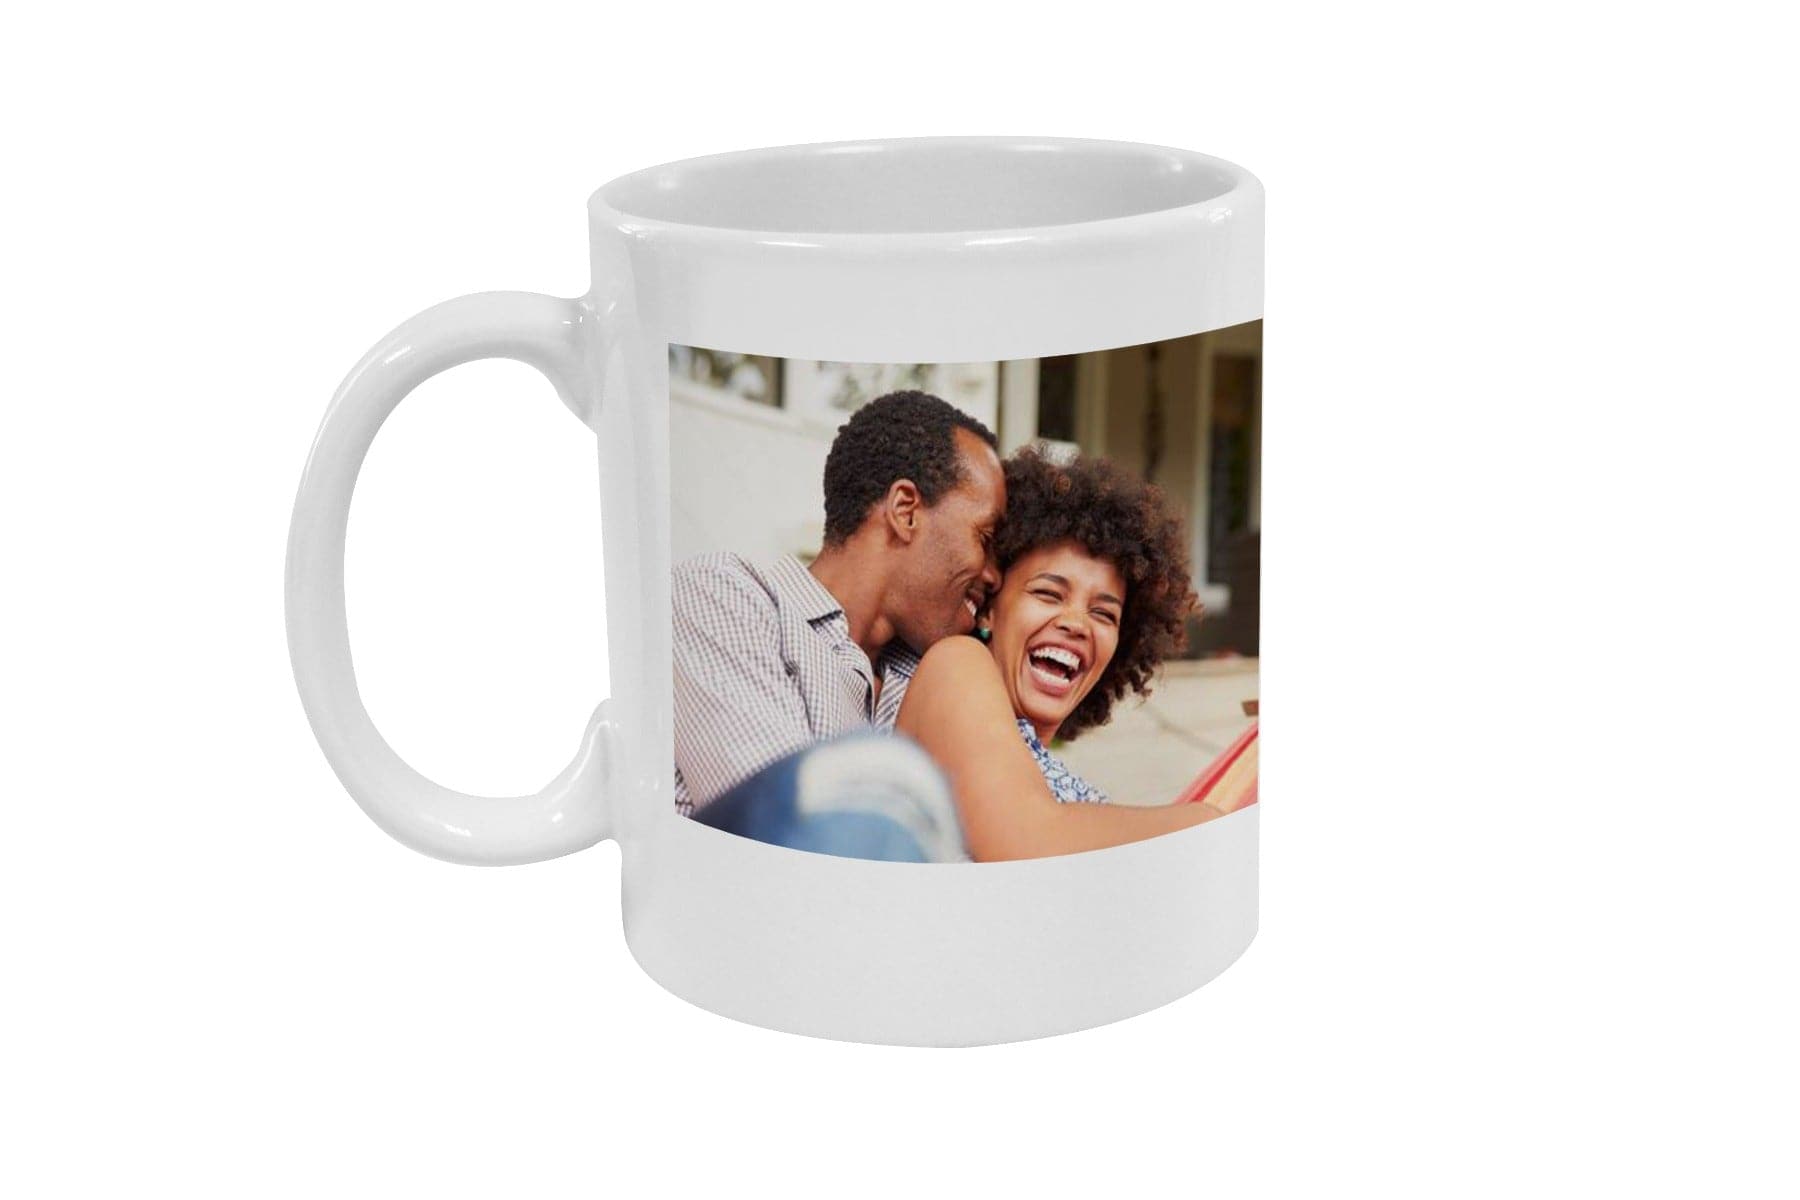
- Tumblers and mugs
- Cutting boards
- Nightlights and ornaments
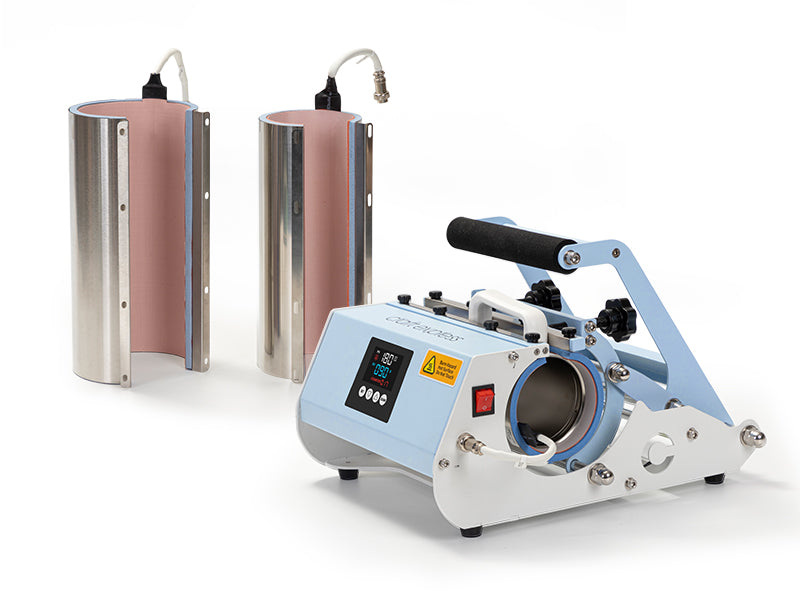
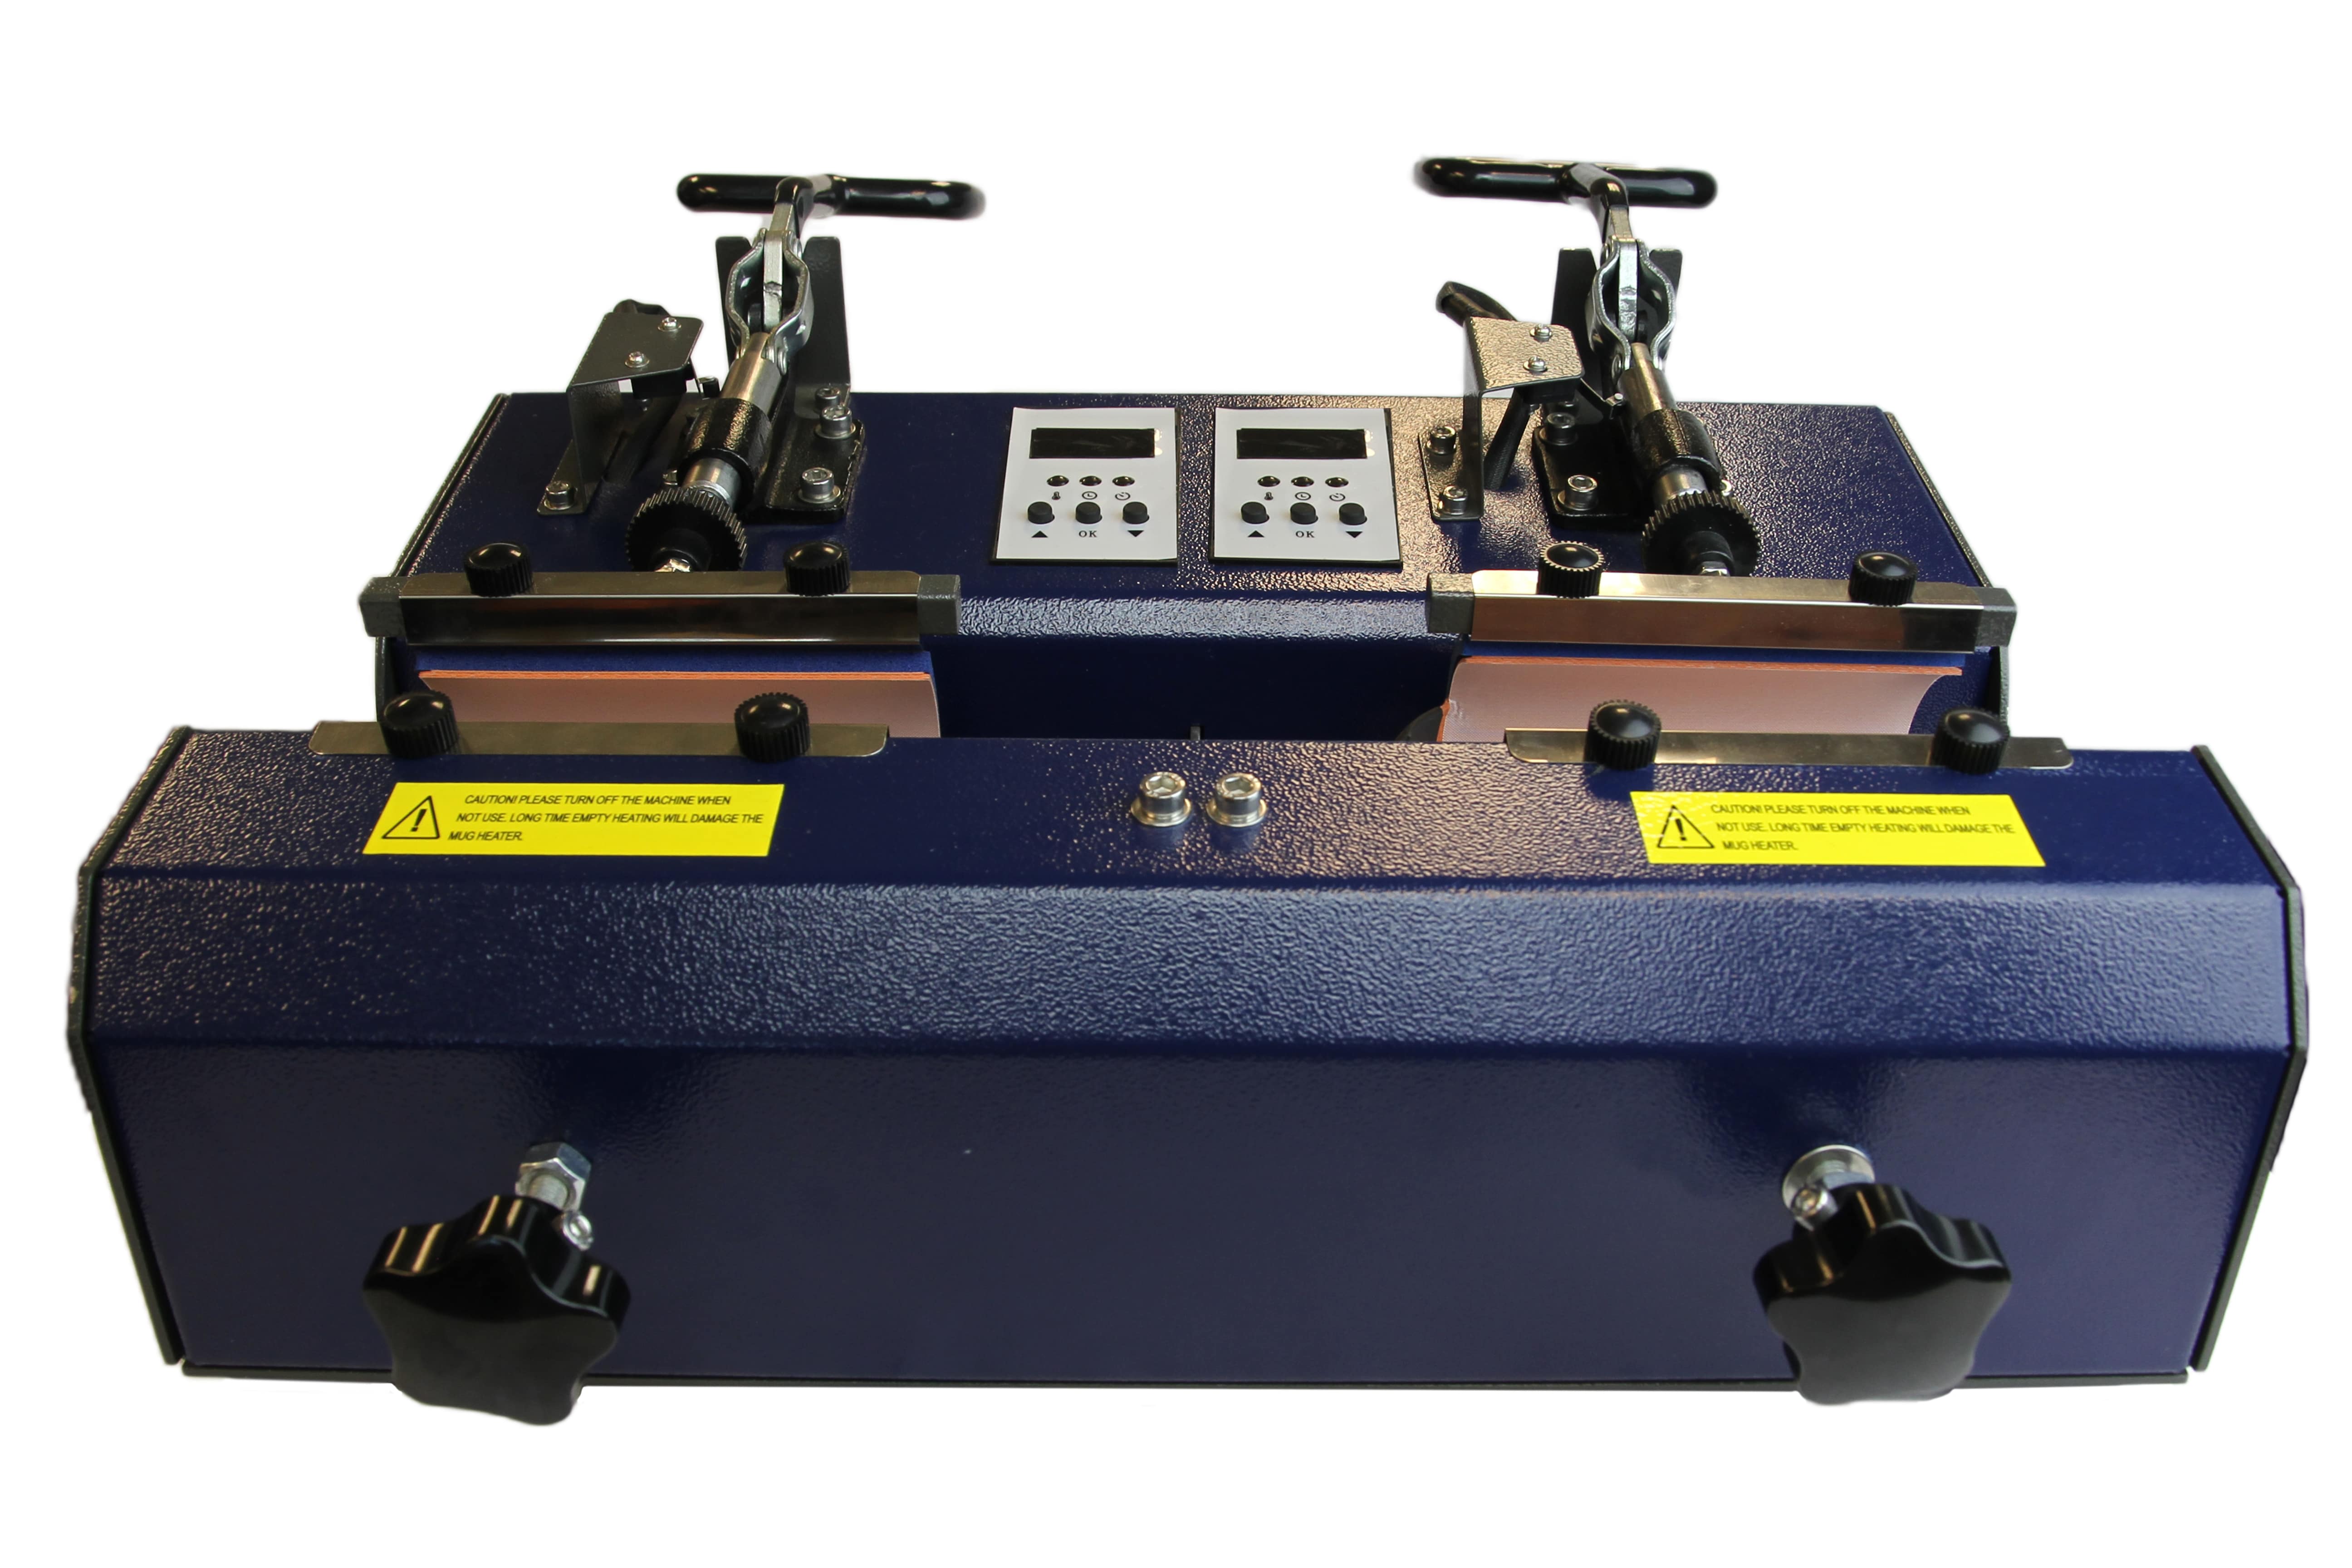
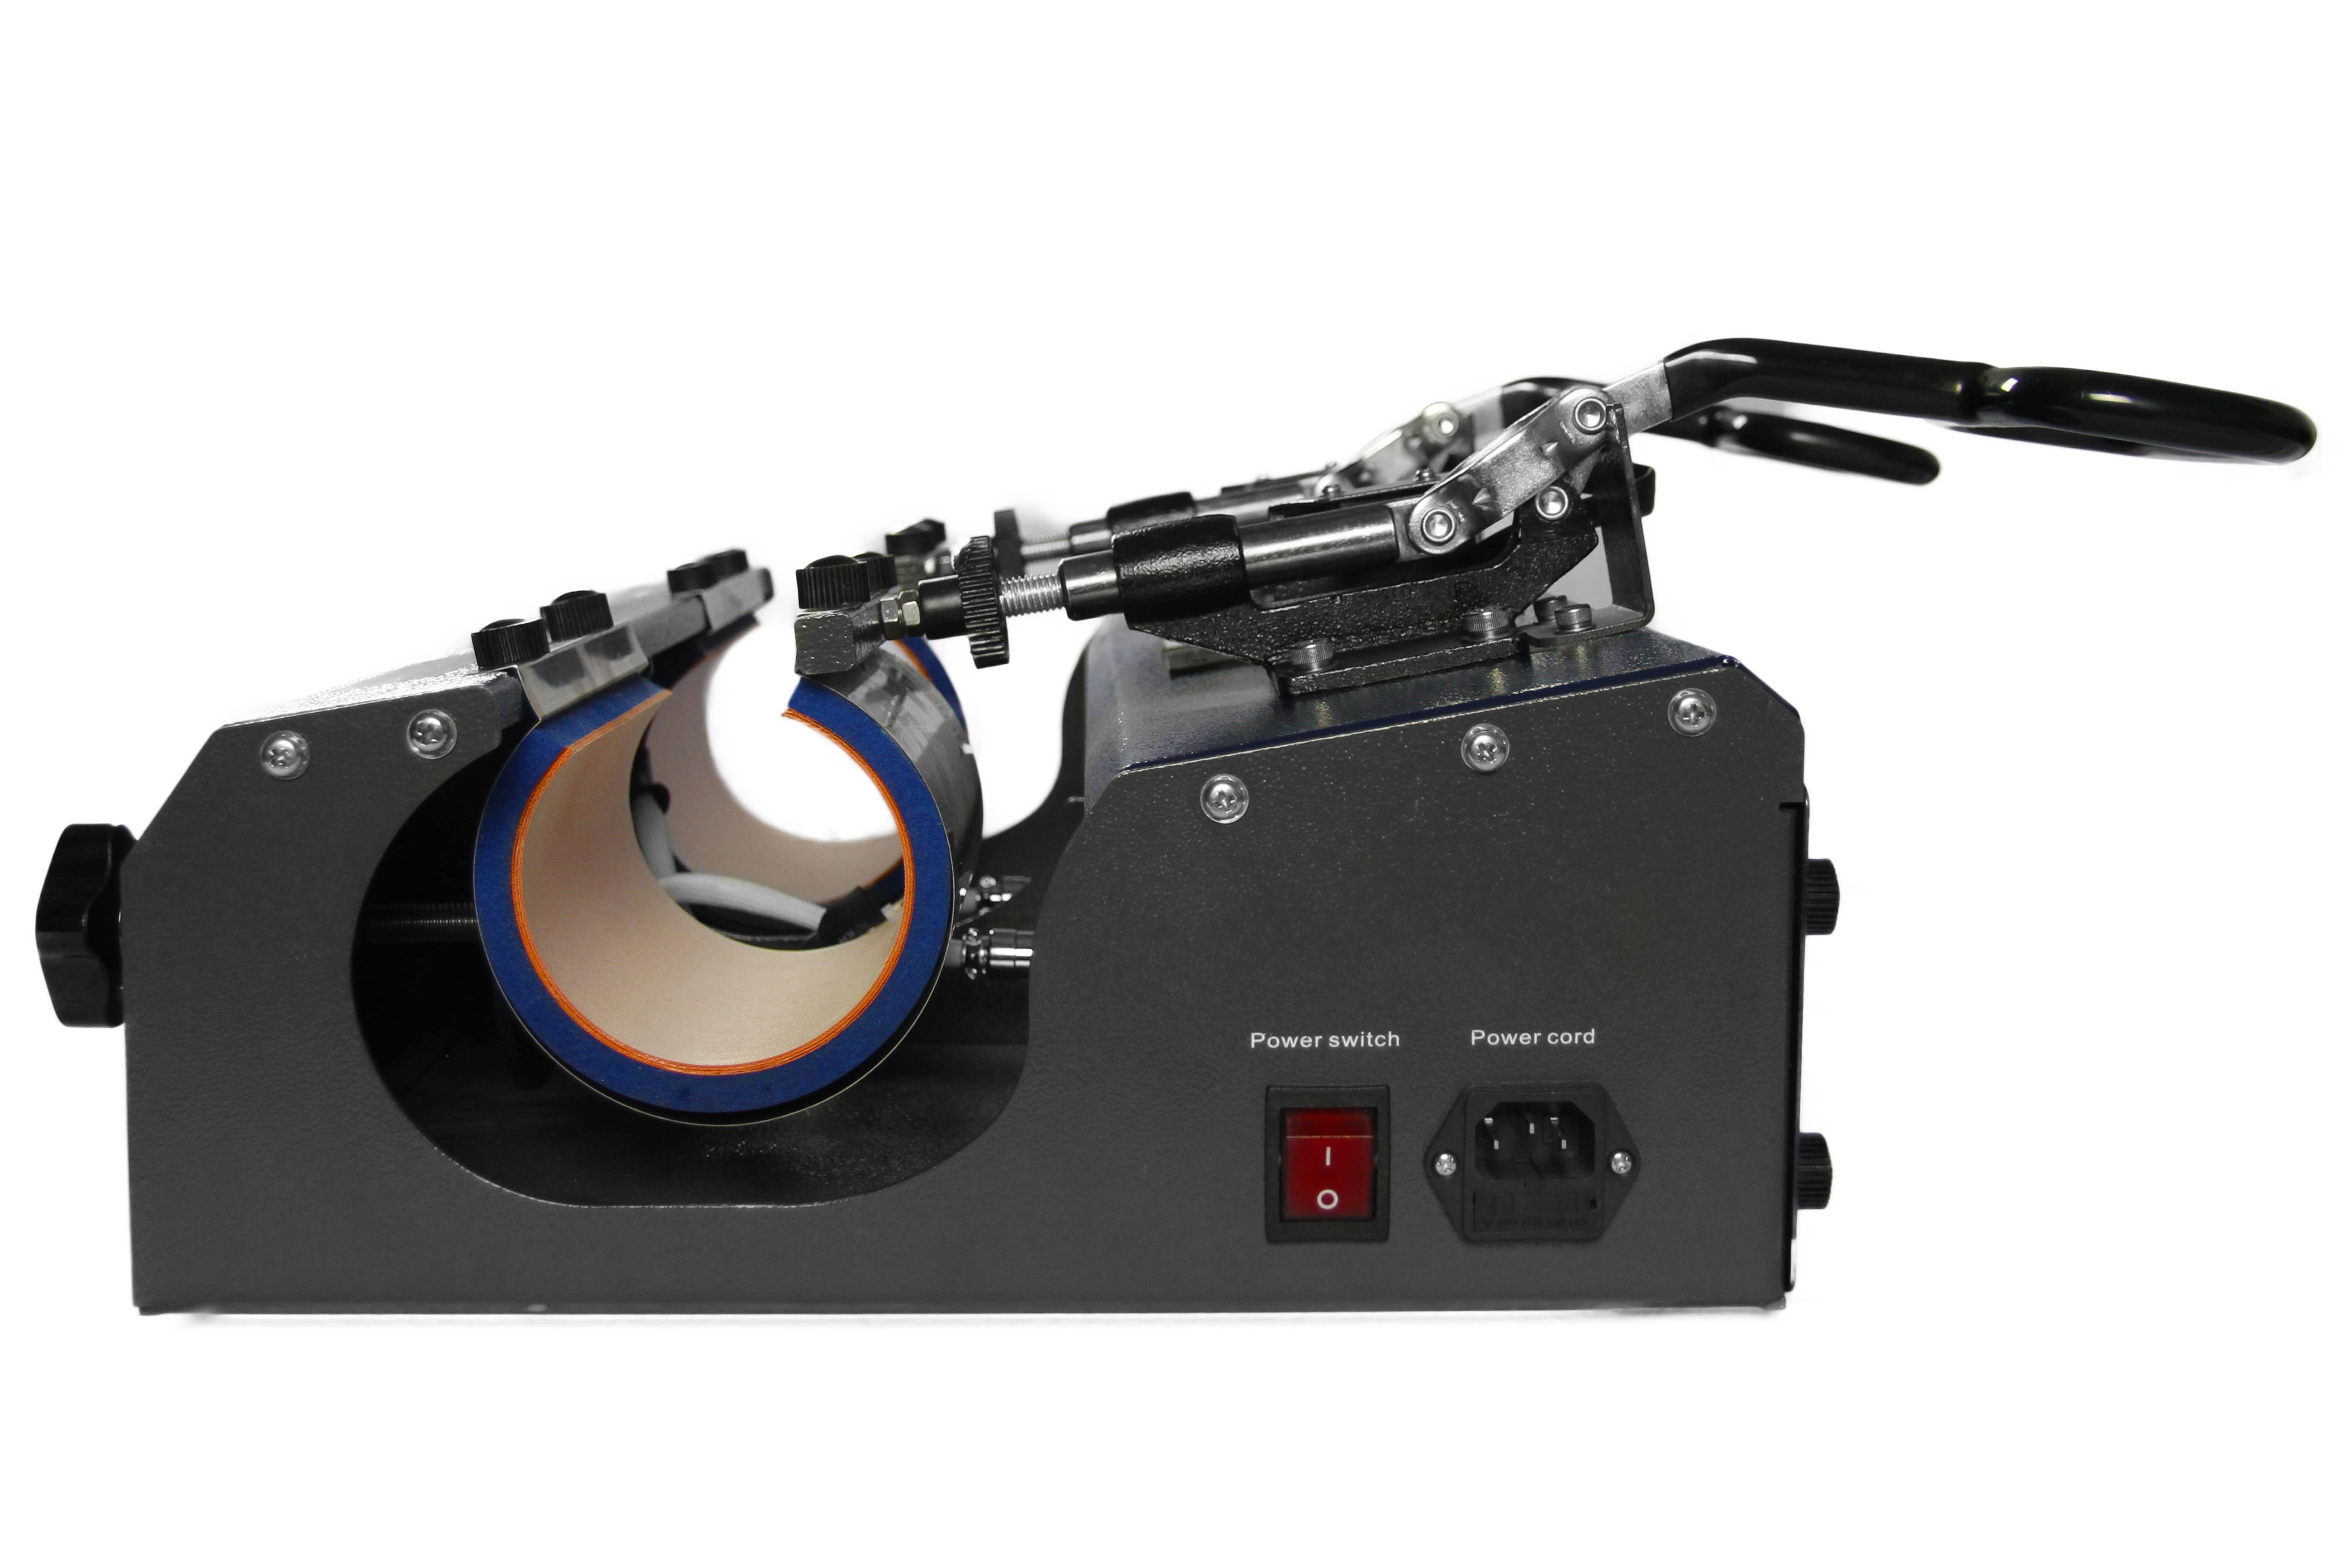
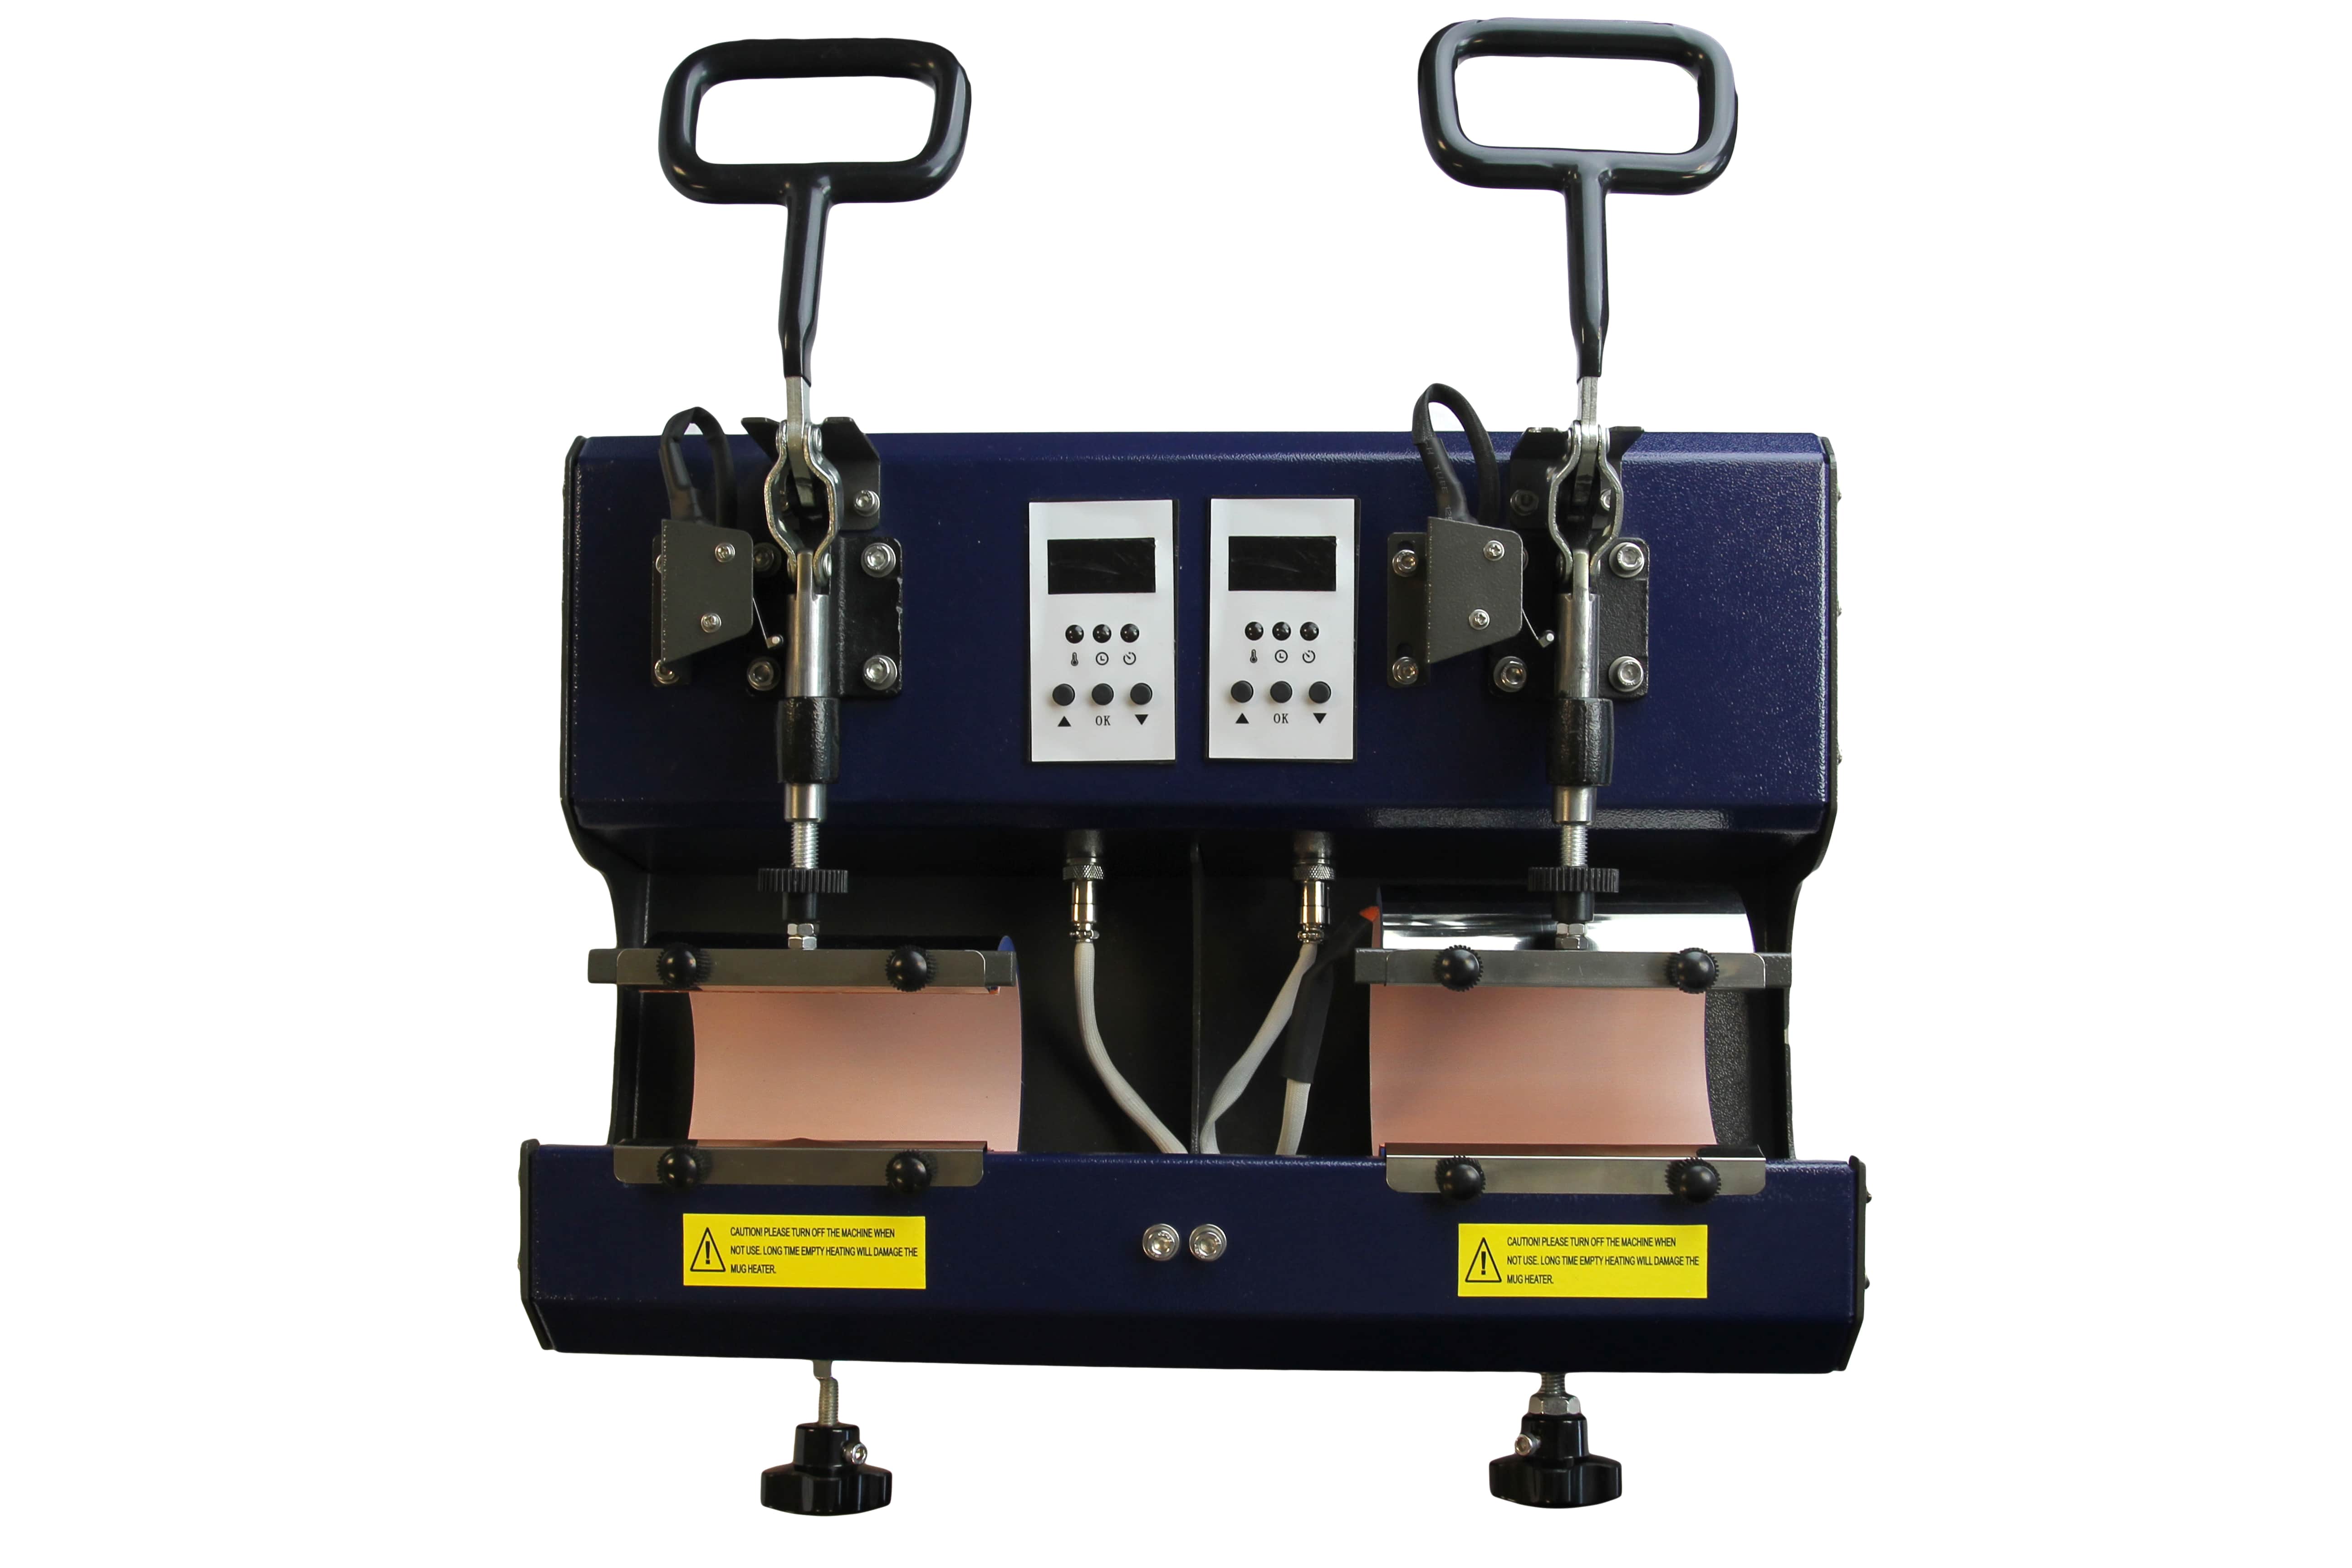
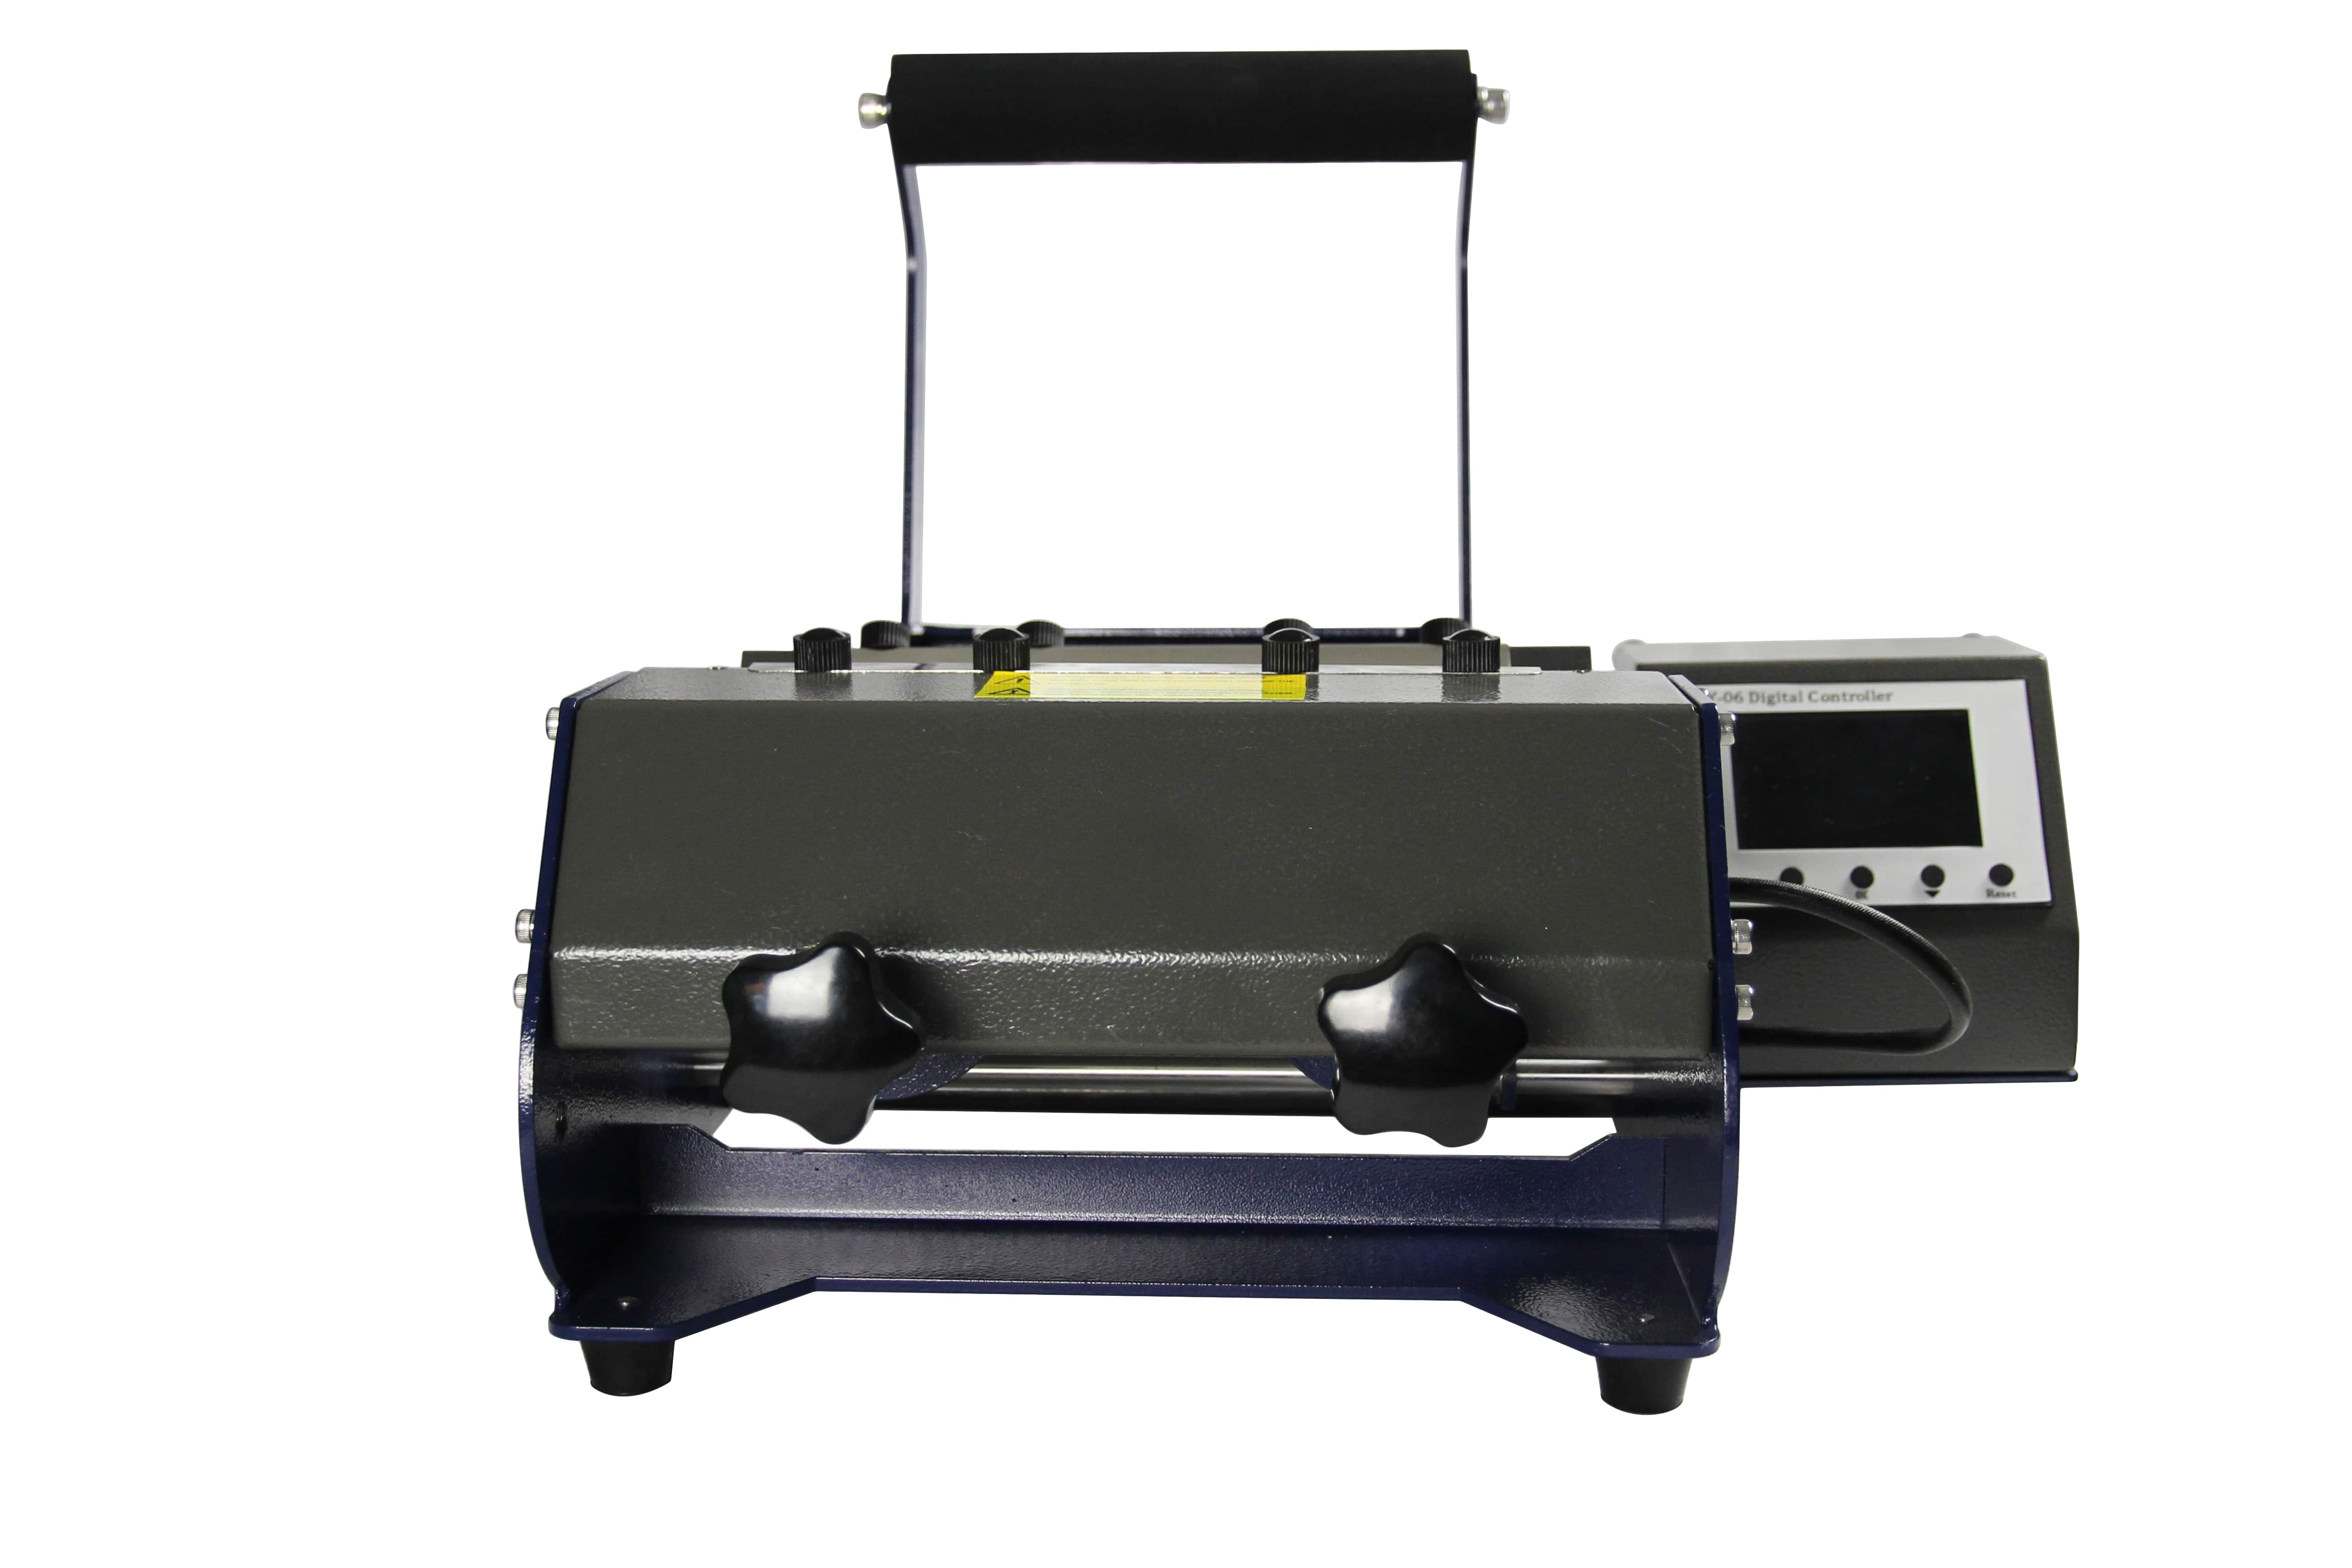
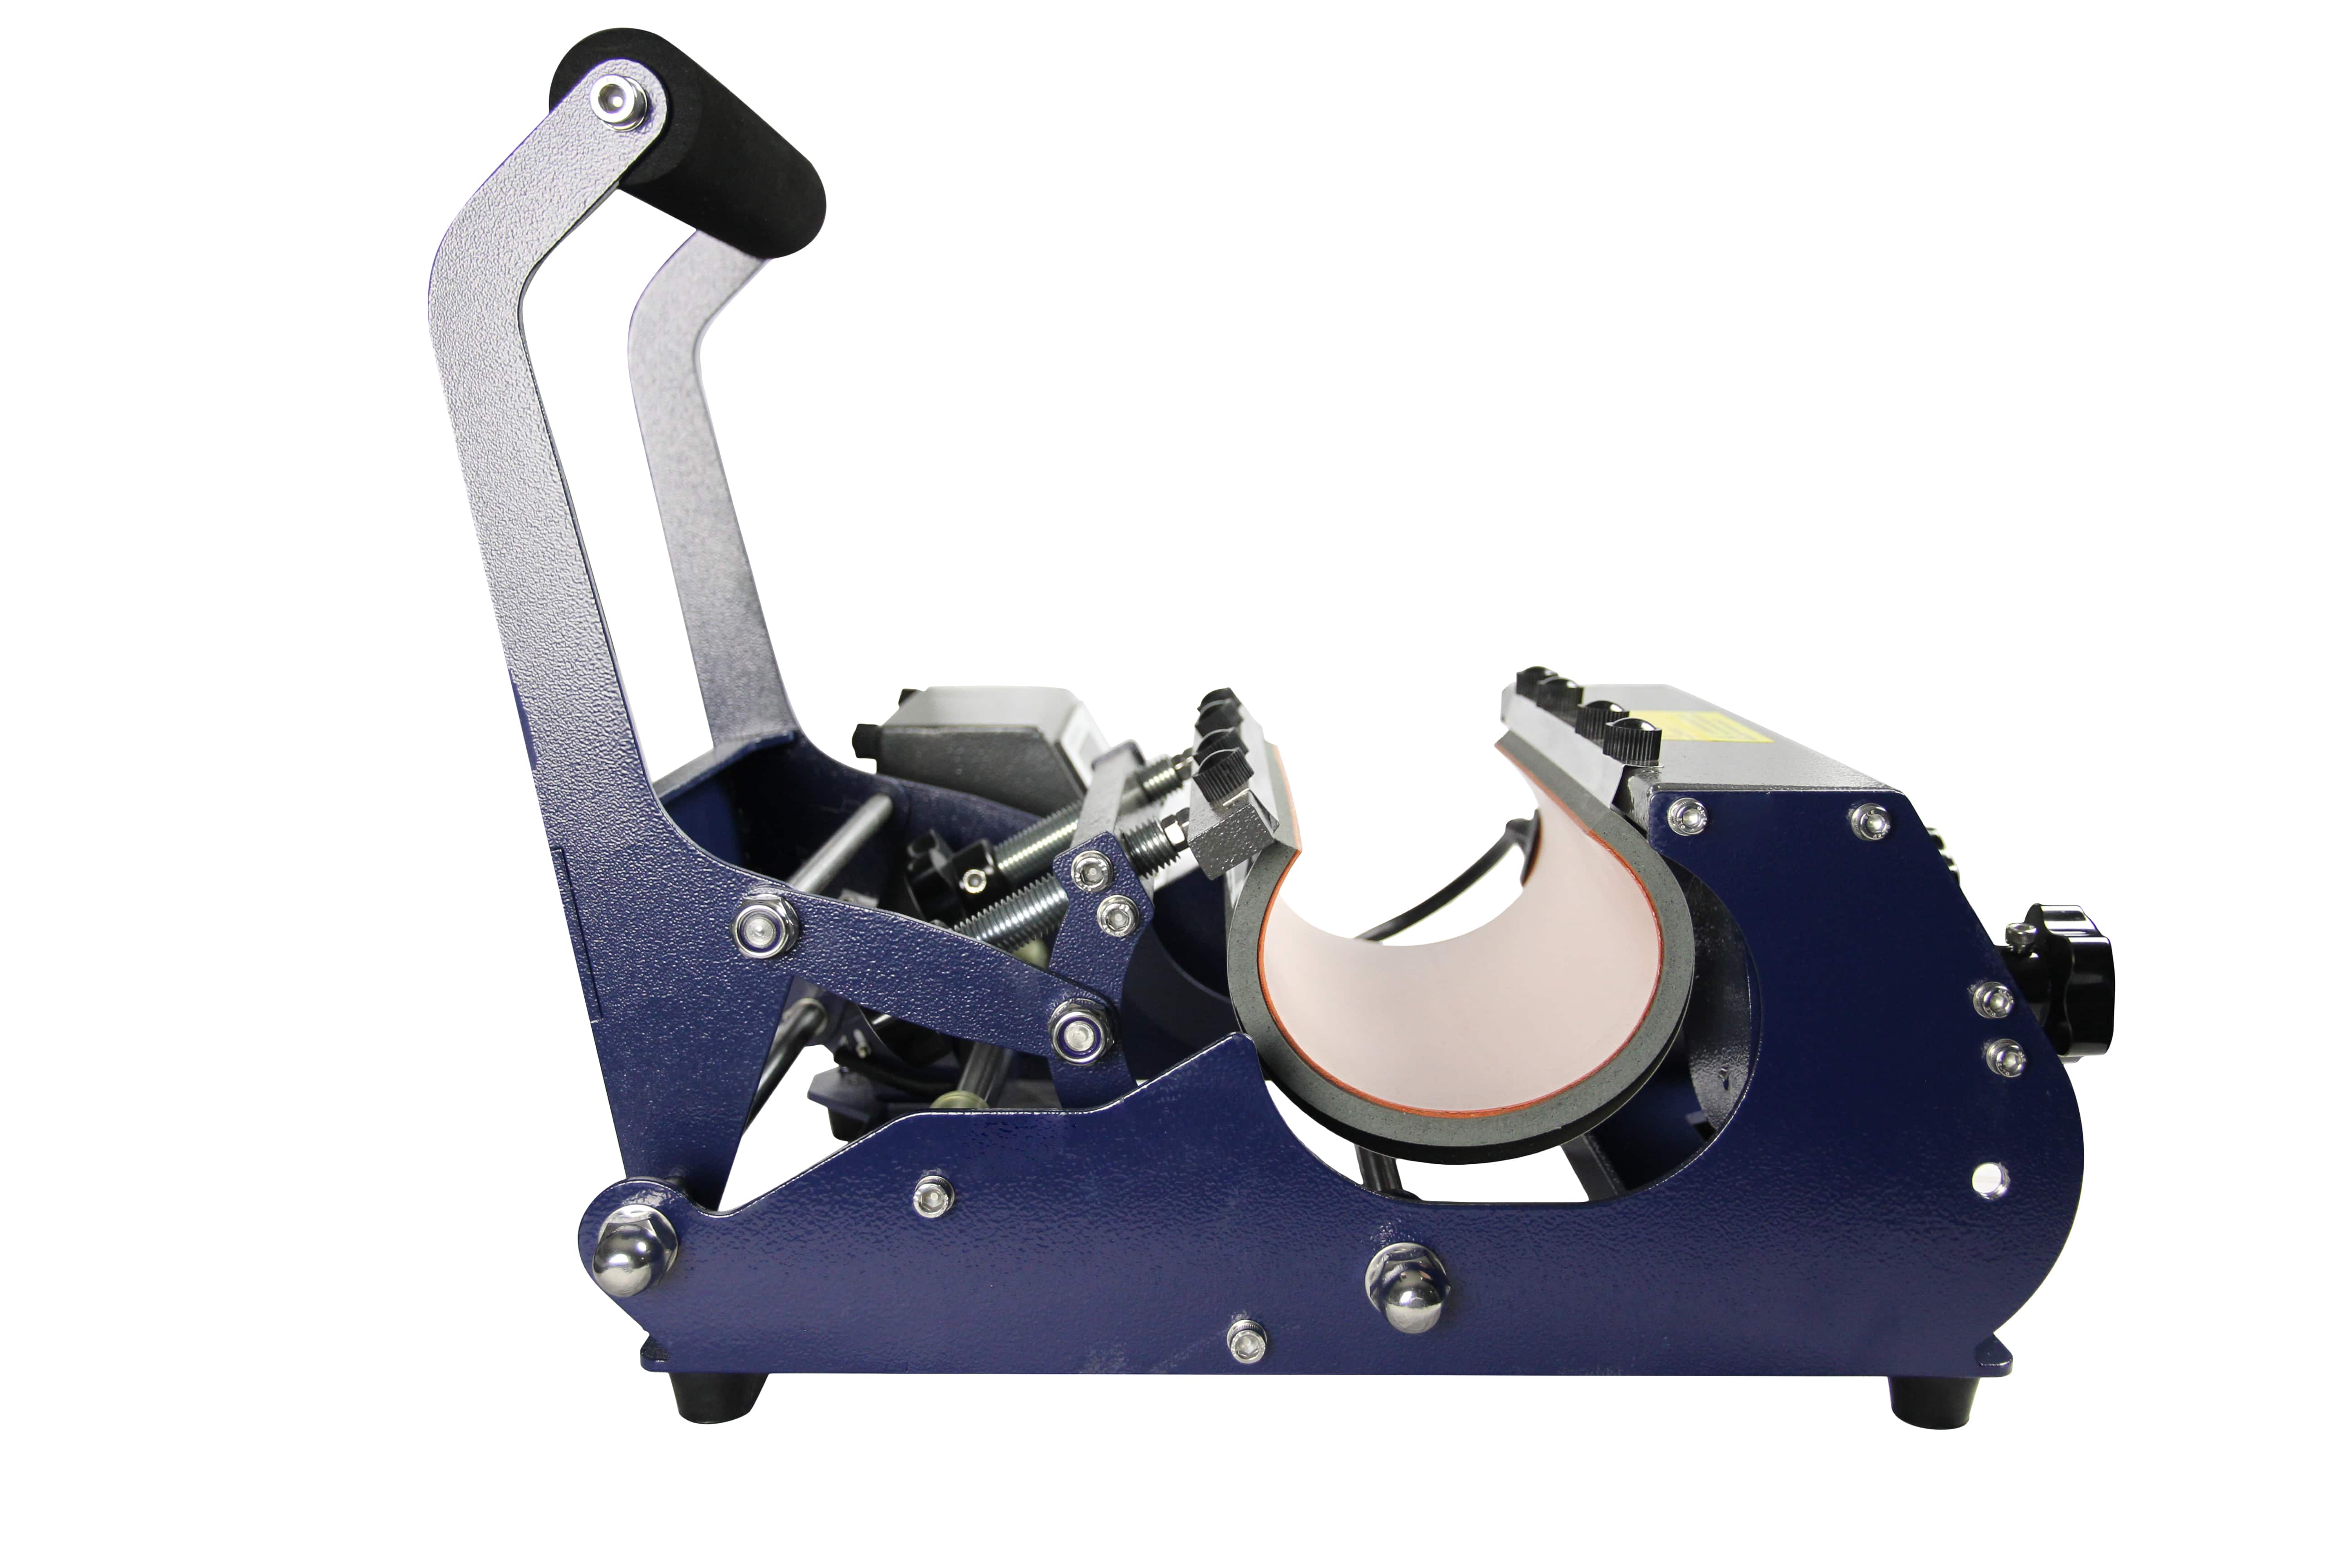
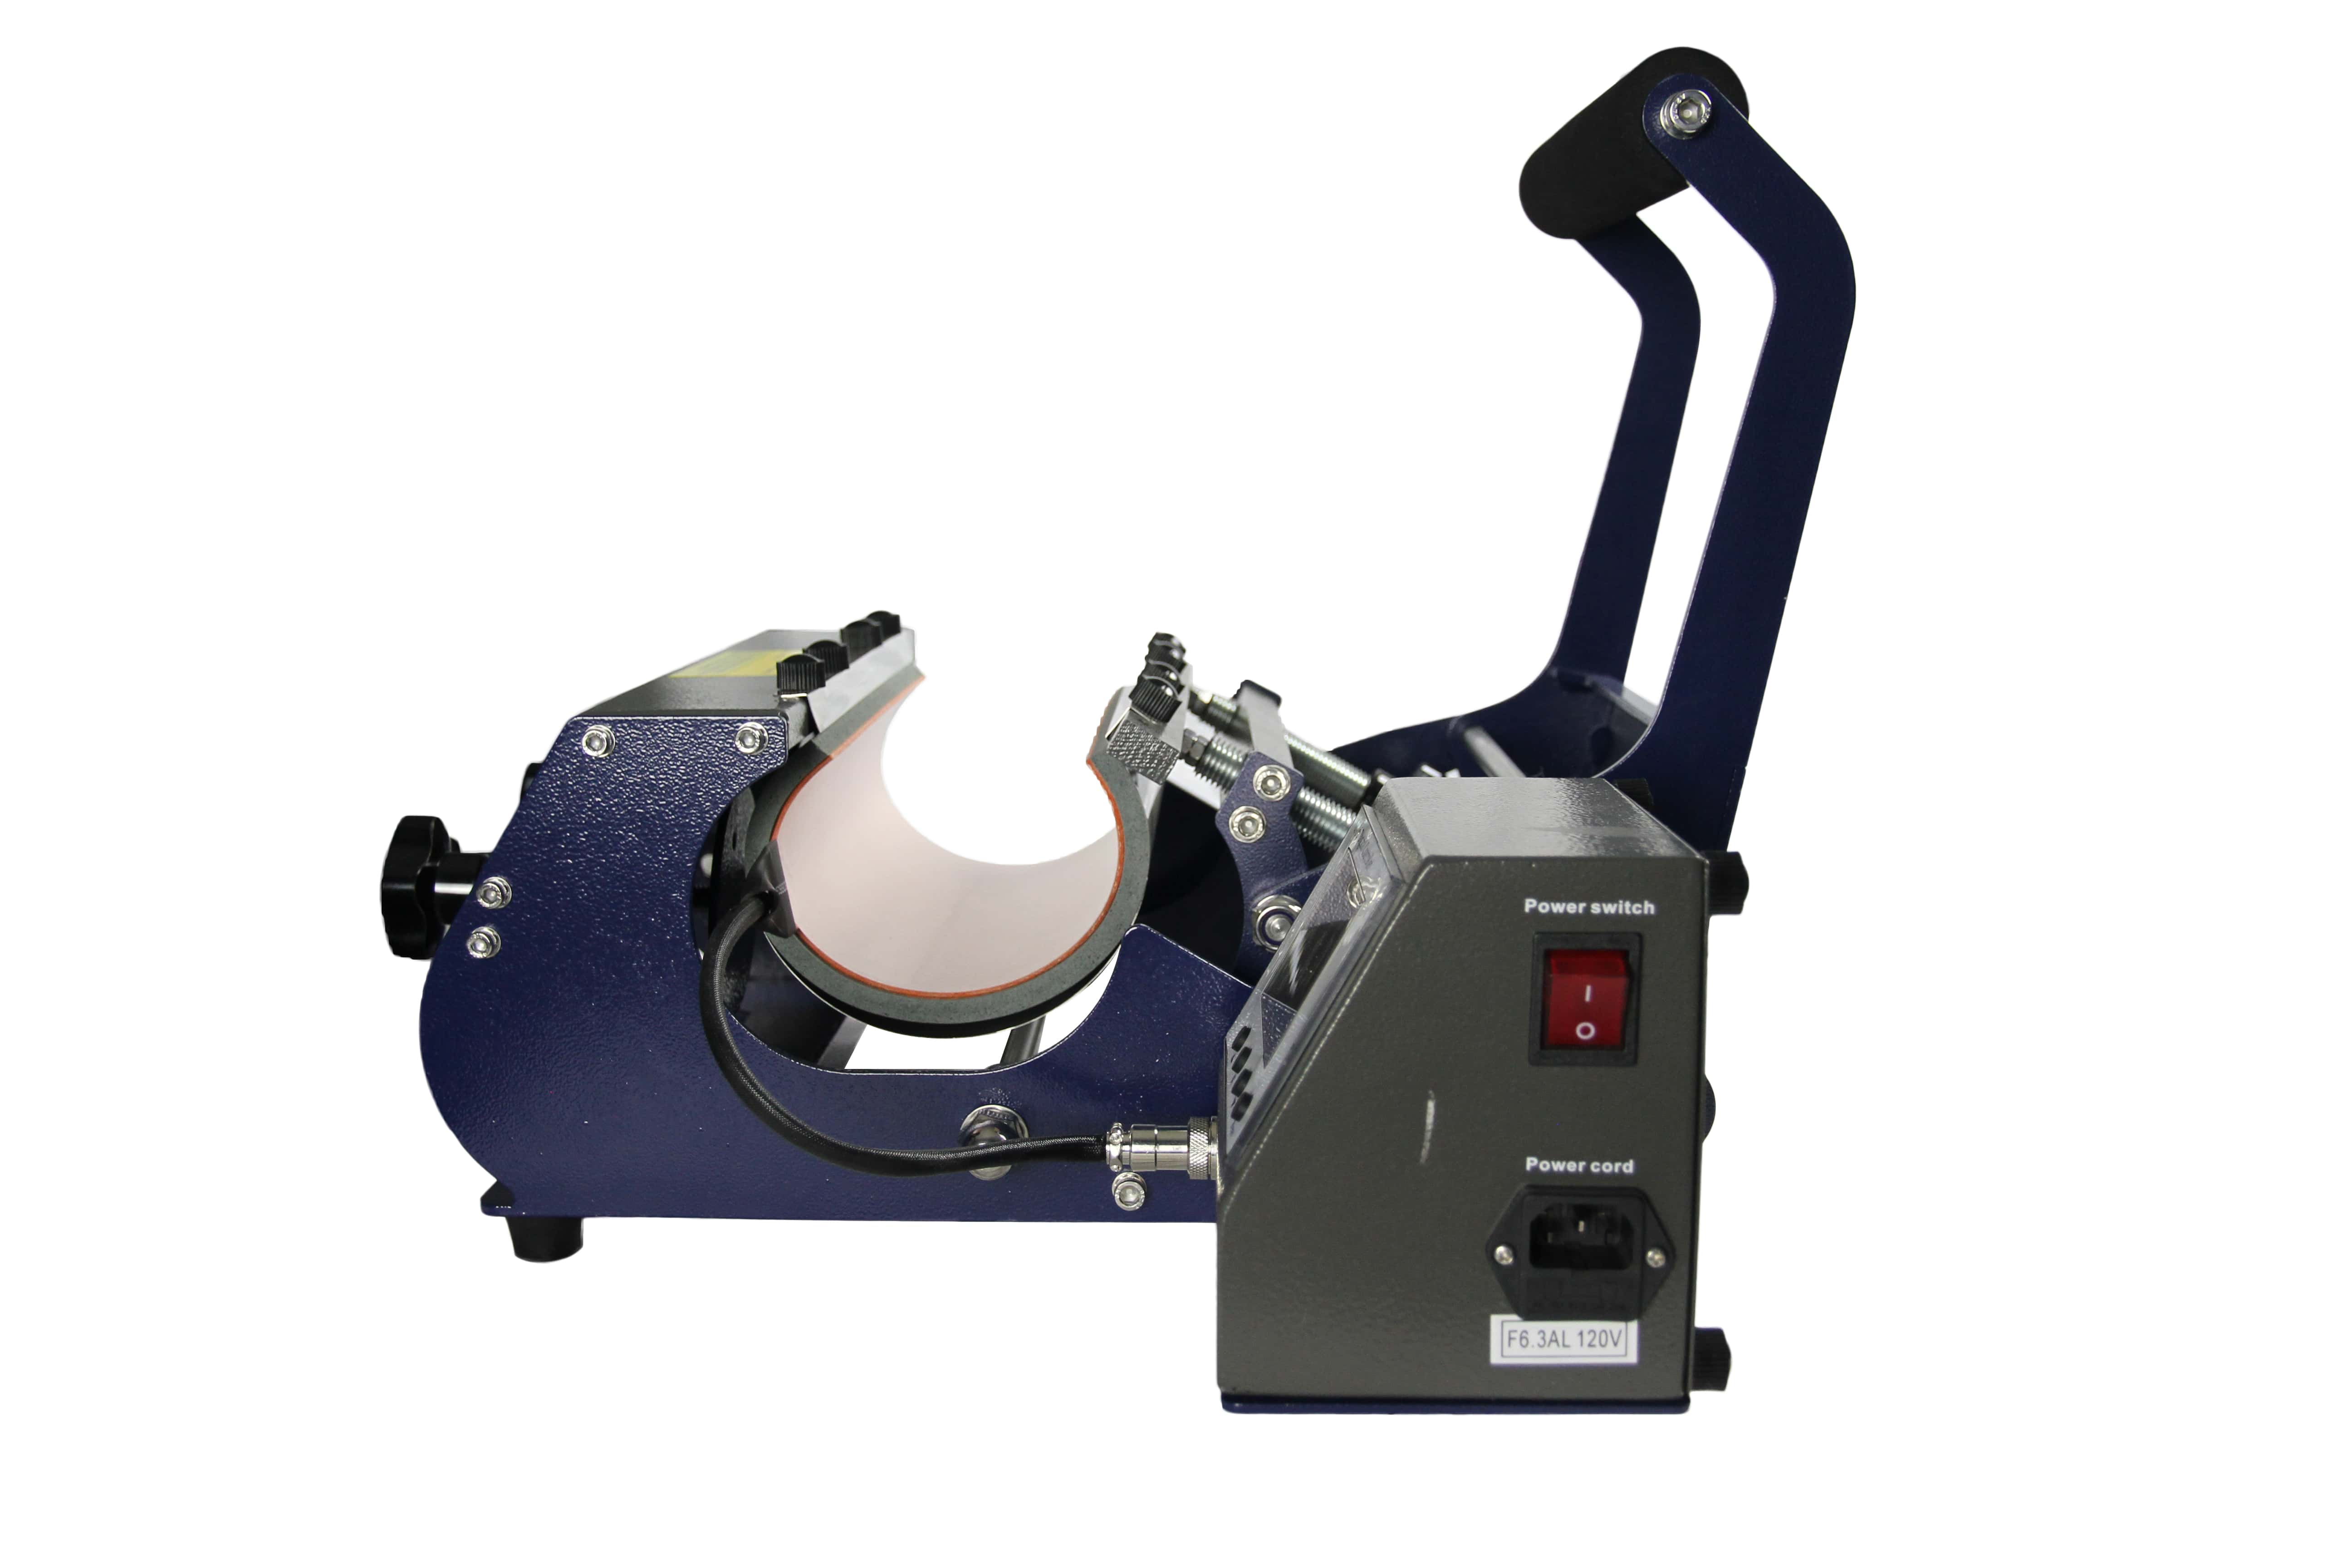
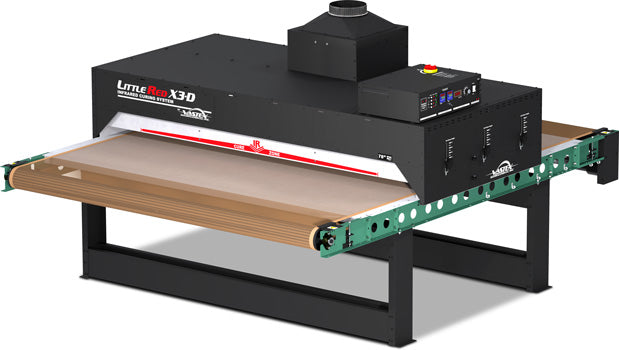
4. Heat Press
Use either a flat heat press for panels or a mug press for curved items like tumblers or wine glasses. Make sure your press has adjustable pressure and precise temperature control (ideally up to 400°F).
5. Accessories
- Heat-resistant tape: Keeps your design securely in place
- Heat-resistant gloves: For safely removing hot glass
- Protective paper or blowout paper: Prevents ink bleed onto your press
- Silicone pad or wrap: For even pressure on curved surfaces
With this toolkit, you’ll be set up to create beautiful, high-quality sublimation glass products that last.
Common challenges and how to overcome them
Sublimating on glass can deliver incredible results—but like any craft, it comes with its challenges. Fortunately, most issues are preventable with the right knowledge and setup.
❌ 1. Uneven Ink Transfer
-
Problem: Some parts of the image appear faded or underdeveloped.
- Fix: This is usually due to uneven heat or pressure. Make sure your glass blank lies flat in the press and that your paper is firmly taped down on all sides. For curved items, use silicone wraps or a mug press to ensure full contact.
❌ 2. Blurry or Ghosted Images
-
Problem: You see a shadowed duplicate or your design looks blurry.
- Fix: Ghosting is often caused by the transfer paper shifting after pressing or removing too early. Use heat tape to keep the paper still, and allow the glass to cool slightly before peeling.
❌ 3. Ink Not Transferring at All
- Problem: Your image barely shows up or not at all.
- Fix: Double-check that you’re using sublimation-coated glass. Uncoated or clear glass will not accept sublimation ink unless treated with a special spray or laminate. Also, make sure you’re printing on the correct side of the sublimation paper.
⚙️ 4. Cracking or Breaking
- Problem: Glass cracks after pressing or cooling.
- Fix: Avoid sudden temperature changes. Place hot glass on a heat-safe mat, not a cold surface.
By identifying and fixing these issues early, you’ll improve consistency and protect your materials.
Best practices for long-lasting results
Creating a stunning sublimation design is one thing, keeping it looking great for the long haul is another. Follow these best practices to ensure your glass sublimation pieces stay vibrant and damage-free over time.
🧼 1. Handle With Care After Pressing
Glass takes longer to cool than other materials. Always place freshly pressed items on a heat-safe surface and avoid moving or cleaning them until completely cooled.
🌤️ 2. Limit UV Exposure
Sublimation ink can fade over time with prolonged exposure to direct sunlight. For items like photo panels or glass signage, keep them indoors or apply a UV-protective spray to help preserve colors.
🧽 3. Clean Gently
Use a soft, non-abrasive cloth and mild soap to clean sublimated glass items. Avoid scouring pads or harsh cleaners that may scratch the coated surface.
🏷️ 4. Include Care Instructions
If you’re selling sublimated glass products, include a simple care card with each order. Customers will appreciate the guidance—and your work will last longer in their hands.
By following these tips, you’ll increase the longevity of your sublimated pieces and reinforce the professional quality of your creations.
Creative ideas for sublimating on glass
Sublimation on glass opens up a world of design possibilities beyond just tumblers and mugs. Whether you're crafting for fun, gifts, or business, glass sublimation lets you turn ordinary items into eye-catching, personalized products.
🏠 Home decor
- Photo panels with family portraits or travel memories
- Glass cutting boards with custom recipes or kitchen quotes
- Glass coasters with botanical patterns, monograms, or seasonal themes
- Decorative ornaments for holidays, weddings, or anniversaries
🍷 Drinkware & entertaining
- Wine glasses or tumblers with names, logos, or inside jokes
- Personalized shot glasses for party favors or events
- Barware signage printed on glass panels or trays
🎁 Gifts & custom orders
- Pet memorial plaques or remembrance frames
- Inspirational quotes on frosted glass panels
- Business logos for corporate gifts or promotional giveaways
💡 Creative techniques to try
- Layering text over full-color backgrounds
- Adding faux etching effects with light gray gradients
- Creating ombré designs that fade from color to clear
The beauty of glass is that it’s both elegant and functional—making it the perfect canvas for meaningful, high-impact designs your audience will love.
Can you sublimate on clear glass?
A common question among beginners is: “Can I sublimate on clear glass?” Technically, yes, but with a few important considerations.
Clear glass on its own doesn’t provide the ideal surface for sublimation. Since sublimation inks are translucent, they rely on a light-colored or white background to appear vibrant and visible. Without it, your design may look muted or washed out, especially when held up to light.
Solutions for sublimating on clear glass:
- Use a white backing layer: Place a white vinyl decal or adhesive on the back side of the glass to help your design pop.
- Sublimate onto frosted or white-coated Side: Some clear glass blanks are coated on only one side—typically the frosted side. That’s the side you’ll want to sublimate on.
- Apply a sublimation spray coating: If you're working with untreated clear glass, a sublimation coating spray can be applied to prepare the surface—though this method may be less consistent.
Best practice:
- Always sublimate on coated, frosted, or white-backed glass blanks for optimal color, clarity, and adhesion.
With proper prep and design placement, clear glass can become a unique and professional sublimation medium.
Why testing before production matters
When it comes to glass sublimation, testing is not optional—it’s essential. Even if you’ve sublimated on other materials before, glass brings its own challenges: different coatings, heat retention, and pressure sensitivity all affect the final result.
🔍 Avoid Costly Mistakes
Glass blanks are often more expensive than items like mugs or fabric. By doing a test run, you can avoid wasting materials due to incorrect time, temperature, or pressure settings.
⚙️ Dial In Your Press Settings
Even a 10-degree temperature difference or a few seconds too long can impact color vibrancy or cause ghosting. Running tests helps you fine-tune your:
- Press temperature
- Time duration
- Pressure level
- Cooling process
🎯 Design Placement & Scaling
Glass items often have irregular or non-centered print areas. Testing lets you verify that your design is properly aligned and scaled before committing to a full production run.
🛠️ Test Different Finishes
Some glass blanks come with gloss, matte, or textured coatings. Always test how your design reacts to each finish—it can change color appearance and sharpness.
Taking the time to test isn’t just for beginners—it’s what separates casual crafters from confident creators.
Frequently asked questions about glass sublimation
-
❓ Can you sublimate on any type of glass?
Not quite. You can only sublimate on glass that has been treated with a polymer coating—often called a “sublimation blank.” Standard or untreated glass won’t bond with sublimation ink unless you apply a compatible sublimation spray or laminate yourself.
-
❓ Can I sublimate on clear glass?
Yes, but the results may vary. Since sublimation inks are transparent, clear glass can cause designs to appear dull or faded without a white or light-colored background. For best results, use frosted or coated clear glass, or apply a white vinyl backing after pressing to help the design pop.
-
❓ Will sublimation fade in sunlight?
Yes, over time. Direct UV exposure breaks down sublimation dyes, causing fading—especially with prolonged outdoor use. To protect your pieces, store them indoors or apply a UV-resistant clear coat for added protection.
-
❓ Is glass sublimation dishwasher-safe?
While sublimated glass is fairly durable, it’s best to hand wash with mild soap and a soft cloth. Abrasive scrubbers or high dishwasher temperatures may degrade the coating over time. If selling your products, always include care instructions.
-
❓ What if my sublimation design didn’t transfer well?
Poor transfers usually result from insufficient pressure, incorrect temperature/time settings, or improper surface prep. Double-check your setup, test on a spare blank, and ensure the glass is clean and flat before pressing.
Comparing glass sublimation to other methods
When deciding how to decorate glass products, it's helpful to understand how sublimation compares to other popular methods like vinyl application, UV printing, or screen printing. Each has its place—but sublimation stands out in key ways.
Sublimation vs. vinyl
- Vinyl sits on the surface of the glass and is more prone to peeling, bubbling, or scratching—especially with frequent use or washing.
- Sublimation, on the other hand, infuses the ink into the coating, creating a seamless, smooth finish with no raised edges and much longer durability.
Sublimation vs. UV printing
- UV printing offers vibrant color and works on a wider variety of substrates, including untreated glass. However, it requires expensive, industrial-level equipment.
- Sublimation is more cost-effective and accessible for small businesses or crafters working with coated glass blanks.
Sublimation vs. Screen printing
- Screen printing is great for bulk production but lacks the ability to reproduce high-resolution, full-color images like sublimation can.
- Sublimation allows for detailed artwork, photos, and gradients with minimal setup.
In short, sublimation is ideal for creators seeking professional quality, lasting color, and design flexibility—especially in small-to-medium production runs.
Final thoughts on sublimation on glass
Sublimation on glass is more than just a technique, it’s a gateway to creating high-end, personalized products that truly stand out. Whether you’re producing custom coasters, decorative panels, photo gifts, or branded merchandise, the results can be vibrant, professional, and long-lasting when done right.
By using sublimation-coated glass blanks, preparing your surfaces properly, and dialing in the right time, temperature, and pressure, you set yourself up for consistent success. Glass may seem intimidating at first, but with the right tools and a little practice, it quickly becomes one of the most rewarding substrates to work with.
From small home-based craft businesses to established personalization shops, sublimation on glass offers unlimited potential. It's perfect for custom orders, high-margin retail items, and even corporate branding.
So whether you're just getting started or looking to level up your sublimation game, remember: great results come from attention to detail, quality materials, and a willingness to test and improve.
✨ Now that you’ve got the knowledge, it’s time to create something beautiful. Happy sublimating!