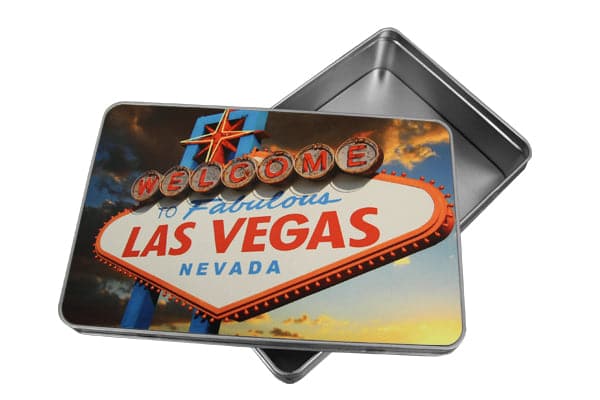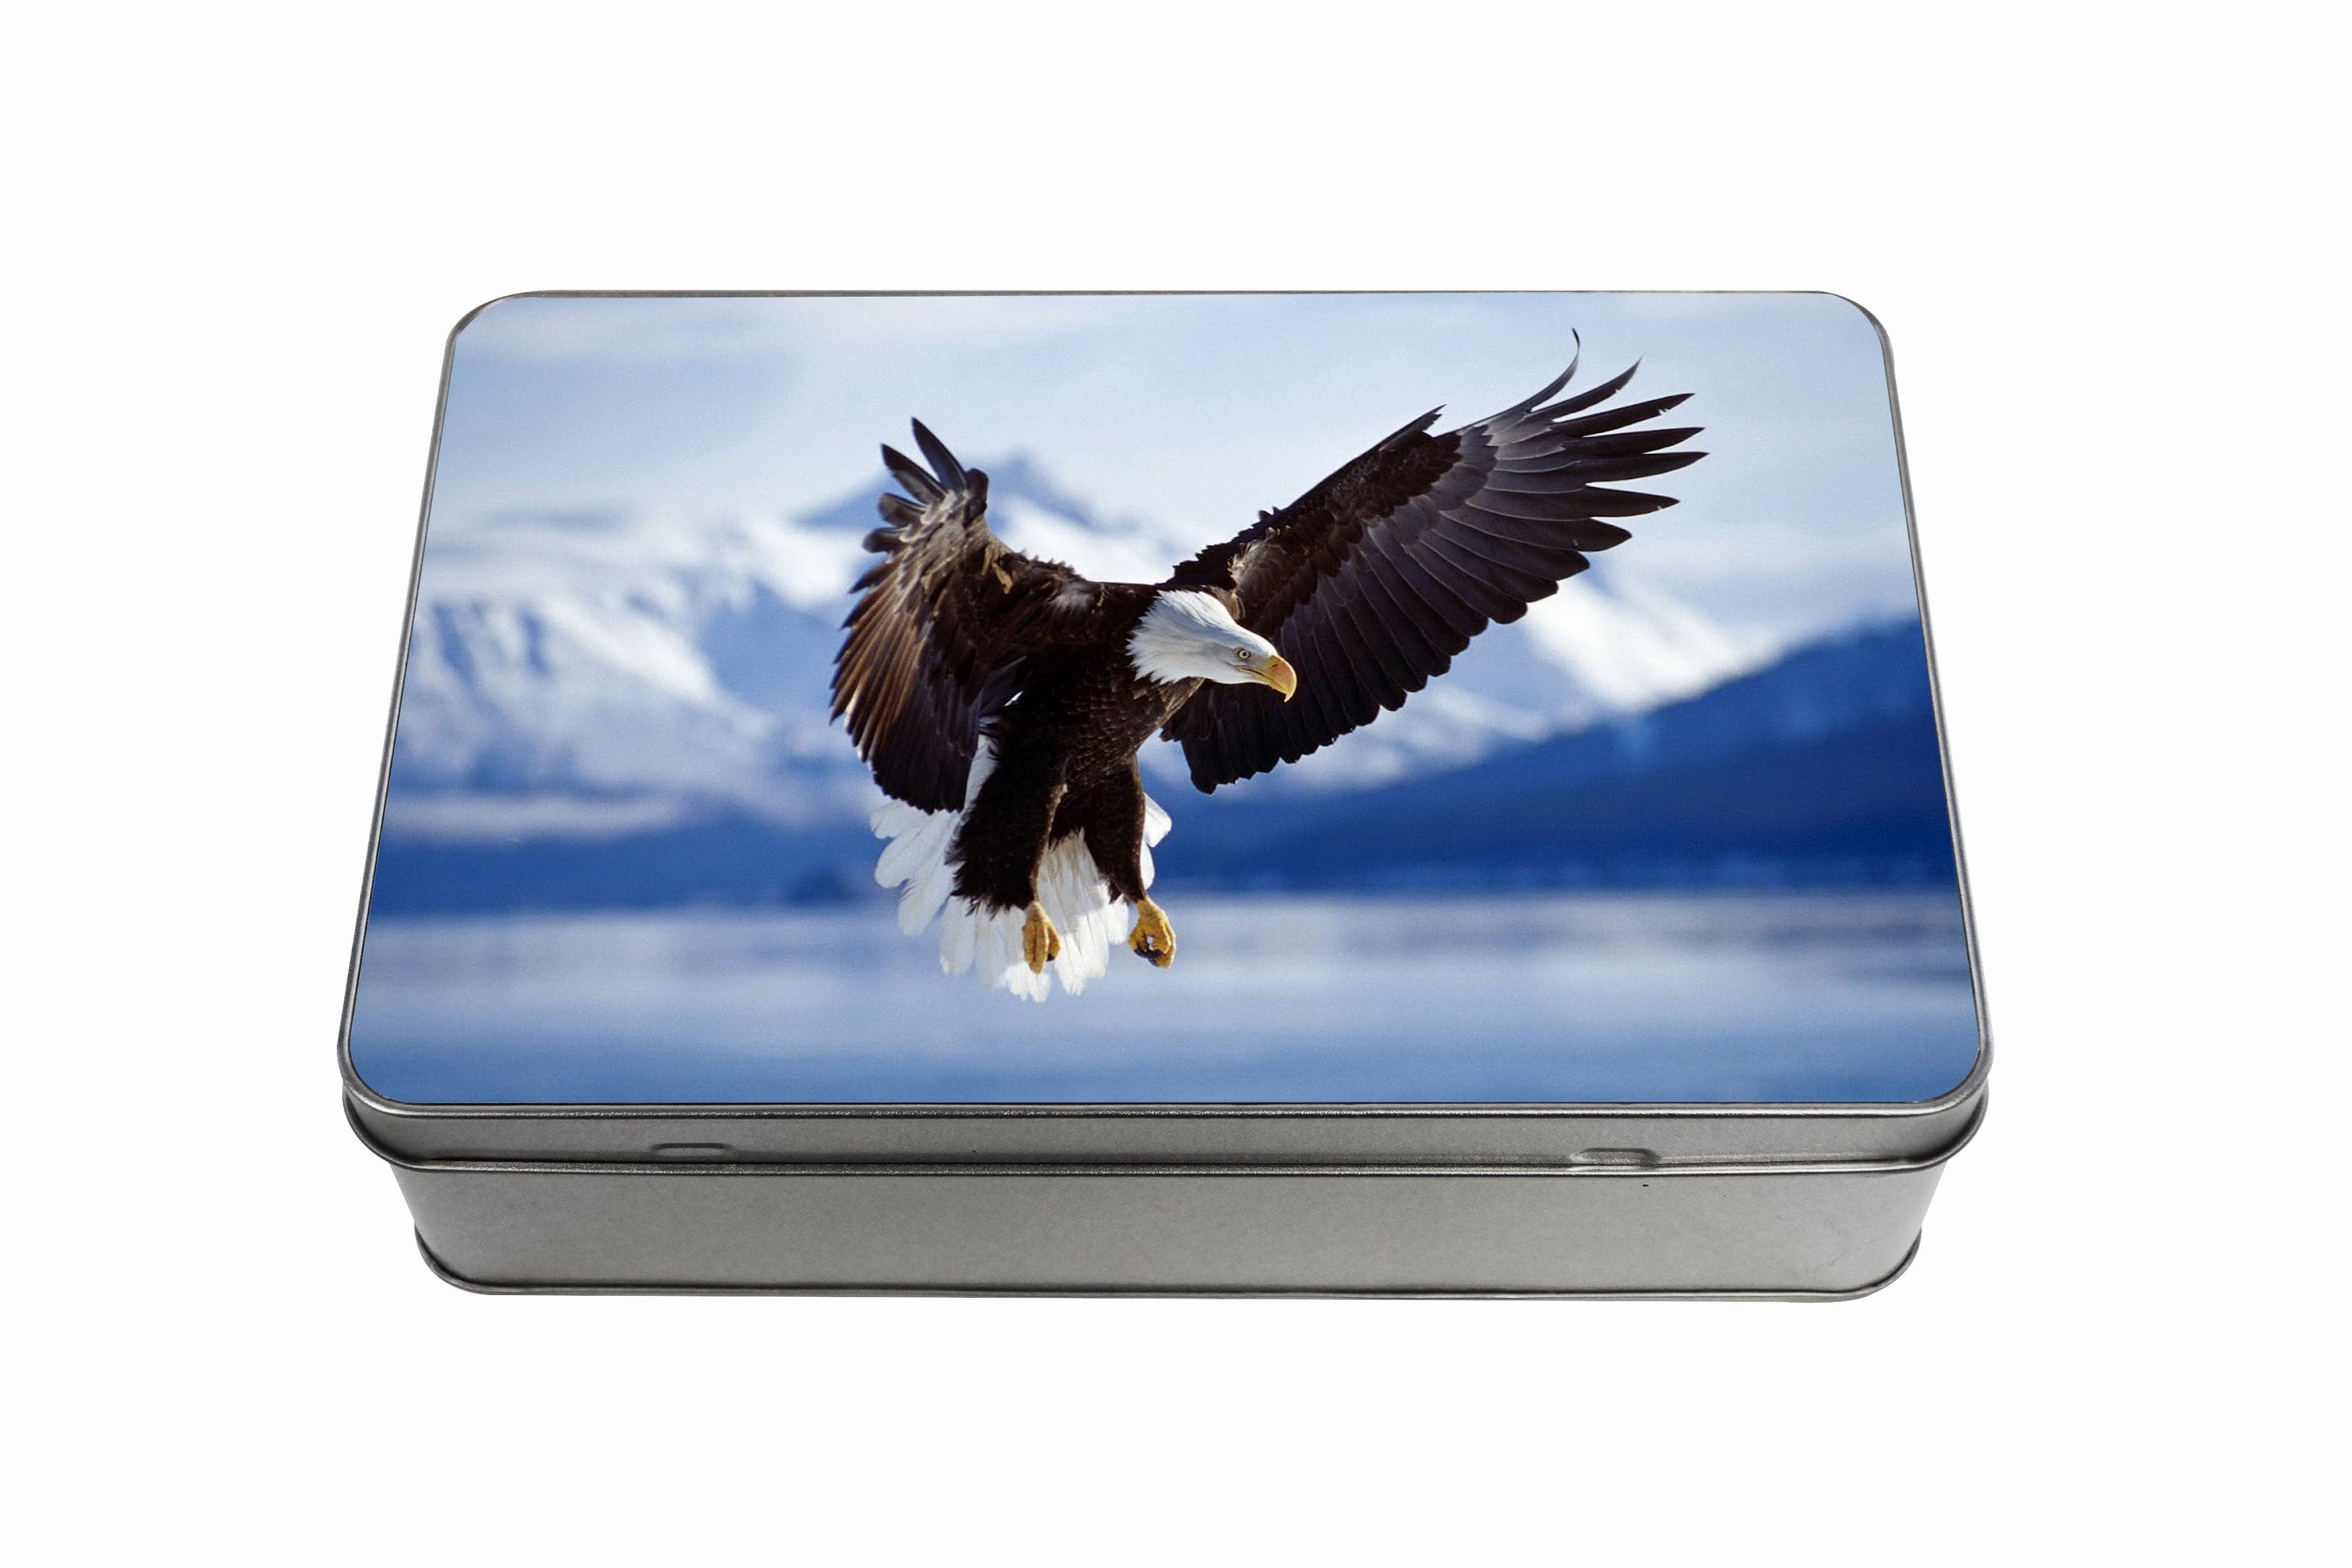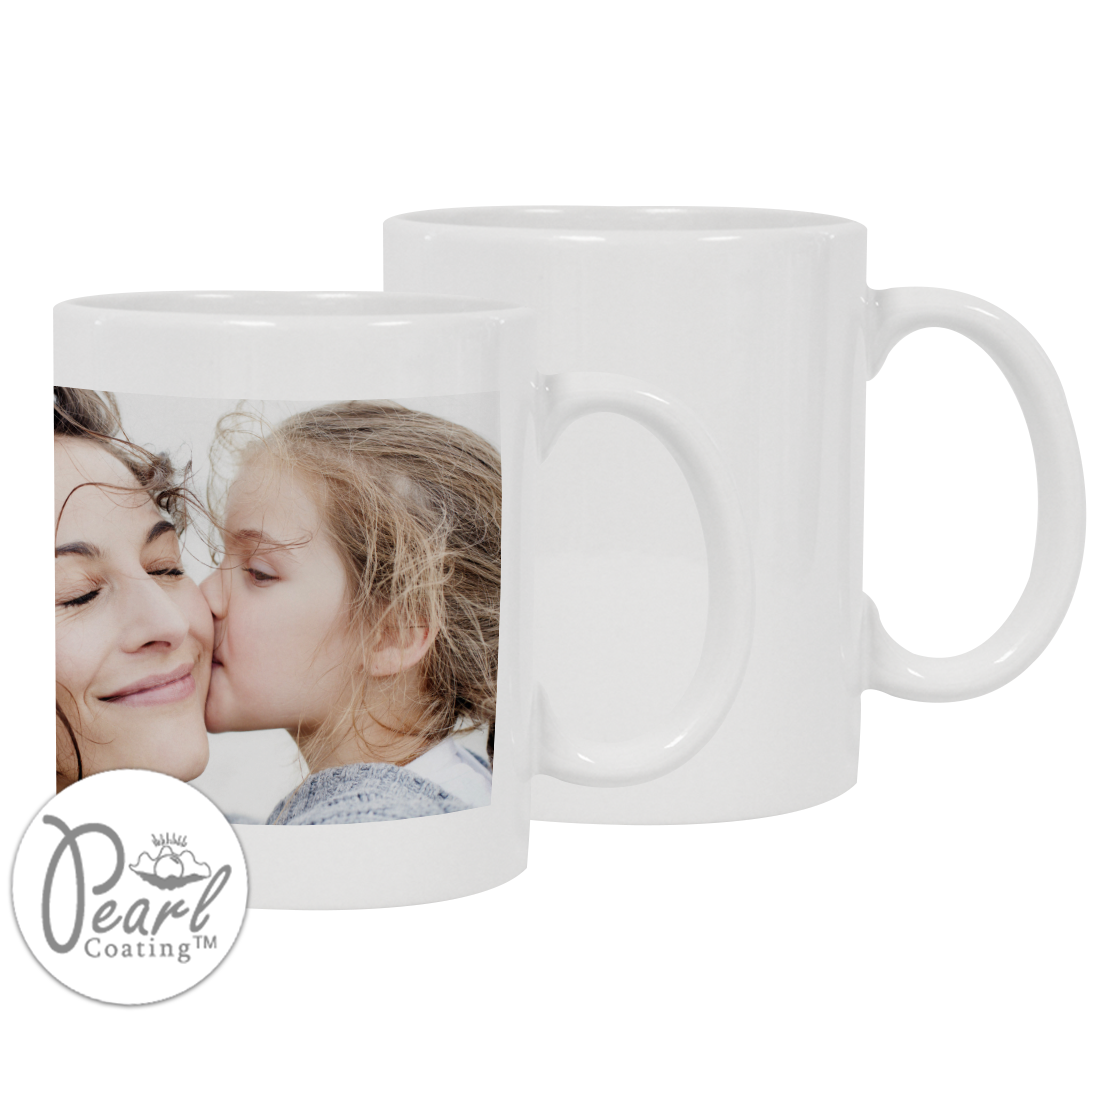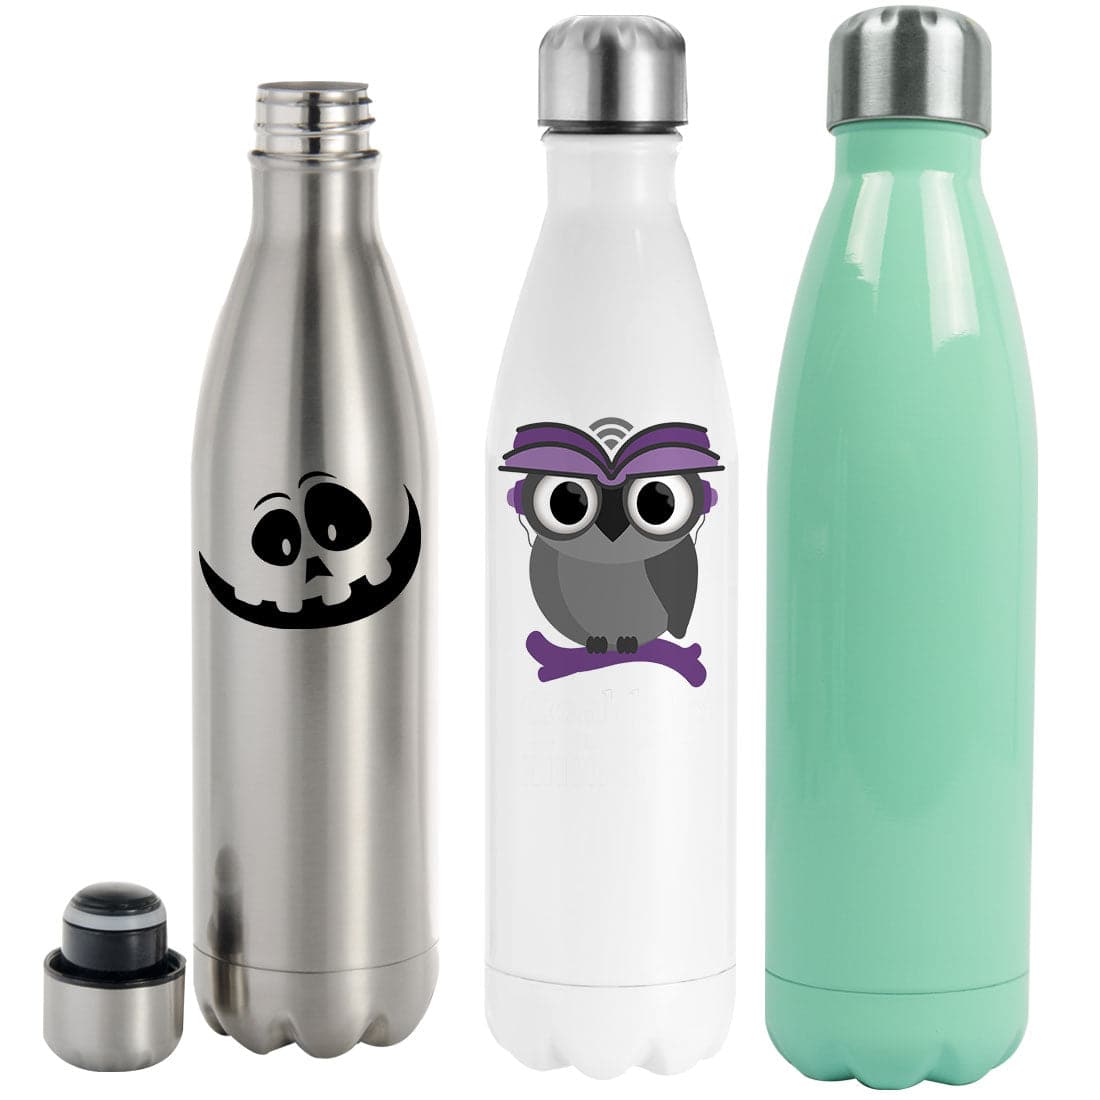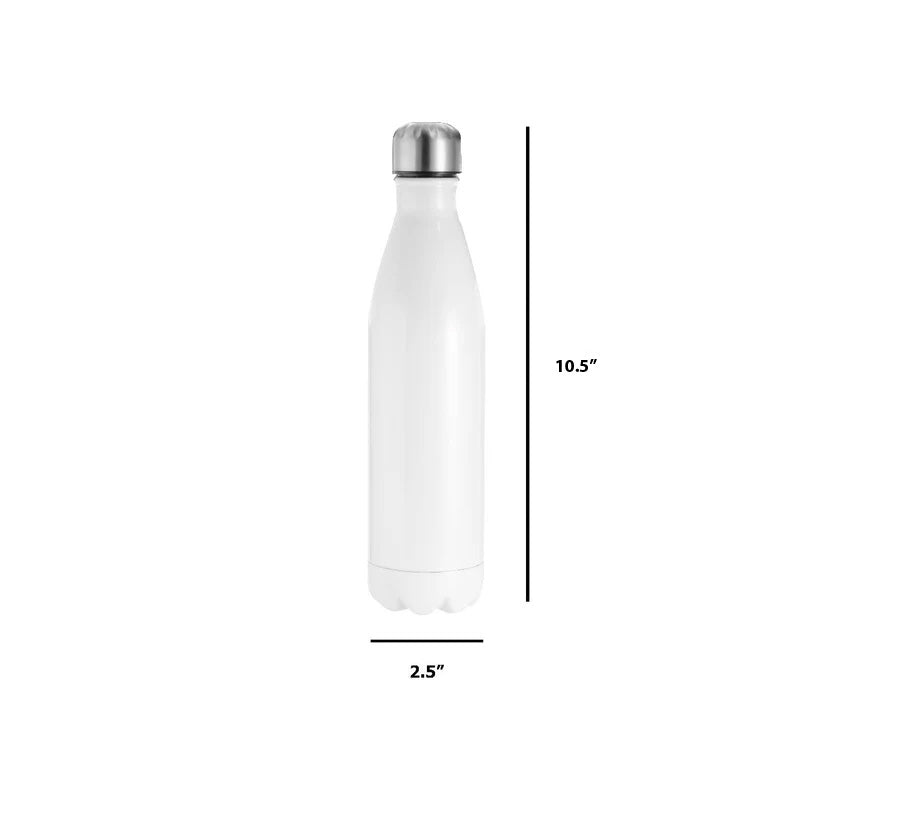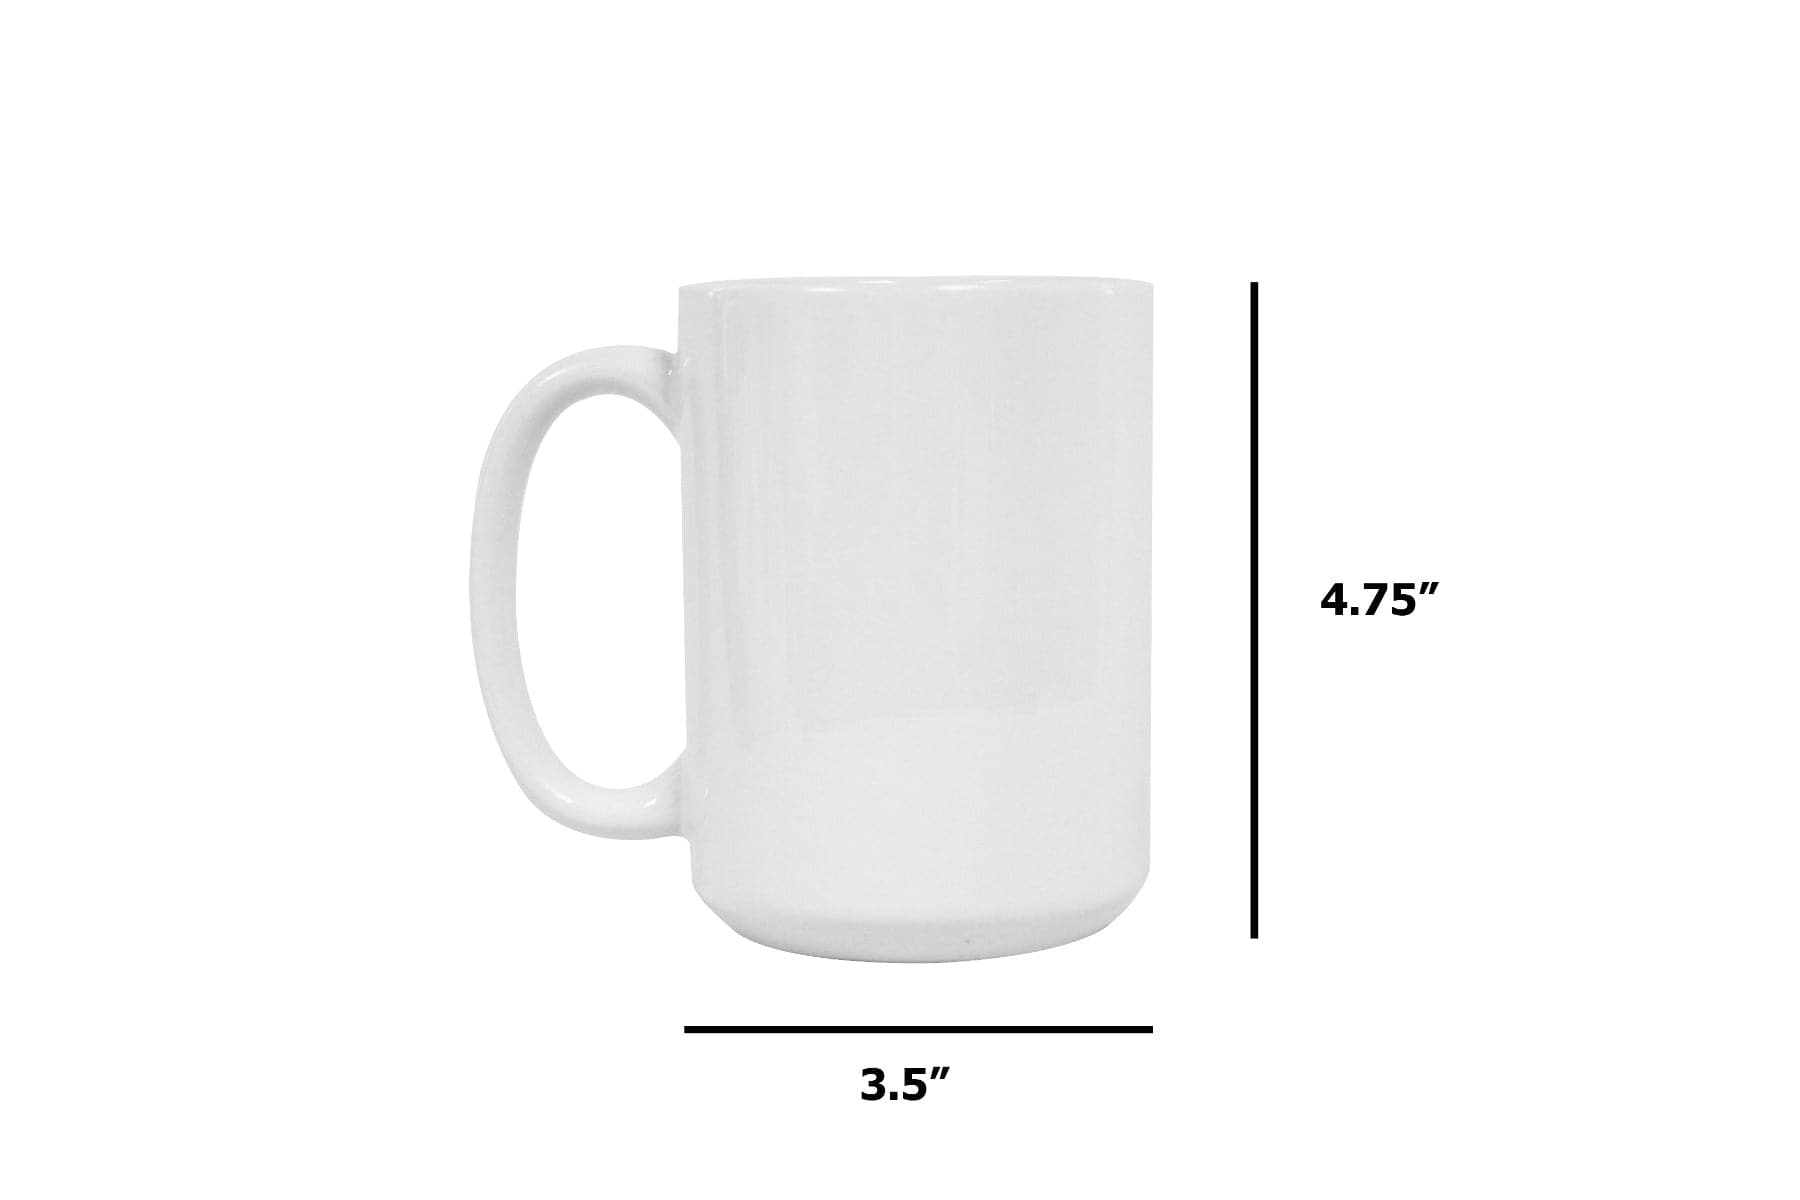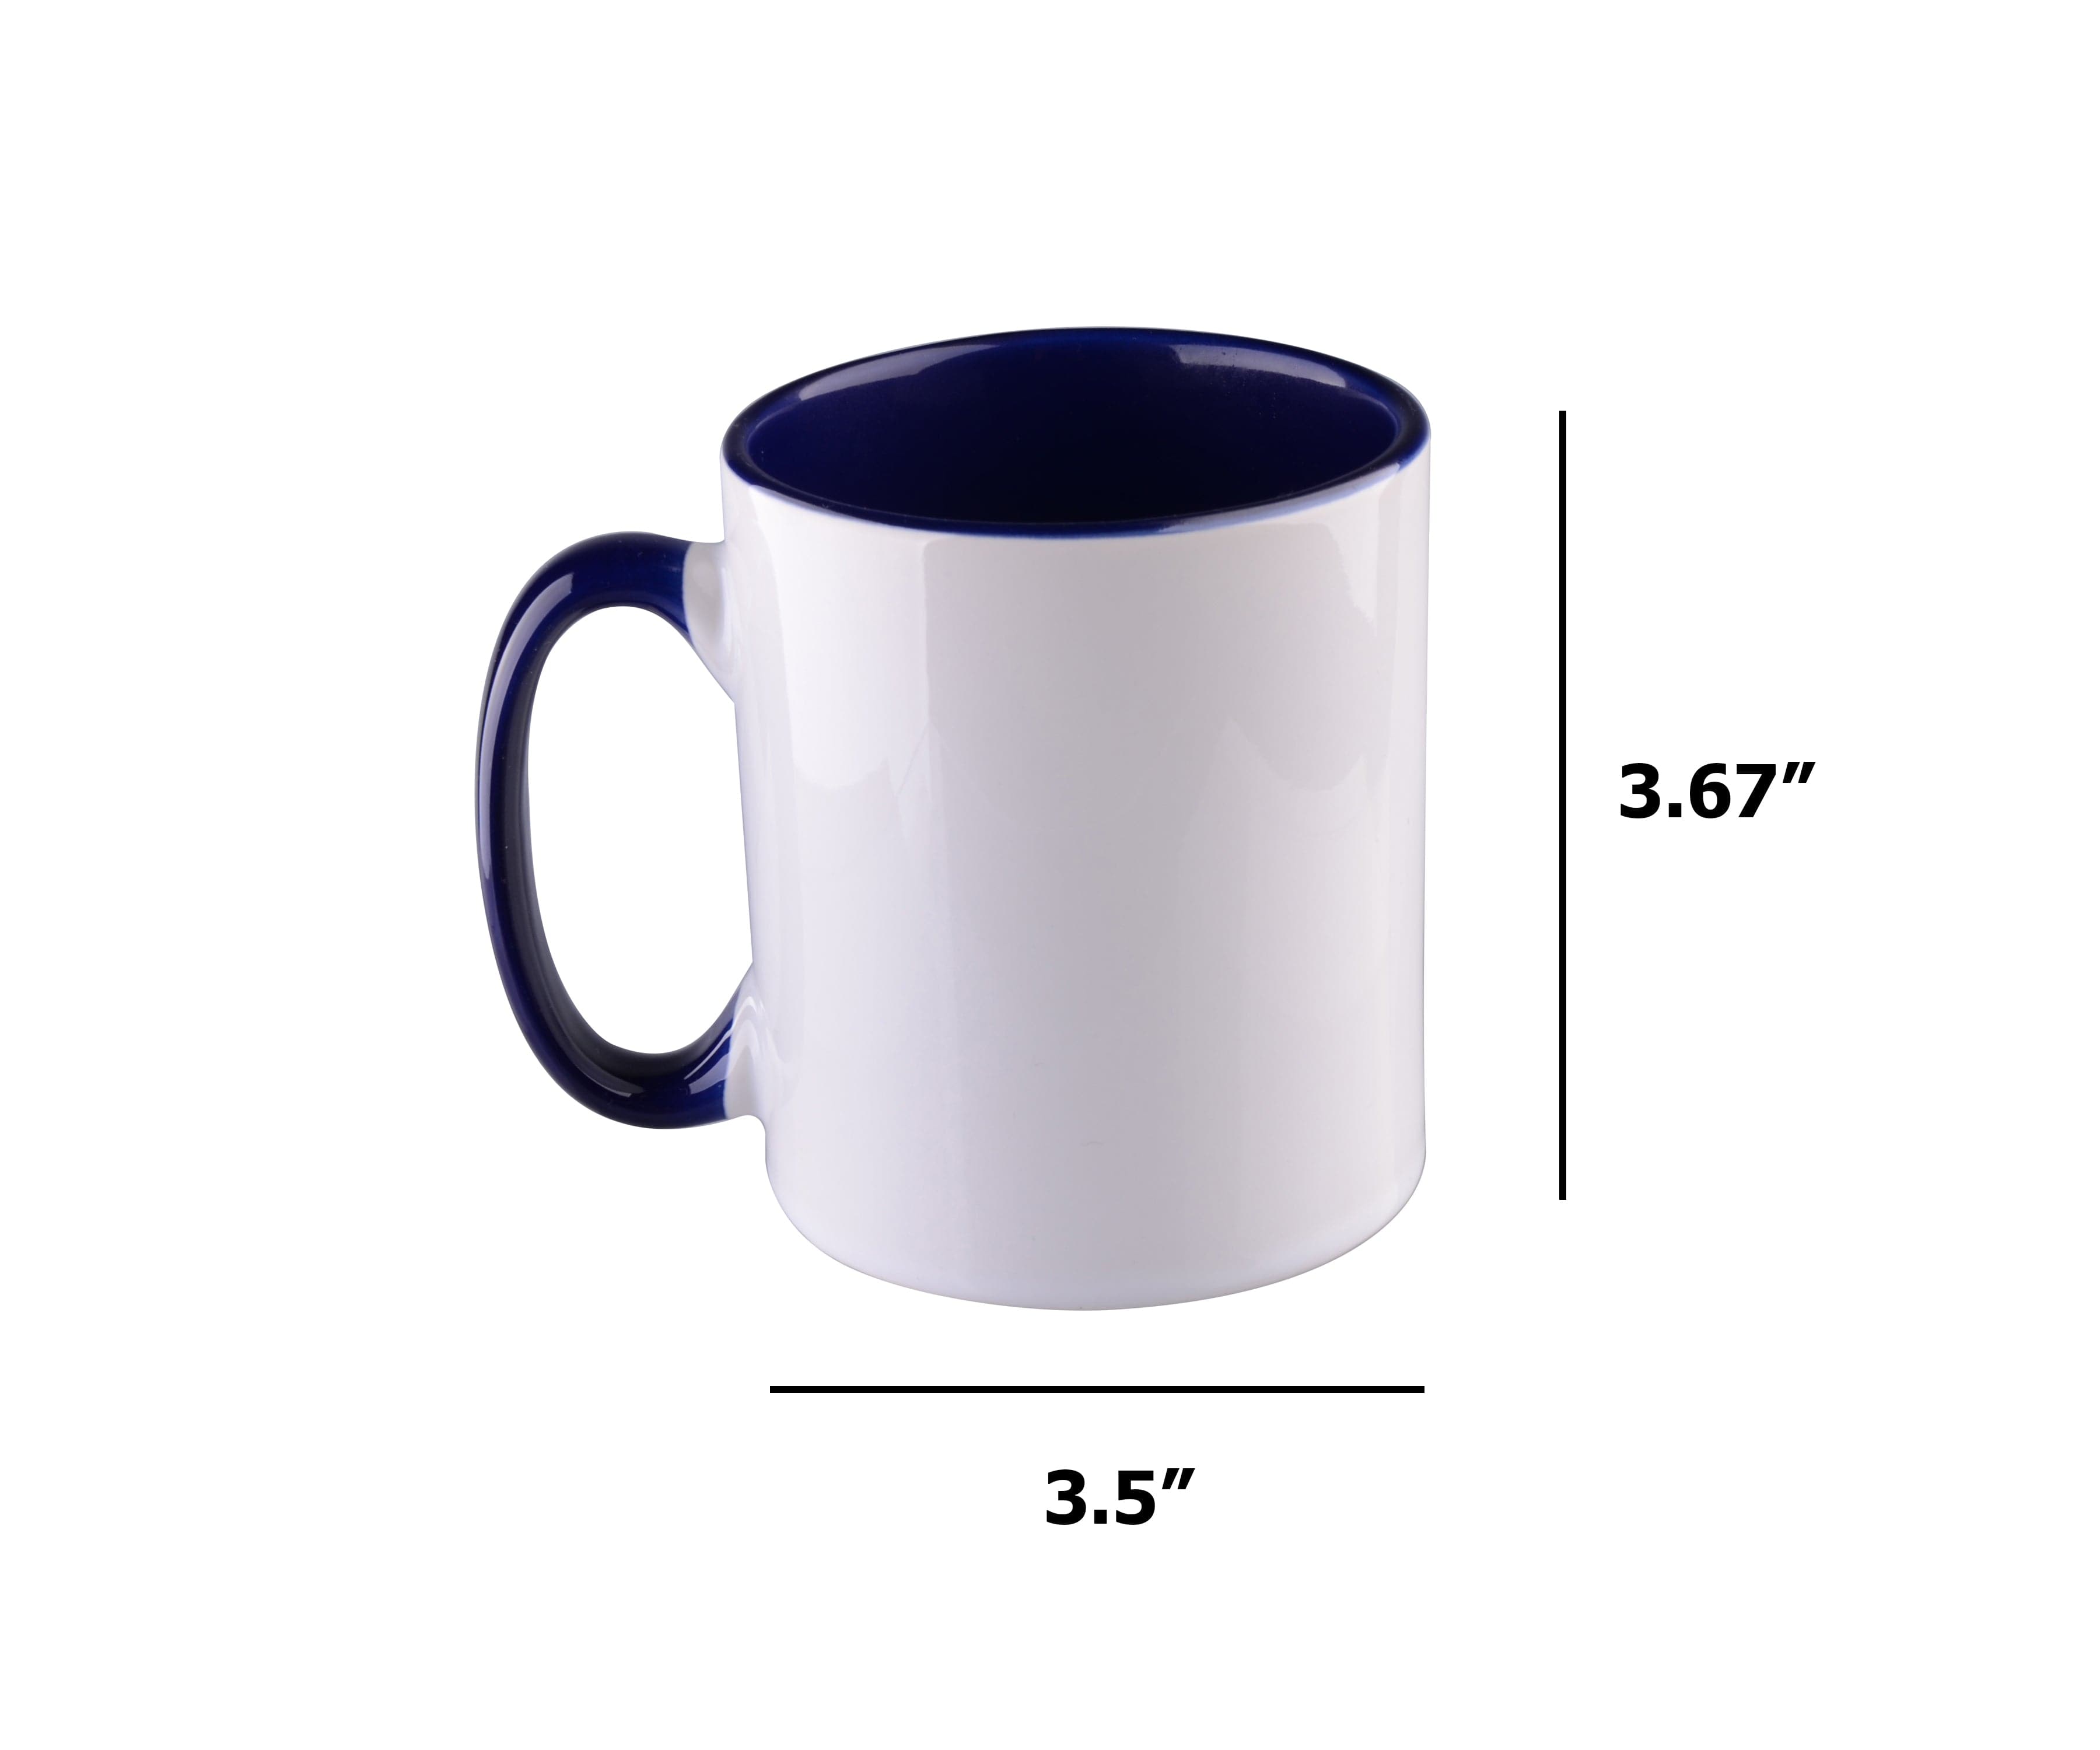










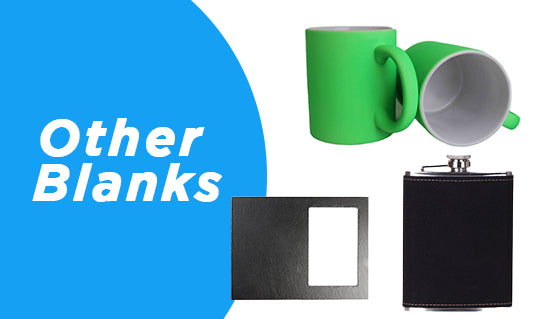
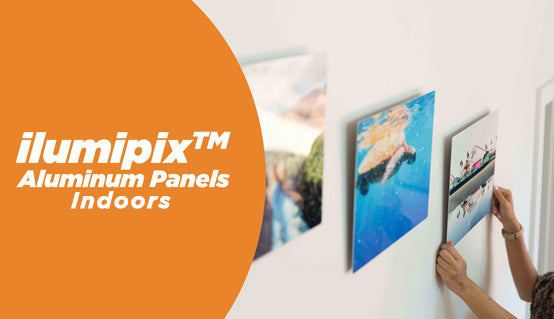


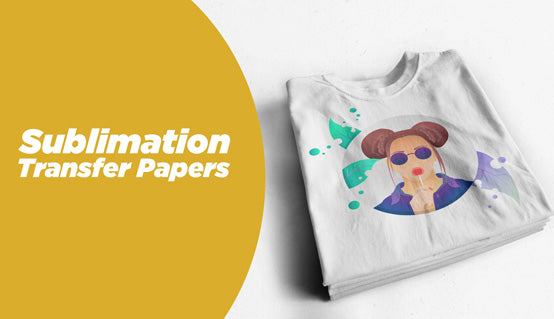
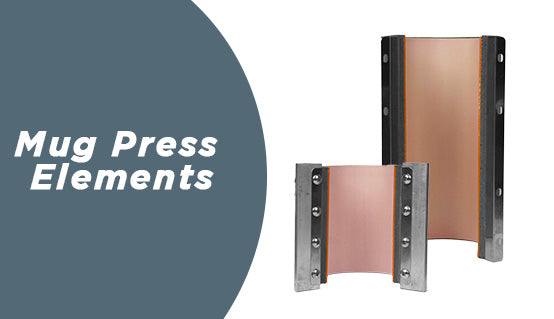














Sublimation printing is one of the most reliable methods for producing vibrant, durable designs on a wide variety of products. From apparel and drinkware to photo panels and promotional items, sublimation allows small print shops and crafters to create professional-quality products that customers love.
However, achieving consistent results depends heavily on using the correct heat press settings. If the temperature is too low, the ink may not fully sublimate. If the pressing time is too short, the colors may appear faded. And if the pressure is uneven, the design may not transfer correctly.
Understanding how temperature, time, and pressure work together is essential for producing sharp, vibrant prints.
With more than 37 years of experience in the heat transfer and sublimation industry, Joto Imaging Supplies has helped thousands of businesses and creators produce consistent results using professional heat presses, sublimation papers, and inks.
In this guide, we’ll cover the essential heat press settings for sublimation, provide a practical temperature chart for common materials, and share tips to help you achieve consistent results across different substrates.
What Are Sublimation Heat Press Settings?

Sublimation heat press settings refer to the three main variables that control the transfer process:
- Temperature
- Time
- Pressure
These settings determine how the sublimation ink transfers from the printed paper onto the substrate.
Unlike other printing methods where ink sits on the surface, sublimation ink turns into gas when heated. This gas bonds with a polymer coating or polyester fibers, creating a permanent image embedded within the material.
Because of this chemical process, the correct balance of heat, pressure, and time is essential. Even small variations can affect the final result.
For example:
- Too little heat may result in dull or incomplete prints.
- Too much heat can cause color distortion.
- Uneven pressure may create patchy or inconsistent transfers.
Mastering these variables allows print shops and creators to produce professional-quality results consistently.
Sublimation Heat Press Temperature Chart
Below is a quick reference chart showing common heat press settings for popular sublimation products. These settings are widely used across the industry and provide a reliable starting point for most sublimation projects.
| Material | Temperature | Time | Pressure |
|---|---|---|---|
| Polyester Fabric | 385°F | 45–60 sec | Medium |
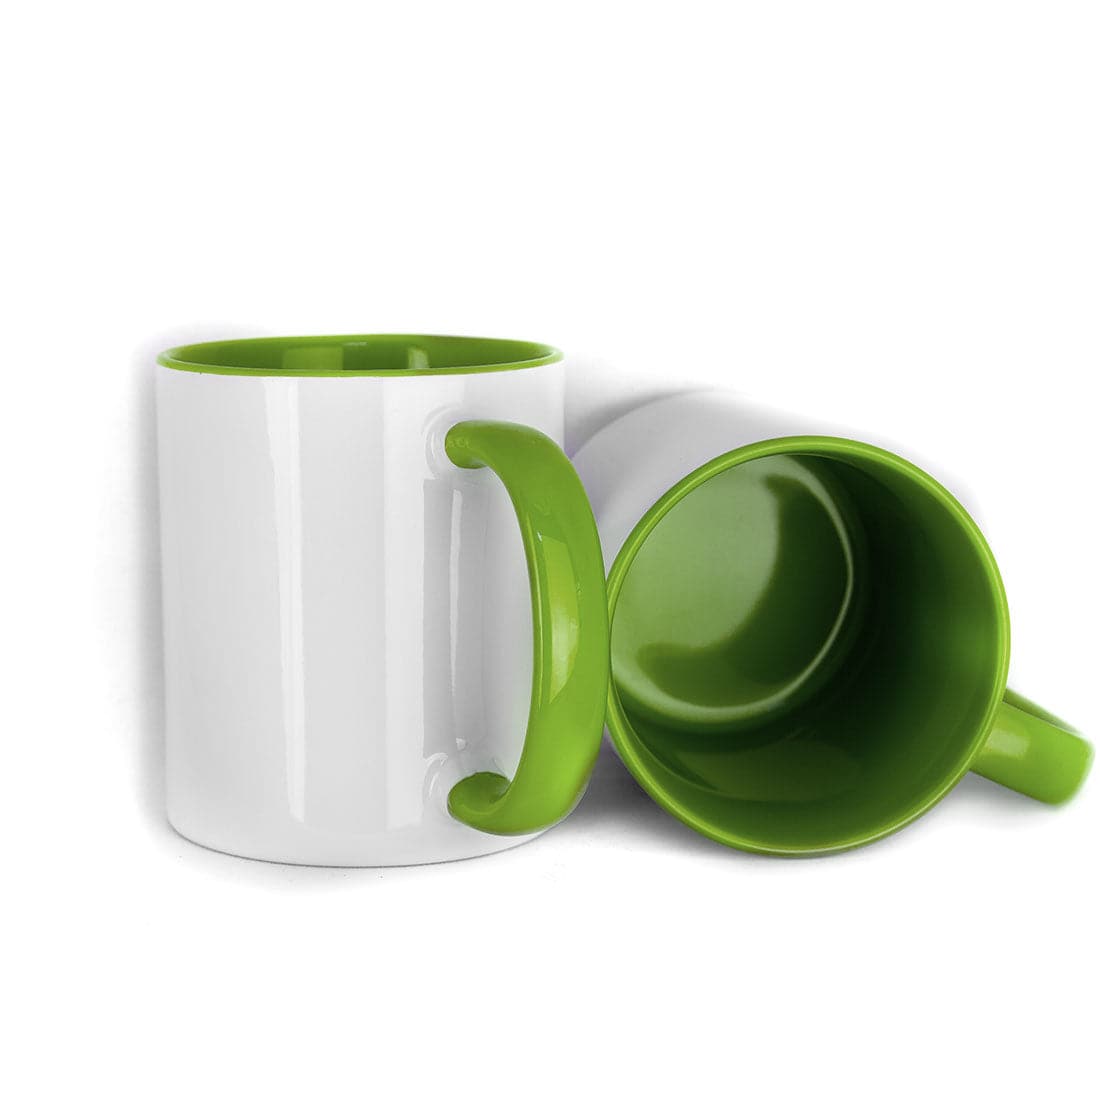
| Ceramic Mugs | 400°F | 180–240 sec | Medium |
| Stainless Steel Tumblers | 360°F | 60–90 sec | Medium |
| Mouse Pads | 385°F | 60 sec | Medium |
| Phone Cases | 400°F | 60 sec | Medium |
| Aluminum Photo Panels | 400°F | 60 sec | Medium |
| MDF Coasters | 400°F | 45–60 sec | Medium |
| Keychains | 400°F | 45–60 sec | Medium |
| Polyester Tote Bags | 385°F | 45–60 sec | Medium |
| Sublimation Puzzles | 385°F | 50 sec | Medium |
| Luggage Tags | 400°F | 60 sec | Medium |
| Glass Sublimation Blanks | 400°F | 180 sec | Medium |
| Hardboard Panels | 400°F | 60 sec | Medium |
| Polyester T-Shirts | 385°F | 45–60 sec | Medium |
| Polyester Hoodies | 385°F | 60 sec | Medium |
These values should be used as starting guidelines. The exact settings may vary depending on:
- the sublimation blank
- the heat press model
- the type of sublimation paper
- the sublimation ink used
Running small test prints before starting production is always recommended.
Standard Sublimation Heat Press Settings
Although each substrate may require slightly different settings, most sublimation transfers fall within a fairly consistent range.
Typical sublimation heat press settings include:
- Temperature: 385°F – 400°F
- Time: 45 – 60 seconds
- Pressure: Medium
These settings work well for many common sublimation products such as polyester garments, mouse pads, and coated hard substrates.
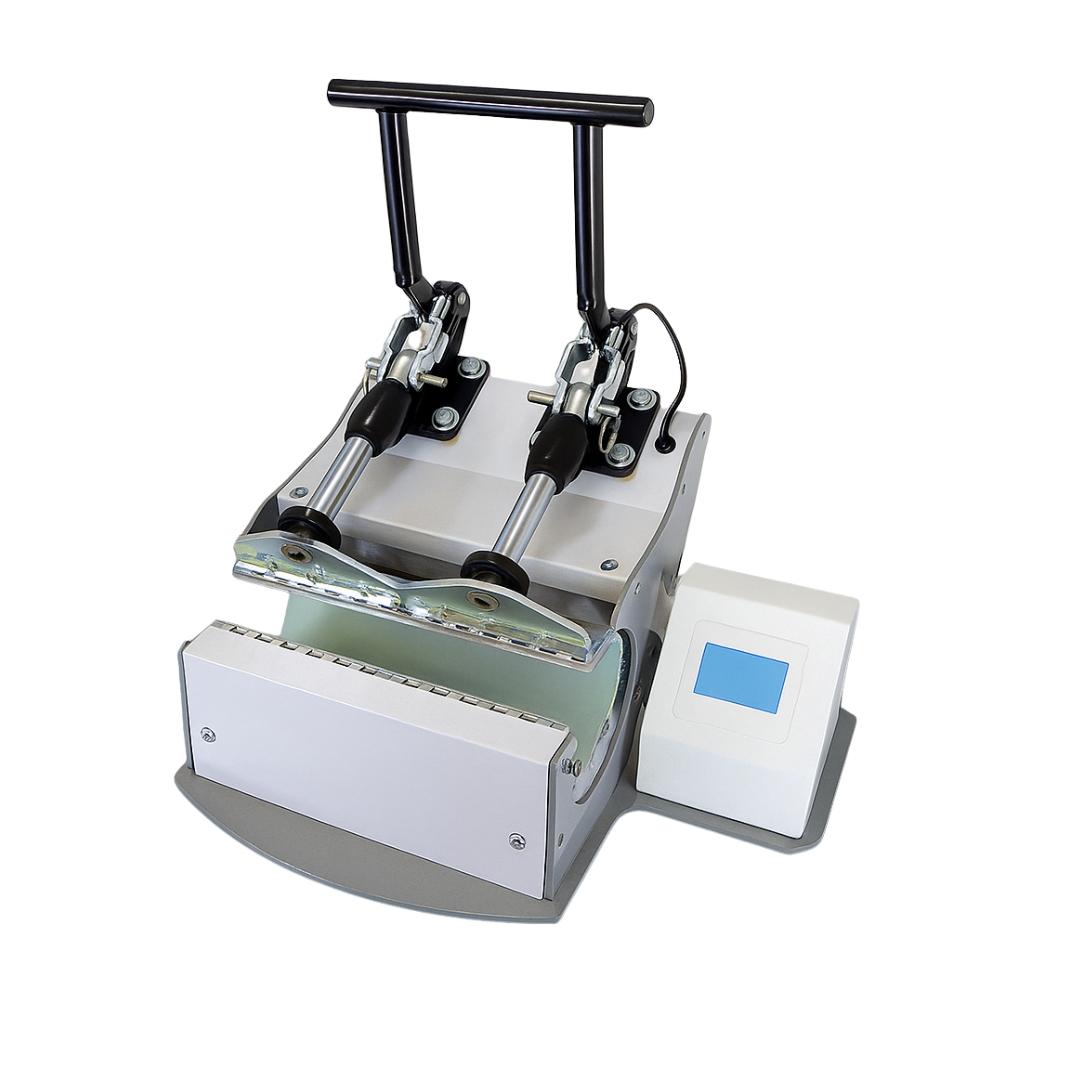
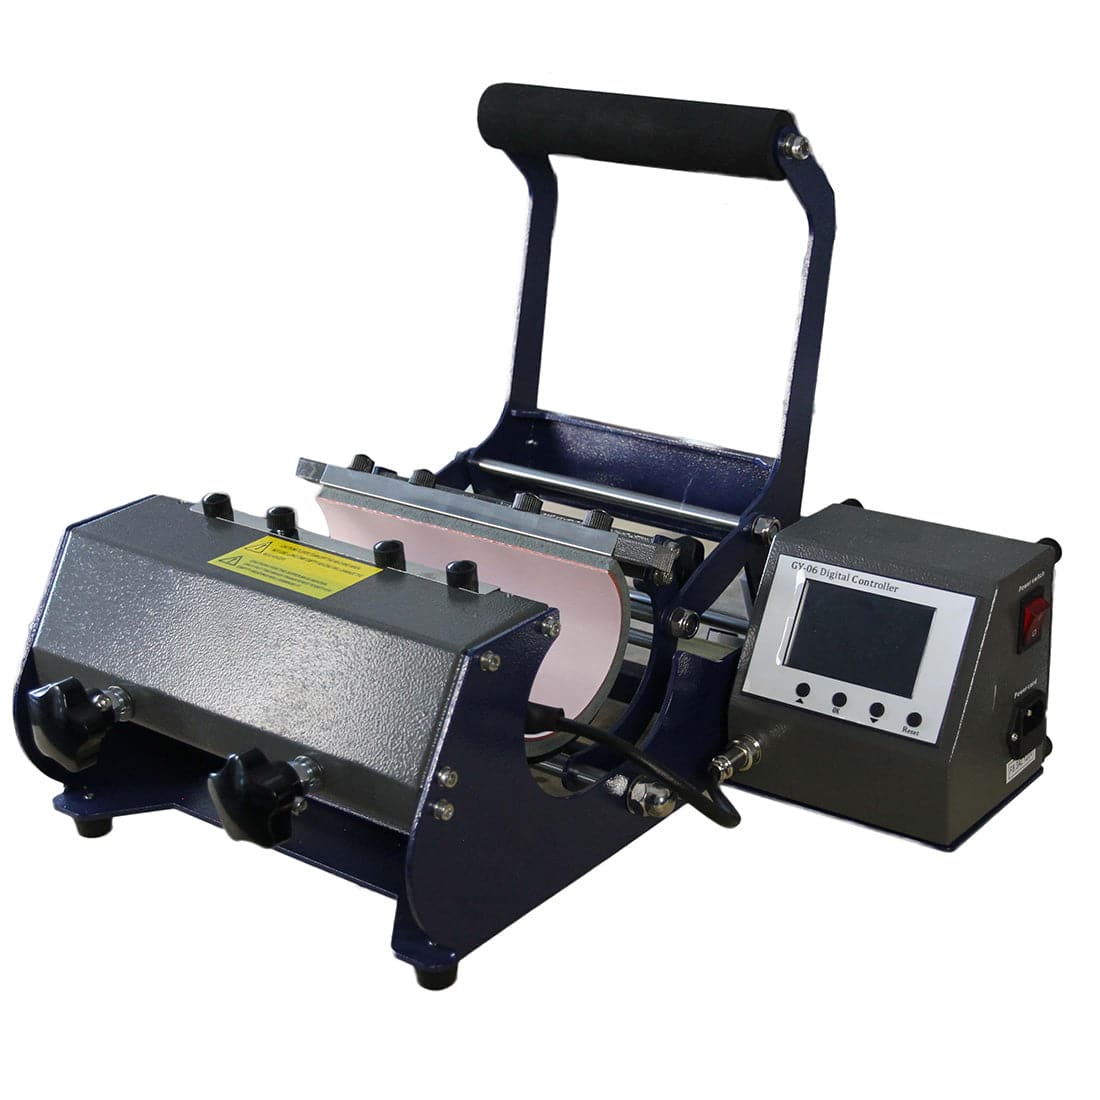
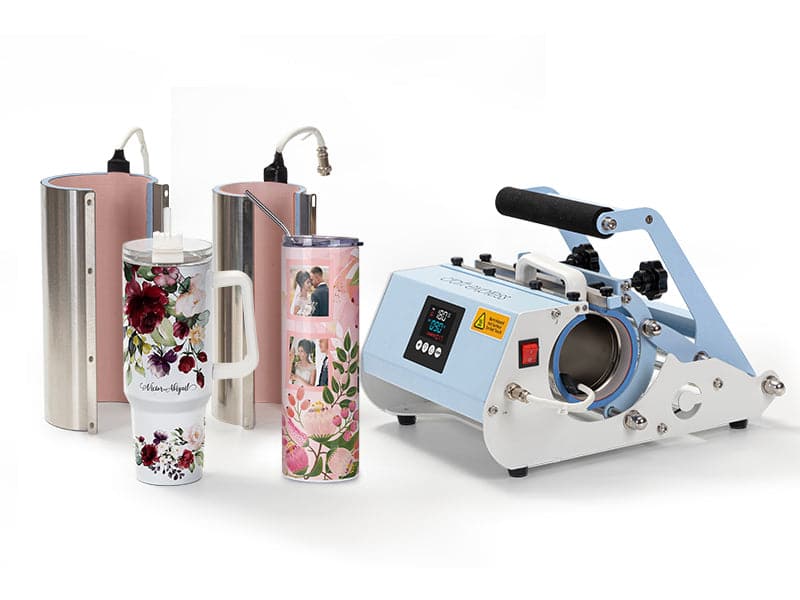
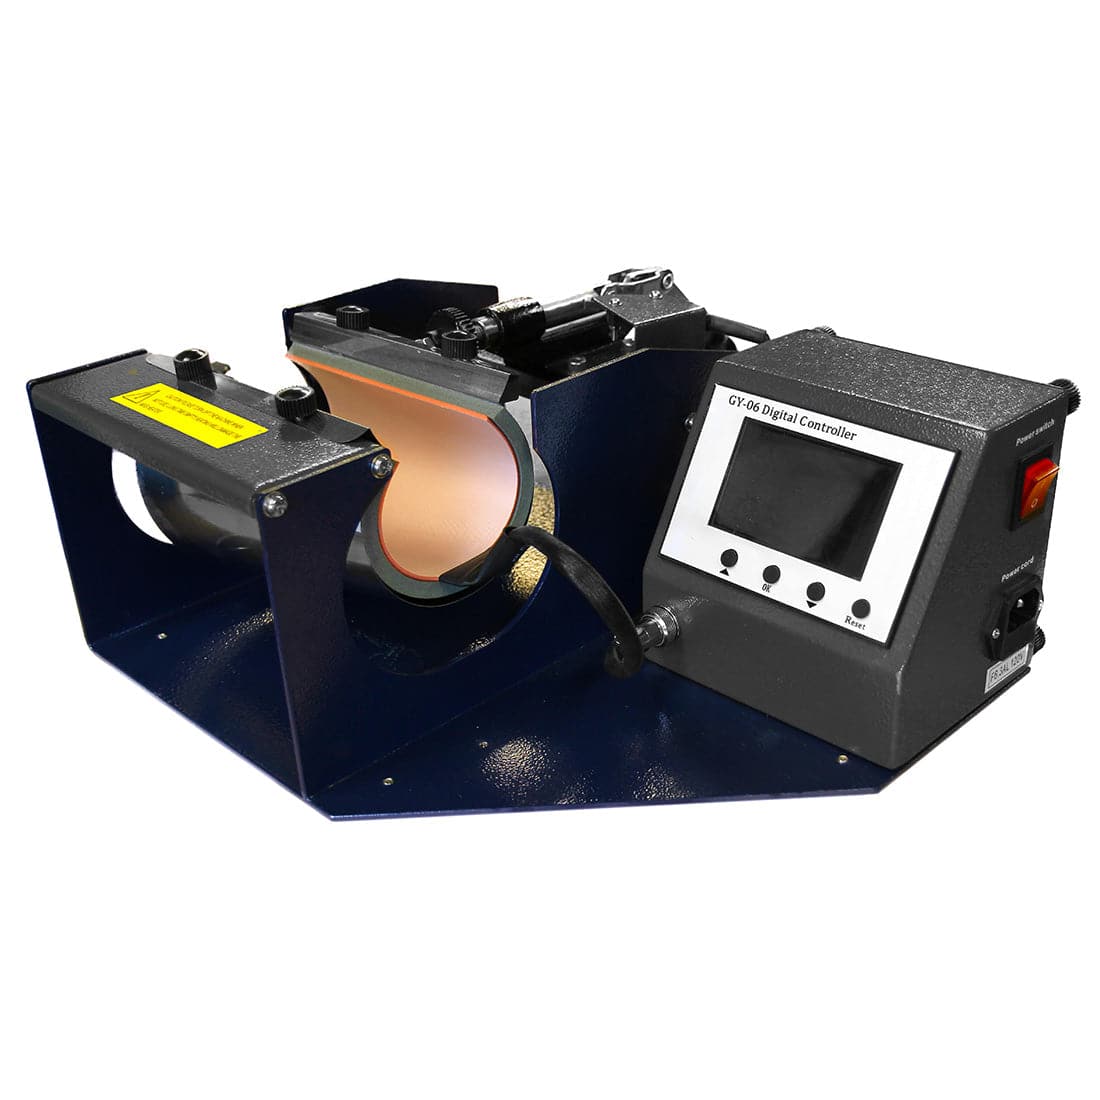
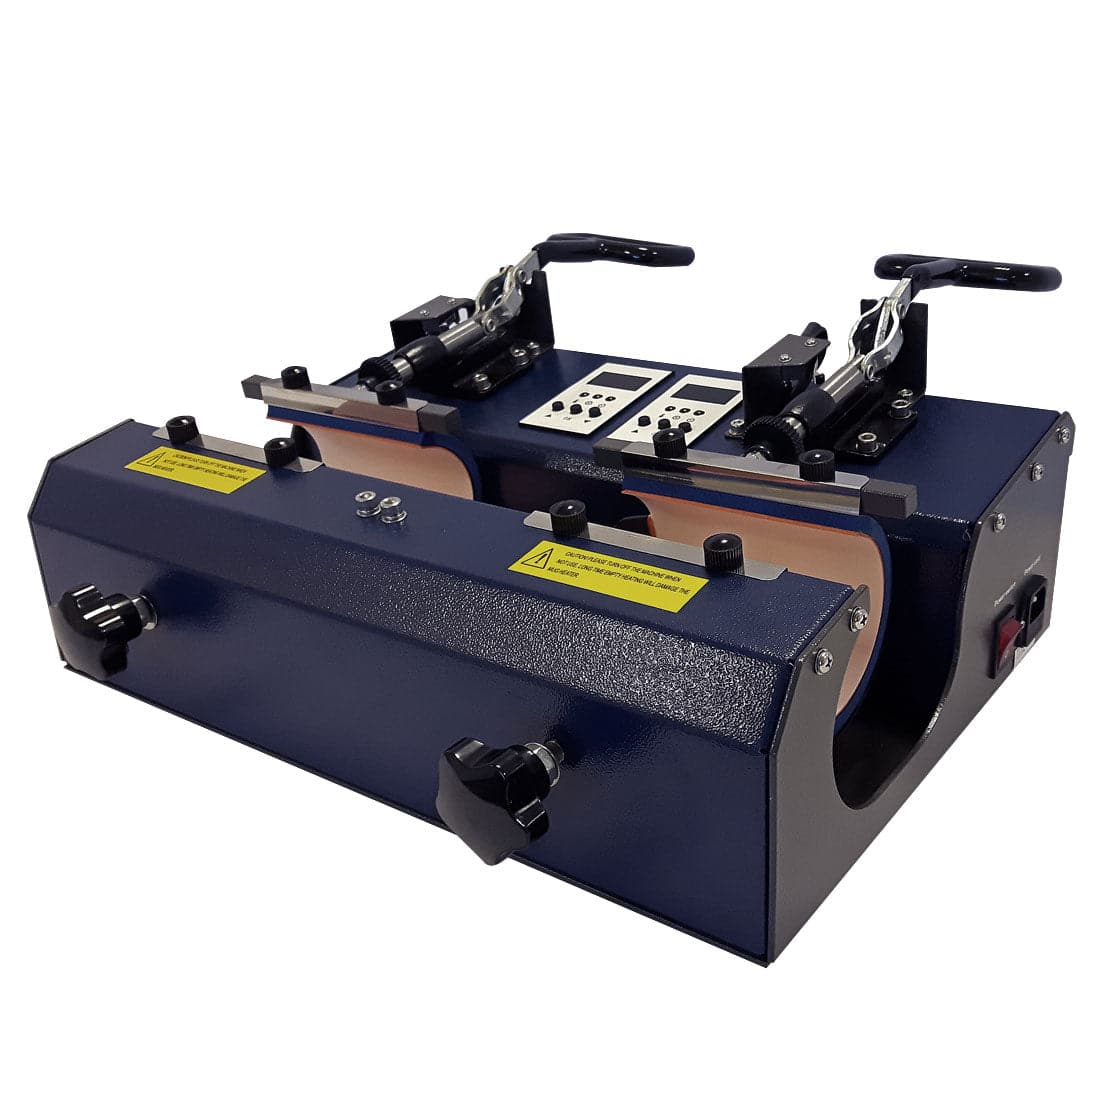
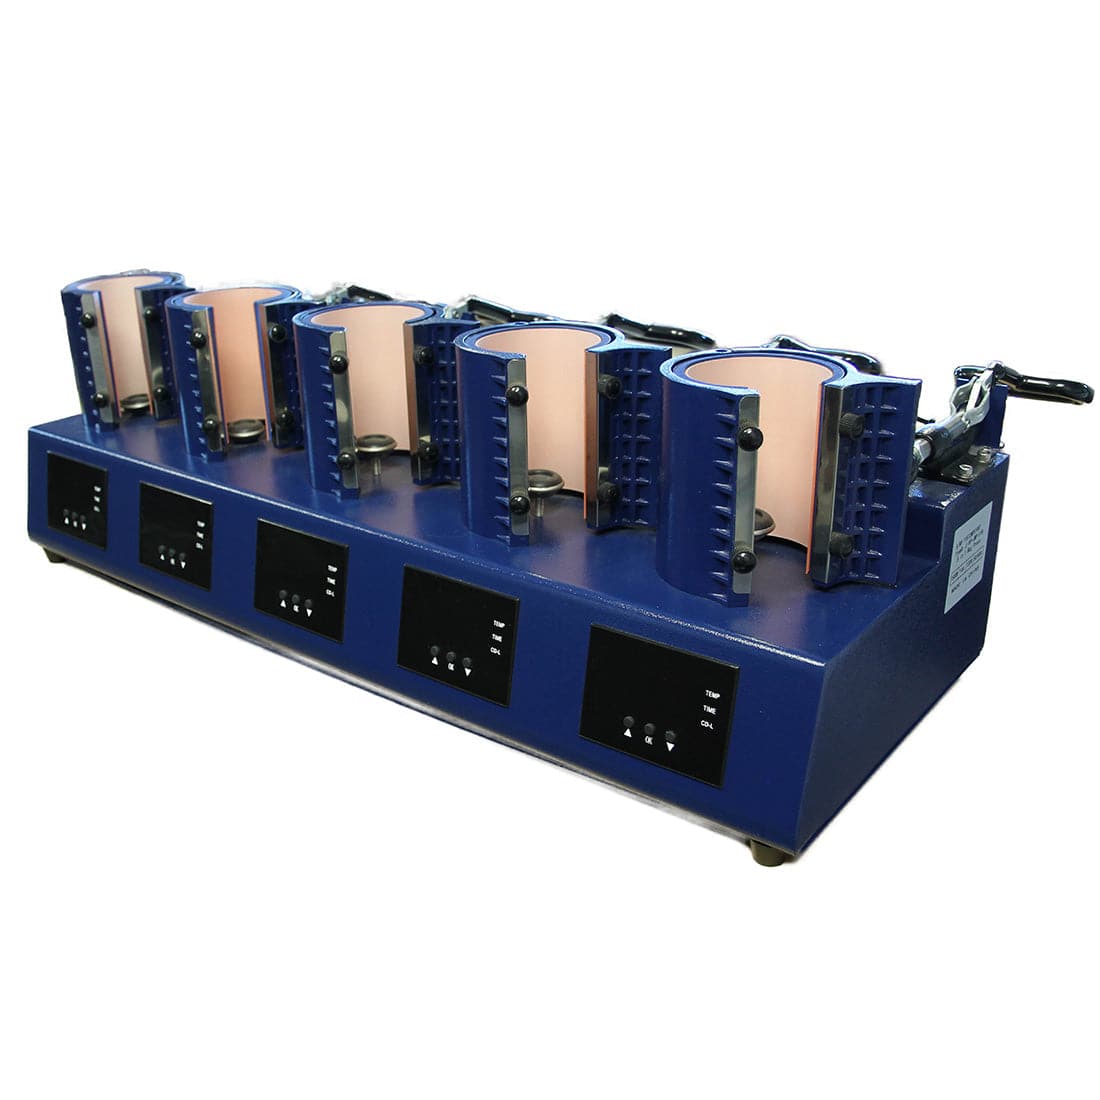
For cylindrical items like mugs and tumblers, specialized mug presses or tumbler presses are typically used. These presses apply even pressure around curved surfaces to ensure consistent transfers.
Maintaining consistent settings across your production workflow is important for repeatable results. Professional print shops often keep a log of successful settings for different materials to ensure efficiency during production.
Major Heat Press Settings Explained
To produce high-quality sublimation prints consistently, it’s important to understand how each heat press setting affects the transfer process.
Temperature
Temperature is the most critical factor in sublimation printing. Heat activates the sublimation ink and converts it into gas, allowing it to bond with the substrate’s coating or polyester fibers.
Most sublimation transfers occur between 385°F and 400°F. At these temperatures, the sublimation dye transitions into gas and permanently embeds into the material.
If the temperature is too low, the ink may not fully transfer, resulting in faded colors. On the other hand, excessively high temperatures can cause colors to become distorted or overly dark.
For this reason, it is important to ensure that your heat press is properly calibrated and capable of maintaining consistent temperatures throughout the pressing cycle.
Pressure and Time in Sublimation Printing
While temperature activates the sublimation process, pressure and time control how effectively the transfer occurs.
These two variables determine how evenly the design bonds with the substrate and how long the sublimation gas has to penetrate the material.
Understanding how these settings interact helps eliminate common problems such as faded colors, incomplete transfers, or blurry images.
Pressure
Pressure determines how firmly the heat press closes on the substrate during the transfer process.
Most sublimation projects require medium pressure, which allows the transfer paper to maintain full contact with the substrate without damaging the material.
Too little pressure can create areas where the ink does not transfer properly, resulting in uneven colors or blank spots. Excessive pressure, on the other hand, can distort the image or damage certain sublimation blanks.
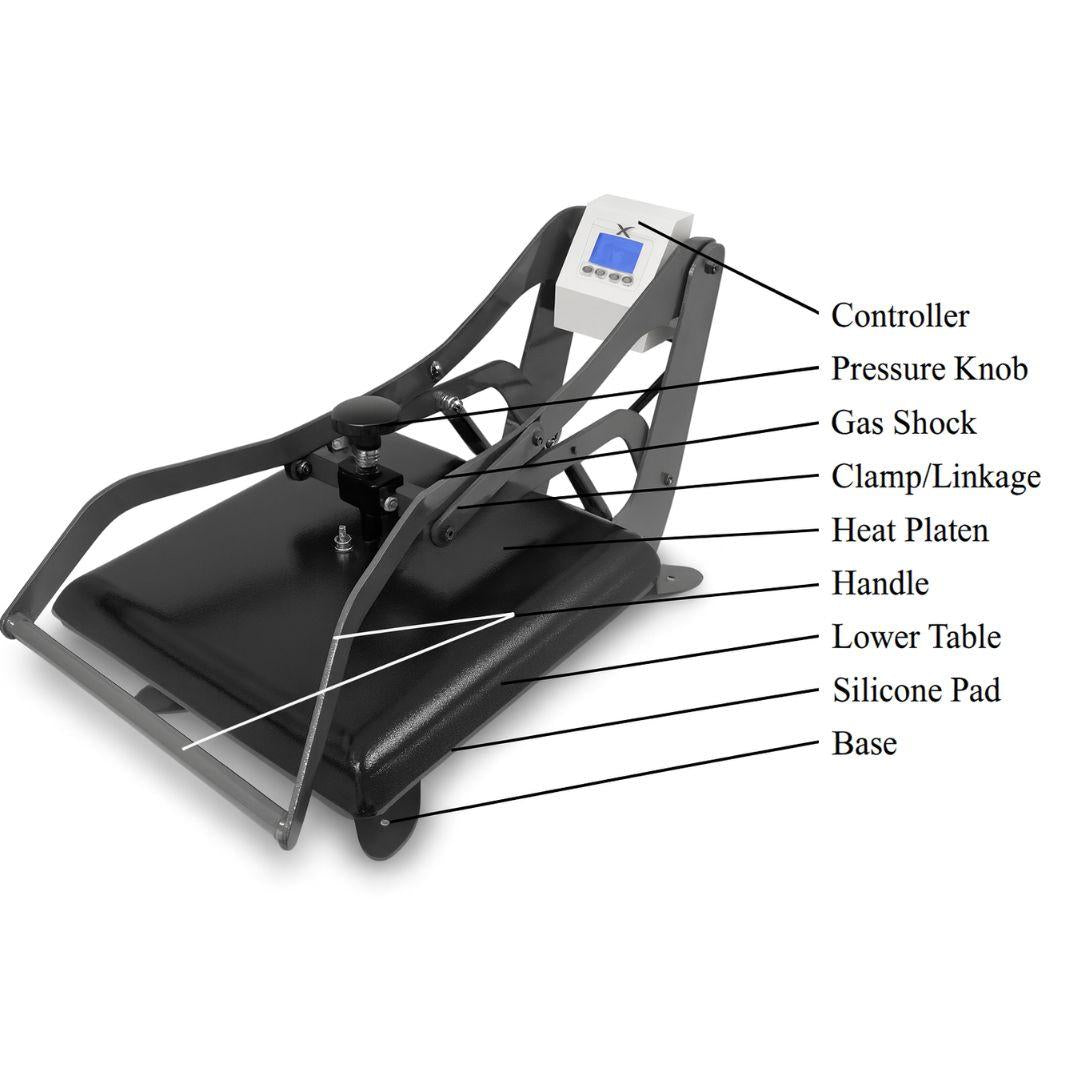
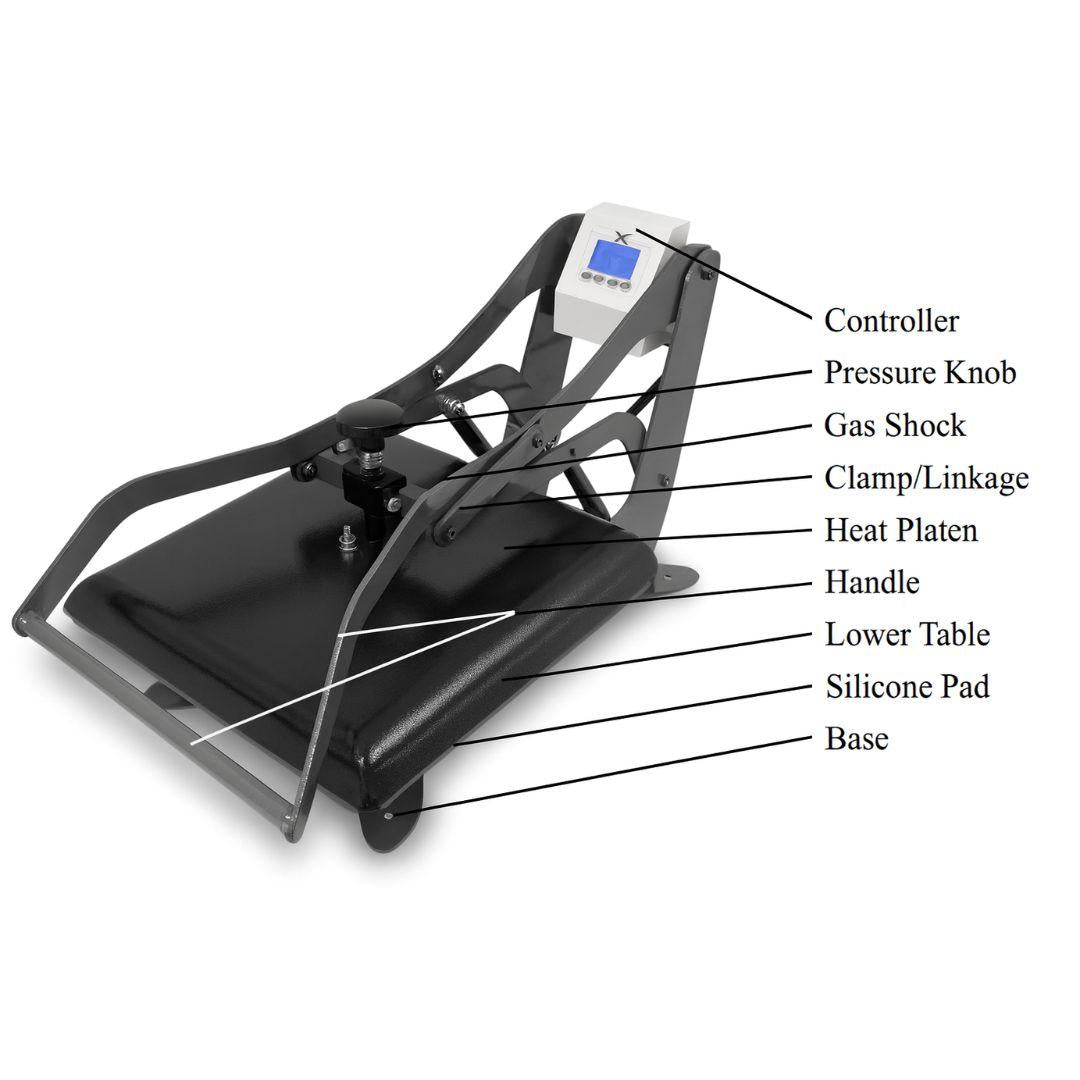
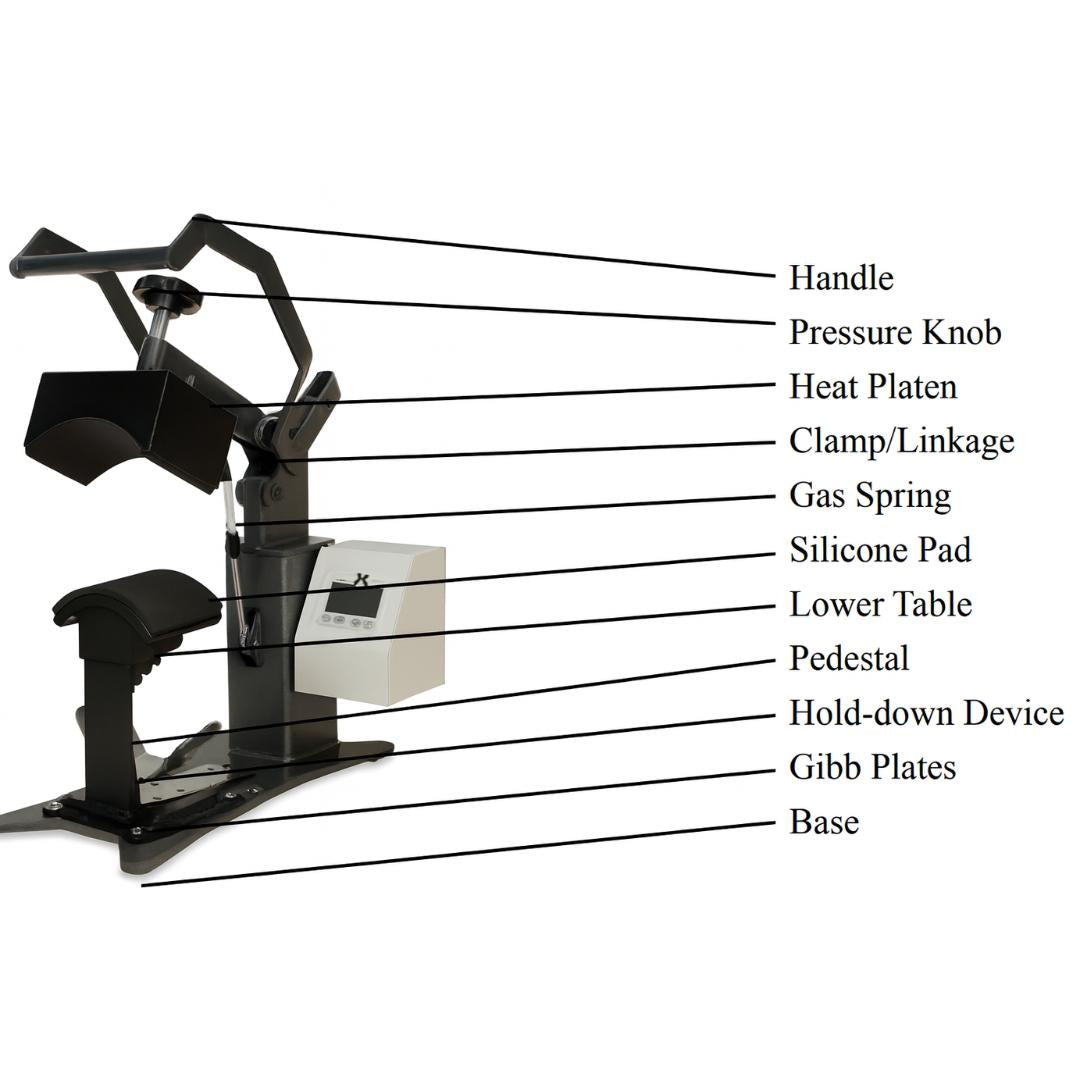
Many modern heat presses include pressure adjustment knobs or digital gauges to help maintain consistent pressure across different materials.
When setting pressure, the goal is to achieve even contact between the transfer paper and the substrate surface.
Time
Pressing time determines how long the sublimation ink is exposed to heat and pressure.
Most sublimation transfers require between 45 and 60 seconds, though thicker substrates such as mugs may require longer pressing cycles.
If the pressing time is too short, the ink may not fully transfer, resulting in dull or incomplete images. If the pressing time is too long, the colors may appear faded or over-processed.
Balancing temperature and time is essential. In many cases, slightly reducing the temperature while increasing pressing time can produce more controlled results for delicate materials.
Professional print shops often test multiple time and temperature combinations to find the optimal settings for specific products.
Heat Press Settings for Different Sublimation Products
Different materials respond differently to heat and pressure. Understanding how to adjust your settings for various substrates will help you achieve better results and avoid production errors.
Below are some of the most common sublimation products and their recommended heat press settings.
Polyester Garments
Polyester is the most popular material for sublimation printing because sublimation dyes bond directly with polyester fibers.
Typical settings:
- Temperature: 385°F
- Time: 45–60 seconds
- Pressure: Medium
Always pre-press garments for about 5 seconds before applying the transfer. This removes moisture and wrinkles that could interfere with the sublimation process.
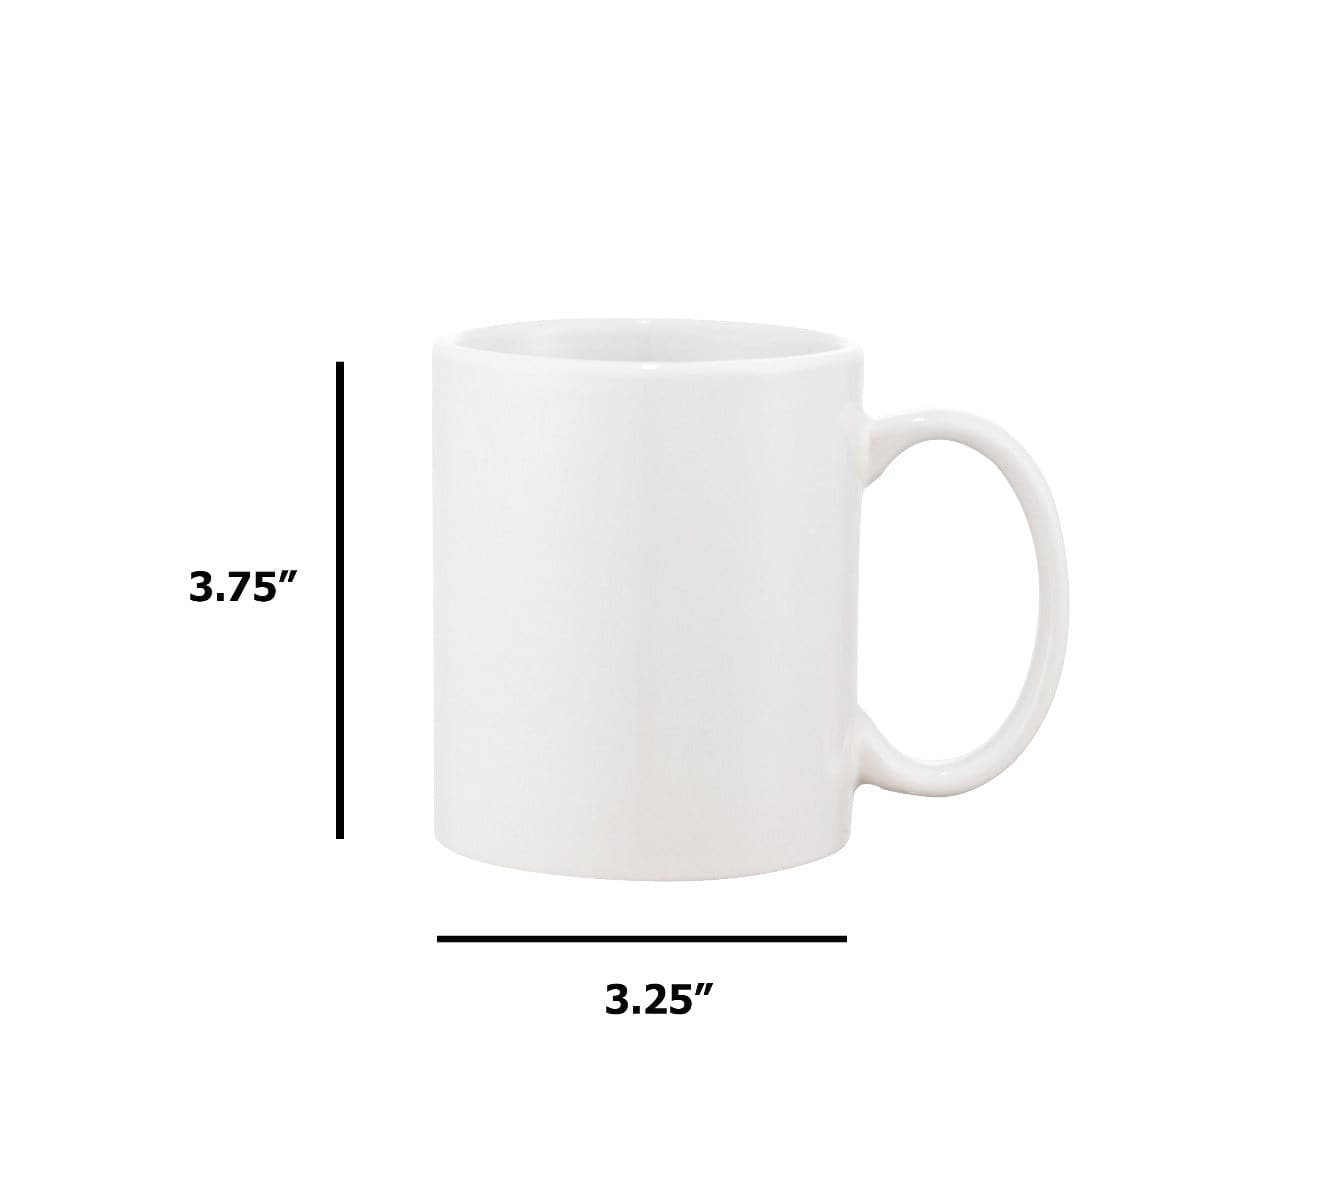
Ceramic Mugs
Ceramic mugs require a mug press rather than a standard flat heat press. Mug presses are designed to apply even pressure around cylindrical surfaces.
Typical settings:
- Temperature: 400°F
- Time: 180–240 seconds
- Pressure: Medium
After pressing, allow the mug to cool before removing the transfer paper to avoid ghosting.
Stainless Steel Tumblers
Tumblers are extremely popular in the personalization market and are commonly produced using tumbler presses.
Typical settings:
- Temperature: 360°F
- Time: 60–90 seconds
- Pressure: Medium
Because tumblers have curved surfaces, it is important to secure the transfer paper with heat-resistant tape to prevent movement during pressing.
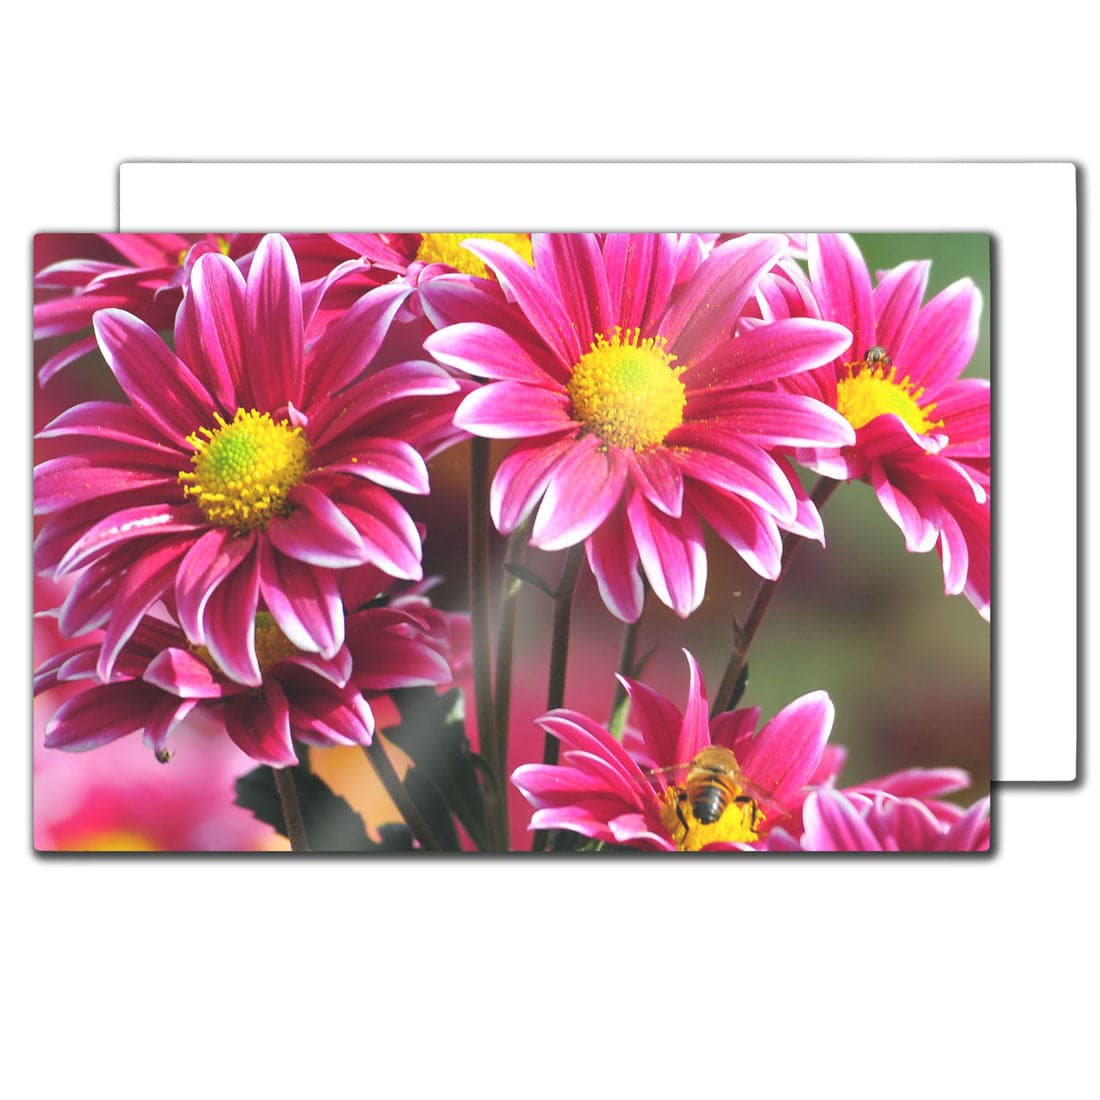
Aluminum Photo Panels
Aluminum photo panels are widely used for photographic prints and decorative products because they produce extremely vibrant colors.
Typical settings:
- Temperature: 400°F
- Time: 60 seconds
- Pressure: Medium
To protect your heat press from ink transfer, always place protective paper above and below the substrate.
Hardboard Products
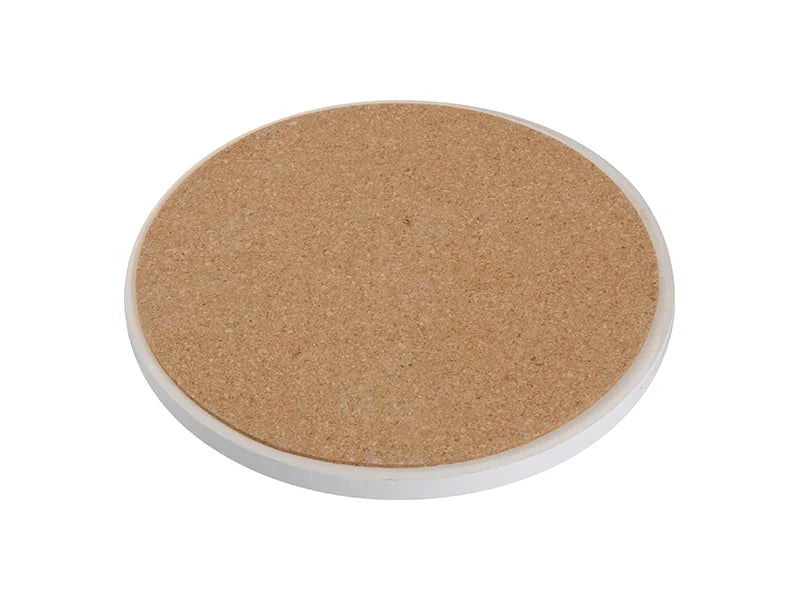
Hardboard sublimation blanks include items such as coasters, ornaments, and plaques.
Typical settings:
- Temperature: 400°F
- Time: 45–60 seconds
- Pressure: Medium
These products typically include a protective plastic film that must be removed before pressing.
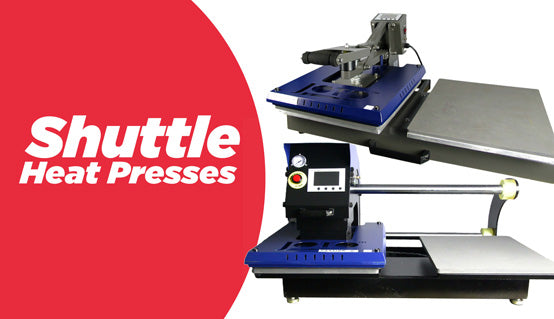
Heat Press Types for Sublimation
Choosing the right heat press can significantly impact both print quality and production efficiency.
Different types of presses are designed for different types of sublimation products.
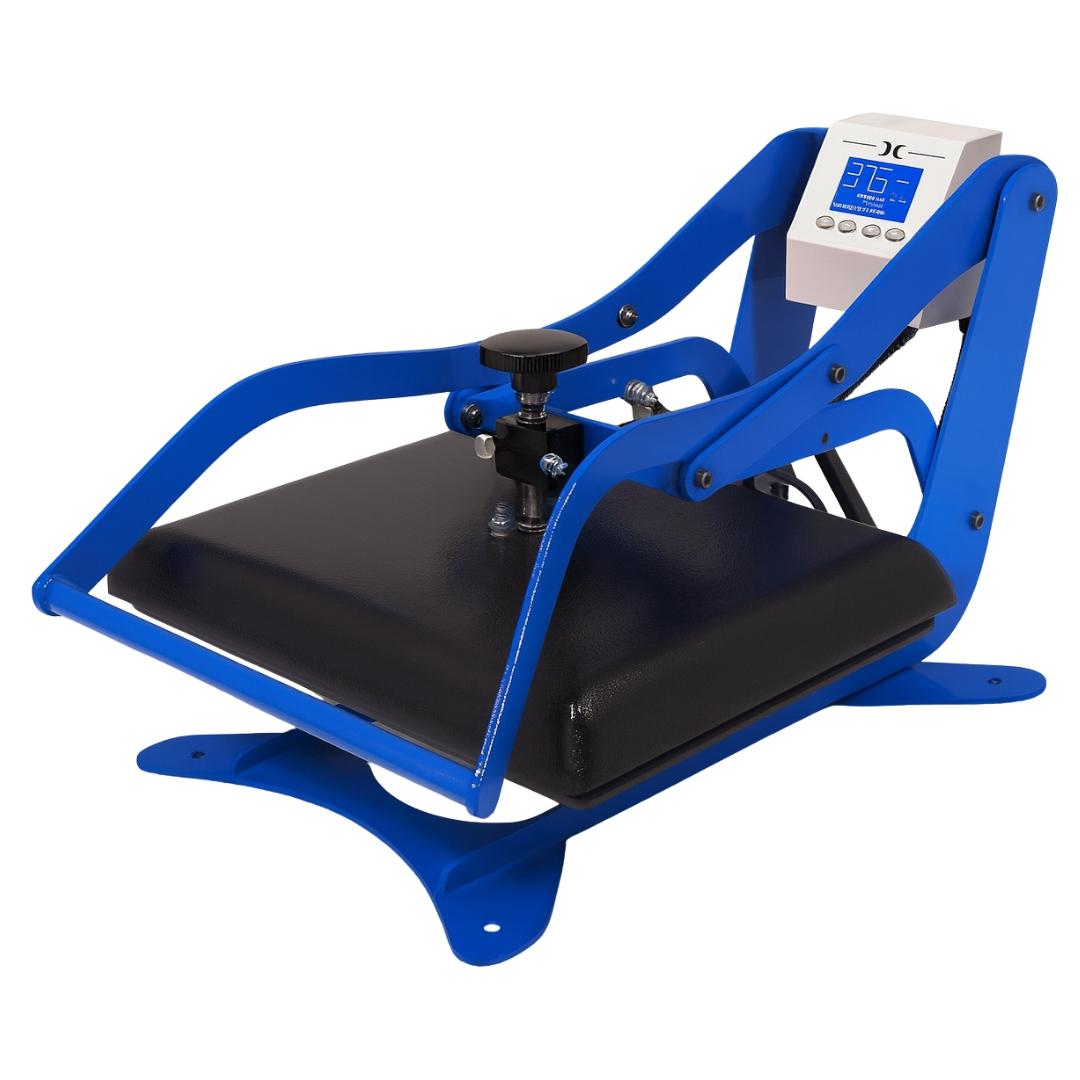
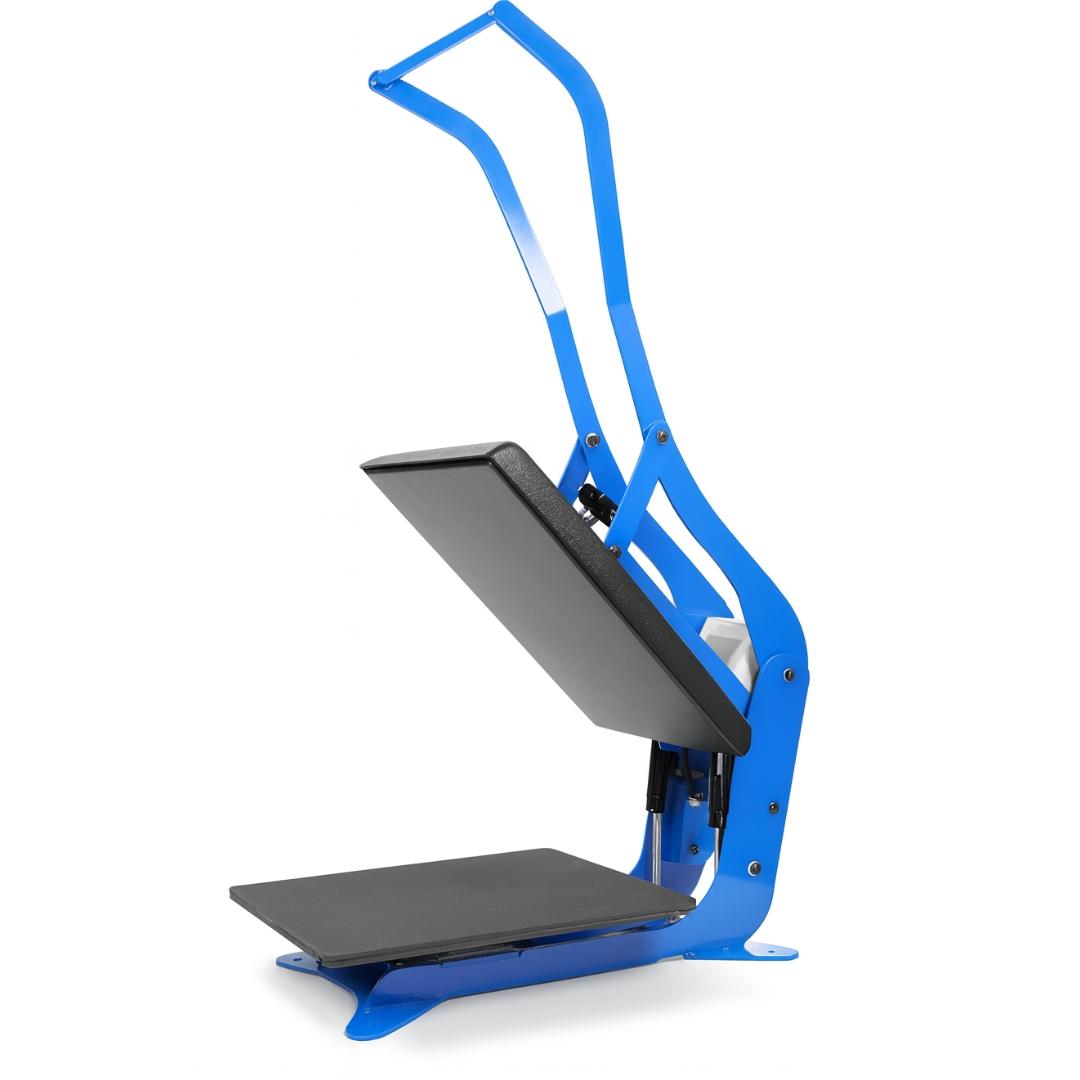
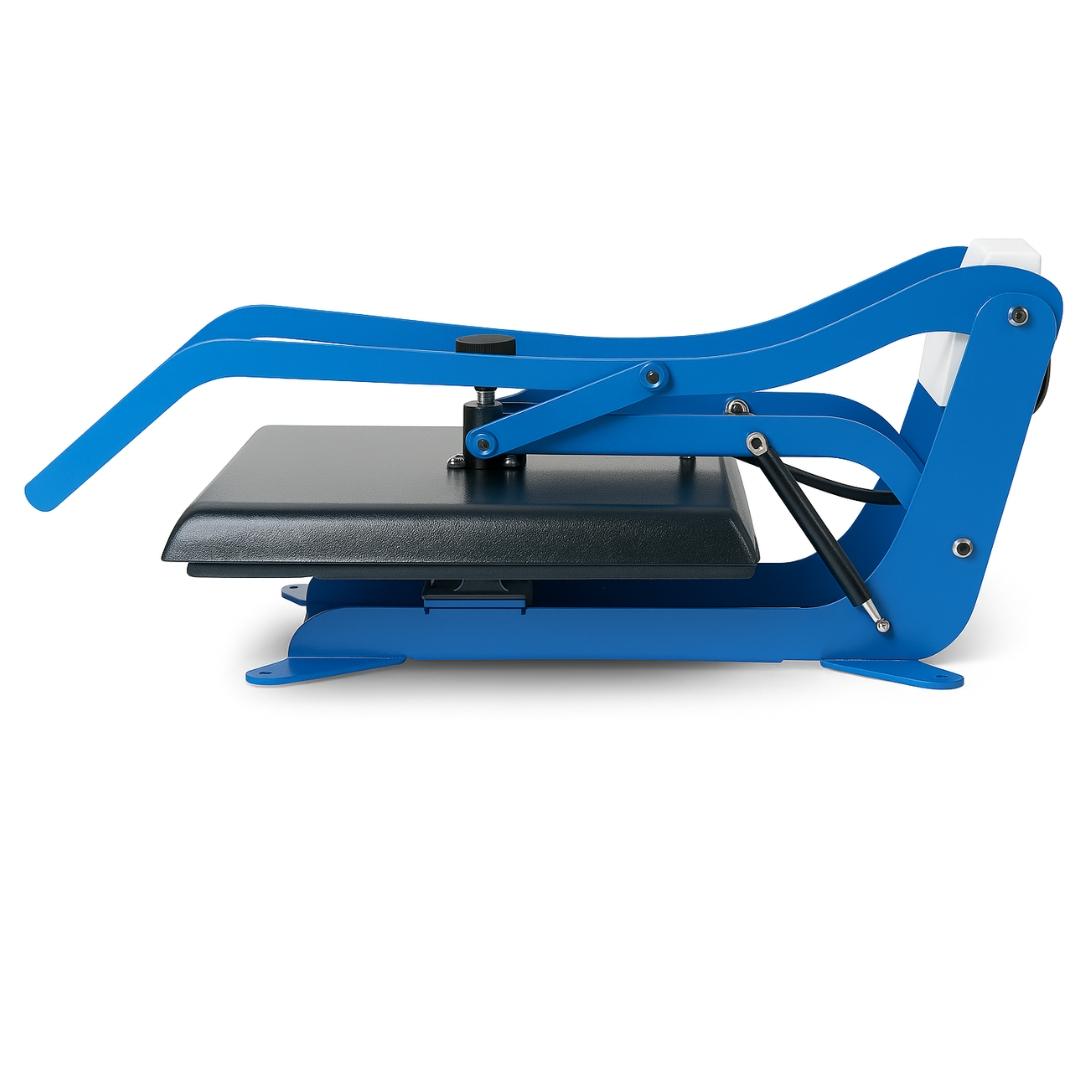
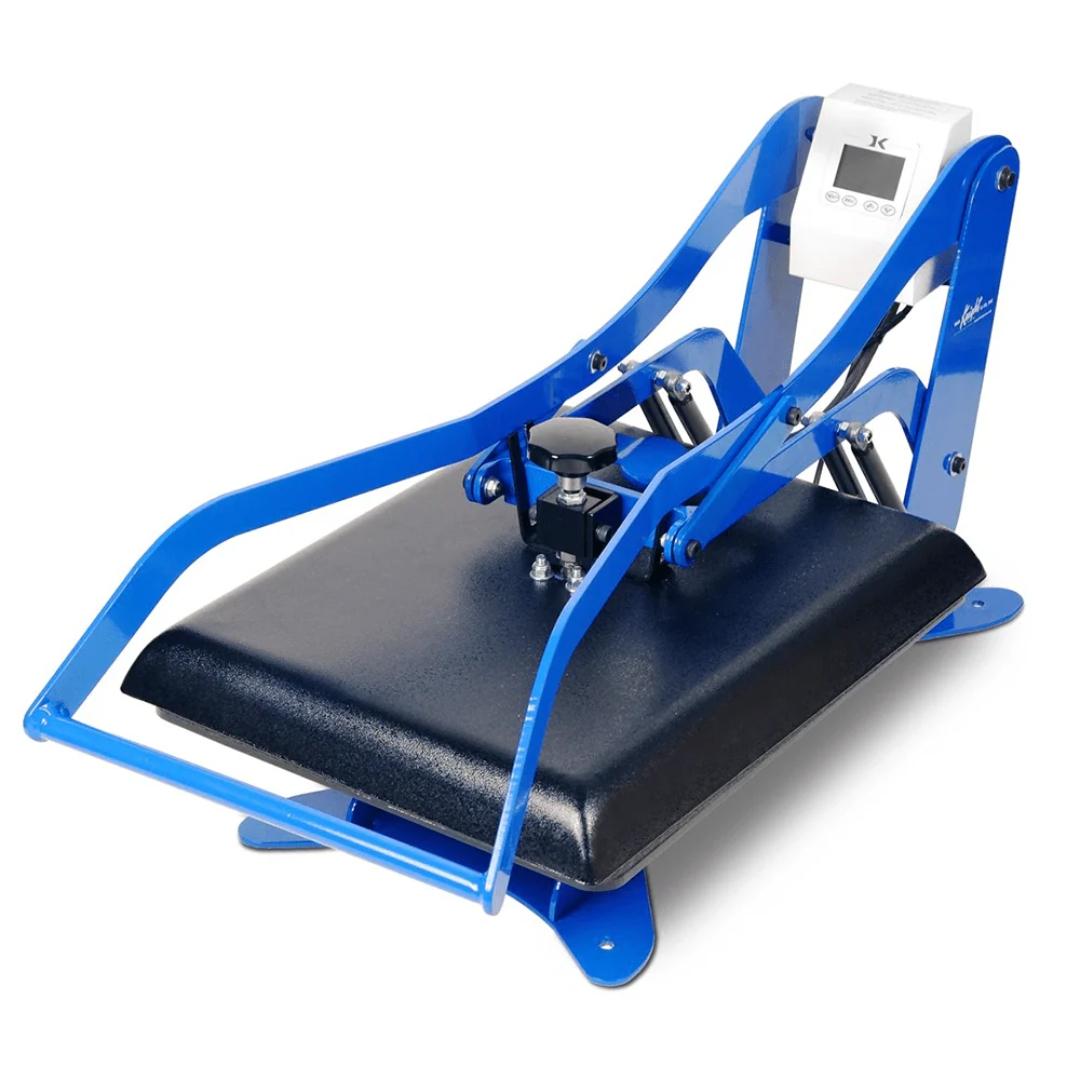
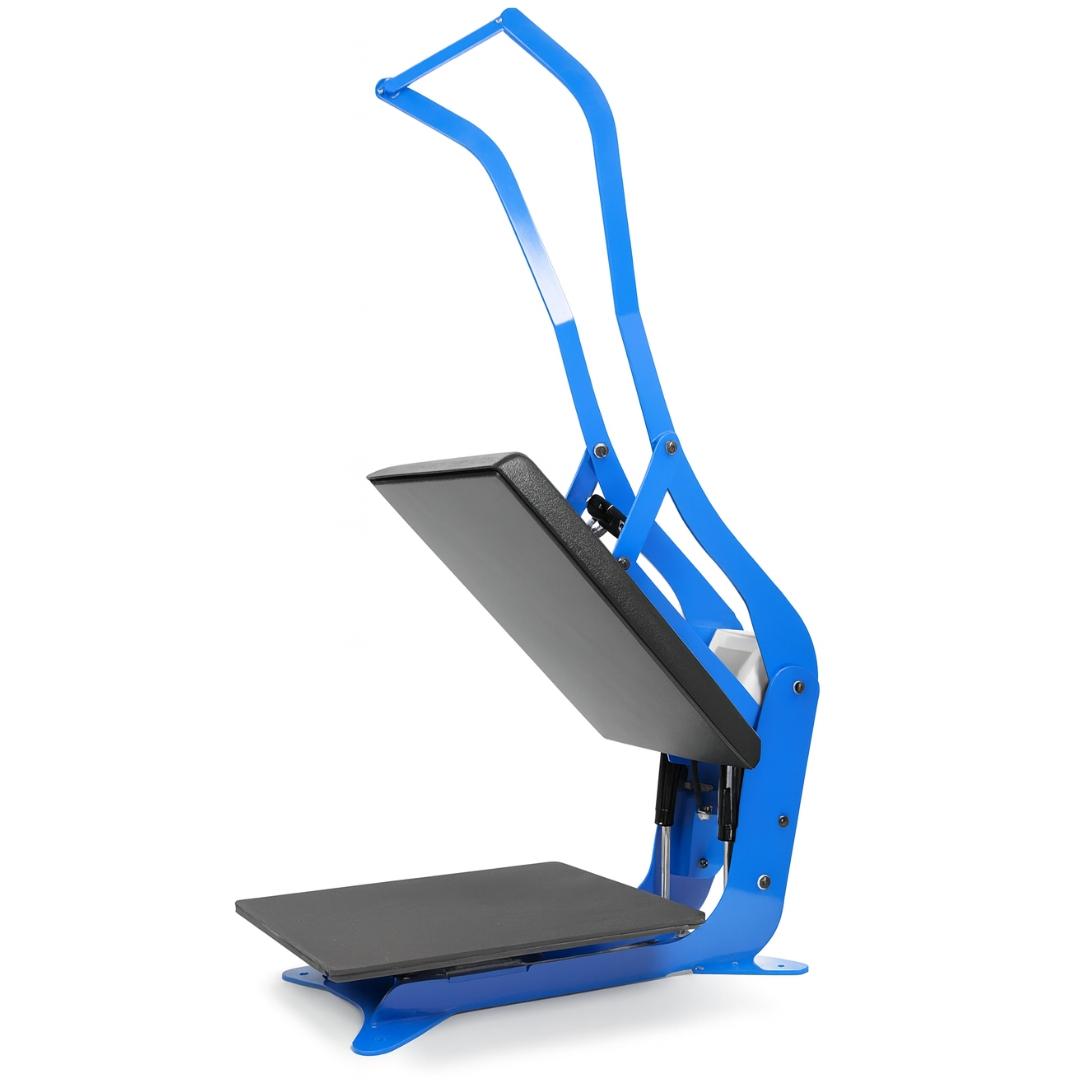
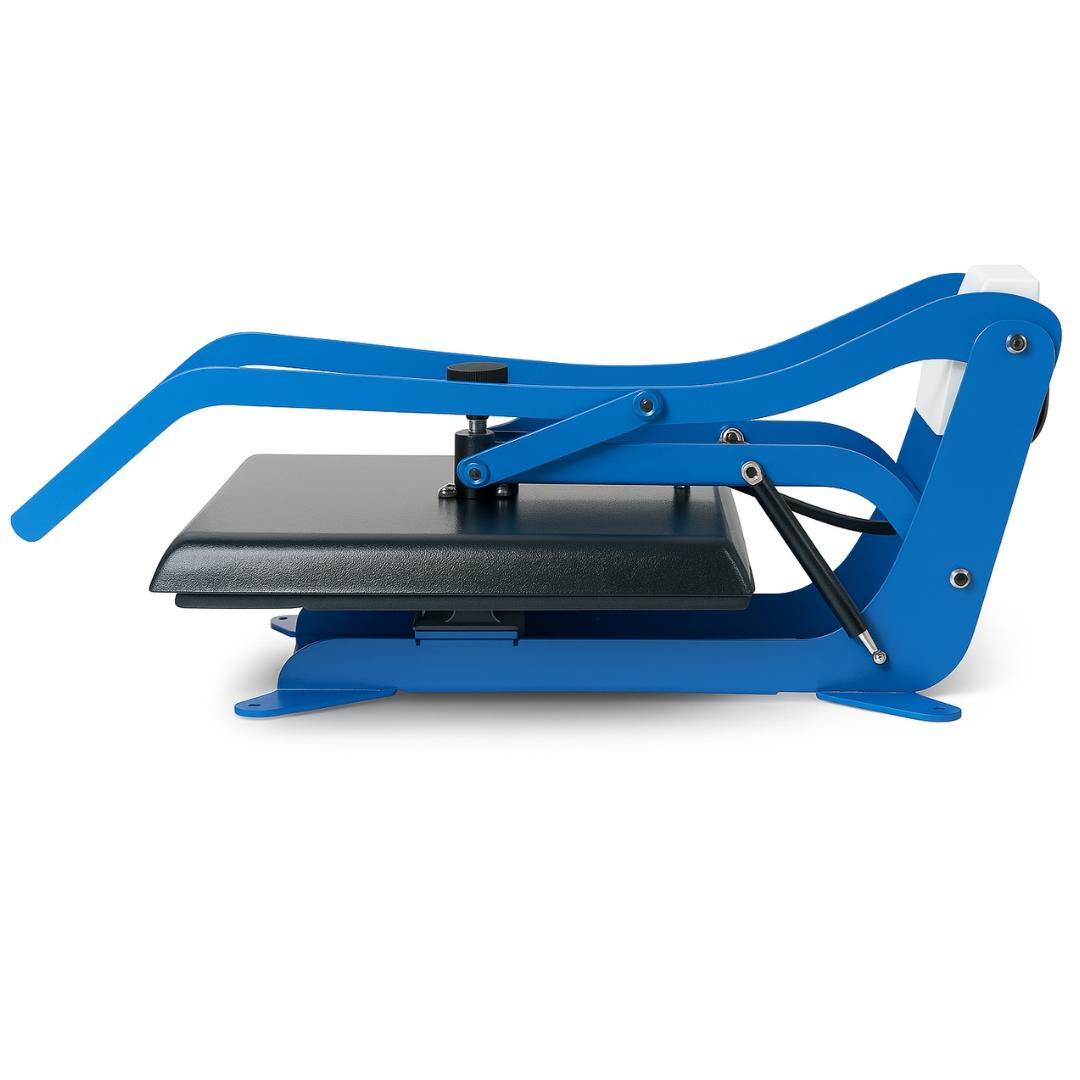
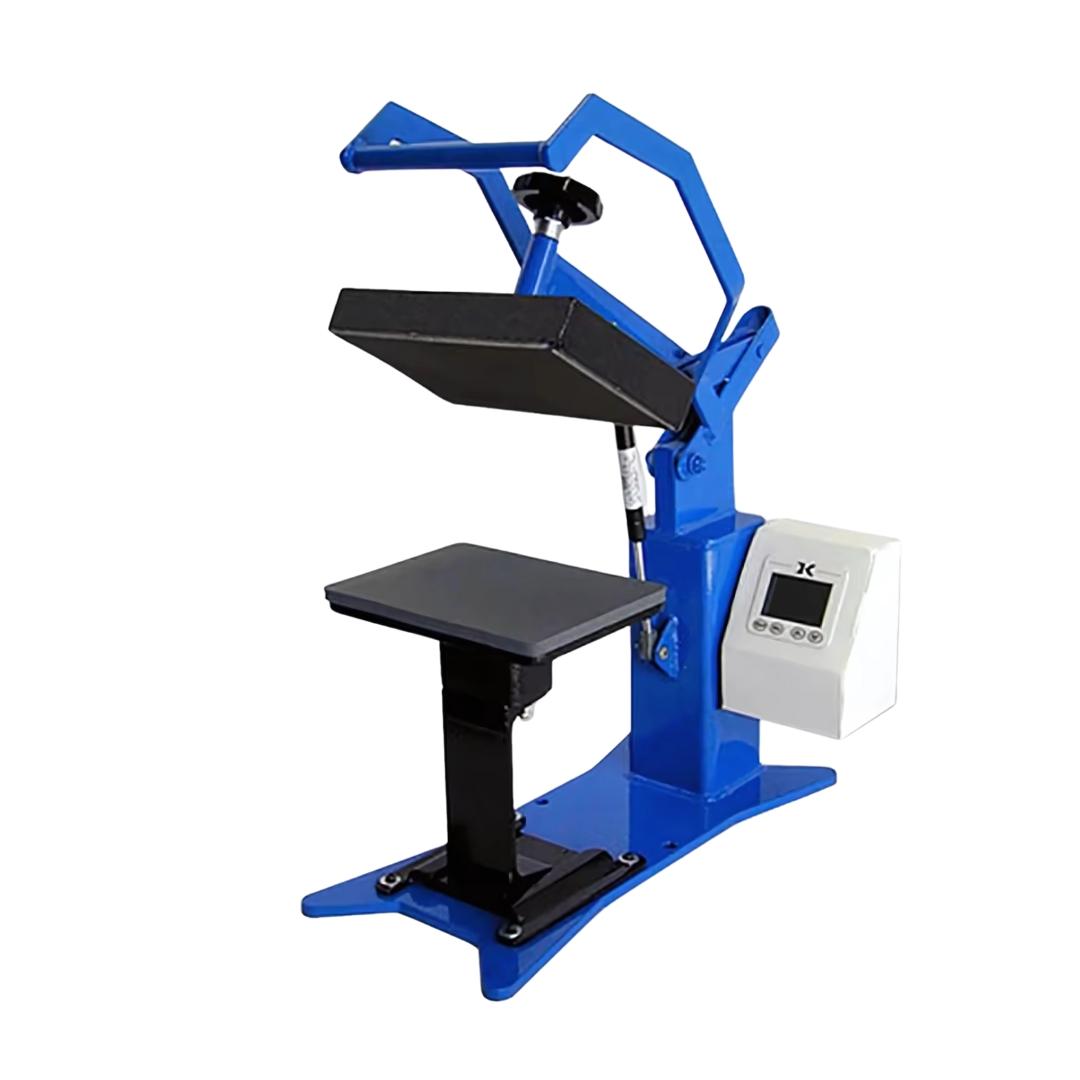
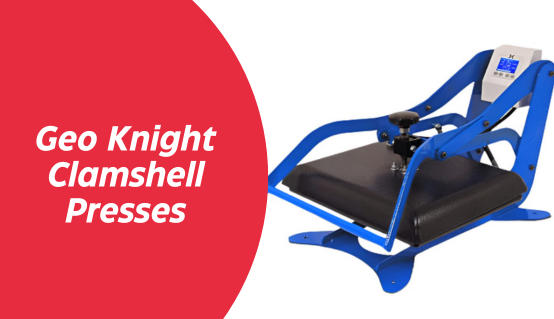
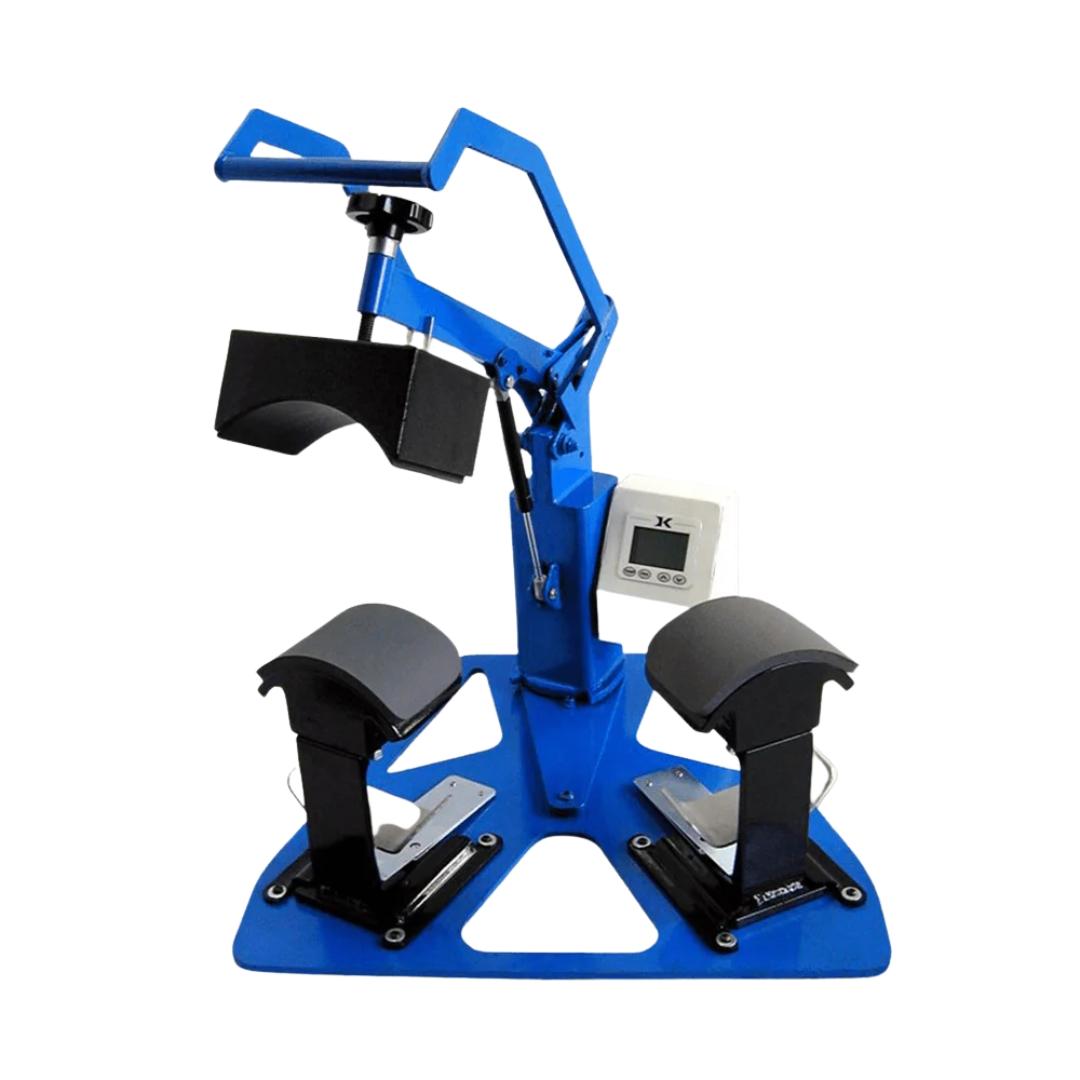
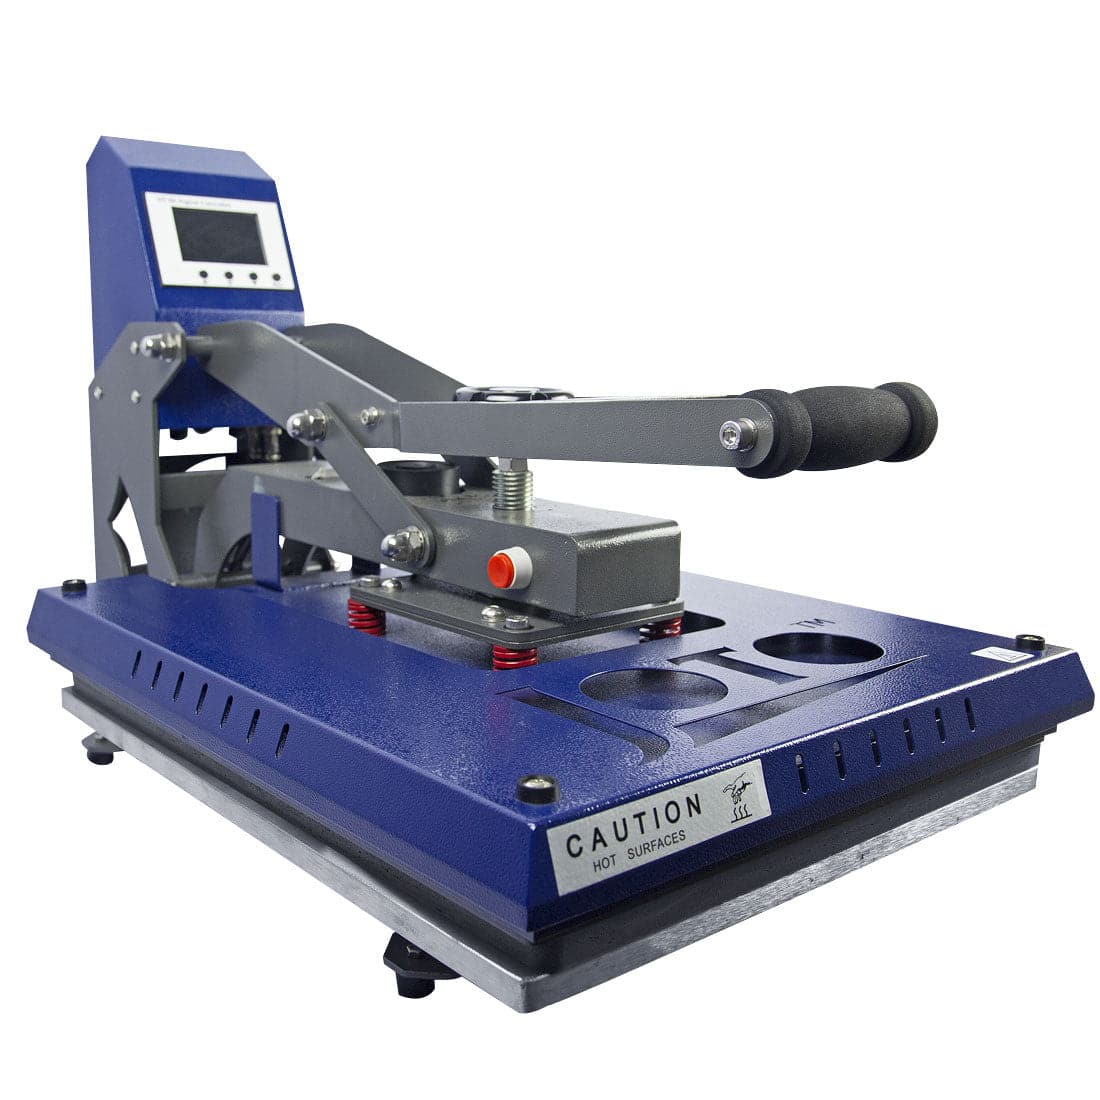
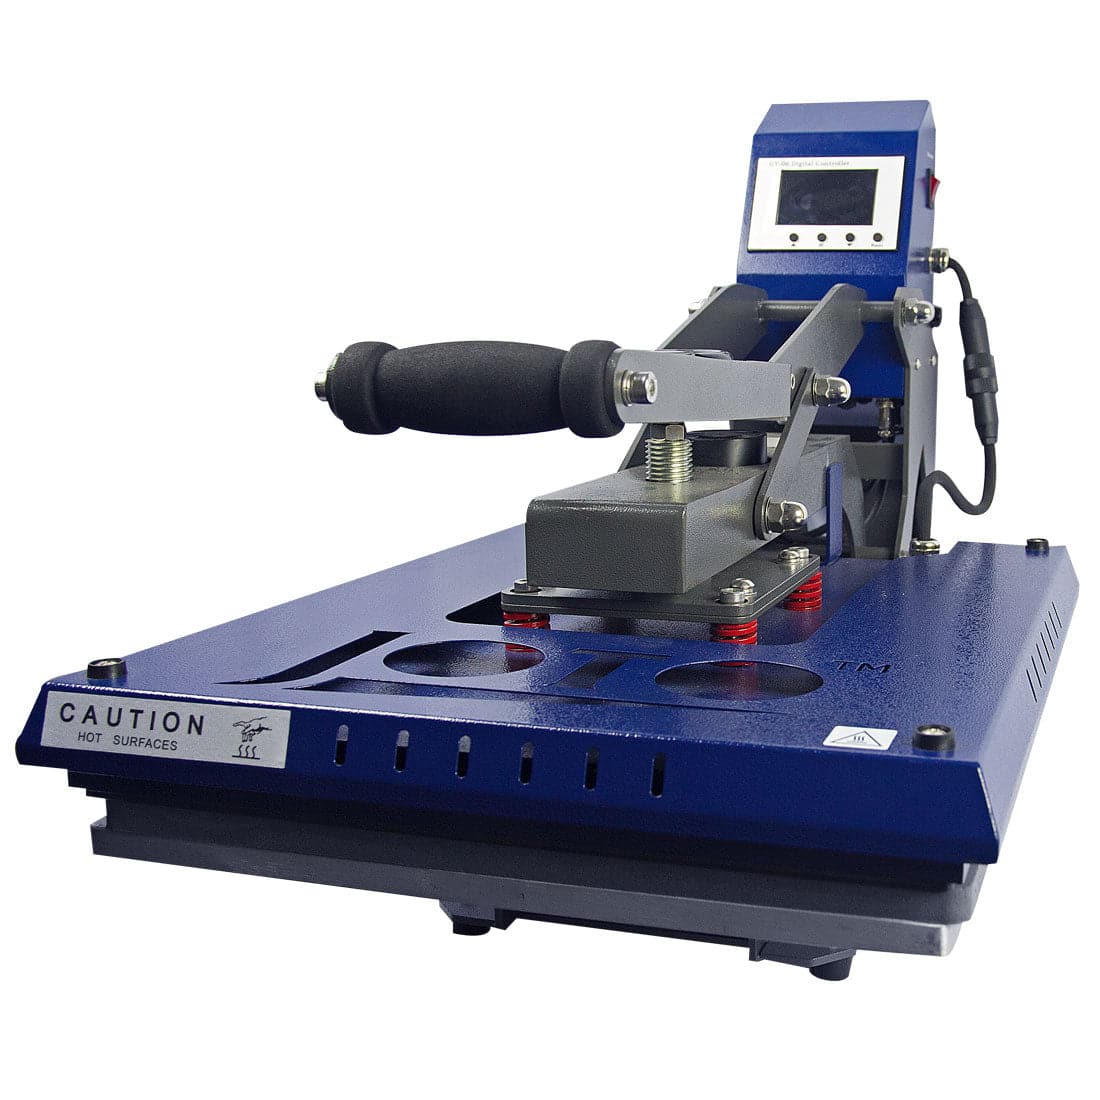
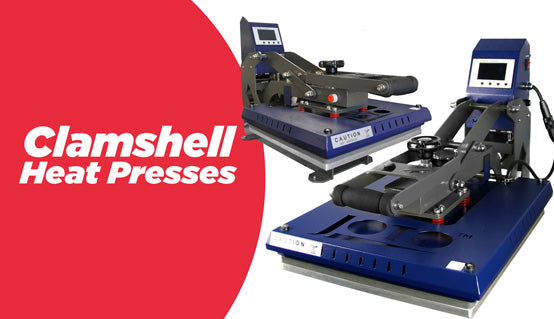
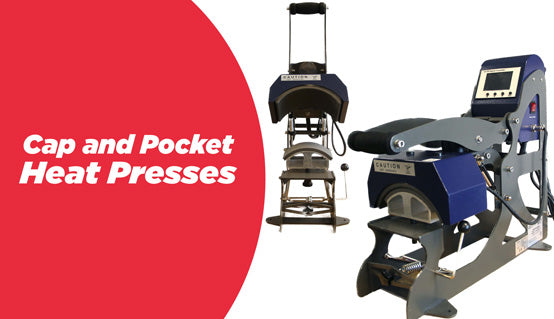
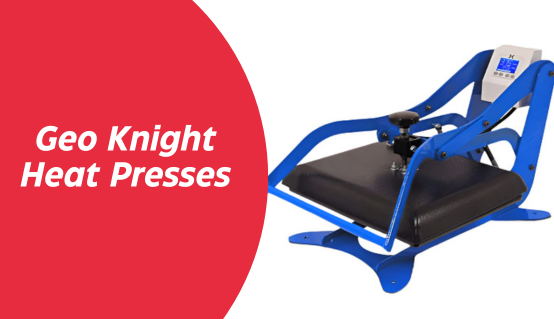
Clamshell Heat Press
Clamshell presses open and close vertically and are commonly used for garment printing.
They are compact, easy to operate, and ideal for small print shops with limited workspace.
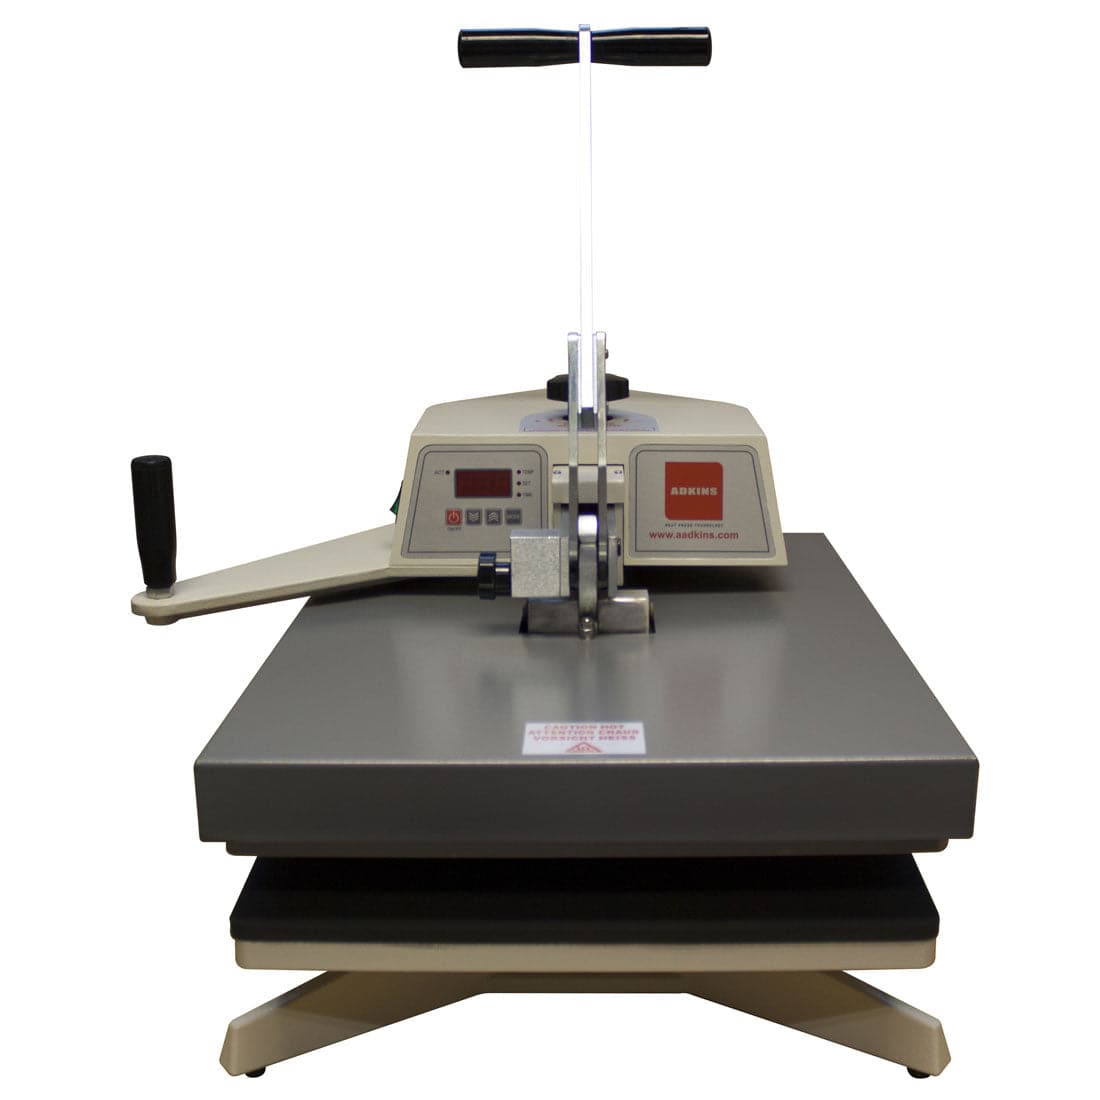
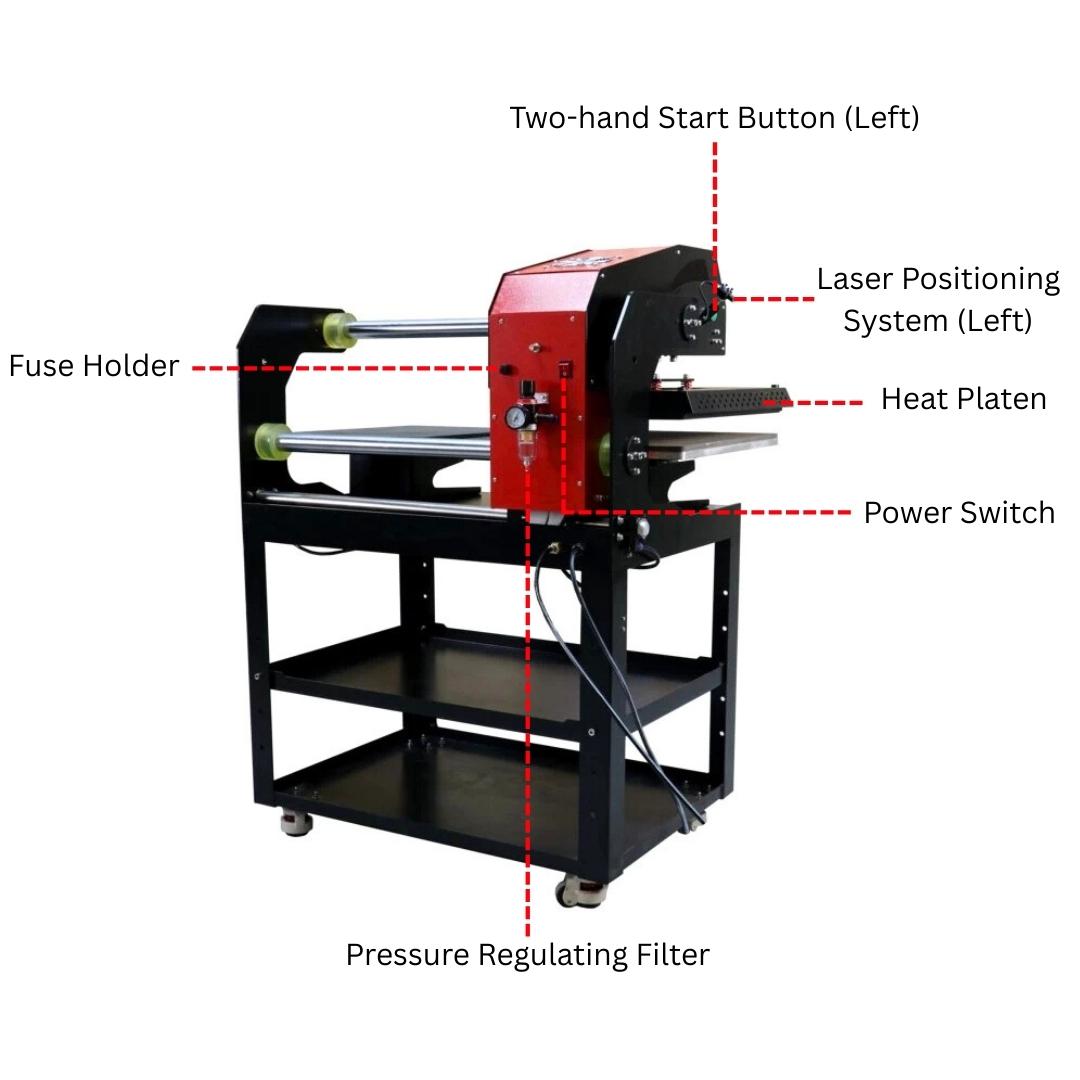
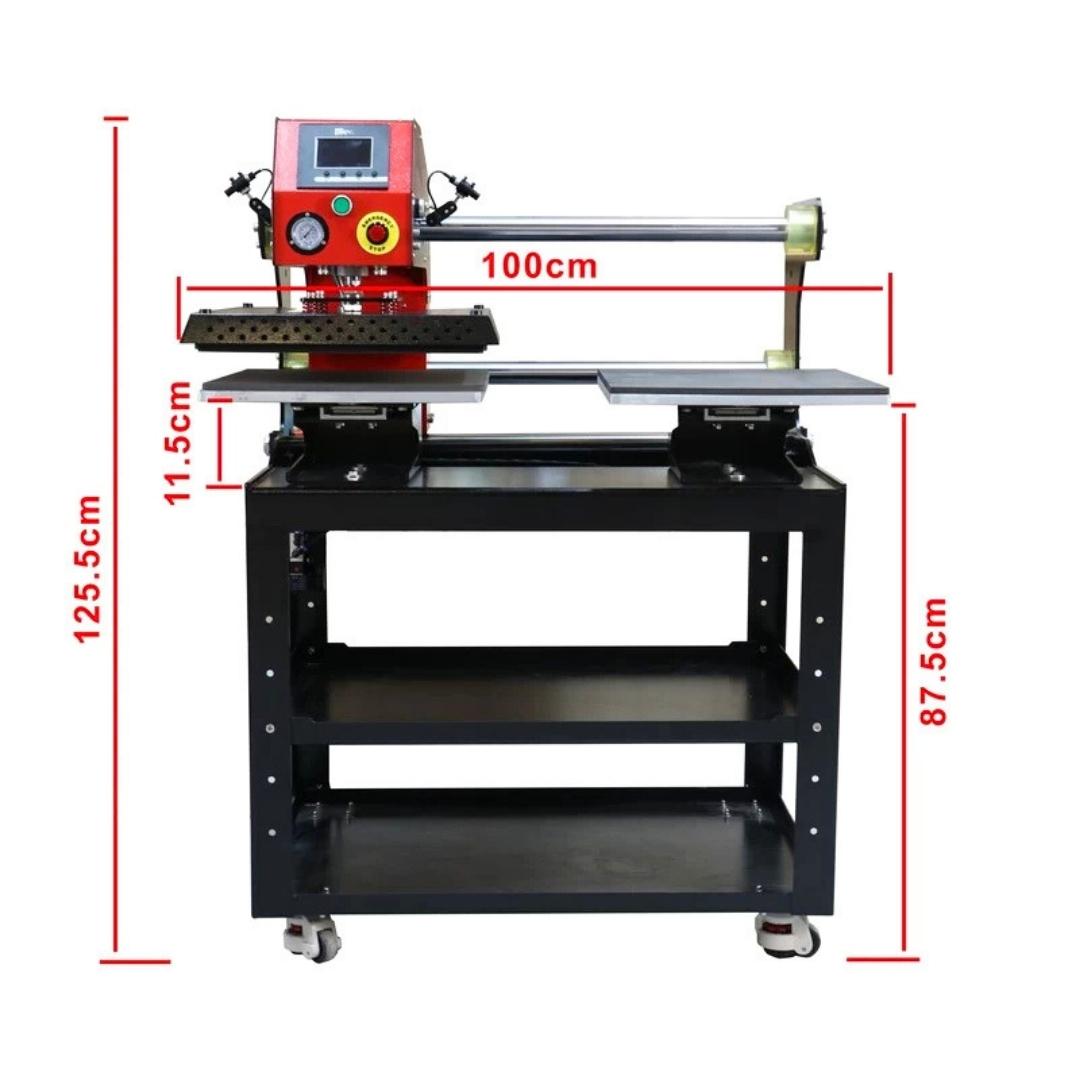
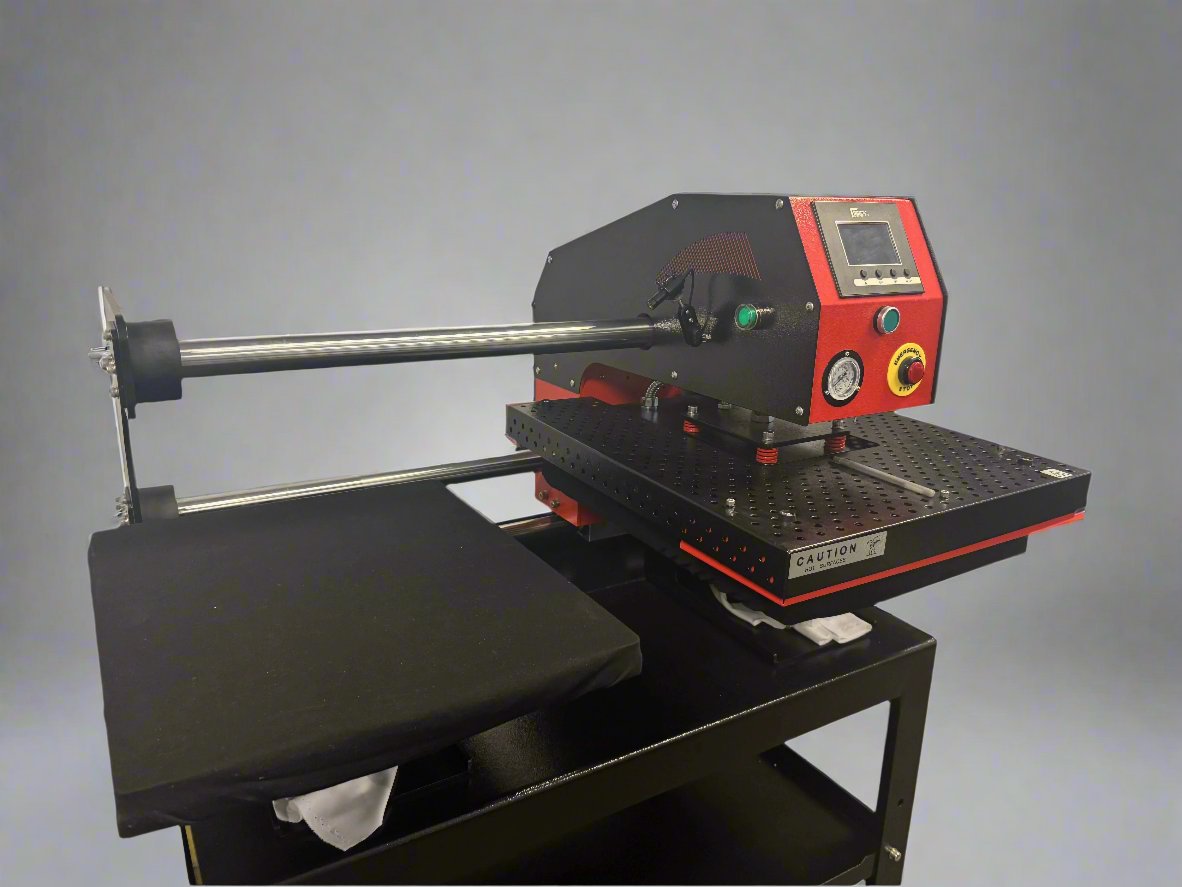
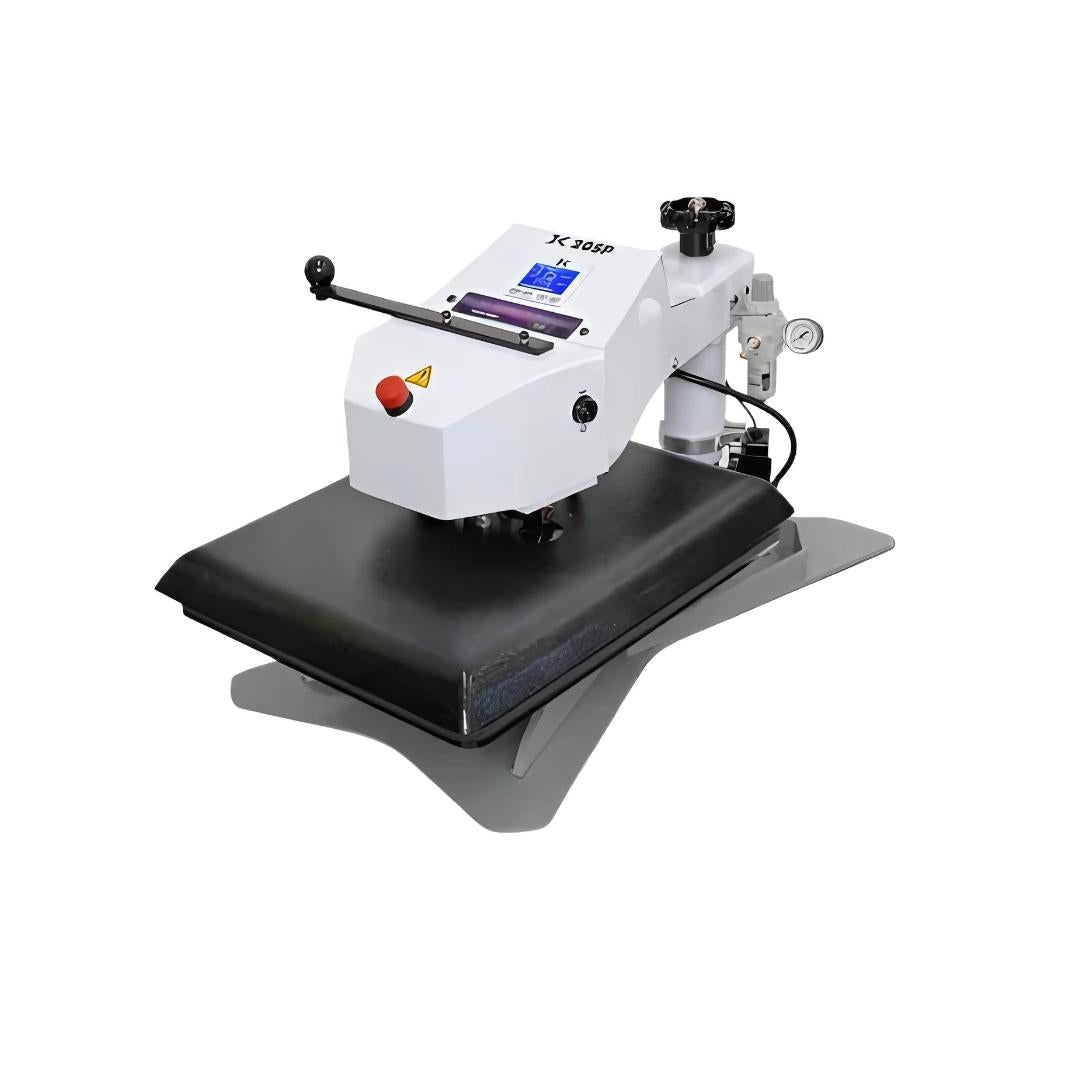
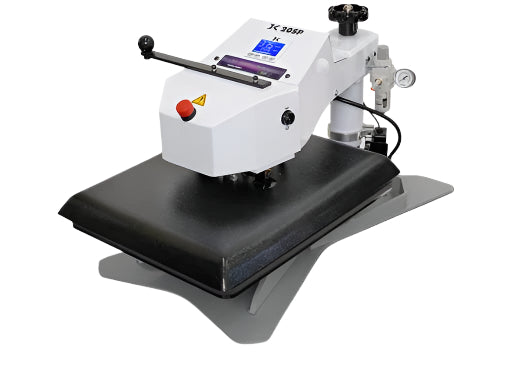
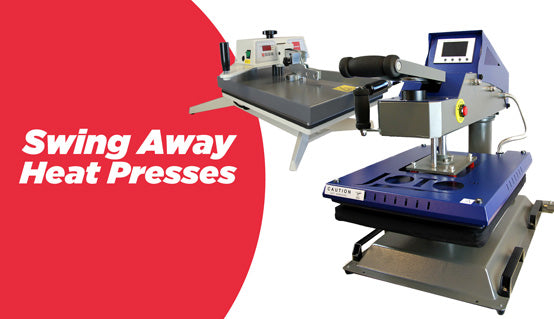
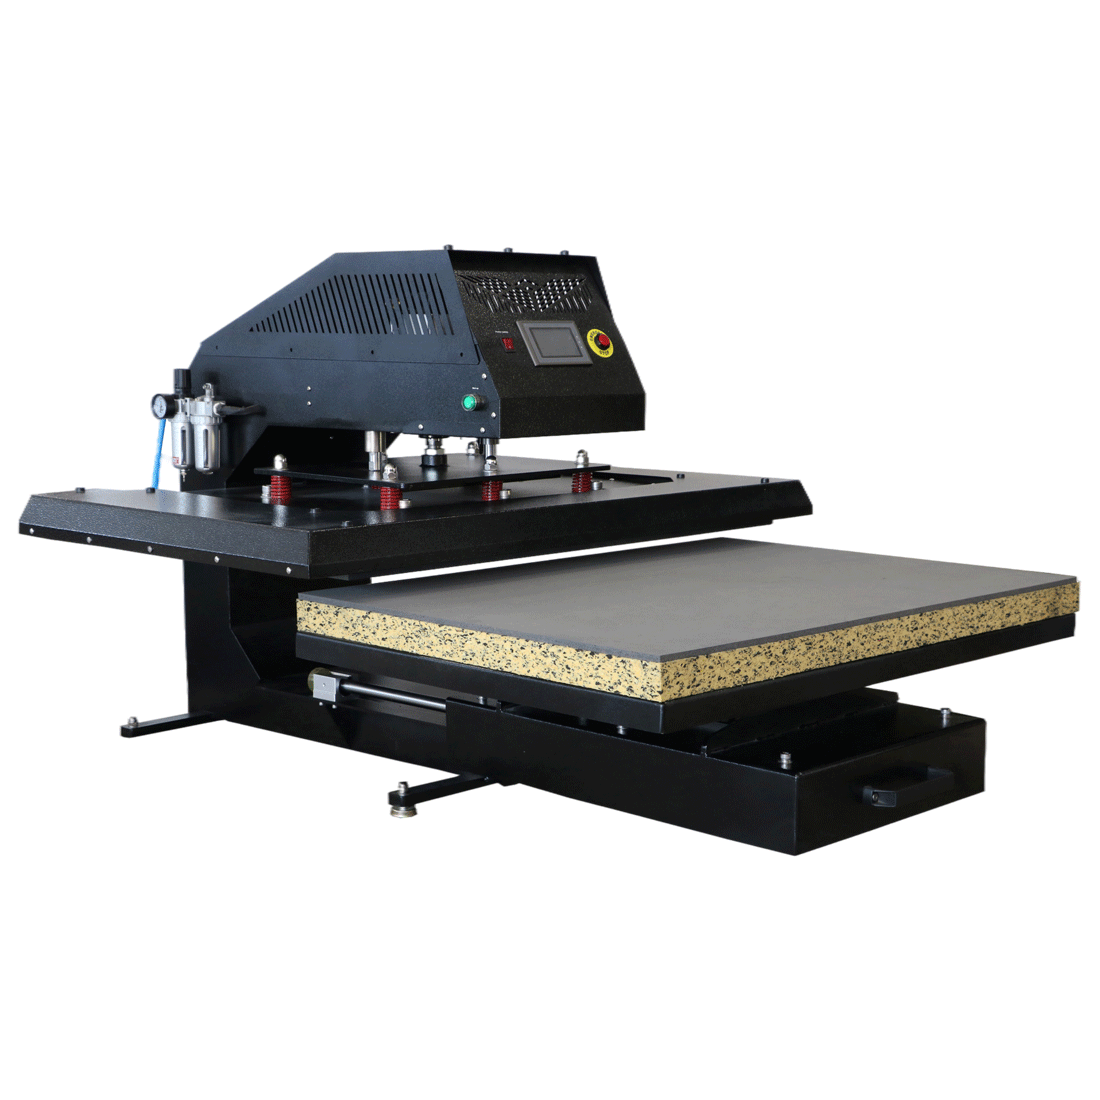
Swing-Away Heat Press
Swing-away presses allow the heating platen to swing away from the base plate. This design provides more even pressure distribution and makes it easier to place substrates accurately.
They are often preferred when working with thicker sublimation blanks.
Mug and Tumbler Presses
Mug presses and tumbler presses are specifically designed for cylindrical products such as mugs, tumblers, and water bottles.
These presses wrap around the item and apply consistent pressure along the entire surface, ensuring even transfers.
For businesses producing drinkware regularly, these specialized presses are essential for achieving reliable results.
How to Find the Best Sublimation Heat Press Settings
Although general guidelines provide a good starting point, achieving the best sublimation results often requires small adjustments based on your equipment and materials.
Different factors can influence the final outcome, including the type of heat press used, the quality of sublimation paper and ink, and the coating of the sublimation blank.
For this reason, experienced print shops typically follow a systematic process to determine the most reliable settings for each product.
Start with Manufacturer Recommendations
Always begin by checking the recommended heat press settings provided by the manufacturer of your sublimation blanks and heat press equipment.
These recommendations are based on controlled testing and typically provide the most reliable starting point for new materials.
However, slight adjustments may still be necessary depending on your workflow.
Conduct Test Presses
Before starting a production run, perform a few test presses using spare blanks.
When adjusting your settings, change only one variable at a time:
- temperature
- time
- pressure
This allows you to identify which factor is affecting the transfer quality.
For example, if the design appears slightly faded, increasing the pressing time by a few seconds may improve the result without altering the temperature.
Keep a Heat Press Settings Log
Many professional print shops maintain a settings log for different substrates.
Recording successful combinations of temperature, time, and pressure makes future production faster and more consistent.
A simple spreadsheet or notebook can help track settings for products such as mugs, tumblers, apparel, and photo panels.
Over time, this reference becomes a valuable resource for improving efficiency and maintaining consistent quality.
Common Sublimation Printing Problems and Fixes
Even when using the correct heat press settings, sublimation printing can occasionally produce unexpected issues. Understanding the most common problems makes troubleshooting much easier.
Faded Colors
Problem: The transferred image appears dull or washed out.
Possible Causes
- Temperature too low
- Pressing time too short
- Insufficient pressure
Solution
Increase the pressing time slightly or verify that your heat press is reaching the correct temperature.
Ghosting or Blurry Images
Problem: The final print shows a faint shadow or duplicate image.
Possible Causes
- Transfer paper moved during pressing
- Uneven pressure
- Substrate shifted when opening the press
Solution
Secure the transfer paper using heat-resistant tape and avoid moving the substrate while the press is opening.
Uneven Transfers
Problem: Some areas of the design appear lighter than others.
Possible Causes
- Uneven pressure distribution
- Substrate not positioned correctly
- Heat press platen not fully contacting the material
Solution
Adjust the pressure settings and ensure the substrate sits flat inside the press.
Ink Bleeding
Problem: Ink spreads outside the intended design area.
Possible Causes
- Excessive temperature
- Excessive pressing time
- Low-quality sublimation paper
Solution
Reduce temperature slightly or shorten pressing time. Using high-quality sublimation paper also helps prevent bleeding.
White Spots on the Print
Problem: Small areas of the design do not transfer at all.
Possible Causes
- Dust or debris on the substrate
- Inconsistent coating on the blank
- Insufficient pressure
Solution
Clean the substrate with a lint-free cloth before pressing and ensure even pressure across the entire surface.
Tips for Consistent Sublimation Results
Maintaining consistency is one of the most important aspects of sublimation production, especially for businesses producing large quantities of custom products.
The following best practices can help improve reliability and efficiency.
Pre-Press Your Materials
For fabric products, performing a short pre-press helps remove moisture and wrinkles. This ensures better contact between the transfer paper and the substrate.
Use Protective Paper
Always place butcher paper or protective sheets above and below the substrate when pressing.
This prevents ink transfer to the heat press platen and protects both the equipment and the product.
Maintain Your Heat Press
Regularly check that your heat press maintains accurate temperatures and even pressure.
Over time, heat presses may require recalibration to ensure consistent results.
FAQs
Why are my sublimation prints coming out faded?
Faded prints usually occur when the pressing temperature or time is too low. Ensure your heat press reaches the recommended temperature and that the pressing cycle is long enough for the sublimation ink to fully transfer.
Do all sublimation materials use the same heat press settings?
No. Each substrate requires slightly different settings depending on the coating, thickness, and material composition.
Always refer to the manufacturer’s recommendations and conduct test presses when working with new materials.
How do I prevent ghosting in sublimation transfers?
Ghosting occurs when the transfer paper moves during pressing. Securing the transfer paper with heat-resistant tape and opening the heat press carefully helps prevent this issue.
What pressure should I use for sublimation printing?
Most sublimation projects require medium pressure, which provides even contact between the transfer paper and the substrate without damaging the material.
Final Thoughts
Mastering sublimation heat press settings is essential for producing vibrant, professional-quality prints. By understanding how temperature, time, and pressure interact, small print shops and crafters can achieve consistent results across a wide range of sublimation products.
With the right equipment, high-quality sublimation supplies, and carefully tested settings, sublimation becomes a reliable and repeatable production process.
Whether you are creating custom apparel, drinkware, or promotional products, properly calibrated heat press settings will ensure that your designs transfer cleanly and remain vibrant for years to come.