


Inkjet Tattoo Transfer Paper
Create stunning temporary tattoos at home with Paropy™ Inkjet Tattoo Transfer Paper, designed for use with most desktop inkjet printers. This two-step transfer system lets you print vibrant, full-color tattoo designs that apply easily to the skin and last for up to 3 days.
Perfect for parties, cosplay, promotional events, or custom gifts, this tattoo paper delivers professional-quality results using just your inkjet printer, scissors, and water. Each pack includes 25 printable sheets and 25 adhesive sheets—just print, apply the adhesive layer, cut, and press on the skin with a damp cloth.
Key Features
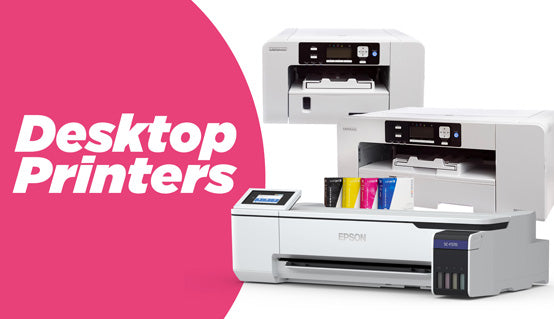
- Inkjet-compatible tattoo paper – works with most inkjet printers (Epson, Canon, HP, etc.)
- Complete 25-sheet set – includes 25 printable tattoo sheets (A) + 25 adhesive sheets (B)
- Letter size (8.5" x 11") – compatible with standard home printers
- Applies with water using a tissue or cloth
- Delivers high-resolution, full-color tattoo prints
- Skin-safe adhesive – tattoos last up to 3 days and remove easily
Ideal Uses
- DIY temporary tattoos for kids, parties, and holidays
- Event tickets or branding elements for festivals
- Cosplay or film industry applications
- Mockups for tattoo artists and personal design testing
How to Use Tattoo Transfer Paper (Inkjet Version)
- Print your design in mirror image on the glossy white side of Sheet A using your inkjet printer. Use a heavy paper setting (120g+).
- Let the ink dry (or use a hairdryer for faster results).
- Peel back an inch of the adhesive Sheet B and align it carefully over the printed sheet. Apply slowly and press out air bubbles using a ruler.
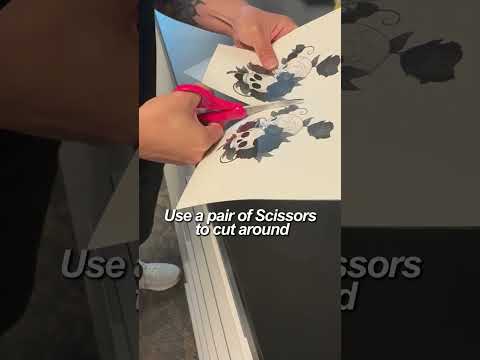
- Cut around the design as close as possible to reduce excess adhesive.
- Peel off the glossy top layer to expose the adhesive.
- Place the design onto the skin and press firmly.
- Dab with a wet cloth for 10 seconds, then peel off the backing.
Specifications
- Product: Paropy™ Inkjet Tattoo Paper – AB Set
- Item No.: P-IJTT-AB-GEN-LT
- Paper Size: 8.5" x 11" (Letter)
- Quantity: 25 A sheets + 25 B adhesive sheets
- Compatible Printers: All major inkjet brands
Storage & Tips
- Store in a dry place away from direct sunlight and humidity
- Trim close to the design to avoid unneeded adhesive on the skin
- Do a test print before large production runs
If you're searching for easy-to-use temporary tattoo paper for inkjet printers, this Paropy™ set delivers professional results for your custom tattoo projects at home or at events.


