


Mug sublimation transfers designs onto polymer-coated ceramic by converting sublimation ink into gas under heat and pressure. The ink penetrates the mug coating, creating permanent, full-color graphics that won't peel or crack like vinyl or decals.
This process depends on five core components working together as a system:
- Sublimation printer with dye-based inks that convert to gas under heat
- Mug heat press with curved heating elements for even cylindrical coverage
- High-release sublimation transfer paper that holds ink on the surface
- Heat-resistant tape that secures the transfer during pressing
- Polymer-coated mugs designed to accept sublimation dye
Temperature precision within ±5°F, even pressure across the mug surface, and correct wrapping technique determine whether transfers come out vibrant or faded.
This guide walks through the complete mug sublimation workflow, from design printing to final inspection. By following a structured process instead of guessing settings, you can avoid the common mistakes that cause most beginner failures.
Why Mug Sublimation Works as a Business Entry Point

Mug sublimation is often the first profitable step into custom product manufacturing.
Startup costs remain low compared to apparel or large-format printing. A basic setup using a sublimation printer and mug press can begin under $500, while still producing professional-quality drinkware.
Production cost per mug typically ranges between:
- $2–4 per unit (blank, ink, paper)
- Retail pricing: $12–25 per mug
That margin structure makes mugs ideal for testing product demand before expanding into apparel, tumblers, or signage.
Mugs also provide consistent demand across markets:
- Personalized gifts
- Corporate branding
- Promotional merchandise
- Retail customization
Unlike seasonal apparel, mug demand remains stable year-round, making it a reliable entry point for beginners and small production setups. For comprehensive business planning including startup costs, pricing strategies, and market positioning, see our complete guide on starting a sublimation business.
Equipment and Materials Required
Successful mug sublimation depends on system reliability, not just individual tools. Each component directly affects final transfer quality.
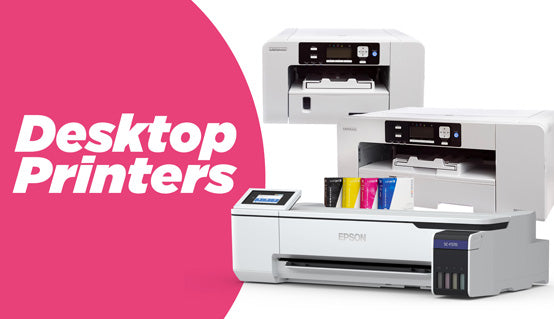
Sublimation Printer and Ink System
Sublimation printers use specialized dye-based inks that convert to gas when heated. Standard inkjet printers using pigment or dye inks cannot sublimate.
Entry-level desktop sublimation printers handle letter-size output, which is more than sufficient for mug wraps.
Ink quality matters significantly.
Low-quality ink often produces:
- Dull colors
- Reduced wash durability
- Inconsistent results
Premium sublimation inks maintain color accuracy across repeated production runs, reducing waste and reprints.
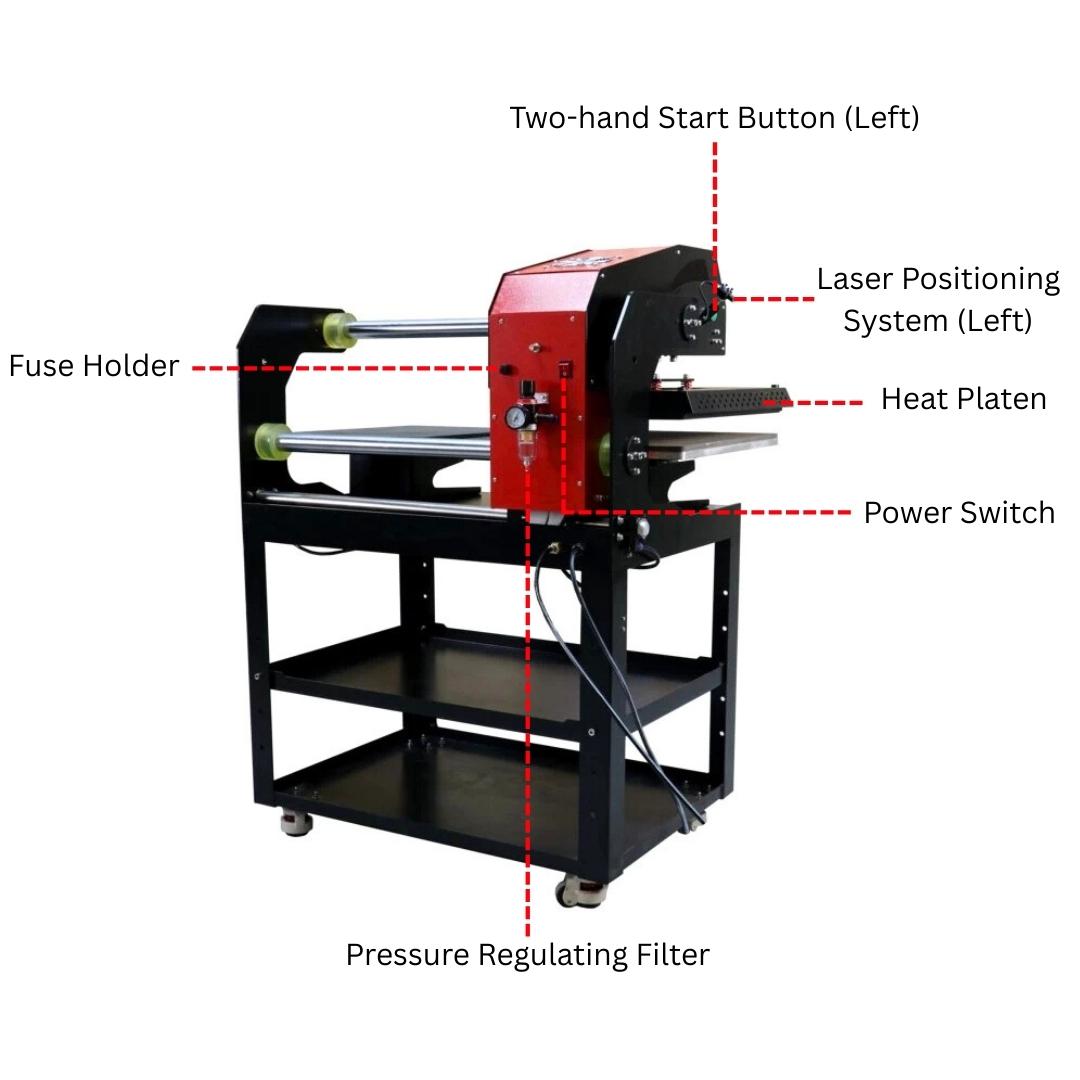
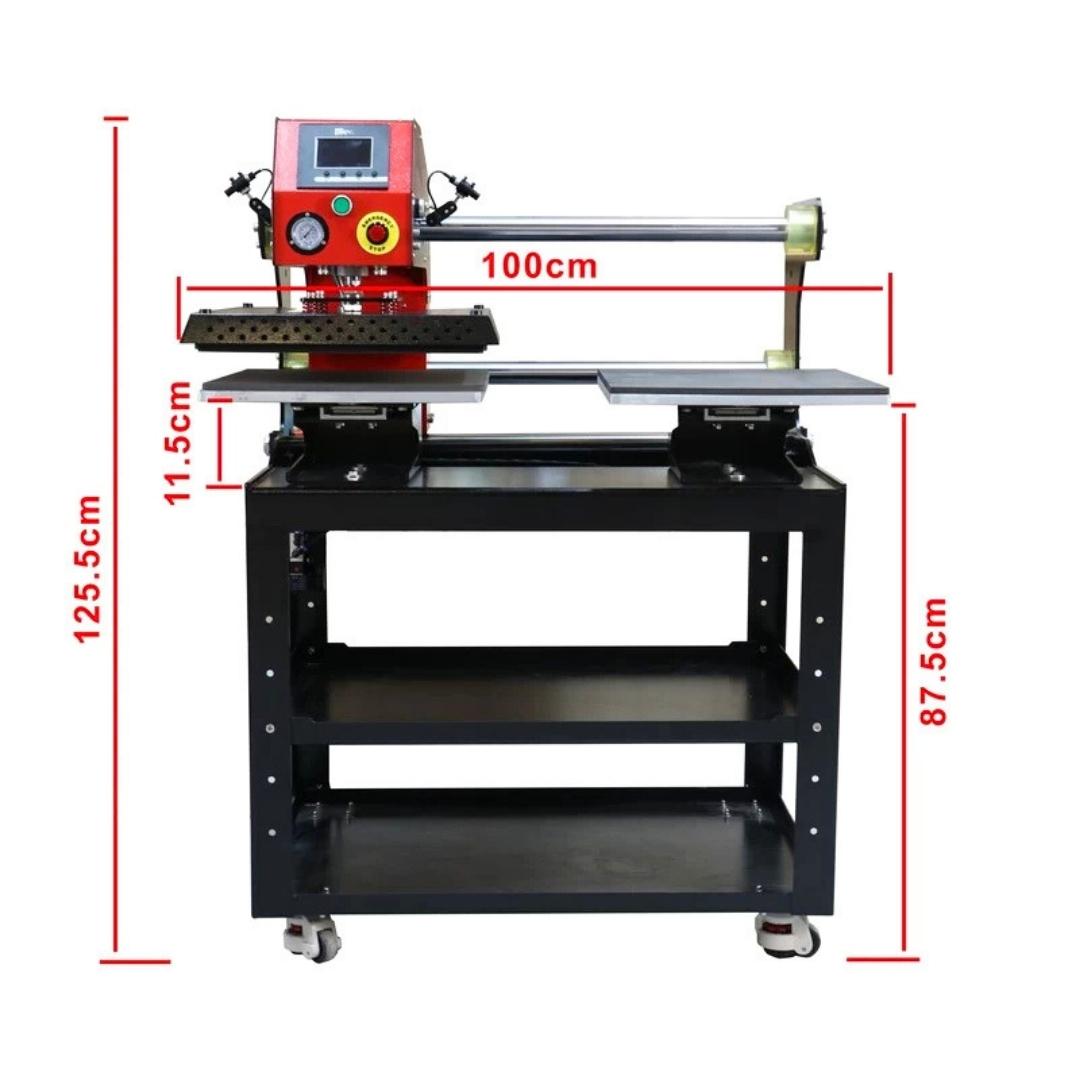
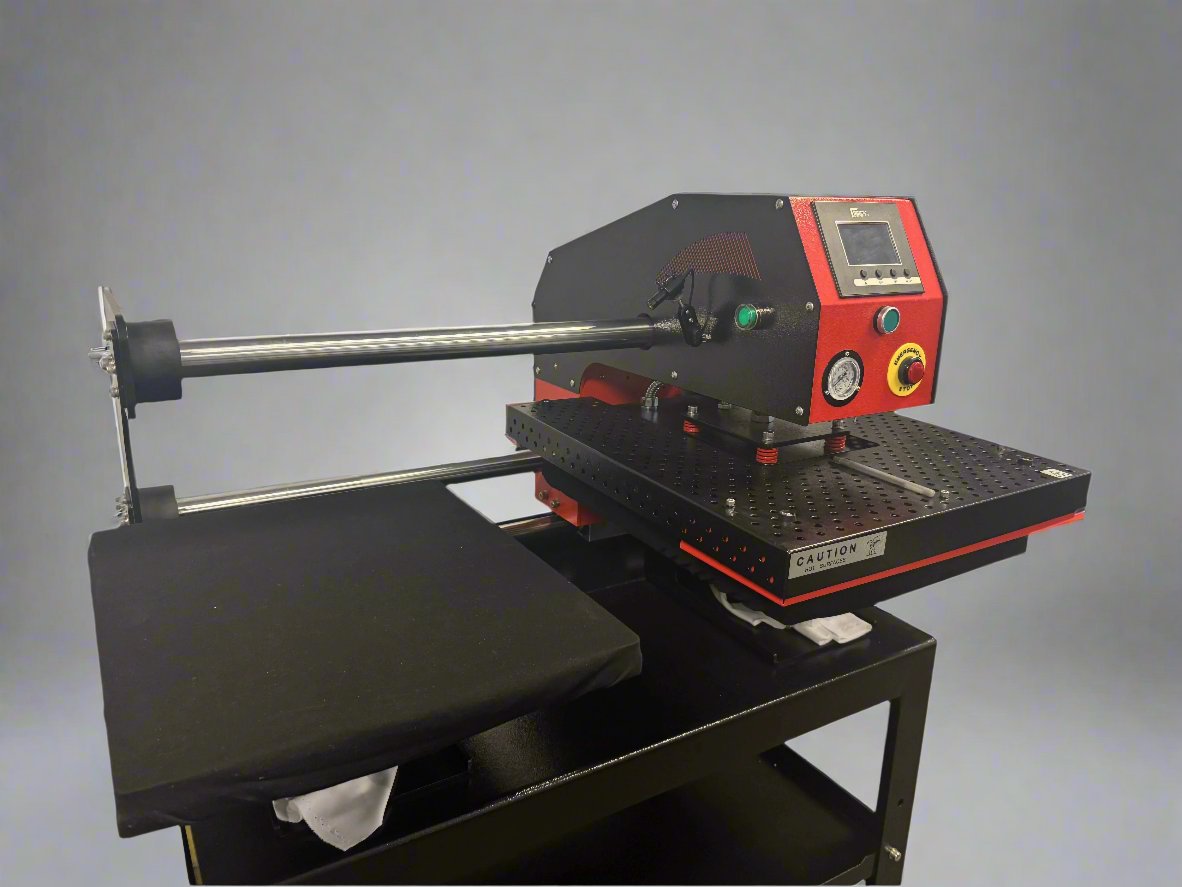
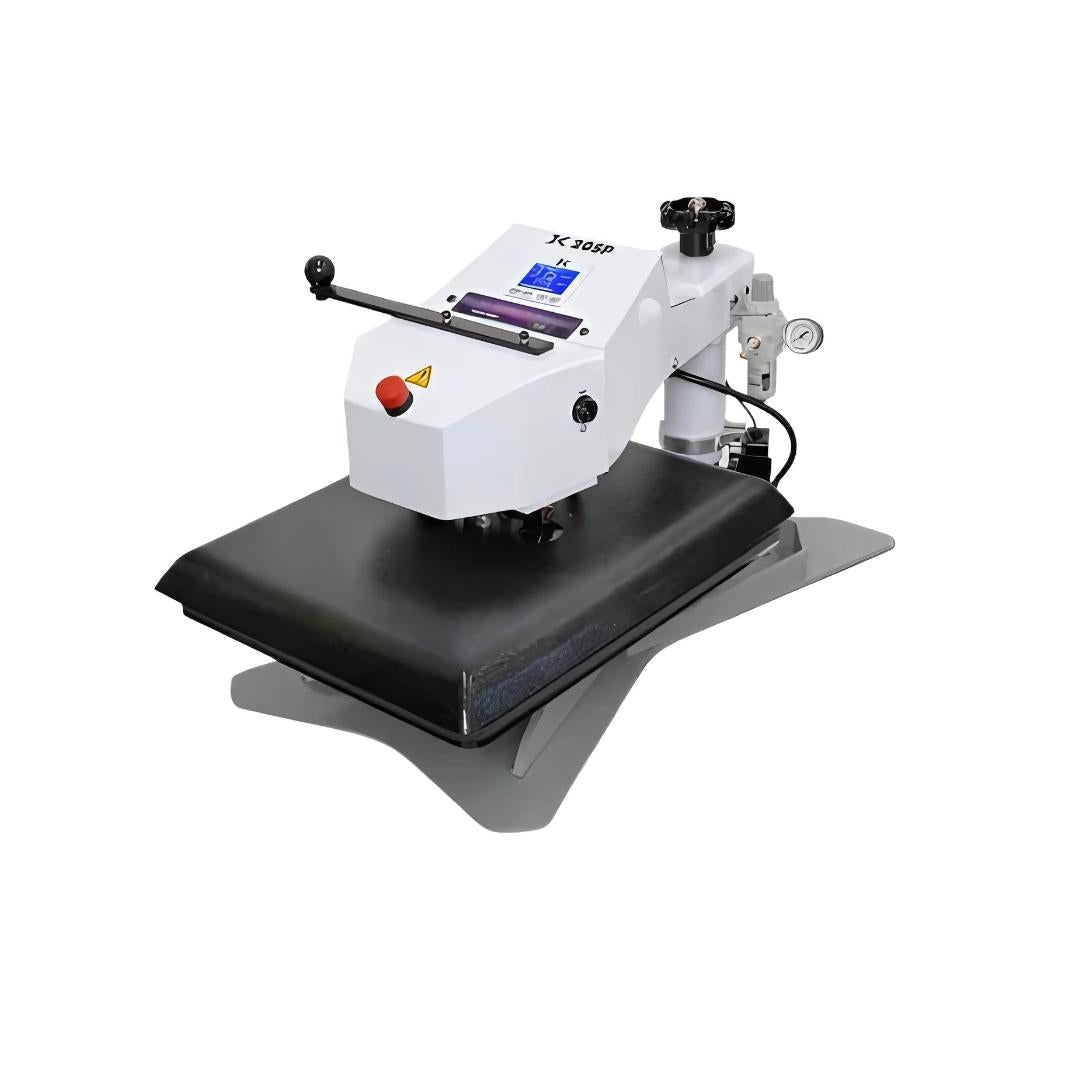
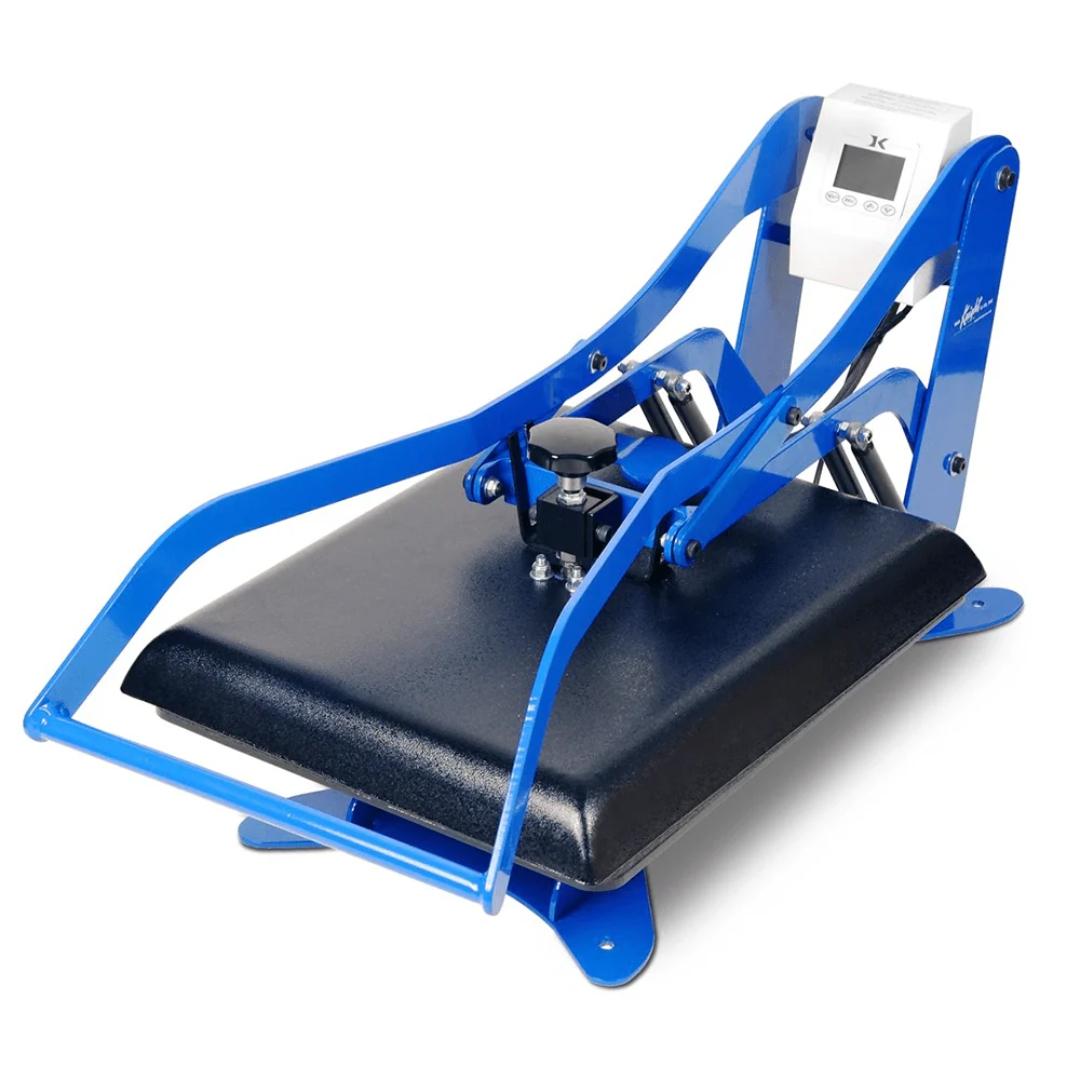
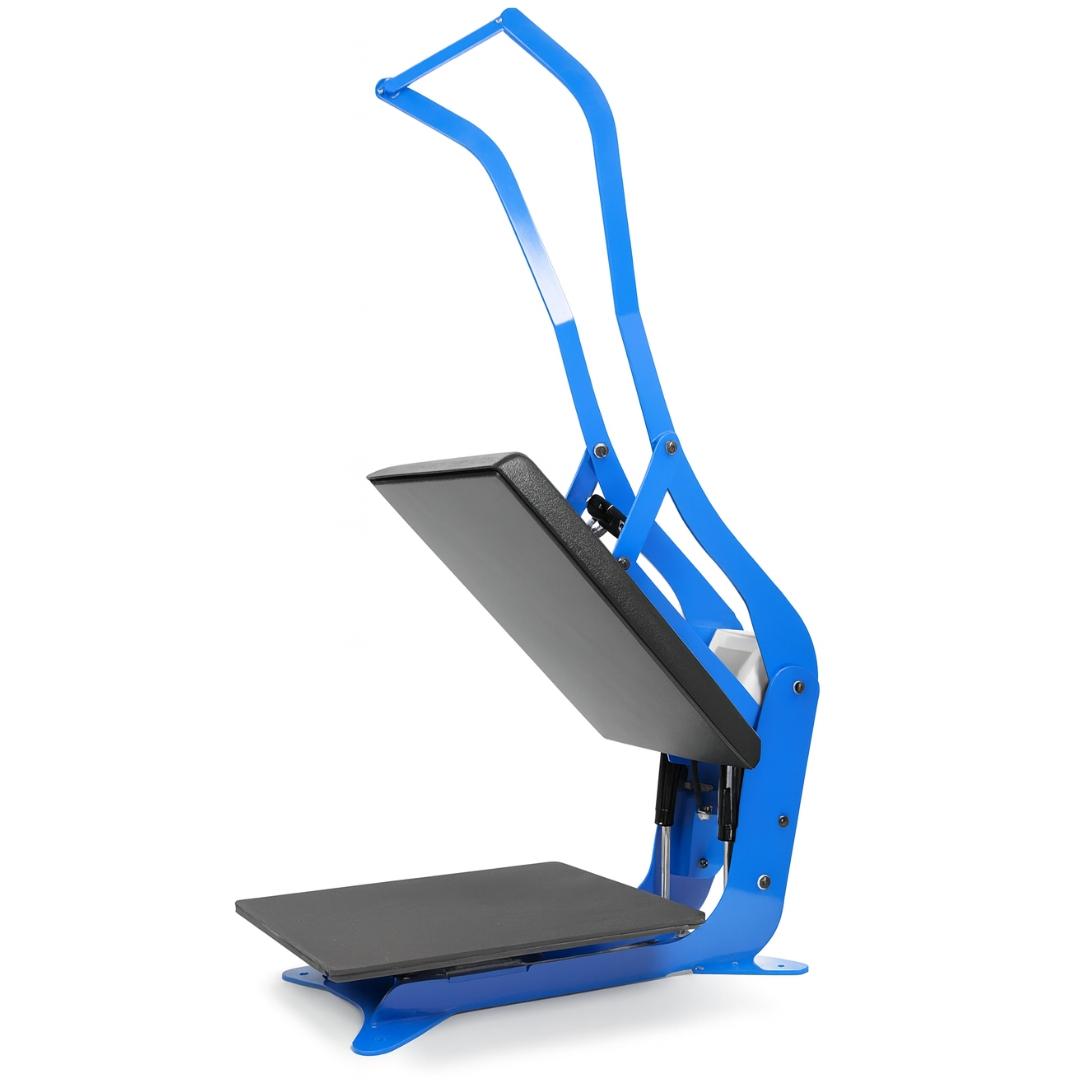
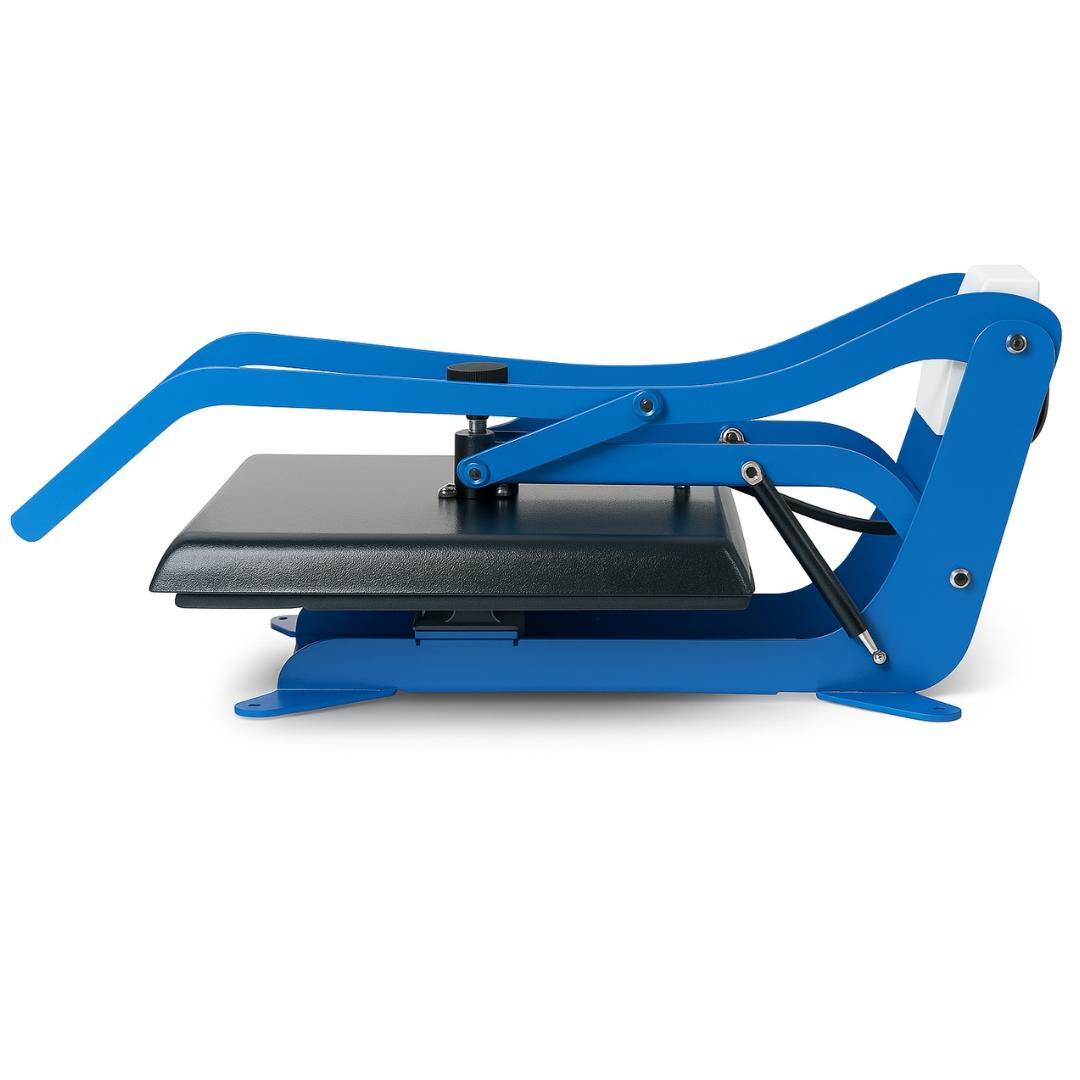
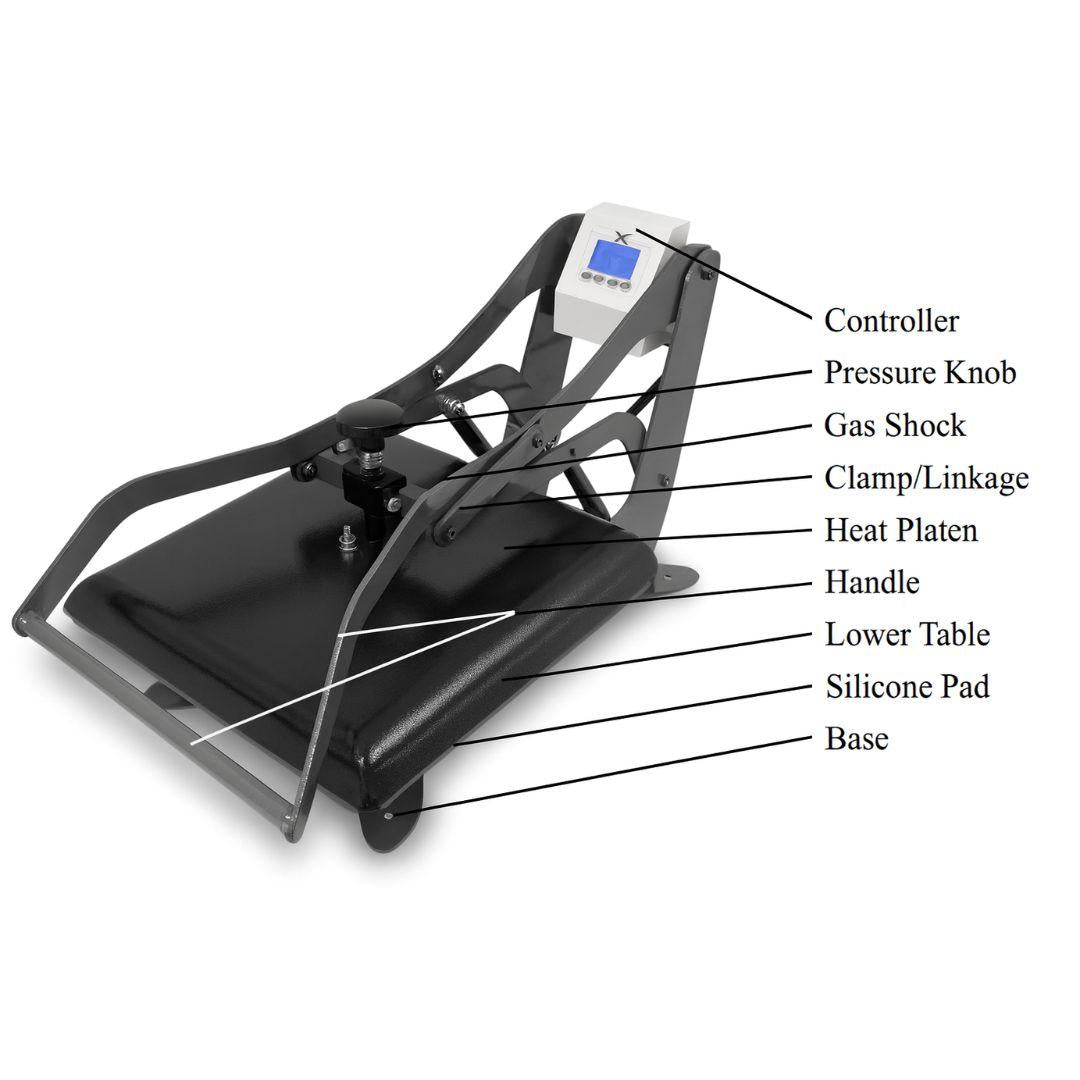
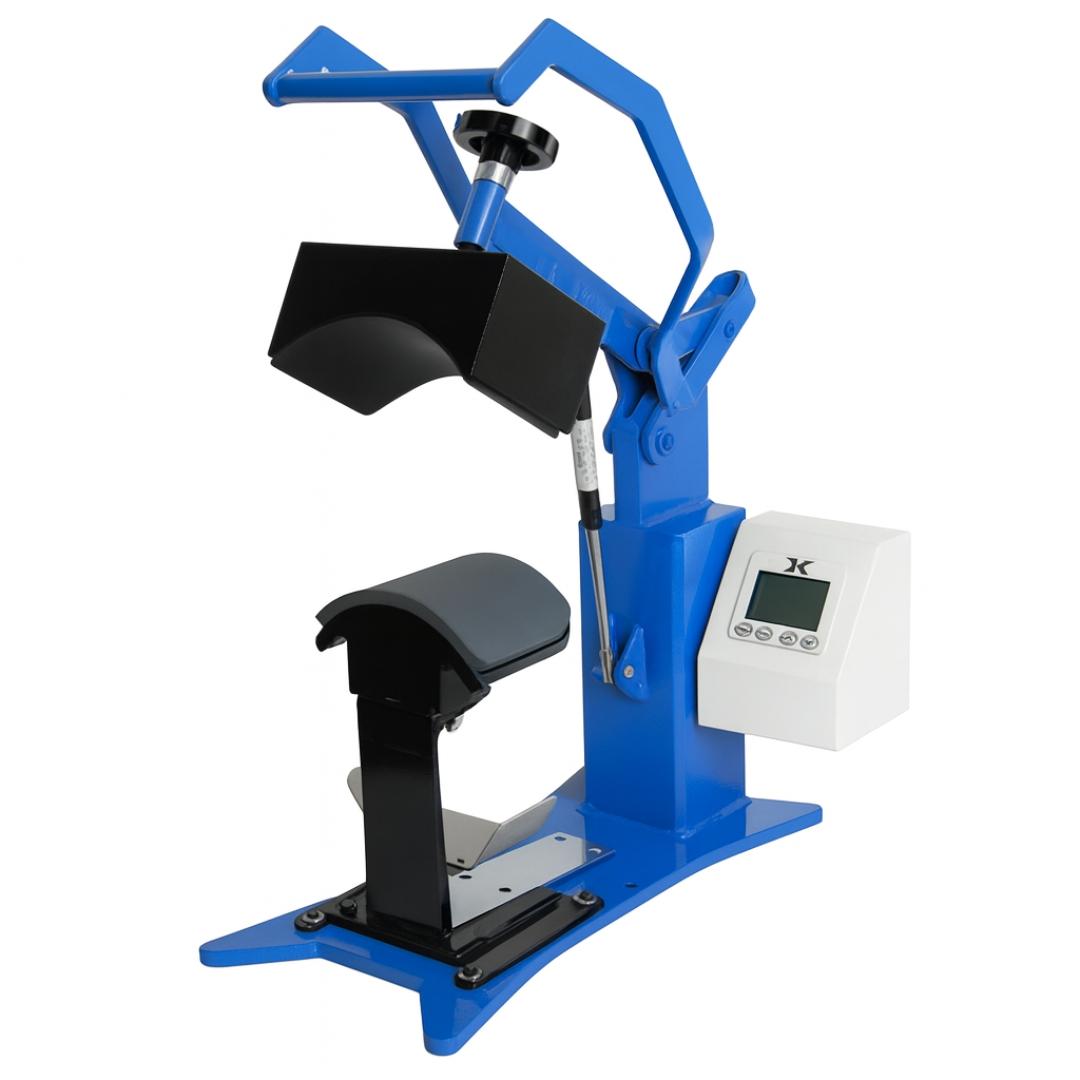
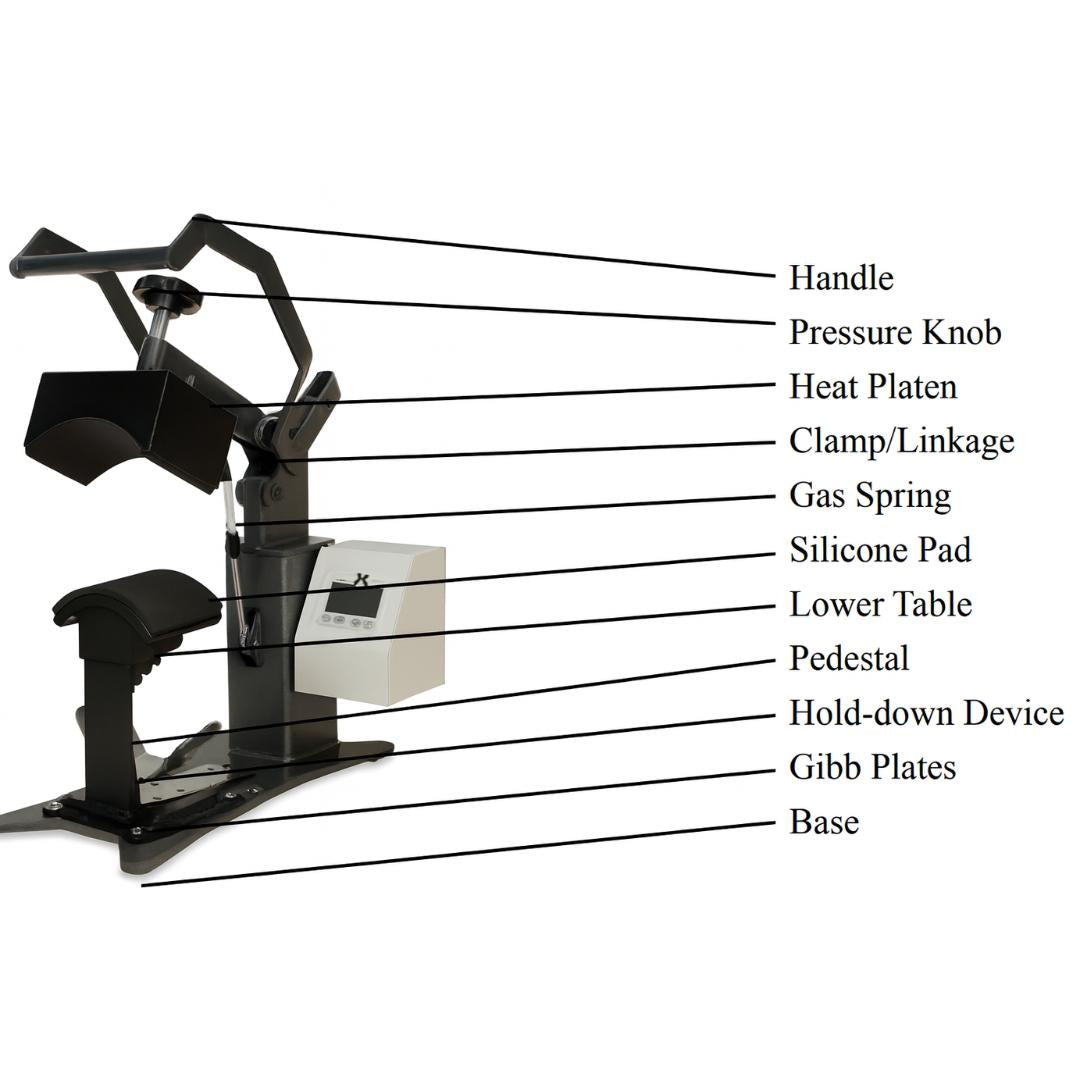
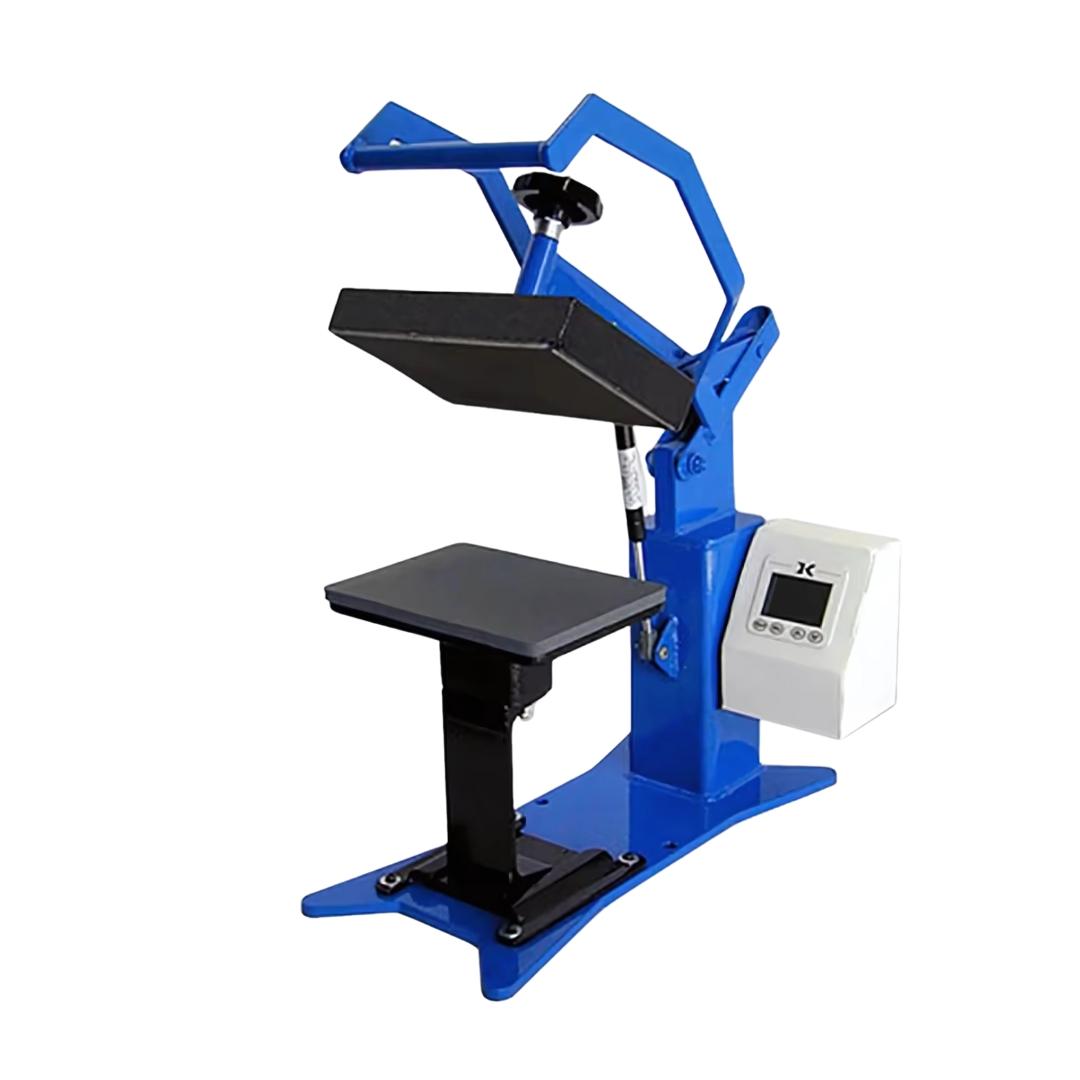
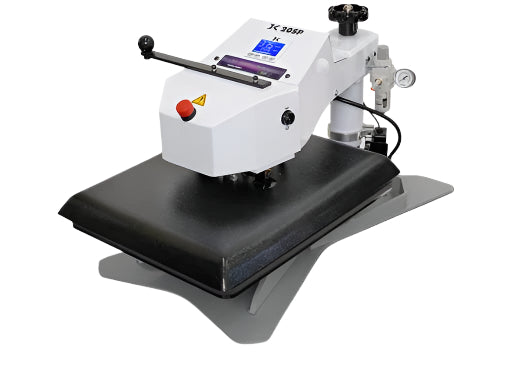
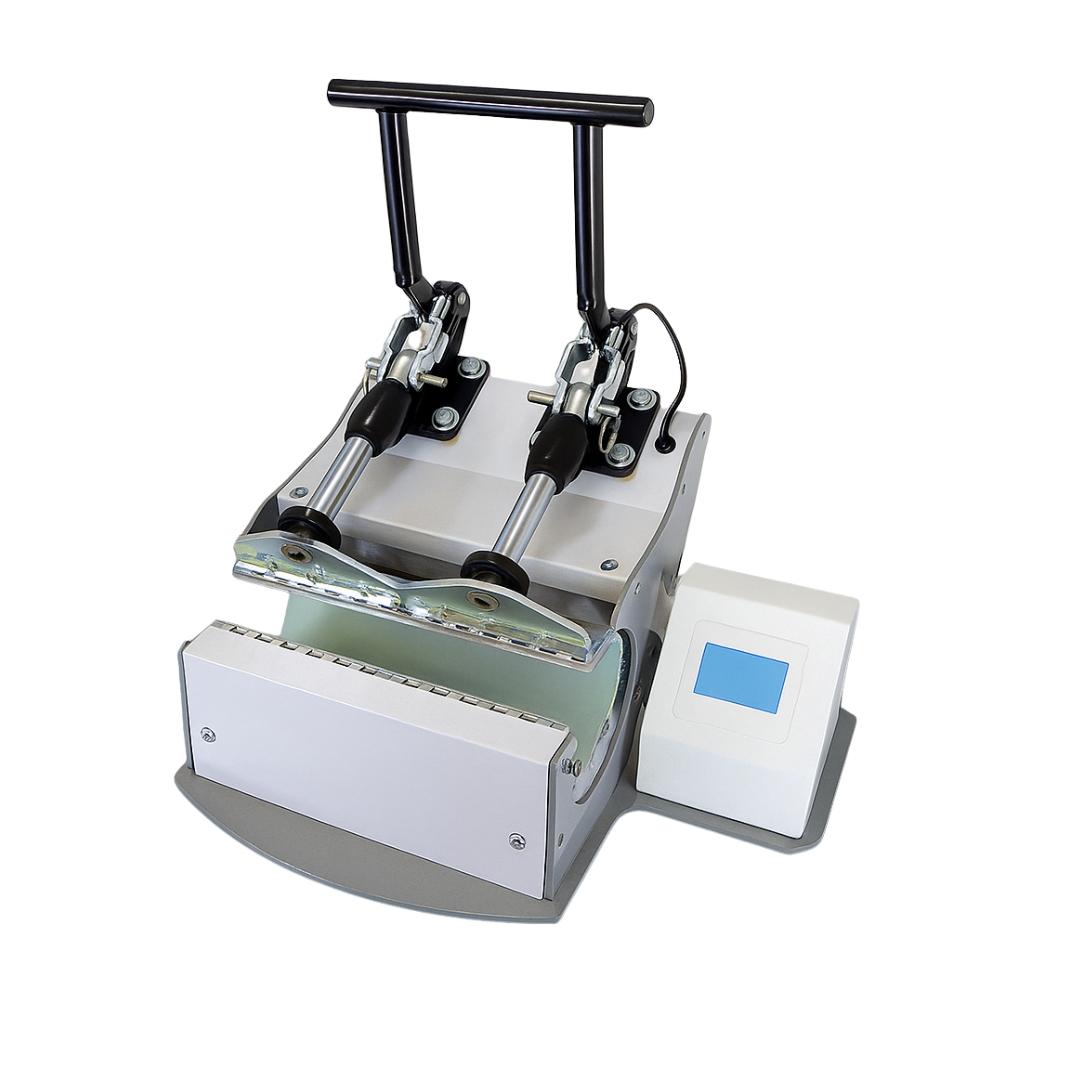
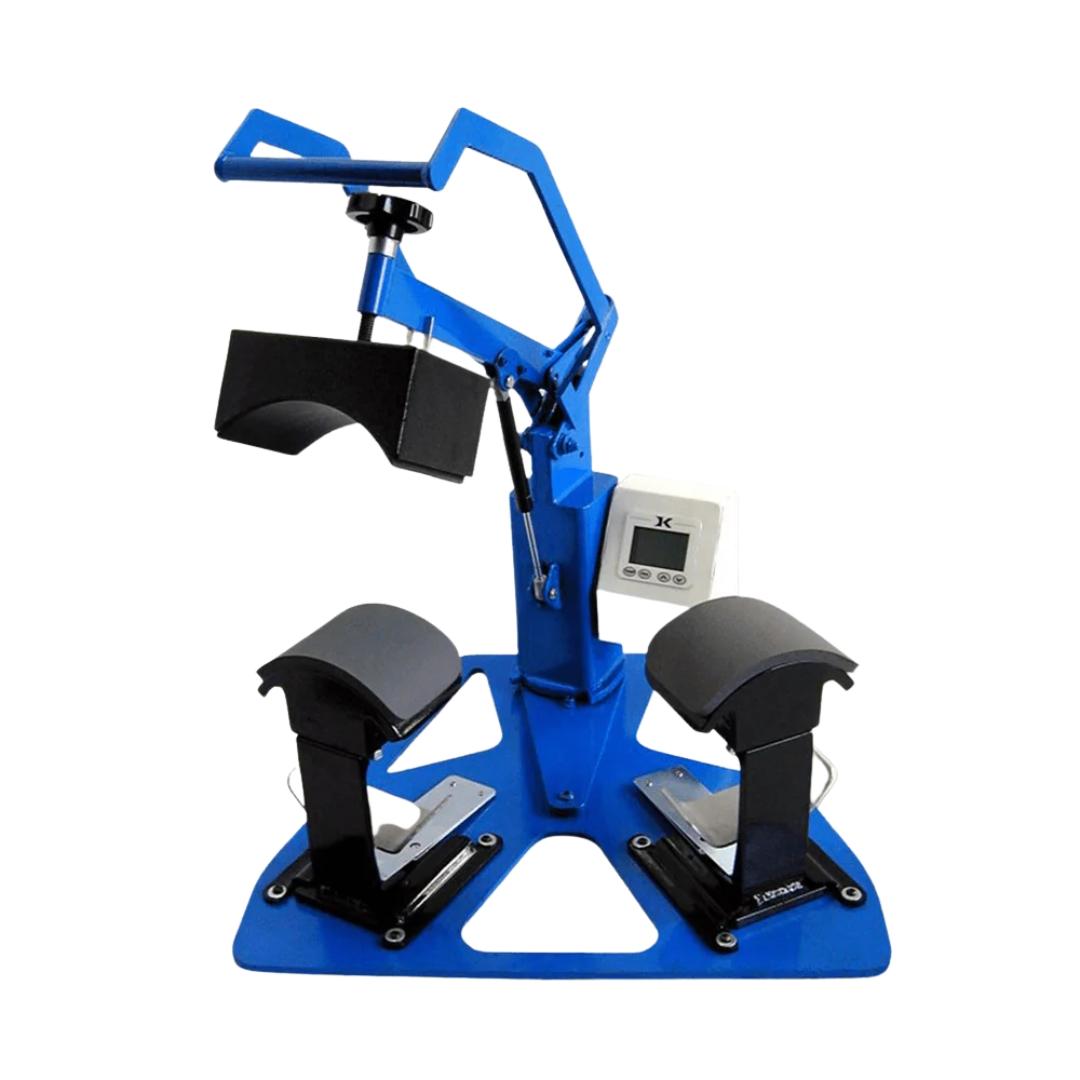
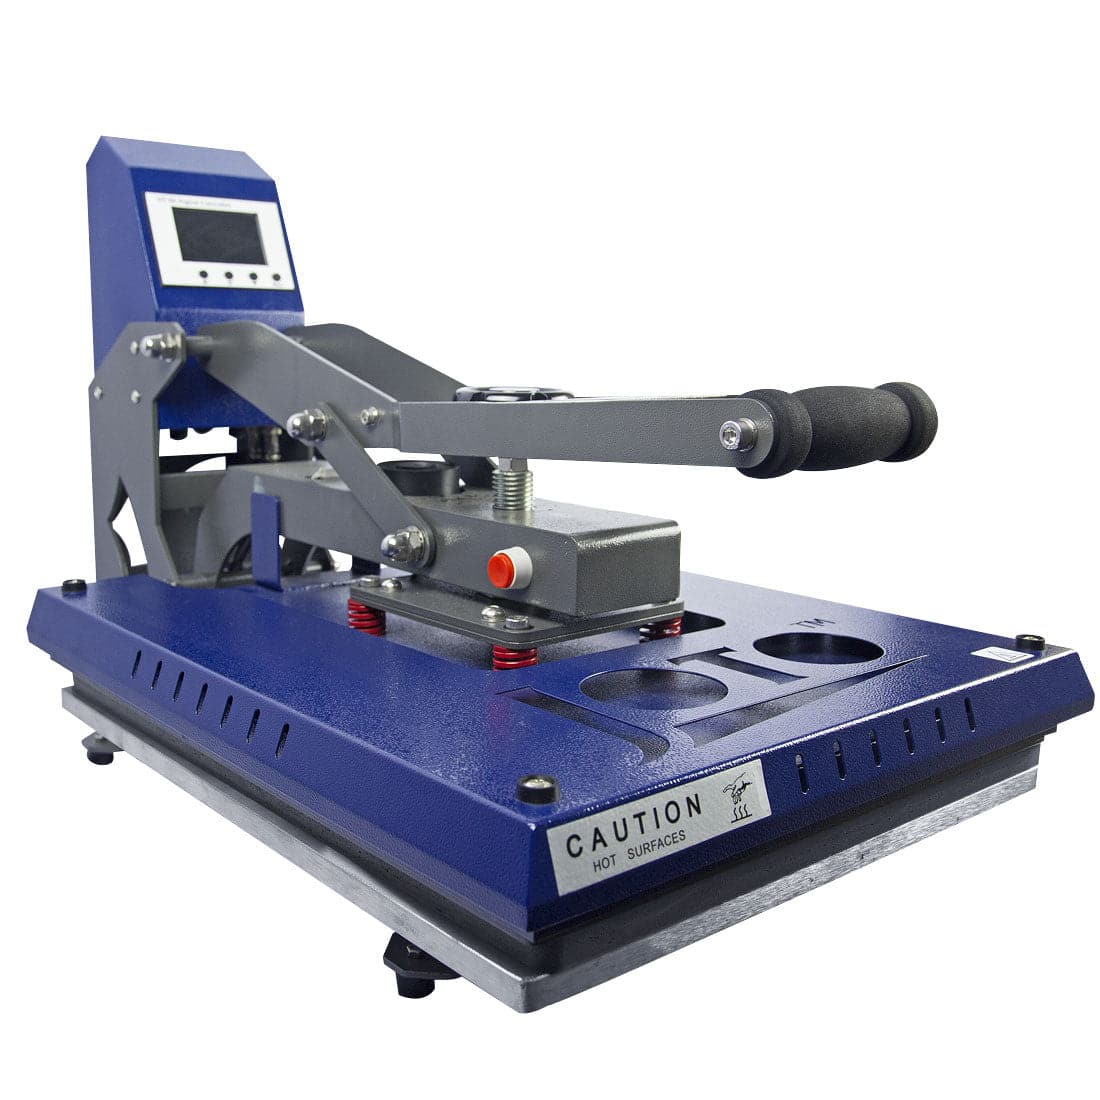
Mug Heat Press
Mug presses differ from flat presses by using curved heating elements that wrap evenly around cylindrical surfaces.
This curvature prevents:
- Uneven heat distribution
- Partial transfers
- Edge fading
Quality mug presses typically support interchangeable elements such as:
- 11oz standard
- 15oz standard
- Latte-style mugs
- Specialty tapered mugs
Digital temperature control maintaining ±5°F accuracy is critical for consistent output. For detailed mug press operation including element selection, pressure calibration, and maintenance schedules, see our comprehensive guide to using a mug heat press.
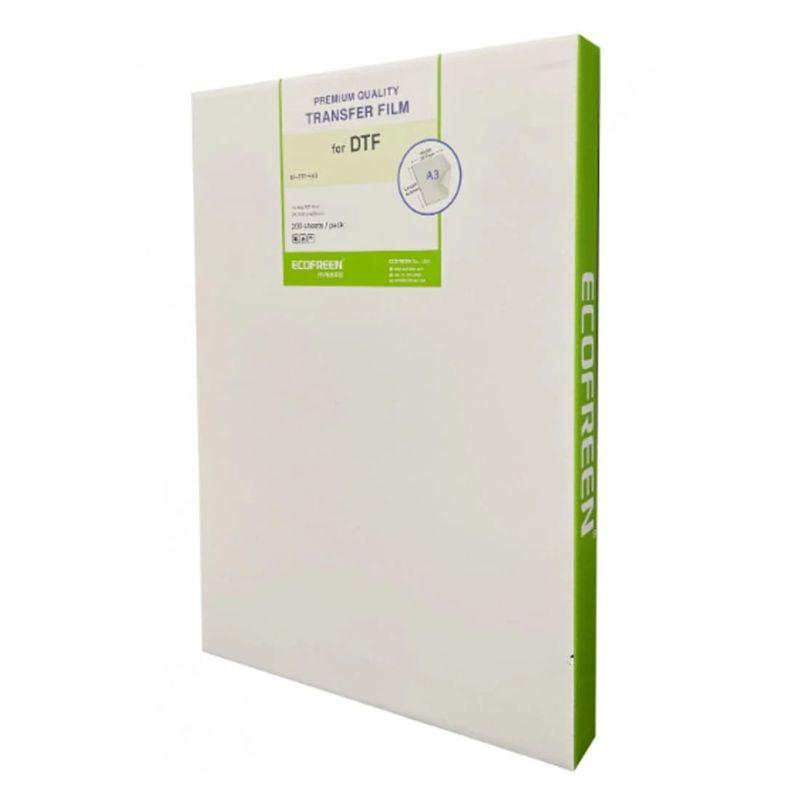
Sublimation Transfer Paper
Transfer paper determines how efficiently ink releases during pressing.
High-quality sublimation paper:
- Holds ink on the surface
- Releases cleanly during pressing
- Produces brighter color output
Low-quality paper absorbs ink into fibers instead of holding it on the coating surface, which leads to faded transfers.
Store paper in sealed containers with desiccant to prevent moisture absorption.
Humidity can cause paper to stick during pressing.
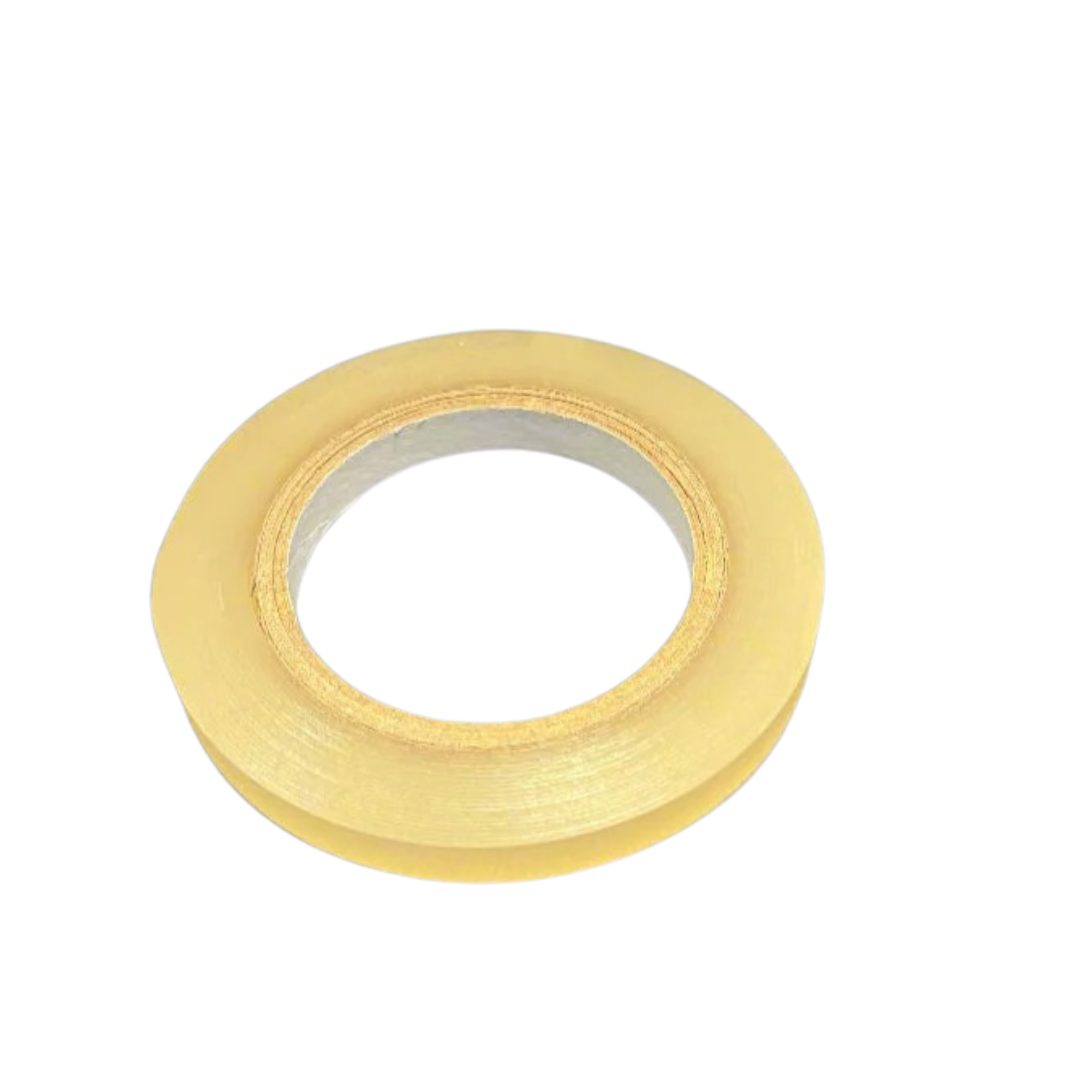
Heat-Resistant Tape
Standard office tape melts under sublimation temperatures.
Heat-resistant tape withstands temperatures above 400°F, preventing adhesive failure and residue.
Use at least:
- Two vertical strips
- One top strip
- One bottom strip
This prevents movement during pressing, which causes ghosting.
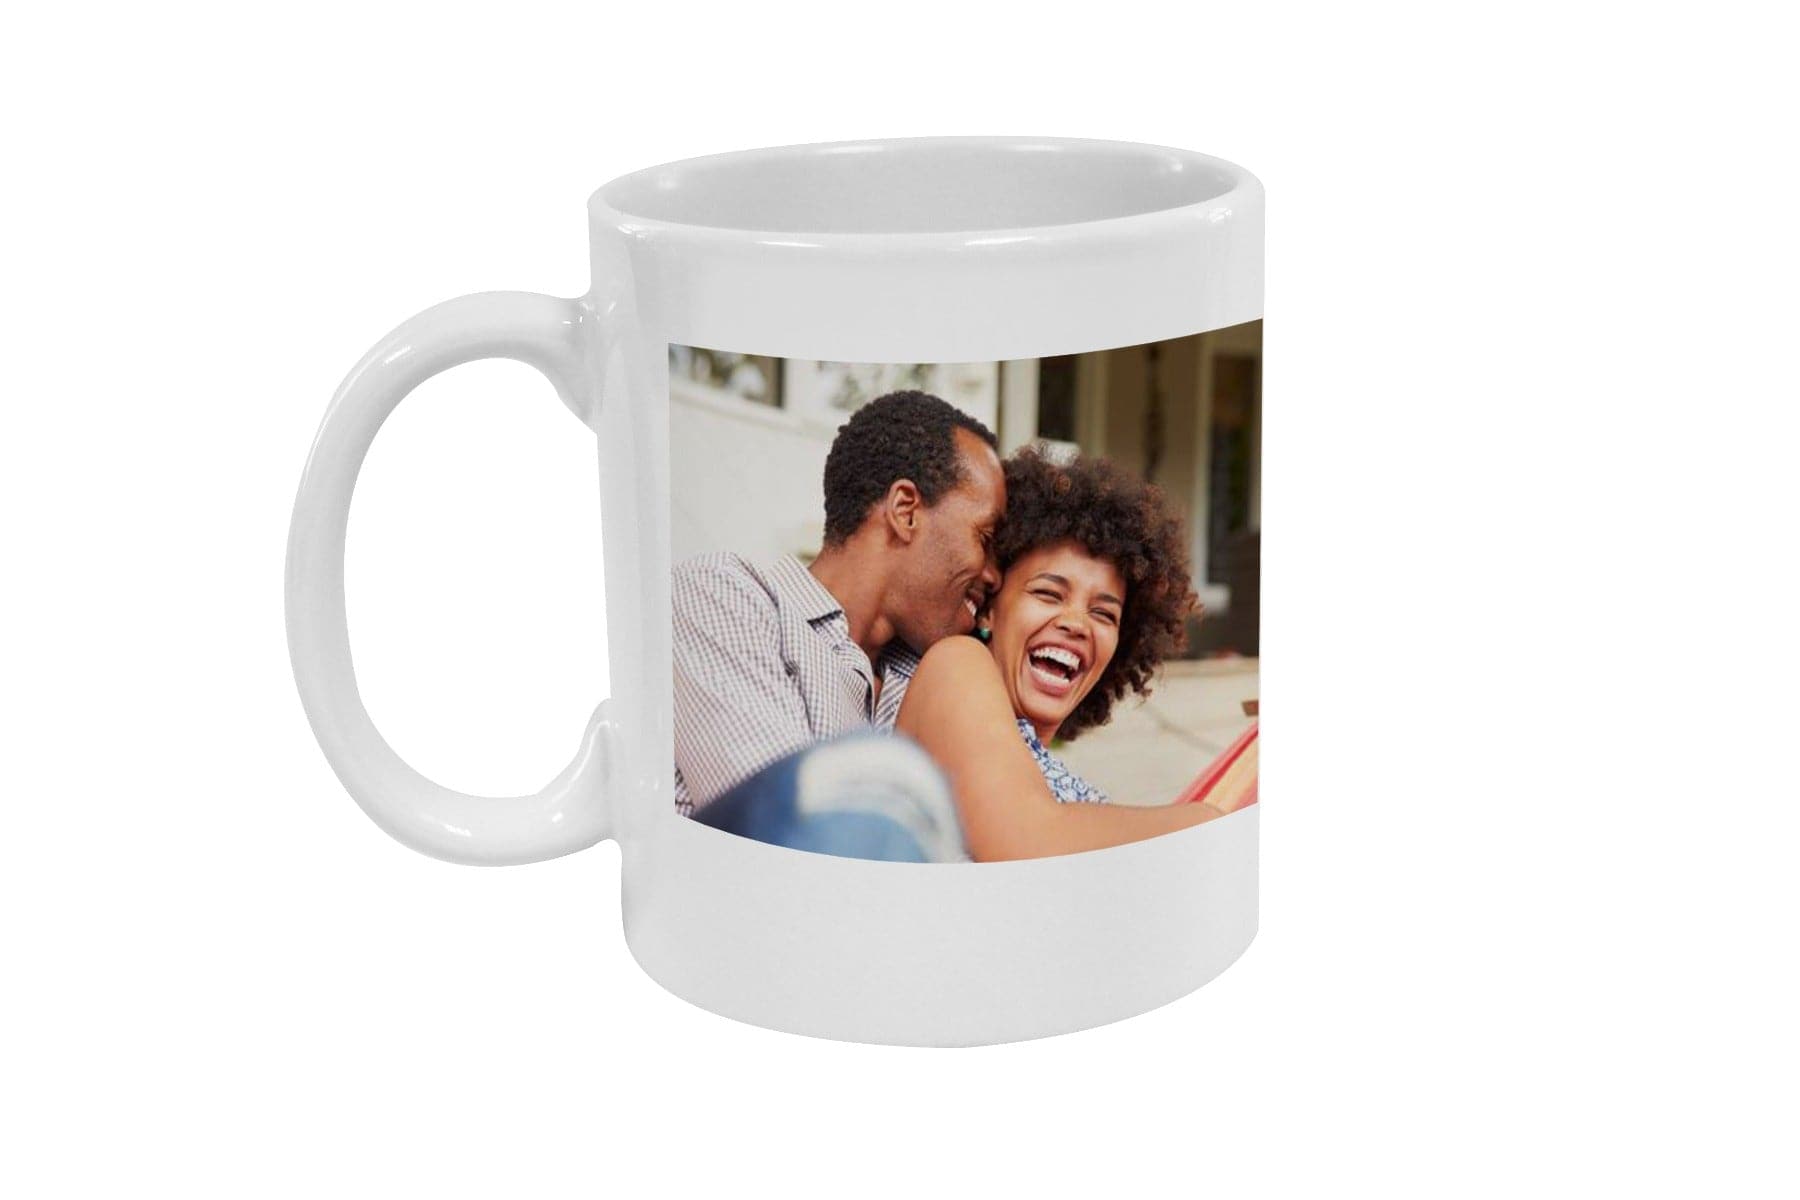
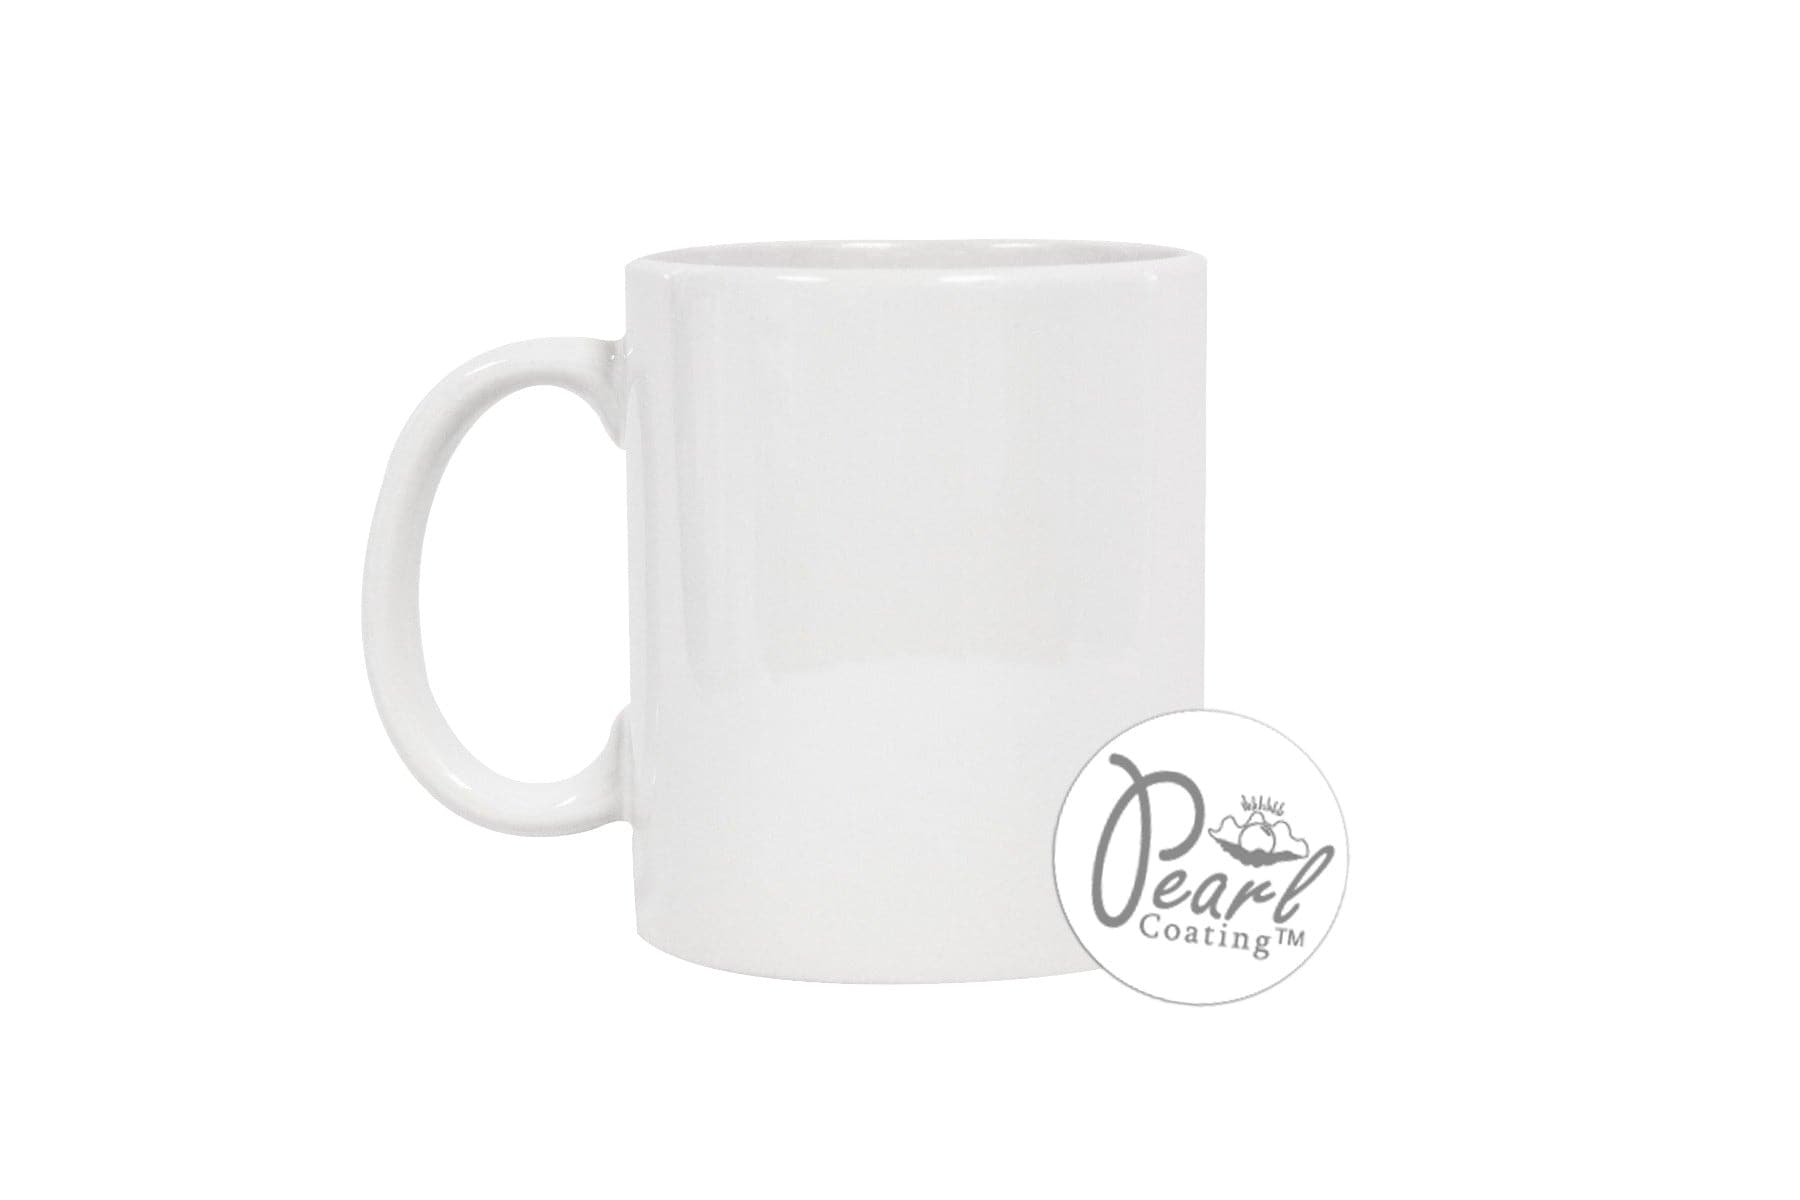
Polymer-Coated Sublimation Mugs
Only mugs with specialized polymer coatings accept sublimation dye.
Regular ceramic mugs cannot be sublimated.
High-quality coatings improve:
- Color vibrancy
- Durability
- Image clarity
Low-quality coatings often produce:
- Yellowing
- Faded highlights
- Poor detail retention
Browse our complete selection of sublimation mugs including standard white, color interior, enamel, stainless steel, and specialty finishes.
Common Mug Types (Quick Reference)
Instead of memorizing dozens of variations, focus on the few most commonly used mug types.
| Mug Type | Best Use | Special Notes |
|---|---|---|
| Standard White | Beginners, general use | Most forgiving surface |
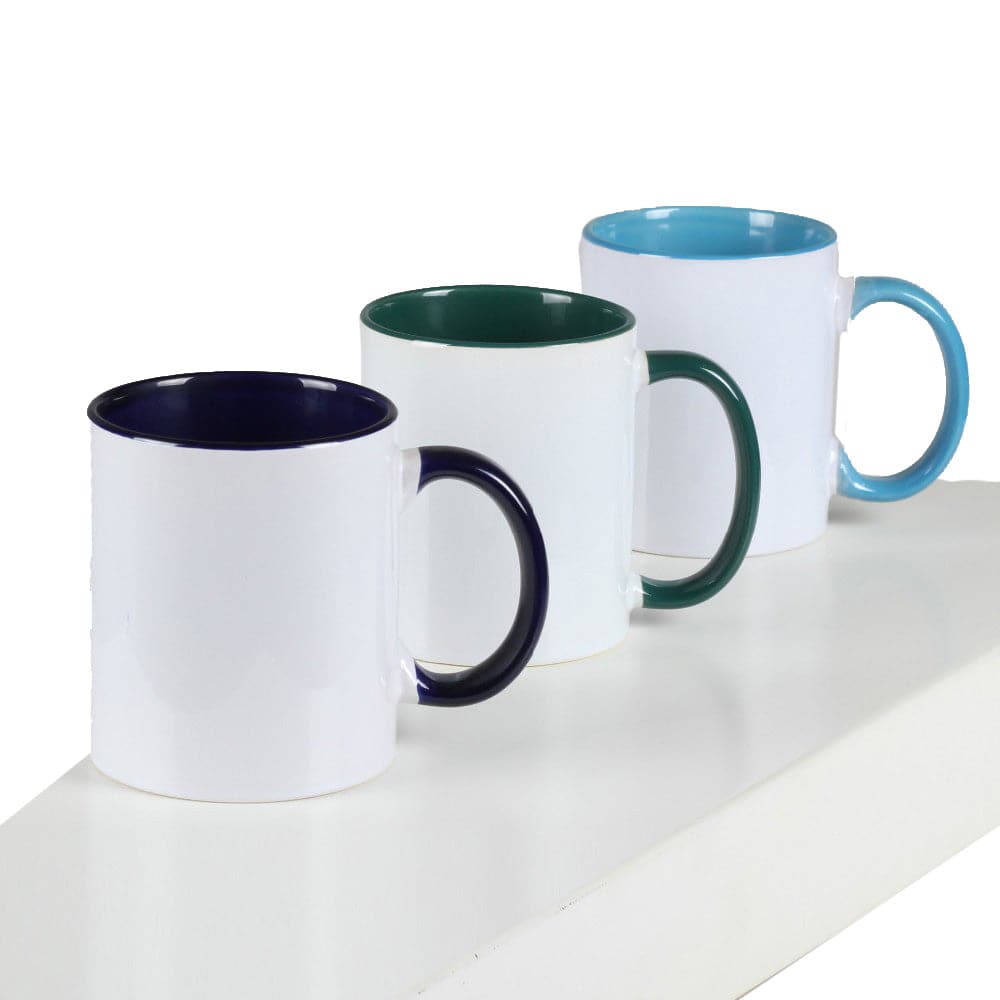
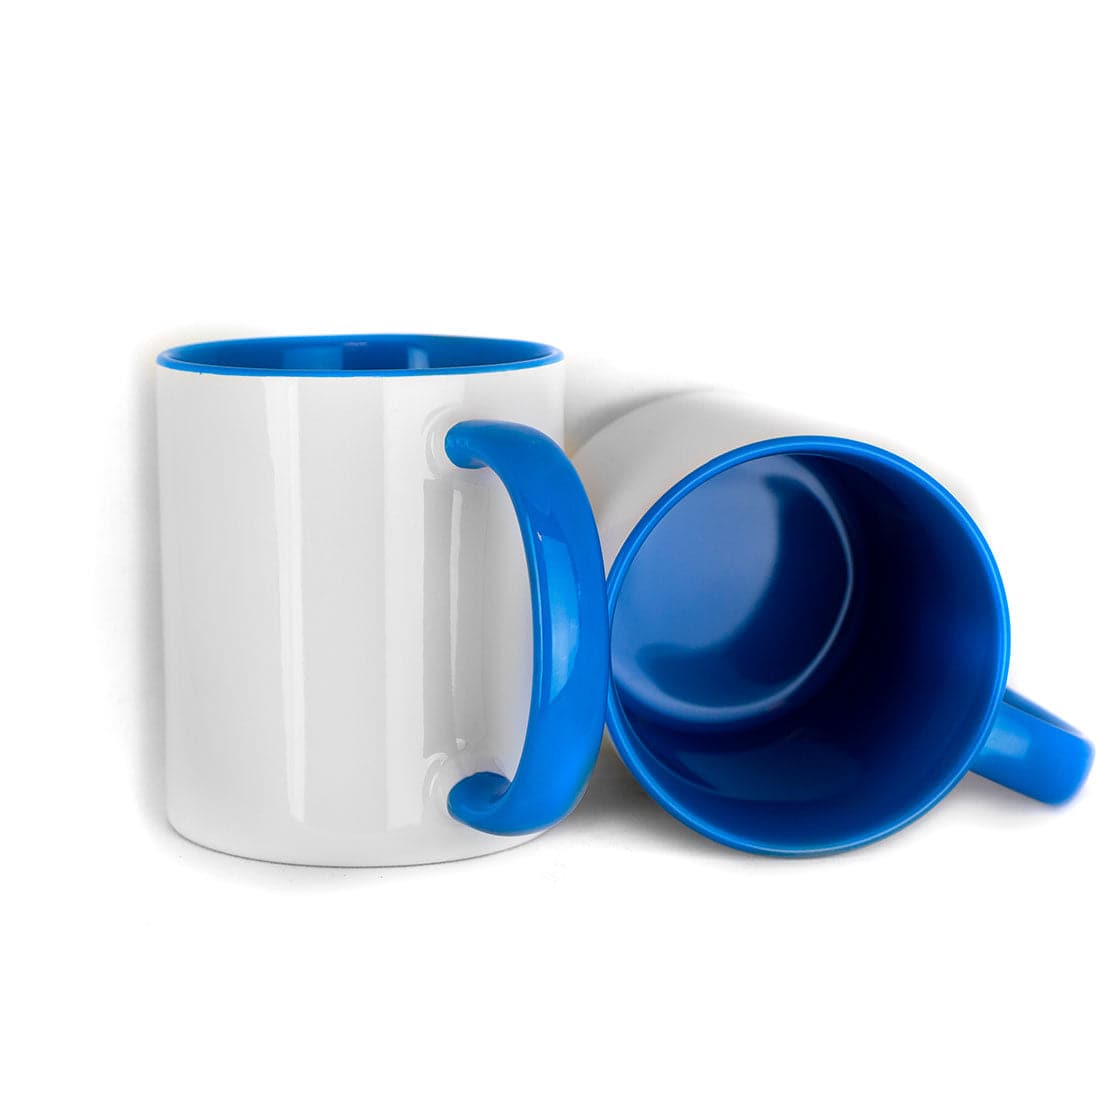
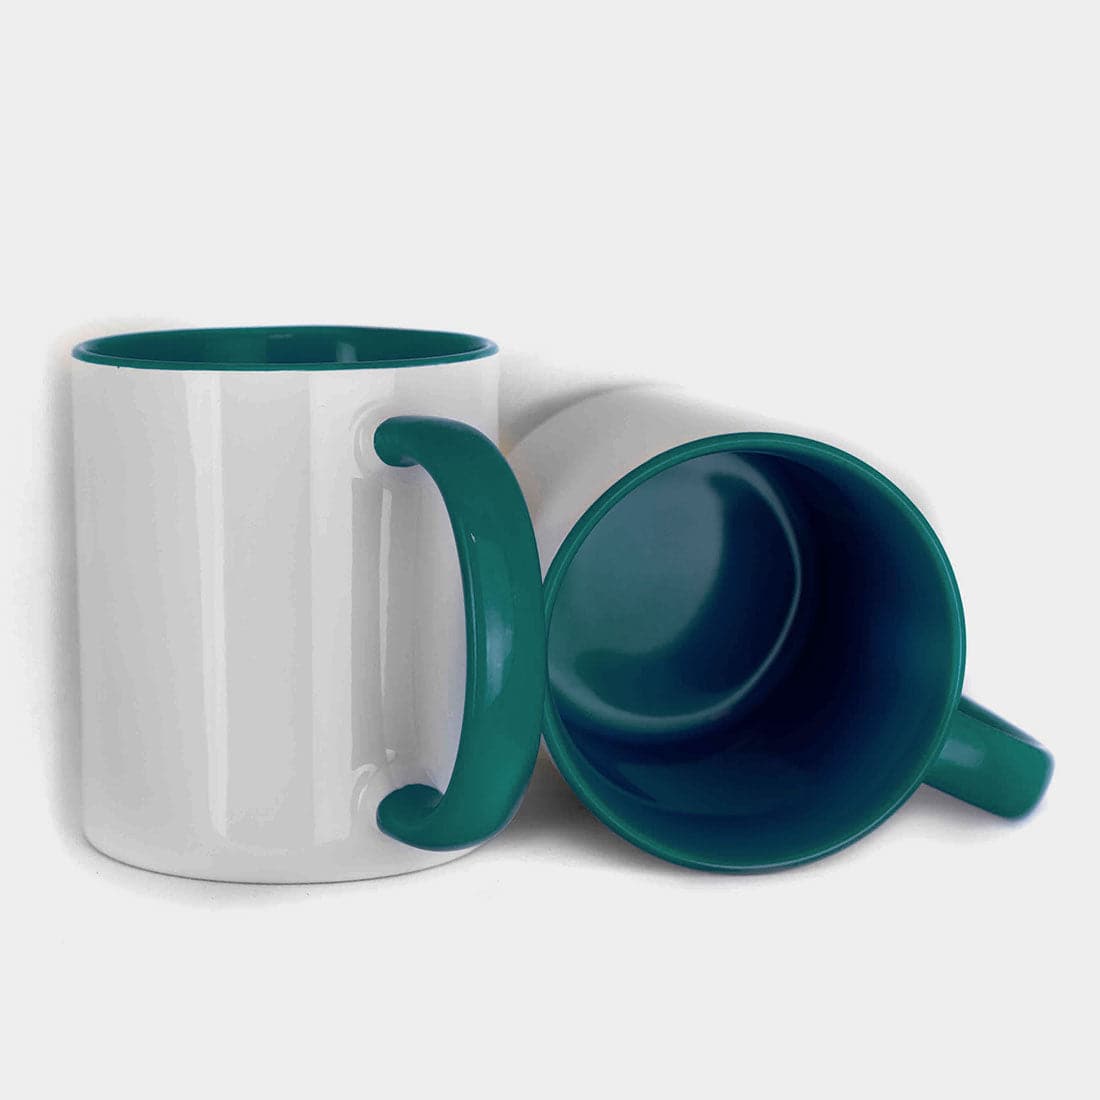
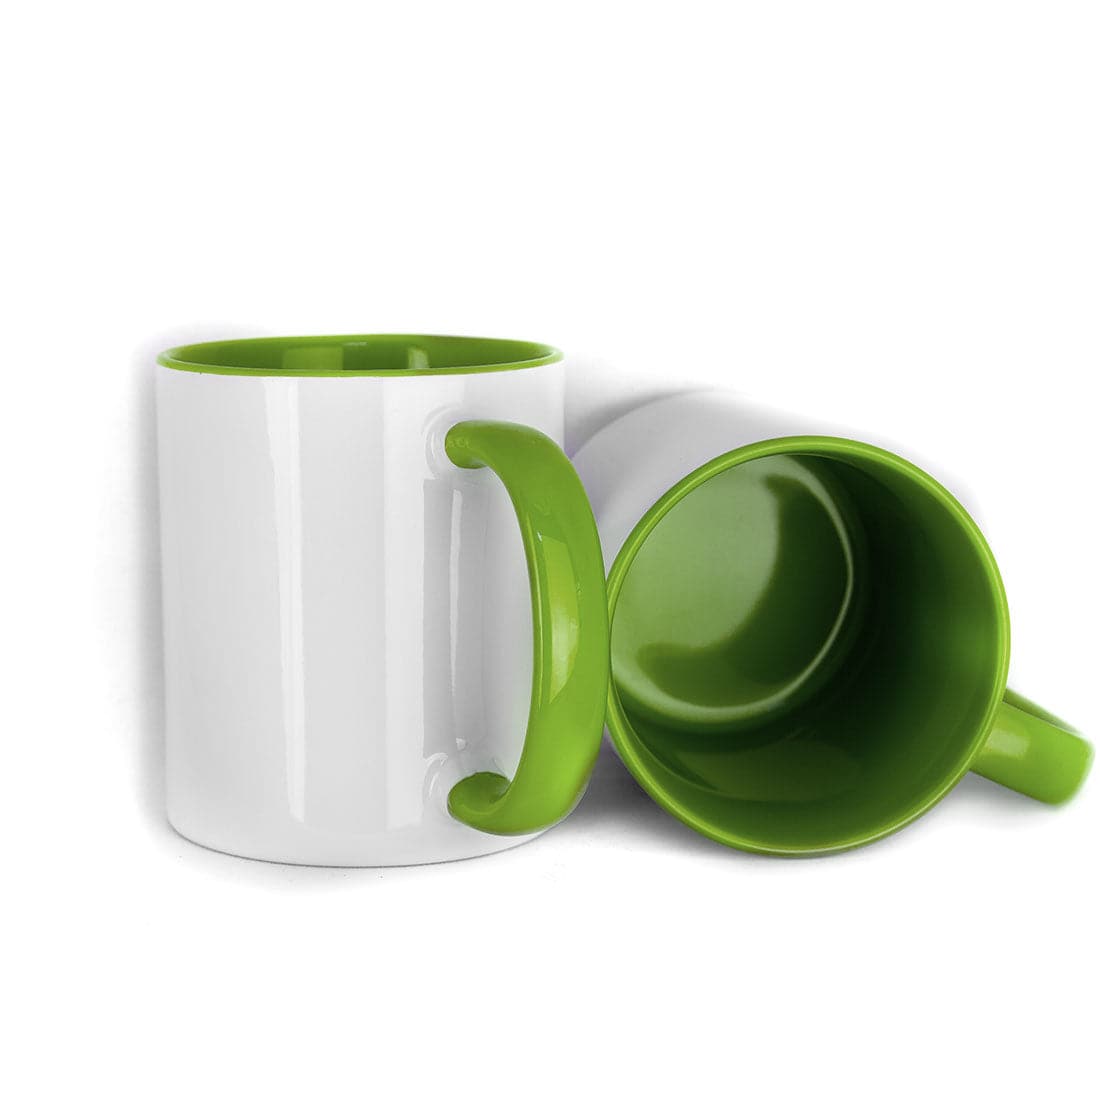
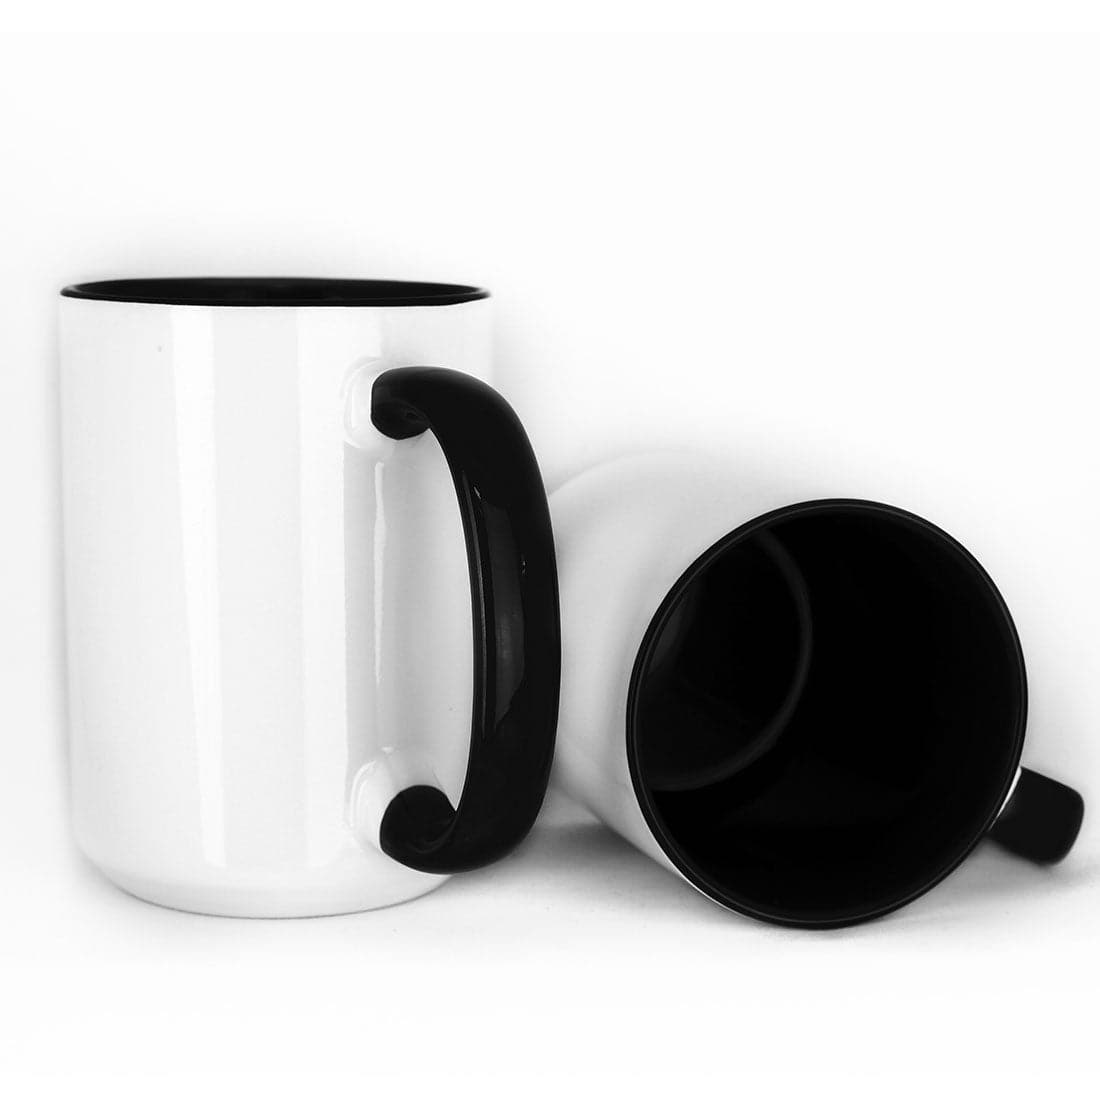
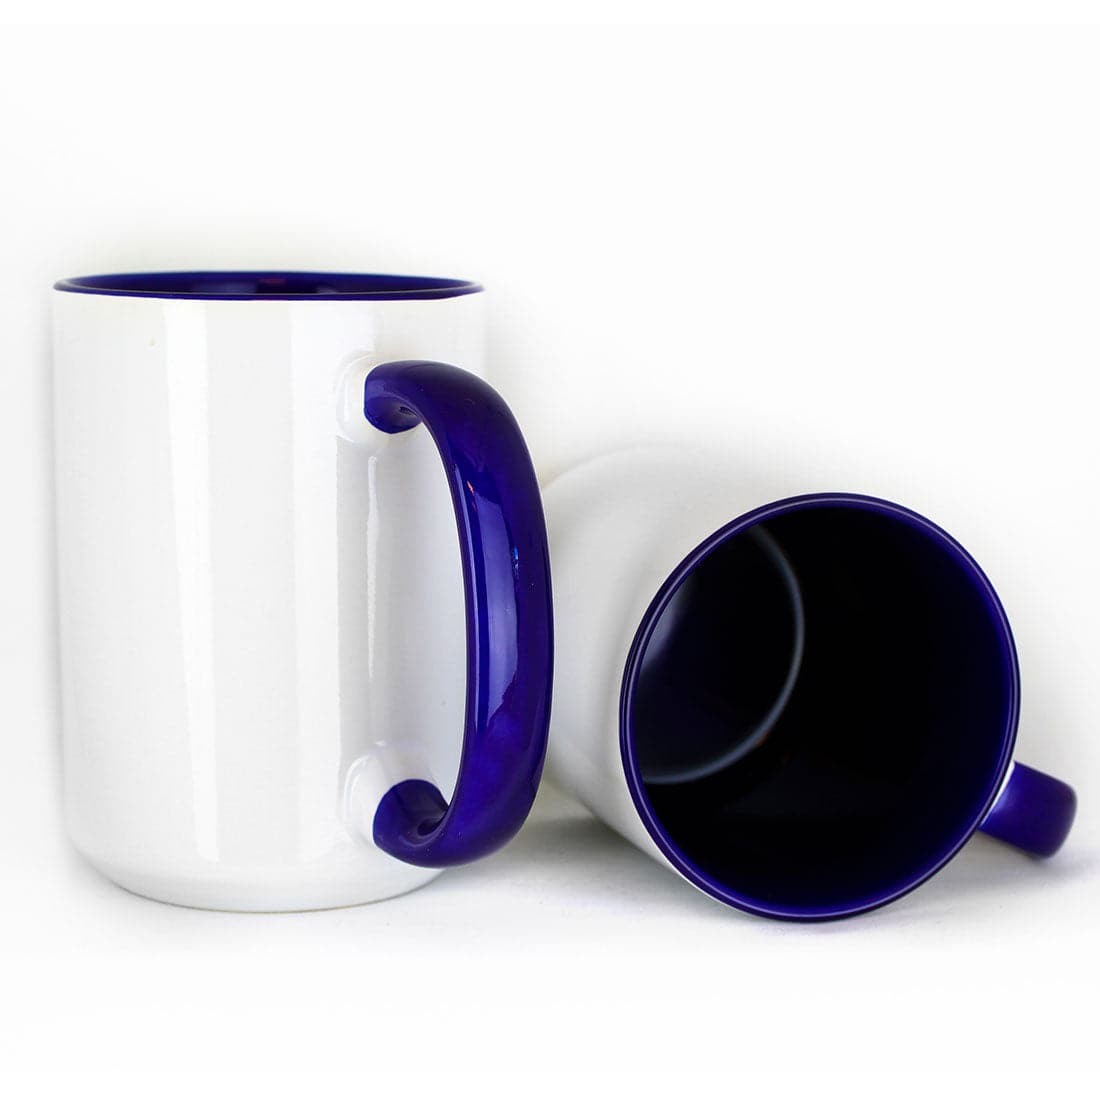
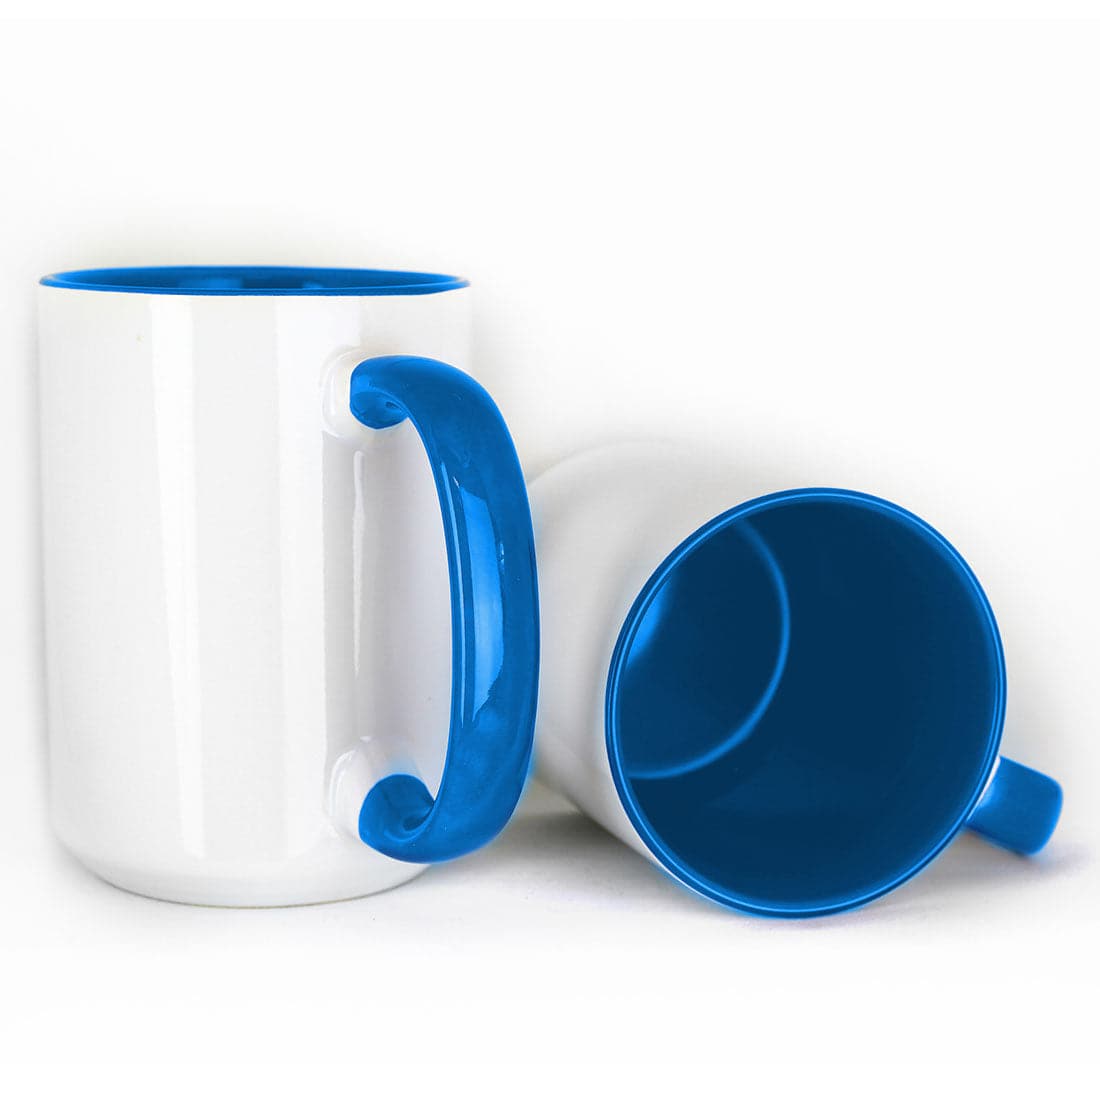
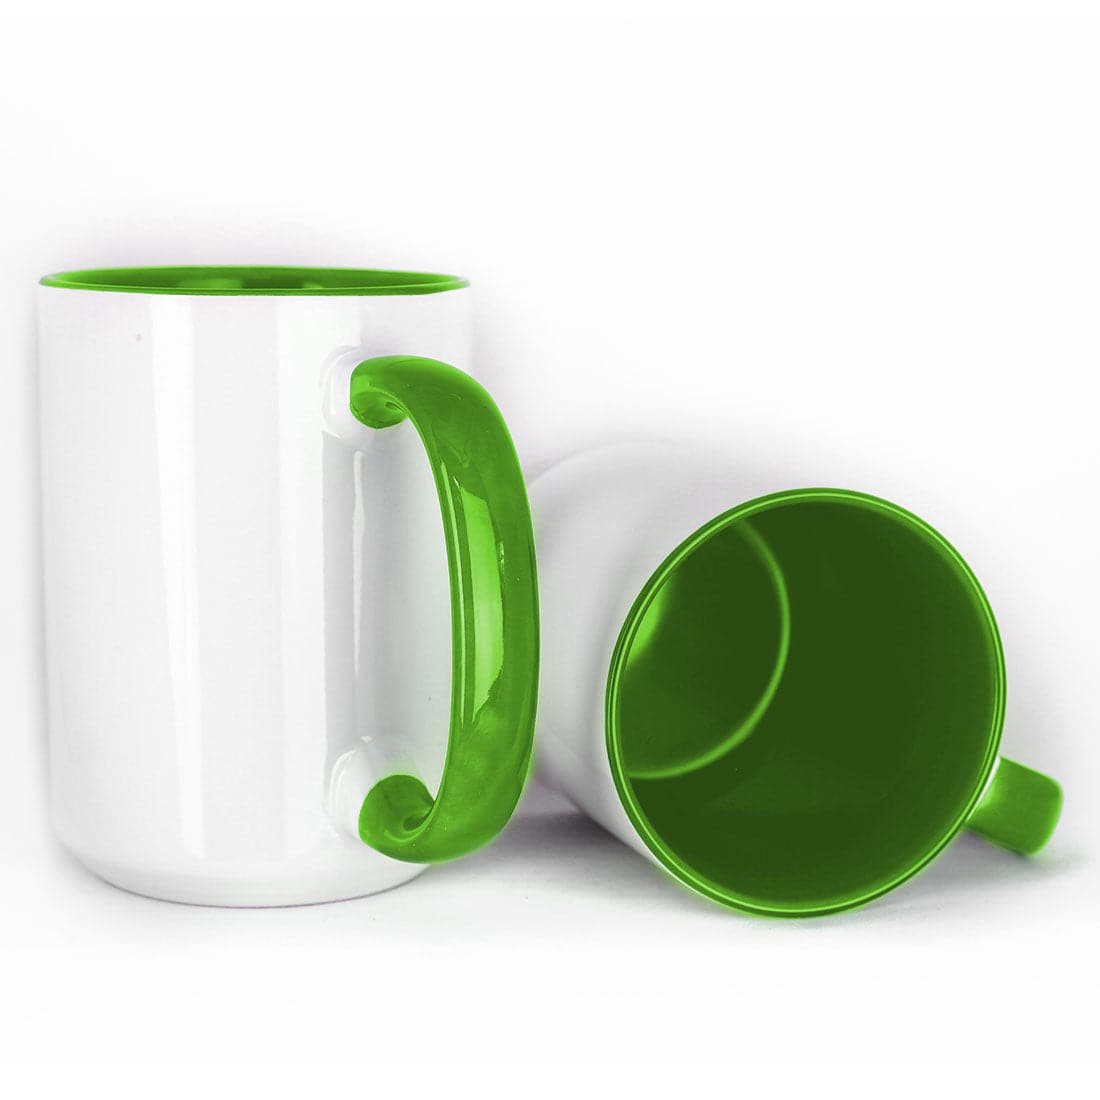
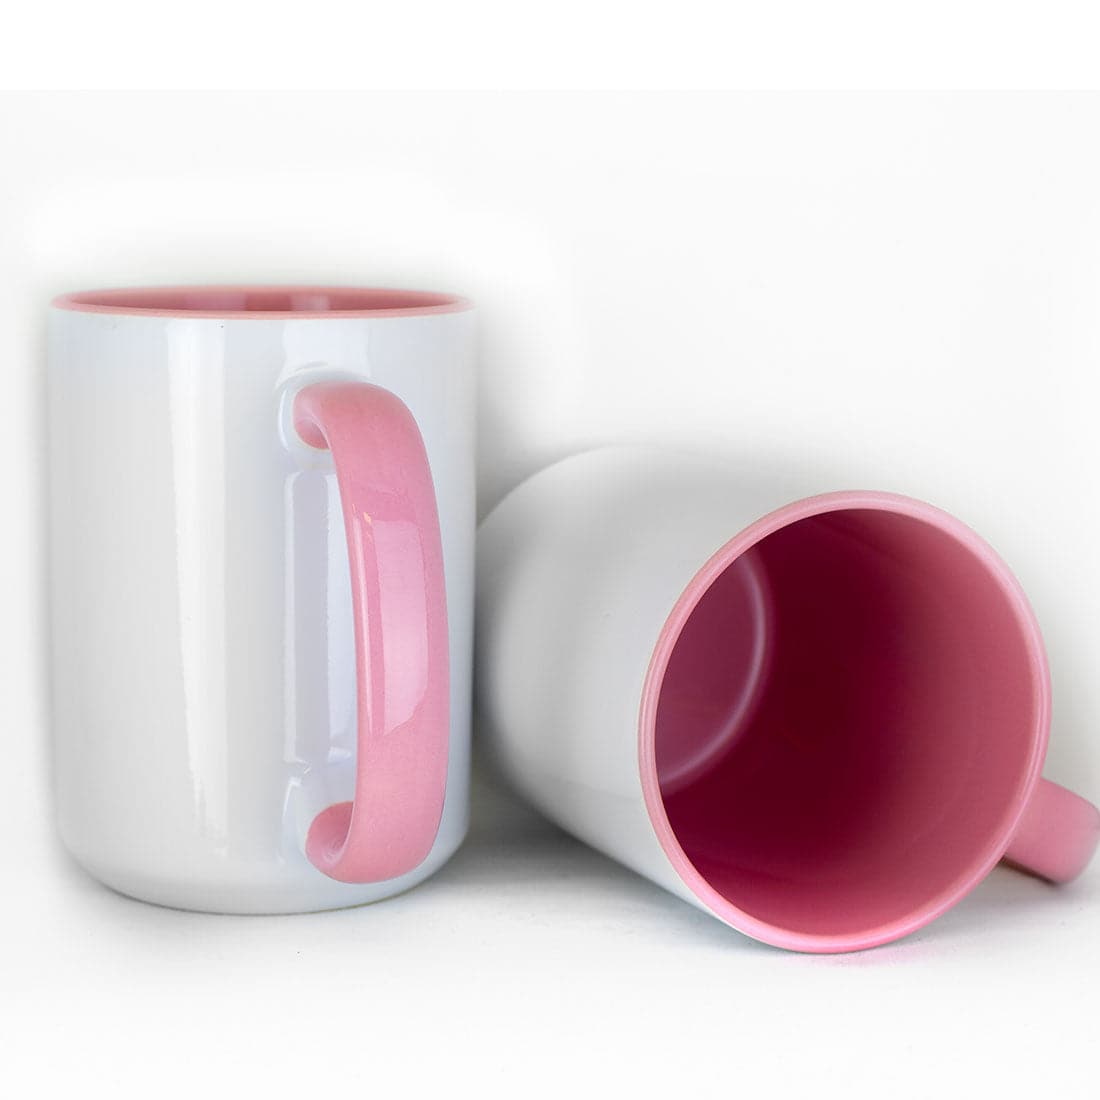
| Color Interior | Gift products | Match design palette |
| Color Changing | Novelty products | Max 380°F temperature |
| Enamel | Outdoor/camping mugs | Lower temperature required |
| Stainless Steel | Tumblers and specialty drinkware | May require rotation |
Most beginners should start with standard white mugs, since they allow any design and produce the most predictable results.
Step-by-Step Mug Sublimation Workflow
This workflow produces consistent results across different mug types.
Follow it exactly until results become predictable.
Step 1: Design Preparation and Printing
Design accuracy determines final placement and image clarity.
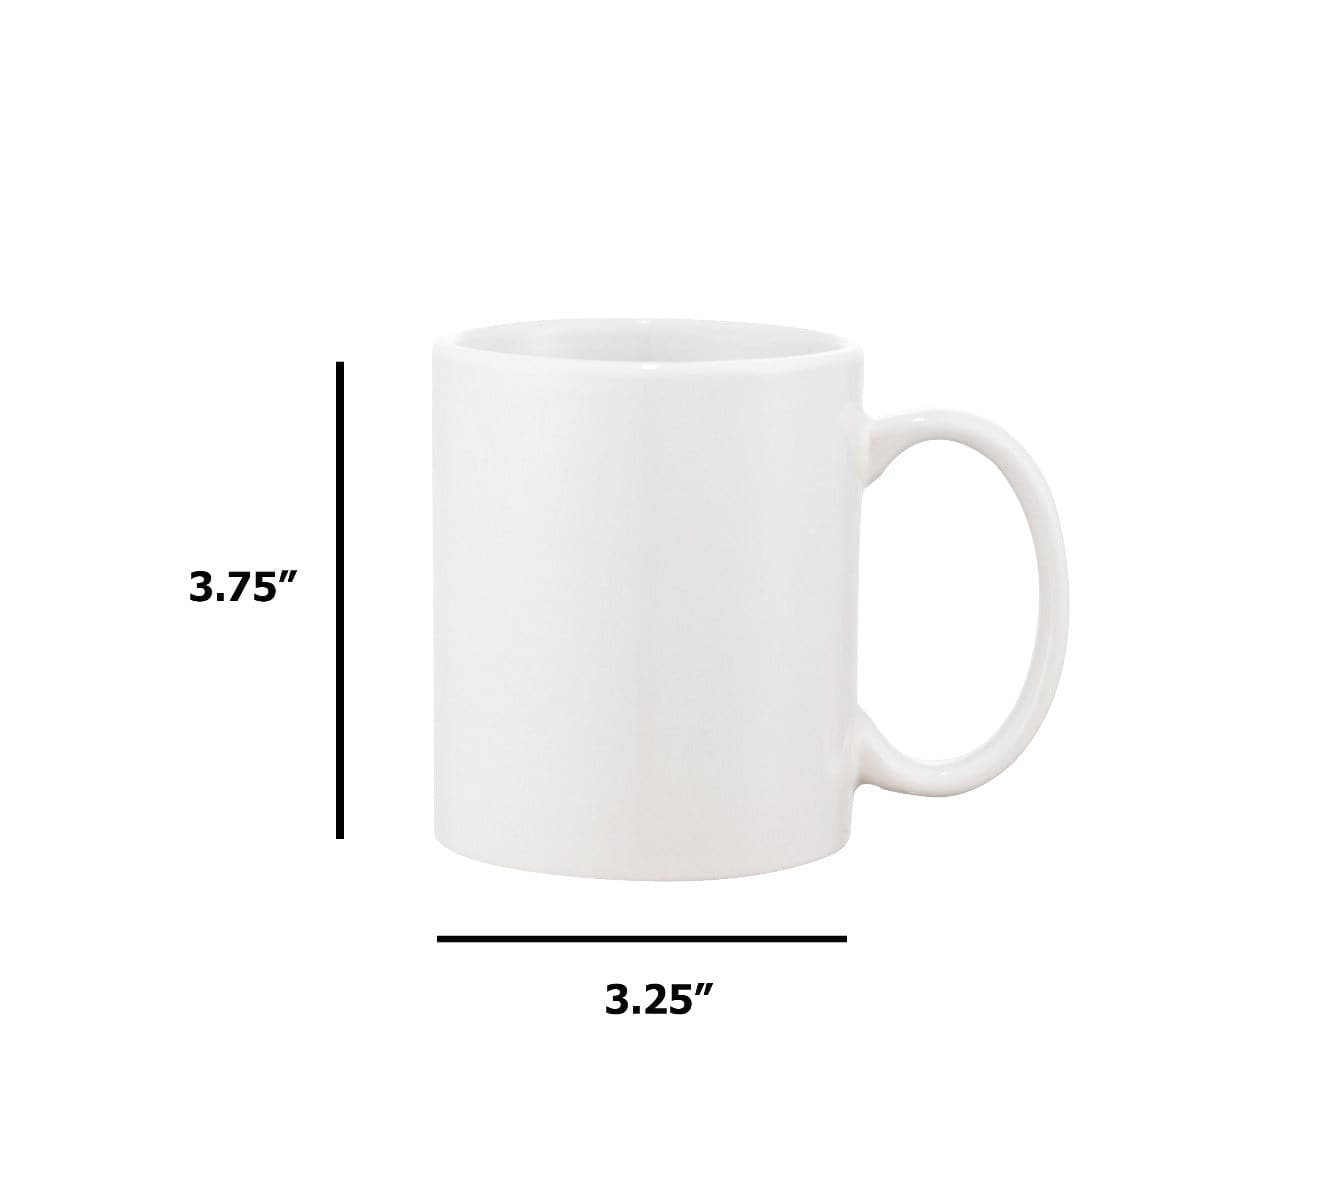
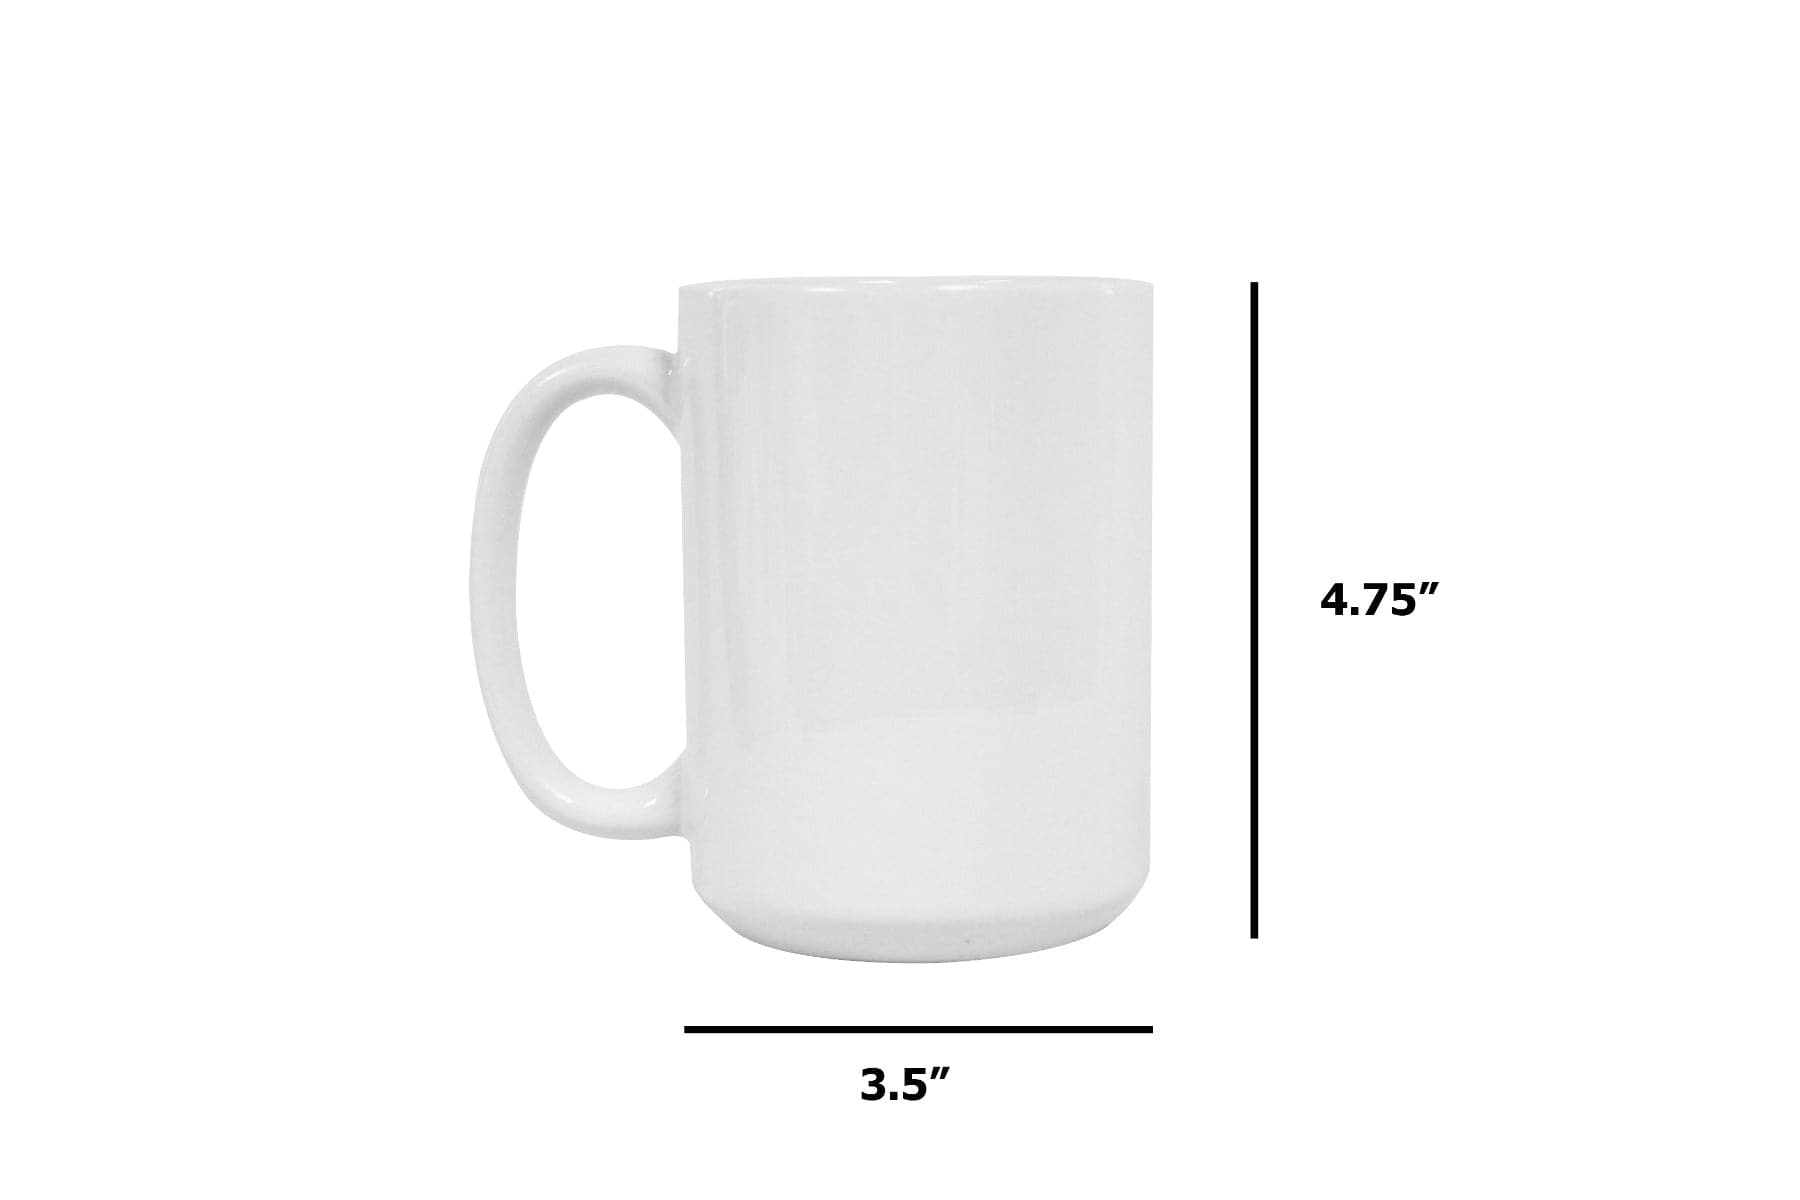
Use these standard design sizes:
Mug Design Size Reference
| Mug Size | Width | Height |
|---|---|---|
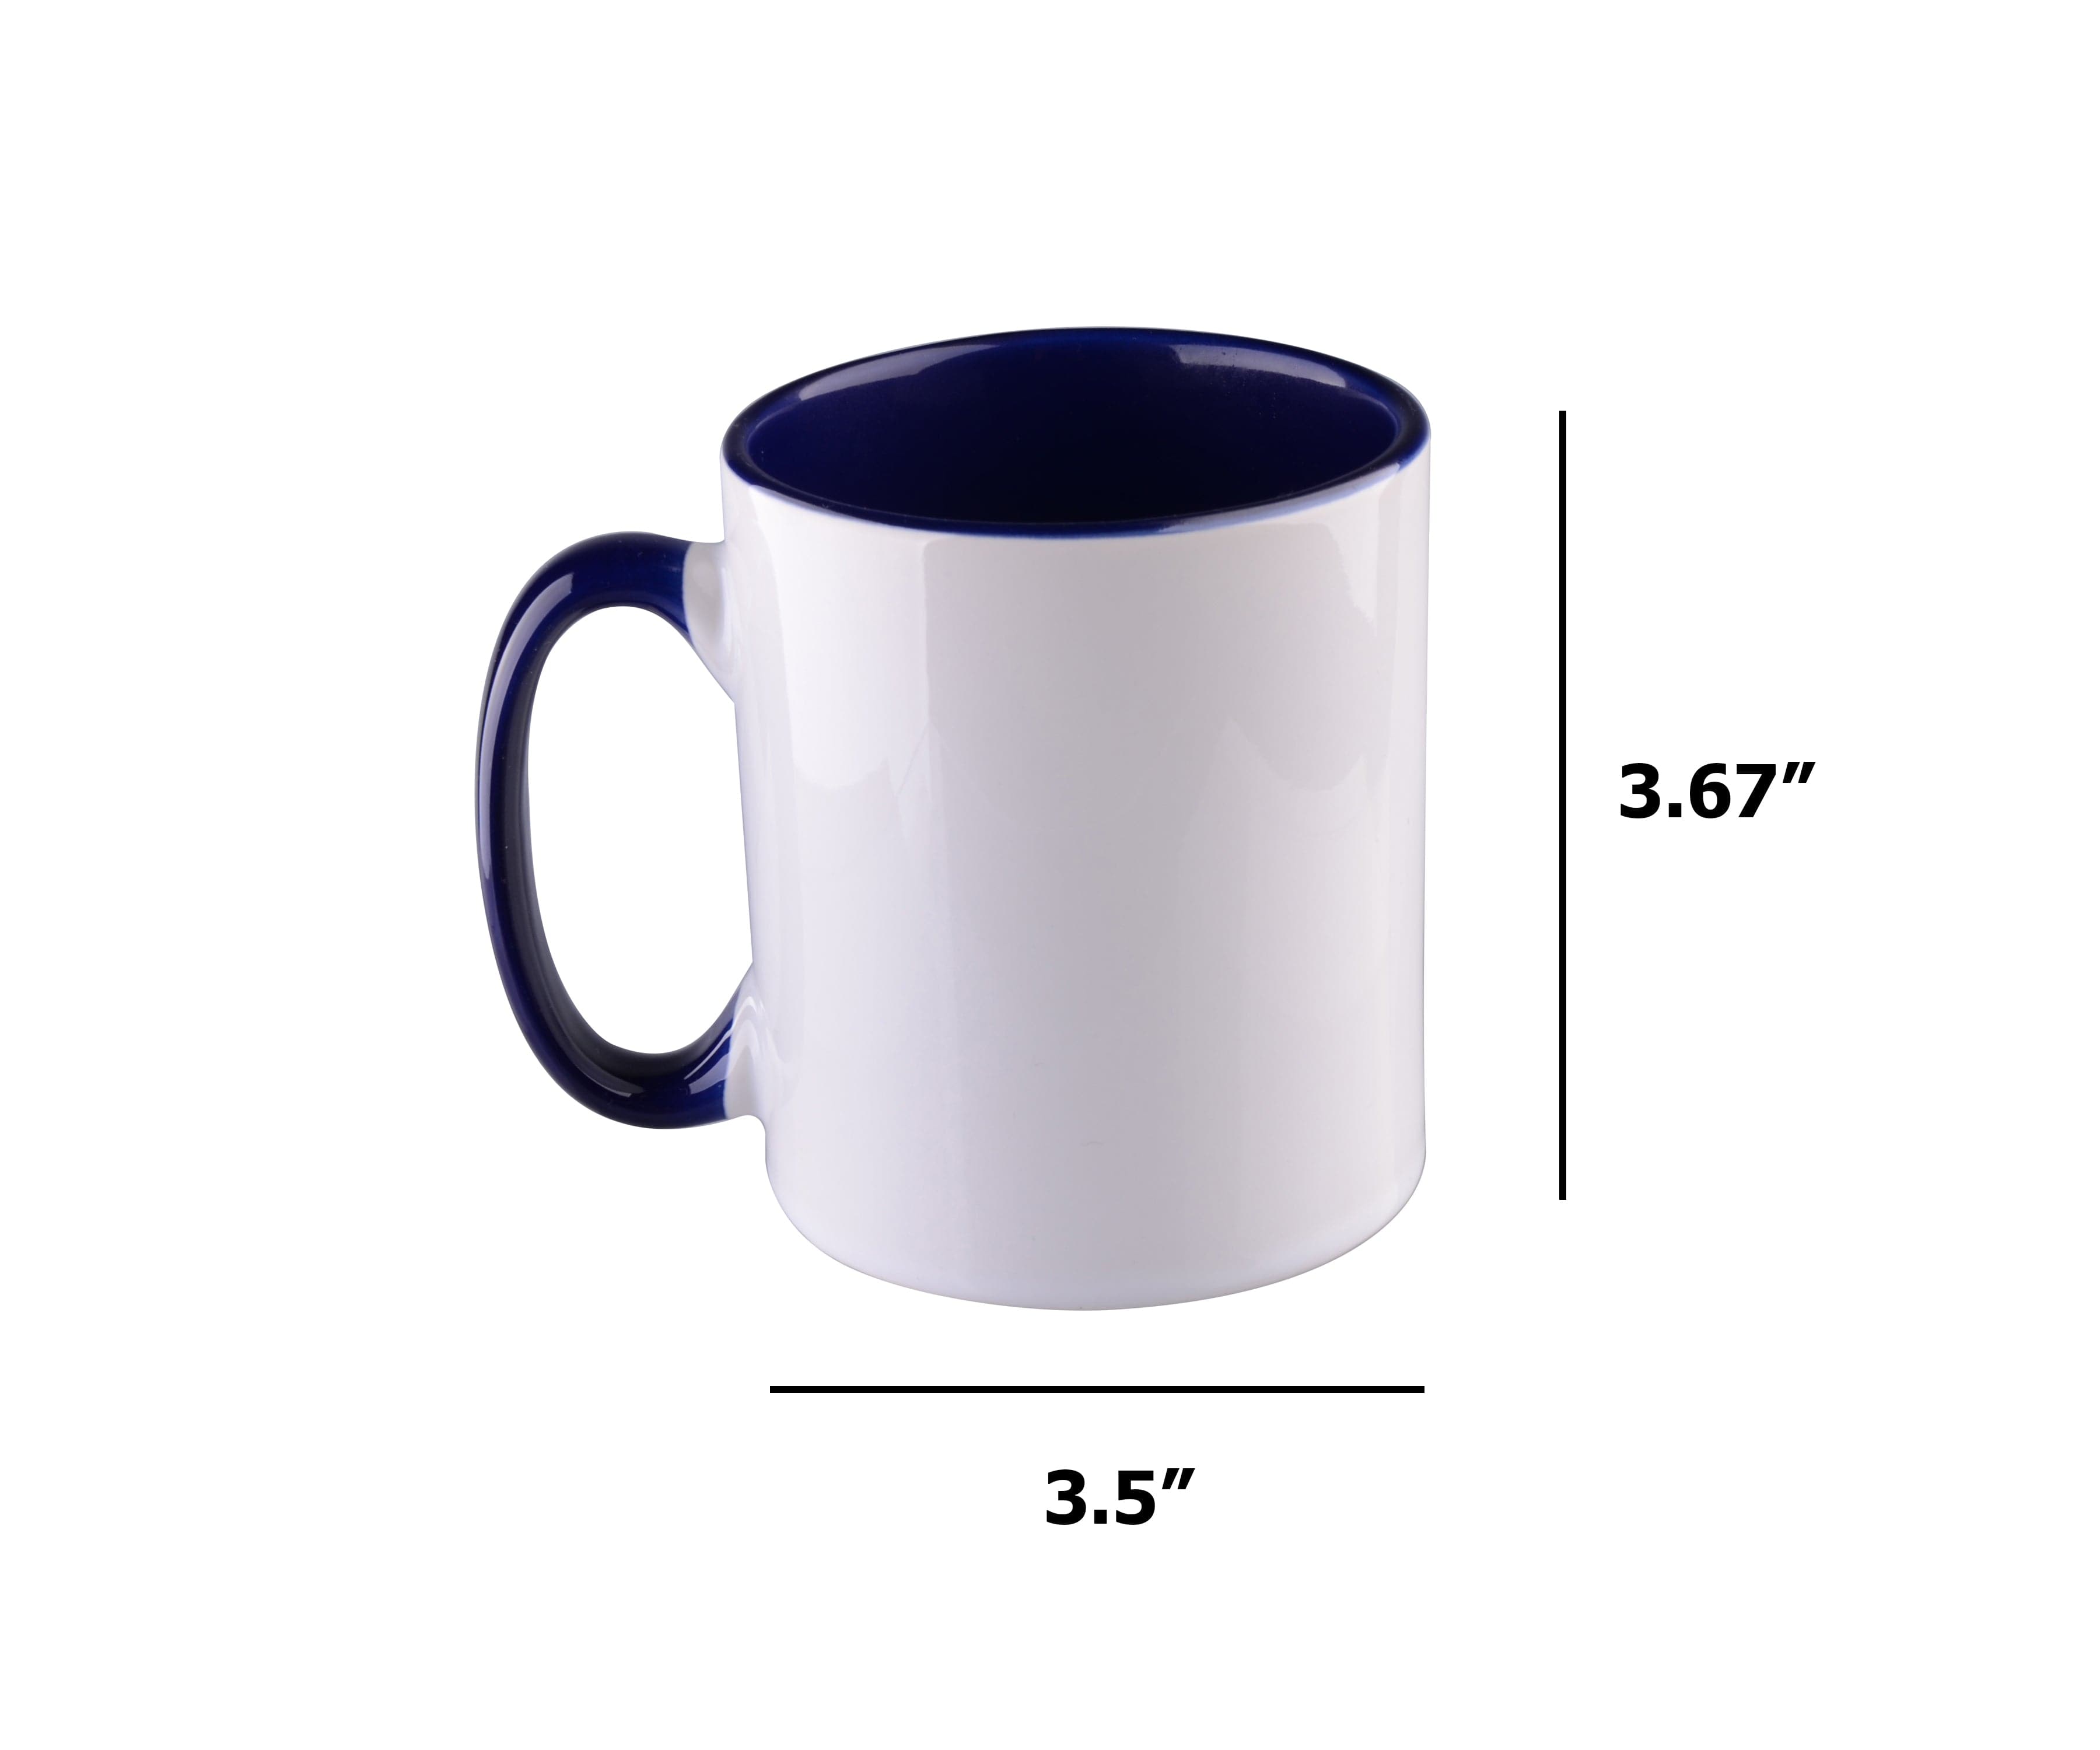
| 11oz Standard | 8.25" | 3.75" |
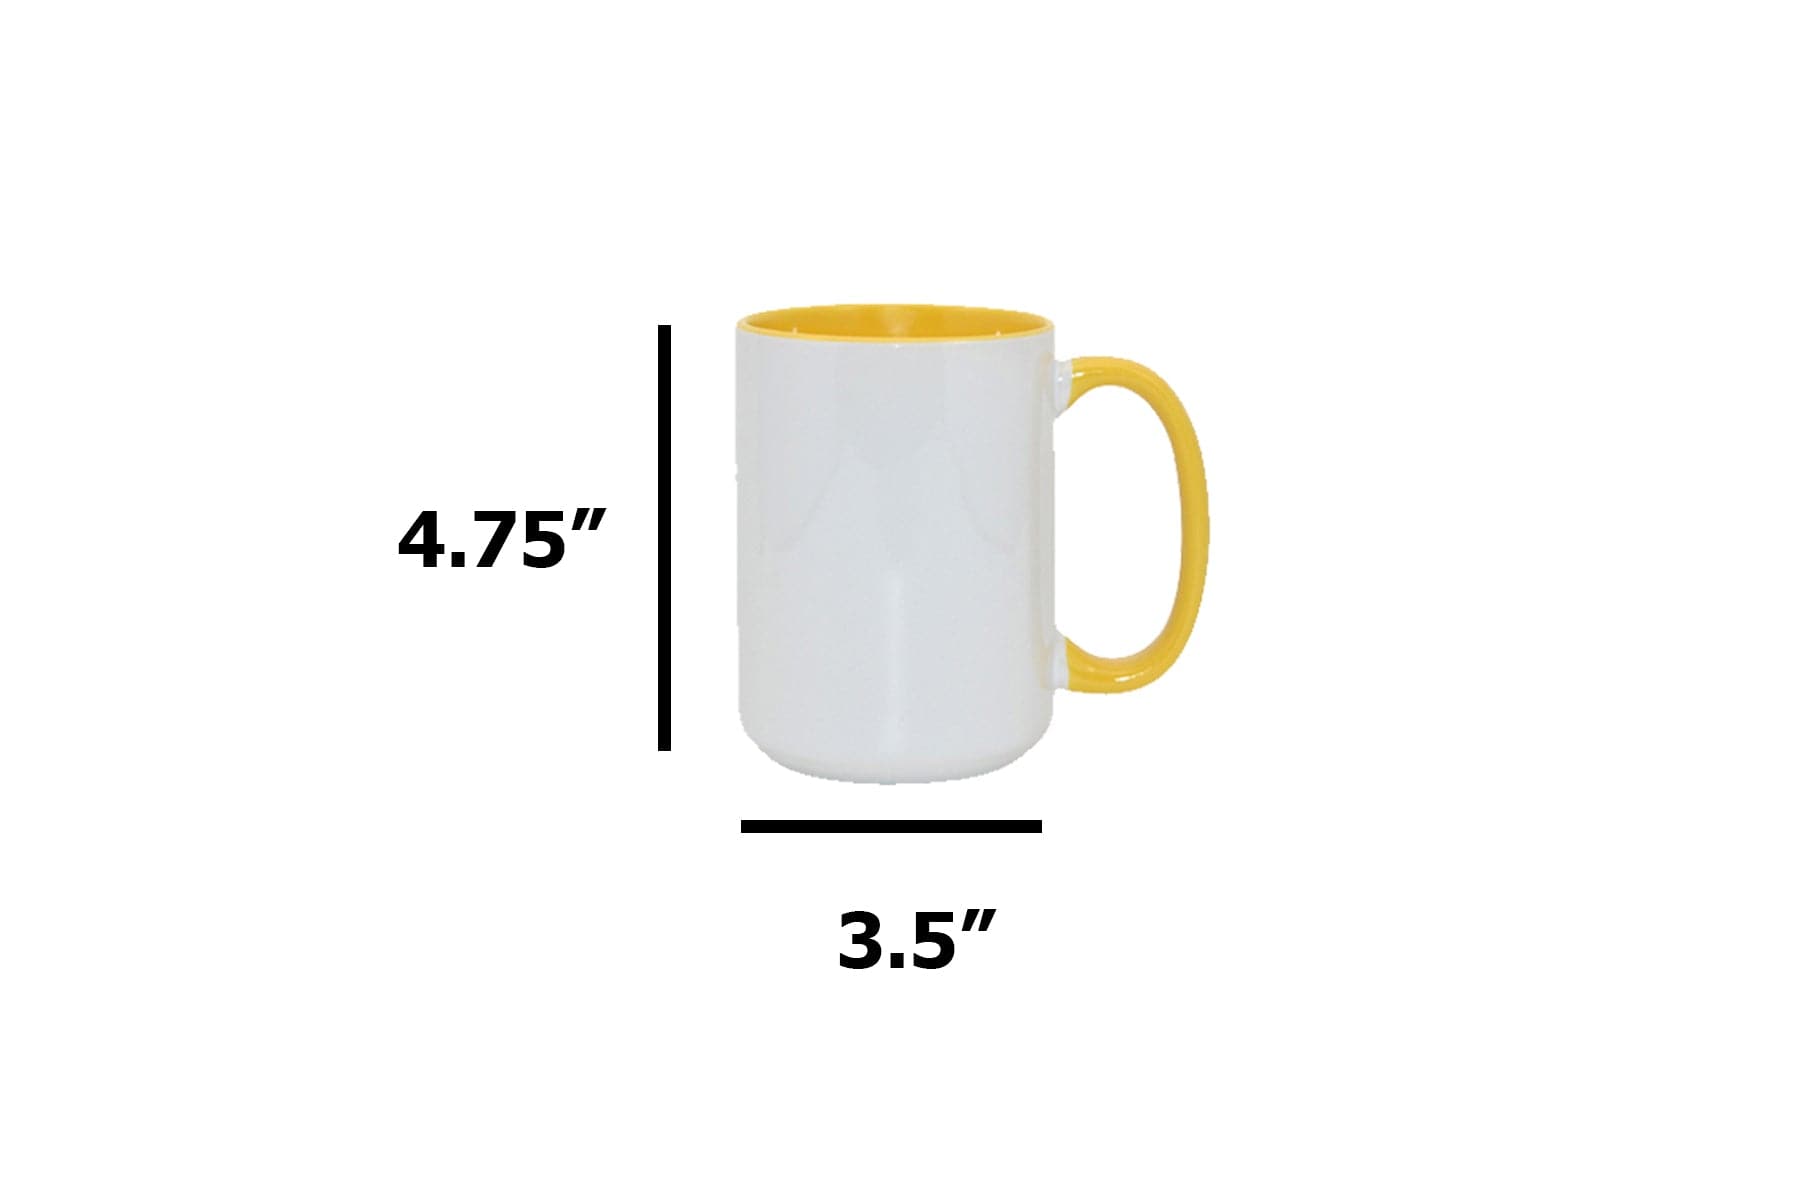
| 15oz Standard | 8.5" | 4.5" |
| 11oz Latte | 8" | 4.75" |
| 15oz Latte | 8.5" | 5" |
Always mirror the design horizontally before printing.
Sublimation transfers print reversed so the final image appears correctly on the mug surface.
Print only on the coated side of the sublimation paper.
To identify the correct side:
- The coated side appears brighter
- The backside looks duller
Printing on the wrong side results in faded output because ink absorbs into the paper instead of remaining on the surface.
Allow printed transfers to dry for 30–60 seconds before handling.
Handling wet prints can smear ink and permanently damage the transfer.
Step 2: Image Cutting and Preparation
Cut printed designs leaving 0.25–0.5 inch margins around the image.
These margins serve two important functions.
First, they provide visual alignment reference when positioning the image on the mug.
Second, they prevent designs from extending beyond the heating area, which causes incomplete transfers.
Avoid large excess margins.
Too much blank paper creates wrinkles during wrapping.
Wrinkles lead to vertical streaks in finished designs.
Step 3: Mug Cleaning and Preparation
Even brand-new mugs must be cleaned before pressing.
Use:
- Lint-free cloth
- Isopropyl alcohol
This removes:
- Dust
- Oil
- Manufacturing residue
Allow the mug to dry completely before attaching transfer paper.
Moisture trapped under the transfer creates steam during pressing, causing ghosting or incomplete transfers.
If possible, handle cleaned mugs with gloves.
Fingerprints leave oils that block dye penetration.
Step 4: Transfer Paper Application and Wrapping
Position the printed design on the mug using the cut margins as alignment guides.
Most designs should be centered vertically between the top and bottom edges.
Wrap the paper smoothly around the mug surface.
Avoid:
- Wrinkles
- Air gaps
- Loose wrapping
Loose paper shifts during pressing, creating ghosted images.
Over-tight wrapping creates tension wrinkles.
Secure the transfer using this taping sequence:
- Apply first vertical tape strip along one edge
- Pull paper snug around the mug
- Apply second vertical strip overlapping slightly
- Add horizontal tape along the top edge
- Add horizontal tape along the bottom edge
- Fold one tape end to create a removal tab
Before placing the mug into the press, verify:
- Paper lies flat
- No air gaps exist
- Handle position matches press requirements
This preparation step prevents most pressing failures before heat is even applied.
Step 5: Heat Press Setup and Temperature Settings
Correct temperature and time settings determine whether colors appear vibrant or faded.
Before pressing production mugs, allow the mug press to preheat and stabilize for 10–15 minutes. Even after reaching the set temperature, the heating element needs time to distribute heat evenly.
Using incorrect settings is the most common cause of failed transfers.
Mug Sublimation Temperature and Time Reference
| Mug Type | Temperature | Time |
|---|---|---|
| Standard Ceramic | 370–400°F | 180–240 seconds |
| Color Changing | 365–380°F | 180–210 seconds |
| Enamel | 350–370°F | 90–120 seconds |
| Stainless Steel | 360–380°F | 40–60 seconds per section |
| Bone China | 370–385°F | 180–210 seconds |
Always verify pressure before starting production.
Standard ceramic mugs require medium pressure, meaning:
- Mug fits snugly
- Slight resistance when inserting
- No excessive force required
Too much pressure can crack mugs.
Too little pressure creates air gaps and incomplete transfers.
Step 6: Pressing the Mug
Insert the wrapped mug into the heating element carefully.
Make sure:
- The transfer sits fully inside the heated area
- Paper does not extend beyond the heating zone
- Mug is centered vertically
Close the press smoothly and start the timer.
Once pressing begins:
Do not open the press mid-cycle.
Opening early releases heat and pressure, ruining the transfer.
During the first 30–45 seconds, you may hear light sizzling sounds. This indicates sublimation is occurring as the ink converts into gas and bonds to the coating.
Allow the full cycle to complete.
Prepare heat-resistant gloves before removing the mug.
Step 7: Mug Removal, Peeling, and Inspection
When the timer finishes, remove the mug immediately using heat-resistant gloves.
Place it on a heat-safe surface.
Never place hot mugs on cold surfaces. Rapid cooling can cause ceramic cracking.
Peel the transfer paper while the mug remains hot.
Use the folded tape tab to remove the paper in one smooth motion.
After removing the transfer, inspect the mug immediately.
Check for:
- Faded areas
- Ghosting
- Uneven color coverage
- Edge fading
If defects appear, stop production and adjust settings before continuing.
Allow mugs to cool 5–10 minutes before packaging.
Wipe finished mugs with a microfiber cloth to remove residue or fingerprints.
Common Problems and Solutions
Most sublimation problems come from small setup errors. The following troubleshooting guide solves the majority of failures.
Faded or Washed-Out Colors
Cause
- Low temperature
- Short press time
- Poor ink quality
Solution
Verify actual temperature using an infrared thermometer. Controller displays may not reflect real surface temperature.
Increase temperature by 5–10°F if needed.
Extend press time by 20–30 seconds if colors remain dull.
Use high-quality sublimation ink for consistent saturation.
Ghosting or Double Images
Cause
Transfer paper moved during pressing.
This usually happens from:
- Loose taping
- Vibration
- Poor wrapping
Solution
Use at least four tape strips.
Ensure the paper wraps snugly around the mug.
Never open the press mid-cycle.
Place the press on a stable surface to prevent vibration.
Uneven Transfer Coverage
Cause
- Wrong heating element size
- Uneven pressure
- Air gaps under paper
Solution
Match heating element diameter to mug size.
Verify paper lies flat against the entire mug surface.
Adjust pressure until full contact occurs around the circumference.
Vertical Streaks or Lines
Cause
Wrinkled paper or raised tape edges.
Solution
Smooth the paper before taping.
Use thin heat-resistant tape.
Clean mug surfaces thoroughly before wrapping.
Particles trapped under paper create pressure points that form lines.
Transfer Paper Stuck to Mug
Cause
- Excess temperature
- Moist paper
- Incorrect paper type
Solution
Reduce temperature 10–15°F.
Store paper in sealed containers with desiccant.
Use sublimation paper designed for curved surfaces.
Yellowing on White Areas
Cause
Overheating or poor-quality coating.
Solution
Reduce temperature 5–10°F.
Test new mugs from a different batch.
Low-quality coatings yellow more easily under heat.
Frequently Asked Questions
These are the most common questions beginners ask during their first production runs.
Can I use a regular inkjet printer for mug sublimation?
No.
Standard inkjet printers use inks that do not convert to gas under heat.
Only printers designed for sublimation ink can transfer images to polymer-coated mugs.
Using regular ink will produce no transfer regardless of temperature or pressure.
Why does my transfer smear when I peel the paper?
This usually happens when peeling too early.
Allow the mug to cool for 3–5 seconds before removing the paper.
Peeling immediately while dye remains mobile inside the coating can drag ink and smear the design.
Why do my mug edges look faded?
Most mugs taper slightly at the bottom.
If the design extends too close to the base, it may sit outside the fully heated area.
Position designs 0.25–0.5 inches above the bottom edge.
This keeps the image within the most consistent heating zone.
Why do colors look different from my screen?
Monitors use RGB color systems, while sublimation uses physical dye transfer.
Use proper ICC color profiles specific to your printer and paper combination.
This improves color accuracy between screen and final product.
Can I sublimate over an existing printed mug?
No.
Only polymer-coated blank mugs accept sublimation dye.
Painted or printed mugs do not allow dye bonding.
Always start with sublimation-ready blanks.
How do I sublimate tapered stainless steel tumblers?
Tapered drinkware requires rotation.
Press the first section for 40–60 seconds, rotate the tumbler, then press again.
Overlap pressing areas slightly to avoid visible seams.
Why do heat tape marks appear on finished mugs?
Excess pressure combined with thick tape creates pressure ridges.
Use thinner tape and slightly reduce pressure.
Position tape near design edges when possible.
Are sublimated mugs dishwasher safe?
Yes, when properly sublimated.
The dye becomes part of the coating rather than sitting on the surface.
However, hand washing extends product lifespan and maintains color vibrancy longer.
Conclusion: Consistency Builds Reliable Results
Mug sublimation success depends on following a structured workflow rather than guessing settings.
When the process becomes consistent, results become predictable.
Focus on mastering these fundamentals:
- Correct temperature
- Proper pressure
- Smooth wrapping
- Accurate positioning
- Immediate inspection
Start with standard white mugs before experimenting with specialty styles.
Document successful settings for each mug type. Keeping records prevents wasted materials and speeds up production.
Investing in reliable equipment and quality materials from the beginning reduces long-term production issues and improves customer satisfaction.
Mug sublimation remains one of the most accessible entry points into custom product manufacturing, offering consistent demand and strong margins when executed correctly.