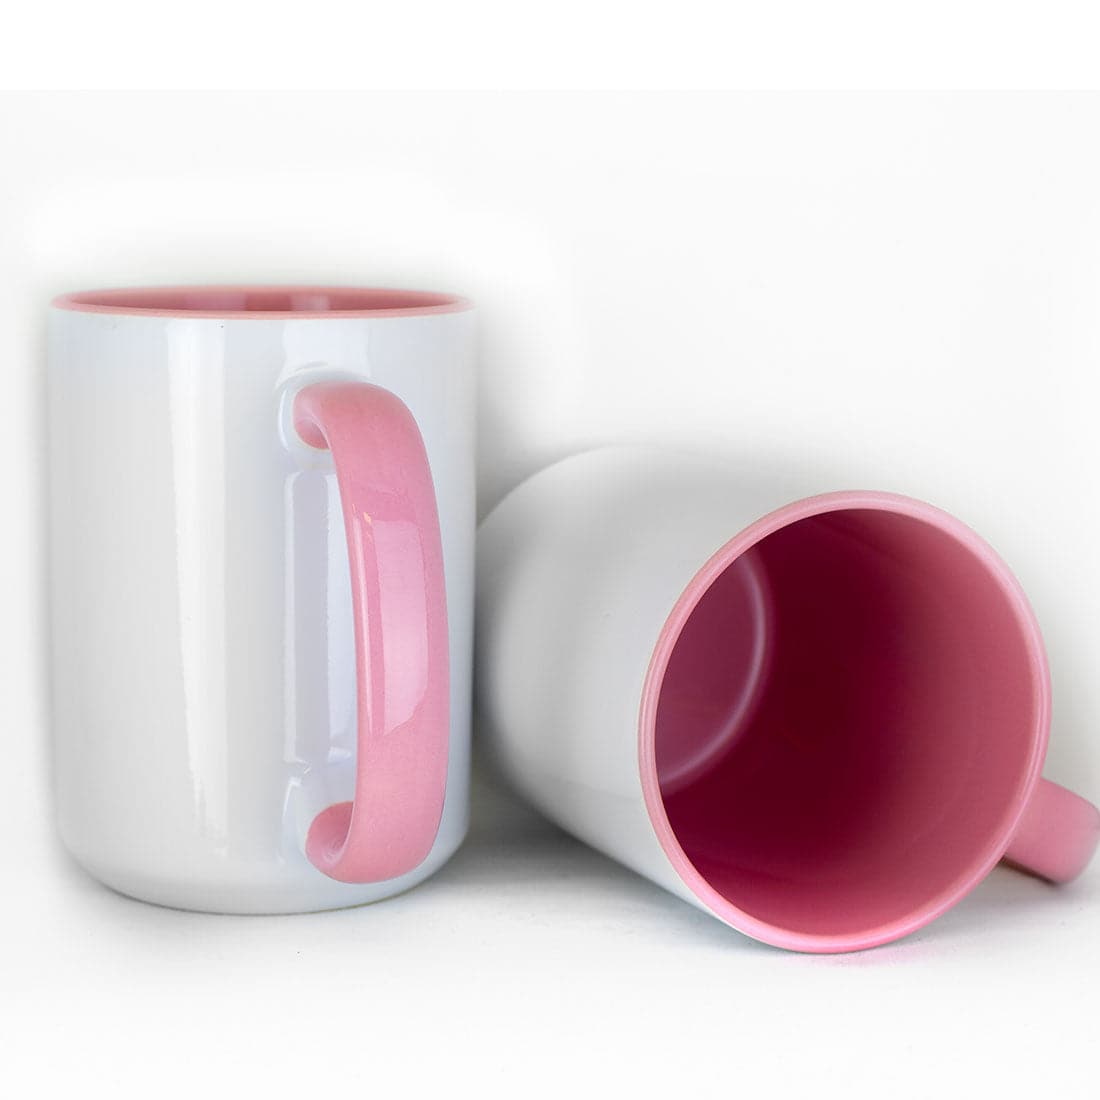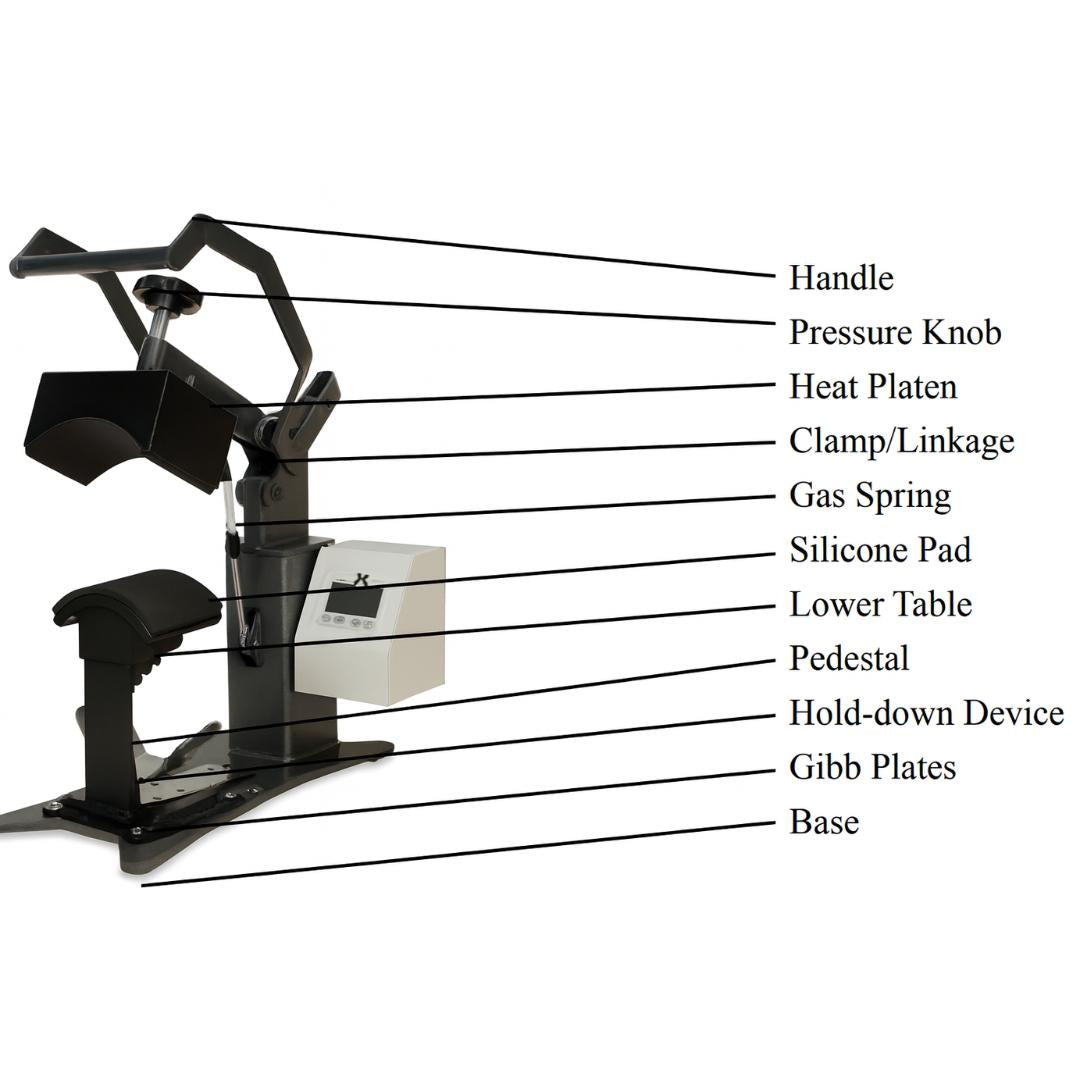


Mug heat presses use curved heating elements that wrap around cylindrical substrates, applying even heat and pressure across the entire surface through spring-loaded or adjustable pressure mechanisms.
Unlike flat heat presses that rely on platen contact, mug presses must maintain consistent pressure while accommodating variations in mug diameter, taper, and handle position. The wraparound heating element compensates for cylindrical geometry that would create uneven contact on flat press surfaces, ensuring complete sublimation transfer without gaps or faded areas.
This guide covers mug heat press operation from element selection through production pressing, quality troubleshooting, and maintenance protocols specific to curved surface applications. Understanding how heating elements match mug dimensions, pressure adjustment affects transfer quality, and cooling procedures prevent smearing creates consistent professional results across standard mugs, tapered mugs, and specialty drinkware.
Understanding Mug Heat Press Design

Mug heat presses fundamentally differ from flat presses through heating element shape and pressure application method. These design variations address the challenges of pressing curved surfaces where flat platens create insufficient contact.
Curved Heating Element Function

Mug press heating elements curve to match cylindrical mug shapes, typically covering 180-270 degrees of the mug circumference. The curved element maintains consistent distance from the mug surface across the entire pressing area, preventing the uneven heat distribution that occurs when forcing curved surfaces against flat platens.
Multiple element sizes accommodate different mug diameters. Standard sets include:
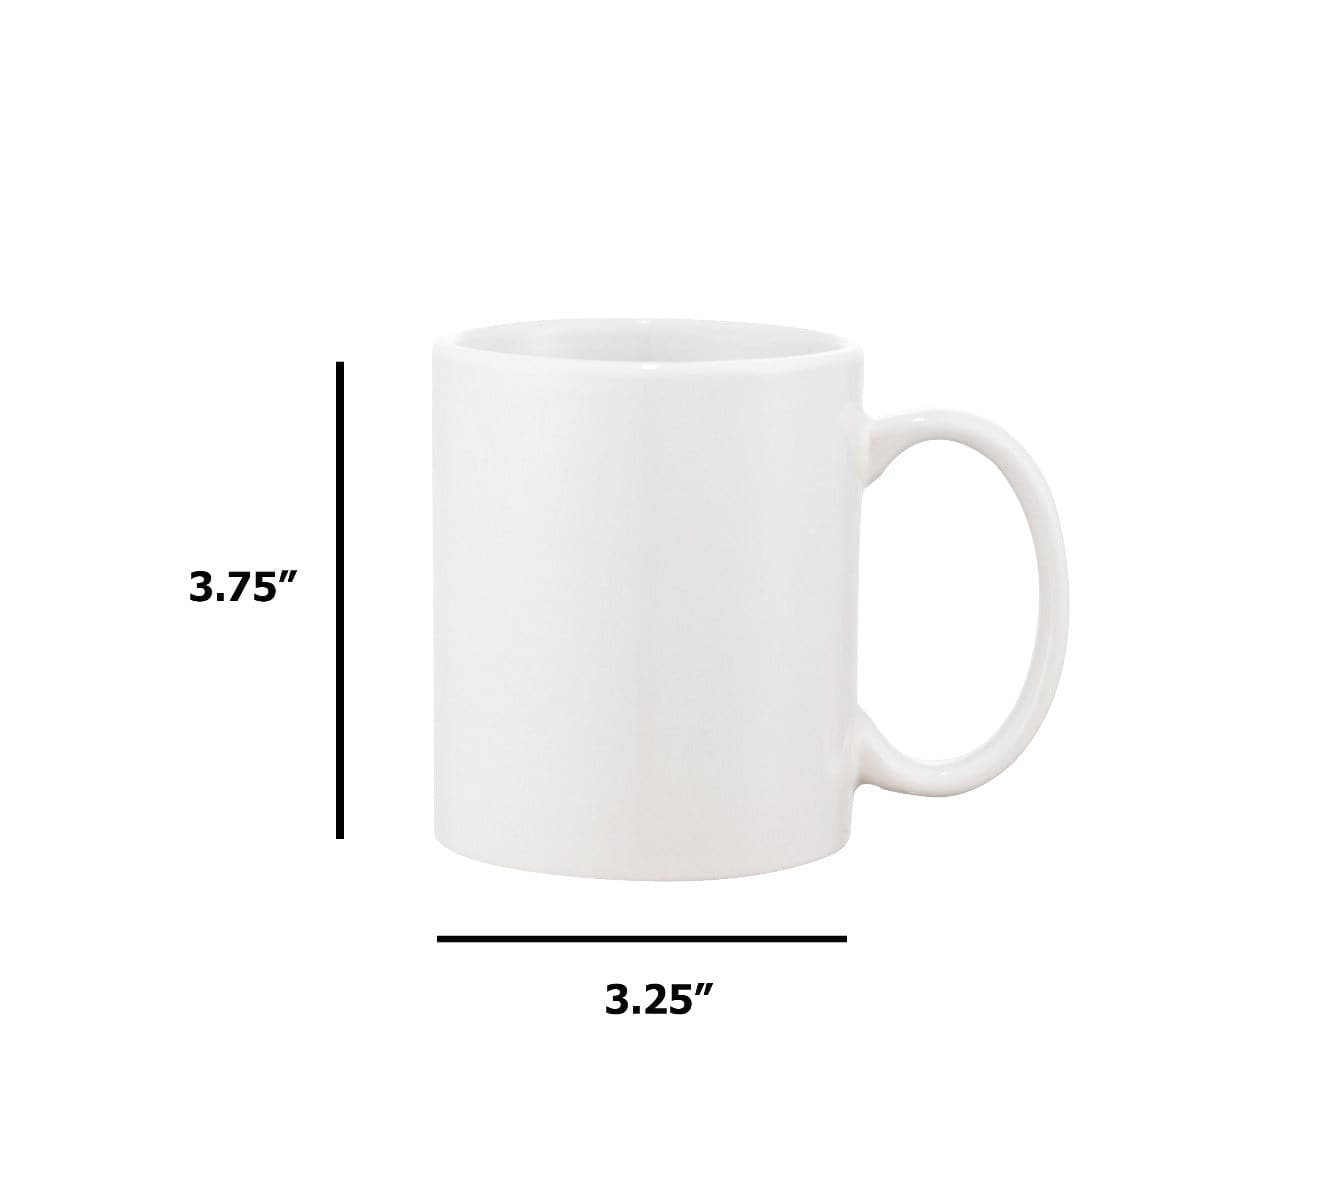
- 11oz standard mug element: 3.25-3.5 inch diameter coverage
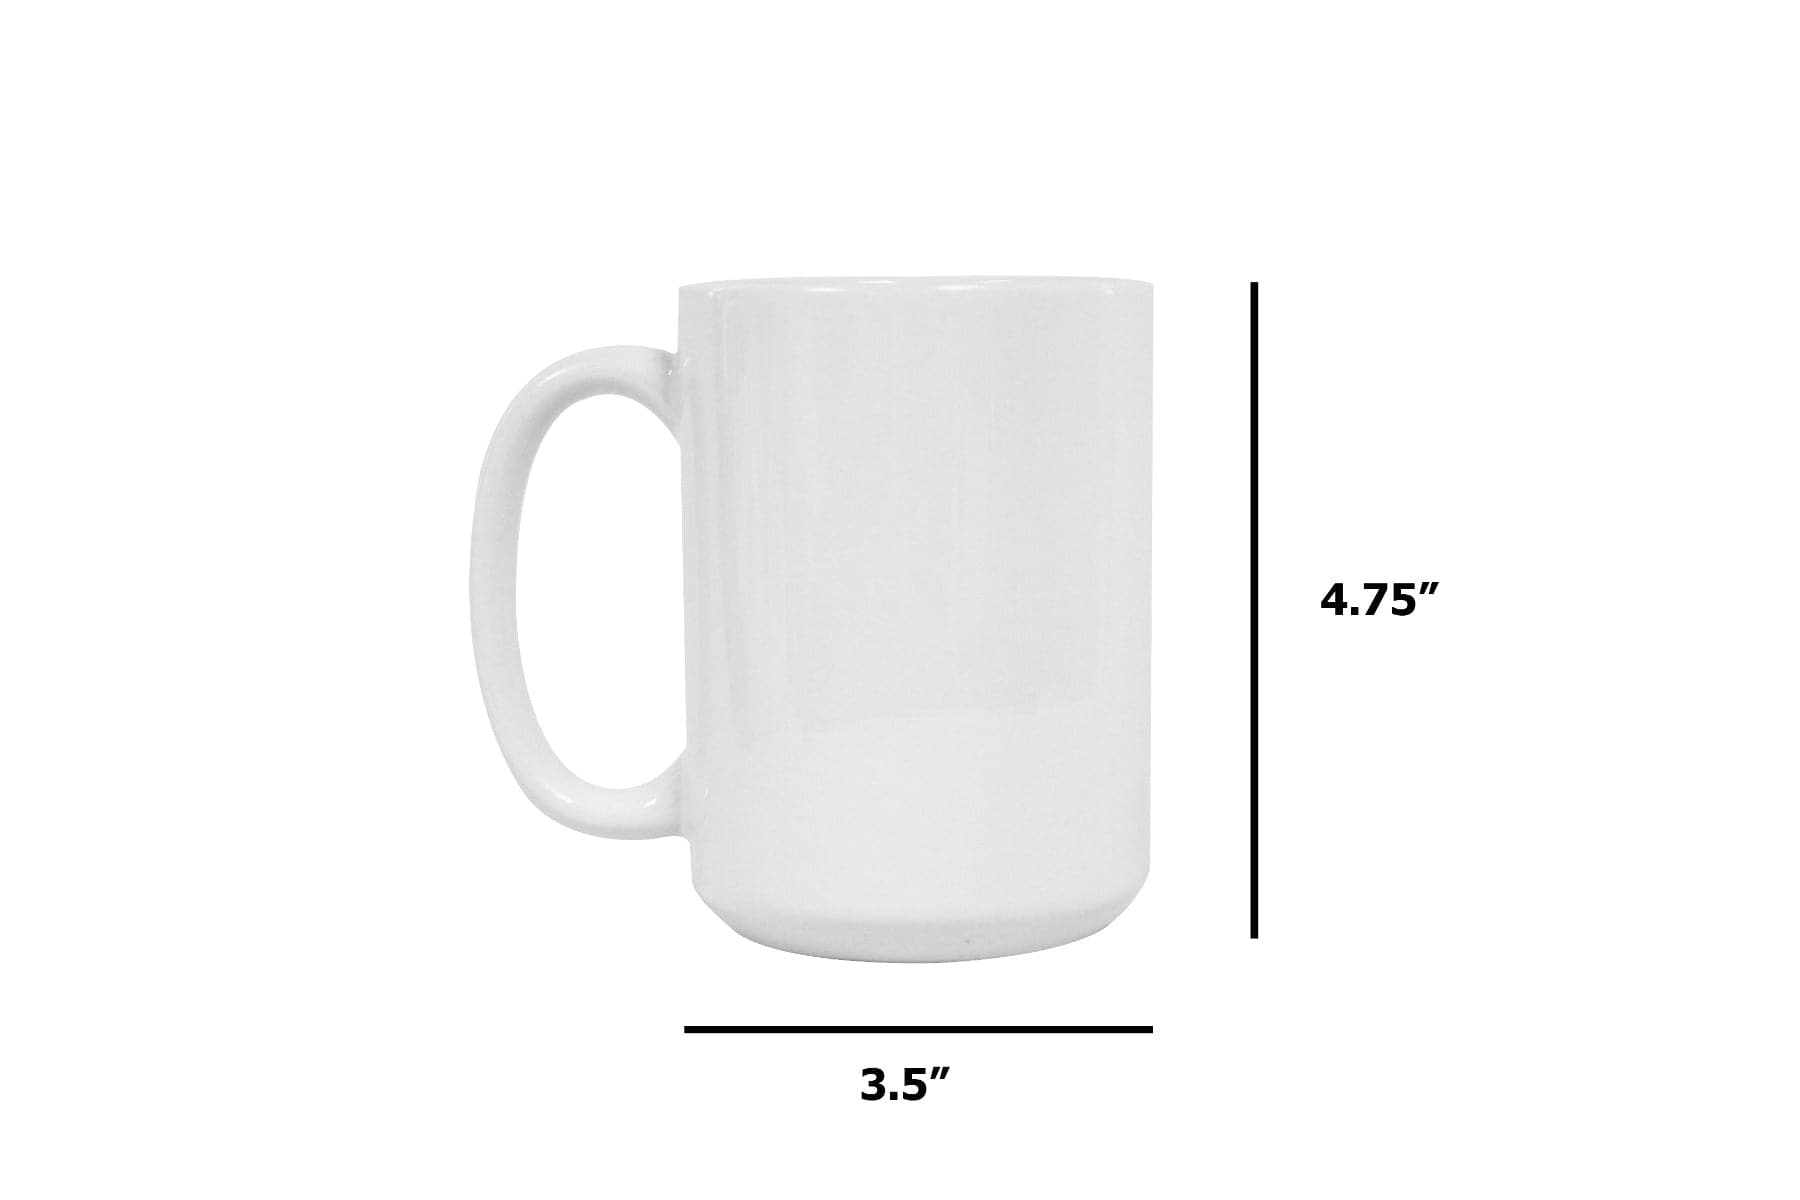
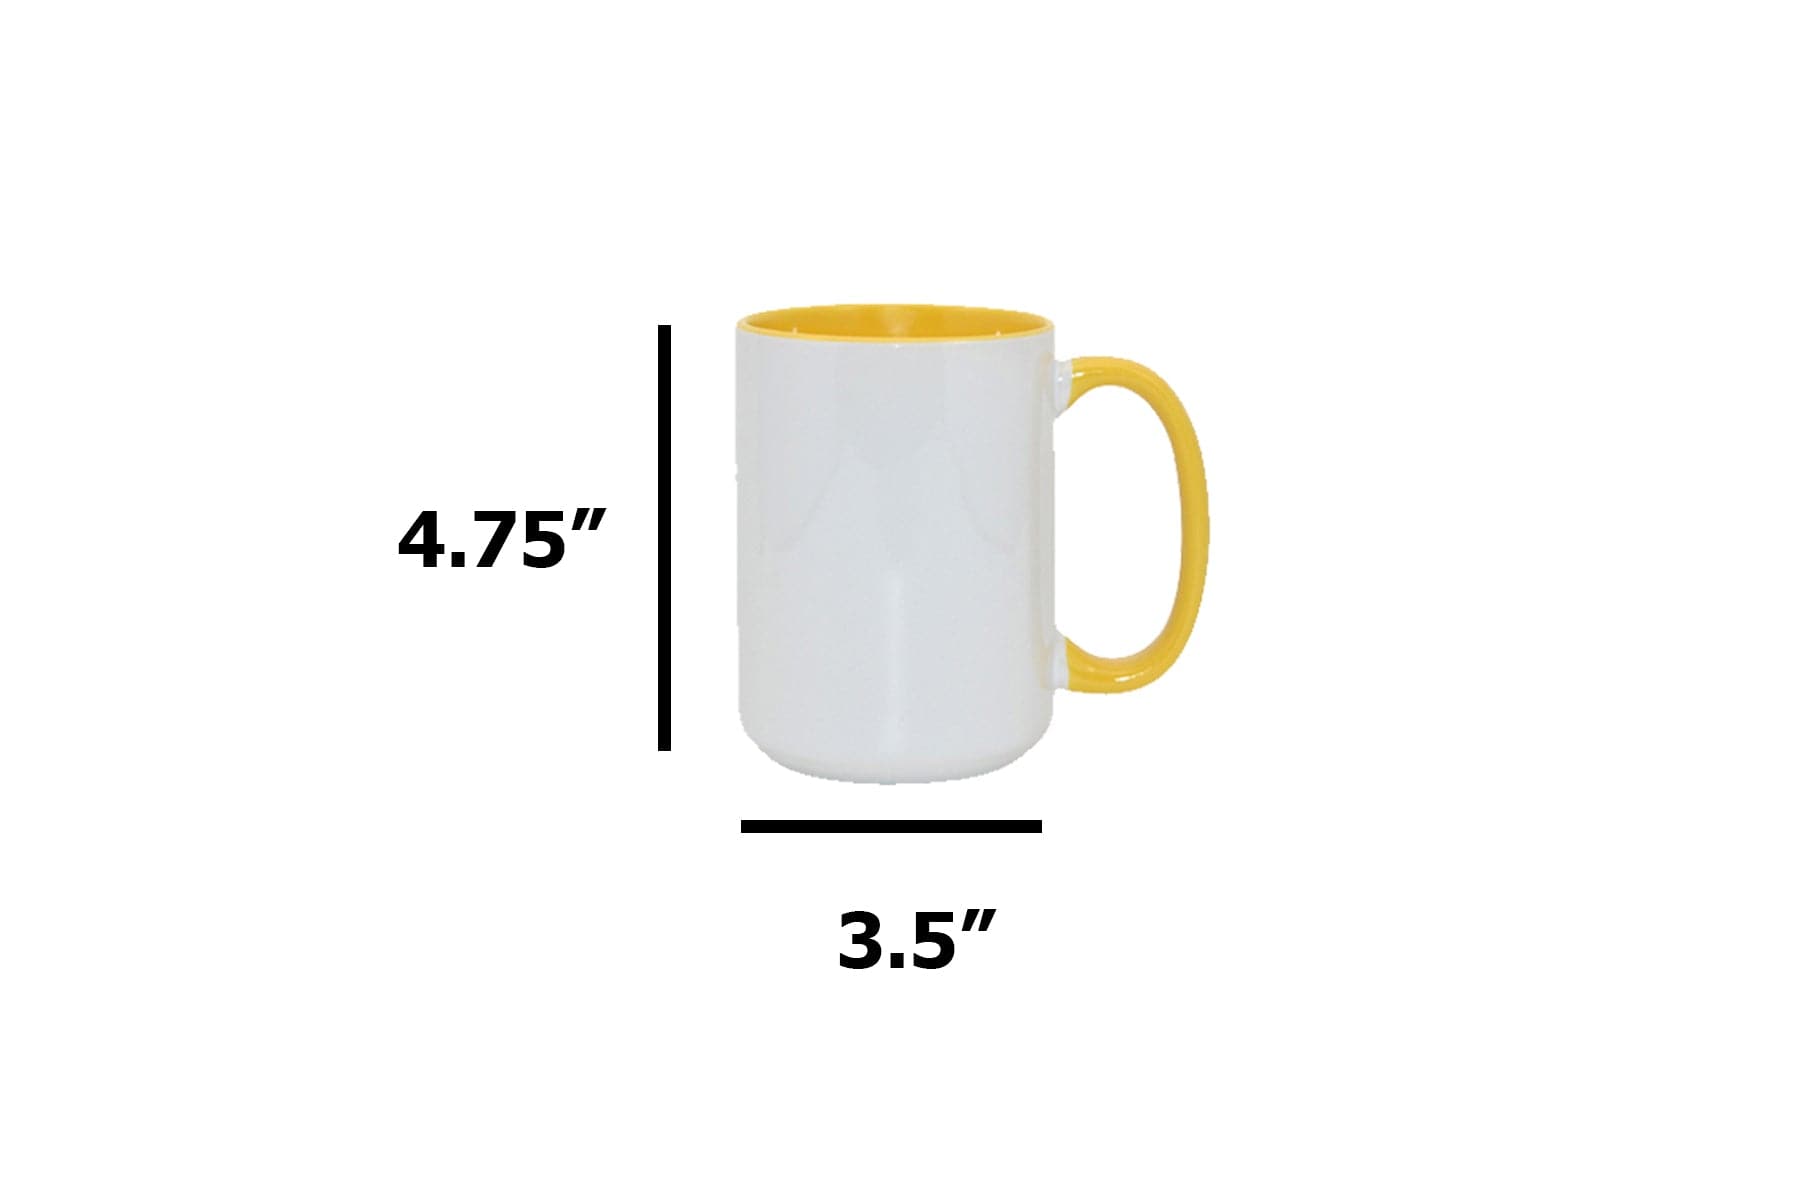
- 15oz latte mug element: 3.5-3.75 inch diameter coverage
- 12oz latte mug element: 3.25-3.5 inch diameter with taller height
- 17oz latte mug element: 3.75-4.0 inch diameter coverage
- 20oz tapered tumbler element: Variable diameter 3.0-3.5 inches
Element selection matching mug diameter determines transfer quality. Undersized elements leave untransferred areas at mug edges. Oversized elements create uneven pressure concentrating at the element center while edges float away from the mug surface.
Pressure Application Methods
Mug presses apply pressure through mechanical systems that accommodate the curved pressing surface:
Spring-loaded pressure systems: Compression springs behind the heating element push the element against the mug surface. Pressure adjustment involves tightening or loosening spring tension through threaded knobs. These systems provide consistent pressure once calibrated but require adjustment when changing mug sizes.
Pneumatic pressure systems: Compressed air cylinders control closing force independent of operator strength. Pressure gauges show actual applied force in PSI. These systems maintain precise pressure regardless of mug diameter variation within the element's size range.
Manual lever systems: Operators control pressure through lever position and locking mechanism engagement. Consistent results require repeatable lever positioning across production runs. Operator fatigue affects pressure consistency in high-volume operations.
Temperature Control and Distribution
Digital temperature controllers maintain element temperature through PID (Proportional-Integral-Derivative) control systems. The controller monitors actual element temperature and adjusts heating power to maintain set temperature within ±5°F.
Curved elements cool faster than flat platens due to greater surface area exposed to ambient air. Quality mug presses compensate through higher element density or slightly elevated temperature settings compared to flat press requirements for the same substrate coating.
Temperature recovery time between presses affects production speed. Opening the press exposes the element to cooling. Quality elements recover to set temperature within 15-20 seconds. Slower recovery extends cycle time when pressing multiple mugs sequentially.
Pre-Operation Setup and Element Selection
Proper setup prevents the common mistakes that waste mugs and create customer complaints:
Workspace Preparation
Position the mug press on a stable work surface at comfortable standing height. The press should sit level - tilted mounting causes uneven element contact. Verify stability by attempting to rock the press. Any movement indicates shimming needed under the base.
Keep mug blanks, transfer paper, heat tape, scissors, and cooling rack within arm's reach. Efficient workflow minimizes handling time for hot mugs that can burn or smear if mishandled during cooling.
Ensure adequate ventilation. Sublimation releases gas during pressing that should not accumulate in enclosed spaces. Position the press away from HVAC return vents that would spread sublimation vapors throughout the building.
Element Selection and Installation
Match heating element diameter to mug size using this procedure:
Step 1: Measure mug diameter
- Measure mug at widest point using calipers or tape measure
- Note any taper - measure top and bottom if diameter varies
- Record handle position and thickness
Step 2: Select appropriate element
- Choose element matching measured diameter
- Verify element height covers intended transfer area
- Check element clears handle without interference
Step 3: Install element
- Power off press and allow complete cooling
- Remove existing element per manufacturer procedure
- Install new element ensuring electrical connections secure
- Verify element sits centered in press opening
- Test swing or closing motion without mug to confirm clearance
Temperature Controller Setup
Set temperature based on mug coating and transfer paper specifications. Common settings:
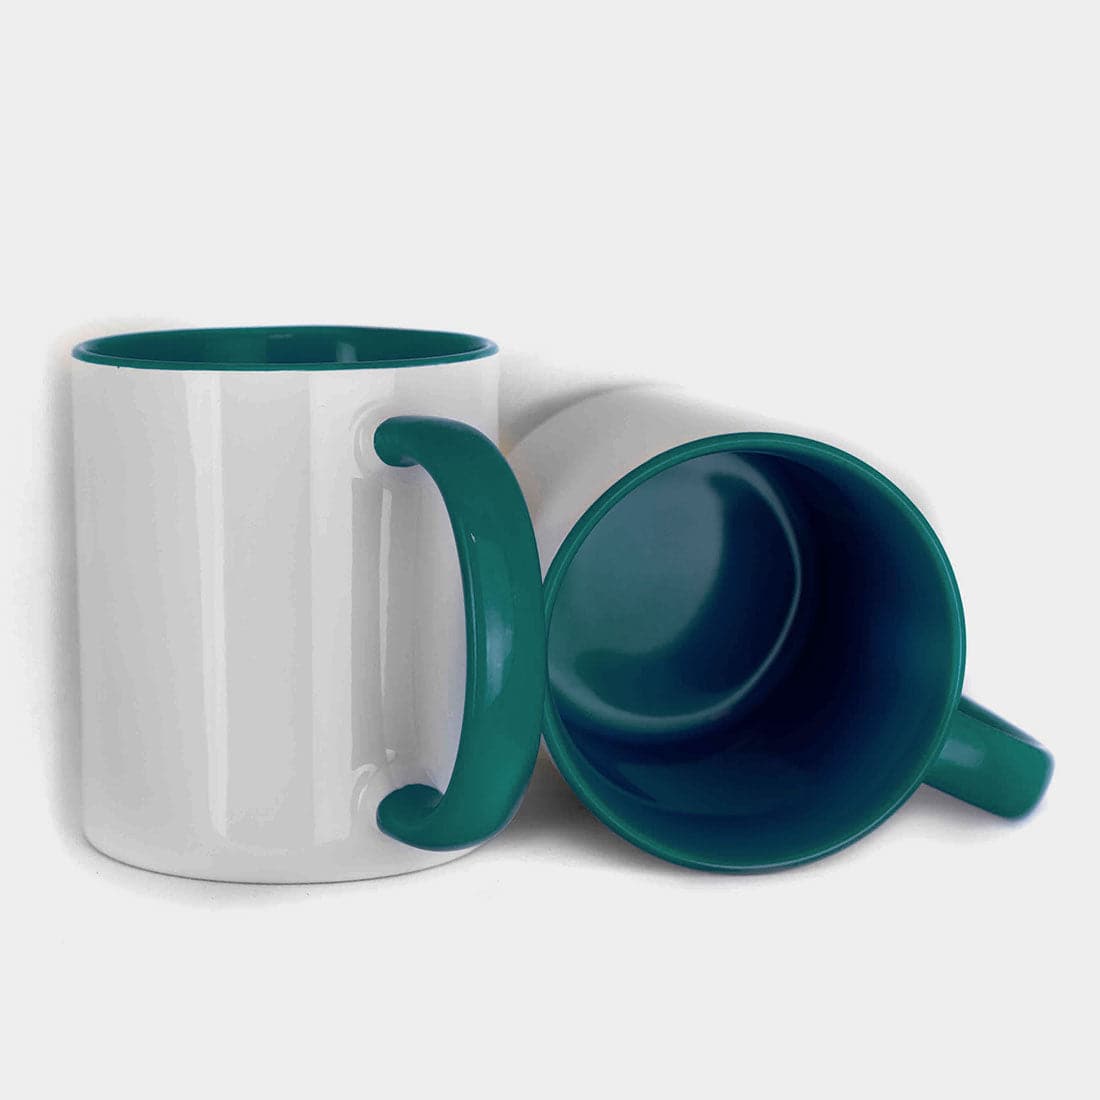
- Standard ceramic mugs (polymer coating): 380-400°F (193-204°C)
- Stainless steel tumblers (polymer coating): 360-380°F (182-193°C)
- Glass mugs (polymer coating): 375-390°F (190-199°C)
- Enamel camping mugs: 370-385°F (188-196°C)
Allow 10-15 minutes heat soak after reaching set temperature. Curved elements require longer stabilization than flat platens due to thermal mass distribution across the curved surface.
Pressure Calibration
Test pressure using blank mug without transfer:
Step 1: Initial pressure test
- Place blank mug in press
- Close press to normal pressing position
- Observe element contact with mug surface
- Look for gaps between element and mug indicating insufficient pressure
Step 2: Pressure adjustment
- Increase pressure if gaps visible
- Decrease pressure if mug distorts or compresses
- Ceramic mugs should not flex under pressure
- Stainless tumblers may show slight dimpling at correct pressure
Step 3: Verification press
- Press blank transfer on test mug
- Complete full cycle with proper temperature and time
- Inspect for even coverage edge to edge
- Faded areas indicate pressure adjustment needed
Operating Workflow for Mug Pressing
Consistent results require systematic workflow eliminating variables between presses:
Mug Preparation
Clean mugs before pressing even if they appear clean from packaging. Manufacturing residue, dust, and oils interfere with sublimation bonding:
Cleaning procedure:
- Wipe mug surface with lint-free cloth dampened with isopropyl alcohol
- Allow alcohol to evaporate completely (30-60 seconds)
- Avoid touching cleaned surface with bare hands
- Wear cotton gloves when handling cleaned mugs if possible
Inspect mug coating for defects. Scratches, chips, or uneven coating areas will not accept sublimation ink properly. Pressing defective mugs wastes transfer paper and production time.
Transfer Preparation and Application
Print designs to match mug dimensions with appropriate margins:
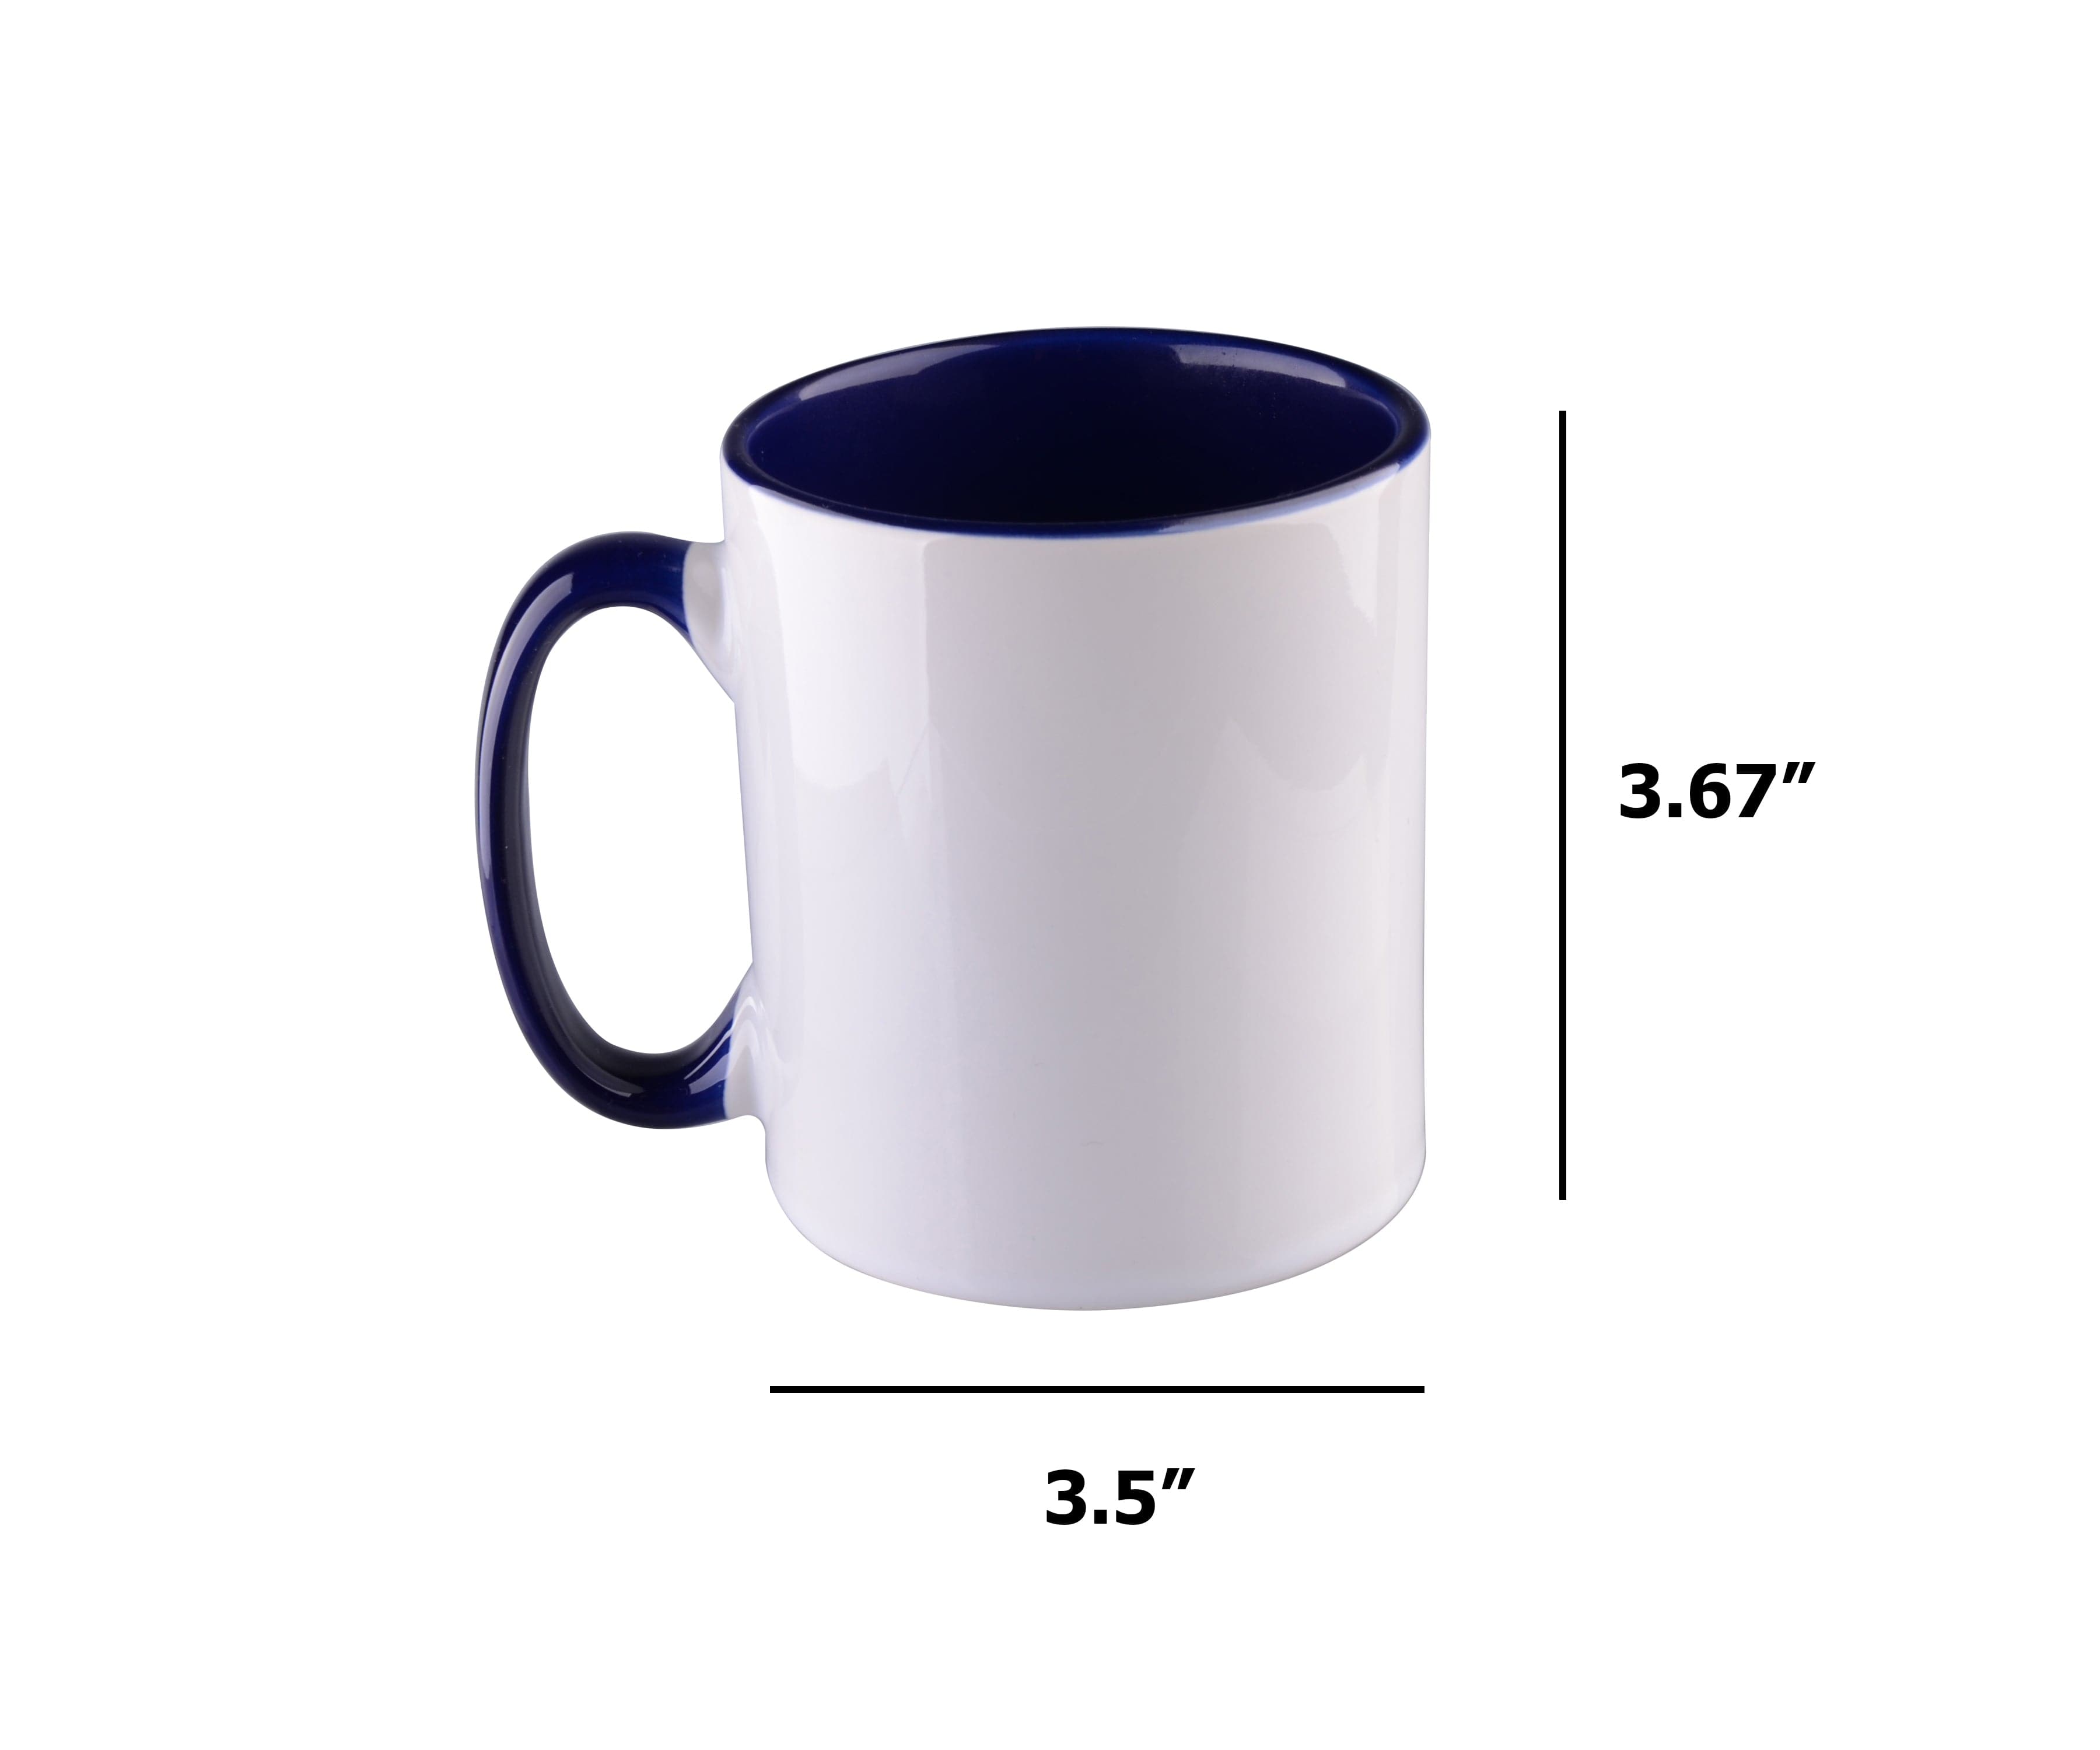
Standard 11oz mug: 8" width x 3.75" height maximum
15oz latte mug: 8.5" width x 4.5" height maximum
Tapered designs: Account for taper by designing with curved text/images
Trim transfer paper leaving 0.25-0.5 inch margin around design. Excessive paper creates wrinkles when wrapping curved surfaces. Insufficient margin risks design misalignment.
Wrapping procedure:
- Center design on mug with printed side facing mug surface
- Wrap paper smoothly around mug avoiding wrinkles
- Secure one edge with heat-resistant tape
- Pull paper snug but not stretched
- Tape opposite edge overlapping first tape slightly
- Add tape strips top and bottom to prevent shifting
Position mug handle perpendicular to heating element opening. Handle interference causes uneven pressure and incomplete transfers. Some press designs accommodate specific handle positions - verify manufacturer guidance.
Pressing Procedure
Step 1: Mug insertion
- Open press fully
- Insert wrapped mug into element opening
- Center mug vertically in element
- Ensure handle clears element and press frame
- Verify transfer paper sits flat against mug (no air gaps)
Step 2: Press closing
- Close press smoothly to normal pressing position
- Engage locking mechanism if present
- Verify timer starts automatically or manually initiate
- Check for smoke or burning smell indicating overheating
- Listen for sizzling indicating proper sublimation occurring
Step 3: Dwell cycle
- Maintain press closed for full cycle time
- Avoid opening to check progress - releases heat and pressure
- Monitor for auto-open alert if equipped
- Prepare cooling station for mug removal
Step 4: Mug removal
- Open press when timer completes
- Remove mug using heat-resistant gloves or silicone grips
- Place mug on heat-resistant cooling surface
- Do not set hot mugs on cold surfaces - thermal shock can crack ceramic
Cooling and Paper Removal
Proper cooling prevents smearing and ensures complete sublimation bonding:
Cooling options:
Air cooling: Allow mug to cool 30-60 seconds before removing paper. This prevents smearing but extends total cycle time. Best for single-mug or low-volume operations.
Water cooling: Dip hot mug in room-temperature water immediately after pressing. Rapid cooling sets sublimation instantly. Rinse removes paper residue. Best for high-volume production requiring fast turnaround.
Cold surface transfer: Place hot mug on cold metal surface to accelerate cooling through conduction. Remove paper once mug reaches handling temperature (15-20 seconds). Compromises between air and water methods.
Paper removal technique:
- Peel tape from mug surface carefully
- Remove transfer paper in one smooth motion when possible
- Peel from bottom to top or top to bottom (consistent direction)
- If paper sticks, apply additional cooling before removal
- Do not soak mugs with stuck paper - rewet paper and peel carefully
Temperature and Time Settings by Mug Type
Different mug materials and coatings require adjusted parameters for optimal results:
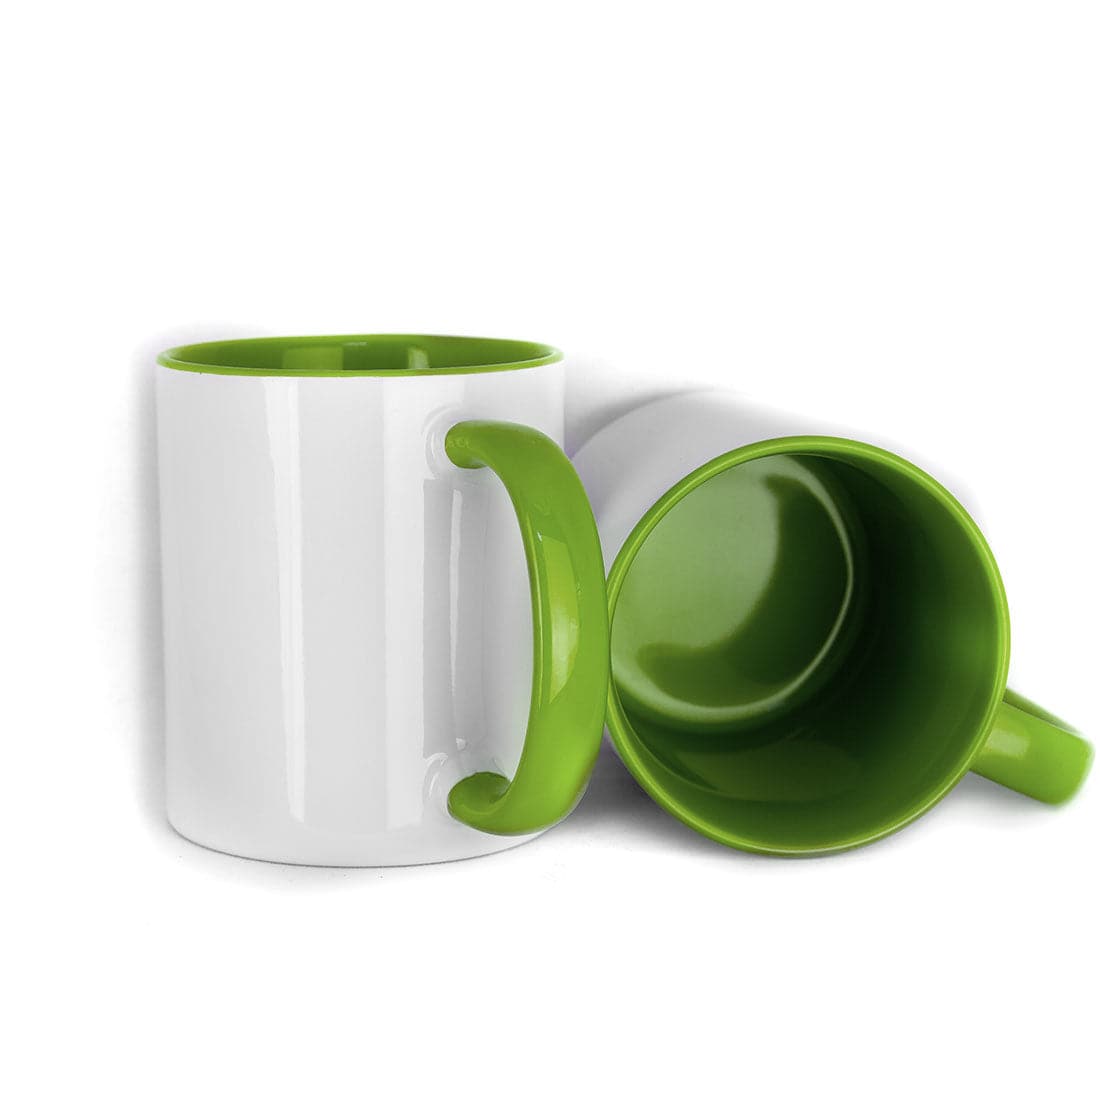
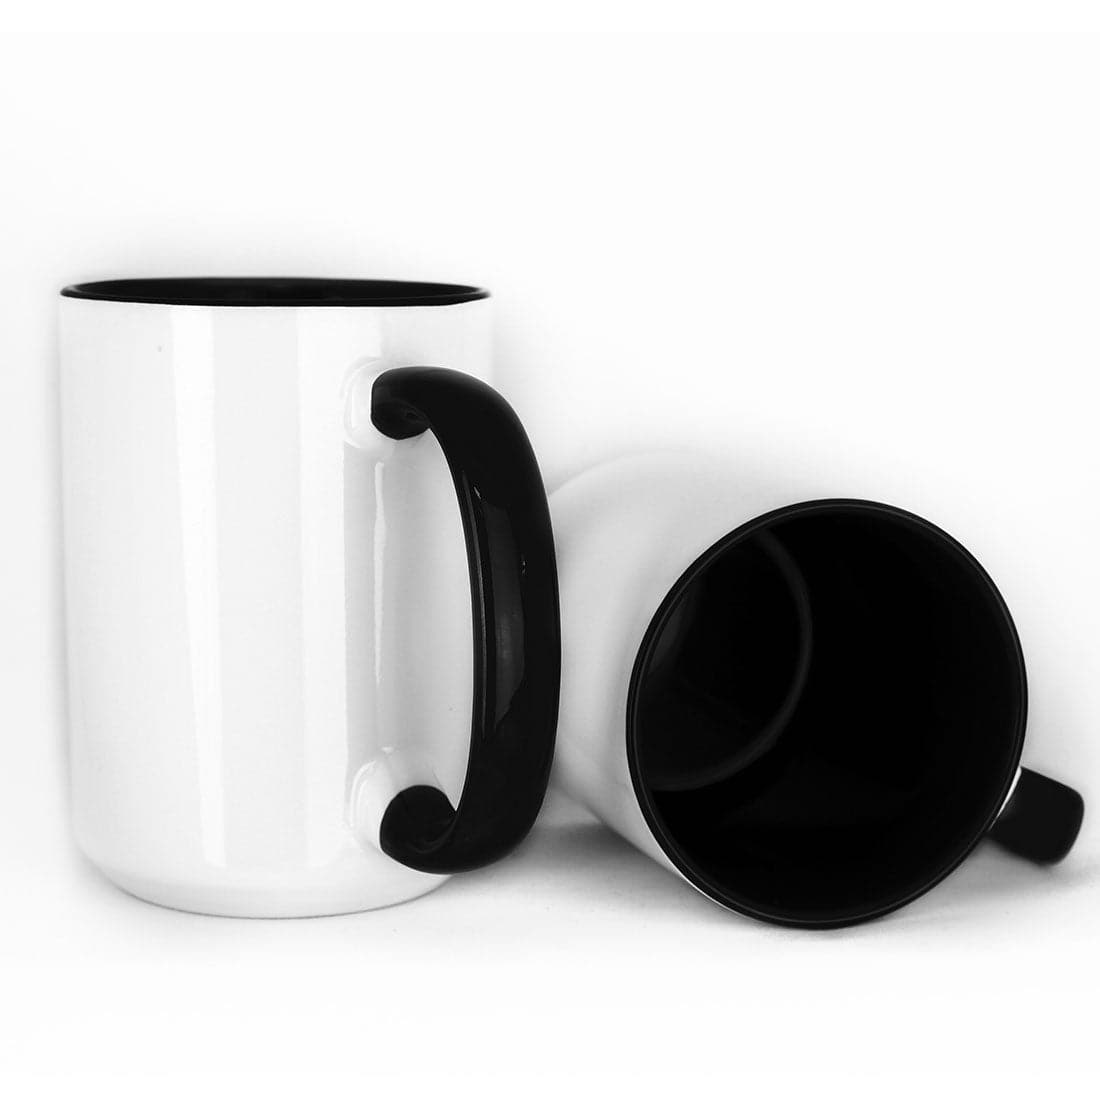
Standard Ceramic Mugs (11oz-15oz)
Temperature: 380-400°F (193-204°C)
Time: 180-240 seconds (3-4 minutes)
Pressure: Medium-light (15-25 psi)
Cool: 30-60 seconds before paper removal
Ceramic mugs provide excellent sublimation surface when properly coated. Higher temperatures produce more vibrant colors but risk yellowing on white areas. Start at 380°F and increase if colors appear dull.
Longer press times compensate for ceramic's thermal mass requiring heat penetration through material thickness. Insufficient time produces faded centers where heat hasn't fully penetrated.
Stainless Steel Tumblers
Temperature: 360-380°F (182-193°C)
Time: 40-60 seconds per section
Pressure: Medium-firm (25-35 psi)
Cool: Immediate water dip or 20-30 seconds air cool
Stainless steel conducts heat rapidly, requiring shorter press times than ceramic. Excessive time darkens images or causes yellowing on light backgrounds.
Tapered tumblers require rotating to press entire surface. Press 40-60 seconds, rotate 90-120 degrees, press again. Overlap pressing areas slightly to prevent visible seams.
Glass Mugs and Steins
Temperature: 375-390°F (190-199°C)
Time: 150-180 seconds
Pressure: Light-medium (10-20 psi)
Cool: Slow air cooling (60-90 seconds) to prevent thermal shock
Glass requires moderate temperatures avoiding thermal stress causing cracking. Lower pressure prevents glass breakage under compression.
Never water cool glass mugs immediately after pressing. Thermal shock from rapid temperature change cracks glass. Allow gradual air cooling before handling.
Enamel Camping Mugs
Temperature: 370-385°F (188-196°C)
Time: 120-150 seconds
Pressure: Medium (20-30 psi)
Cool: Air cooling 30-45 seconds
Enamel coating over metal base transfers quickly due to excellent heat conduction. Watch for scorching at temperatures above 385°F.
Handle enamel mugs carefully during paper removal. Enamel chips if dropped or struck against hard surfaces while hot.
Common Operating Problems and Solutions
Mug pressing introduces specific challenges from curved surface geometry:
Uneven Transfer Coverage (Faded Edges or Center)
Symptom: Transfer appears vibrant in some areas but faded in others.
Causes and solutions:
- Element size mismatch: Verify element diameter matches mug size. Replace with correct element
- Insufficient pressure: Increase pressure adjustment until even contact across mug surface
- Warped element: Inspect element for physical damage or warping. Replace damaged elements
- Mug diameter variation: Some mugs taper significantly. Position narrowest section at element center
- Handle interference: Reposition mug so handle doesn't prevent element contact
Transfer Paper Stuck to Mug After Pressing
Symptom: Paper bonds to mug surface and tears when removed.
Causes and solutions:
- Excessive temperature: Reduce temperature 10-15°F and retest
- Moisture in paper: Store transfer paper in sealed containers with desiccant. Humid paper absorbs moisture causing sticking
- Wrong paper type: Verify using sublimation paper designed for mug pressing. Some papers designed for flat pressing stick on curved surfaces
- Insufficient cooling: Allow longer cooling time before paper removal. Sublimation hasn't fully set if paper sticks
Ghosting or Double Images
Symptom: Faint duplicate image offset from main design.
Causes and solutions:
- Paper shifting during pressing: Use more heat tape securing paper. Add strips every 2-3 inches around circumference
- Mug movement in element: Ensure mug fits snugly in element. Use padding for undersized mugs
- Opening press mid-cycle: Never open press to check progress. Opening releases pressure allowing paper movement
- Vibration during cycle: Place press on more stable surface. Check for loose mounting hardware
Color Fading or Yellowing
Symptom: Colors appear less vibrant than printed design, or white areas show yellow tint.
Causes and solutions:
- Insufficient temperature: Increase temperature 5-10°F for more vivid colors
- Short press time: Extend pressing time 20-30 seconds for fuller color saturation
- Excessive temperature: Yellowing indicates overheating. Reduce temperature and retest
- Old or contaminated coating: Mug coating degrades over time. Test fresh mugs to isolate coating issues
- Low-quality sublimation ink: Verify using quality sublimation ink designed for the coating type
Vertical Lines or Streaks in Transfer
Symptom: Vertical lines running up and down the mug surface.
Causes and solutions:
- Wrinkled transfer paper: Smooth paper completely when wrapping. Wrinkles create pressure points
- Tape ridges: Use thin heat tape. Thick tape creates raised areas telegraphing through transfer
- Dirt on mug surface: Clean mugs thoroughly before wrapping. Particles under paper create lines
- Element contamination: Clean heating element regularly. Built-up residue creates uneven heating
Safety Protocols for Mug Press Operation
Mug presses present specific burn hazards from exposed heating elements and hot mugs:
Burn Prevention
Heating elements reach 400°F and remain hot throughout production runs. Accidental contact causes immediate severe burns:
Safe practices:
- Never reach into element opening while power on
- Use heat-resistant gloves or silicone grips for all mug handling
- Keep loose clothing, hair, and jewelry away from element
- Position press where accidental contact during room traffic cannot occur
- Allow complete cooling before element removal or maintenance
- Post warning signs if press remains hot after shutdown
Mug Handling Safety
Hot mugs present burn hazards and can crack or shatter if dropped:
Safe practices:
- Use appropriate tools for mug size and weight
- Never grip hot mugs by handle only - support mug body
- Place hot mugs on designated heat-resistant surfaces only
- Clear work area of cold surfaces before pressing begins
- Warn nearby operators when moving hot mugs
- Have first aid supplies accessible for burn treatment
Electrical Safety
Mug presses draw 800-1200W during heating requiring proper electrical installation:
Safe practices:
- Connect to dedicated 15-amp circuits when possible
- Inspect power cords before each session
- Keep liquids away from press and electrical components
- Unplug press during element changes or maintenance
- Shut down immediately if electrical odors or smoke appears
Maintenance Schedule for Consistent Performance
Regular maintenance prevents element degradation and ensures consistent transfers:
Daily Tasks
Element inspection: Check heating element for residue buildup, paper fragments, or physical damage. Clean when cool using damp cloth.
Pressure mechanism check: Verify smooth press operation without binding or unusual resistance. Lubricate pivot points if movement feels rough.
Cooling station maintenance: Empty water cooling basin if used. Clean cooling surfaces removing any transfer paper residue.
Weekly Tasks
Element deep cleaning: When completely cool, clean element with specialized platen cleaner removing sublimation dye residue. Rinse thoroughly and dry before reheating.
Pressure calibration verification: Test pressure with blank mug. Recalibrate if element contact shows unevenness.
Temperature verification: Use infrared thermometer measuring element temperature at multiple points. Calibrate controller if variance exceeds ±10°F.
Monthly Tasks
Element electrical inspection: Check electrical connections for corrosion or looseness. Tighten connections and clean contact surfaces.
Spring or pressure system maintenance: Inspect springs for compression set or fatigue. Replace if pressure adjustment requires excessive force or doesn't hold calibration.
Emergency stop testing: Verify emergency stop button function and manual override capability.
Quarterly Tasks
Element replacement evaluation: Measure element performance against new element specifications. Replace if heat recovery time exceeds 30 seconds or temperature uniformity degrades.
Complete press inspection: Check all mechanical components for wear. Lubricate moving parts and adjust mechanisms per manufacturer specifications.
Mug Press Models and Selection
Mug press selection depends on production volume and substrate variety:
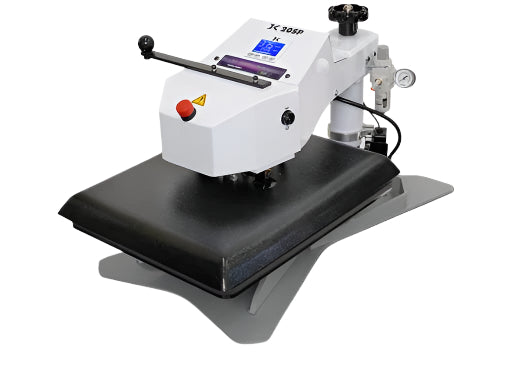
Single-Station Mug Presses
Basic single-element presses handle standard ceramic mugs efficiently for low-volume operations:
Featured models:
- Joto Digital Mug Press - Single Station - Includes 11oz and 15oz elements for standard mug sizes
Typical specifications:
- Single heating element station
- Digital temperature control (±5°F accuracy)
- Timer range 0-999 seconds
- Spring-loaded pressure adjustment
- Includes 2 common element sizes
- Power: 800-1000W
Best applications: Hobby production, testing mug business viability, low-volume custom orders, schools and education.
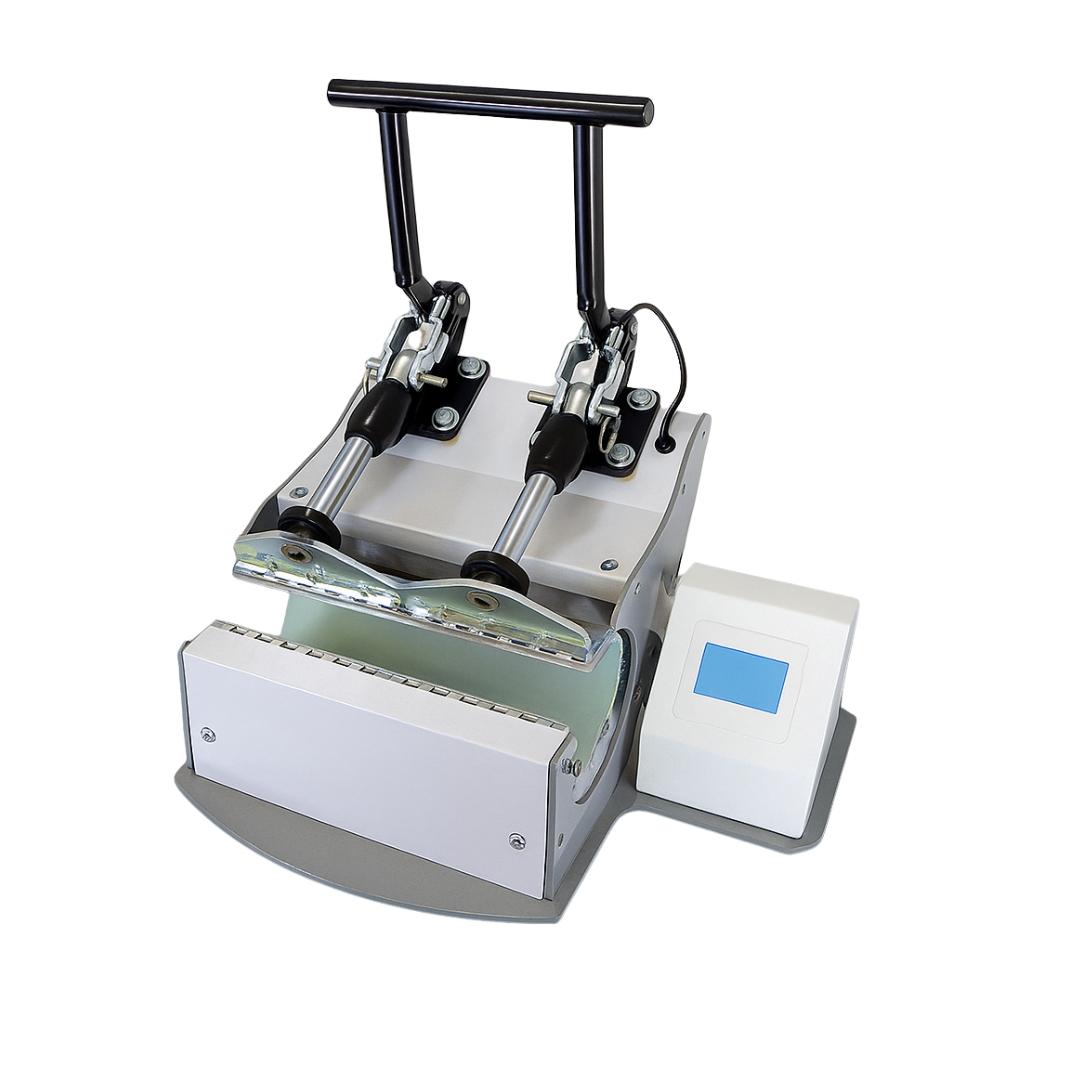
Dual-Station Mug Presses
Two independent heating elements double production capacity without doubling floor space:
Featured models:
- Joto Digital Mug Press - Dual Station - Five element sizes covering standard mugs through large lattes
Typical specifications:
- Two independent heating stations
- Separate temperature and timer controls per station
- Comprehensive element set (5+ sizes)
- Can press different mug sizes simultaneously
- Power: 1500-2000W
Best applications: Active production shops, businesses offering variety of drinkware, operations requiring different element sizes for mixed orders.
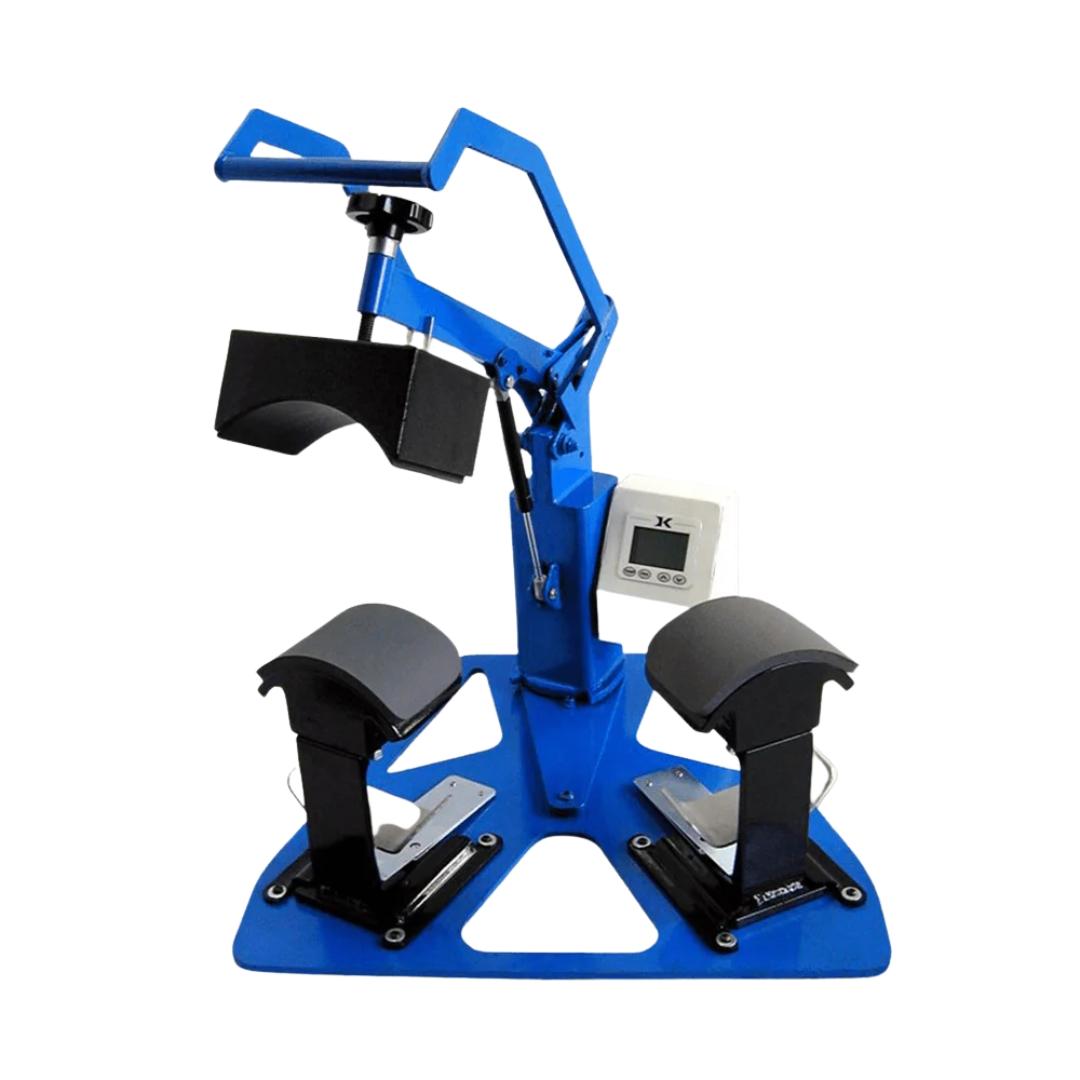
Tumbler and Multi-Format Presses
Specialized presses handling tumblers, water bottles, and non-standard drinkware shapes:
Featured models:
- Joto Digital Tumbler Mug Press - Seven elements covering skinny tumblers through sports bottles
Typical specifications:
- Extended element set for tapered items
- Adjustable element positioning
- Higher pressure capacity for stainless steel
- Rotation-friendly mug positioning
Best applications: Shops specializing in drinkware variety, businesses targeting promotional products market, operations pressing tumblers and water bottles regularly.
Frequently Asked Questions
How long does a mug press take to heat up?
Quality mug presses reach 400°F operating temperature in 8-12 minutes from cold start. Allow additional 3-5 minutes heat soak after reaching set temperature before pressing production mugs. This ensures element temperature stabilizes across entire curved surface rather than just at thermocouple location.
Can I use a flat heat press instead of a mug press for mugs?
Flat heat presses create insufficient contact with curved mug surfaces, producing uneven transfers with faded edges. Mug presses with properly sized curved elements are necessary for consistent full-coverage transfers on cylindrical drinkware. Attempting to use flat presses wastes mugs and transfer paper through poor results.
Why does my transfer look perfect until I peel the paper, then smears?
Insufficient cooling allows sublimation dye gas to remain mobile within the coating. Removing paper before complete cooling drags dye creating smears. Extend cooling time 15-30 seconds or use water cooling method setting sublimation instantly through rapid temperature drop.
How do I know which heating element size to use?
Measure mug diameter at widest point using calipers or tape measure. Select element matching measured diameter within 0.25 inches. Too-small elements leave untransferred edges. Too-large elements create uneven pressure. When between sizes, choose smaller element and increase pressure slightly rather than using oversized element.
Can I press tumblers that taper from bottom to top?
Yes, using tapered tumbler elements designed to match varying diameter. Alternatively, press tapered items in sections using standard elements. Press narrowest section first, rotate item, press wider section second. Overlap areas slightly preventing visible seams. This technique extends element usefulness across multiple product types.
What causes vertical streaks in my mug transfers?
Wrinkled transfer paper creates lines where wrinkles concentrate pressure. Smooth paper completely when wrapping, eliminating all wrinkles before taping. Use thin heat-resistant tape avoiding thick tape creating pressure ridges. Ensure mug surface completely clean before wrapping - particles under paper create vertical lines.
How often should I replace heating elements?
Replace elements when temperature recovery time exceeds 30 seconds between presses or when temperature uniformity across element surface varies more than ±15°F. Typical lifespan ranges 2000-5000 presses depending on temperature settings and maintenance quality. Document pressing counts to predict replacement timing before quality degrades.
Conclusion: Mastering Mug Press Operation
Mug heat press mastery requires understanding how curved surface geometry affects heat and pressure distribution. Element selection matching mug diameter determines transfer quality more than any other single factor. Proper element sizing combined with correct pressure adjustment creates even contact across entire pressing surface.
Temperature and time settings must account for material thermal properties. Ceramic requires longer pressing penetrating thermal mass. Stainless steel transfers quickly through excellent heat conduction. Glass demands moderate temperatures preventing thermal stress fractures.
Cooling procedures prevent smearing and ensure complete sublimation bonding. Allow adequate cooling time before paper removal or use water cooling for instant set when production speed matters.
Regular maintenance including daily cleaning, weekly calibration, and quarterly element evaluation prevents quality degradation. Equipment producing consistent results initially should maintain that performance through thousands of pressing cycles with proper care.
Master these fundamentals and mug heat presses deliver professional drinkware transfers efficiently and reliably across standard mugs, tapered tumblers, and specialty drinkware.