


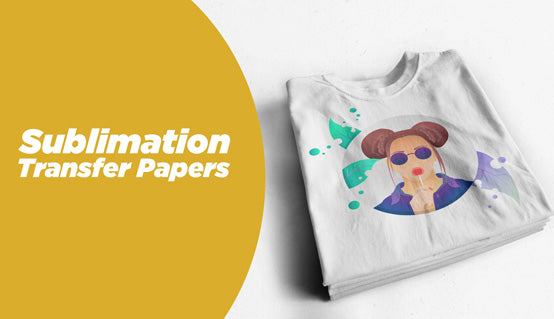


Printing custom designs on dark shirts can seem challenging at first. Unlike light fabrics, dark garments require a transfer method that preserves color vibrancy and prevents the fabric color from affecting the design. This is where inkjet transfer paper for dark fabrics becomes an excellent solution.
If you're wondering how to print on dark shirts with inkjet transfer paper, the process is actually straightforward. With the right materials, a standard inkjet printer, and a heat press, you can create vibrant, professional-looking designs on black or dark-colored garments without investing in expensive printing systems.
This method is widely used by small businesses, custom apparel shops, and DIY creators because it offers flexibility, low startup costs, and high-quality results. Whether you're producing merchandise for an event, creating personalized gifts, or starting a small apparel brand, transfer paper for dark fabrics allows you to produce custom garments quickly and efficiently.
In this guide, you'll learn exactly how to print on dark shirts using Paropy Inkjet Dark Premium, a professional-grade transfer paper developed by Joto Imaging Supplies. We'll cover the tools you'll need, explain how the transfer process works, and walk through a step-by-step method to achieve clean, durable prints on dark garments.
![]()
Why Printing on Dark Fabrics Is Different
Printing on dark shirts presents a unique challenge. When printing on light-colored garments, many decoration methods rely on the fabric itself to act as the background. However, with dark fabrics, the garment color can overpower or distort the printed design.
For example, methods like sublimation printing work best on white or very light-colored polyester fabrics. This is because sublimation ink becomes transparent when transferred and relies on the garment color to show through. On dark shirts, the ink would simply disappear into the fabric.
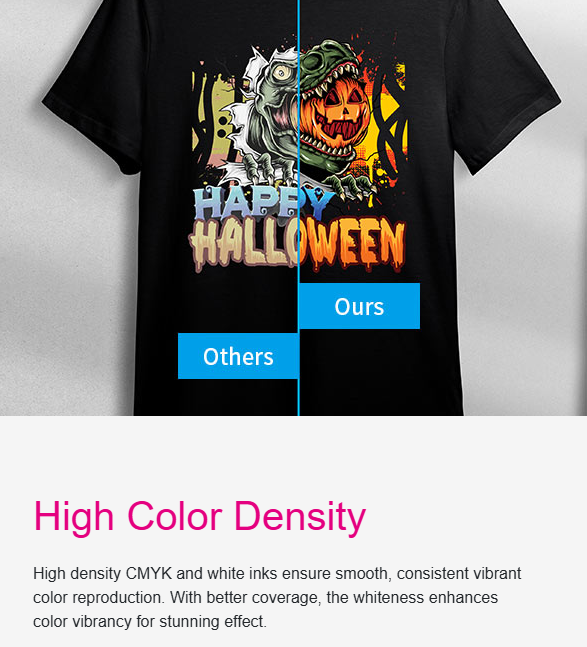
This is why inkjet transfer paper for dark shirts is specifically engineered with a white backing layer. This opaque layer blocks the fabric color and allows the printed design to maintain its brightness and detail when transferred to the garment.
As a result, designs printed on transfer paper for dark fabrics appear vibrant and clear, even on black or navy garments. This makes the method particularly useful for:
- custom T-shirts and hoodies
- small batch merchandise
- personalized gifts
- promotional apparel
- print-on-demand businesses
Because the process only requires a standard inkjet printer and a heat press, it has become one of the most accessible ways to produce custom apparel.
What Is Inkjet Transfer Paper for Dark Fabrics?
Inkjet transfer paper for dark fabrics is a specialized heat transfer material designed to move printed designs from paper onto dark garments using heat and pressure.
Unlike standard paper, this transfer paper contains multiple layers that allow the design to adhere properly to fabric while maintaining color accuracy. The most important feature is the opaque white transfer layer, which prevents the garment color from showing through the design.
The process works like this:
- A design is printed onto the transfer paper using a standard inkjet printer.
- The printed design is cut to shape.
- The transfer layer is placed onto the garment.
- Heat and pressure from a heat press activate the adhesive layer.
- The design bonds permanently to the fabric surface.
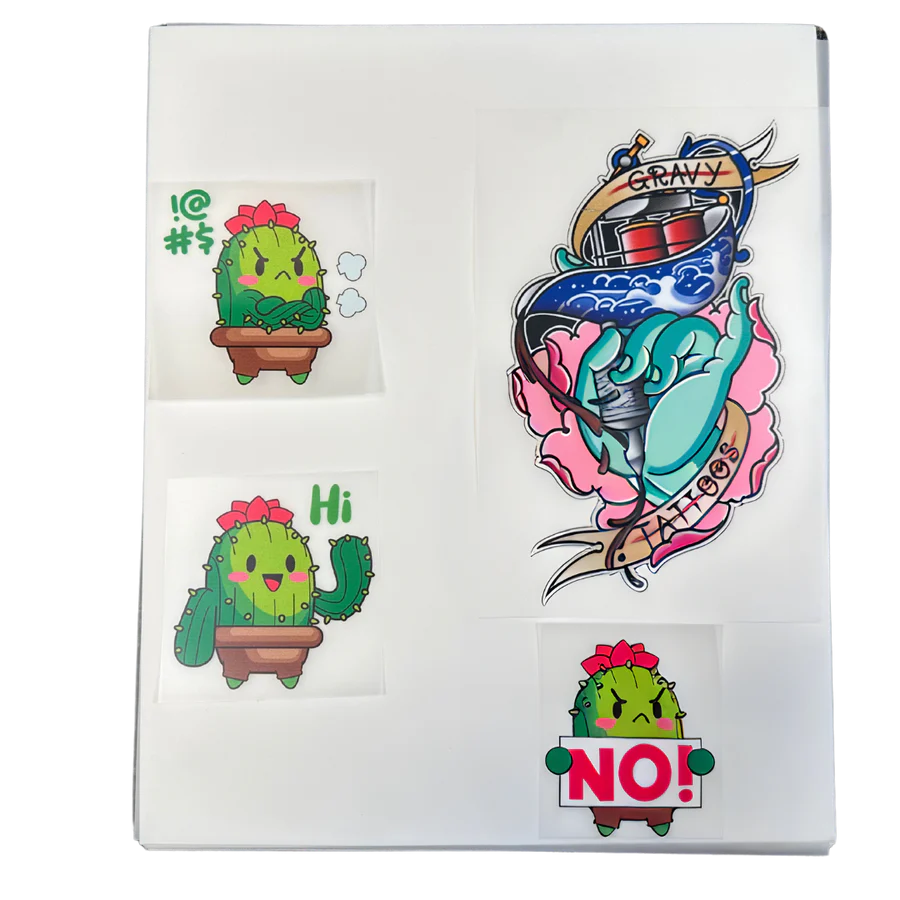
This method allows full-color graphics, photos, and logos to be transferred onto dark fabrics with strong detail and durability.
There are two main types of inkjet transfer paper used in garment decoration:
| Transfer Paper Type | Best For |
|---|---|
| Transfer paper for light fabrics | White or light-colored garments |
| Transfer paper for dark fabrics | Black or dark garments |
Using the correct paper type is essential. Transfer paper designed for light fabrics does not contain the opaque backing required for dark shirts and will produce poor results.
What Makes Paropy Inkjet Dark Premium Different?
Among the various transfer papers available for dark garments, Paropy Inkjet Dark Premium stands out for its reliability, ease of use, and professional-quality results.
Developed by Joto Imaging Supplies, this transfer paper is designed specifically for printing on dark cotton and cotton-blend garments using standard inkjet printers.
One of the key advantages of Paropy Inkjet Dark Premium is its compatibility with regular inkjet printers. There is no need for specialized sublimation printers or expensive inks. Users can simply print their design using standard inkjet ink and transfer it using a heat press.
The paper also features a smooth printable surface, allowing detailed artwork, gradients, and photographic images to transfer clearly. This makes it suitable for a wide variety of custom apparel applications.
Another important feature is its clean transfer and soft feel. When applied correctly, the transfer bonds smoothly with the fabric, producing a design that looks professional and durable after multiple washes.
Paropy Inkjet Dark Premium is commonly used for:
- custom T-shirt printing
- event merchandise
- small business apparel brands
- personalized gifts
- promotional products
Because of its balance of accessibility and quality, it has become a popular choice for both beginners and experienced garment decorators.
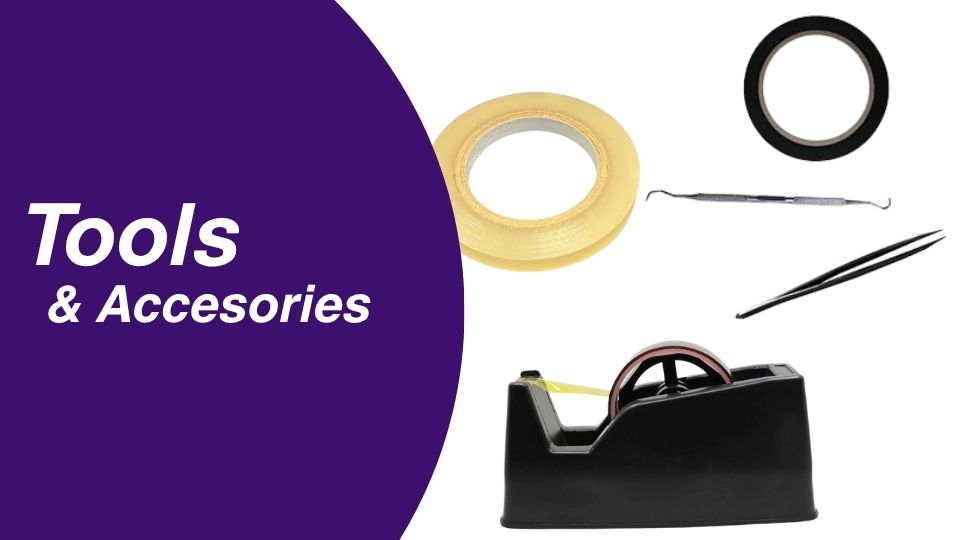
Tools Needed to Print on Dark Shirts
Before starting the transfer process, it is important to prepare the proper equipment. Having the right tools ensures clean transfers, consistent pressure, and long-lasting results.
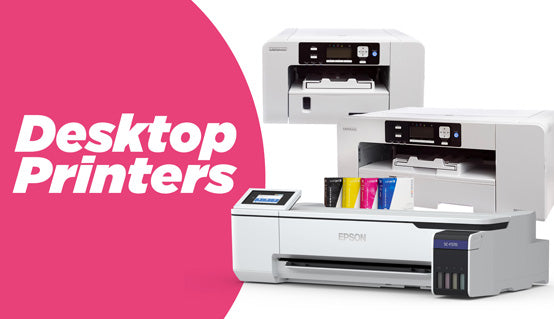
Inkjet Printer
A standard inkjet printer is used to print the design onto the transfer paper. Most desktop inkjet printers are compatible with transfer paper for dark fabrics.
For best results, designs should be printed using high-quality print settings to ensure sharp details and vibrant colors.
Paropy Inkjet Dark Premium Transfer Paper
This is the core material used in the process. The transfer paper carries the printed design and contains the adhesive layer that bonds with the garment when heat is applied.
Always ensure the design is printed on the correct printable side of the paper.
Vinyl Cutter or Scissors
After printing, the design must be cut to shape. A vinyl cutter allows precise outlines for complex designs, while scissors can be used for simpler graphics.
Careful cutting improves the final appearance of the transfer.
Weeding Tool
A weeding tool helps remove unwanted parts of the transfer paper from intricate designs. This is especially useful when working with lettering or detailed graphics.
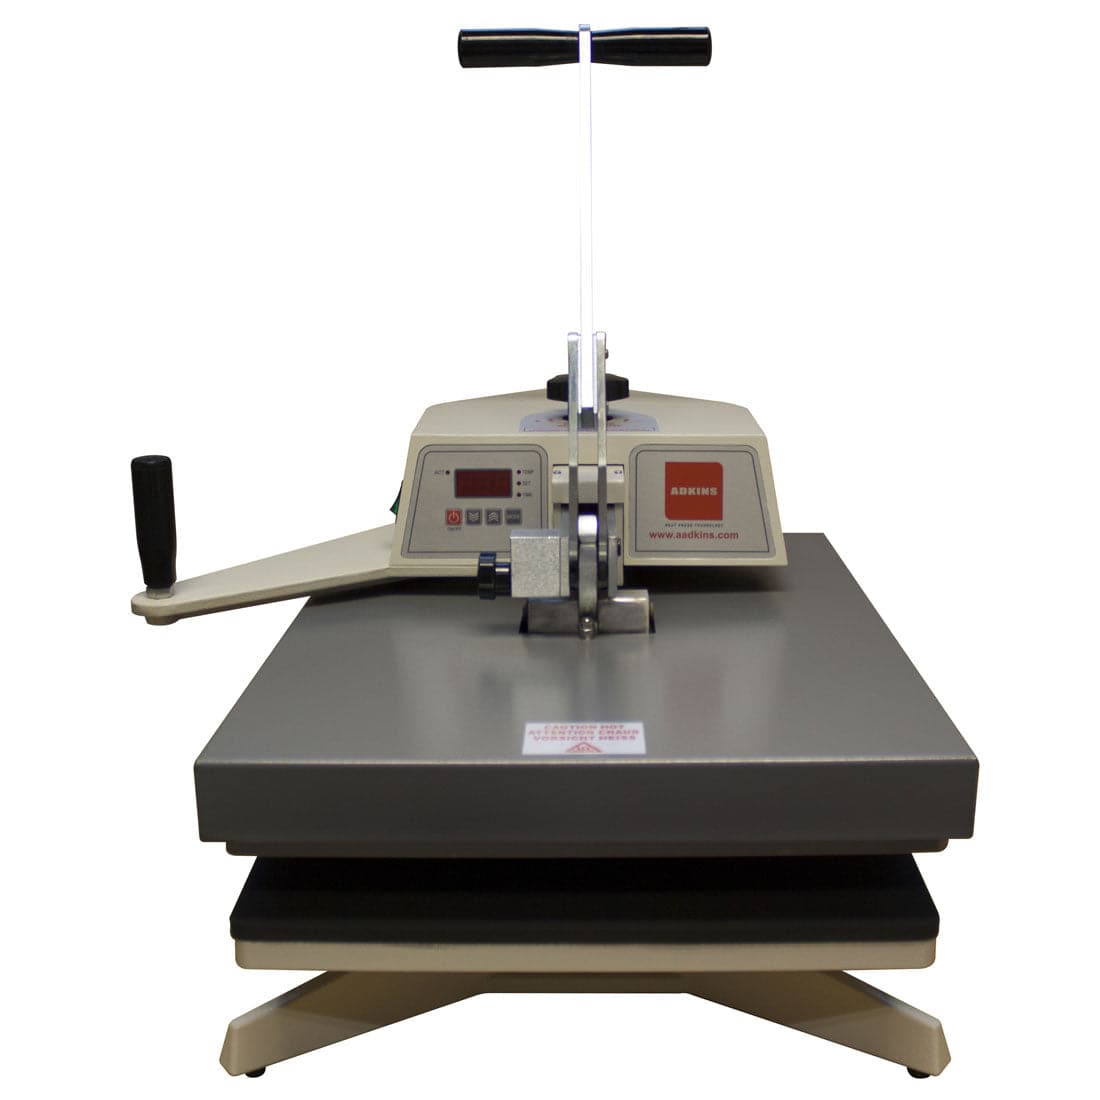
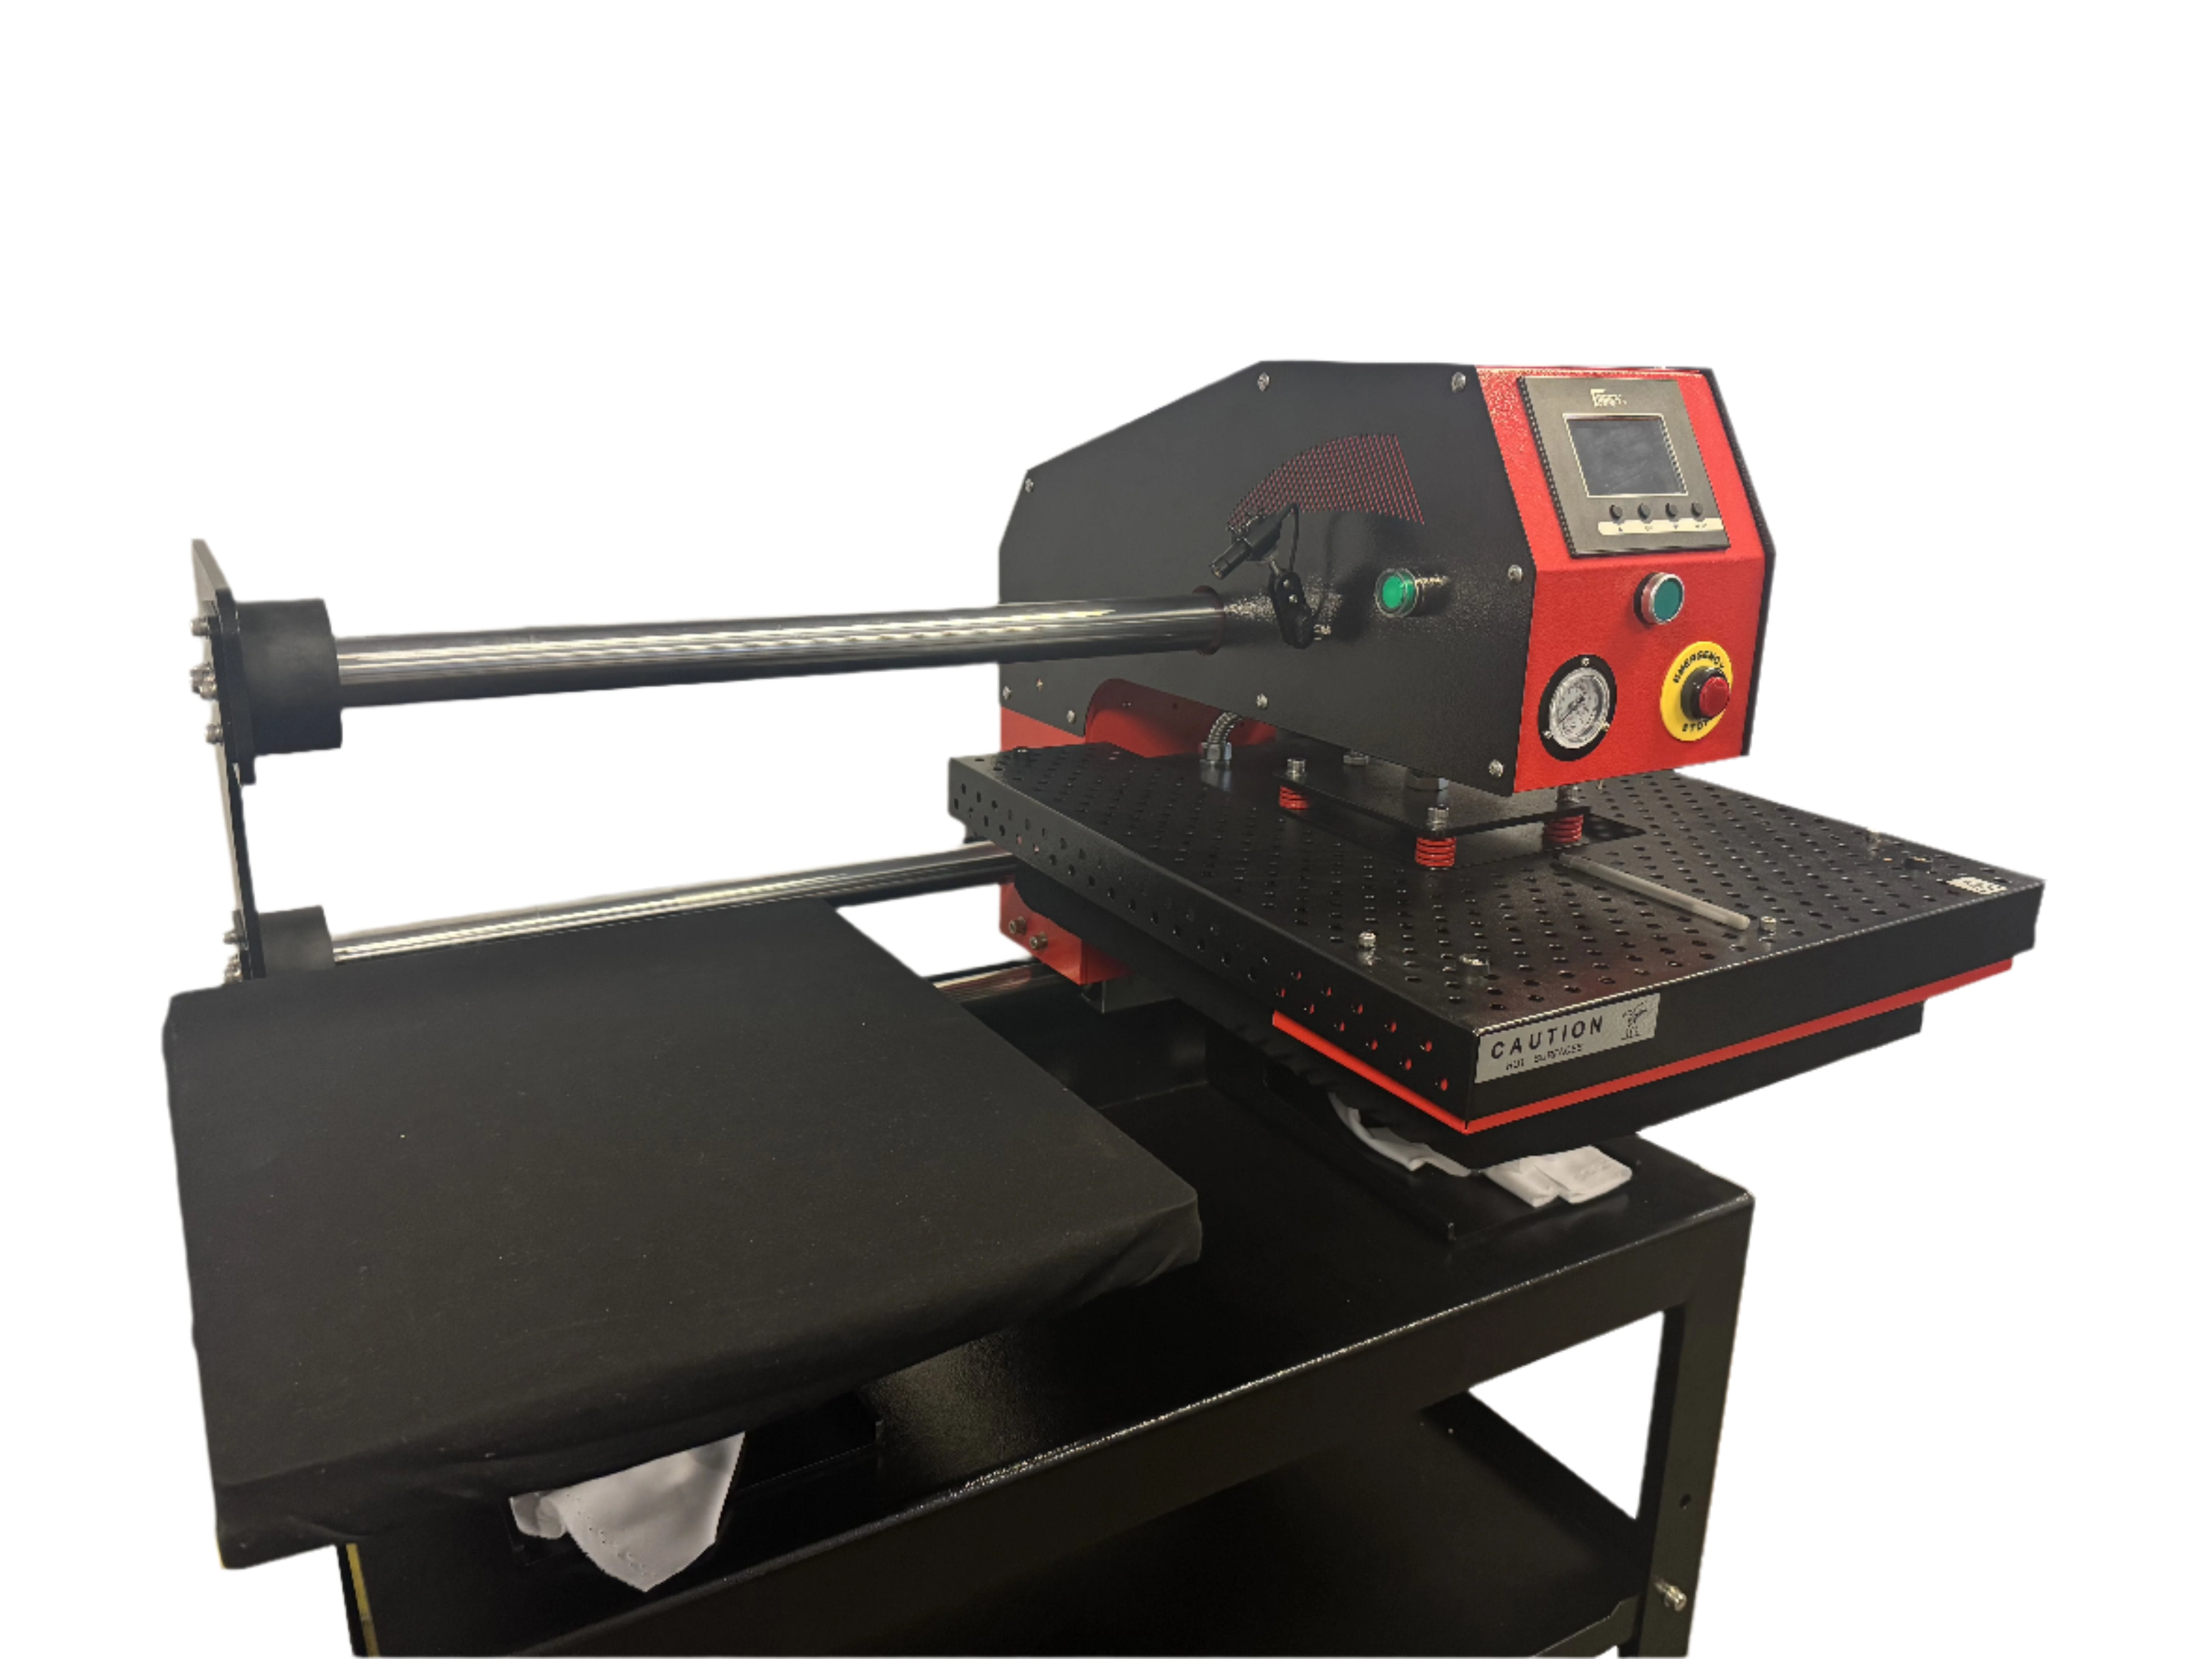
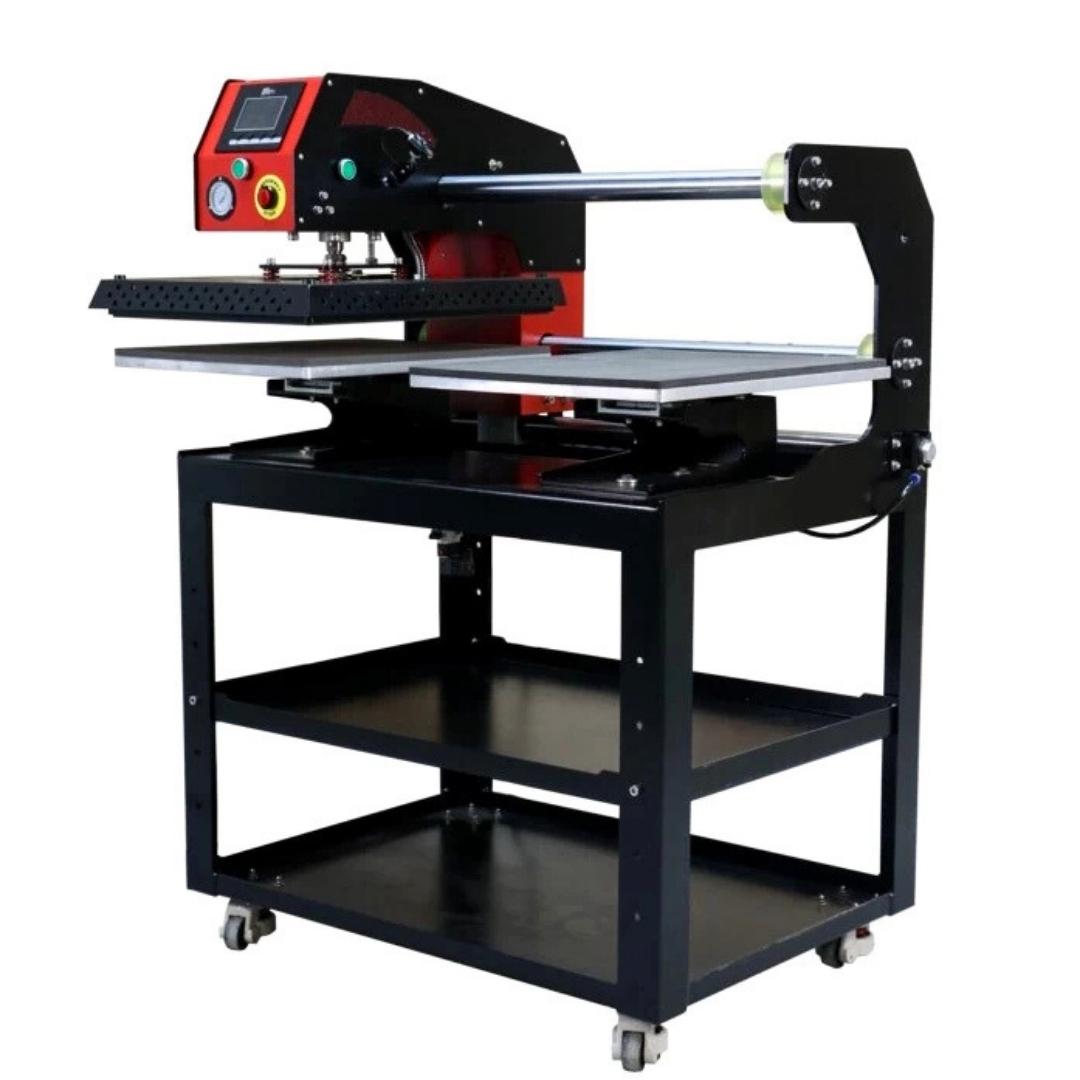
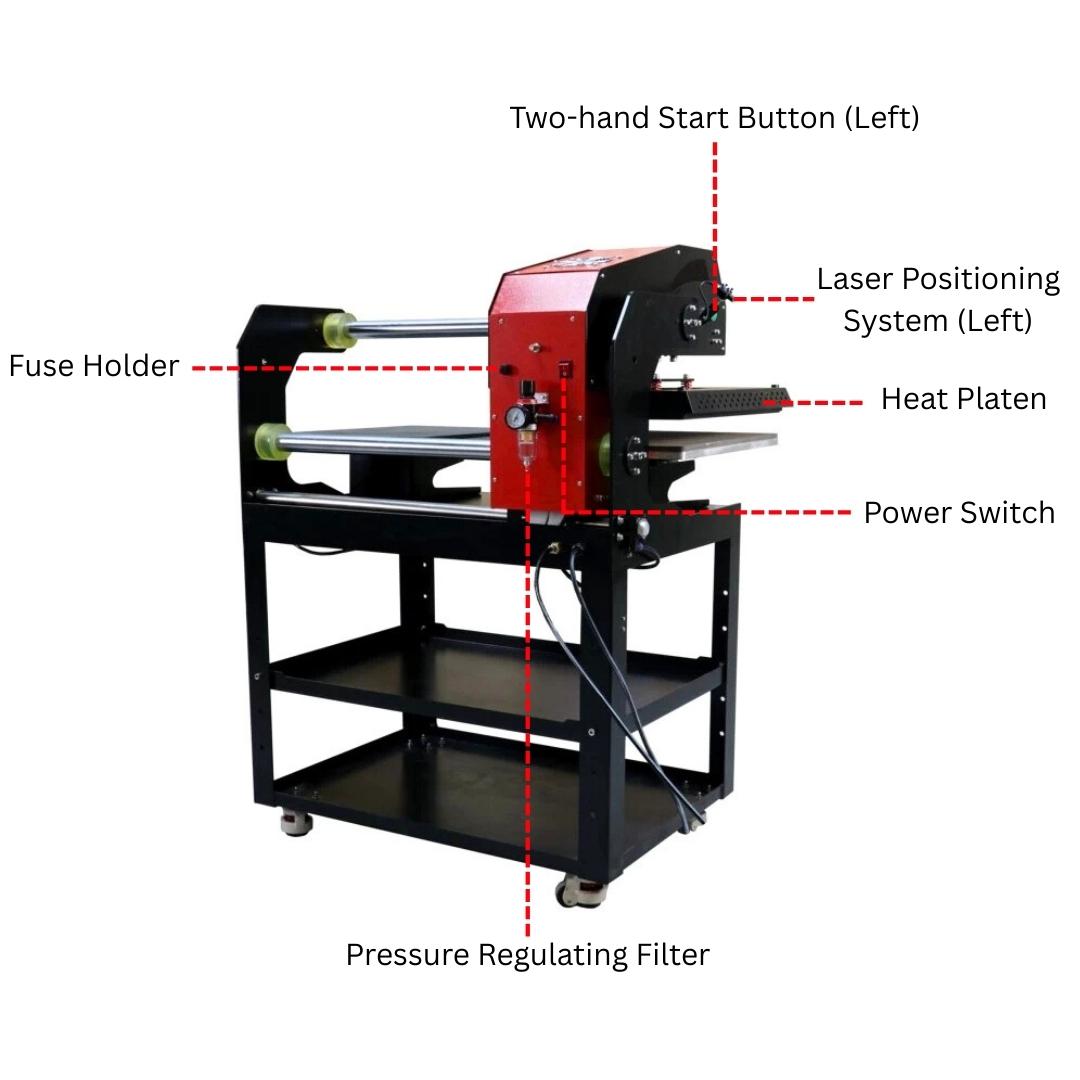
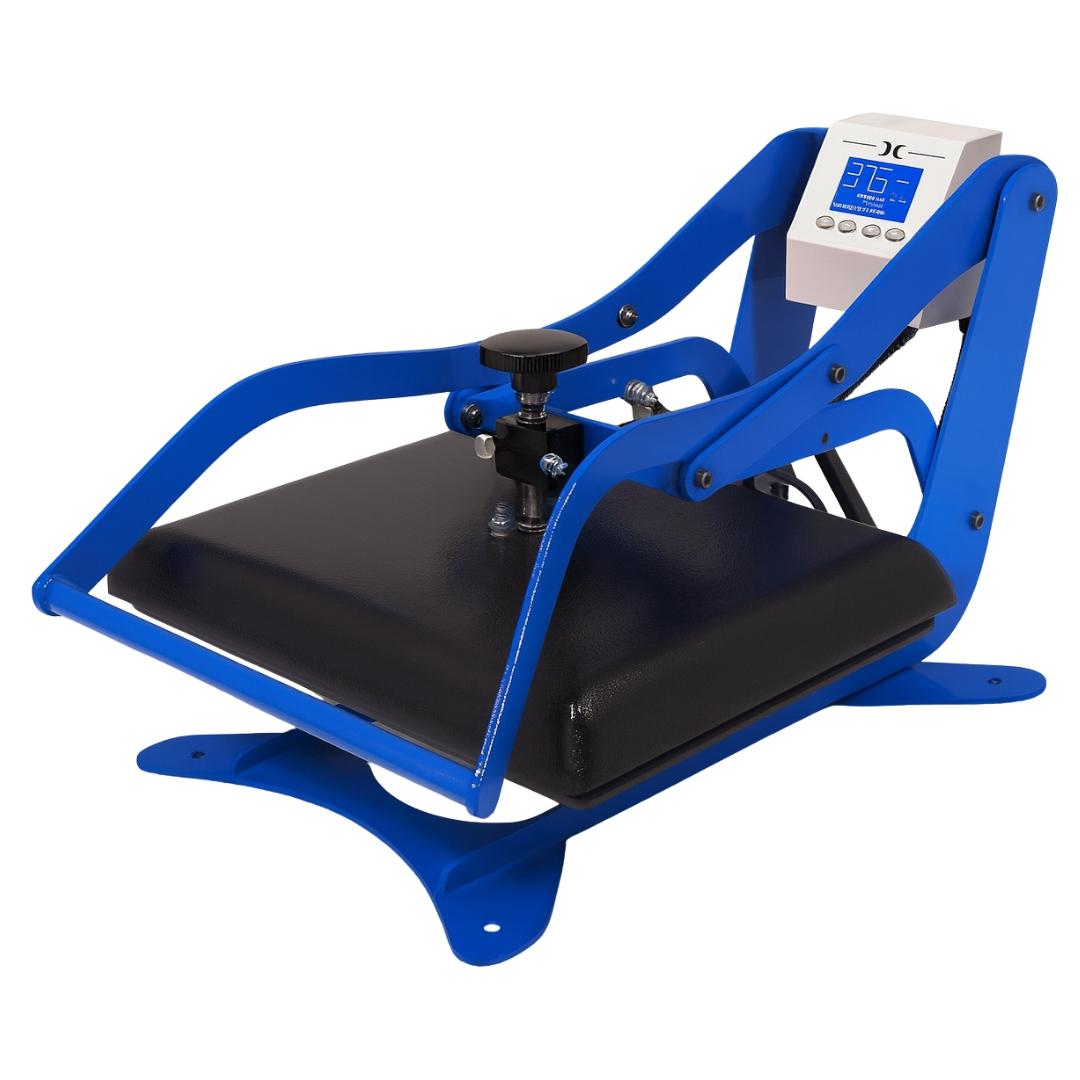
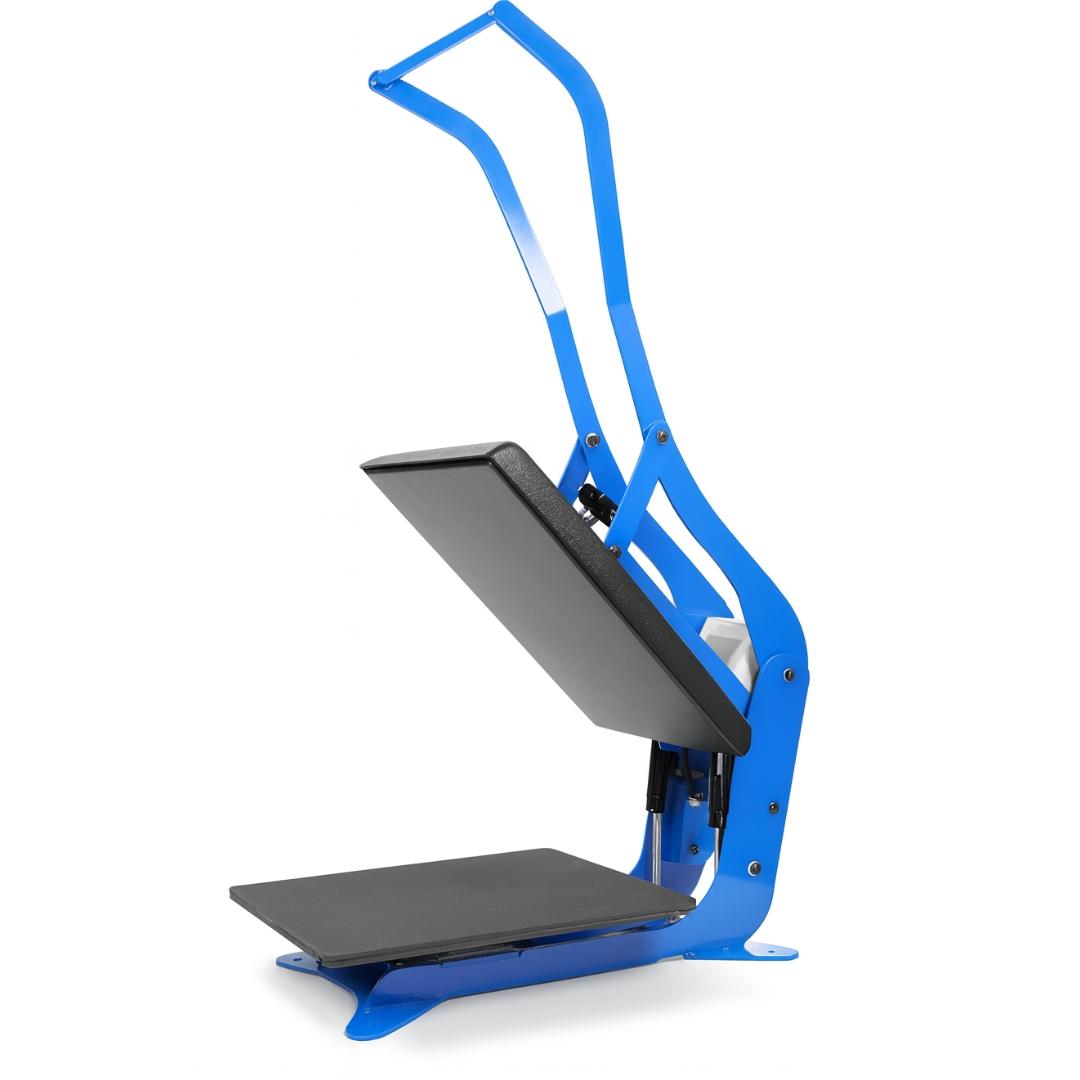
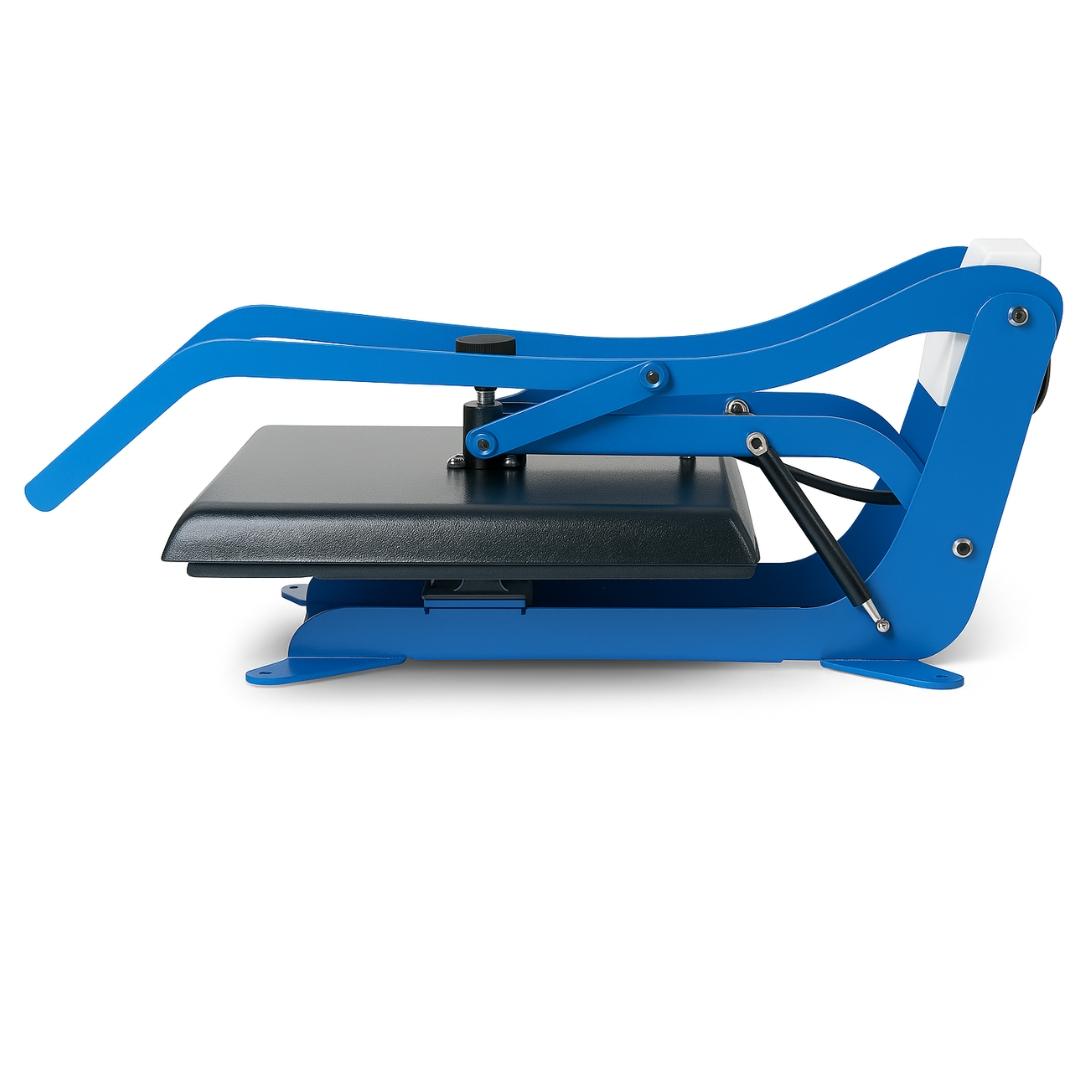
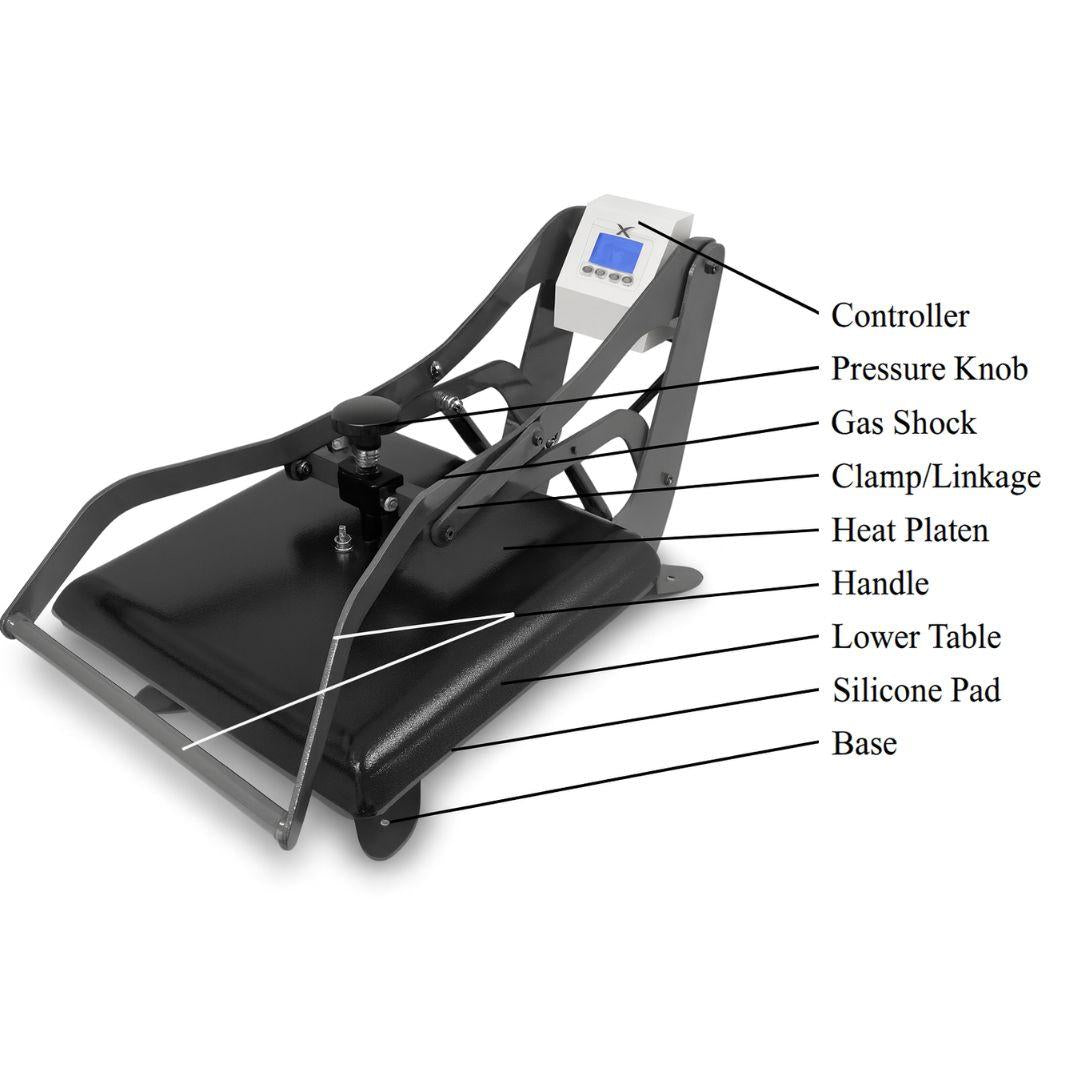
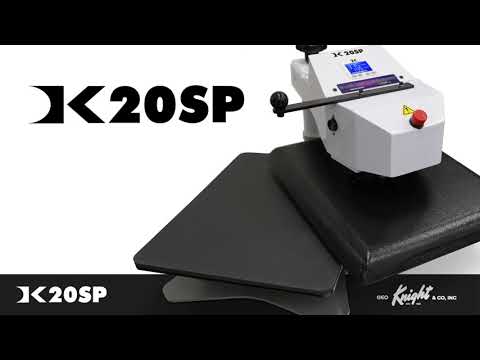
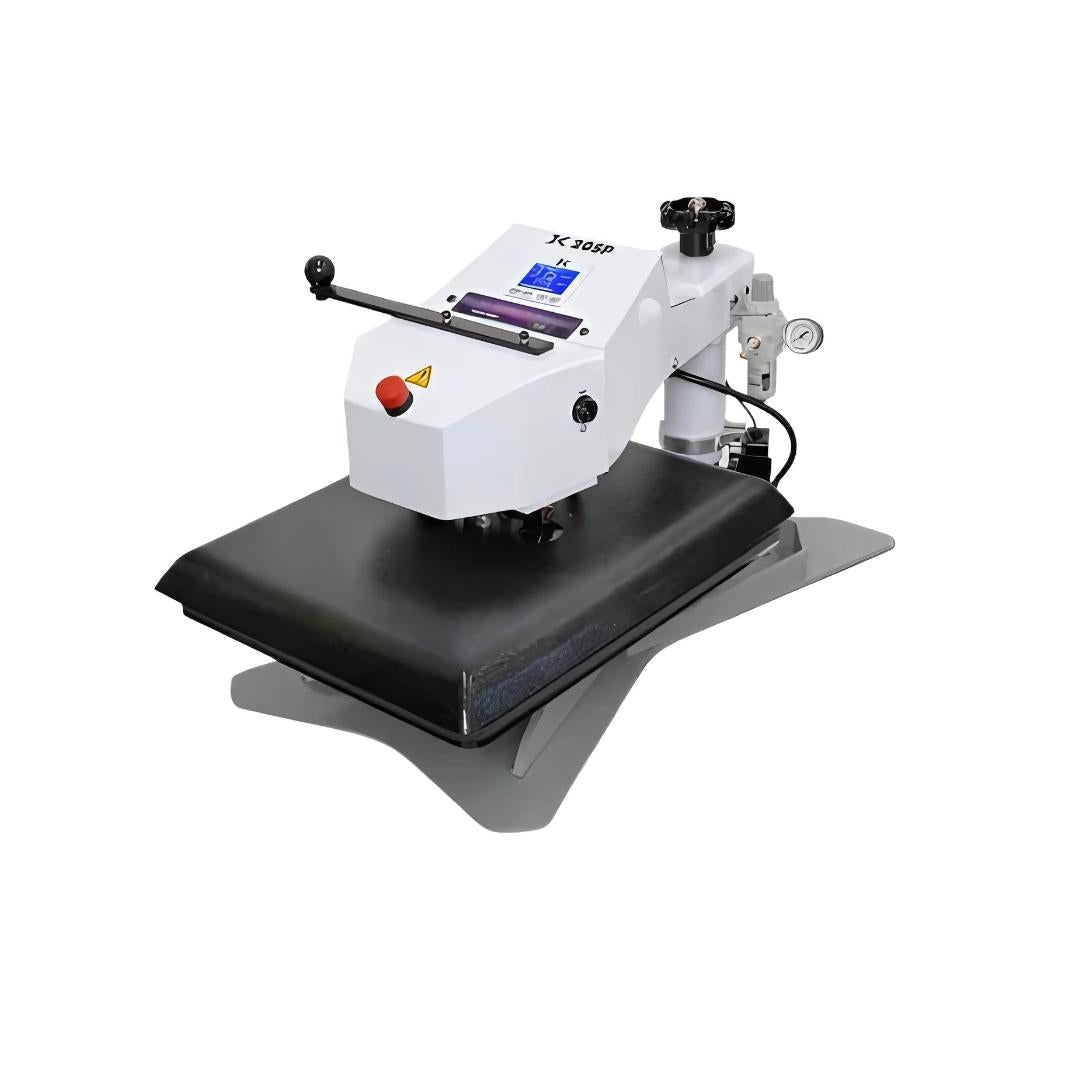
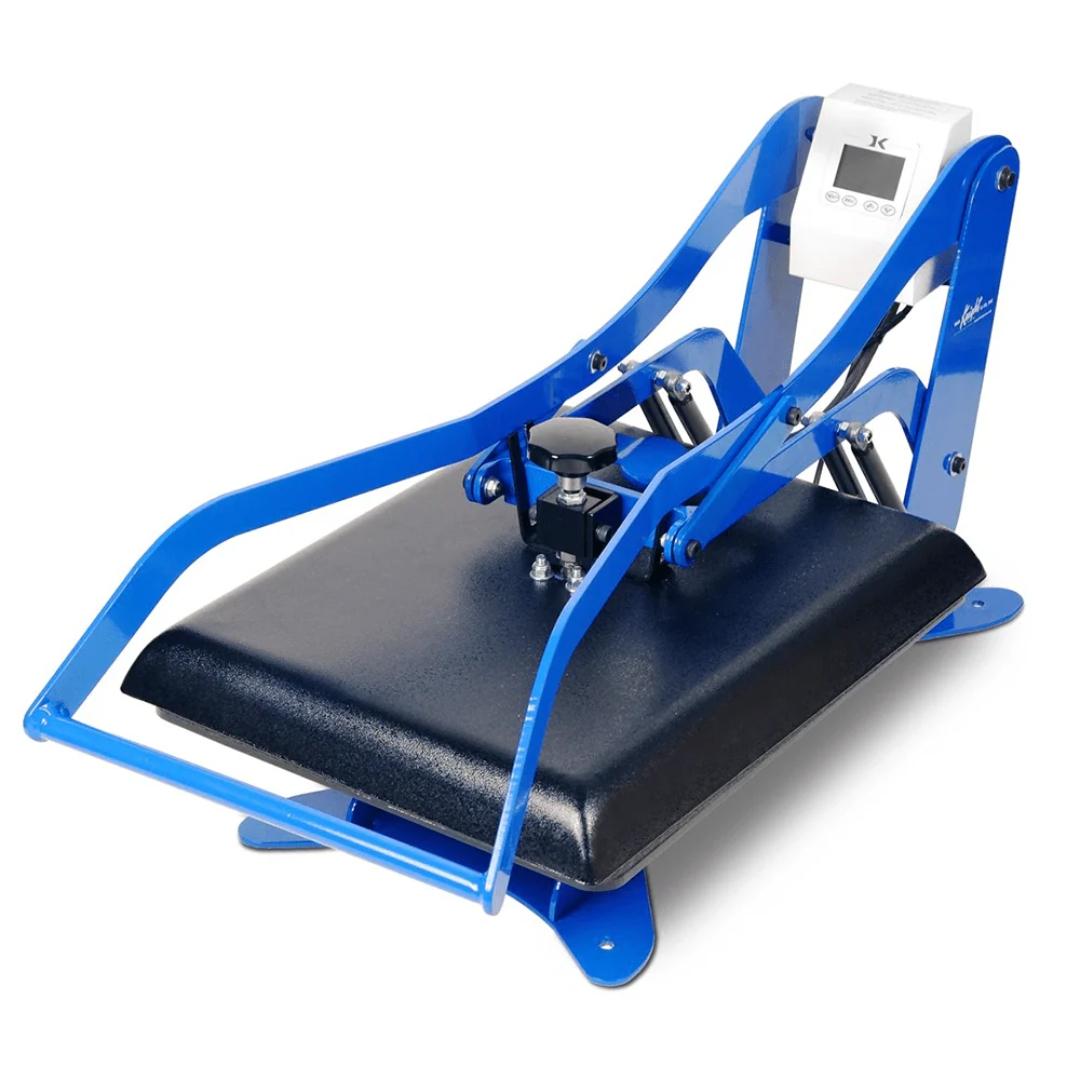
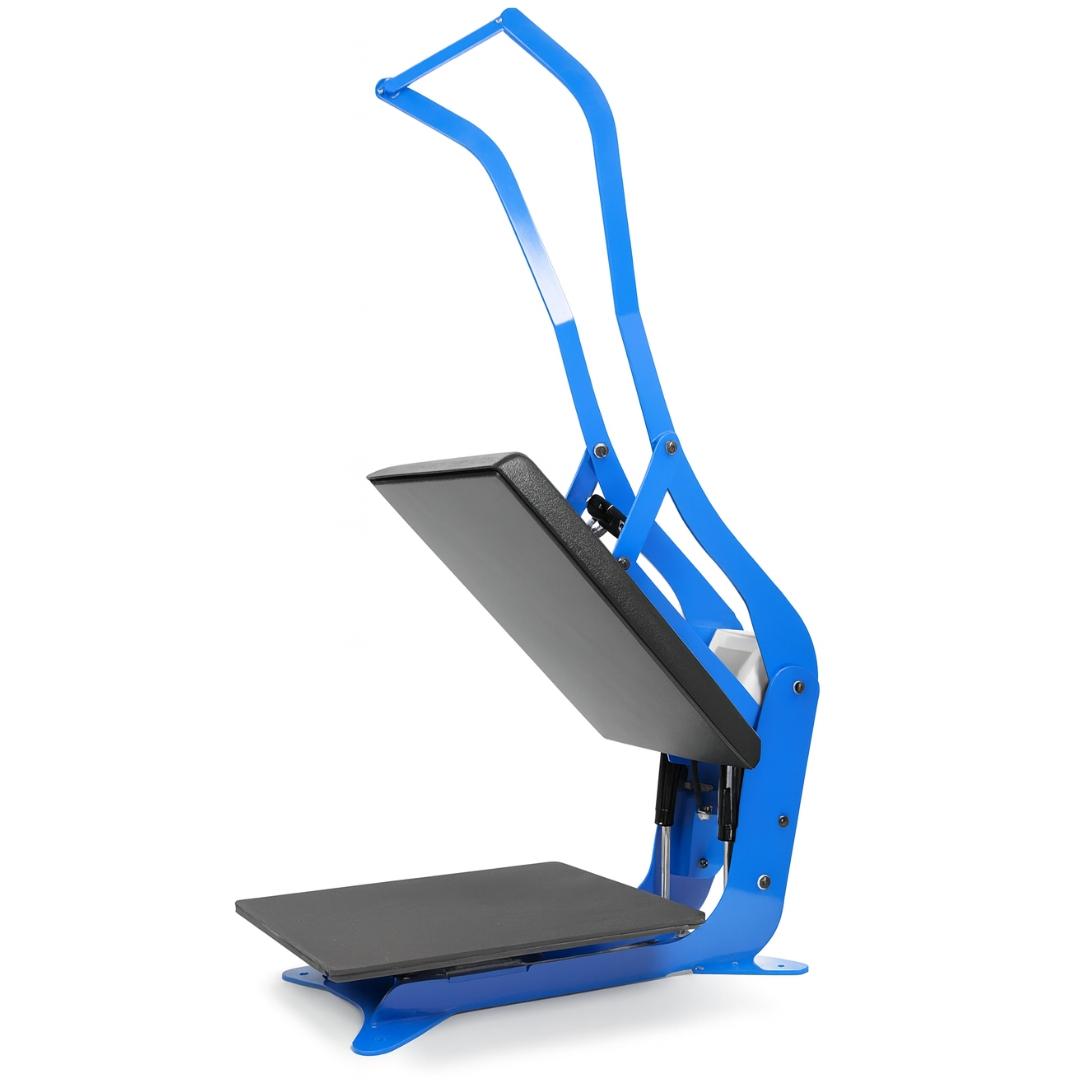
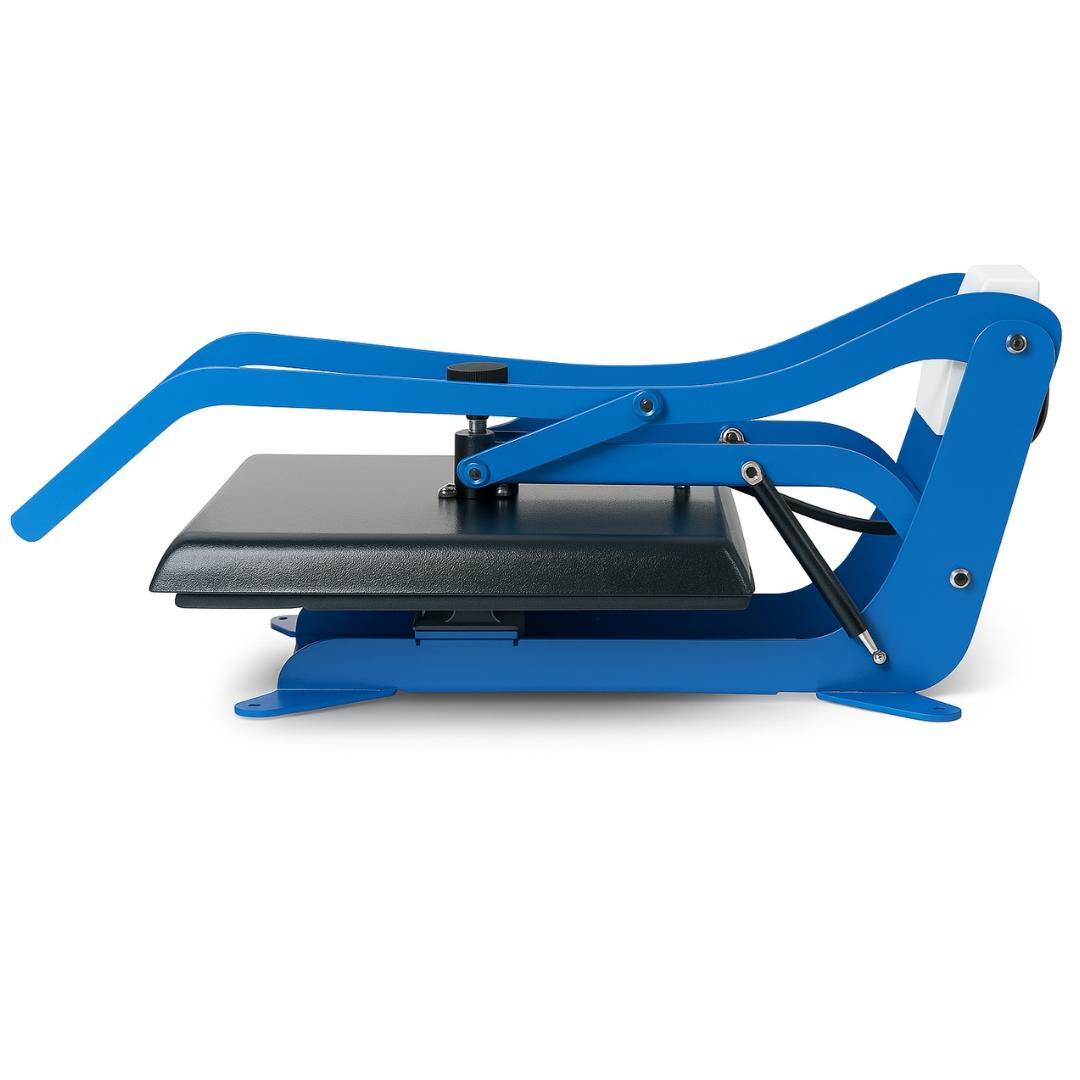
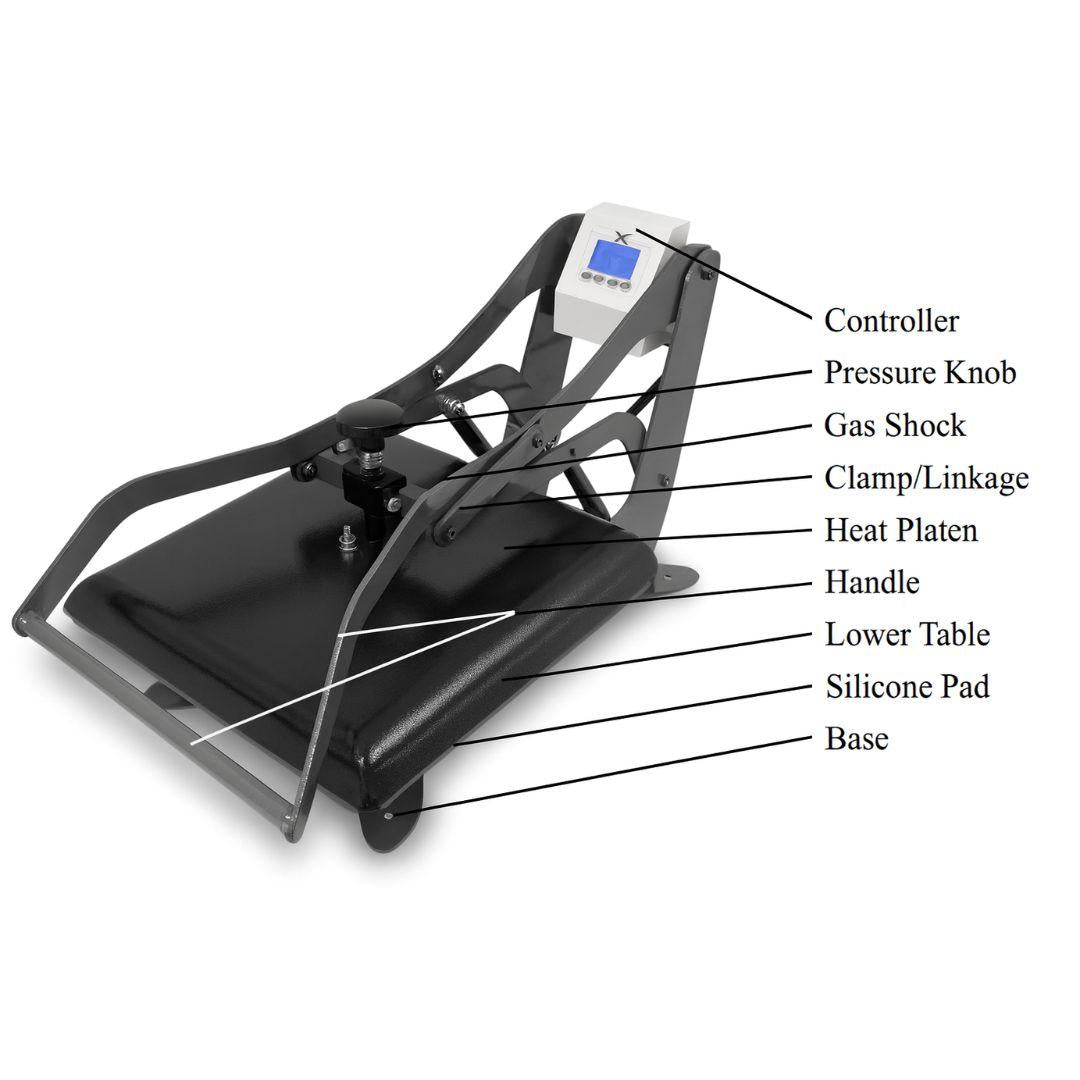
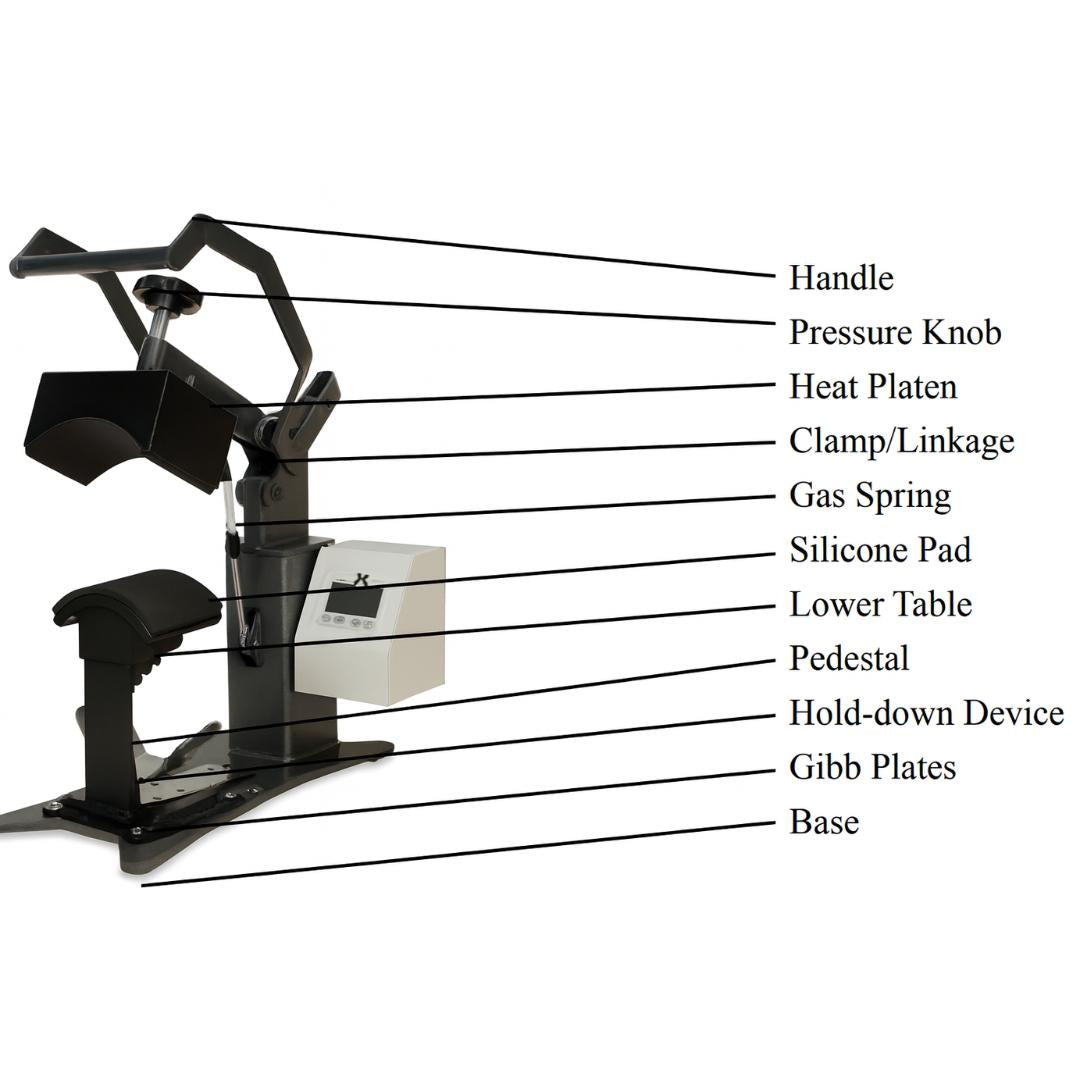
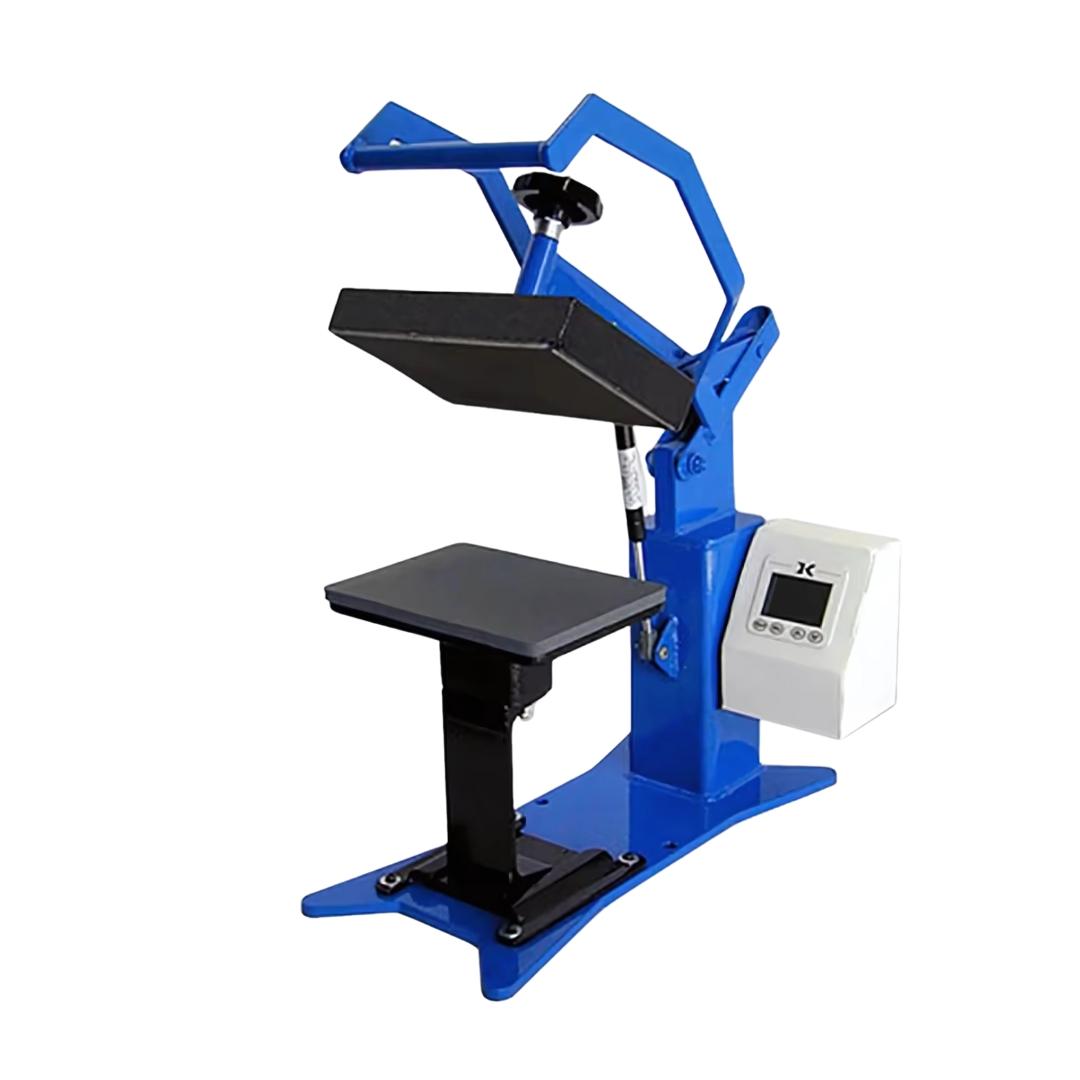
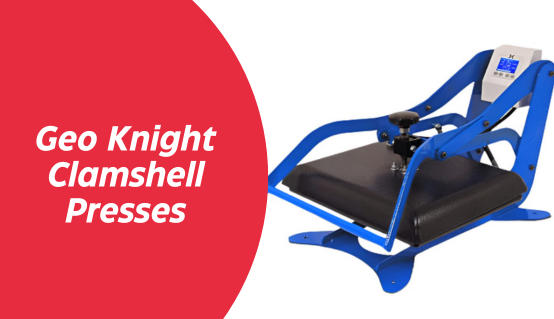
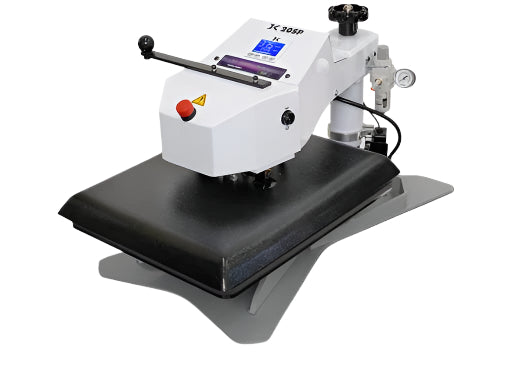
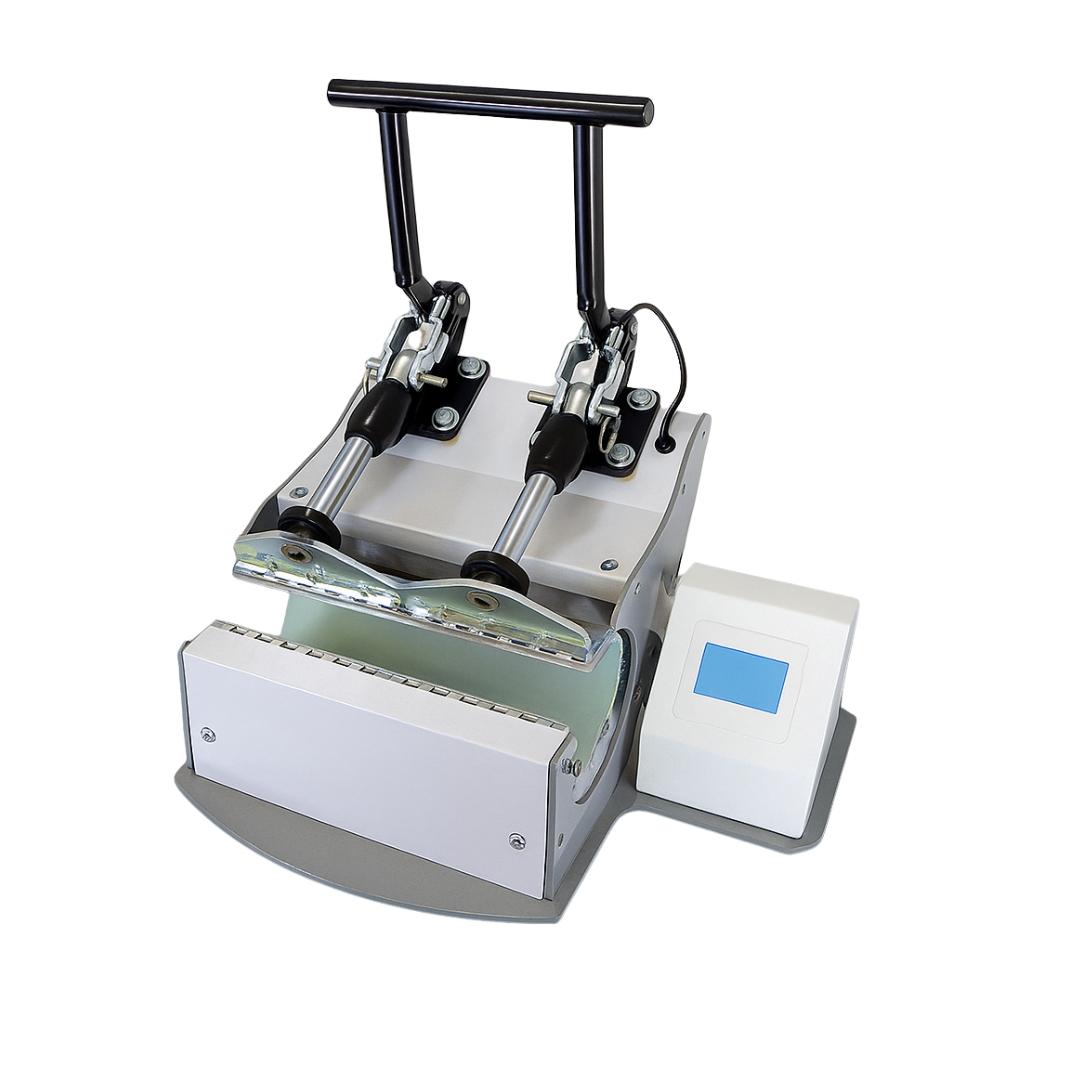
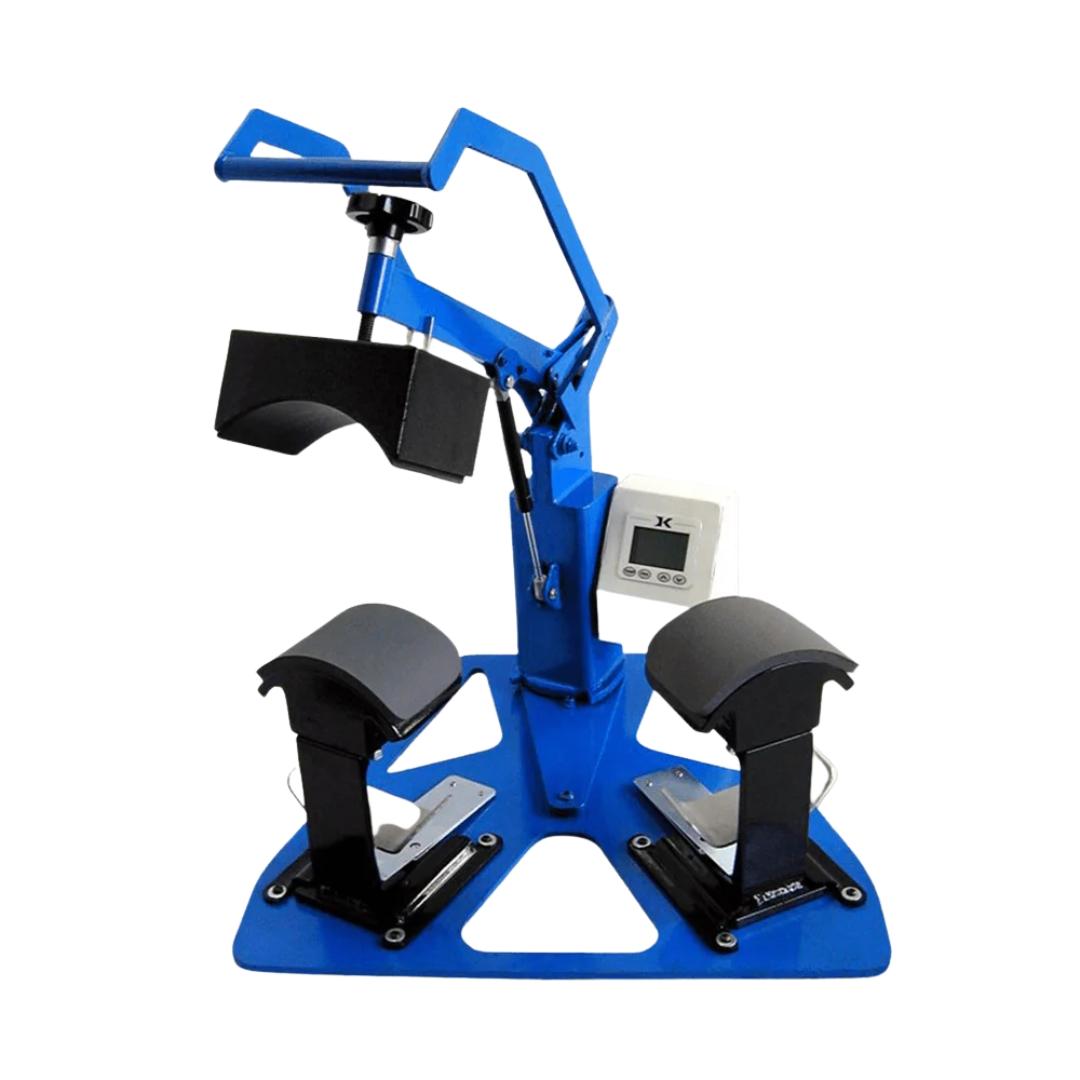
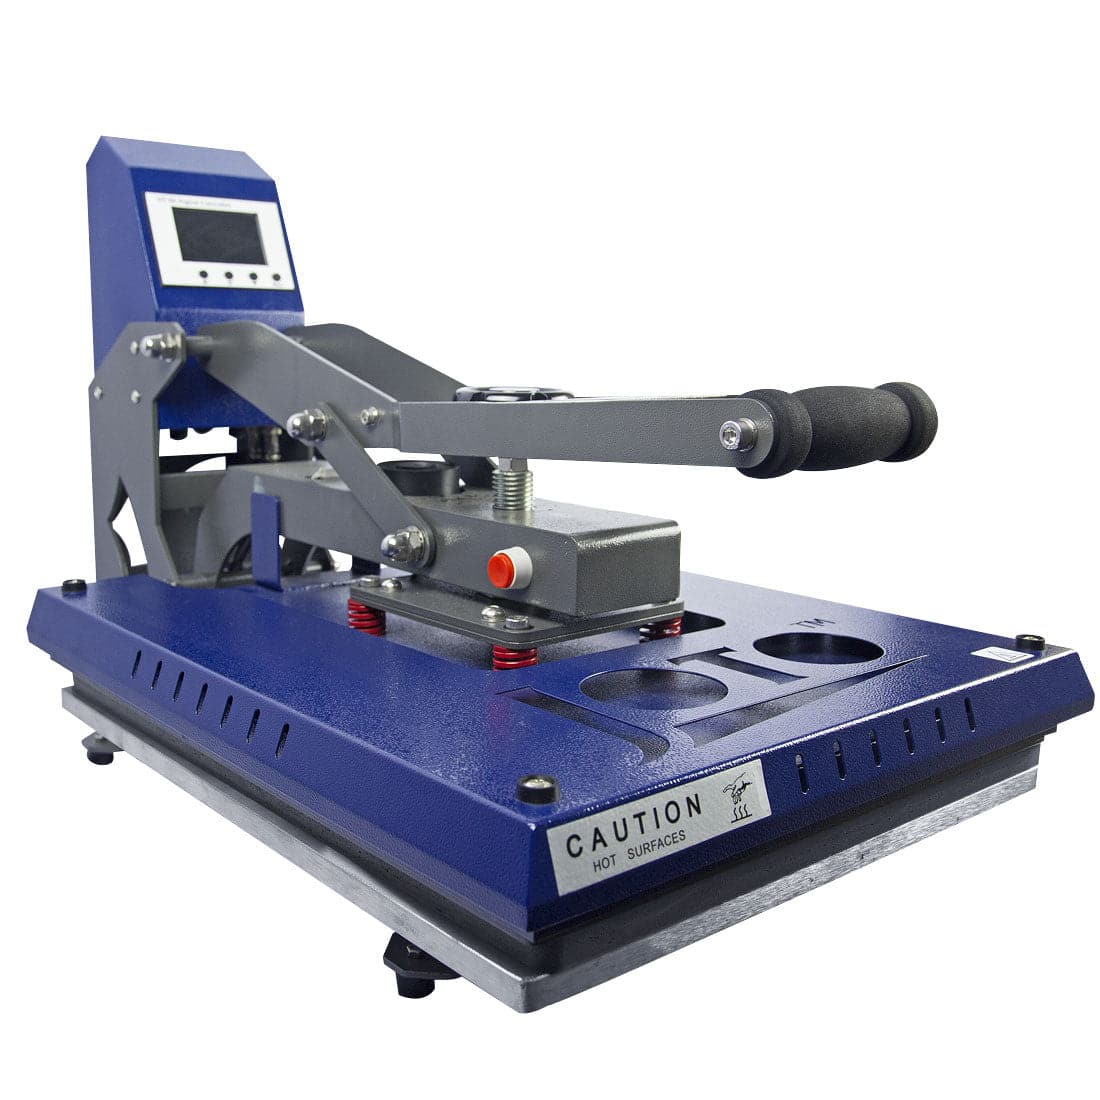
Heat Press Machine
A heat press is essential for applying the transfer to the garment. It provides the consistent heat and pressure required to activate the adhesive layer and bond the design to the fabric.
Clamshell and swing-away heat presses are both commonly used for garment transfers.
Silicone Sheet or Parchment Paper
A silicone sheet protects the heat press and the transfer during the pressing process. It ensures even pressure and prevents the design from sticking to the heat platen.
With the correct tools prepared, the next step is to apply the design using the proper heat press technique.
How to Print on Dark Shirts: Step-by-Step Guide
Now that your workspace is ready and you understand how inkjet transfer paper works, it’s time to apply your design. Follow these eight steps to successfully print on dark shirts using inkjet transfer paper.
Step 1 - Print Your Design
Start by printing your design onto the Paropy Inkjet Dark Premium transfer paper using a standard inkjet printer.
Important settings to follow:
- Print in right-reading orientation (do not mirror the image).
- Use Photo Quality or Best Quality settings.
- Make sure you print on the correct printable side of the transfer sheet.
High-quality print settings will produce sharper edges, richer colors, and better transfer results.
Step 2 - Cut the Design
After printing, carefully cut out the design.
You can use:
- a vinyl cutter for detailed graphics
- scissors for simpler shapes
Cutting close to the design edges helps avoid visible borders on the finished garment and produces a more professional result.
Step 3. Weed the Design
Weeding involves removing the unwanted portions of the transfer sheet.
Using a weeding tool or tweezers, remove:
- background areas
- inner spaces in letters
- unnecessary sections around the design
Taking time with this step ensures a clean and polished final print.
Step 4. Remove the Backing
Once the design has been cut and weeded, gently peel off the paper backing.
This will leave the printed transfer layer that will be applied directly to the garment.
Be careful when removing the backing to avoid stretching or damaging the design.
Step 5. Position the Design
Place the transfer layer face-up on the garment.
Ensure the shirt is:
- flat
- lint-free
- properly aligned
Use a ruler or alignment guide if necessary to center the design on the shirt.
Correct positioning is important for a professional appearance.
Step 6. Cover with a Silicone Sheet
Place a silicone sheet or parchment paper over the transfer before pressing.
This protective layer prevents:
- scorching
- sticking
- uneven heat exposure
It also helps distribute heat evenly across the design.
Step 7. Heat Press the Design
Set your heat press to the following recommended settings:
- Temperature: 375°F (190°C)
- Time: 25 seconds
- Pressure: Medium
Close the heat press and allow the design to bond to the fabric.
The heat activates the adhesive layer of the inkjet transfer paper and permanently attaches the design to the shirt.
Step 8. Peel and Finish
Once the pressing time is complete:
- Open the press.
- Allow the garment to cool briefly.
- Remove the silicone sheet.
Your custom design should now be fully transferred to the garment.
The result should be a vibrant, clean print with a smooth finish.
Common Mistakes When Printing on Dark Shirts
Many beginners encounter issues when first working with transfer paper. Avoiding these common mistakes will improve your results.
Using the wrong paper: Transfer paper designed for light fabrics will not work correctly on dark shirts. Always use transfer paper specifically designed for dark fabrics.
Mirroring the design: Unlike sublimation printing, designs printed on dark transfer paper should not be mirrored.
Incorrect heat press pressure: Too little pressure can cause incomplete adhesion. Excessive pressure may distort the transfer.
Low resolution artwork: Poor image quality becomes very noticeable after transfer. Always start with high resolution designs.
Final Thoughts
Learning how to print on dark shirts with inkjet transfer paper opens the door to a wide range of creative and business opportunities. Whether you are starting a small apparel brand, producing event merchandise, or creating personalized gifts, this method allows you to produce professional-quality results using accessible equipment.
With the right materials, a reliable heat press, and quality transfer paper such as Paropy Inkjet Dark Premium, you can create vibrant custom designs on dark garments quickly and efficiently.
By following the step-by-step process outlined in this guide and applying best practices for printing and garment care, you can produce durable transfers that look professional and hold up well over time.
Custom apparel printing is more accessible than ever. With the right tools and techniques, you can start producing high-quality prints on dark shirts today.