


If you’ve ever wanted to create professional-quality custom apparel, bags, or promotional items, heat transfer vinyl (HTV) is one of the most reliable and versatile materials available. Whether you're running a print shop or crafting at home, mastering the process of pressing HTV can elevate your results from “good” to “exceptional.”
This step-by-step guide will walk you through everything you need to know—from selecting the right heat press and vinyl, to applying flawless transfers on a variety of materials. We’ll explore tips, settings, tools, and troubleshooting methods to ensure consistent, long-lasting results.
Already have a heat press and some vinyl but unsure if you’re doing it right? Or are you just starting and want to avoid common mistakes? You’re in the right place.
Let’s press like the pros.
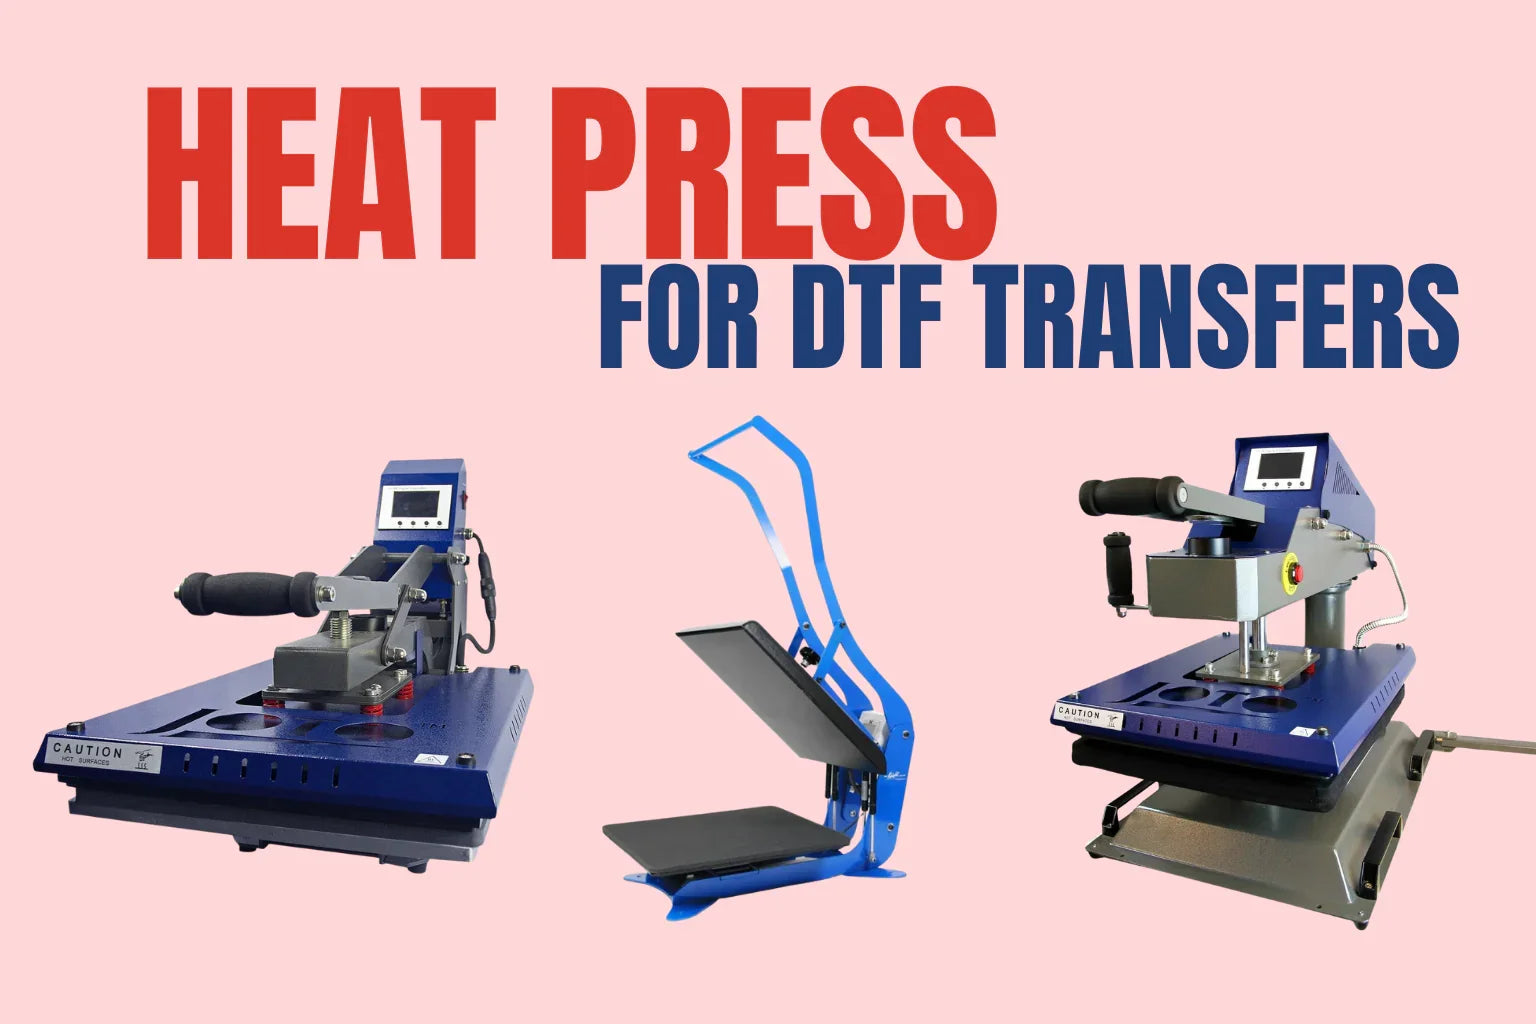
Understanding your heat press
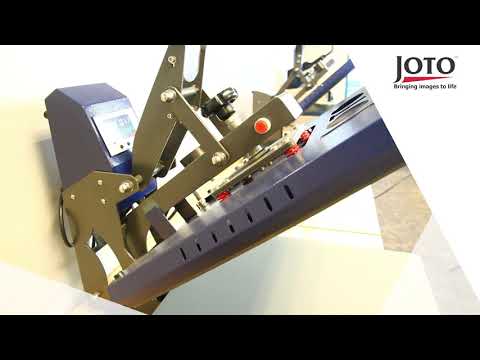
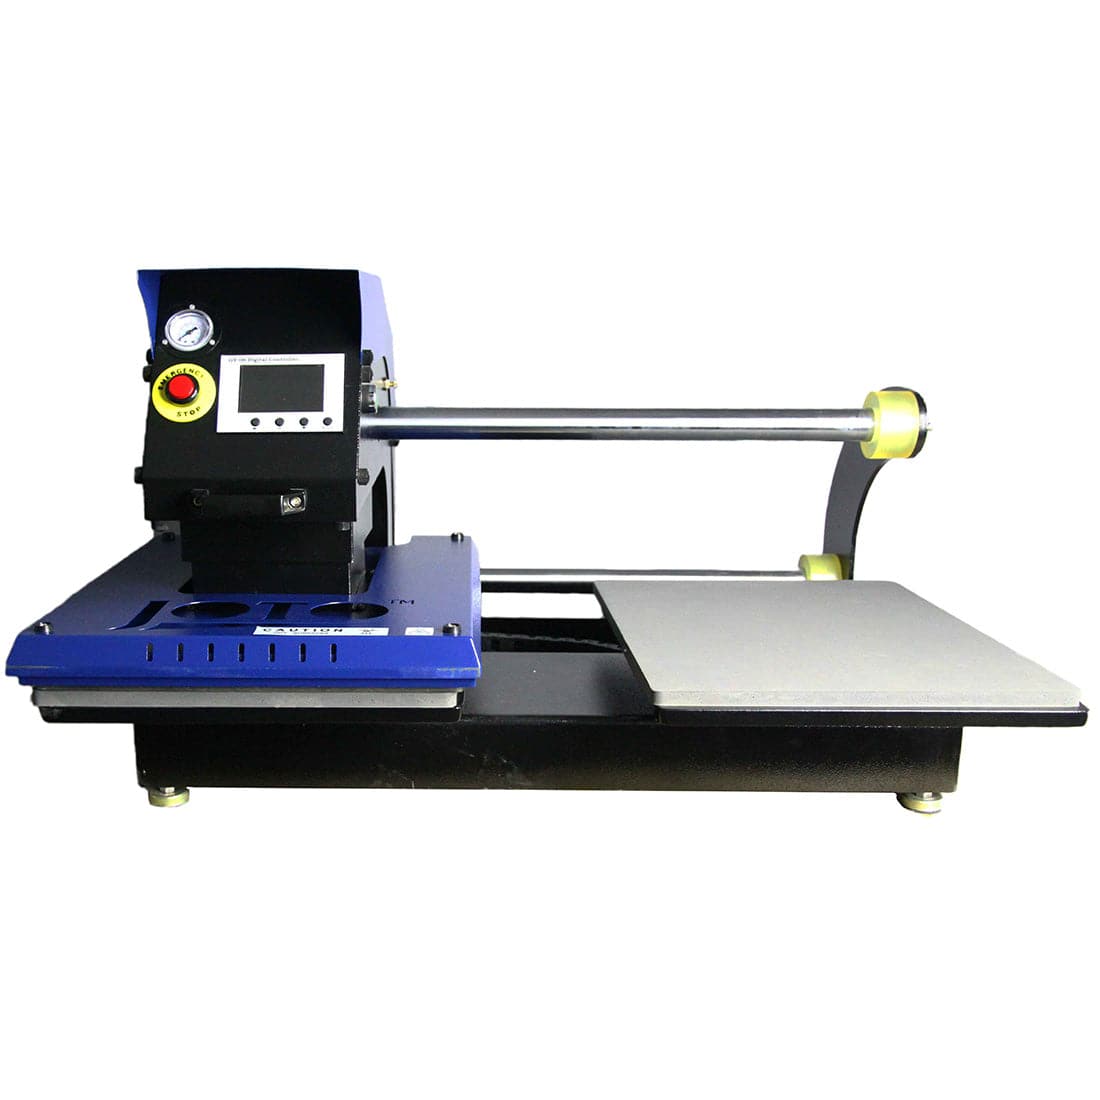
Before pressing your first design, it’s crucial to understand the type of heat press you're working with. Not all presses are built the same, and the right one can significantly affect your workflow, quality, and efficiency—especially when using heat transfer vinyl (HTV).
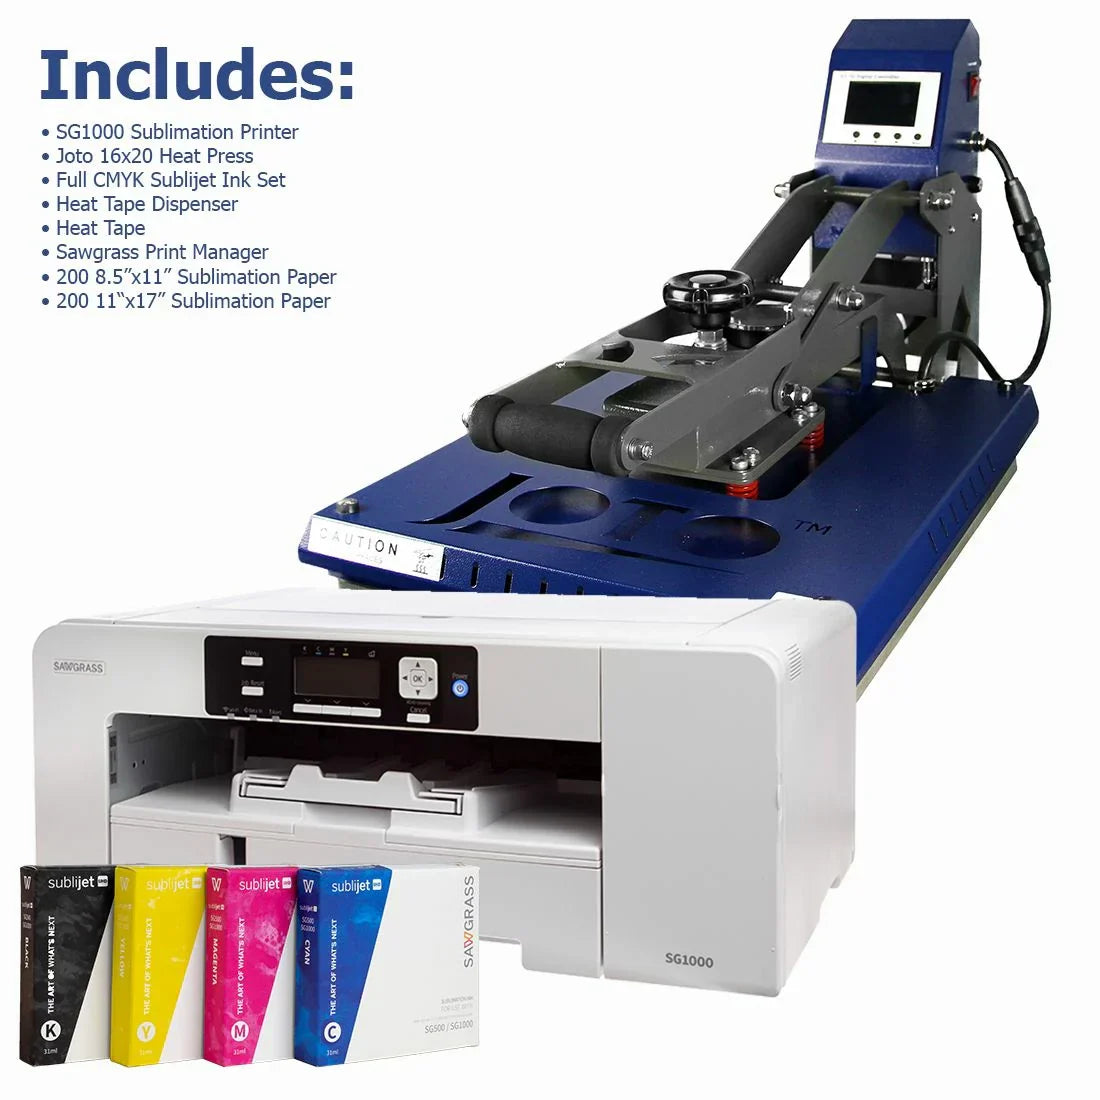
At Joto Imaging Supplies, we offer a variety of heat presses designed to suit different production needs:
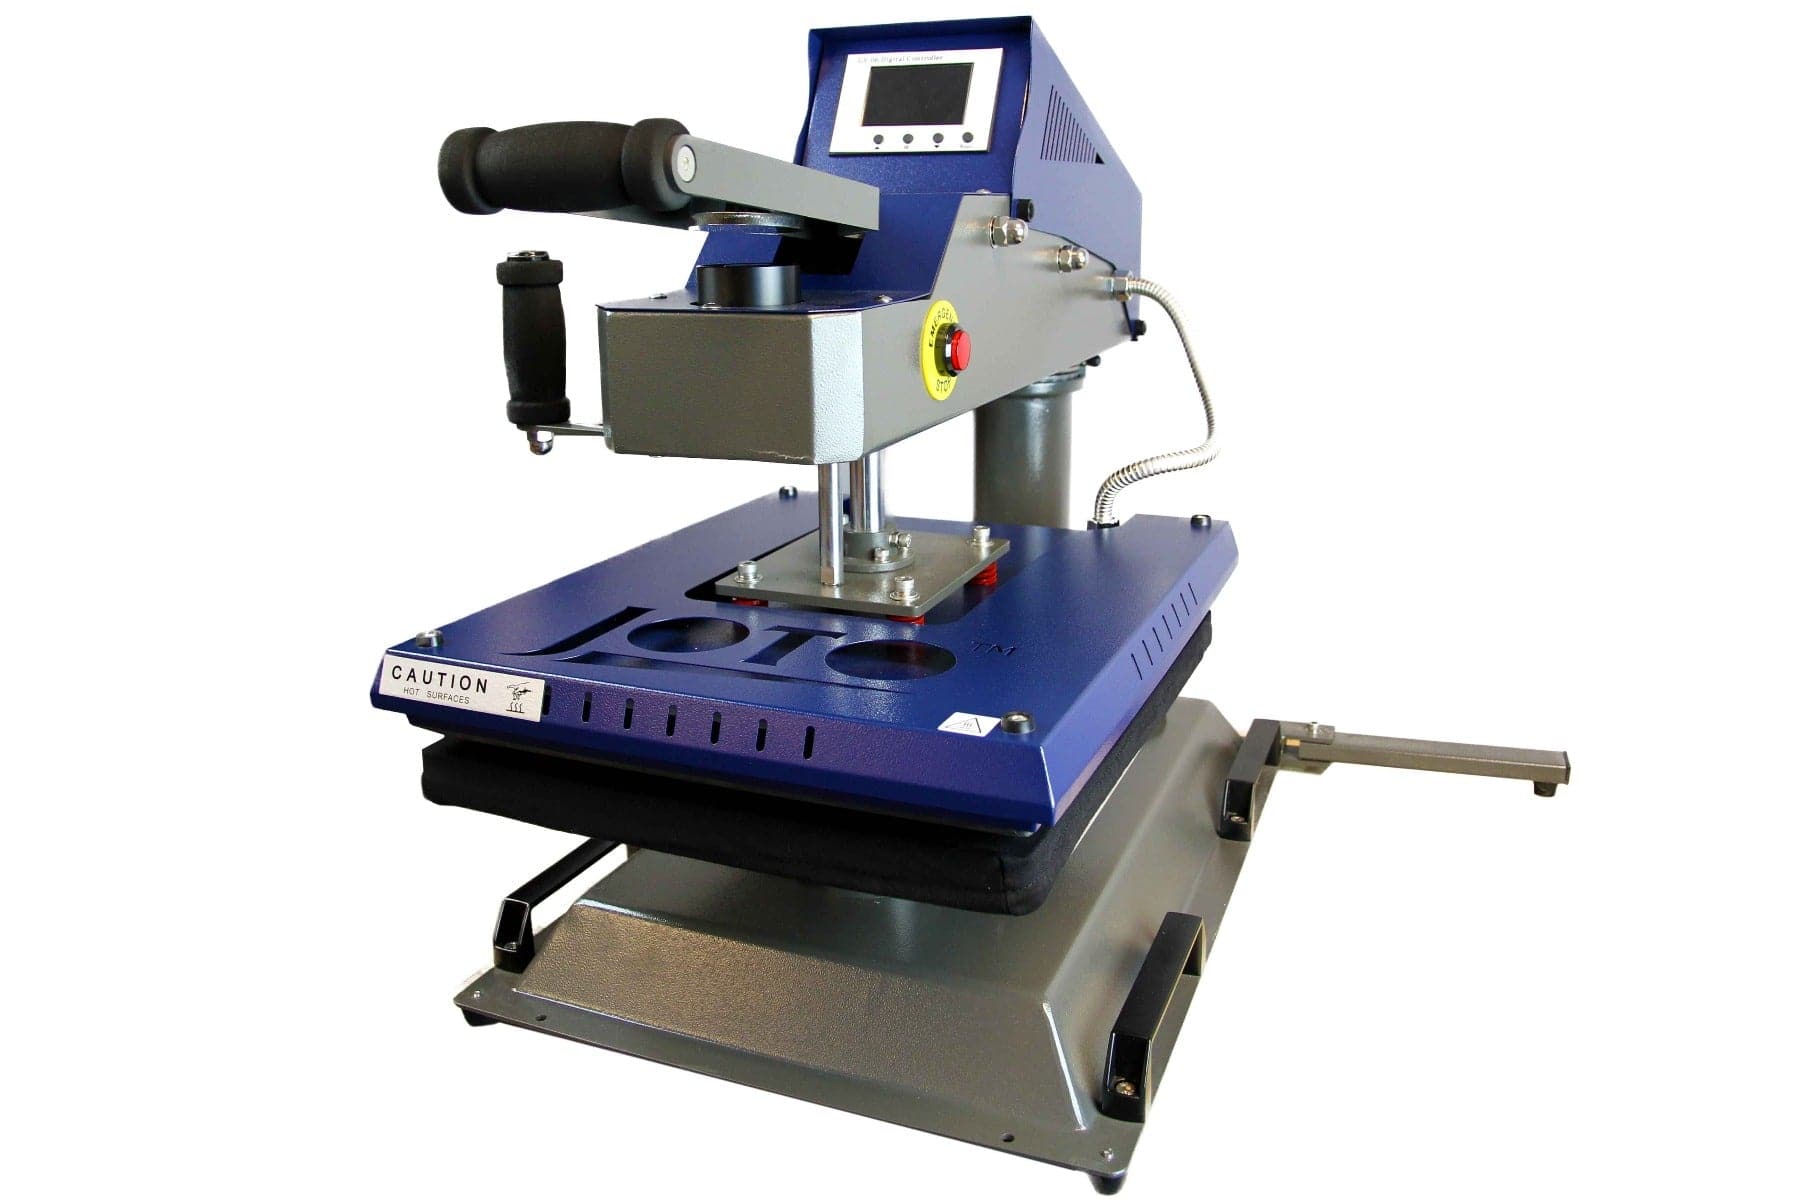
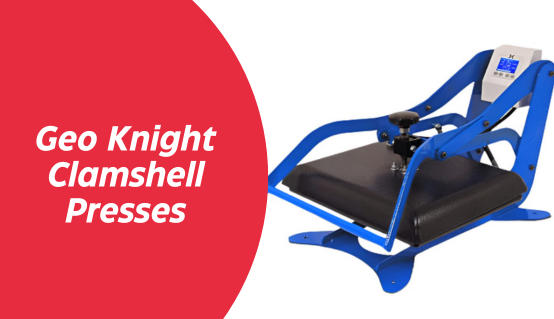
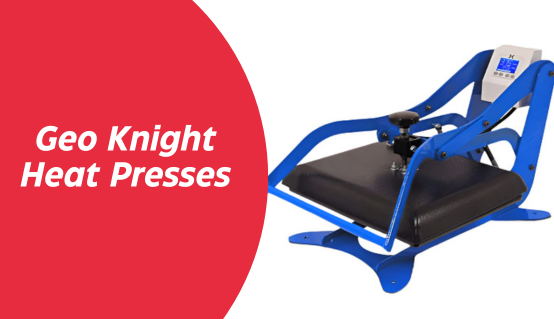
Clamshell presses (Manual & Auto-Open)
Ideal for beginners and small to mid-volume operations. These presses open like a clamshell and save space. Auto-open models improve workflow by lifting automatically when the timer ends.
Swing-Away presses
Swing- away presses are perfect for thicker items or when you want full access to the pressing area. The upper platen swings away, allowing safer and more precise positioning of garments and HTV.
Shuttle presses (Manual or pneumatic)
Designed for high-efficiency production. The dual-station design allows you to prep one side while the other is pressing, maximizing output. Pneumatic models offer automated pressure control.
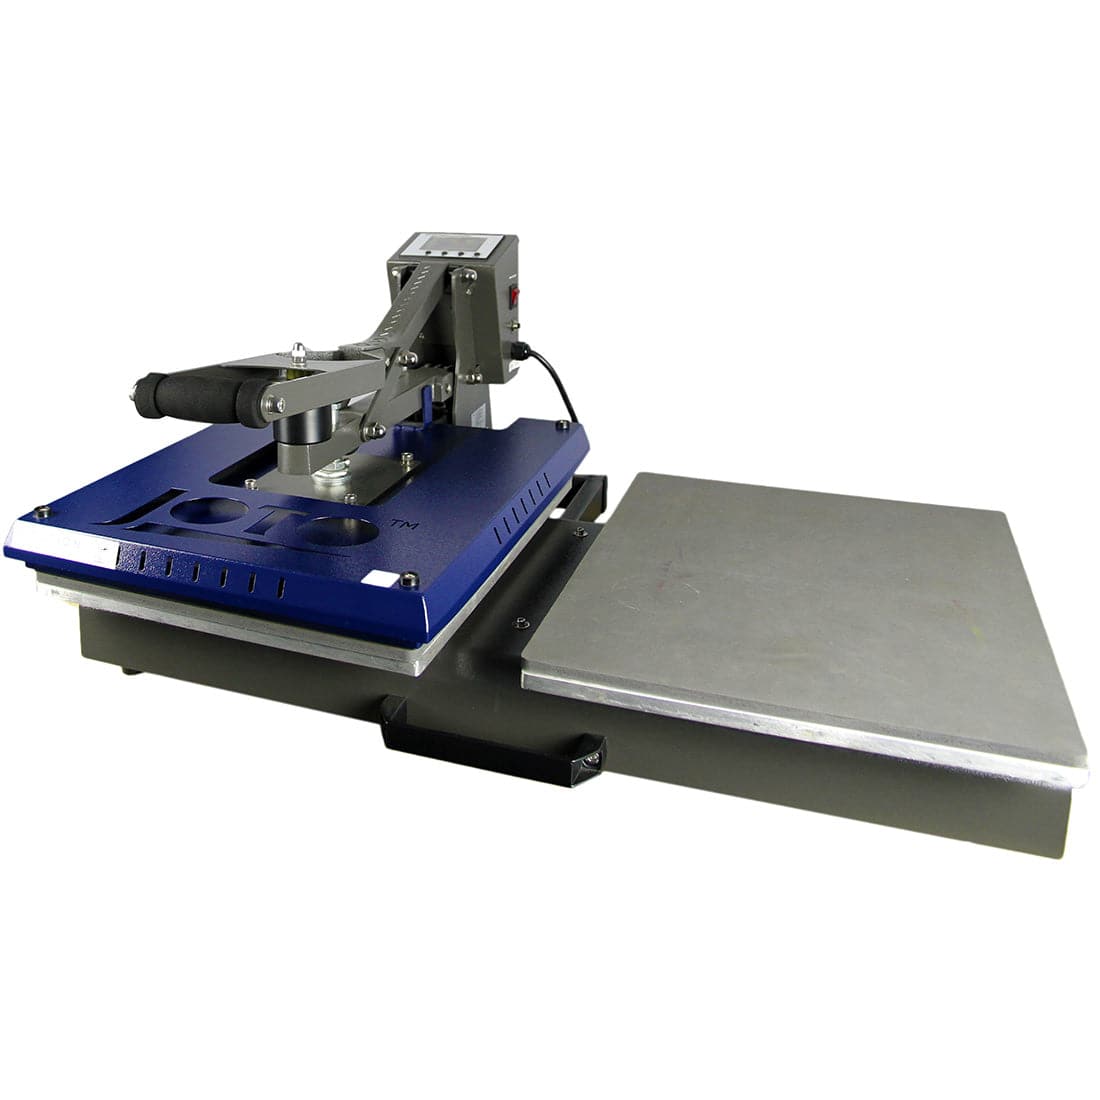
Large format presses
Ideal for full-bleed, oversized designs, banners, or multiple garments at once. These presses support larger platens and higher volumes, commonly used in industrial applications.
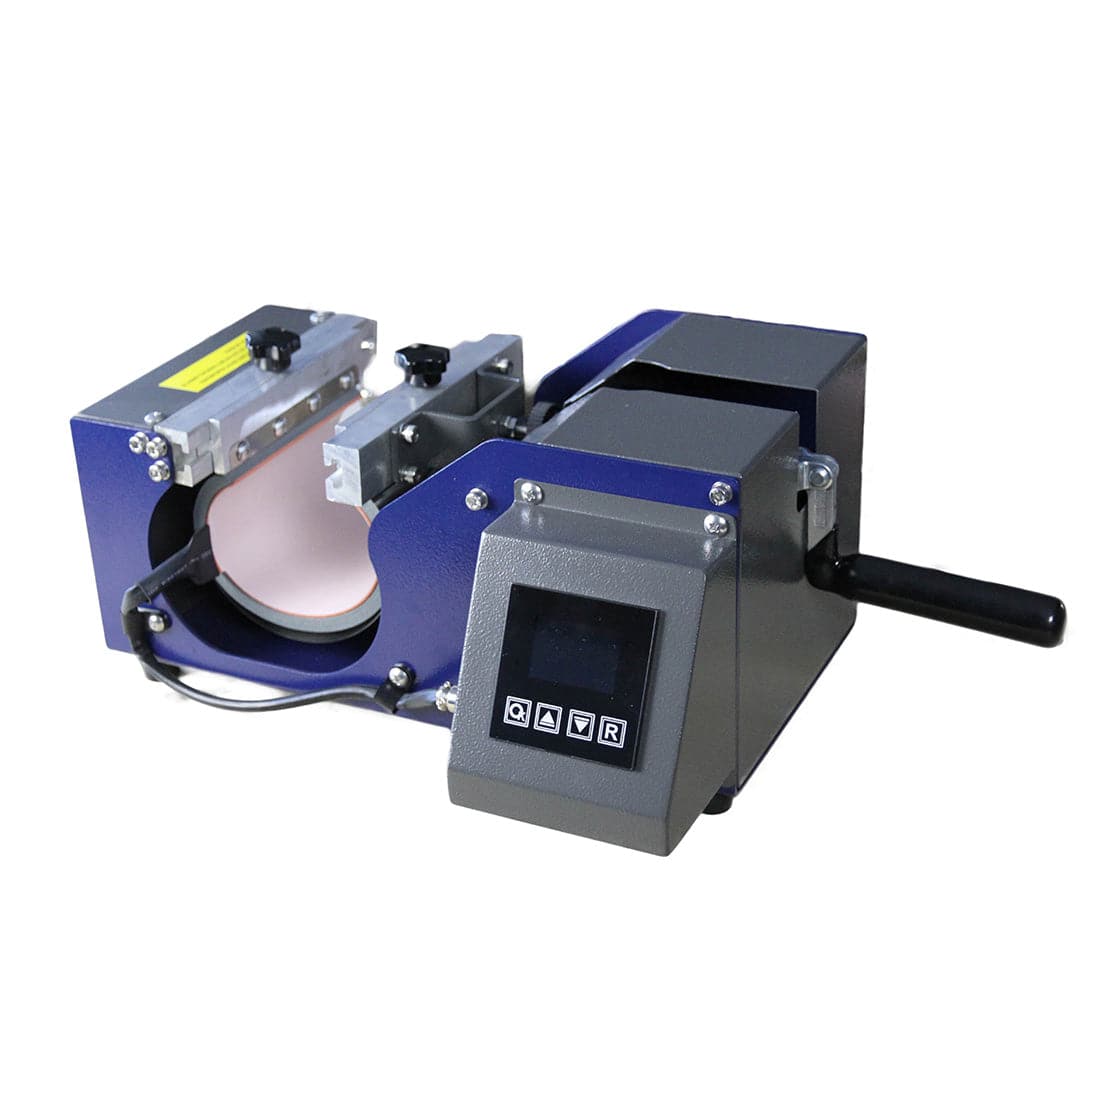
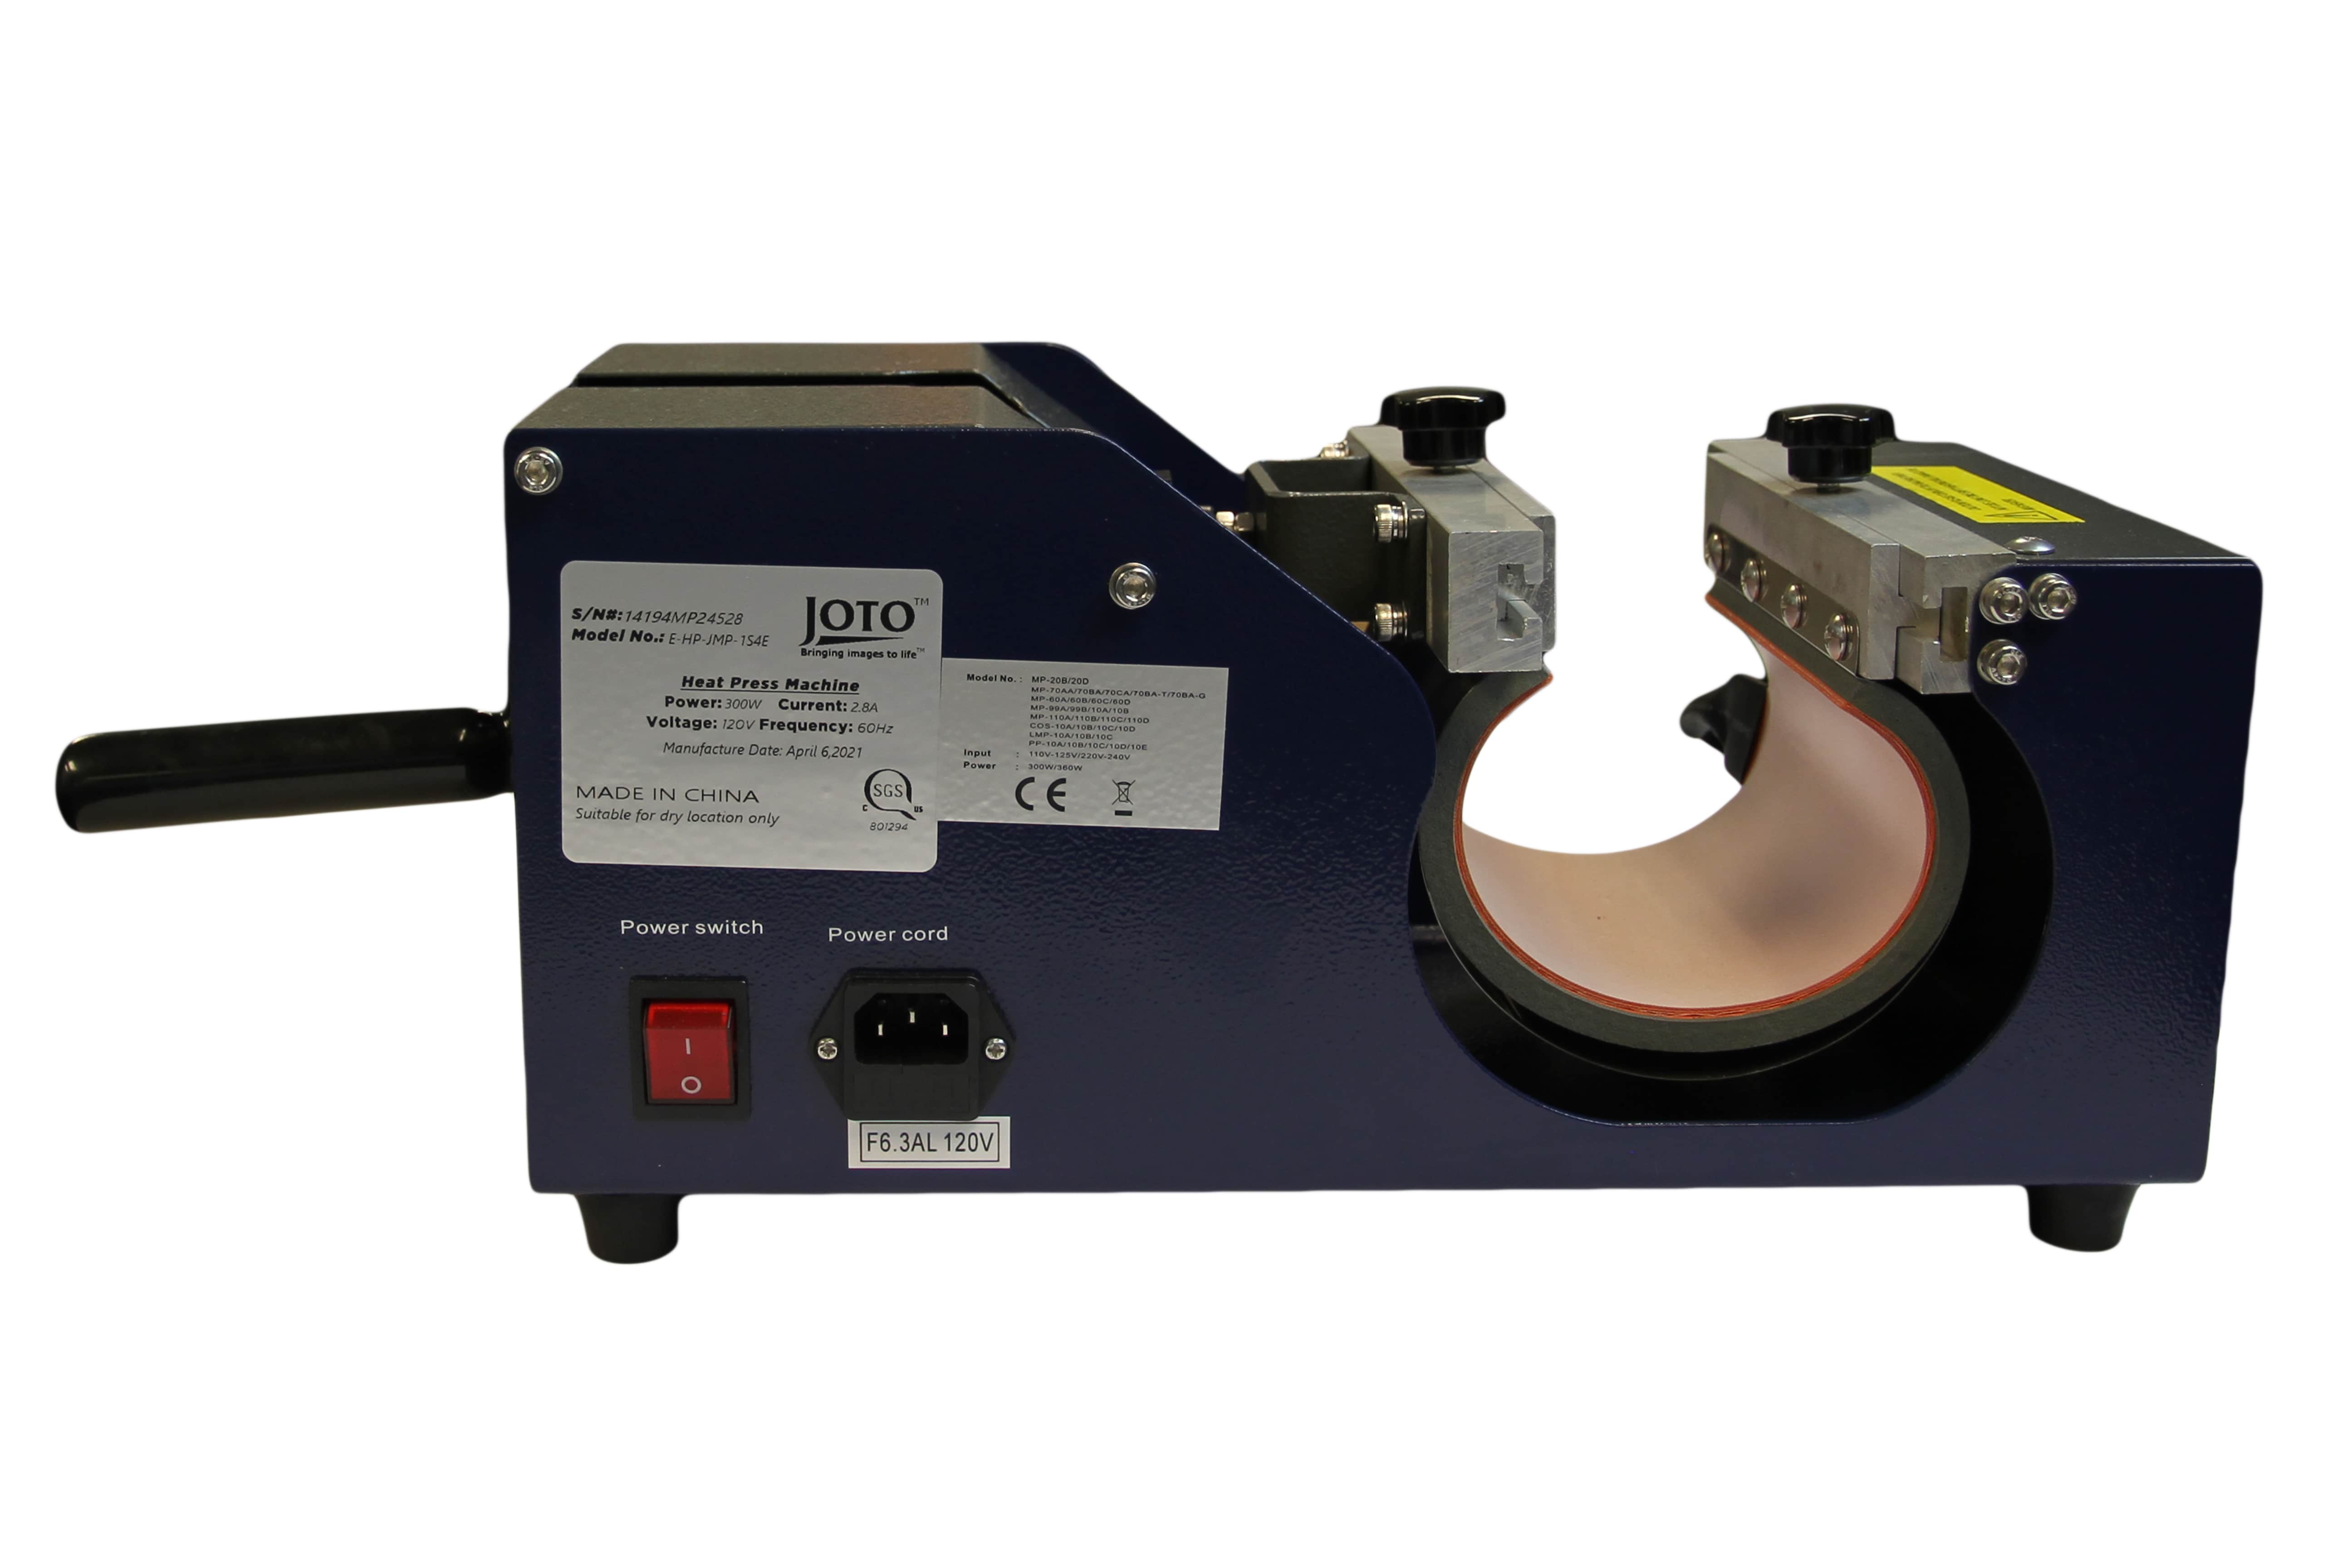
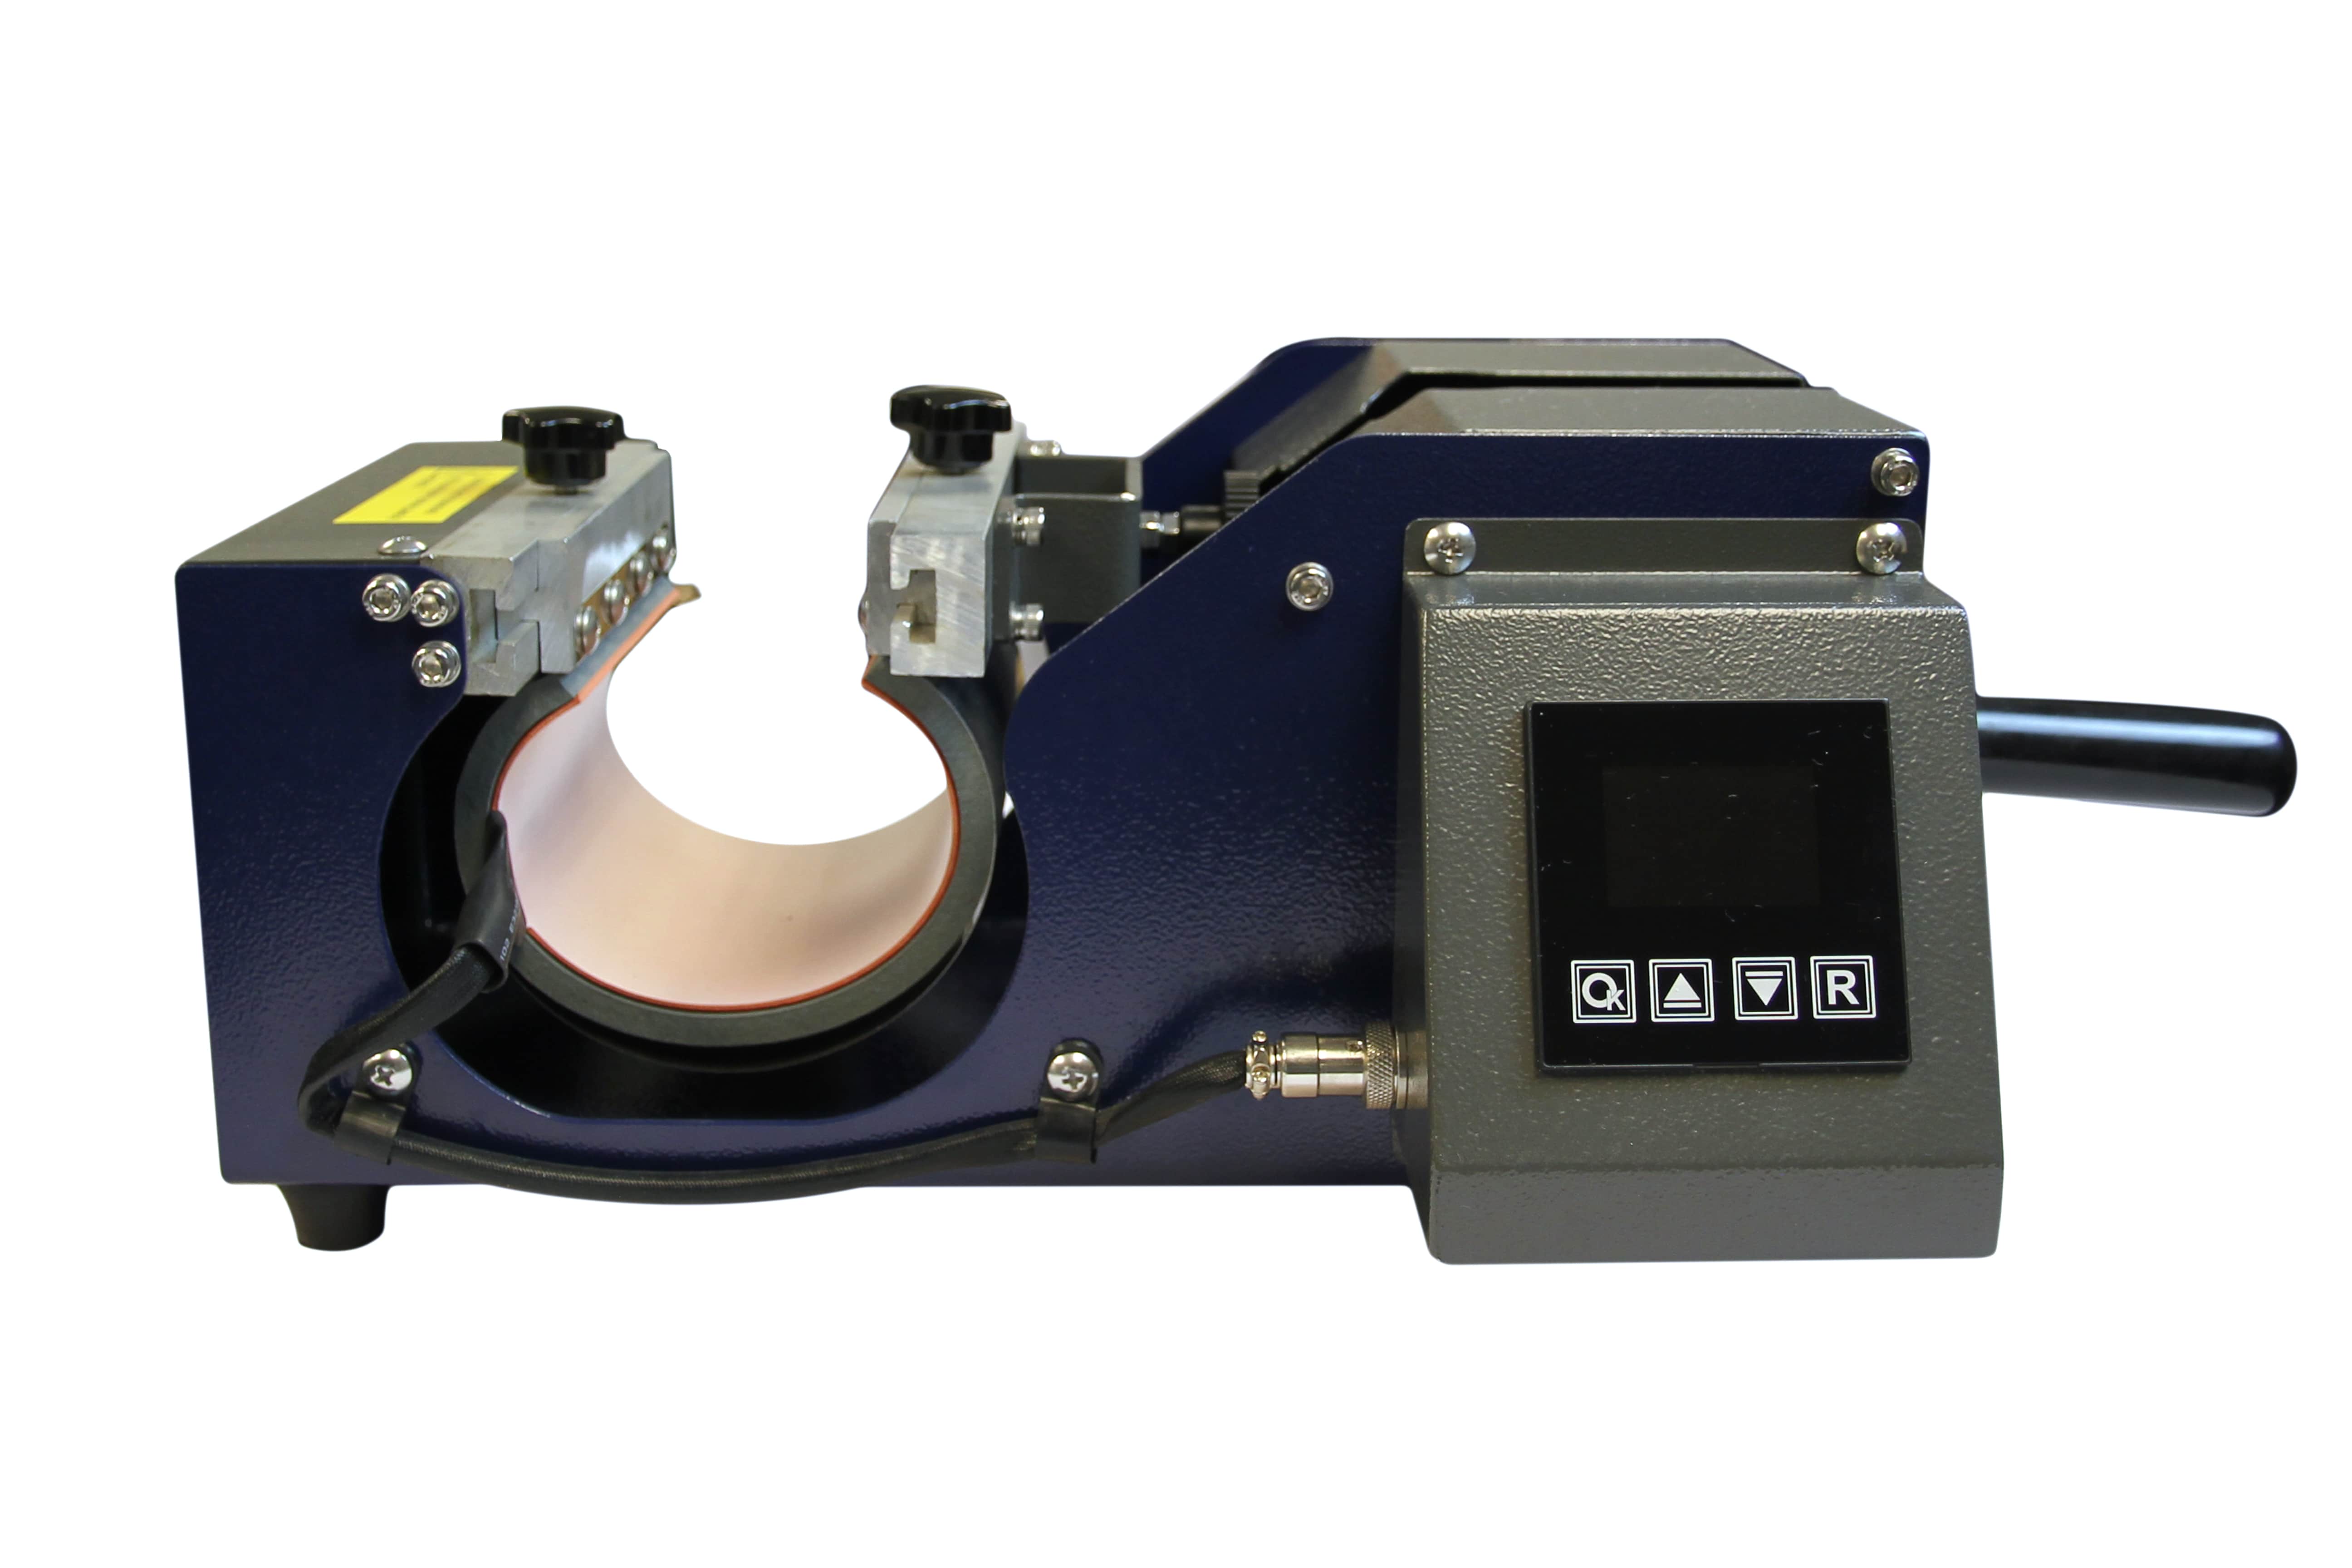
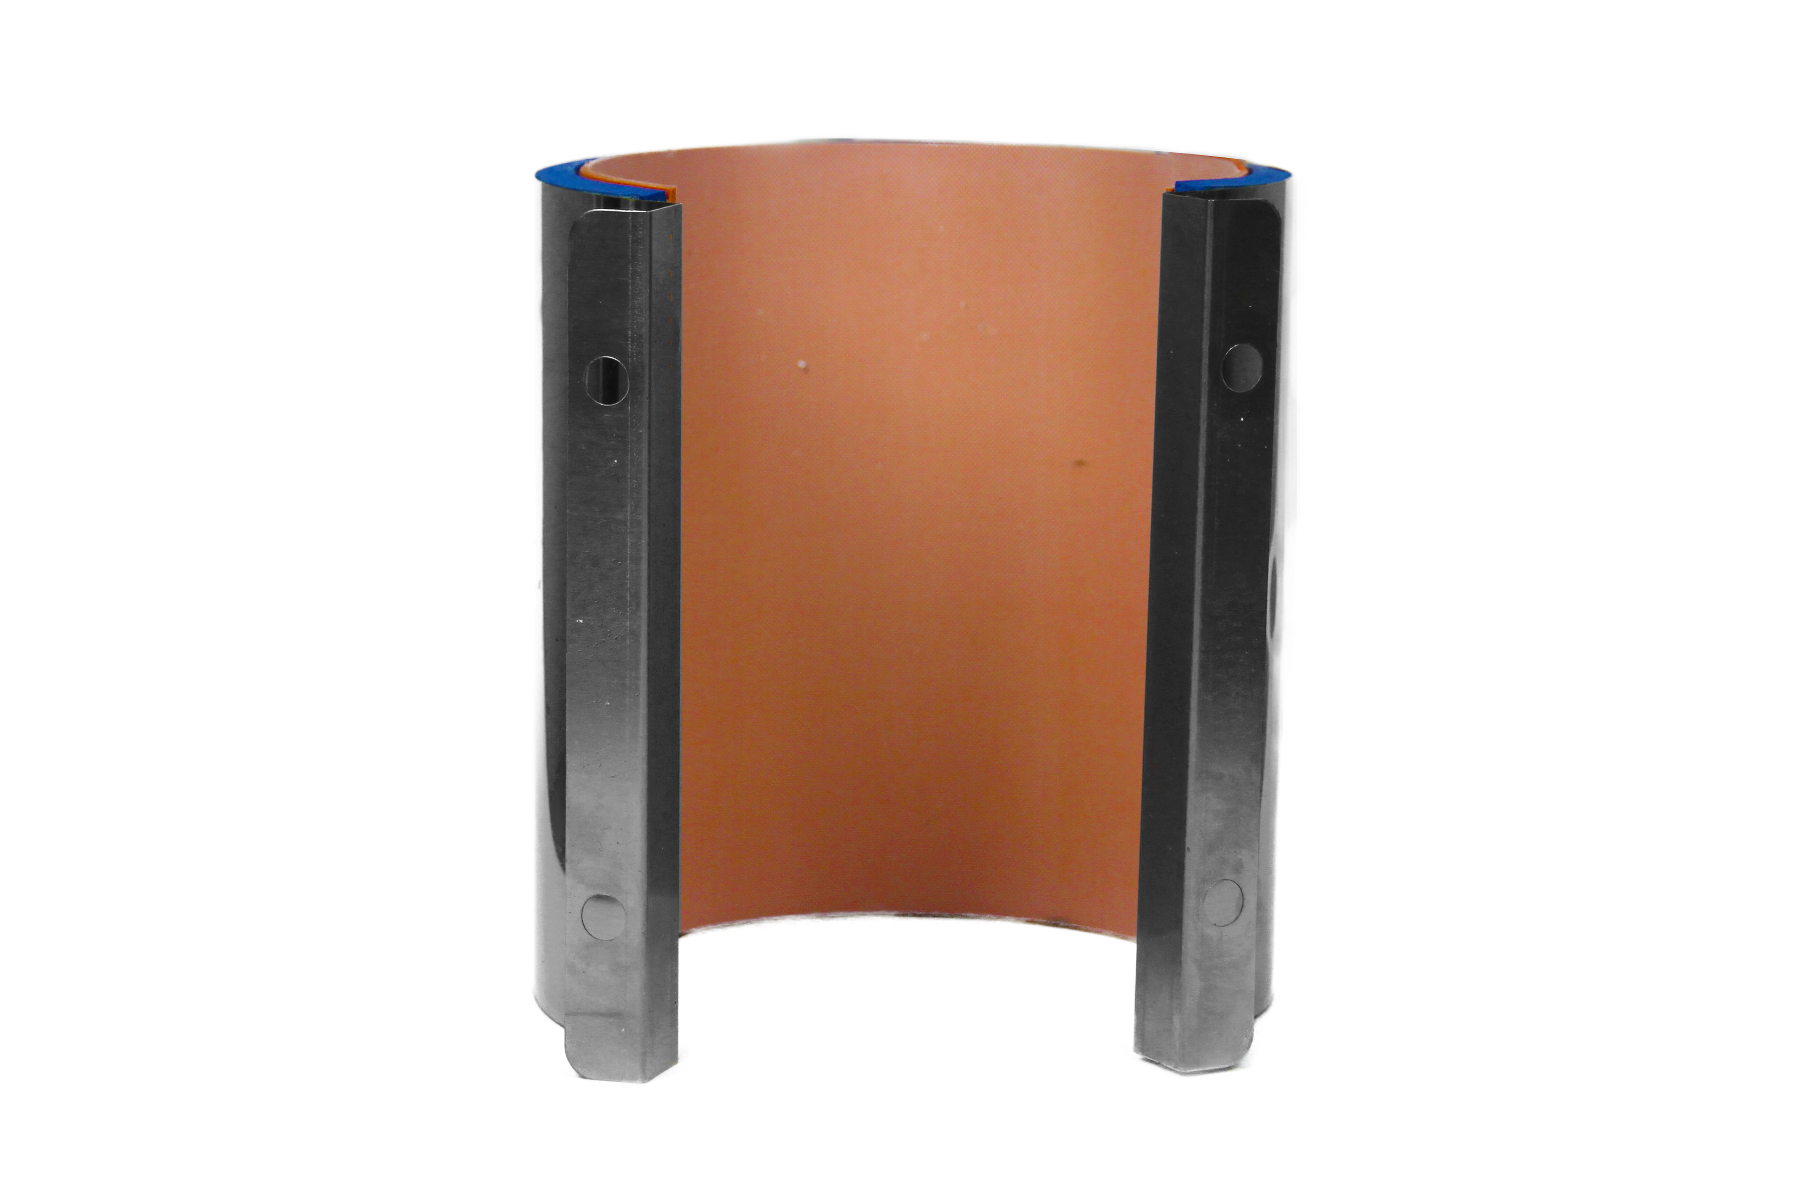
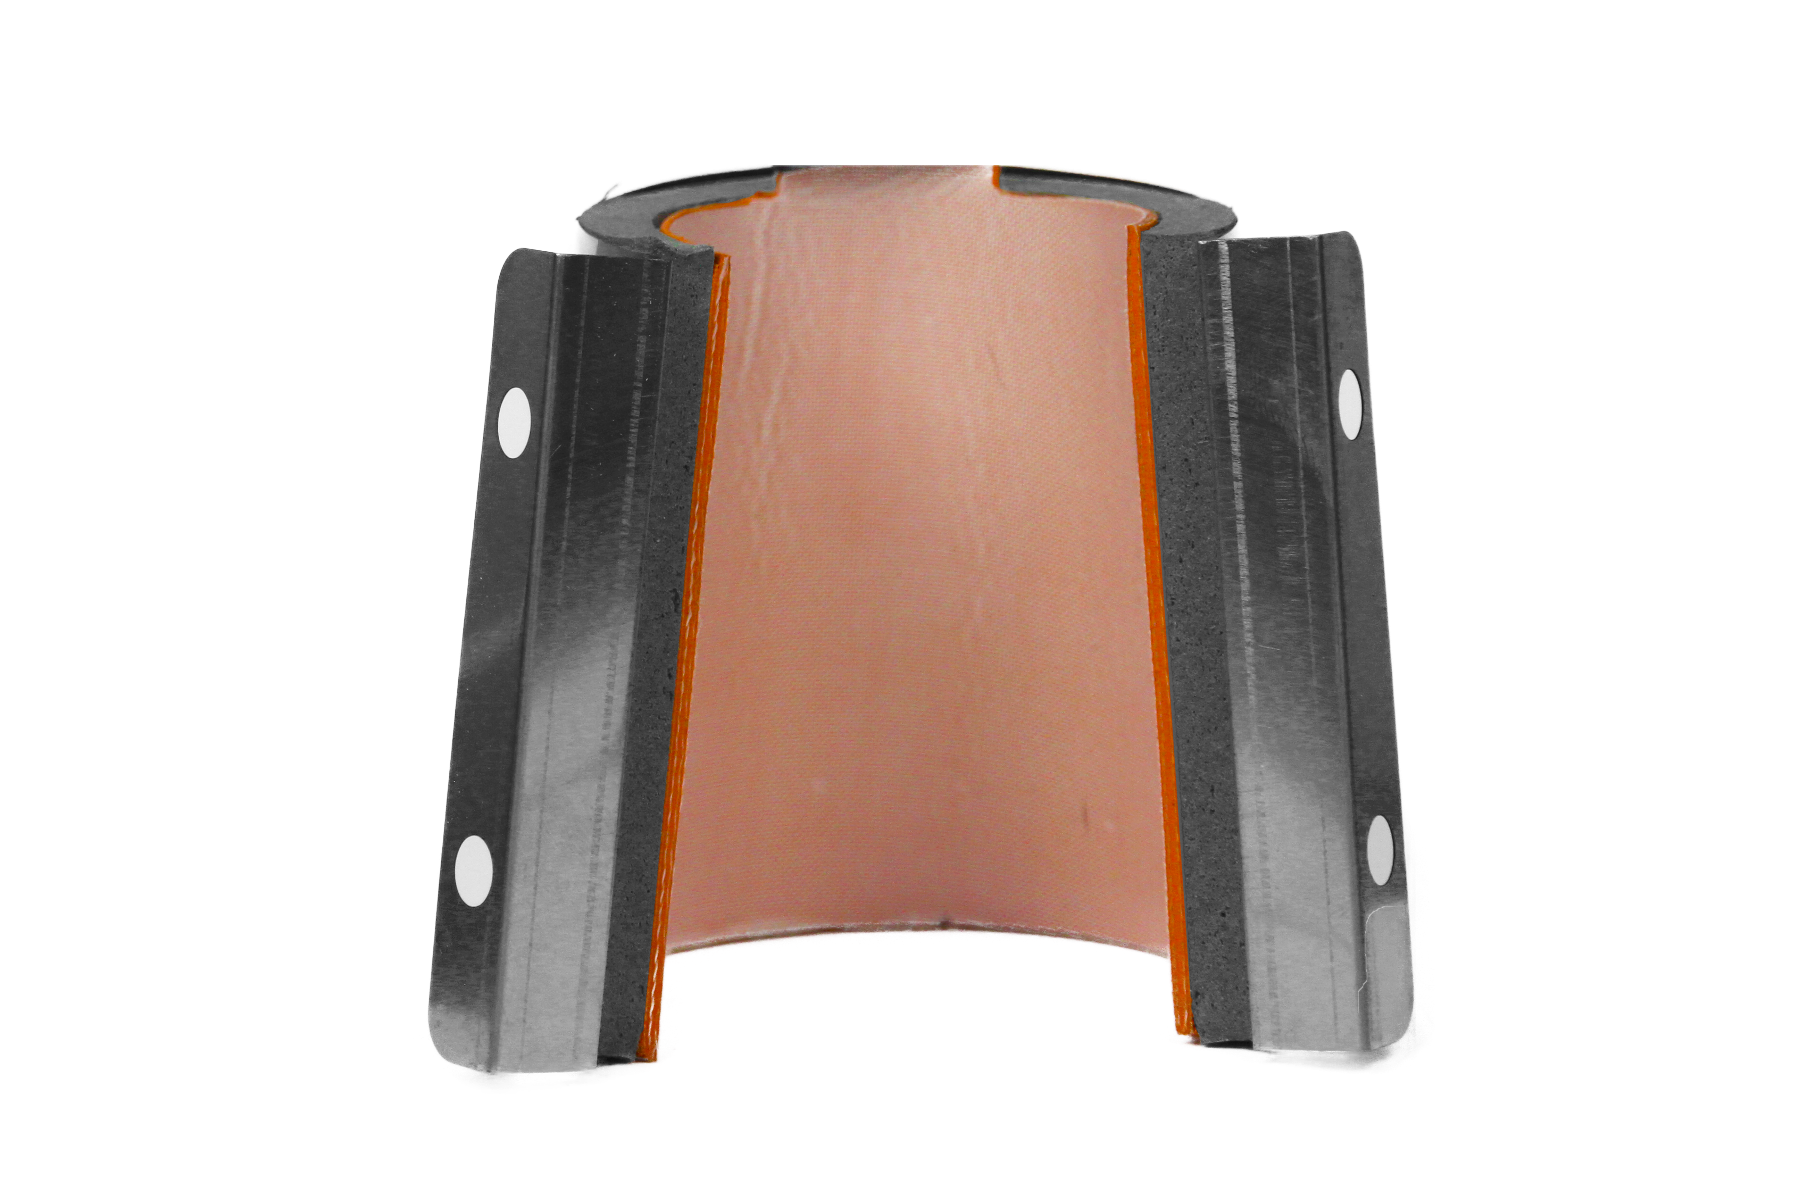
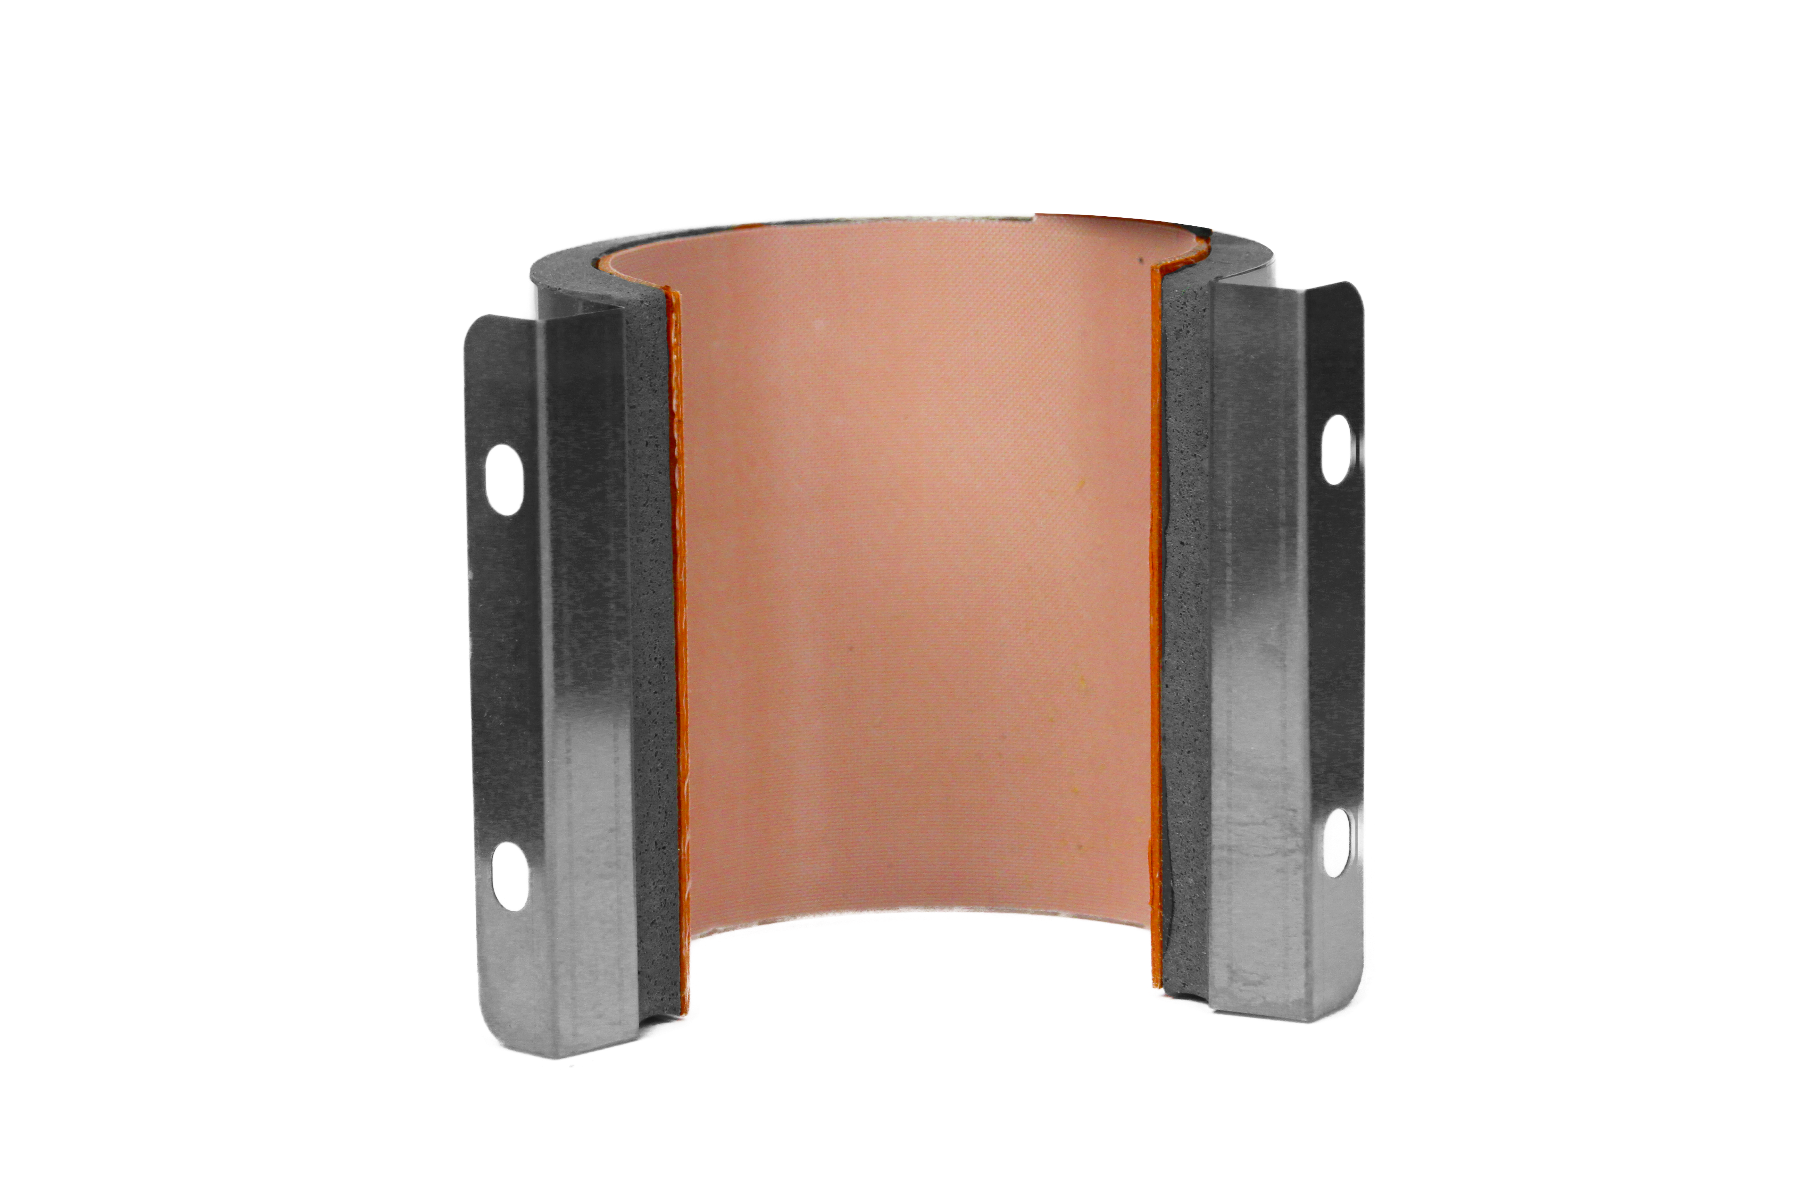
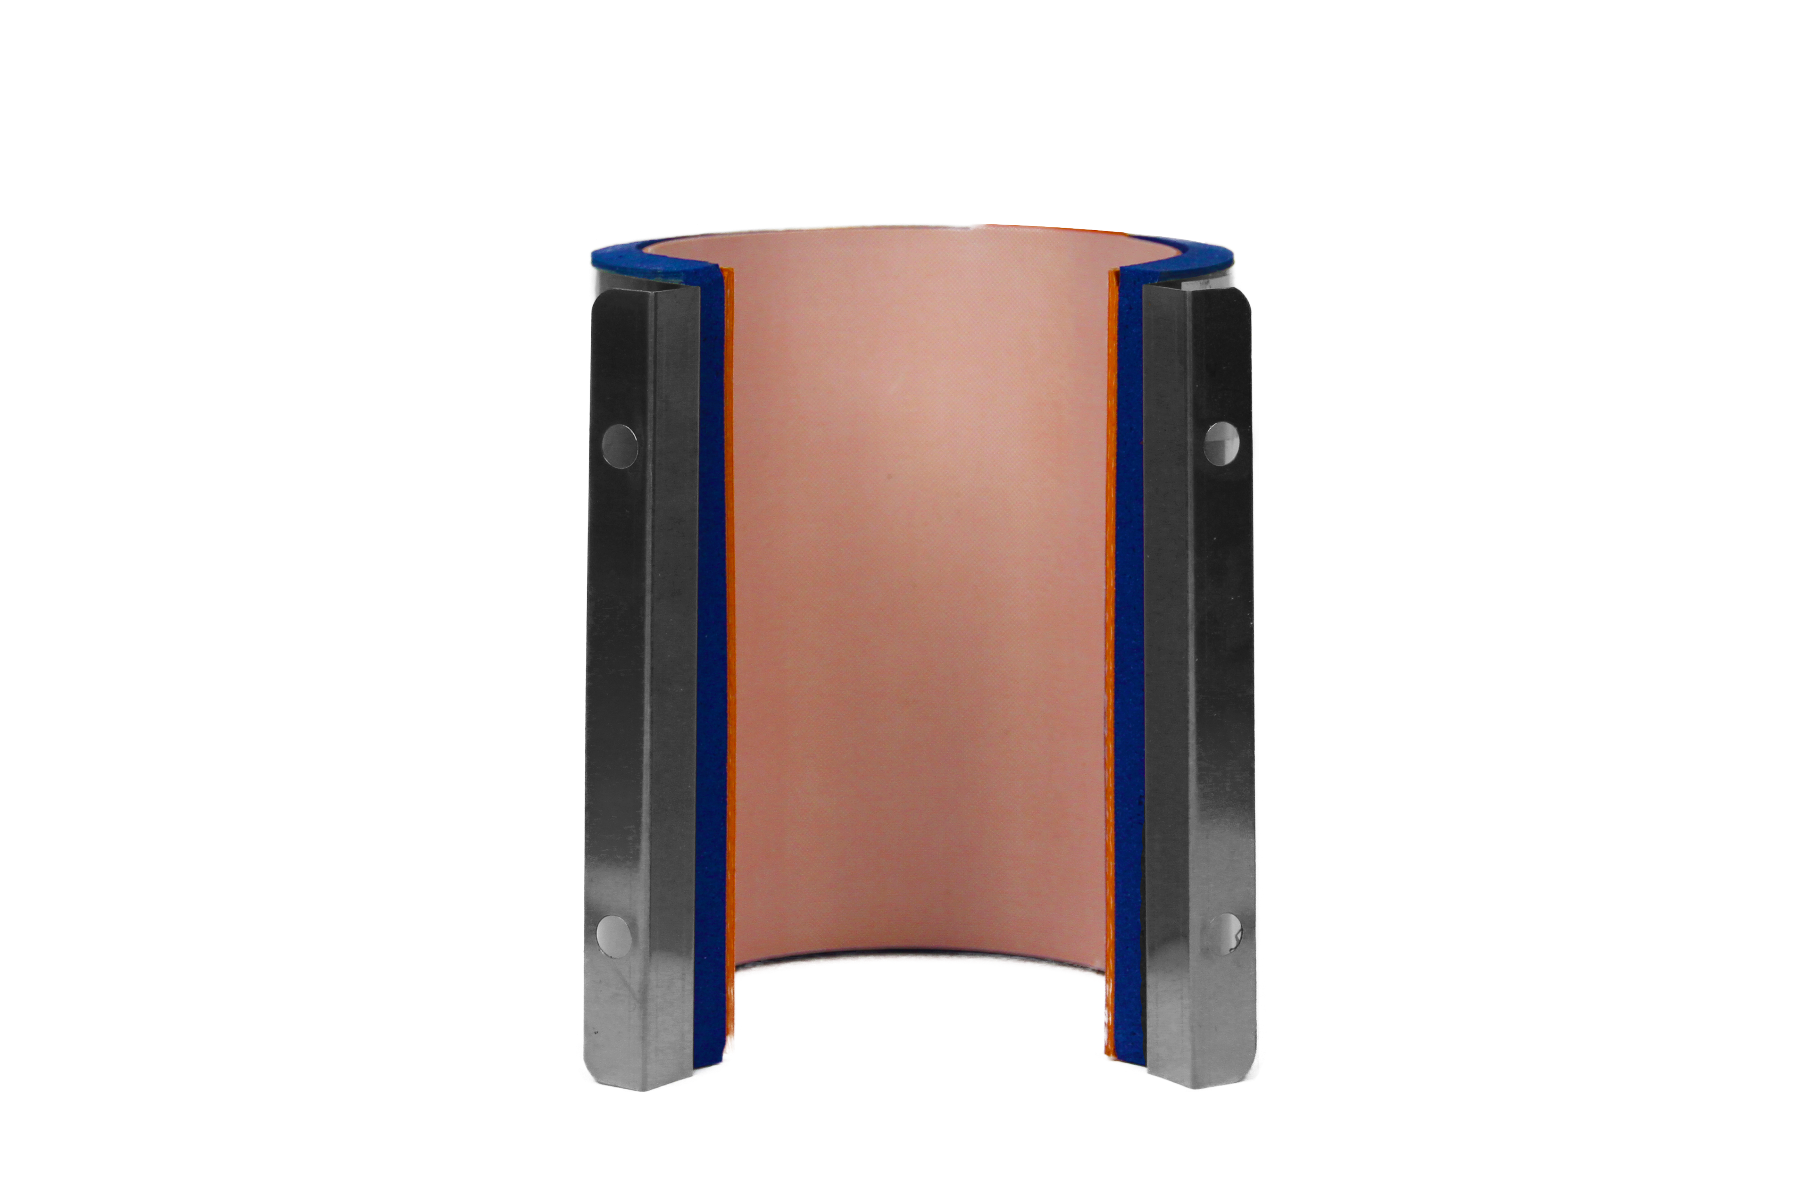
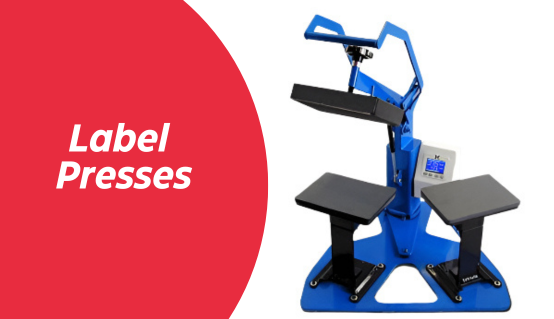
Specialty presses: cap, pen, and calendar
Use cap presses for curved surfaces, pen presses for promotional items, and calendar presses for textile rolls. Each is optimized for its specific function and size.
Knowing your press’s capabilities and limitations will help you get the most out of your HTV projects and avoid costly errors.
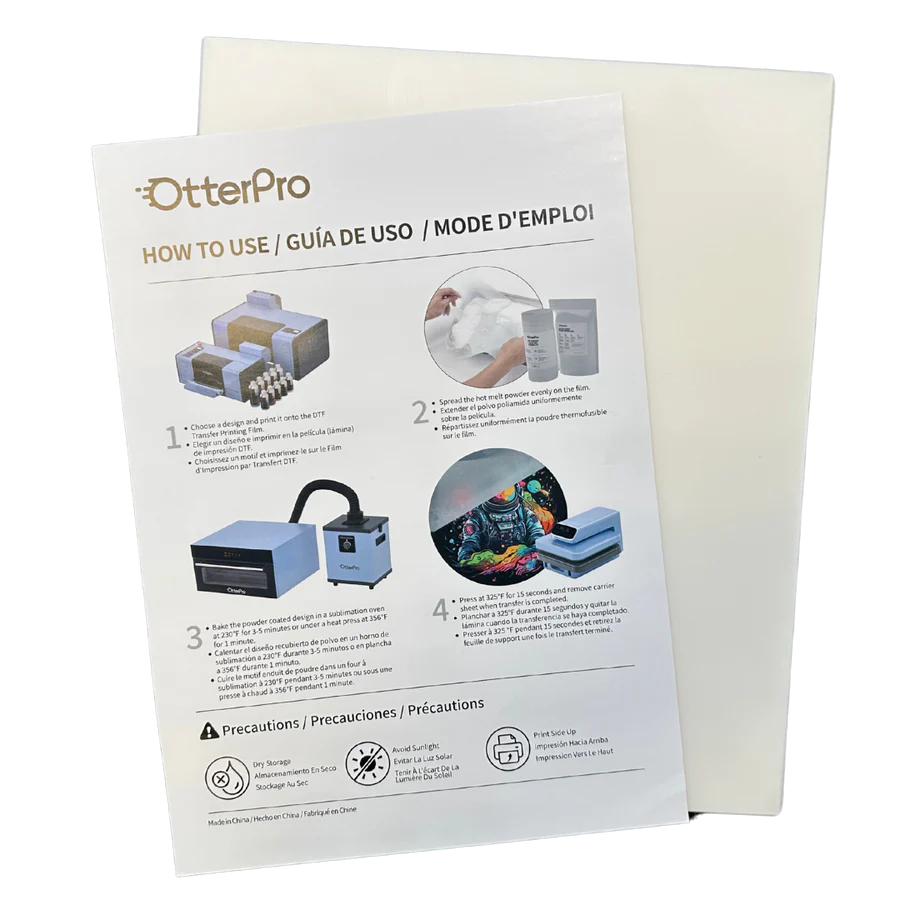
Step-by-step tutorial: How to press HTV properly
Pressing heat transfer vinyl (HTV) may seem simple, but precision at every step ensures professional, long-lasting results. Below is a step-by-step breakdown of how to press HTV correctly—whether you're working with a clamshell, swing-away, or large-format press.
Step 1: Prepare your design
Use design software like Adobe Illustrator, CorelDRAW, or a cutting program like Graphtec Studio or VersaWorks.

- Mirror your design if you're using MultiCut HTV.
- For MultiPrint HTV, keep the design right-reading.
- Send the file to your vinyl cutter (e.g., Graphtec CE7000 or Roland GS-24 for MultiCut; Roland BN-20A for MultiPrint).
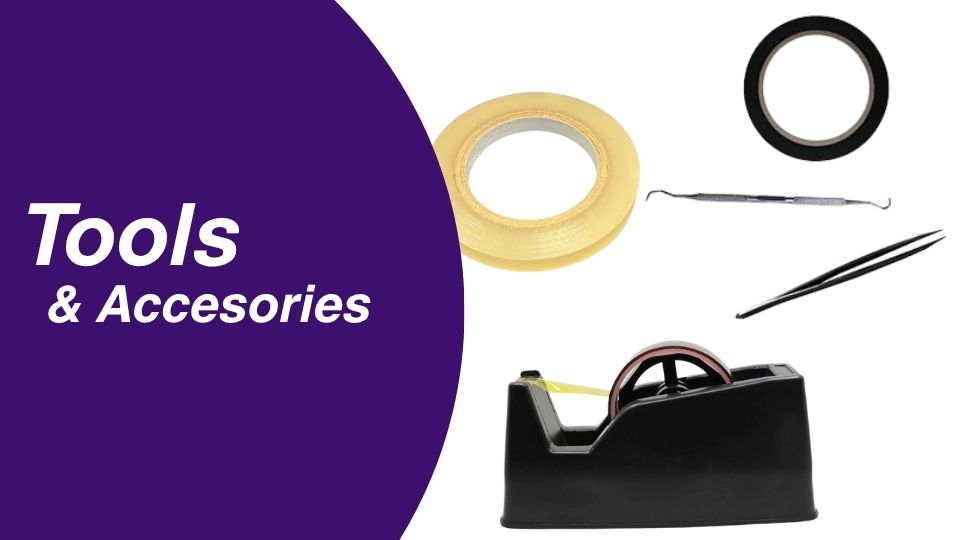
- Weed the excess vinyl using a weeding tool, leaving only your intended graphic.
Step 2: Set your heat press

Before you press, preheat your machine and double-check the required settings:
- Temperature: Most HTV types work between 300°F–320°F (150°C–160°C).
- Time: Typically between 10–20 seconds.
- Pressure: Medium to firm. Pneumatic presses make this automatic; for manual models, adjust accordingly.
Always refer to the vinyl manufacturer’s recommendations.
Step 3: Pre-Press your garment

Place your garment on the lower platen and press it for 2–5 seconds without vinyl. This removes moisture and wrinkles, which can interfere with adhesion.
Step 4: Position the vinyl

Align your design on the garment using a ruler or alignment tool. For repeat jobs, use a positioning guide or laser alignment system for consistency.
- Pro tip: Measure twice, press once.
Step 5: Press the design

Close your heat press and apply the set pressure for the full duration.
If using MultiCut HTV, peel based on its type: Hot Peel (peel immediately) or Cold Peel (wait until cool).
MultiPrint HTV often requires Cold Peel.
Step 6: Final inspection & post-pressing

Peel the carrier sheet slowly and check for edges lifting or incomplete transfer. If needed, cover with a Teflon sheet and press again for a few seconds.
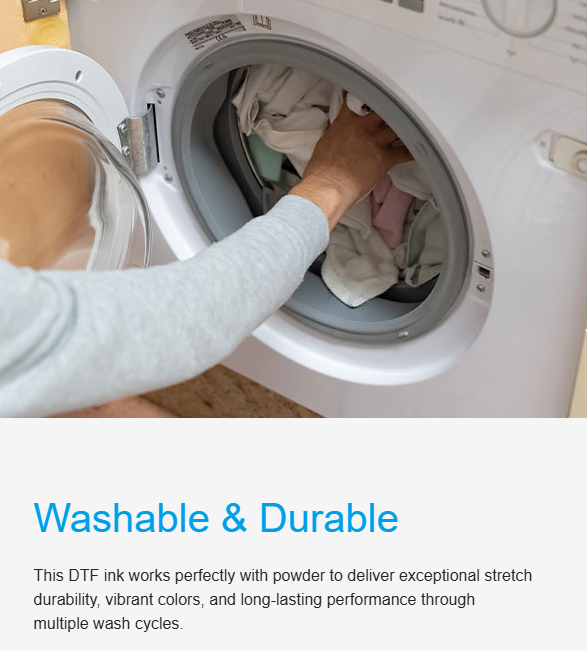
Let the garment rest for 24 hours before washing for best durability.
With the right setup and careful technique, you can achieve flawless HTV applications every time.
Common mistakes and how to avoid them
Even experienced users run into problems with heat transfer vinyl. Fortunately, most issues are avoidable with a little know-how. Here are some of the most common mistakes—and how to prevent them.
⚠️ Mistake 1: Using the wrong temperature or time
Applying too little heat can cause poor adhesion, while too much can scorch the vinyl or garment.
- Solution: Always check the recommended time and temperature settings for the specific HTV you're using. Don’t guess—follow manufacturer specs.
⚠️ Mistake 2: Incorrect pressure
Inconsistent or insufficient pressure is a leading cause of lifting vinyl.
- Solution: Adjust pressure based on your press type and fabric thickness. Pneumatic presses ensure consistency, while manual presses may require testing.
⚠️ Mistake 3: Not pre-pressing the garment
Skipping this step can trap moisture and cause bubbling or weak adhesion.
- Solution: Always pre-press for 2–5 seconds to flatten the fabric and eliminate moisture.
⚠️ Mistake 4: Misaligned or unmirrored design
This one hurts—printing backwards or crooked is a costly error.
- Solution: Double-check your design before cutting and use alignment tools or guides when placing it.
By avoiding these common issues, you’ll save time, materials, and frustration—while delivering results that impress.
Recommended settings for different fabrics & vinyls
Getting the most out of your heat transfer vinyl starts with using the right temperature, time, and pressure for both your vinyl and fabric. Below is a general reference guide based on common combinations. Always refer to the product-specific instructions from Joto Imaging Supplies for best results.
HTV to fabric compatibility chart
| HTV Type | Fabric Type | Temp (°F) | Time (sec) | Peel | Pressure |
|---|---|---|---|---|---|
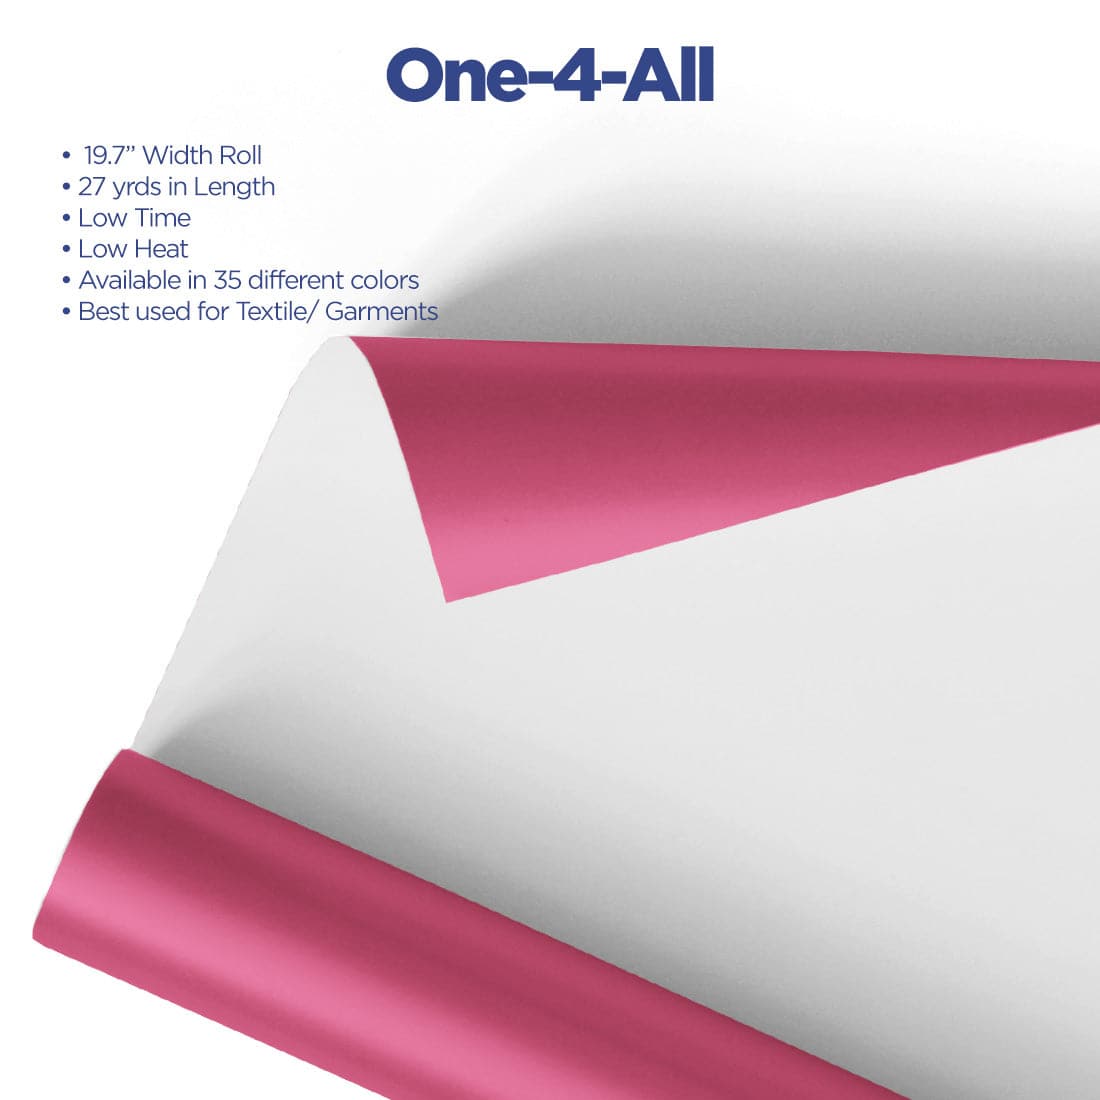
| MultiCut One-4-All | Cotton / Cotton Blends | 305°F | 10–15 sec | Hot Peel | Medium |
| MultiCut Glitter | Cotton / Polyester | 320°F | 12–15 sec | Cold Peel | Firm |
| MultiCut SuperGlitter | Cotton / Polyester | 320°F | 15–20 sec | Cold Peel | Firm |
| MultiCut Reflective | Polyester / Safety Gear | 305°F | 15 sec | Cold Peel | Medium |
| MultiCut Nylon | Nylon / Waterproof fabrics | 315°F | 15 sec | Cold Peel | Firm |
| MultiPrint Ultimate Dark | Cotton / Dark Fabrics | 300°F | 20 sec | Cold Peel | Medium |
| MultiPrint SuperSoft | Light / Stretch Fabrics | 305°F | 15 sec | Cold Peel | Light-Medium |
Find more heat press settings.

Tips by press type
- Manual clamshell & swing away: Test pressure with a blank shirt before starting full runs.
- Pneumatic presses: Ideal for consistent pressure—especially for thick or textured fabrics.
- Large format presses: Use lower corners for alignment and consider extra pressing time on oversized graphics.
Keep a test garment handy to validate your setup before running full jobs, especially when working with unfamiliar fabrics or new vinyl types.
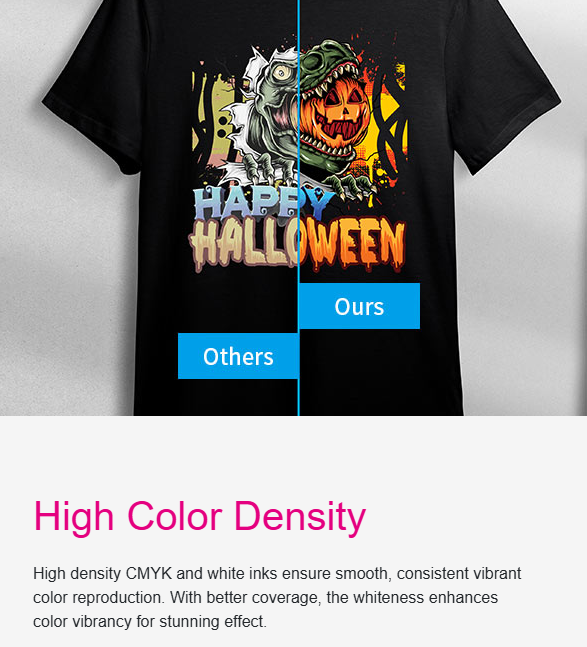
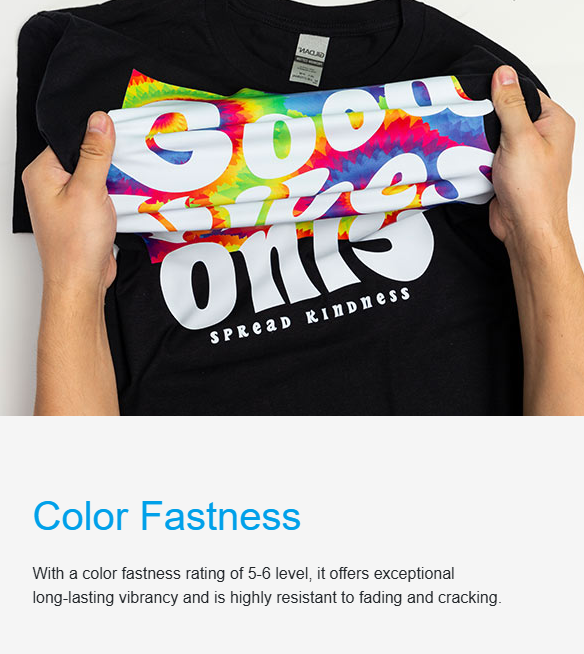
Correct settings ensure strong adhesion, vibrant colors, and a smooth finish that lasts.
Pro tips for workflow efficiency
Whether you're producing custom shirts for a client or batching promotional items, small workflow upgrades can lead to big gains in speed and quality. Here are some expert tips to streamline your HTV production process:
1. Use alignment tools
Invest in rulers, T-shirt alignment guides, or laser alignment systems to ensure precise and repeatable placement—especially important when fulfilling bulk orders.
2. Create a pre-press routine
Build a checklist:
- Turn on press and set temperature
- Pre-press garments
- Double-check mirror/orientation
- Test on a scrap garment (especially when using new vinyl)
This helps reduce errors and keeps your production line smooth.
3. Maintain your heat press
Wipe down platens regularly to prevent residue buildup. For manual presses, periodically check pressure calibration. For pneumatic systems, inspect air pressure settings and connections.
4. Batch similar materials
Group jobs by fabric and vinyl type to minimize press adjustments and boost productivity. Example: press all cotton shirts first, then switch to polyesters.
Smart organization and proper maintenance can turn a small shop into a production powerhouse.
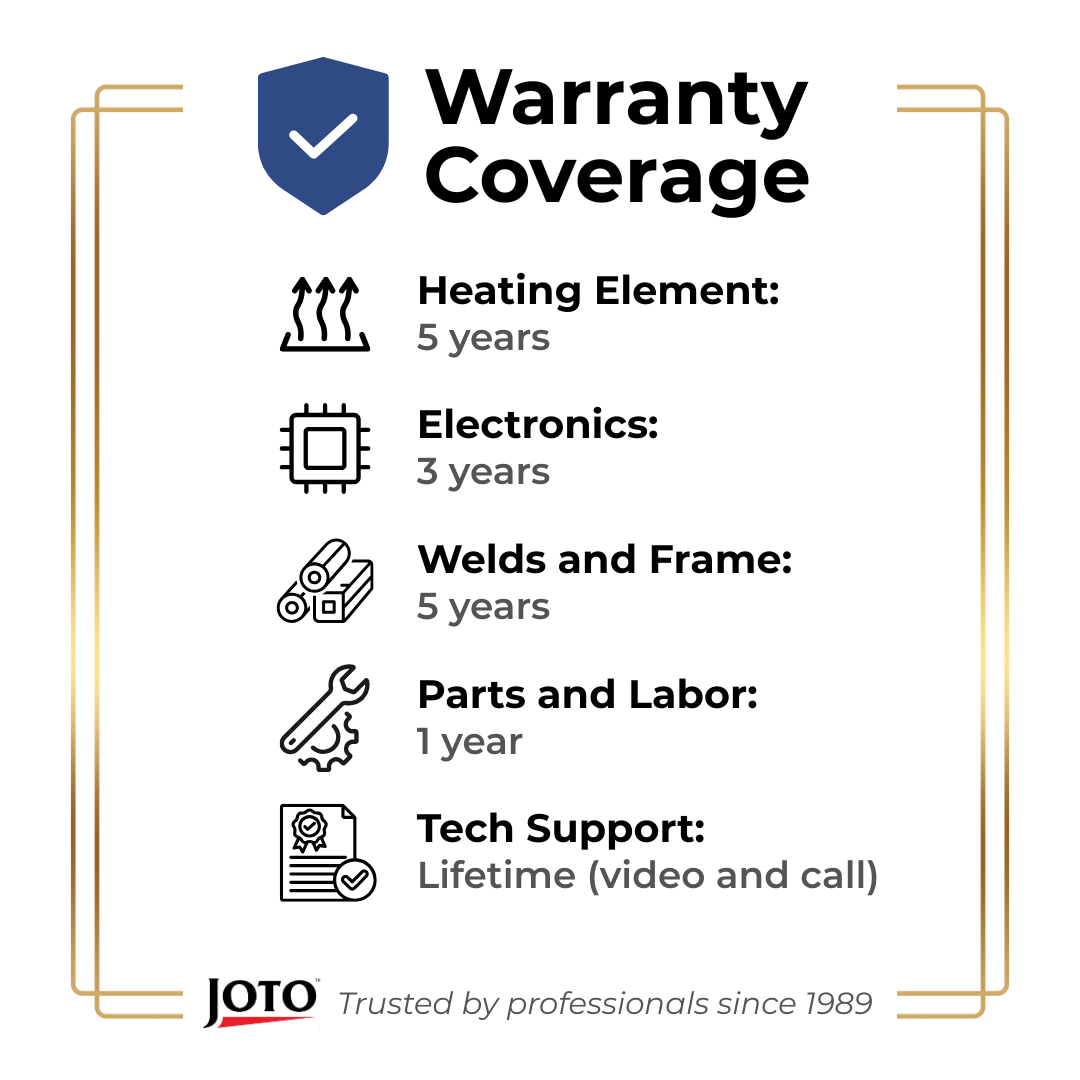
Conclusion
Pressing heat transfer vinyl is more than just a heat-and-go process—it’s a skill. With the right tools, settings, and workflow, you can achieve professional, long-lasting results on every project.
Ready to take your vinyl application to the next level? Explore Joto’s full line of HTV and heat presses today.