


Direct-to-Film (DTF) Printing: A complete guide
Direct-to-Film (DTF) printing has quickly become one of the most sought-after methods for creating high-quality, full-color custom apparel. Whether you're launching a new print-on-demand business or looking to expand your production capabilities, DTF offers unmatched flexibility, sharp image resolution, and compatibility with a wide variety of fabrics.
Unlike older methods like screen printing or heat transfer vinyl, DTF allows you to produce vibrant, detailed designs without the need for pre-treatment—making the process faster, cleaner, and more efficient. With advancements in printers, films, and ink technology, DTF printing is more accessible than ever, even for small businesses.
This guide will walk you through everything you need to know about DTF—from how it works and what equipment you need, to how to troubleshoot common issues and choose the right printer for your workflow. Whether you're a beginner or a seasoned decorator, this comprehensive resource will help you achieve professional-quality results that last.
What Is Direct-to-Film (DTF) Printing?
Direct-to-Film (DTF) printing is a digital heat transfer process that allows you to print full-color, high-resolution designs onto a special film, which is then transferred to fabric using a heat press. Unlike Direct-to-Garment (DTG) printing, DTF does not require pre-treatment, and unlike screen printing, it doesn't involve multiple setups for different colors.
The process begins with printing your design onto DTF transfer film using water-based pigment inks, including a white underbase for opacity. A hot-melt adhesive powder is then applied to the wet ink, which is heat-cured to activate its bonding properties. The film is pressed onto the garment at a controlled temperature and pressure, resulting in a vibrant, durable print that becomes part of the fabric surface.
One of the biggest advantages of DTF is its fabric versatility. It works on cotton, polyester, blends, and both light and dark garments—making it ideal for a wide range of applications, including fashion, workwear, sportswear, and promotional items.
DTF printing is increasingly popular in on-demand production, short runs, and custom apparel due to its cost-efficiency, minimal waste, and ability to handle intricate, multi-color designs with ease. It's a game-changing solution for decorators who need speed, detail, and durability—without sacrificing flexibility.
Benefits of DTF printing
DTF printing offers a powerful combination of quality, flexibility, and efficiency, making it one of the most attractive options for modern garment decorators. Whether you're producing short-run custom orders or scaling up production, DTF provides several key benefits:
- Fabric versatility: Unlike DTG or vinyl, DTF prints can be applied to cotton, polyester, blends, and even tri-blends—both light and dark fabrics—without sacrificing color vibrancy or adhesion.
- No pre-treatment required: DTF eliminates the time-consuming step of fabric pre-treatment. This streamlines your workflow, reduces labor, and shortens production times—especially for smaller batches and on-demand orders.
- High-Resolution, full-color prints: With DTF, you can reproduce photo-quality graphics, gradients, and fine details that are difficult or expensive to achieve with screen printing.
- Lower production costs: Because it doesn't require screens or setup for each color, DTF is cost-effective for short runs and personalized orders—helping reduce waste and improve margins.
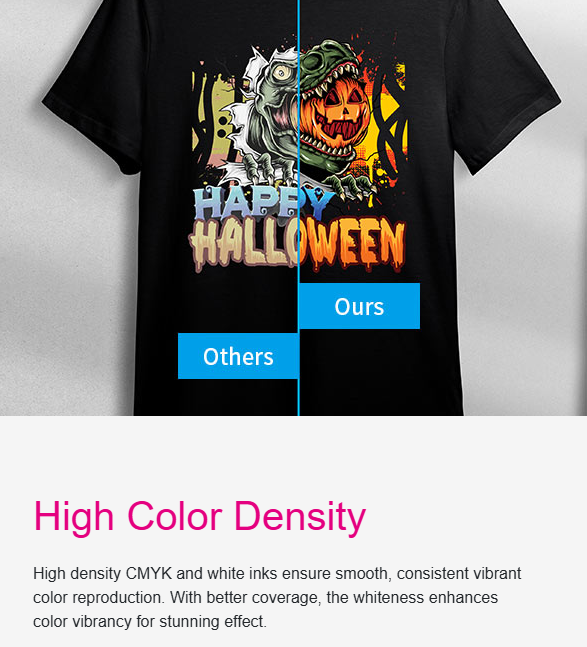
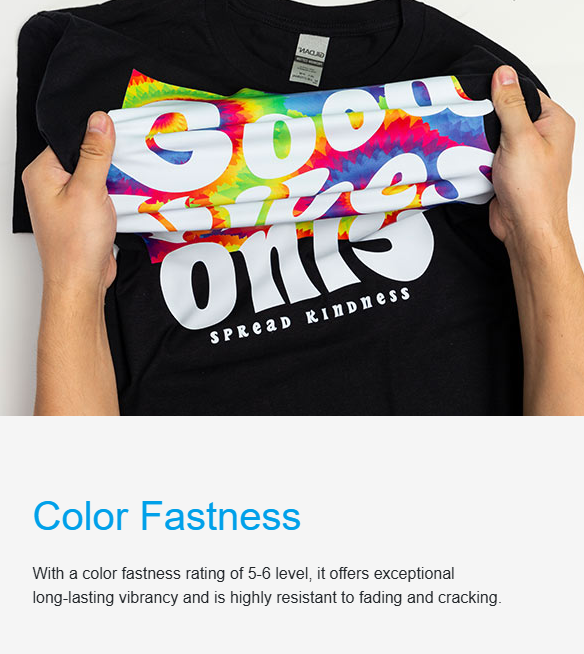
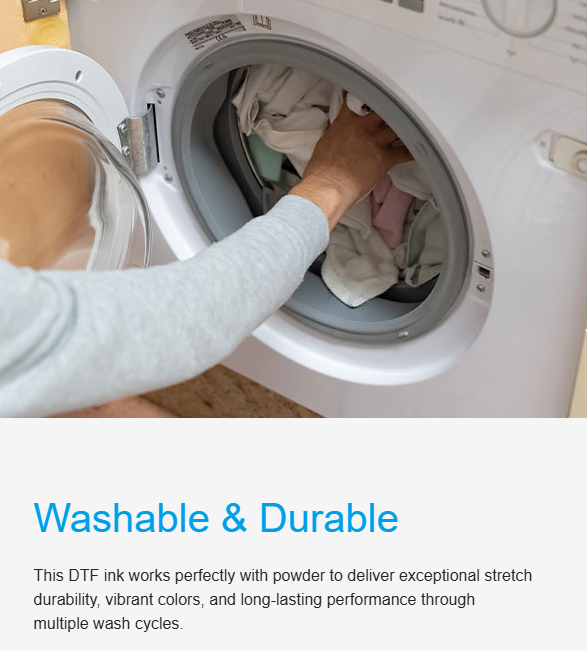
- Strong durability and wash resistance: Properly cured DTF prints are flexible, crack-resistant, and hold up well to repeated washing—offering long-lasting results for everyday garments.
These benefits make DTF printing ideal for startups, e-commerce shops, promotional brands, and anyone seeking a scalable, all-in-one print solution.
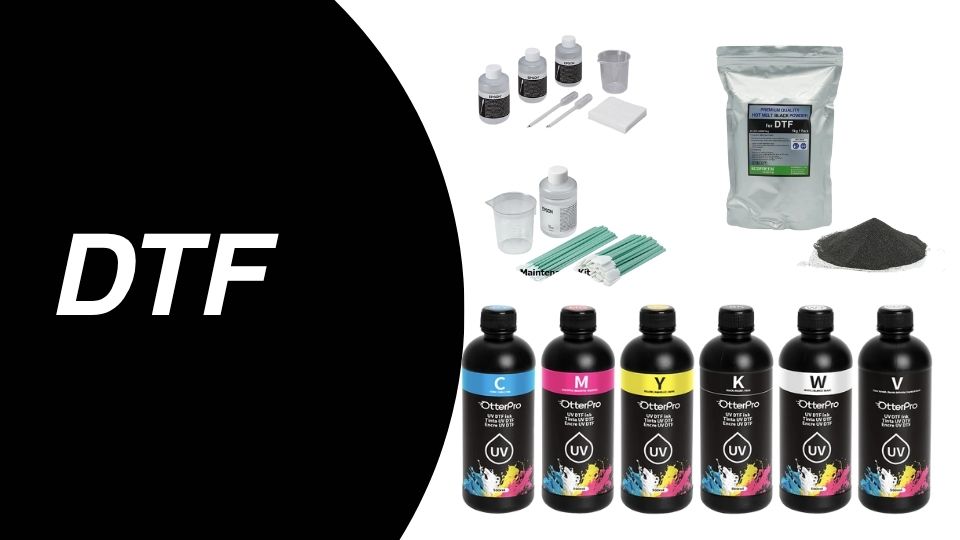
Essential DTF equipment and materials
To achieve consistent, professional-quality DTF prints, it’s critical to use the right equipment and consumables. Below is a breakdown of the core components every DTF printing setup needs:
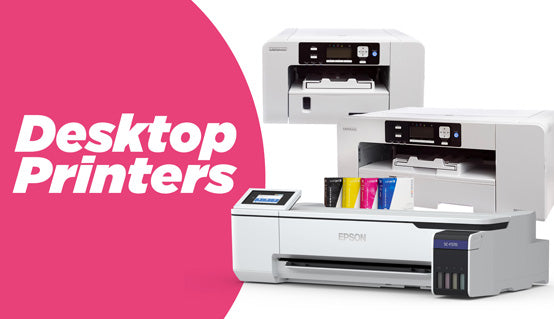
1. DTF printer
The heart of your operation. Choose a printer designed for DTF-compatible inks, white ink circulation, and high-resolution output.
Joto recommends:
- Epson® F2270 – A hybrid DTG/DTF printer for mid-volume production
- Epson® F1070 – A compact solution ideal for startups and custom orders
- OtterPro All-in-One DTF System – High-speed, wide-format with built-in curing
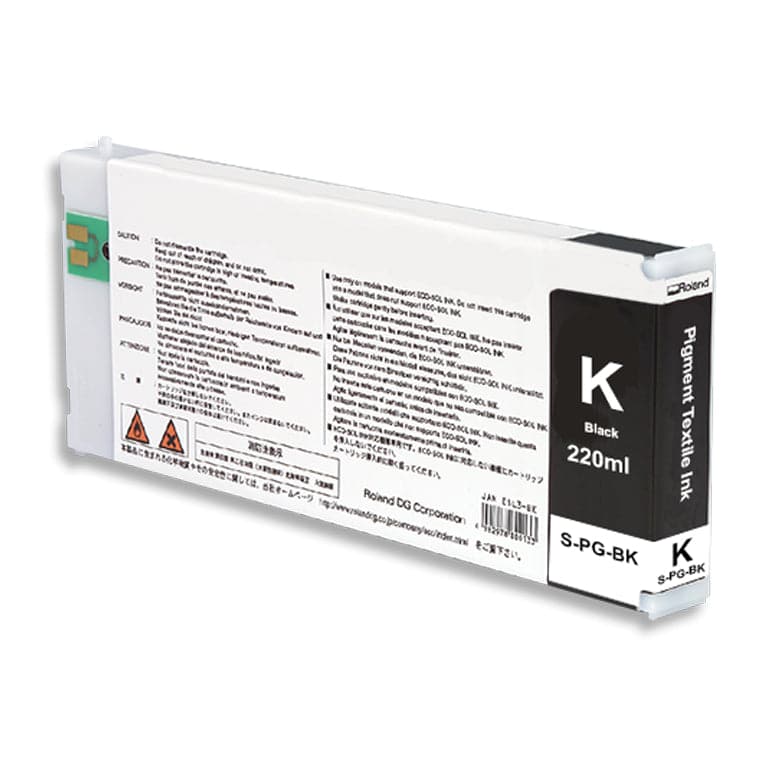
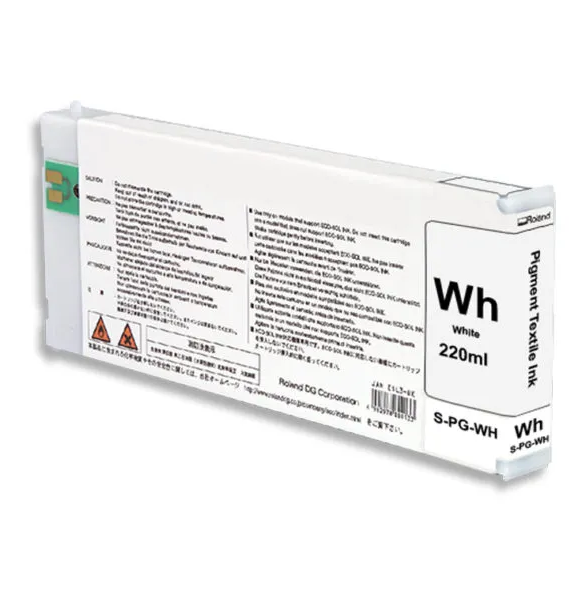
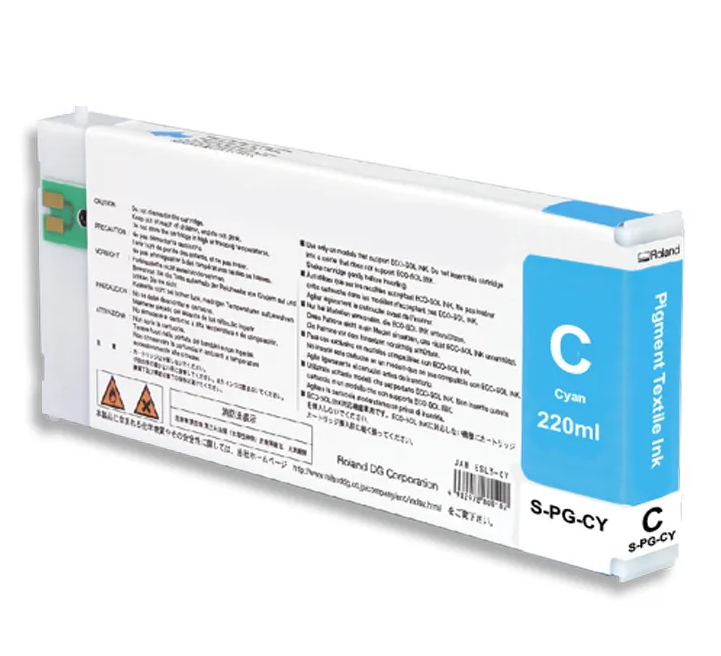
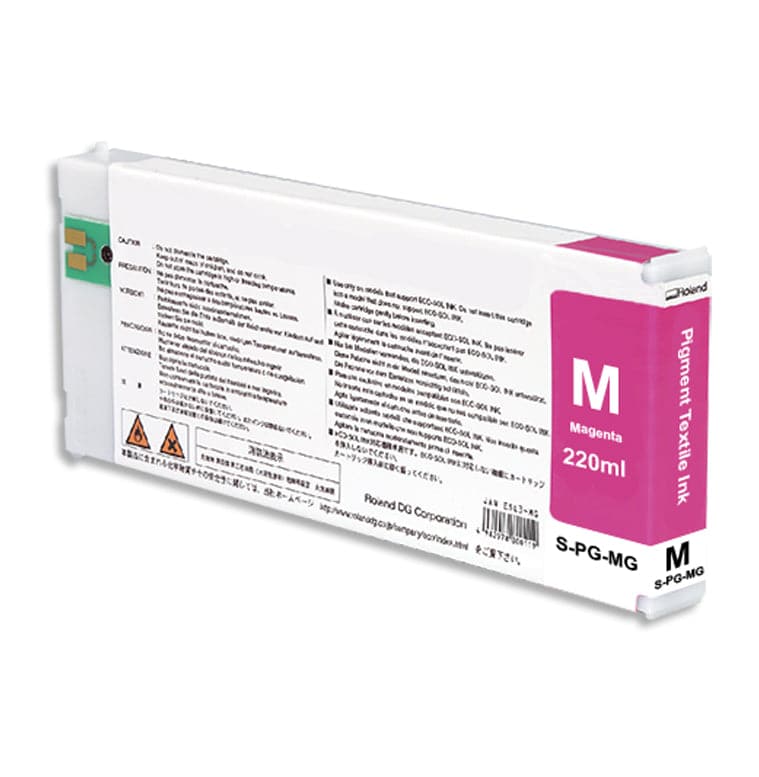
2. DTF inks
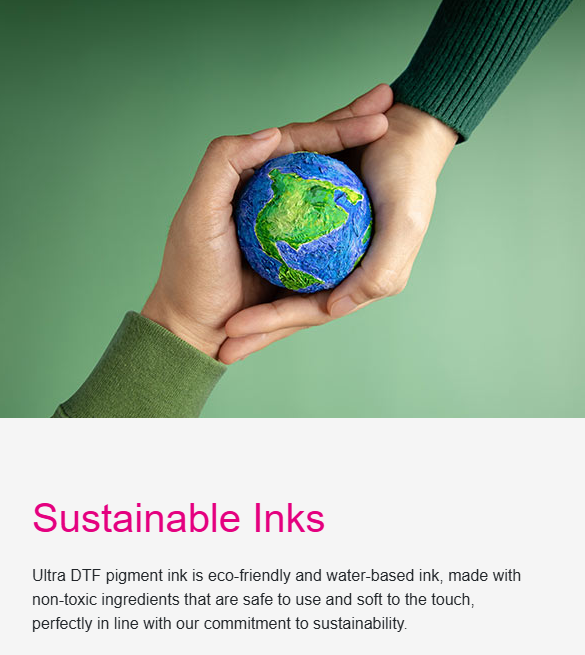
Specially formulated water-based pigment inks, including white, are essential for adhesion and color vibrancy. Joto's inks are optimized for smooth flow and color accuracy.
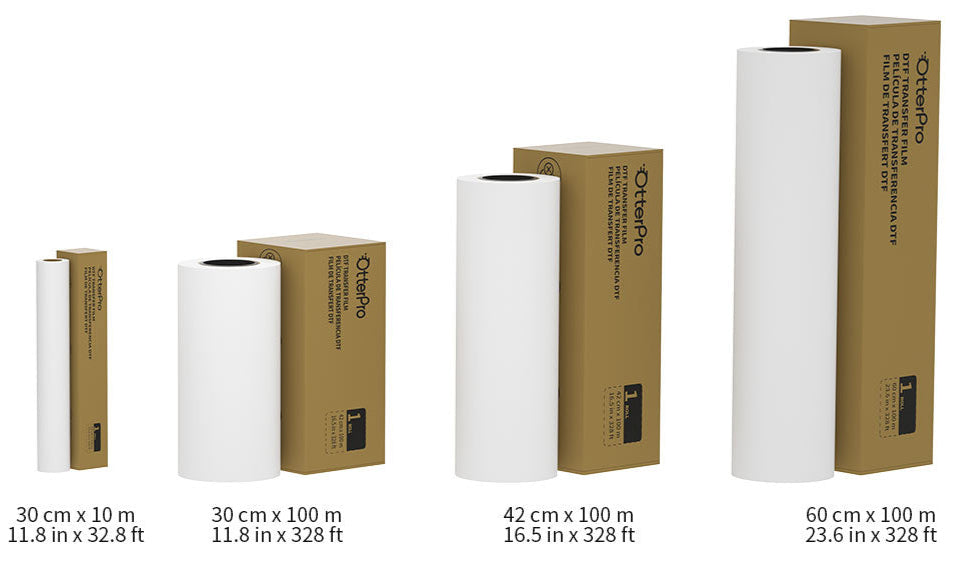
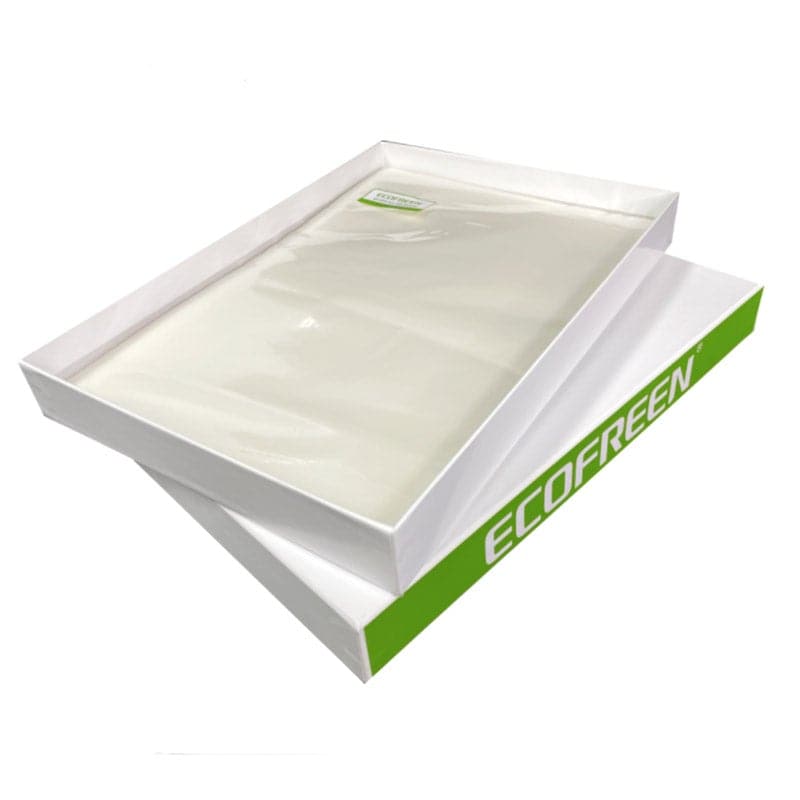
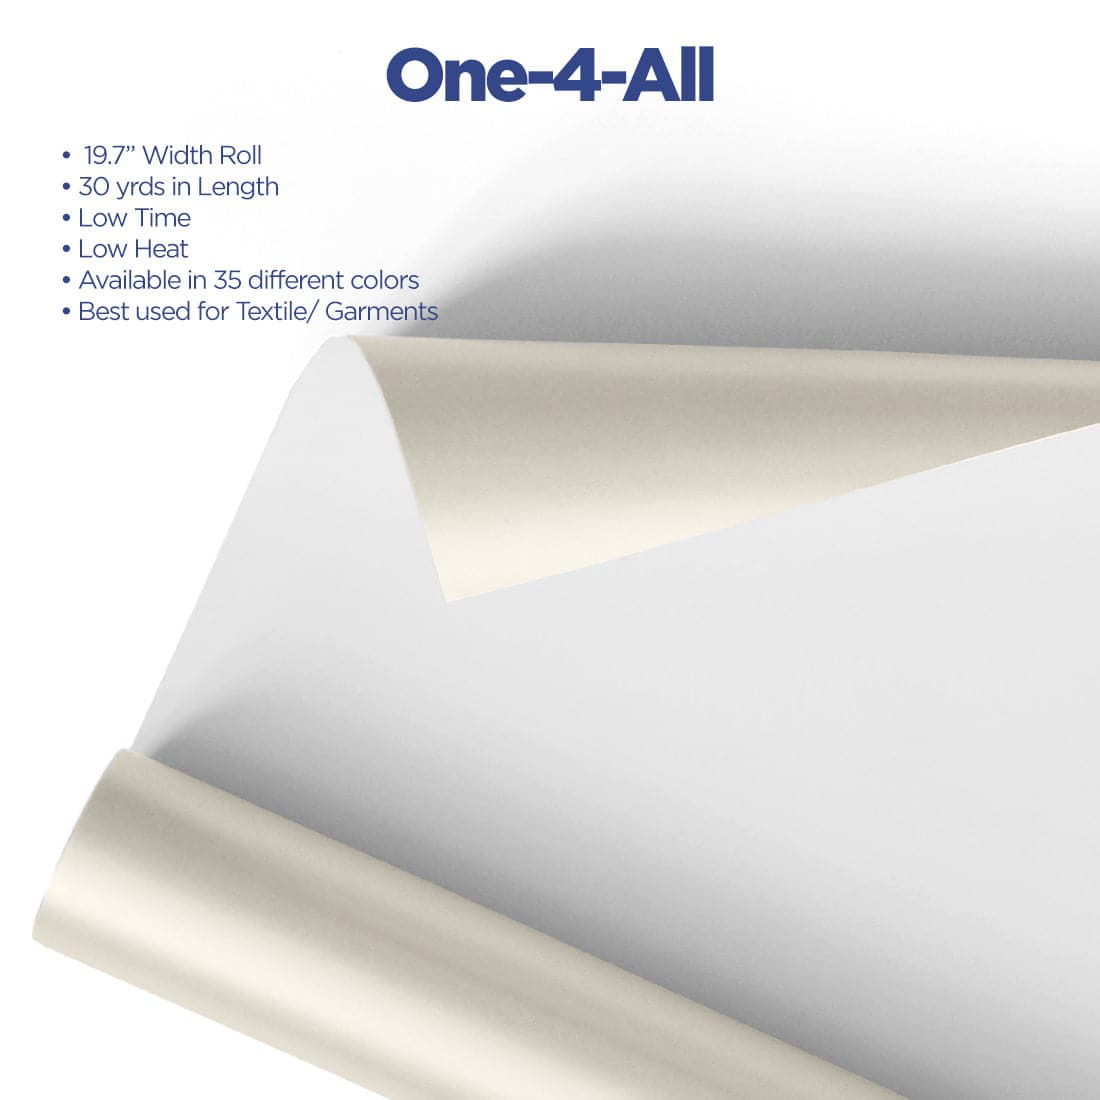
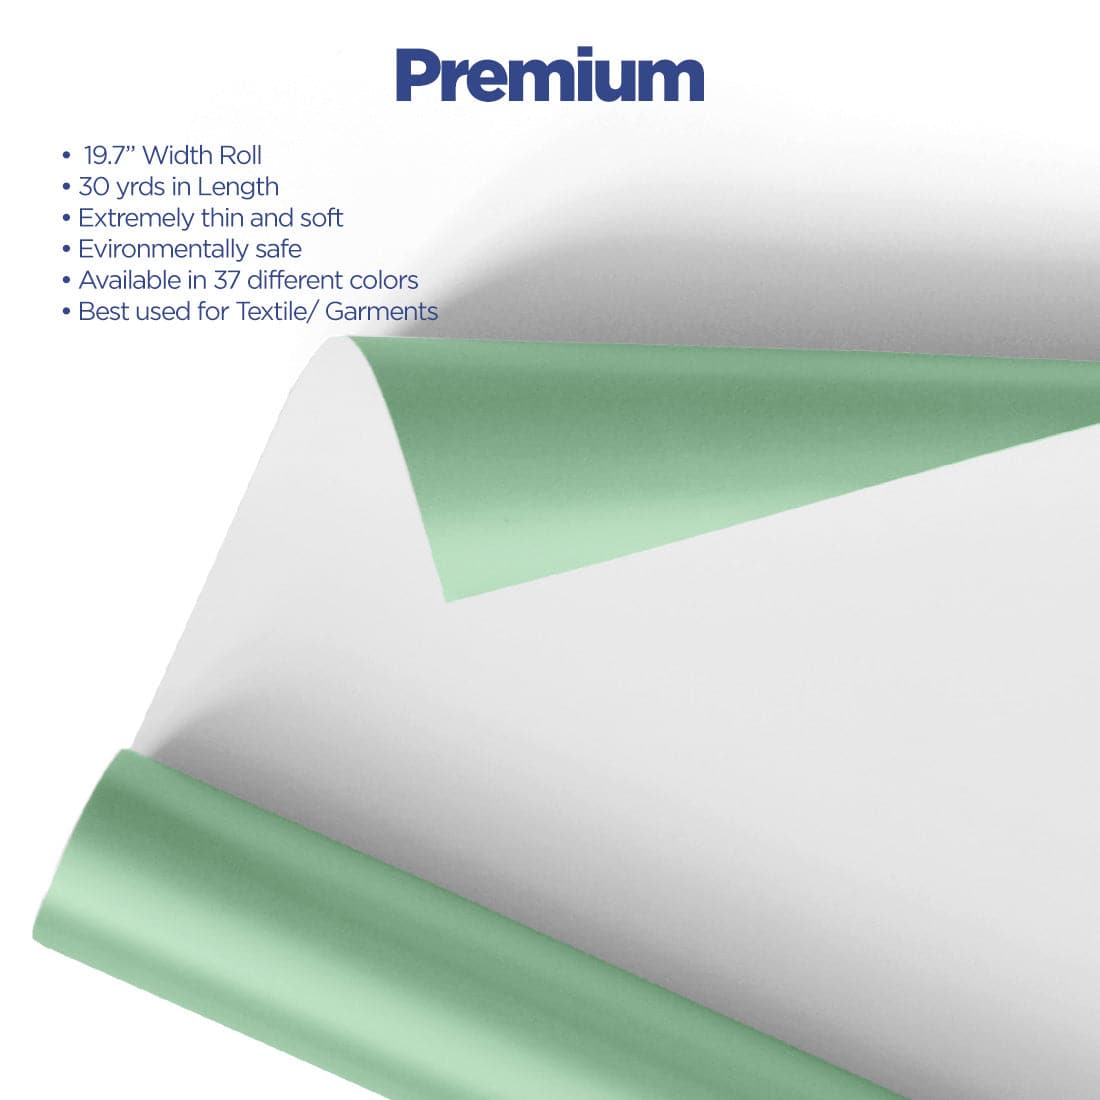
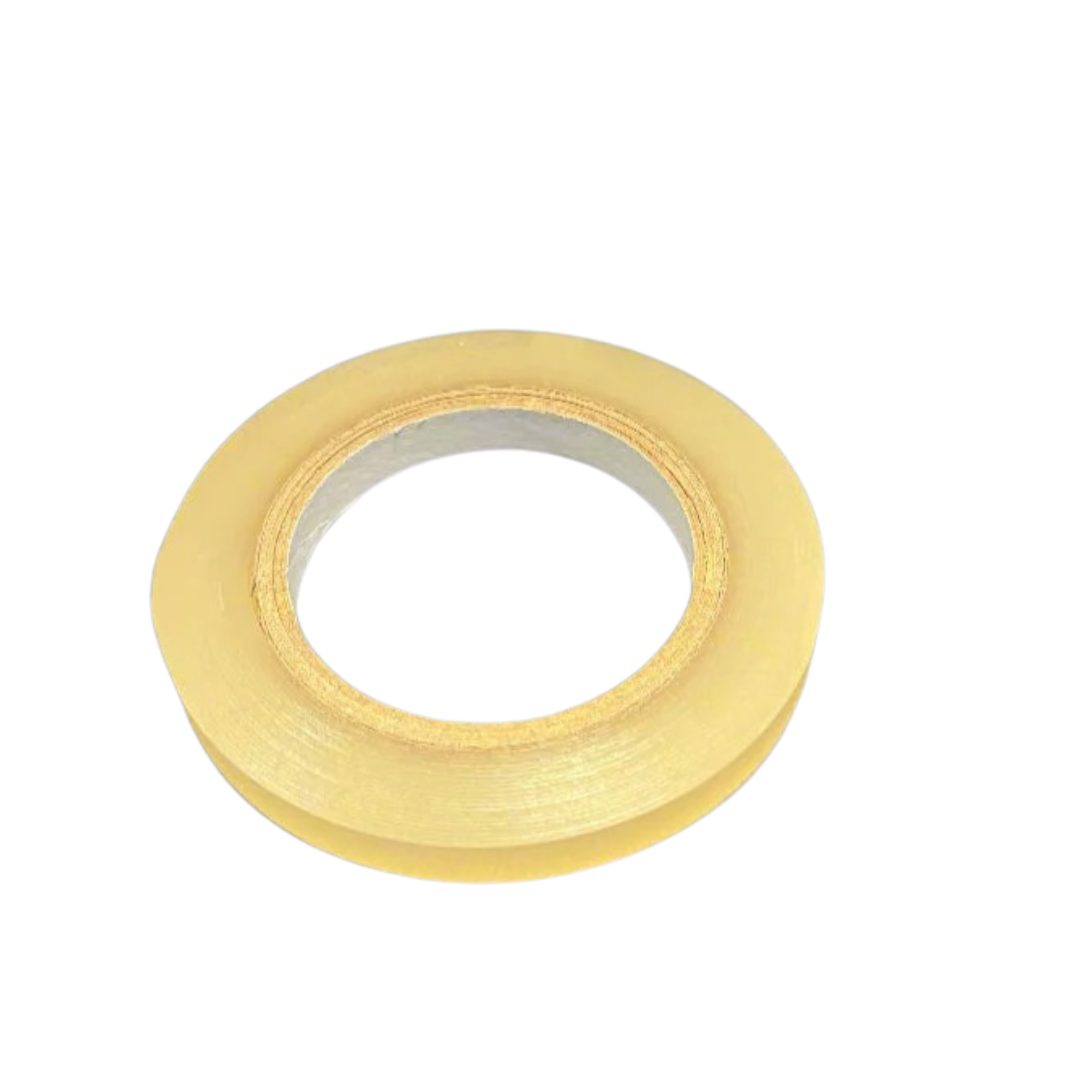
3. DTF transfer film
High-quality film with a matte or semi-gloss finish ensures proper ink retention, anti-static behavior, and smooth release after pressing. Always store in a dry, temperature-controlled space.
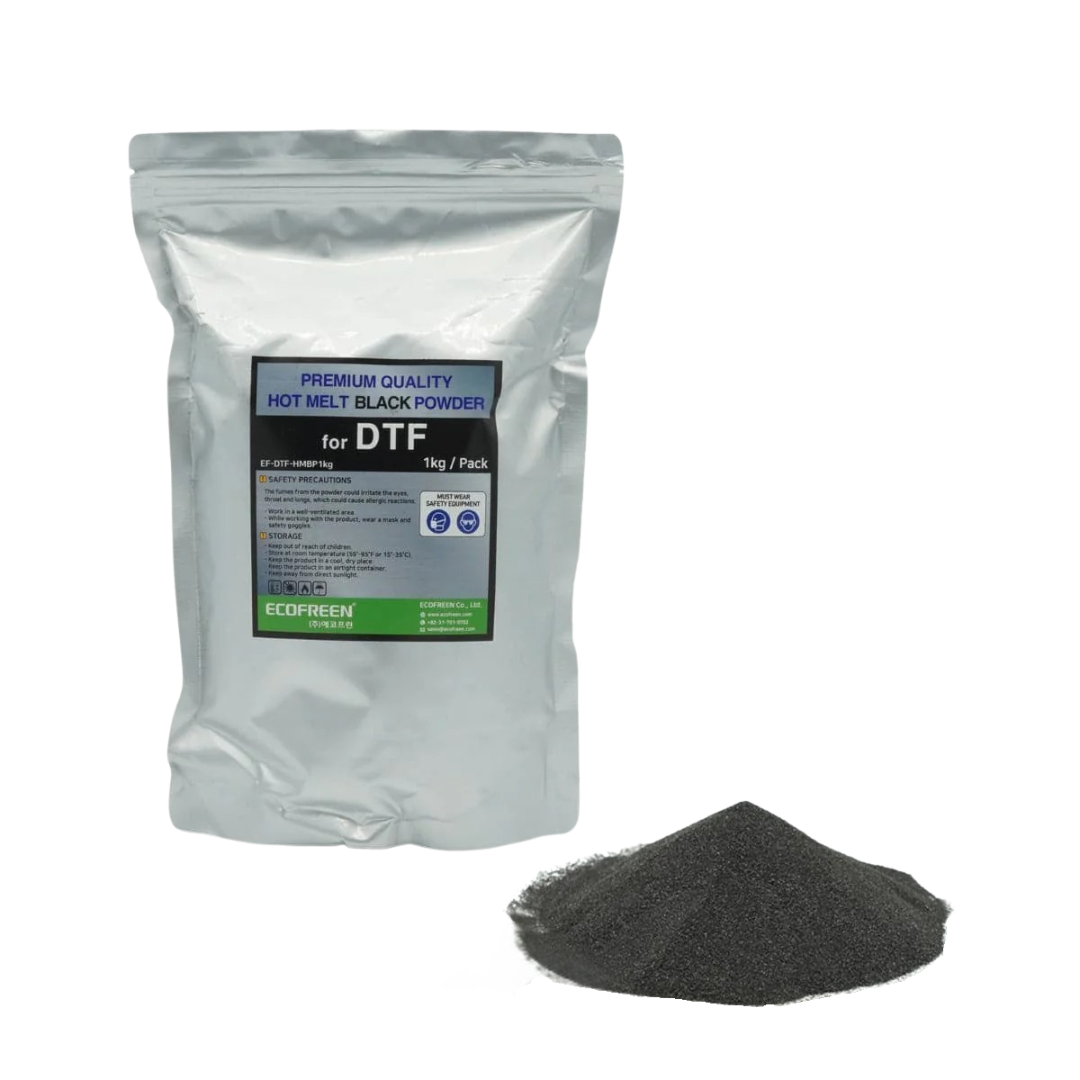
4. Hot-melt adhesive powder
This powder adheres to the ink and melts during curing, bonding the design to fabric. It must be applied evenly and cured thoroughly to ensure wash durability.
5. RIP software
RIP (Raster Image Processor) software controls ink limits, color profiling, and white layer generation. It’s essential for maximizing color output and fine detail reproduction.
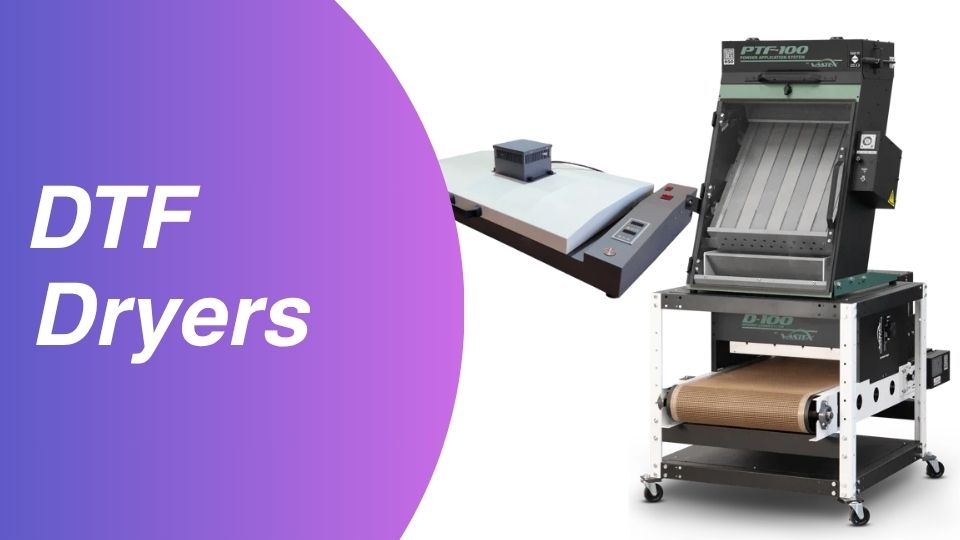
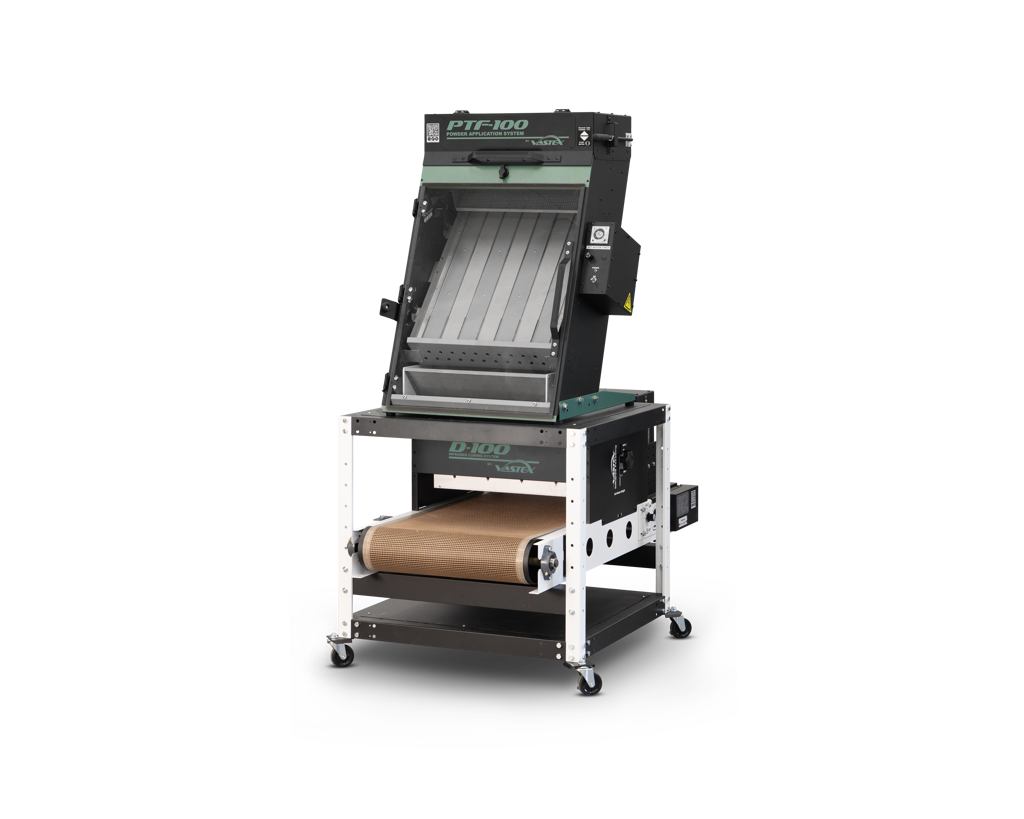
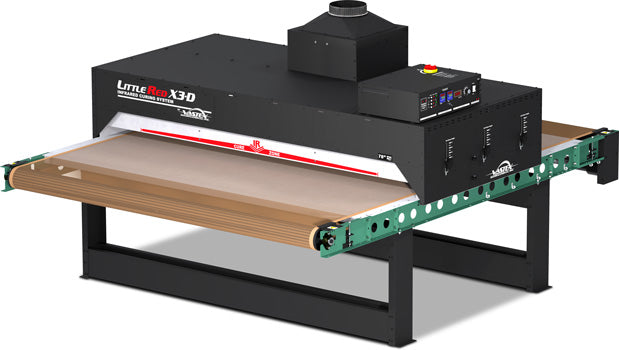
6. Curing Equipment
A DTF heat curing oven or conveyor dryer is used to melt the adhesive powder before pressing. Proper curing ensures long-lasting, smudge-free prints.
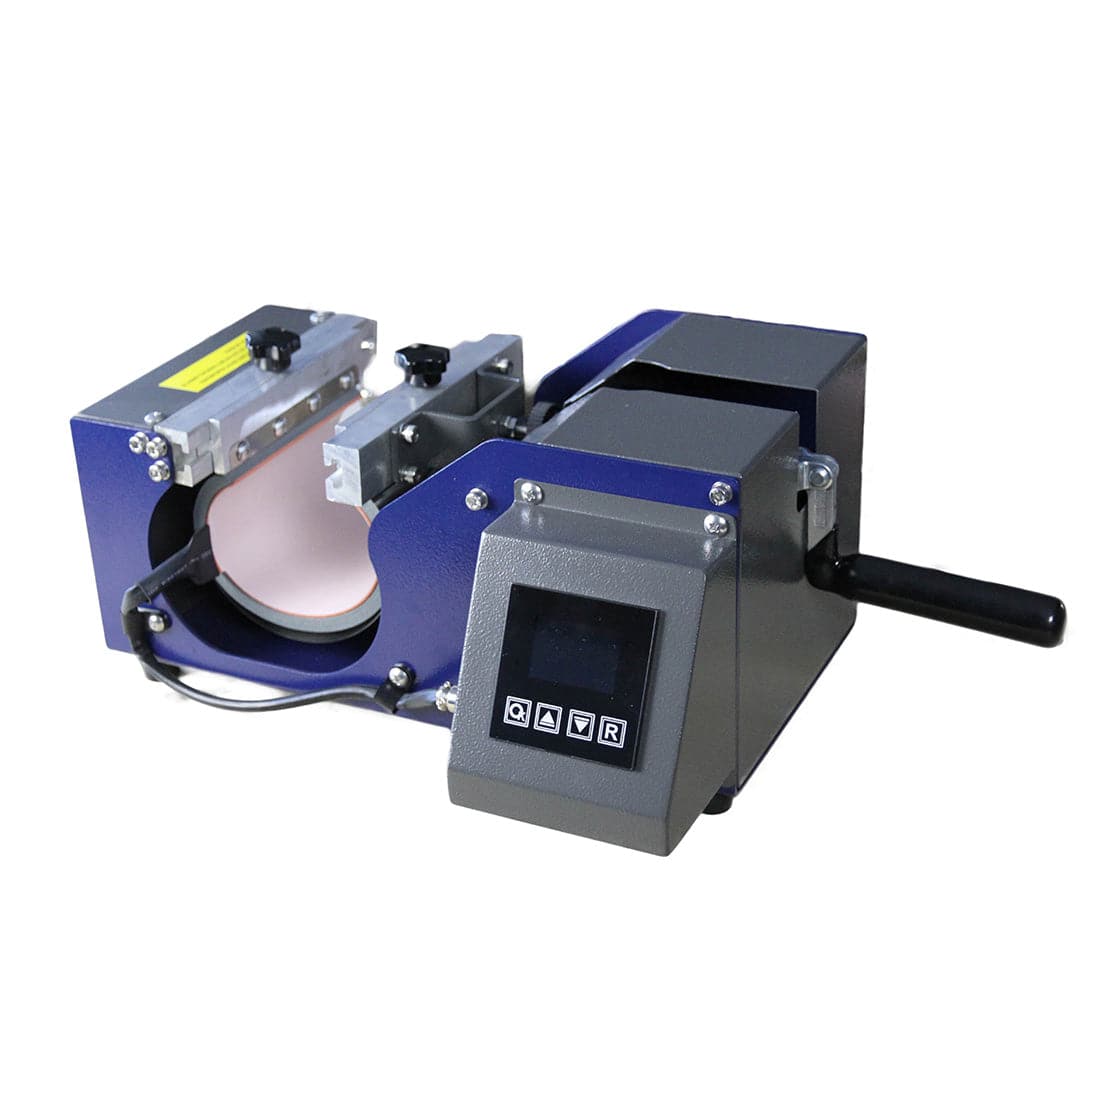
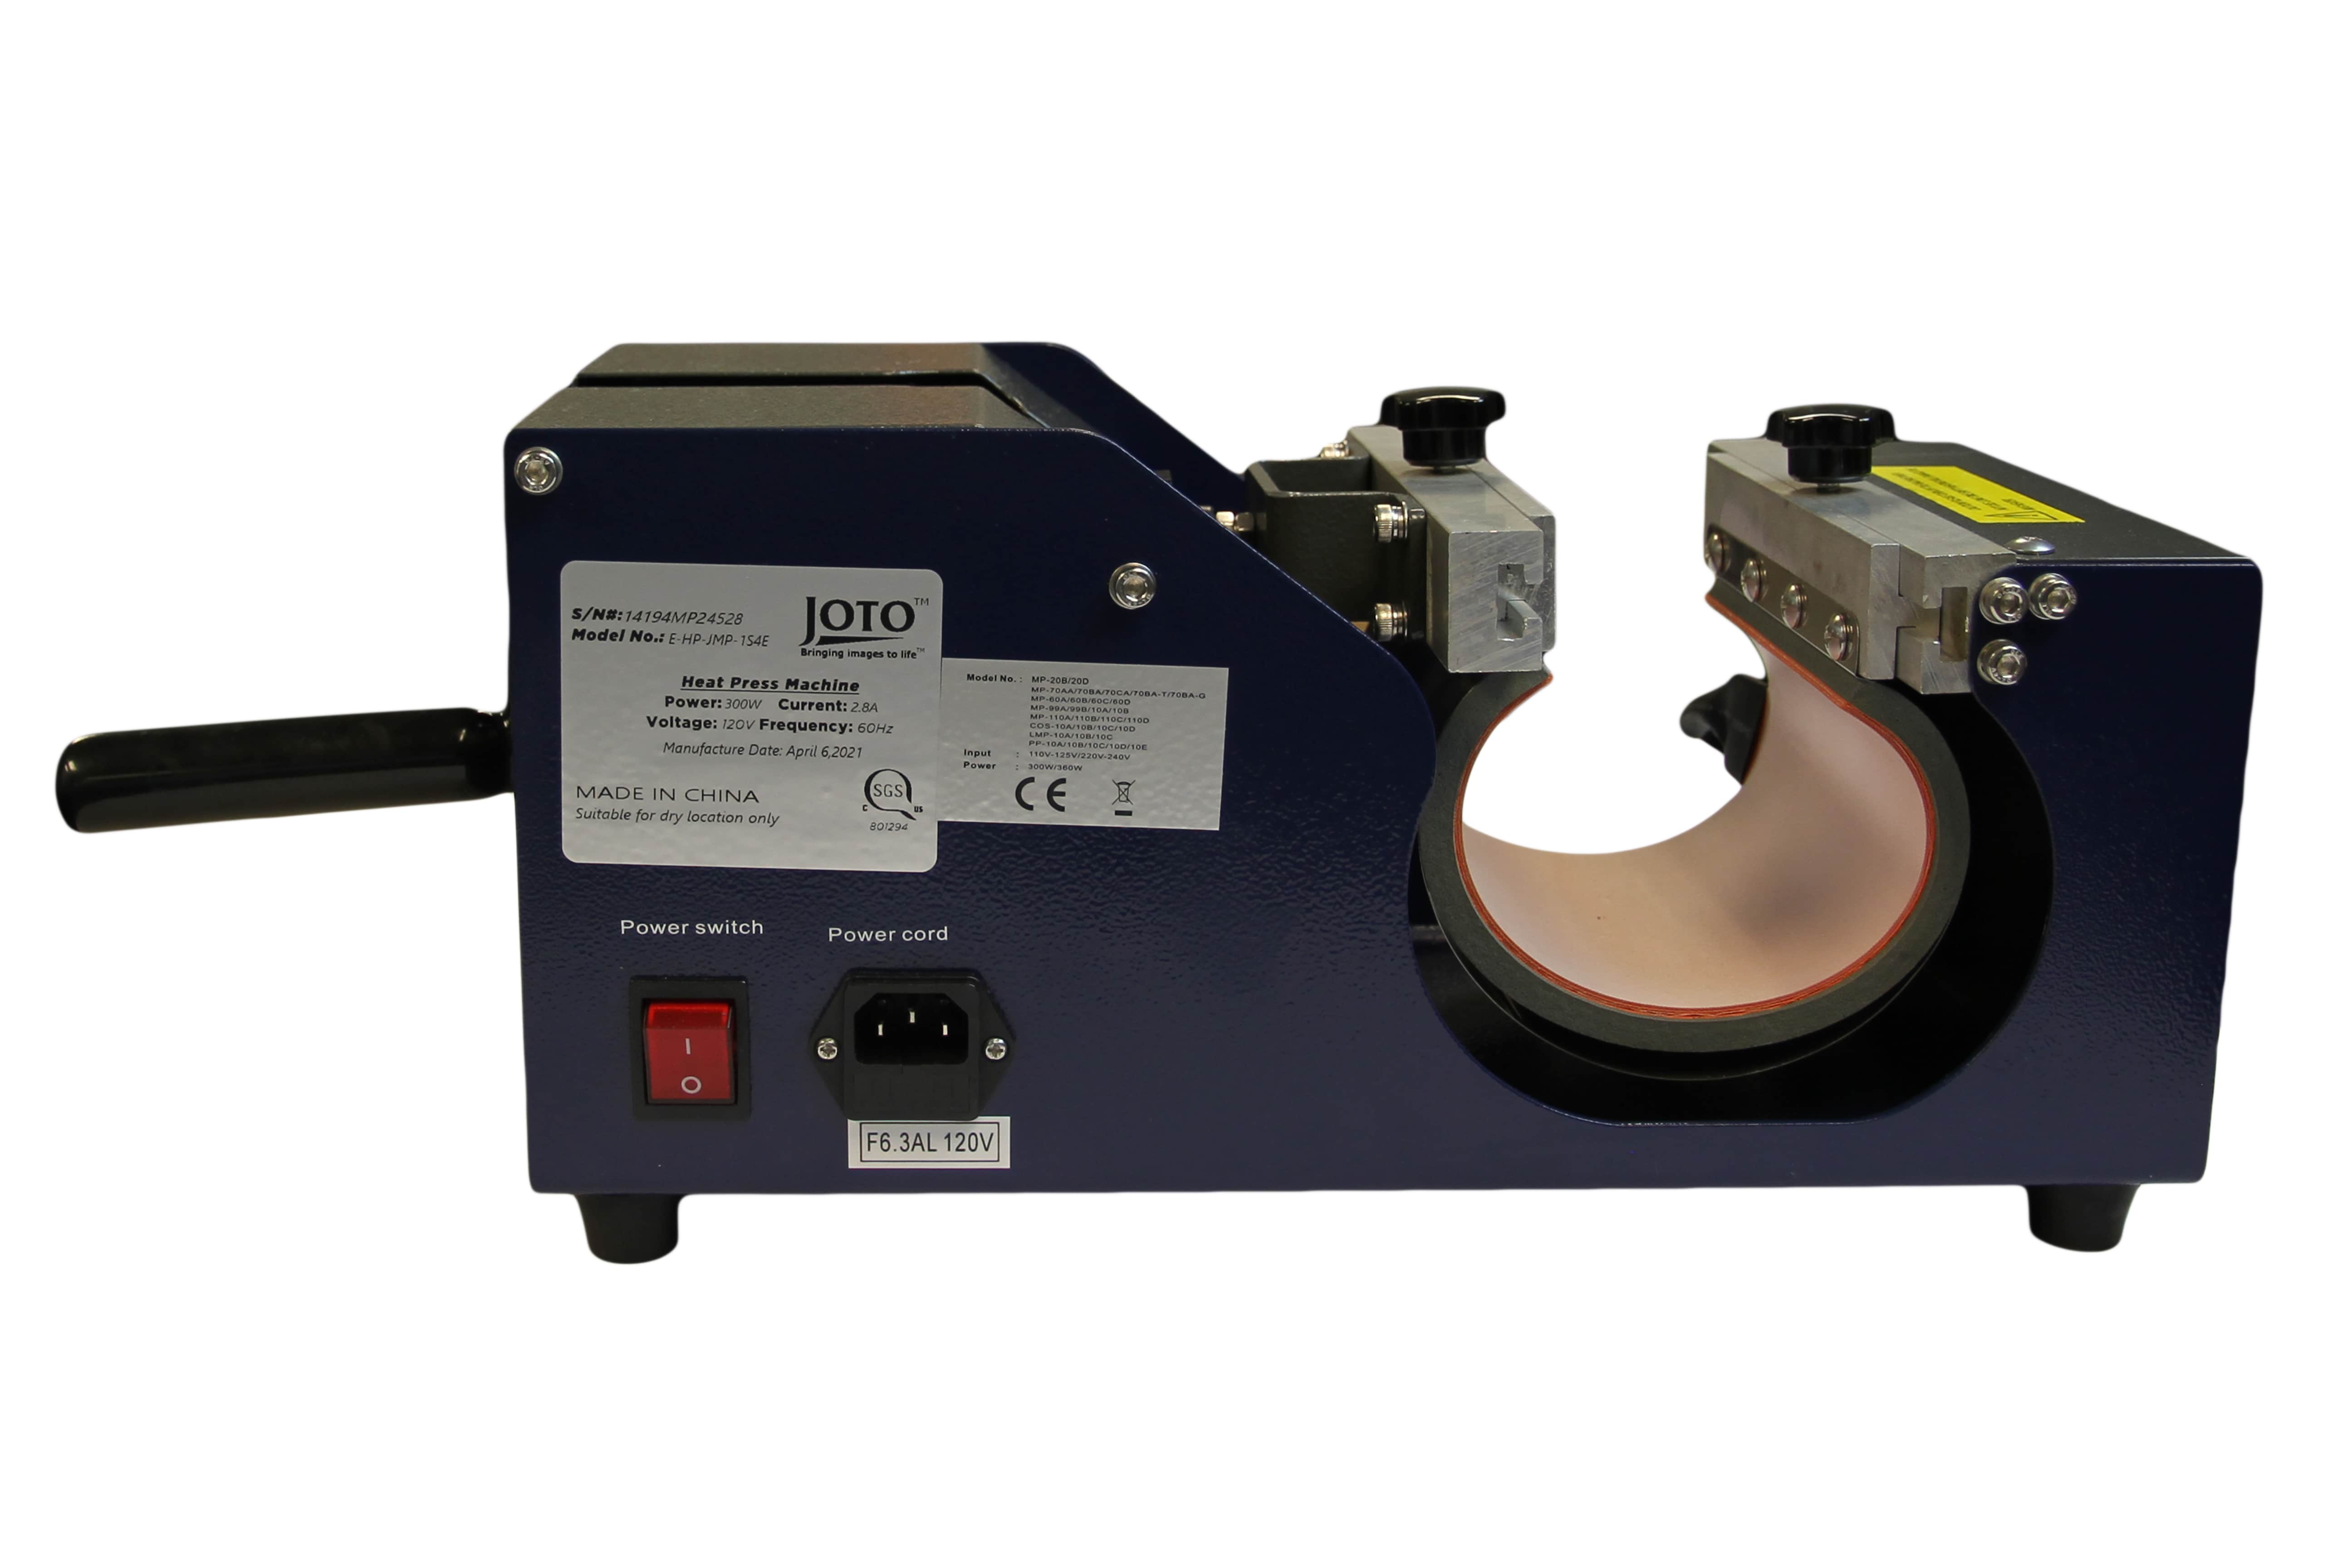
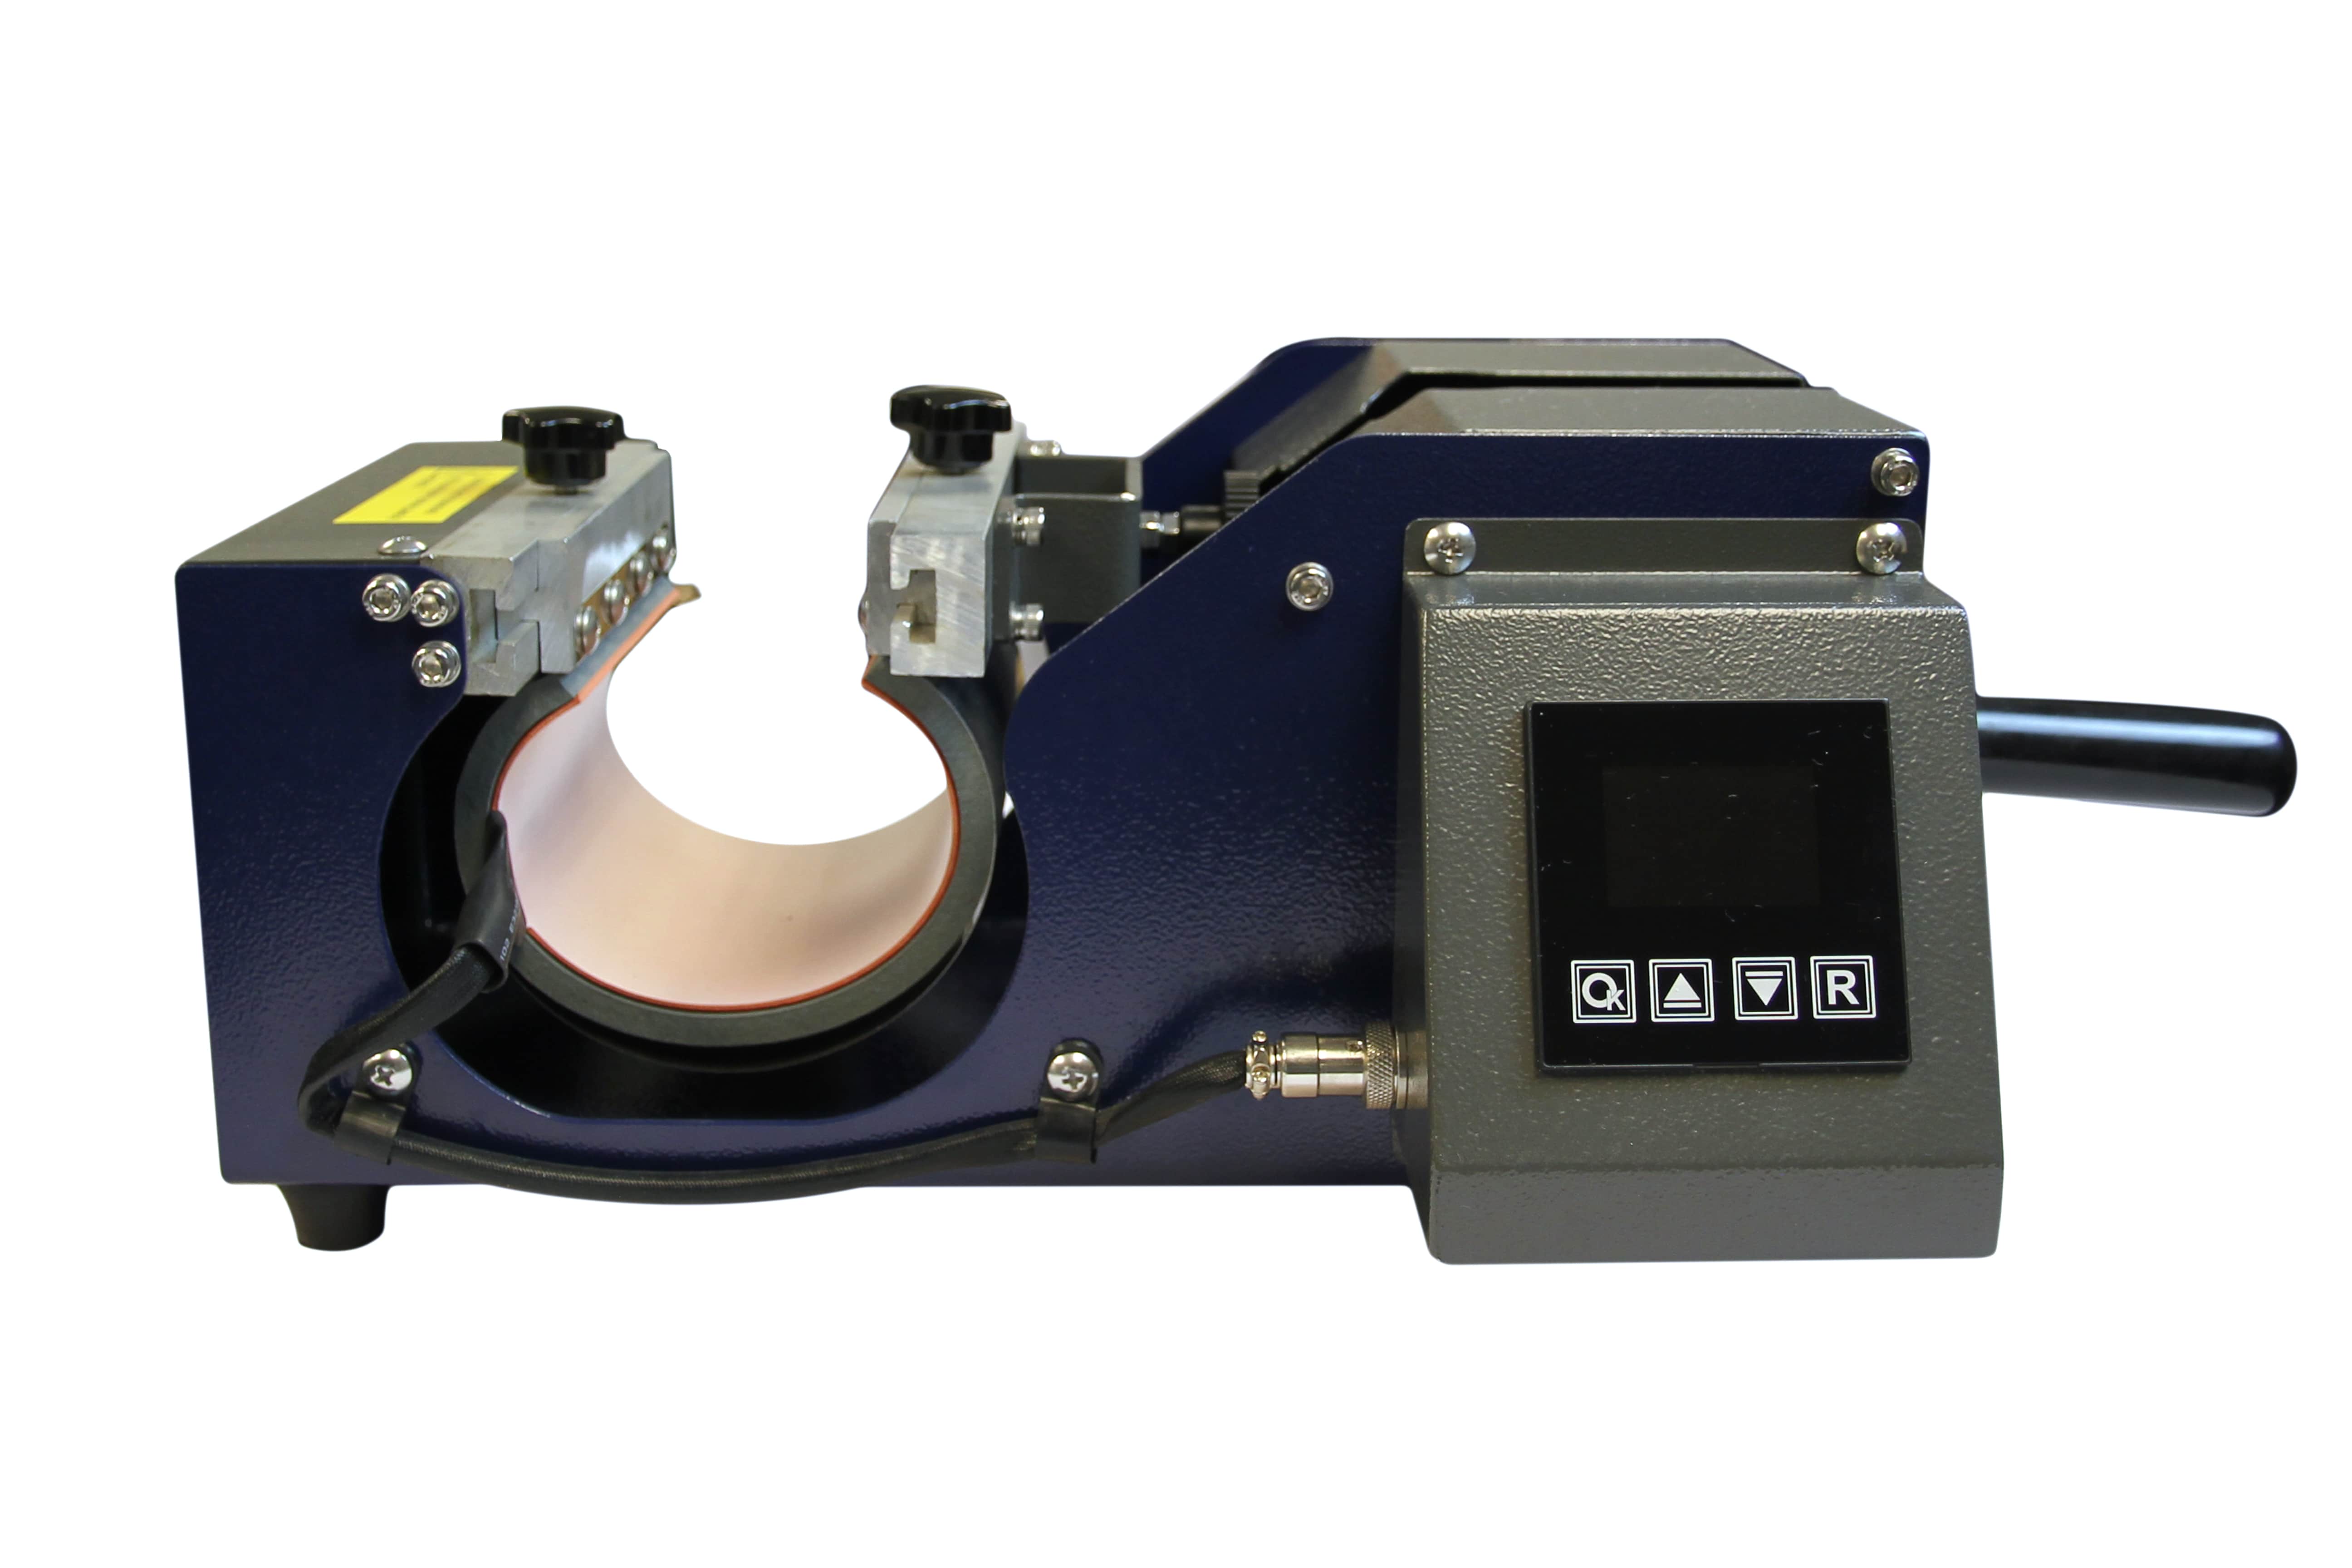
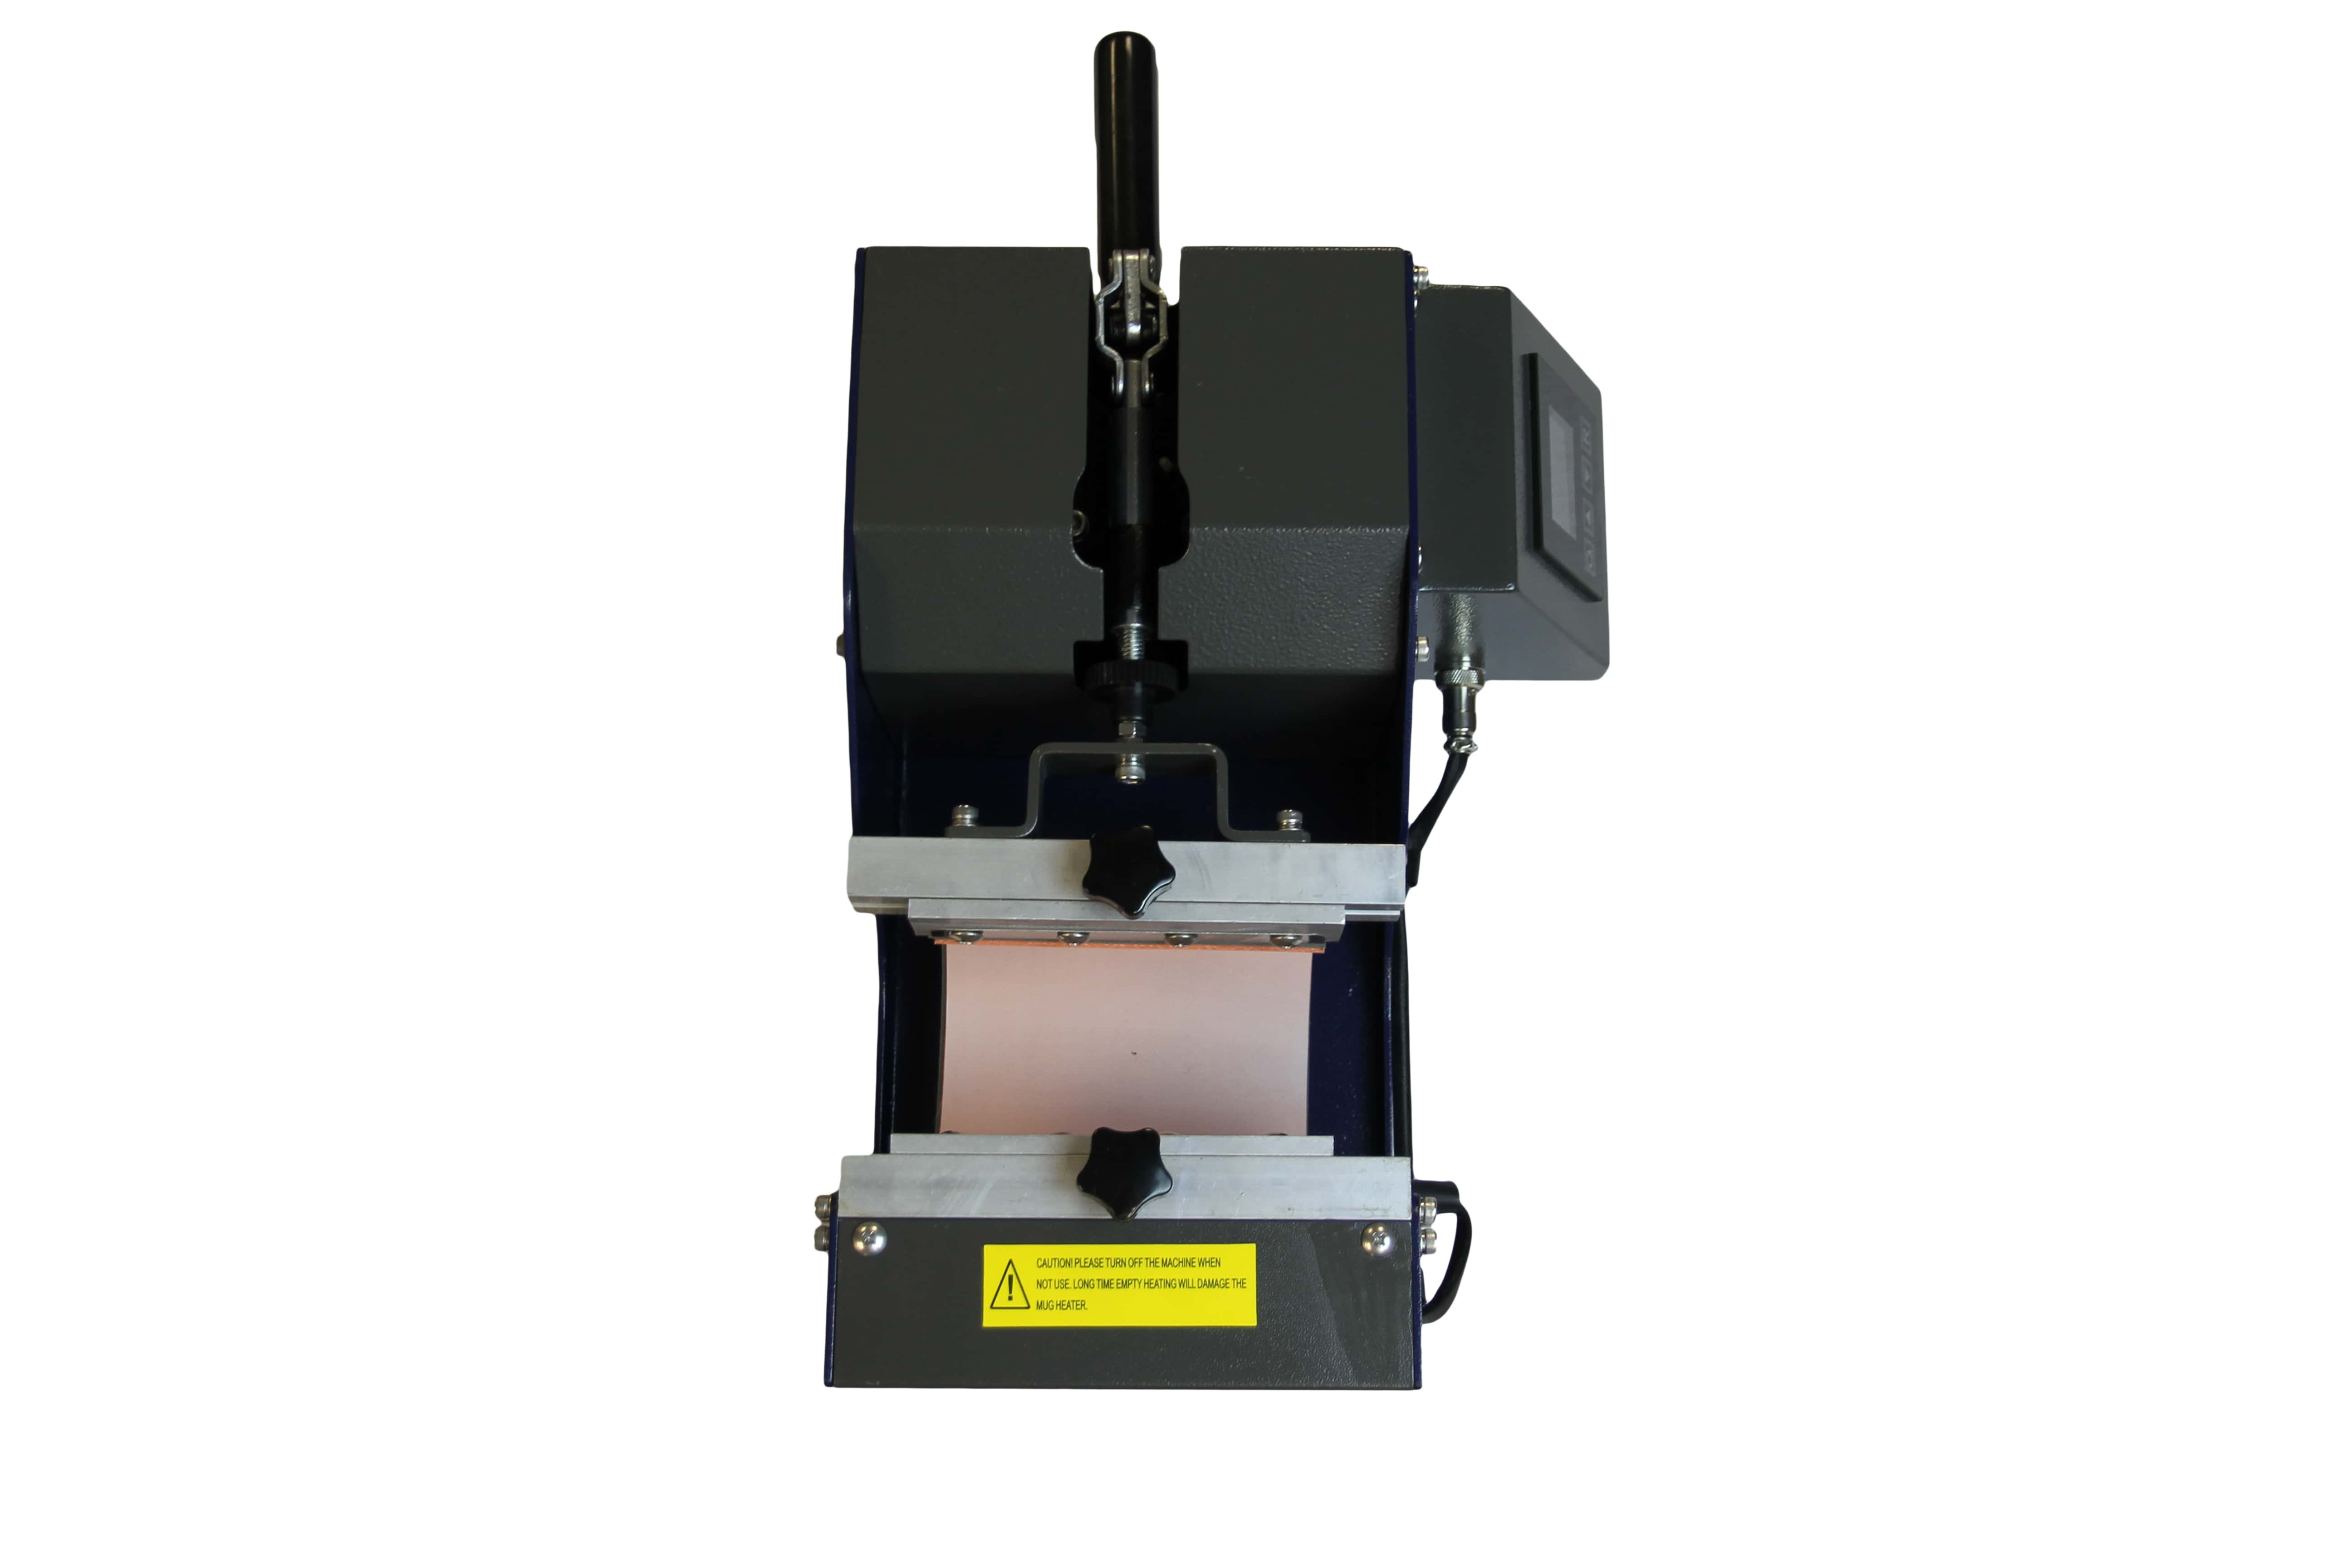
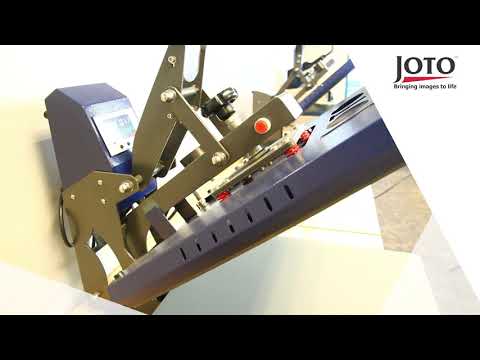
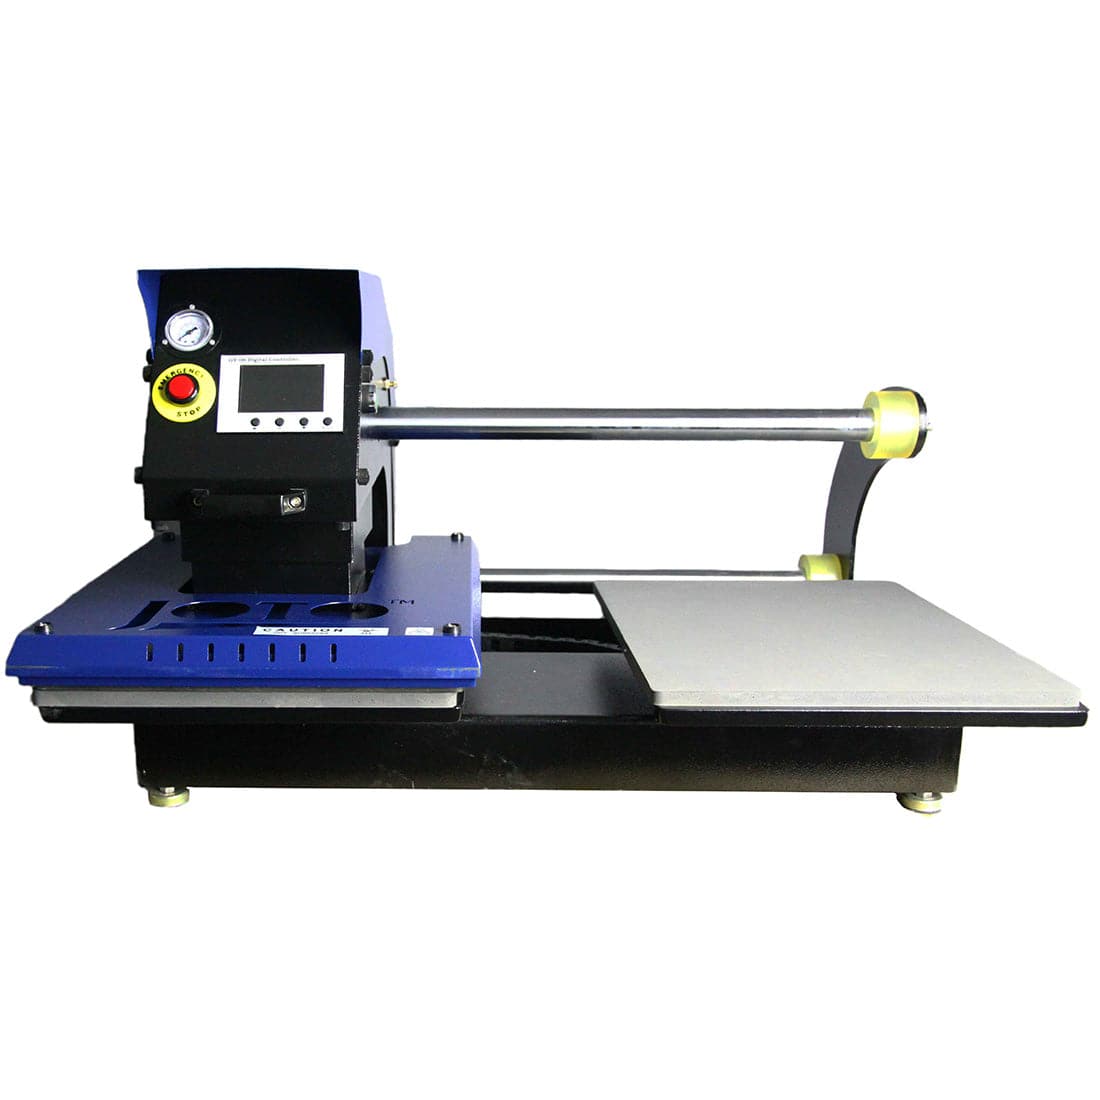
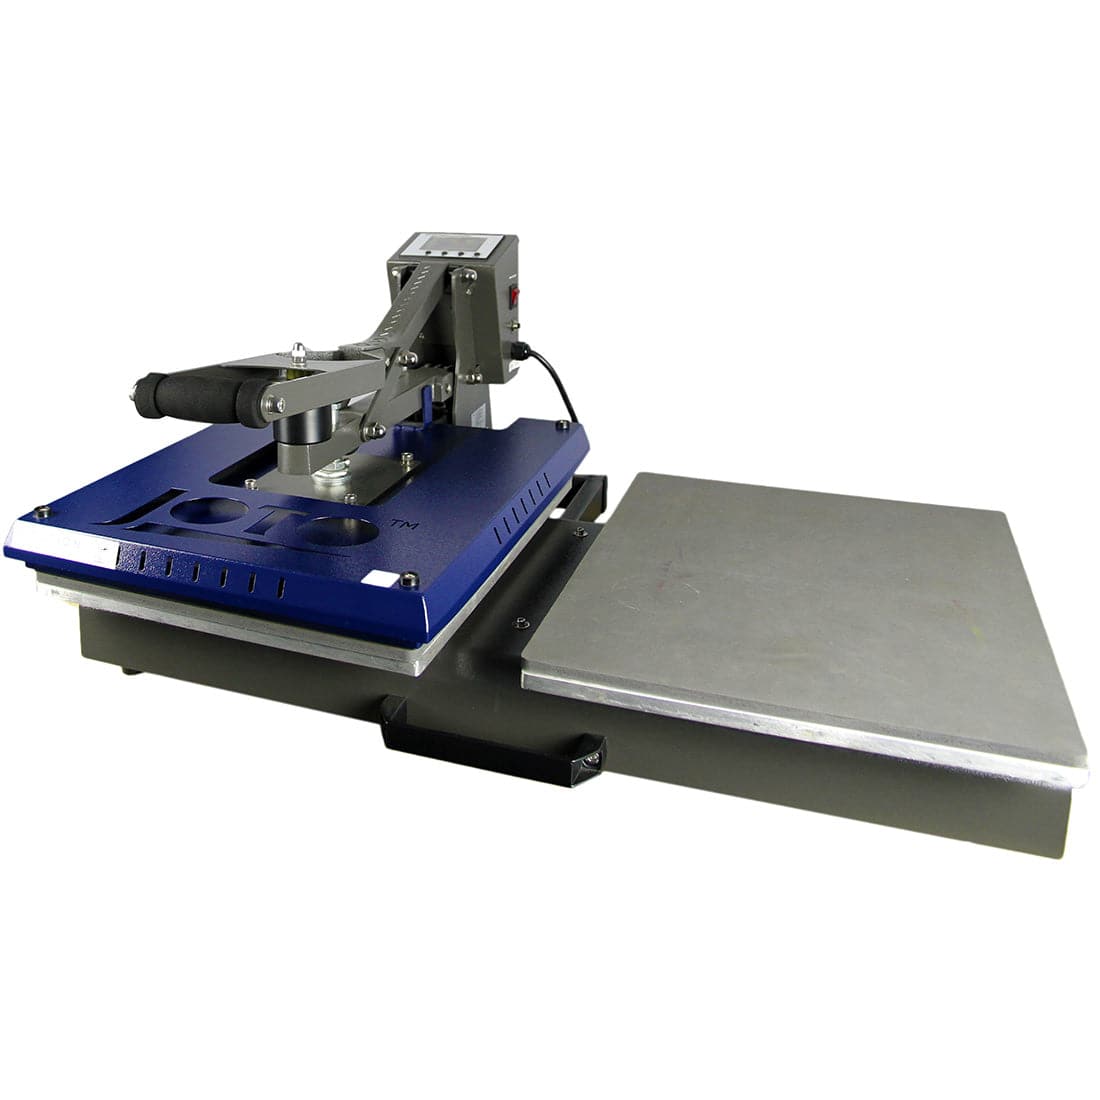
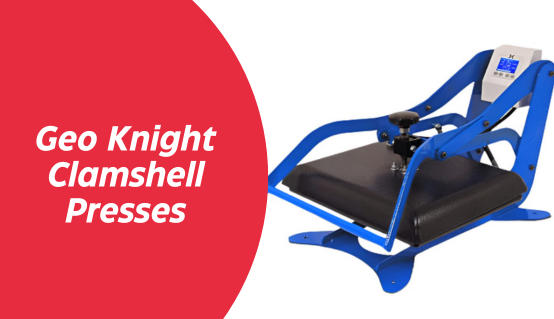
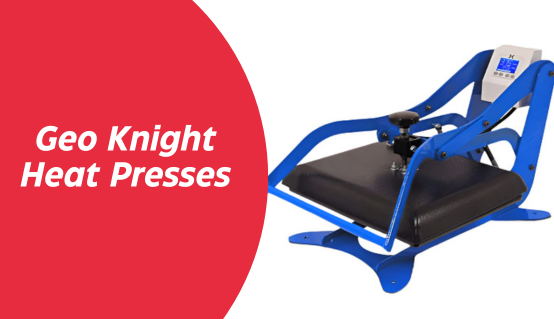
7. Heat Press Machine
Used to transfer the design from film to garment. Must offer accurate temperature, pressure, and time control. For best results, use Joto’s Auto ClamShell or Shuttle Presses.
DTF Printing Workflow: Step-by-Step
Understanding the full DTF workflow is essential for maintaining consistency, speed, and high-quality output. Below is a step-by-step breakdown of how to create a DTF transfer from start to finish.
Step 1: Design creation
Use graphic design software like Adobe Photoshop, Illustrator, or CorelDRAW to create or import your artwork.
- Set resolution to 300–600 DPI
- Use CMYK or RGB color mode, depending on RIP compatibility
- Save as PNG or TIFF with a transparent background
- Mirror the design before printing to ensure correct orientation
Step 2: Print on DTF film
Send your file through your RIP software to control ink output and generate the white layer.
- Print first the CMYK design layer
- Then print the white ink layer on top to enhance opacity and contrast
- Make sure to use DTF-specific inks and film for optimal results
Step 3: Apply adhesive powder
Immediately after printing, while the ink is still wet:
- Sprinkle hot-melt adhesive powder evenly over the design
- Shake off the excess powder gently but thoroughly
Step 4: Cure the film
Place the film in a DTF curing oven or hover press to melt and activate the adhesive:
- Temperature: 250°F – 300°F (120°C – 150°C)
- Time: 120–180 seconds, until the adhesive has a smooth, glossy finish
Step 5: Transfer to fabric
Place the cured film onto the garment, design side down, and use a heat press to transfer:
- Temperature: 280°F – 325°F
- Time: 10–20 seconds
- Pressure: Medium to firm
- Allow to cool (if cold peel), then remove the film smoothly.
Step 6: Optional post-press
Apply a second press (3–5 seconds) with a Teflon or parchment sheet to improve wash resistance and feel.
Common DTF printing issues and how to fix them
Even with the right equipment and materials, DTF printing can present challenges. Understanding common issues, and how to fix them, helps reduce waste and improve production efficiency.
Issue 1: Blurry or fuzzy prints
Possible causes:
- Low DPI settings (under 300)
- Misaligned or dirty printheads
- Ink oversaturation
- Humidity affecting film or ink drying
Solutions:
- Set RIP to 300–720 DPI depending on design complexity
- Run head alignment and nozzle checks regularly
- Adjust ink limits in software to prevent bleeding
- Store film in a dry area below 50% humidity
Issue 2: Poor adhesion or peeling after washing
Possible causes:
- Incomplete curing of adhesive powder
- Incorrect heat press settings
- Uneven powder application
Solutions:
- Cure film at recommended temperature/time (250–300°F for 120–180s)
- Use medium to firm pressure on the heat press
- Apply powder evenly and remove excess thoroughly
Issue 3: Ink clogging or banding
Possible causes:
- Infrequent maintenance
- Stagnant white ink
- Dust or air bubbles in the ink lines
Solutions:
- Perform daily cleanings and white ink circulation
- Keep print environment clean and stable
- Use sealed ink tanks and high-quality inks
Quick troubleshooting improves consistency and extends the life of your printer and materials, especially when combined with proper daily maintenance and correct print settings.
How to optimize print quality and durability
To stand out in the custom apparel market, your DTF prints need to look sharp and hold up over time. These tips will help you maximize both print quality and wash durability:
Use the correct DPI settings
- For most designs, 300–600 DPI offers the best balance between speed and clarity.
- Use 720 DPI or higher only for fine text or highly detailed artwork.
- Avoid unnecessary high resolutions that can slow down production without improving quality.
Choose the right file format
- Save your designs as PNG or TIFF with transparent backgrounds.
- Avoid JPEGs—they introduce compression artifacts that reduce sharpness.
Store your film properly
- Keep DTF film in a cool, dry place (50–75°F / 10–24°C, <50% humidity).
- Moisture can cause ink bleeding, poor curing, or peeling after washing.
Maintain your equipment daily
- Perform nozzle checks and cleanings before each shift.
- Ensure proper ink flow—especially with white ink—to prevent clogs.
Apply a post-press (optional but recommended)
- A 3–5 second second press using a Teflon sheet improves adhesion and softens the transfer feel.
- For some bright-colored garments, skipping this step preserves color vibrancy.
These practices when applied consistently, help ensure your DTF prints look better, last longer, and perform like premium products.
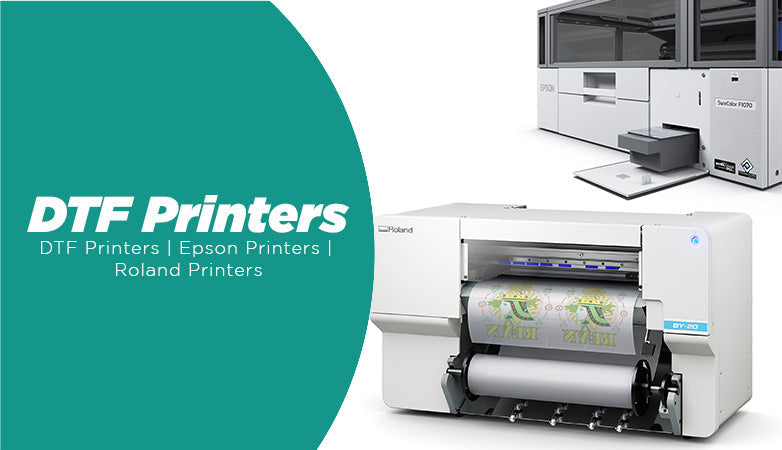
Best DTF Printers Available at Joto Imaging Supplies
Choosing the right DTF printer is key to achieving professional-quality results while maintaining production efficiency. At Joto Imaging Supplies, we offer a carefully selected lineup of DTF printers designed to meet the needs of businesses at every stage.
1. Epson® F2270 DTG / DTF hybrid

- Best for: Mid-volume businesses seeking flexibility
- Combines DTG and DTF functionality in one machine
- High-resolution output up to 1440 DPI
- Features automated maintenance and bulk ink system
- Ideal for print shops needing fast turnarounds and minimal downtime
- More info about the Epson F2270
2. Epson® F1070 DTG / DTF

- Best for: Startups and small-scale custom apparel shops
- Compact design with dual DTG/DTF capabilities
- Easy to operate and maintain
- Offers sharp detail for personalized and short-run production
- More info on the Epson F1070
3. OtterPro All-in-One DTF system

- Best for: High-speed, roll-to-roll DTF production
- Supports up to 24" film width
- Integrated curing system and ink circulation
- Designed for scalability and continuous workflows
- More info on the OtterPro
All three models deliver exceptional image quality, color vibrancy, and reliability. Whether you're starting small or scaling up, Joto provides the right solution. Plus training, tech support, and consumables to match.
Professional tips from the field
Whether you're just starting out or managing a busy print shop, small workflow adjustments can lead to major gains in quality and efficiency. Here are some field-tested tips from professionals using DTF systems daily:
1. Preheat garments before pressing
Briefly pressing garments (2–5 seconds) before applying transfers helps remove moisture and wrinkles, ensuring smoother adhesion.
2. Use a lint roller on fabrics
Removing dust or lint before pressing prevents particles from interfering with the print’s surface, especially on darker fabrics.
3. Keep a consistent production environment
Fluctuations in humidity and temperature can affect curing quality, ink behavior, and film handling. Aim for 50–75°F and <50% humidity in your workspace.
4. Label and organize film types
If you use multiple types of film (hot peel, cold peel), label and store them separately to avoid mismatches and production errors.
5. Create a pressing cheat sheet
Keep a printed guide near your press with settings by fabric type. This reduces guesswork and speeds up training for new team members.
Take your DTF printing to the next level
Direct-to-Film (DTF) printing is one of the most versatile and powerful technologies in custom apparel today. With the right printer, film, inks, and curing process, you can produce stunning, high-resolution designs on nearly any fabric—with speed, efficiency, and long-term durability.
Whether you're launching a new business or upgrading your current operation, success in DTF comes down to using quality equipment, maintaining your system properly, and following proven techniques at every step.
At Joto Imaging Supplies, we offer a complete range of DTF printers, inks, films, dryers, heat presses, and expert support to help you succeed. Contact us today for personalized recommendations tailored to your business goals.