


Why sublimation on water bottles?
Sublimation printing on water bottles is more than just a trending technique—it’s a powerful way to turn everyday hydration gear into personalized, professional-quality products. Whether you're creating custom gifts, promotional items, or launching your own sublimation business, water bottles offer a unique and high-demand canvas for your designs.
Thanks to sublimation’s ability to produce vibrant, permanent prints, your artwork becomes part of the bottle itself. No peeling, cracking, or fading like traditional sticker-based methods. From photo-realistic images to branded logos, sublimation opens the door to unlimited creativity.
In this guide, you’ll learn the best tips for sublimating on water bottles, including how to choose the right materials, prepare your design, use different types of equipment (like mug presses or ovens), and troubleshoot common mistakes. Whether you're working with stainless steel tumblers or insulated bottles, you’ll walk away with the confidence to press high-quality, long-lasting designs that stand out.
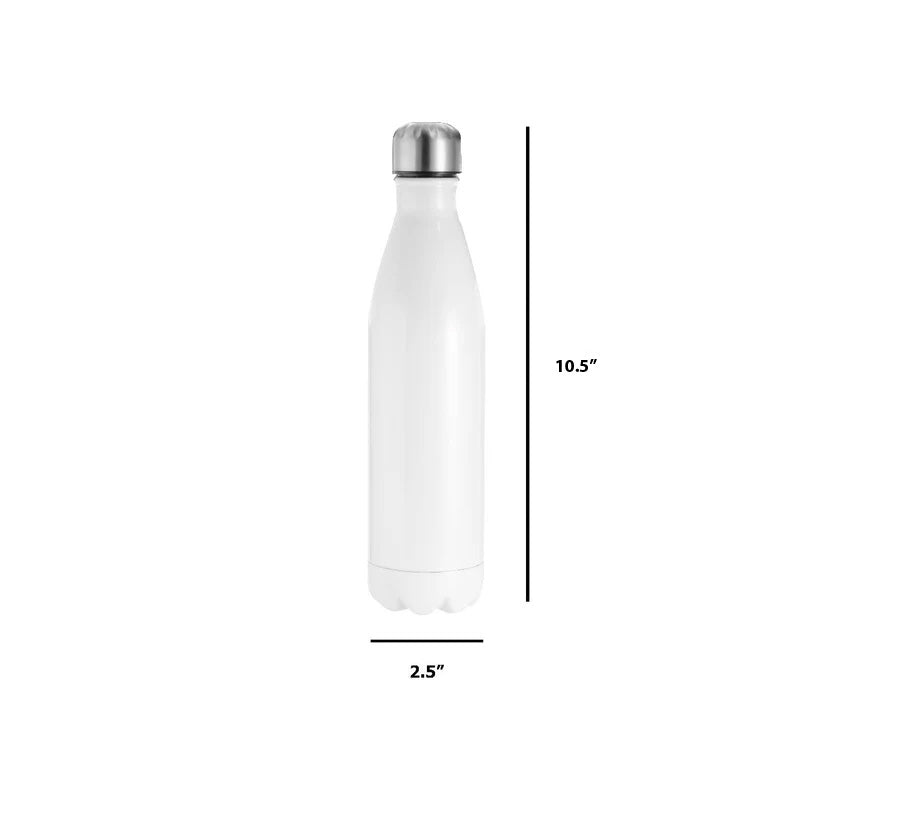
Why stainless steel Is the best material for sublimation bottles

When it comes to sublimating water bottles, not all materials are created equal. Stainless steel stands out as the top choice for both hobbyists and professionals—and for good reason.
First, stainless steel offers exceptional durability. Unlike plastic or aluminum, it resists warping, cracking, or shattering, even under the high heat and pressure required for sublimation. This ensures your final product not only looks great but also withstands daily use, drops, and regular washing.
Second, stainless steel provides a smooth, polished surface that enhances ink adherence. The better the bond between the ink and the substrate, the more vivid and long-lasting the final print. The finish on stainless steel bottles is perfect for showcasing high-resolution designs with sharp details and bold colors.
Lastly, stainless steel sublimation blanks are available in a wide variety of styles—tumblers, sports bottles, insulated flasks—making them versatile for both personal and commercial projects. Whether you're designing a minimalist monogram or a vibrant wraparound graphic, stainless steel gives you a sleek, professional finish every time.
For best results, always choose sublimation-ready stainless steel bottles that are specifically coated for heat transfer printing.
The importance of sublimation coating
No matter how powerful your heat press or how vibrant your ink, sublimation simply won’t work without the right coating. That’s why choosing bottles labeled as “sublimation blanks” is non-negotiable.
These blanks are pre-treated with a polymer coating that allows sublimation ink to bond with the surface during the heat transfer process. Without this coating, the ink won’t adhere properly—it may look faded, wash off, or not transfer at all.
Look for bottles with a smooth, glossy coating that’s evenly applied. Irregularities in the coating (such as bumps, dents, or uneven finishes) can result in blurry or incomplete transfers.
This coating is what allows the sublimation ink to become part of the bottle—not just sit on top. The result is a long-lasting, dishwasher-resistant print that won’t peel or fade over time.
Pro Tip: Always inspect sublimation blanks before use and store them in a cool, dry place to preserve coating quality.
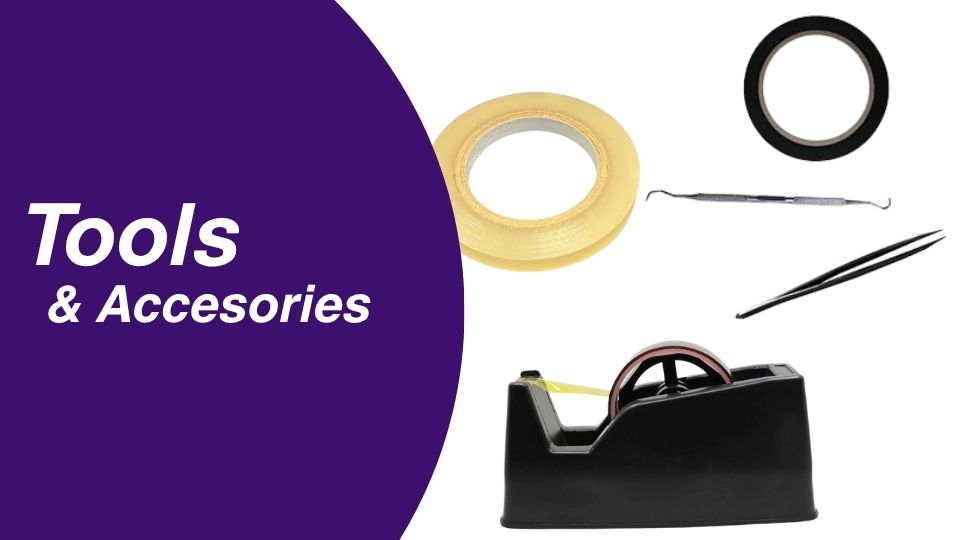
Essential supplies you’ll need for water bottle sublimation
Before you begin sublimating water bottles, make sure you’re fully equipped with the right tools and materials. Having the proper setup will ensure better results, prevent common issues, and make your workflow smoother from start to finish.
Must-Have supplies:
- Sublimation Printer & Inks: Use a dedicated sublimation printer (e.g., Sawgrass, Epson EcoTank converted for sublimation) with high-quality sublimation inks for vibrant, durable results.
- Sublimation Paper: Specially coated paper designed to hold sublimation ink until it’s heat-transferred to the coated surface
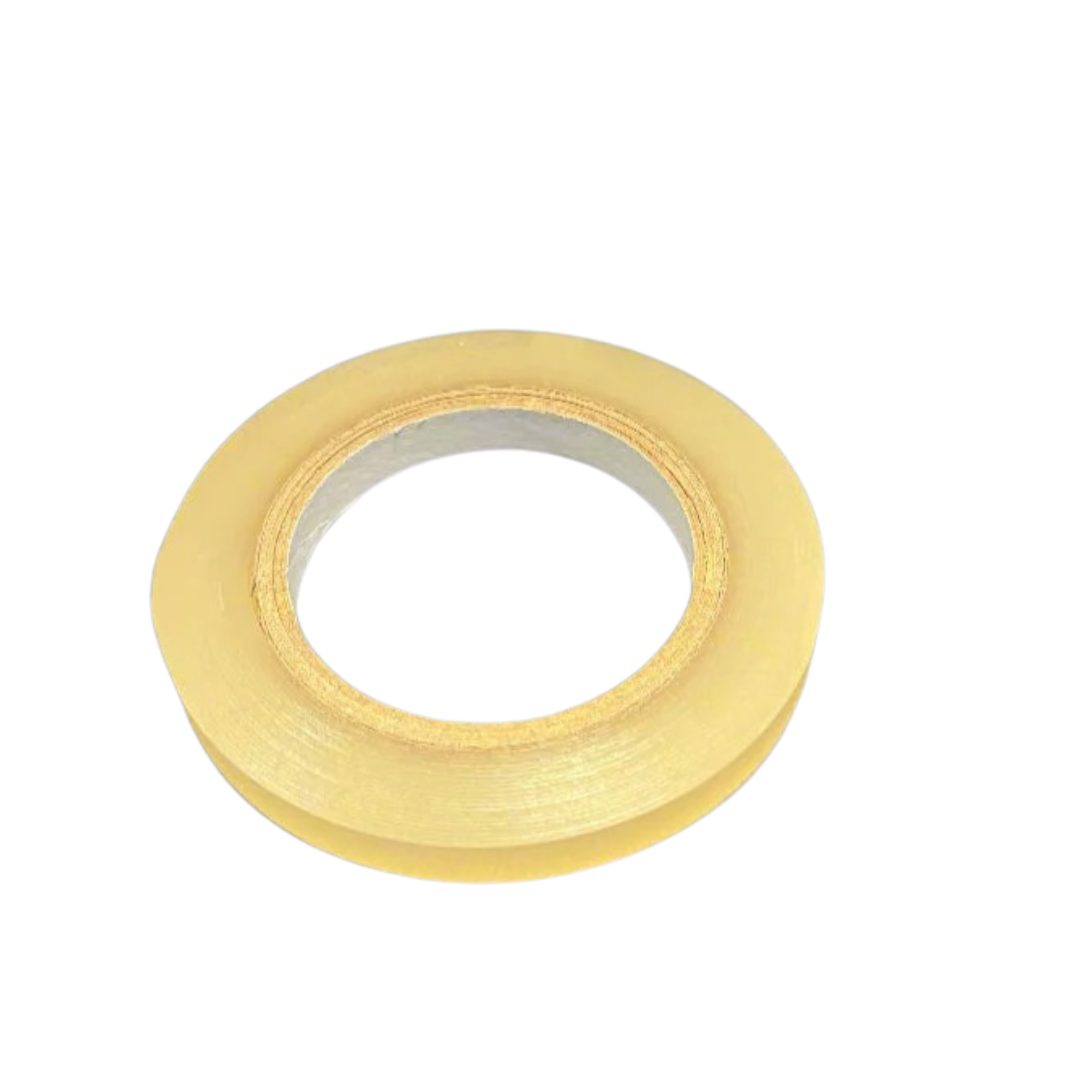
- Thermal Tape (Heat Tape): Keeps the sublimation paper securely in place during pressing, preventing design shifting that can cause ghosting.
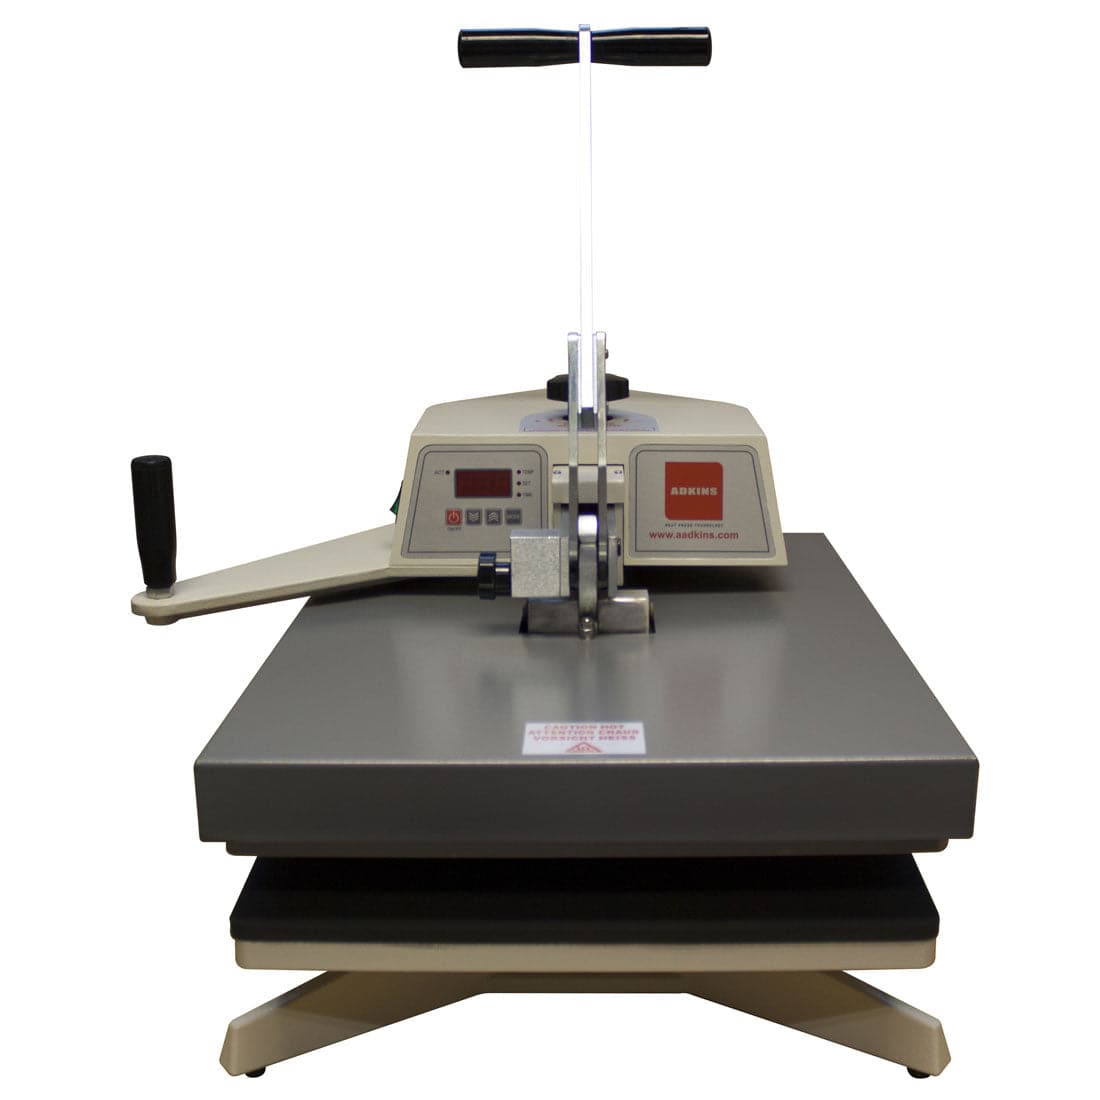
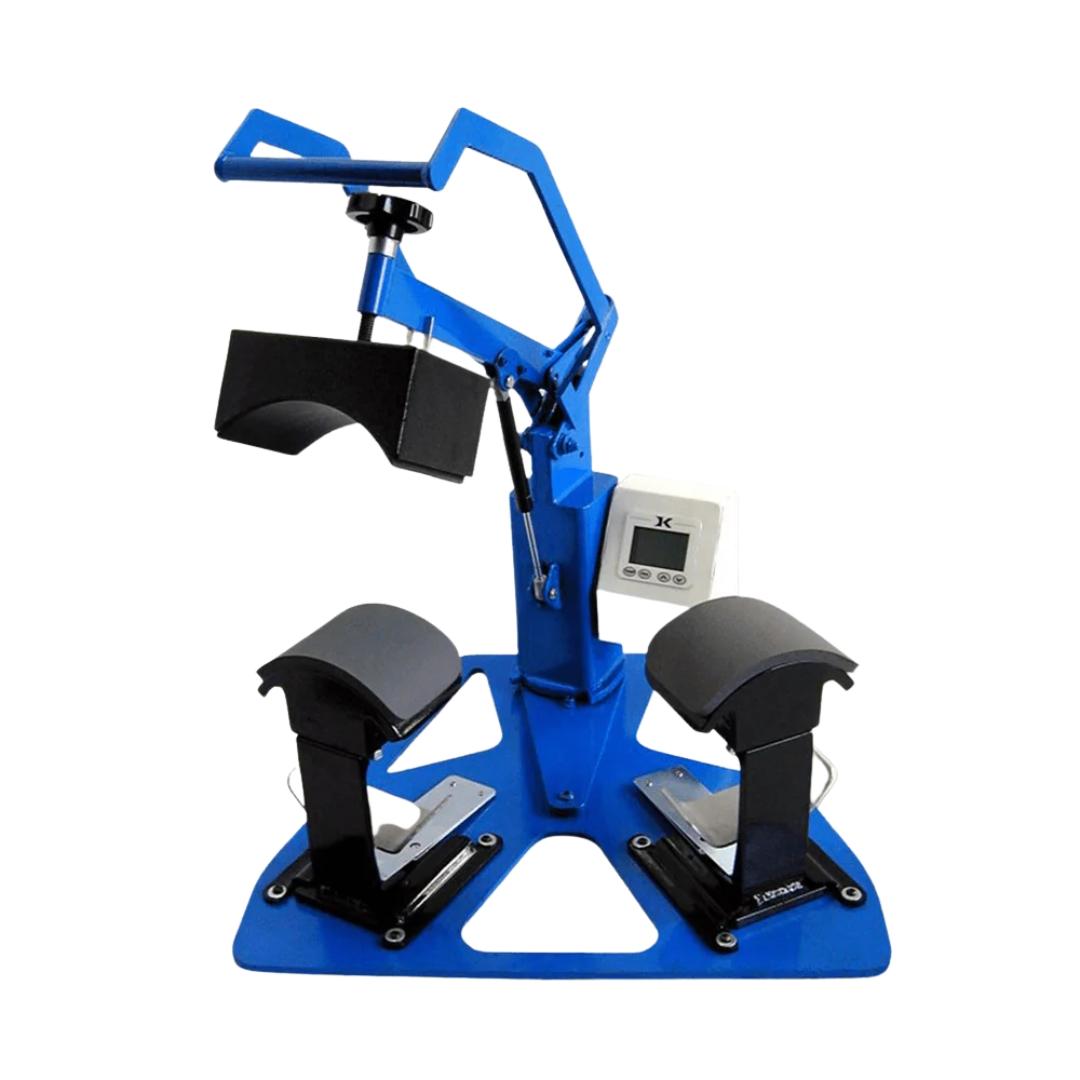
- Heat Press: Depending on your setup, use a mug press, tumbler press, or convection oven for consistent pressure and heat.
- Heat-Resistant Gloves: Essential for safely handling hot bottles immediately after pressing.
- Protective Paper or Blowout Paper: Placed inside your heat press or oven wrap to catch excess ink and avoid transfer to other surfaces.
- Shrink Wrap (for oven method): Helps apply even pressure when using a convection oven. Use in combination with a heat gun.
Having the right supplies sets the foundation for clean, vibrant, and long-lasting sublimation results.
Step-by-Step: how to sublimate a water bottle like a pro
Sublimating a water bottle may seem intimidating at first, but once you follow the right process, it becomes a smooth and repeatable workflow. Here’s how to get perfect results every time.

Step 1: Prepare your design
- Open your design software (e.g., Canva, Photoshop, or Sawgrass CreativeStudio).
- Ensure your image is mirrored (flipped horizontally), especially if it contains text.
- Print onto sublimation paper using sublimation inks.
Step 2: Wrap the bottle
- Align your printed sublimation paper around the bottle.
- Make sure the paper conforms tightly to the bottle’s shape.
- Use thermal tape to secure the edges at the top and bottom.
- Eliminate all wrinkles or air bubbles—they can cause patchy or ghosted transfers.
Step 3: Preheat & press
- Preheat your press (mug press or tumbler press) to 360°F–400°F.
- Insert the bottle and apply medium pressure.
- Press for 60–120 seconds, depending on your heat press and bottle size.
- If using a convection oven, apply shrink wrap, preheat to 350°F, and bake for 5–6 minutes, rotating halfway.
Step 4: Cool Before Peeling
- Carefully remove the bottle using heat-resistant gloves.
- Allow the bottle to cool for several minutes on a heat-safe surface.
- Once it's cool to the touch, gently peel away the paper and tape.
- Avoid peeling while hot to prevent smearing or ghosting.
Step 5: Inspect Your Results
- Check for full, even color transfer with no faded or blurry areas.
- If issues occur, revisit your time, temperature, or paper alignment for troubleshooting.
Following these steps ensures a strong bond between the sublimation ink and your bottle’s surface, delivering sharp, long-lasting results.
Sublimating with a Mug Press vs. Oven vs. Tumbler Press

There’s more than one way to sublimate a water bottle—and each method has its own benefits depending on your setup, volume, and bottle style. Here’s a breakdown of the three most popular options.
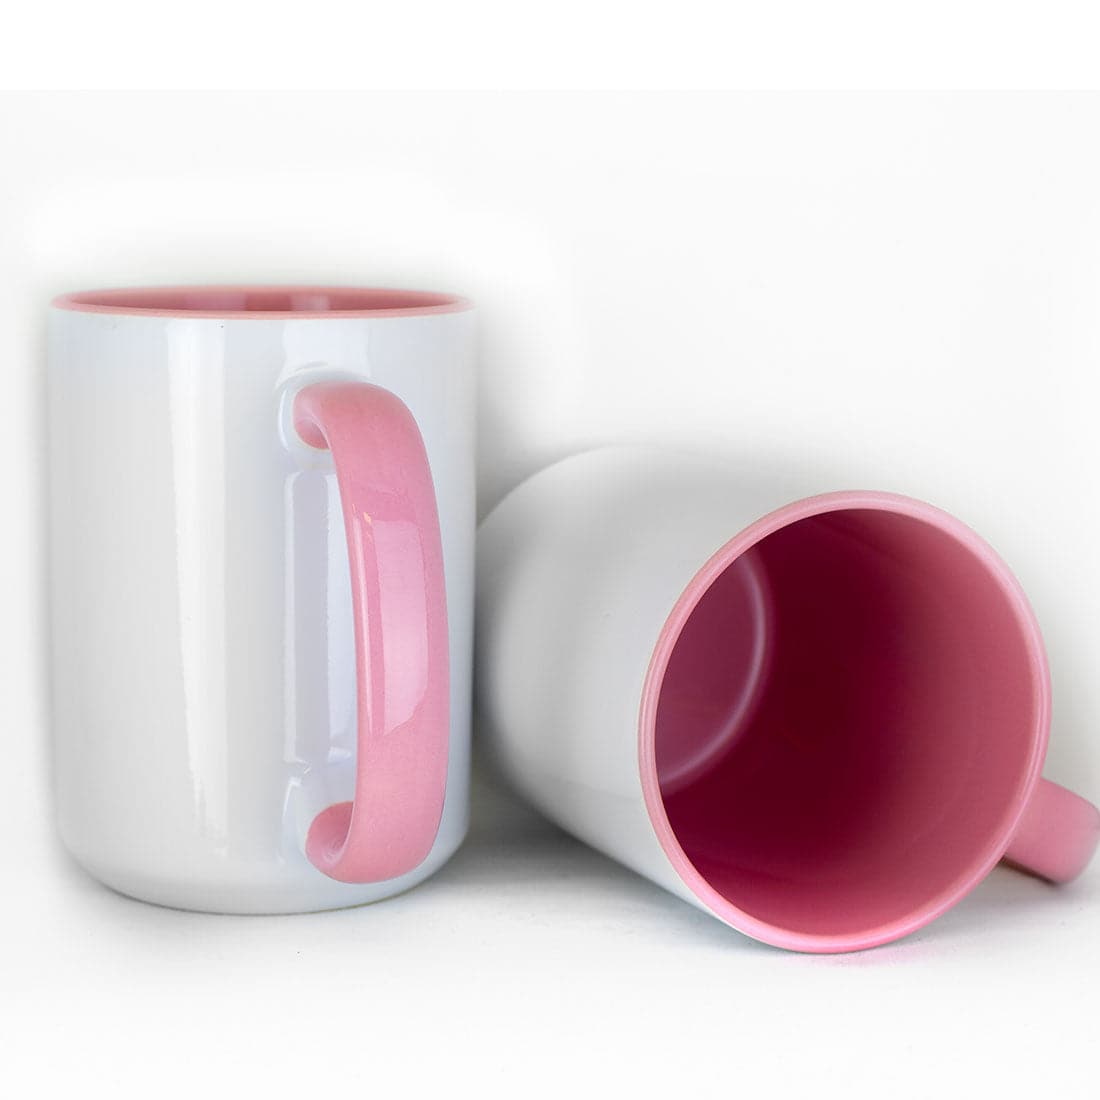
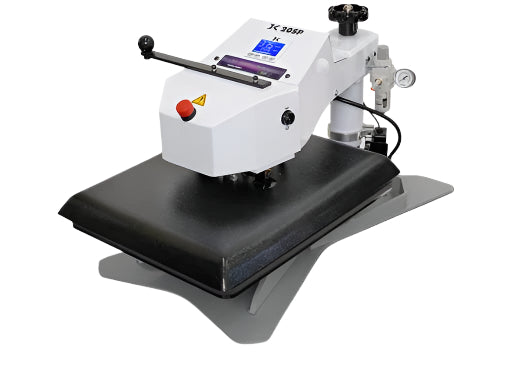
1. Mug Press
Mug presses are compact and ideal for standard-size bottles and tumblers. They offer quick heat-up time and direct pressure, making them perfect for small-scale or on-demand projects.
- ✅ Best for: Cylindrical bottles with even diameter
- ⏱️ Press Time: ~5–6 minutes
- 🌡️ Temp: 360–400°F
- 🔧 Tips: Use a silicone pad for even pressure and heat distribution, especially on tapered bottles.
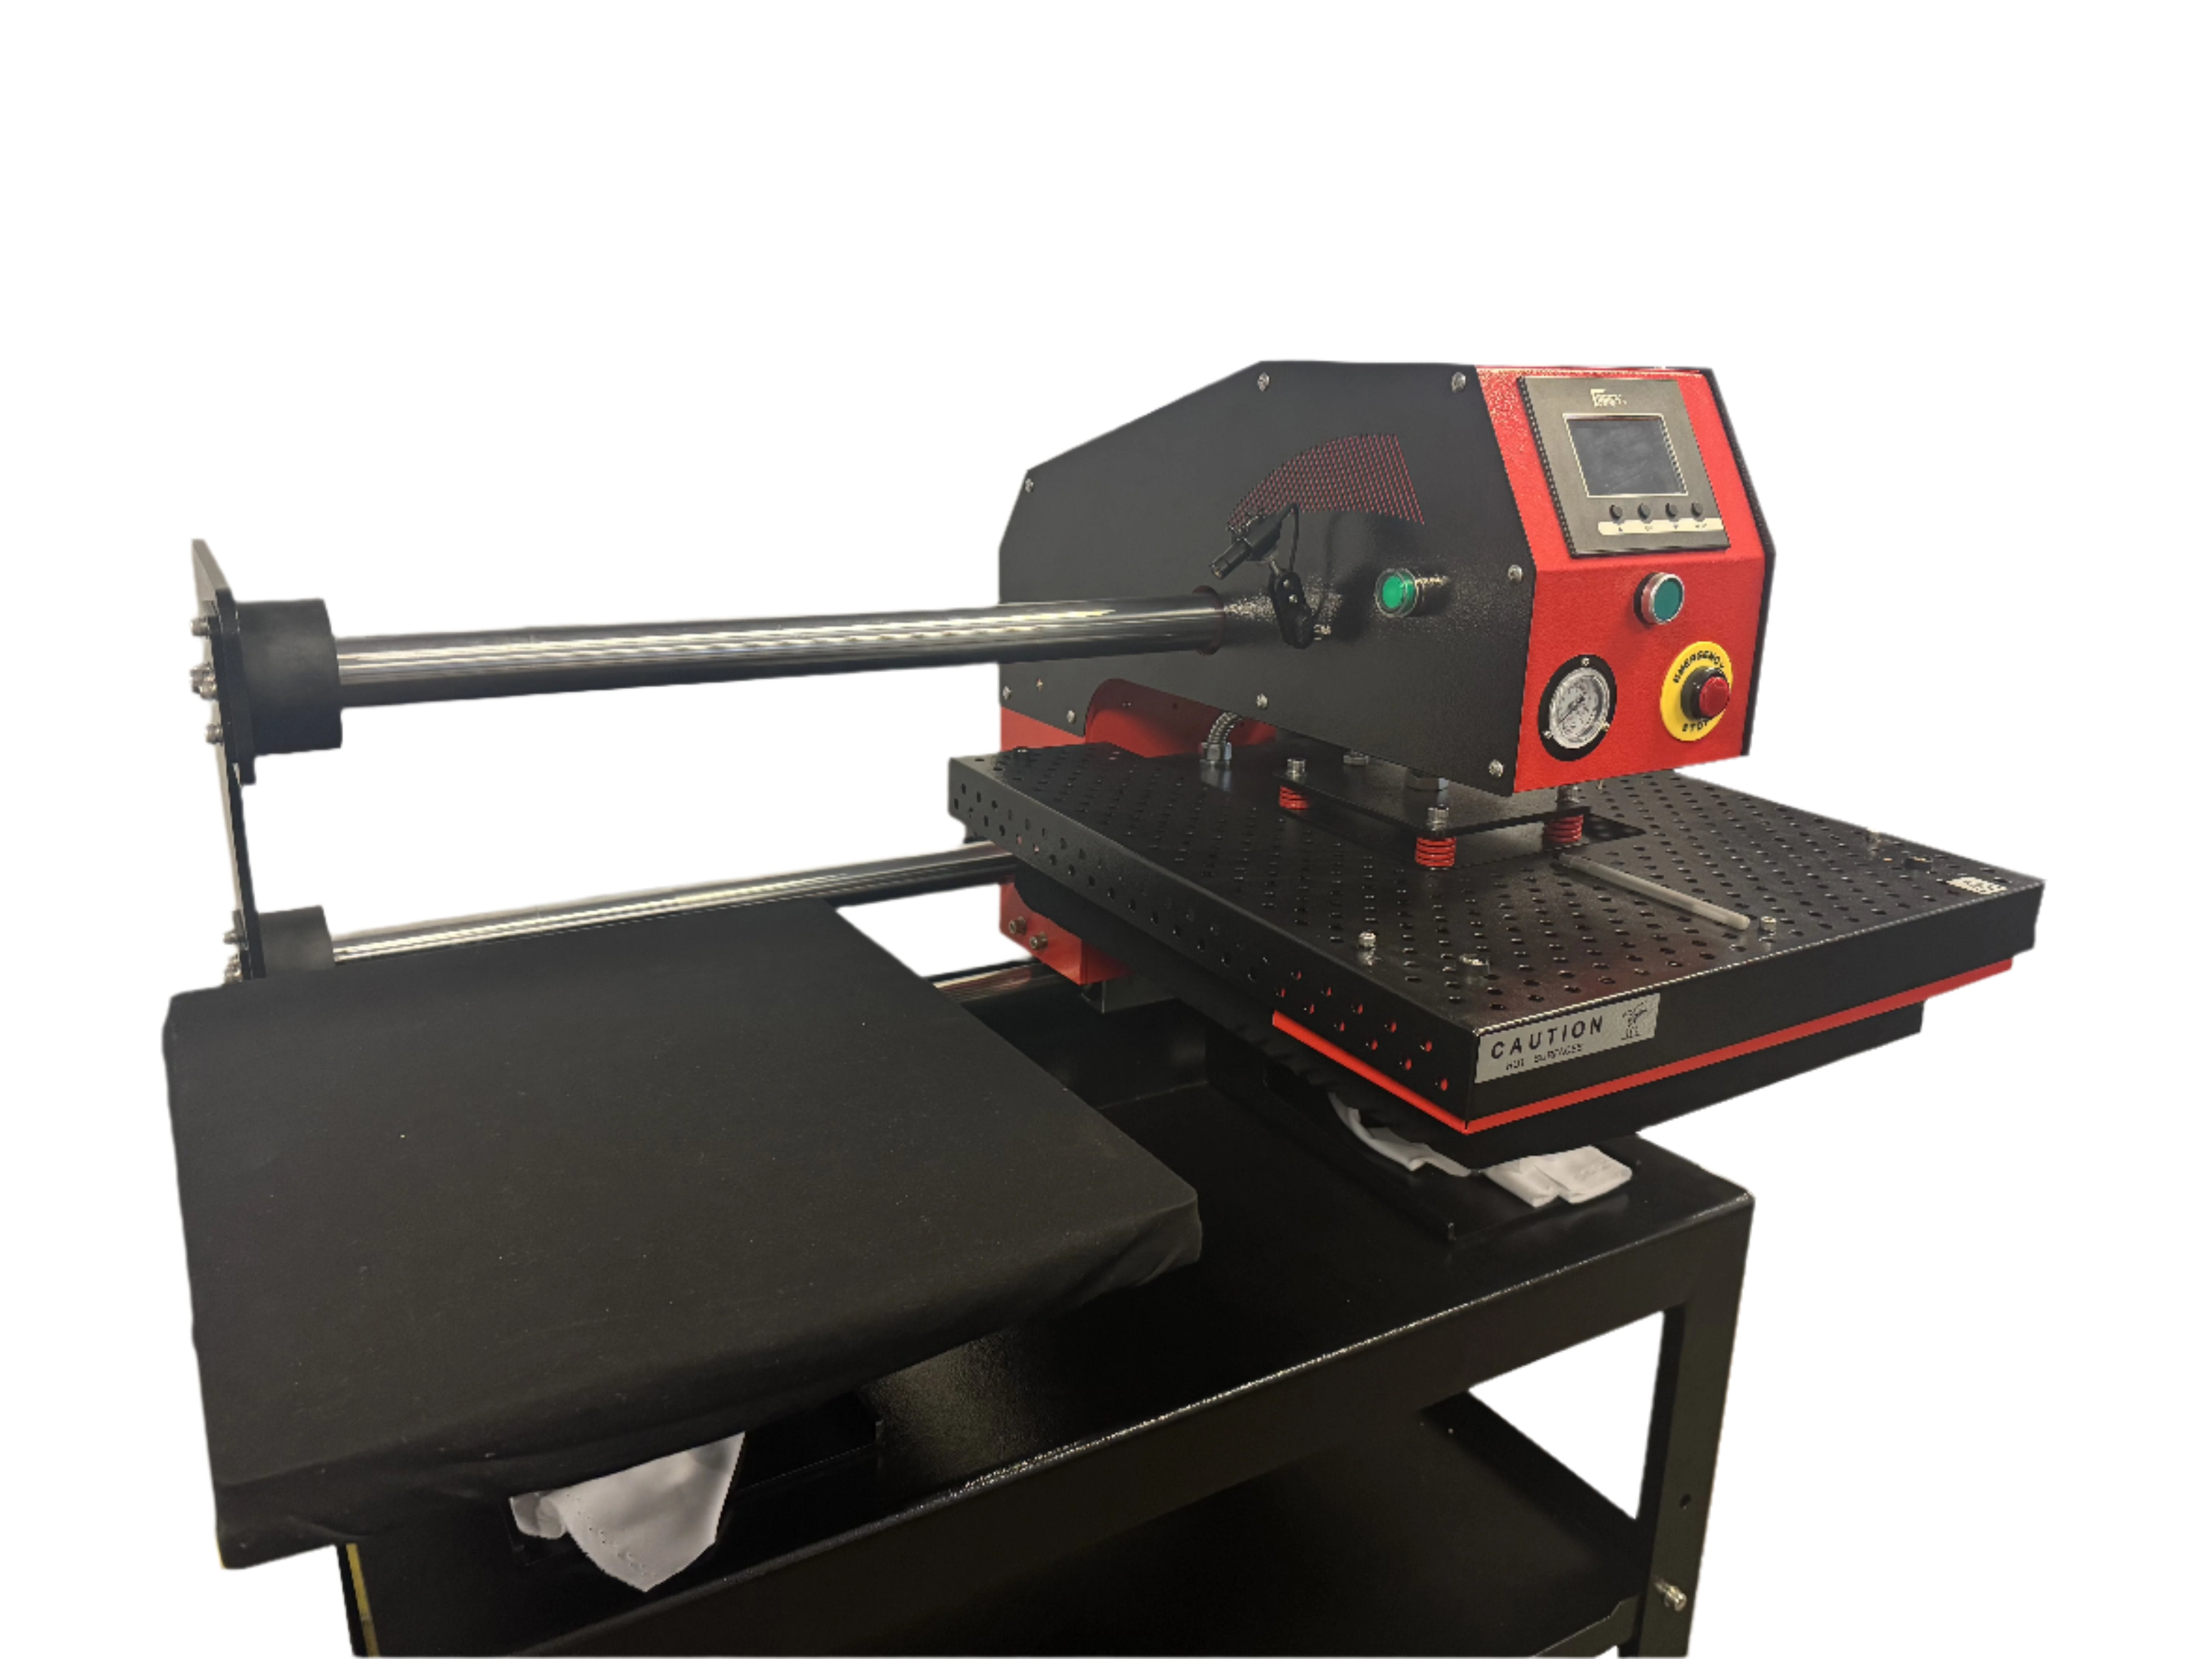
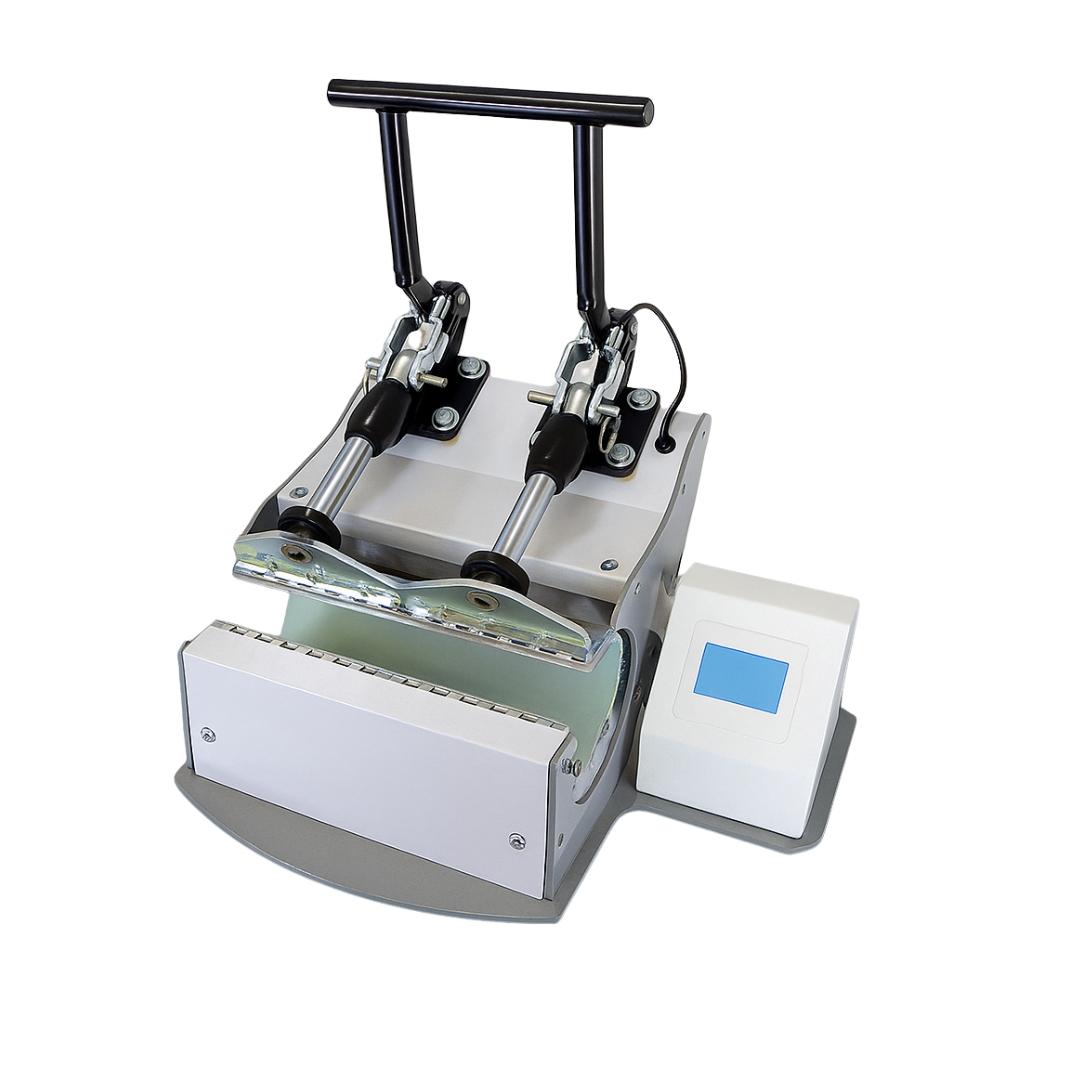
2. Tumbler Press
Tumbler presses are designed specifically for longer or larger bottles. They offer more versatility in terms of bottle height and shape, and many feature adjustable pressure.
- ✅ Best for: 20–40 oz tumblers, slim bottles, specialty sizes
- ⏱️ Press Time: ~60–90 seconds
- 🌡️ Temp: 360–390°F
- 🔧 Tips: Use light to medium pressure and rotate halfway if needed for full wrap coverage.
3. Convection Oven (with Shrink Wrap)
This method allows for batch sublimation and is ideal for those handling multiple bottles at once. You'll need shrink wrap sleeves and a heat gun to get consistent pressure.
- ✅ Best for: Bulk jobs or bottles that don’t fit presses
- ⏱️ Oven Time: ~6 minutes at 350°F
- 🔧 Tips: Rotate bottles halfway through to prevent hot spots or uneven transfers.
No matter which method you use, mastering your equipment’s heat and pressure settings is the key to stunning, consistent results.
Creative design tips for unique custom bottles
Sublimation offers more than just logos and patterns—it’s an opportunity to express personality, tell stories, and create products people connect with. Whether you're designing for yourself or selling custom items, thoughtful design can make all the difference.
🎨 Personalization is key
- Use names, initials, or custom text to make every bottle unique. Monograms and stylized fonts are always a hit for gifts, weddings, and team events.
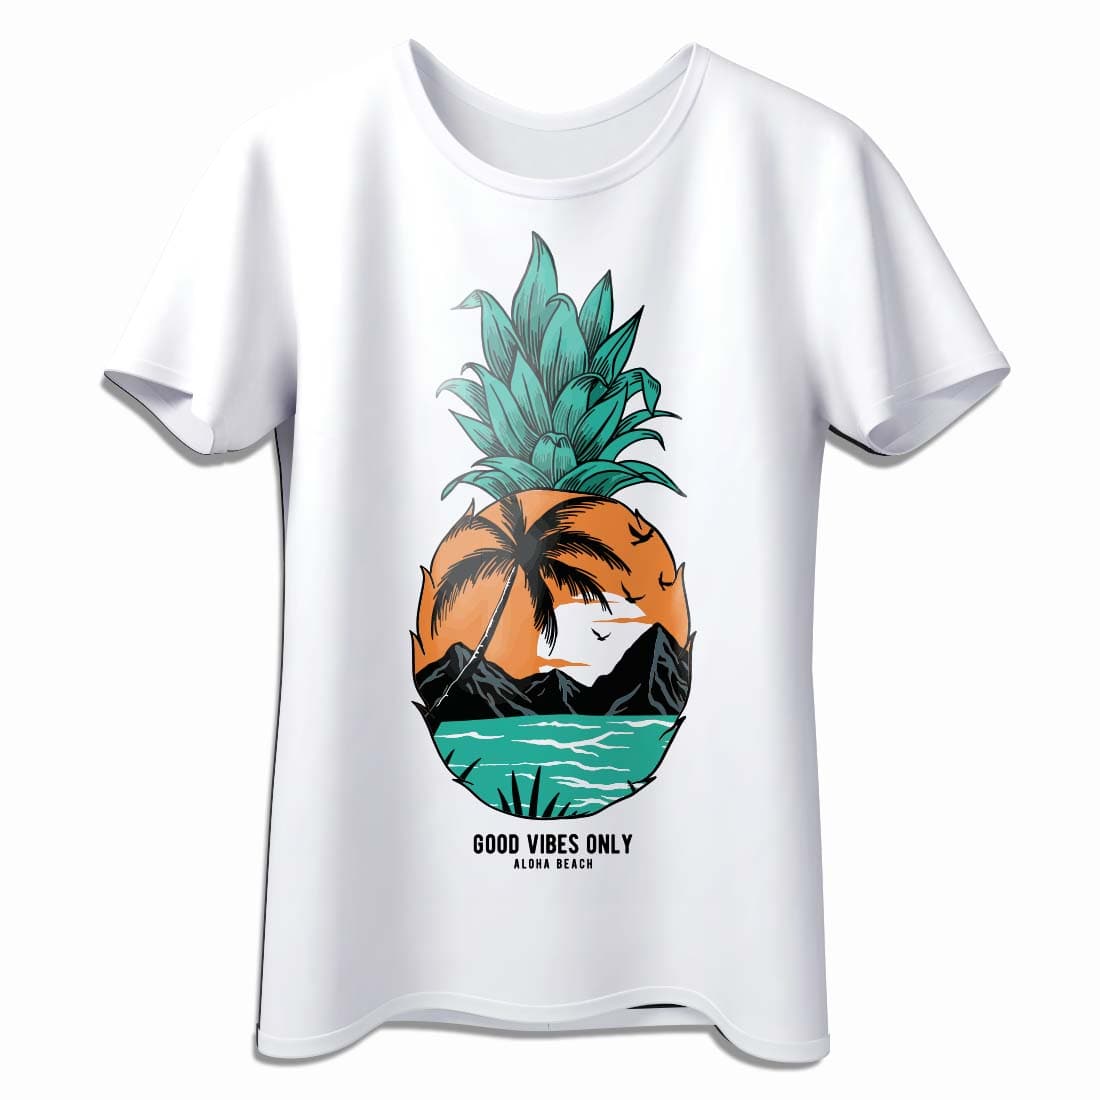
🖼️ Add visual impact
- Incorporate high-resolution images, watercolor backgrounds, or patterns like marble, tie-dye, or galaxy. Use tools like Canva, Adobe Illustrator, or Procreate to create or refine your artwork.
🔥 Tap into trends
- Draw inspiration from Pinterest, Etsy, or Instagram. Look for trending color palettes, niche themes (like astrology or affirmations), or seasonal graphics to keep your designs fresh and relevant.
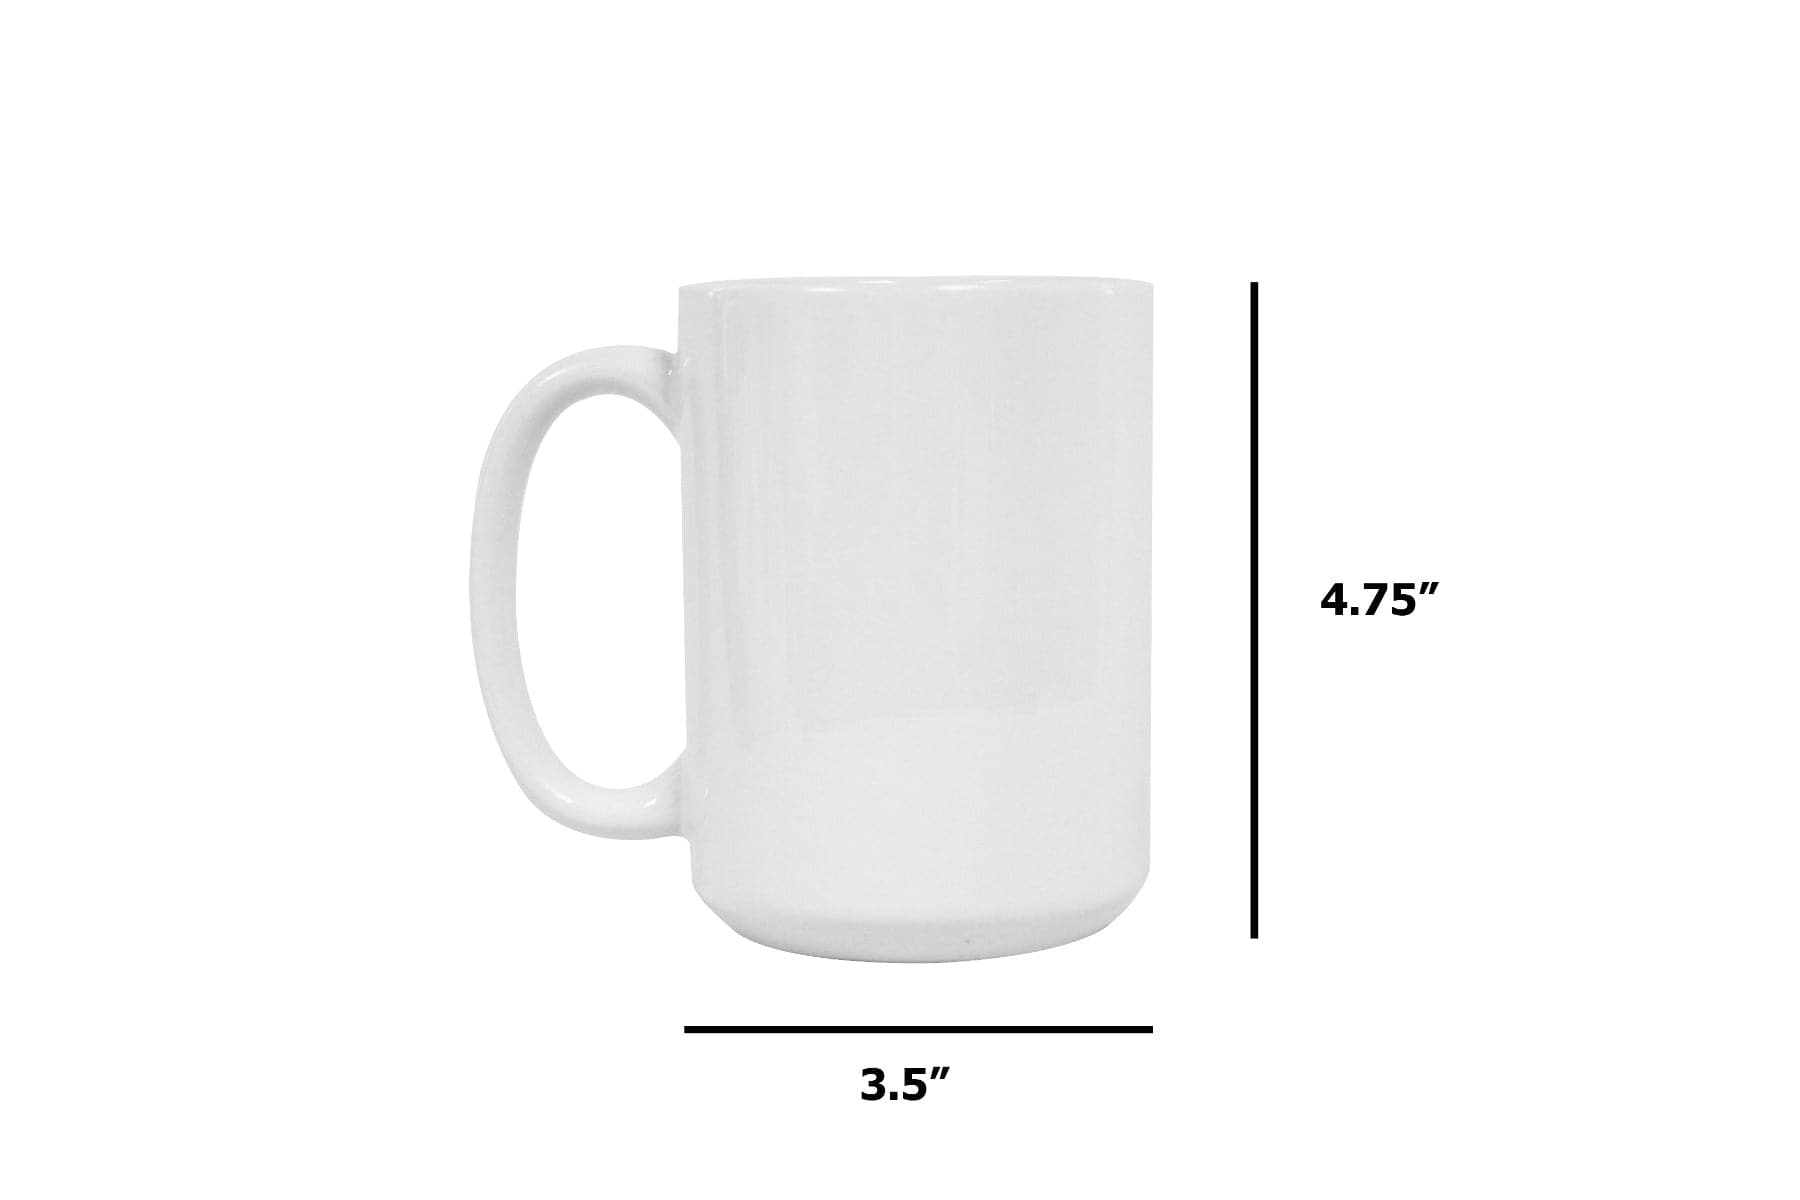
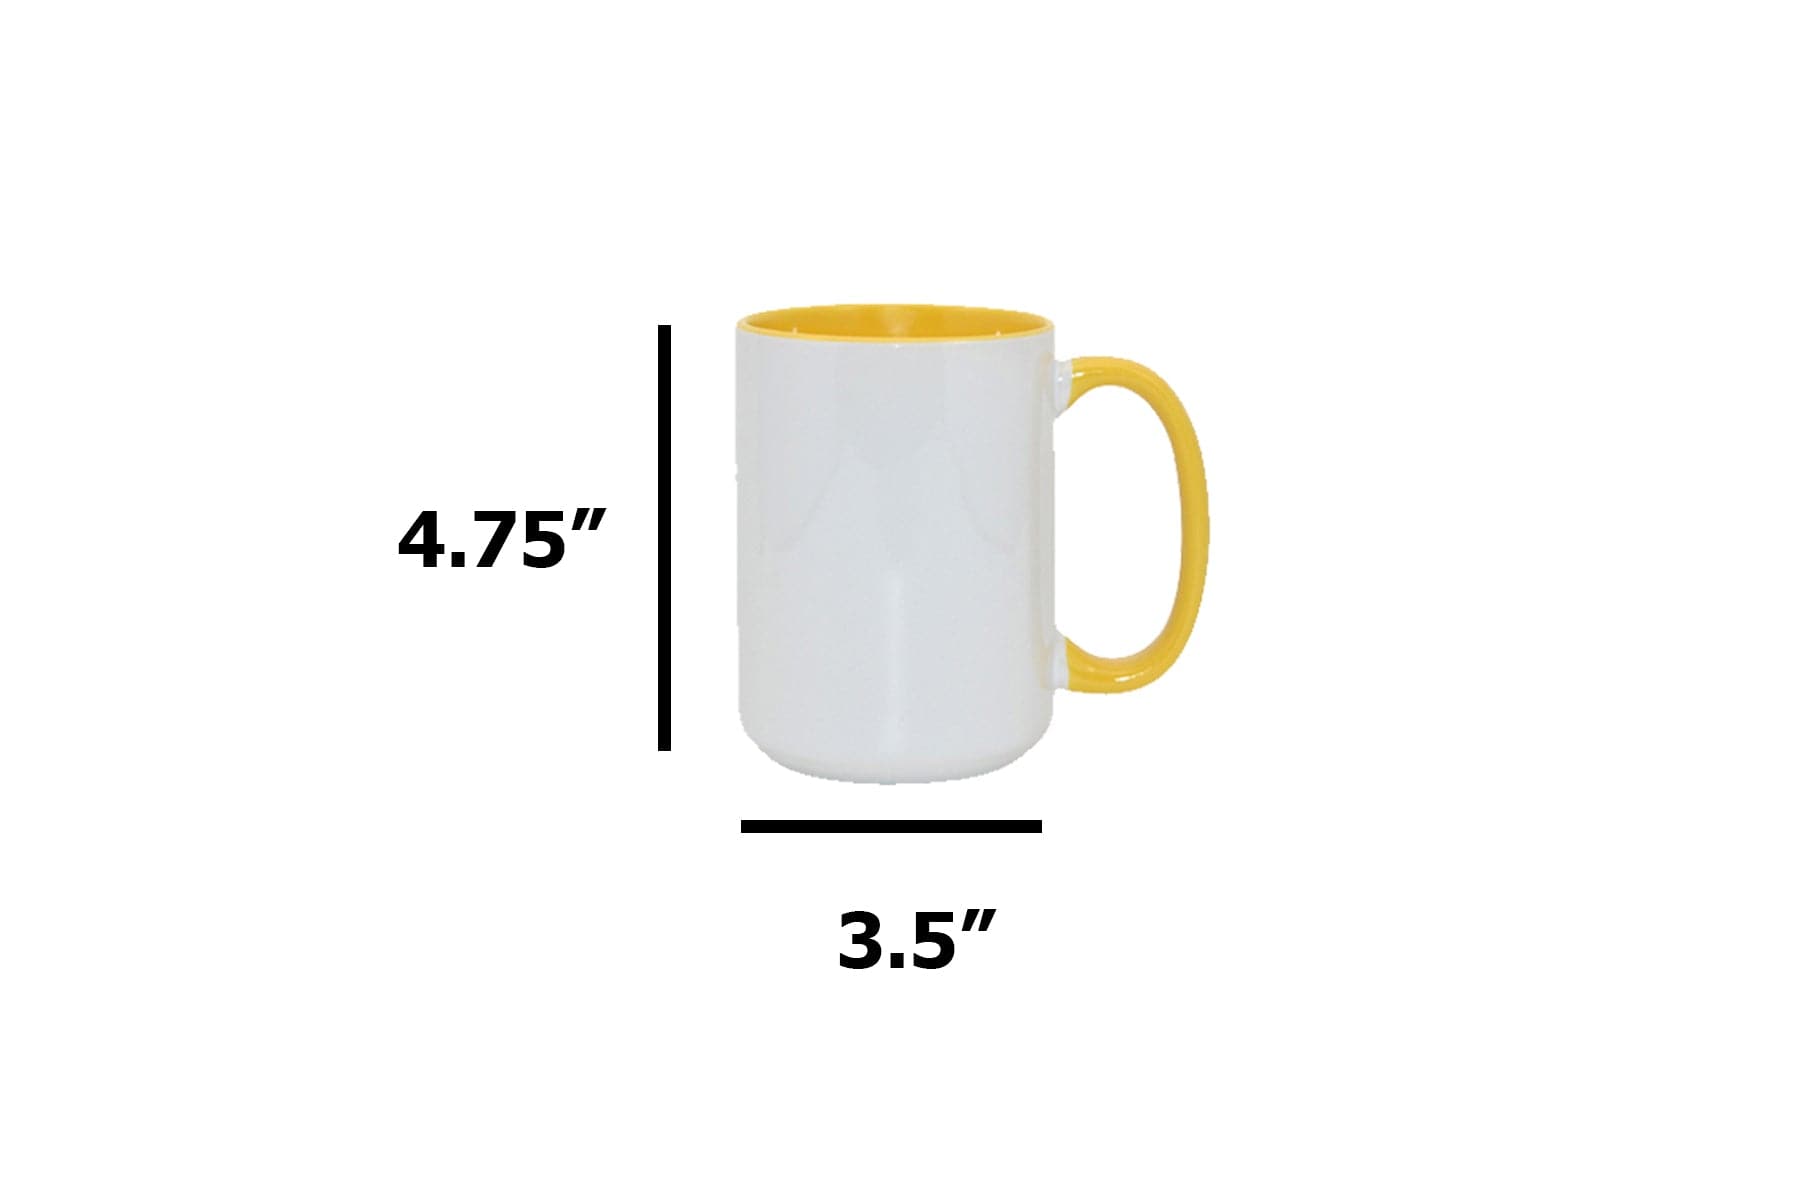
📏 Use Templates
- Bottle dimensions vary—using pre-sized templates helps align artwork perfectly and avoid design cutoff or wrap errors.
The more thoughtful and original your design, the more valuable your final product becomes.
Durability & care: making your sublimation last
A great sublimation design is only as good as its longevity. To keep your custom water bottles looking bold and beautiful, proper care is essential.
1. Washing Guidelines
- For best results, hand wash with mild soap and warm water.
- If using a dishwasher, place the bottle on the top rack only and use a normal cycle.
- Avoid harsh scrubbers or abrasive cleaners that can wear down the coating.
2. Protect from UV exposure
Sublimation ink is sensitive to prolonged sunlight. Try to limit direct UV exposure to maintain color vibrancy, especially if using the bottles outdoors often.
3. Optional sealants
While not always necessary, some users apply a clear protective spray or coating after sublimation to add an extra layer of durability—especially if the bottle will be used in rugged environments.
With simple care habits, sublimated water bottles can maintain their vibrant colors and clarity for years.
Troubleshooting: common sublimation mistakes and fixes
Even with the best equipment and preparation, sublimation doesn’t always go perfectly. Here’s how to identify and fix the most common issues when sublimating water bottles:
❌ Ghosting or Blurry Edges
- Cause: The paper or bottle shifted during pressing.
- Fix: Use more thermal tape and ensure firm, even pressure. Always allow the bottle to cool before removing the paper.
❌ Faded or Dull Colors
- Cause: Inadequate temperature or time.
- Fix: Increase pressing time slightly or raise the temperature by 5–10°F. Make sure you’re using the correct side of the sublimation paper.
❌ Light Spots or Gaps in the Design
- Cause: Uneven pressure or trapped air bubbles.
- Fix: Wrap the bottle more tightly and smooth out the paper. If using shrink wrap, apply it evenly with a heat gun.
❌ Ink Bleed or Oversaturation
- Cause: Too much heat or time.
- Fix: Reduce press time and double-check your ink output settings when printing.
With experience, these problems become easier to prevent—and troubleshoot quickly when they happen.
Frequently Asked Questions (FAQ)
❓ Can I sublimate on dark-colored water bottles?
- No. Sublimation works best on white or light-colored surfaces. Since sublimation inks are transparent, they need a light base to show vibrant colors. On dark bottles, colors appear muted or invisible. For dark bottles, consider alternatives like UV DTF, vinyl decals, or screen printing.
❓ Can I sublimate on textured or patterned bottles?
- It’s not recommended. Smooth, even surfaces are ideal because they allow full contact between the sublimation paper and the coating. Textures or raised patterns interrupt heat and ink transfer, often causing patchy or distorted results.
❓ How long will a sublimation print last on a water bottle?
- With proper care, sublimation prints can last for years without peeling or fading. Durability depends on washing habits, UV exposure, and handling. Hand washing is always preferred, but top-rack dishwashing on a gentle cycle is usually safe.
❓ How should I store sublimation blanks before use?
- Store sublimation blanks in a cool, dry environment, away from direct sunlight or humidity. This helps preserve the integrity of the polymer coating and ensures optimal ink transfer when you're ready to press.