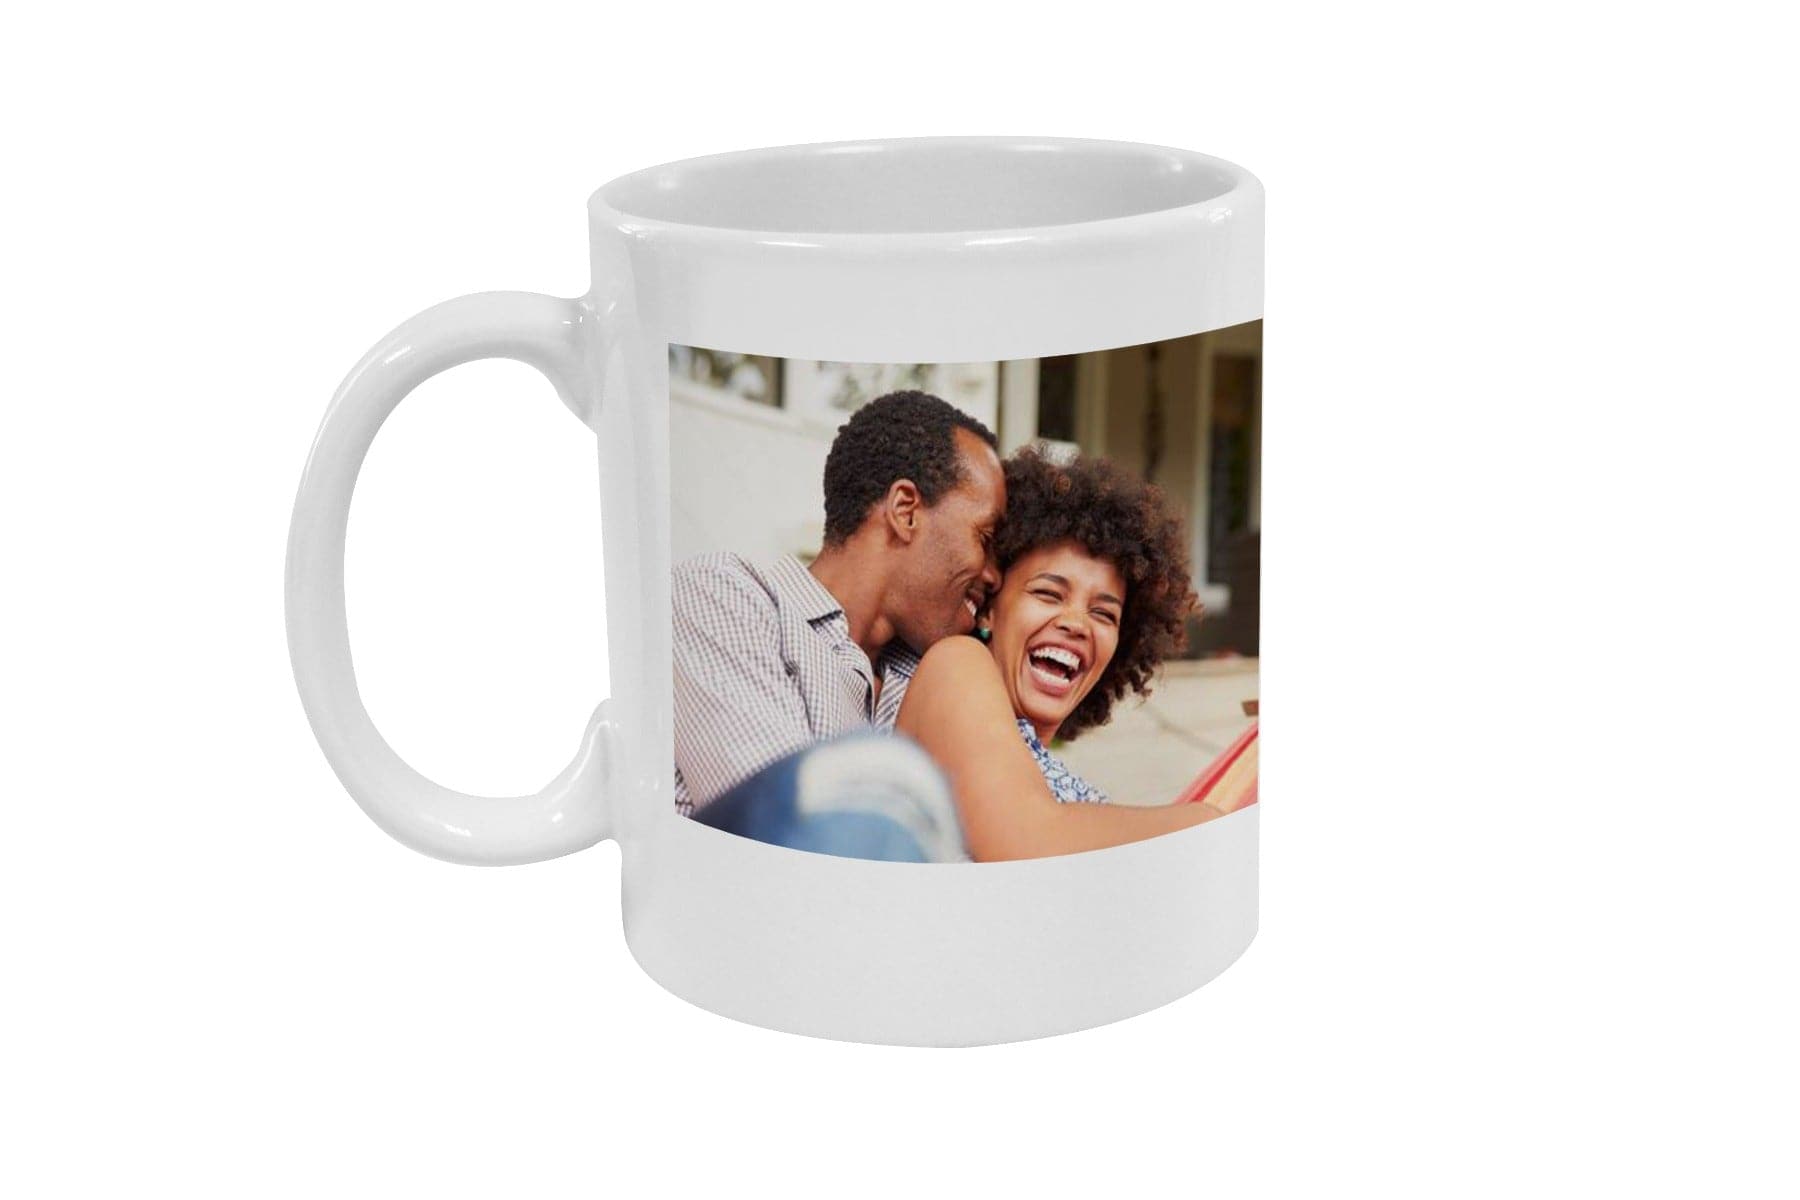


Sublimation mug printing is more than just a trending craft, it's a creative and profitable way to turn ideas into personalized, high-impact products. Whether you’re designing mugs to sell, to gift, or to decorate your workspace, sublimation lets you apply full-color images with incredible detail and durability.
What Makes Mug Sublimation So Popular?
With just a few tools, some inspiration, and a bit of practice, you can create mugs that look like they belong on retail shelves. From vibrant logos and quotes to family photos and custom illustrations, mug sublimation opens up endless possibilities for creators, entrepreneurs, and print shops.
At Joto Imaging Supplies, we work every day with people who are just starting out or scaling their sublimation business. That’s why we’ve created this step-by-step guide, to walk you through the essentials, avoid common mistakes, and help you get stunning results from your very first mug.
How to sublimate a mug
Whether you're using a mug press or a convection oven, this guide will give you the tools and knowledge you need to sublimate like a pro.
🎯 Start with purpose: designing with intention
Before jumping into printing and pressing, it’s essential to take a step back and think about why you're creating your mug. Having a clear purpose will help you design better, waste fewer materials, and achieve results that truly connect with your customer, or whoever receives your mug.
Ask yourself:
- Is this mug for a customer? What kind of message or aesthetic fits their brand?
- Is it for a gift? What memory, name, photo, or inside joke will make it special?
- Is it part of a larger product line? How should it match other items?
- Is it for testing a new style or technique? What do you want to learn from the result?
Having clarity from the beginning allows you to be intentional with every design choice, fonts, colors, spacing, and layout. It also helps you avoid common mistakes like poor alignment or pixelated graphics.
🧠 Visualize before you print
It’s not enough to love the design on your screen, you need to imagine how it will look wrapped around a curved surface. Most mugs are cylindrical, and flat designs can sometimes look distorted if not planned properly.
Here are some smart practices before hitting print:
- Create a mockup. Use design software or a free online mockup tool to preview your image on a mug shape.
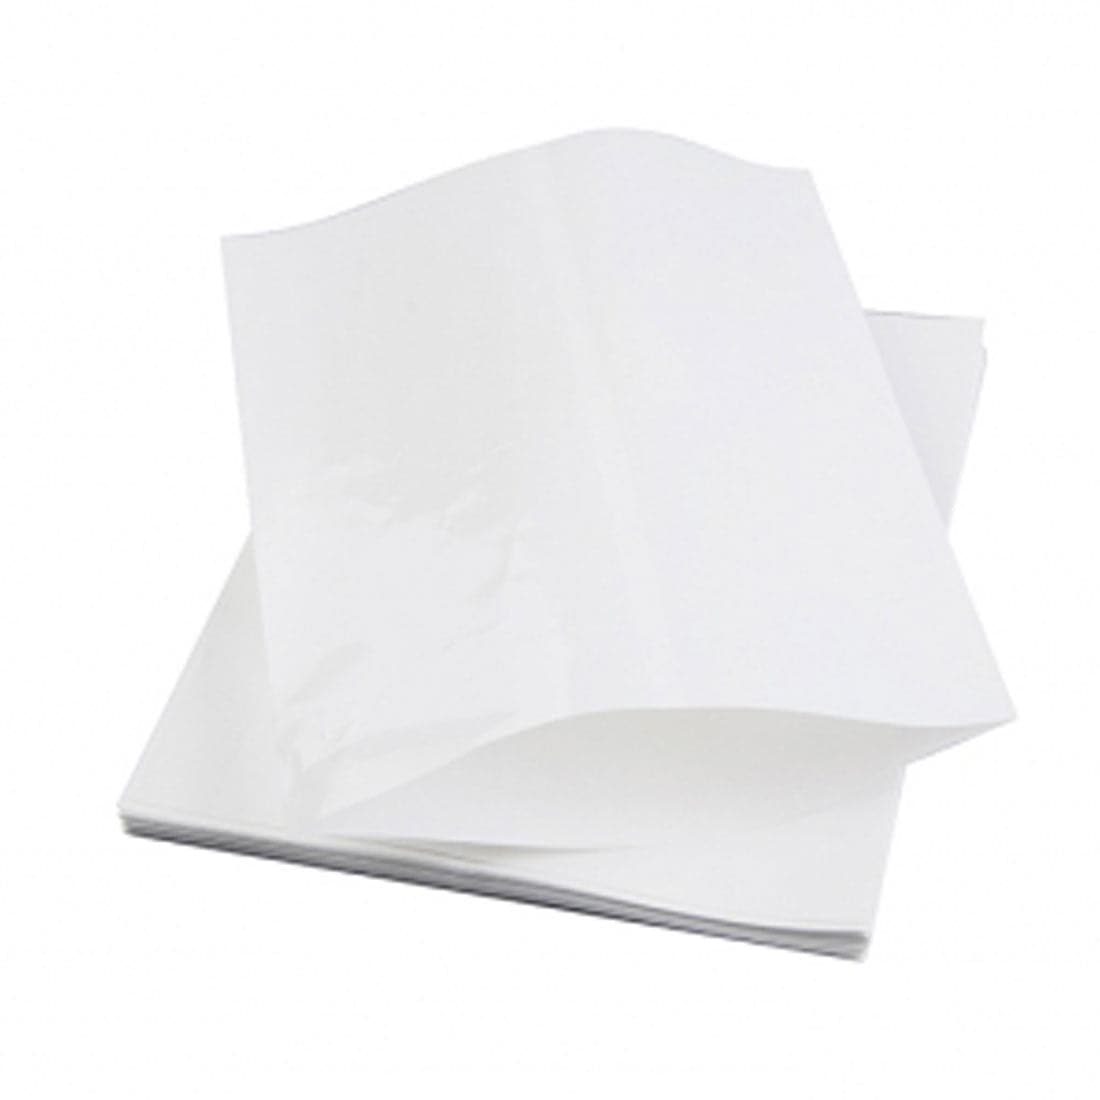
- Test with regular paper. Print the design on plain paper, wrap it around the mug, and check alignment, scale, and spacing.
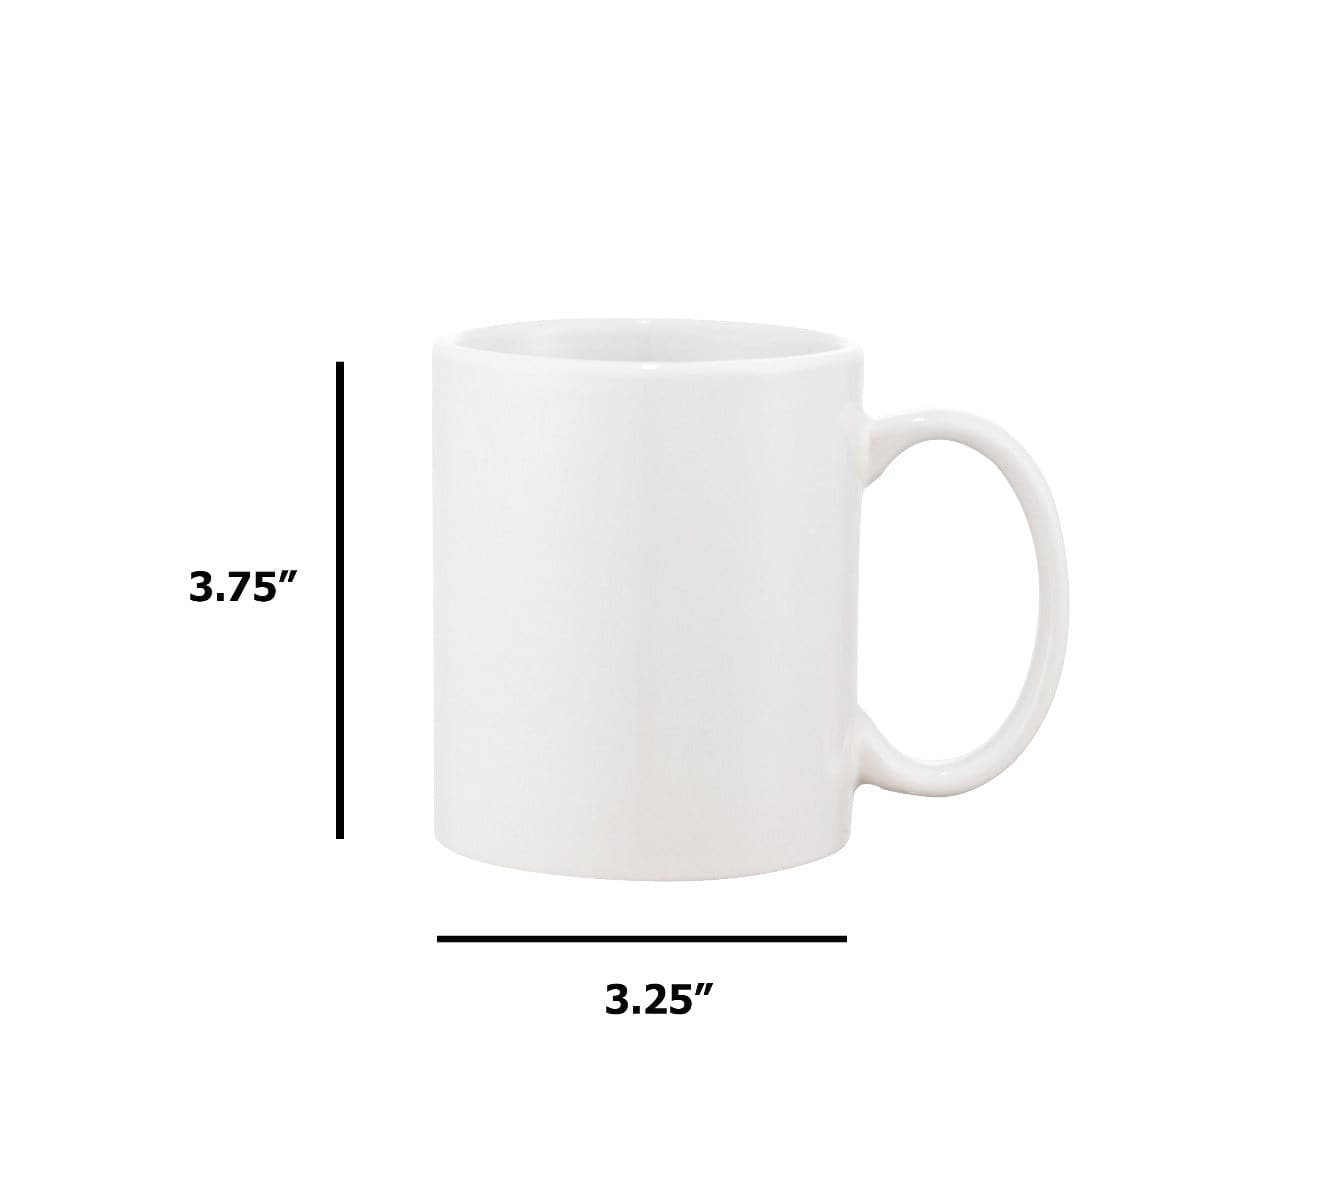
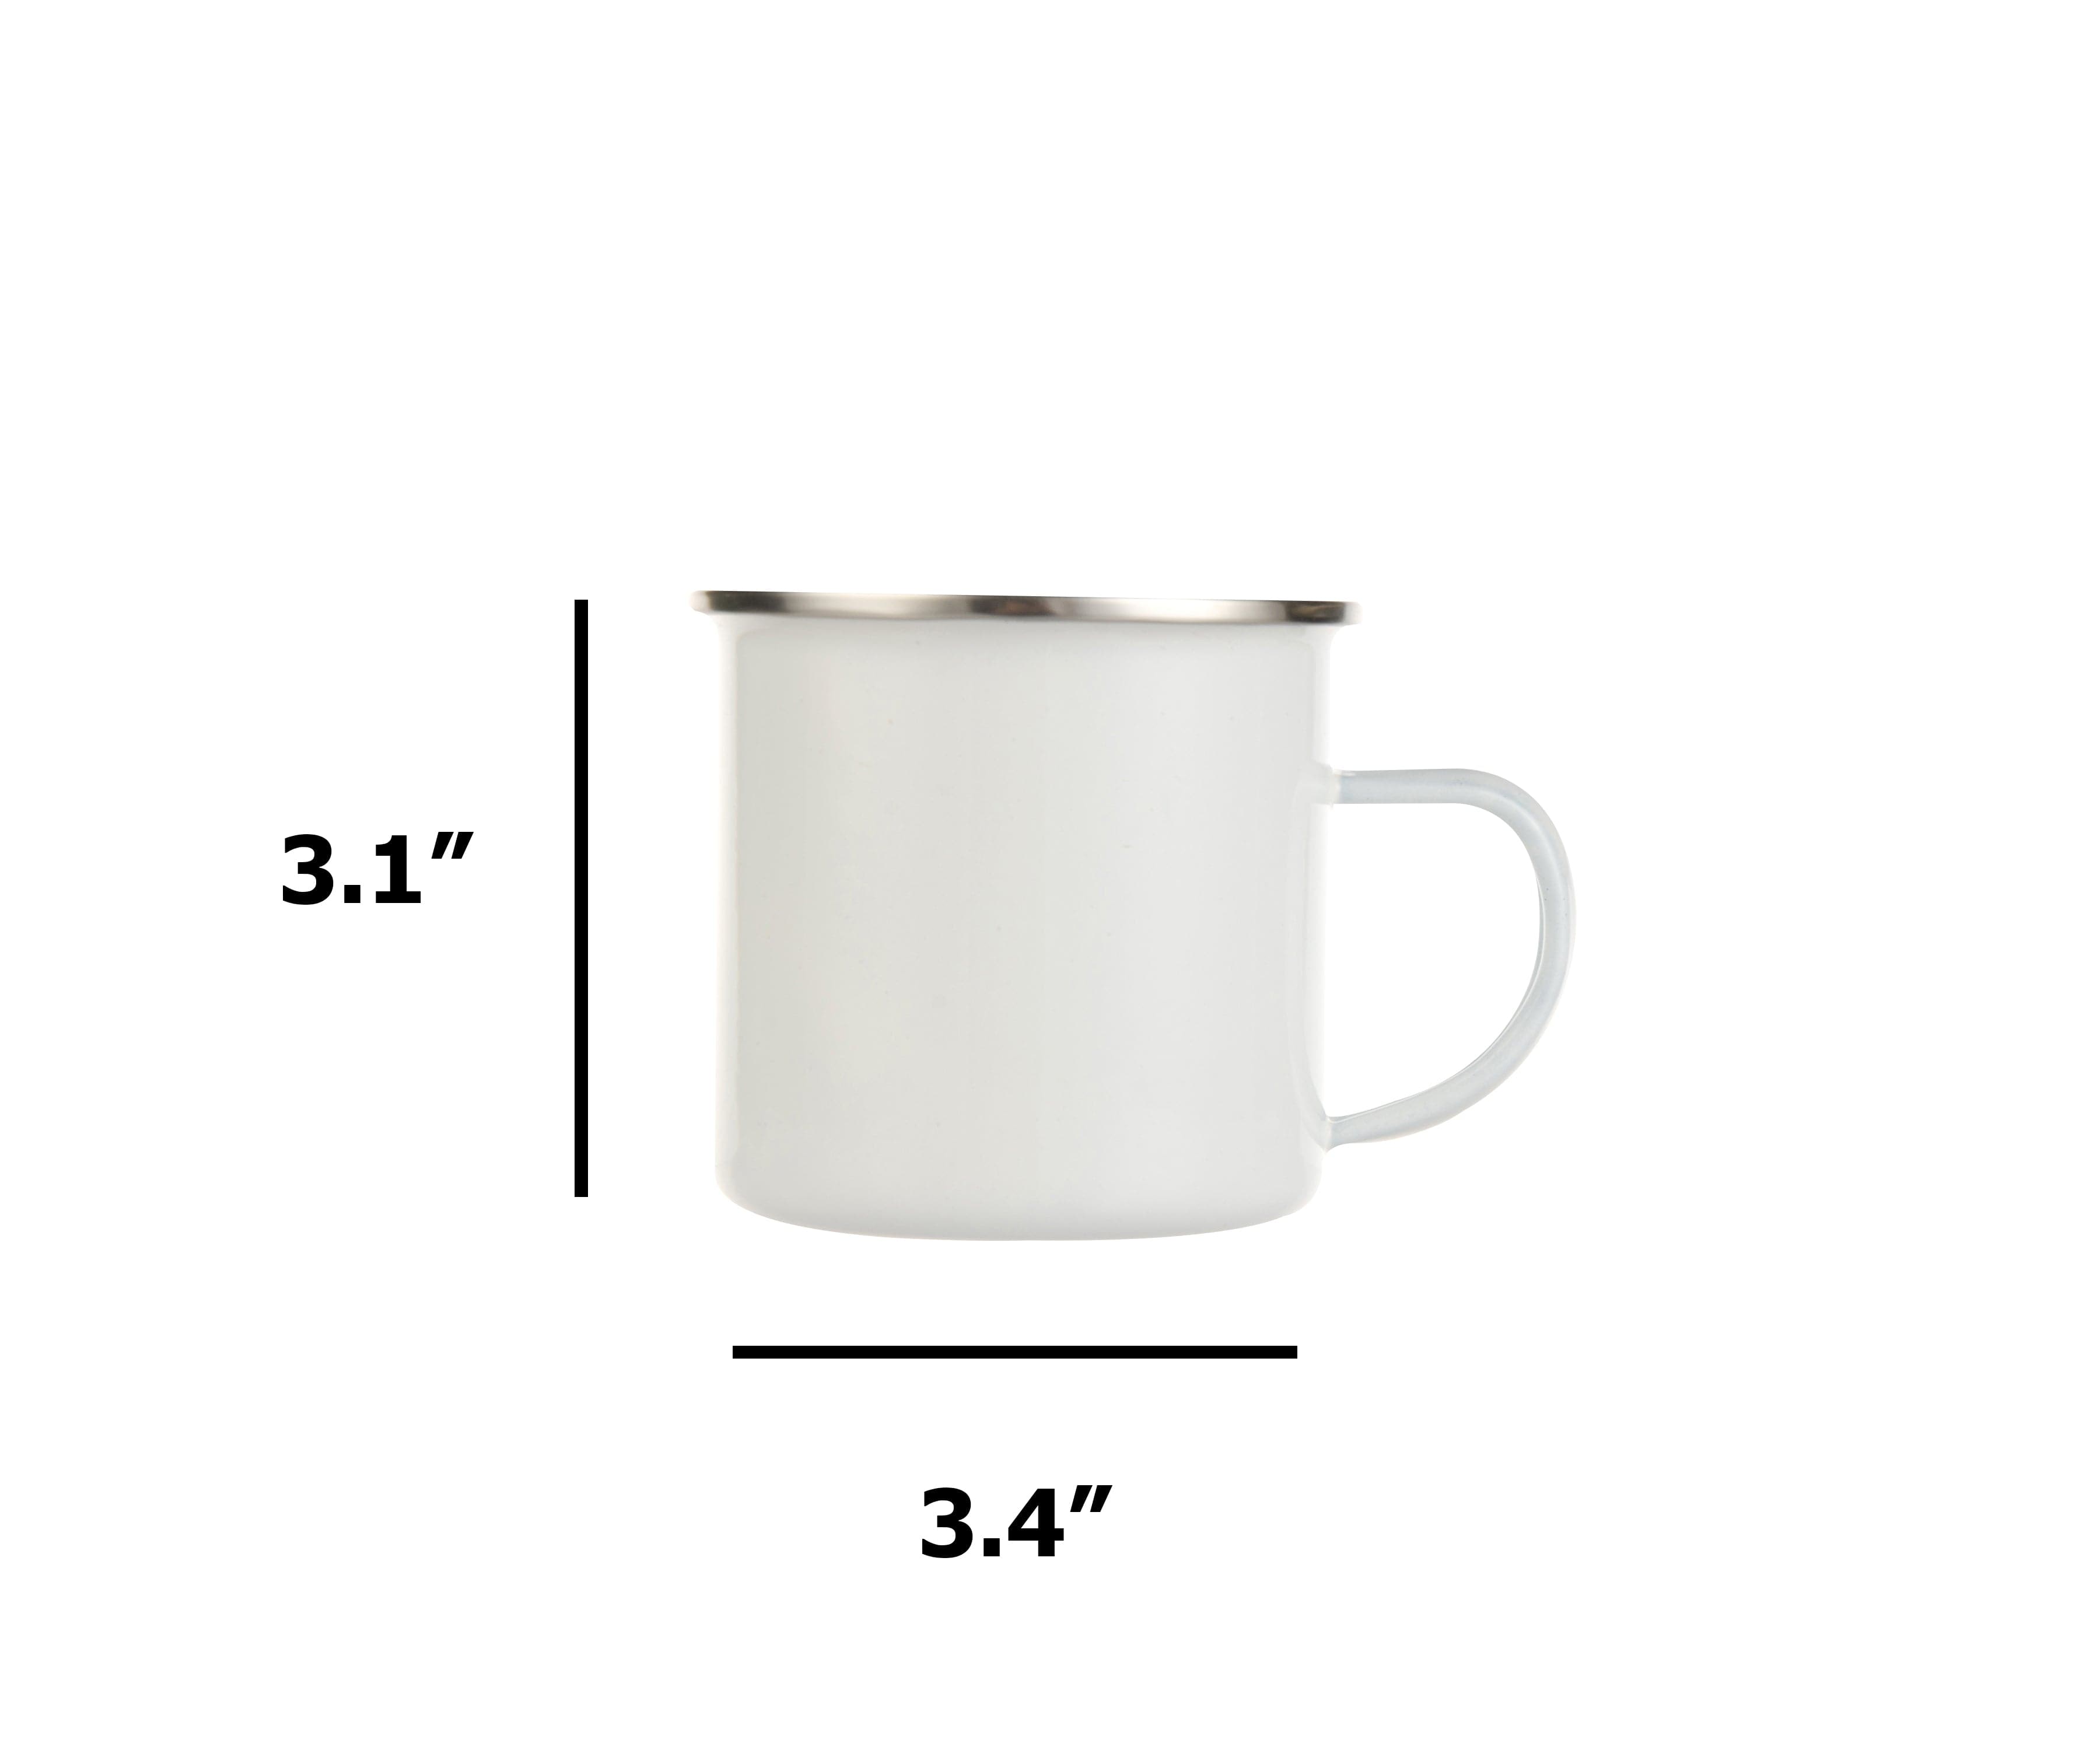
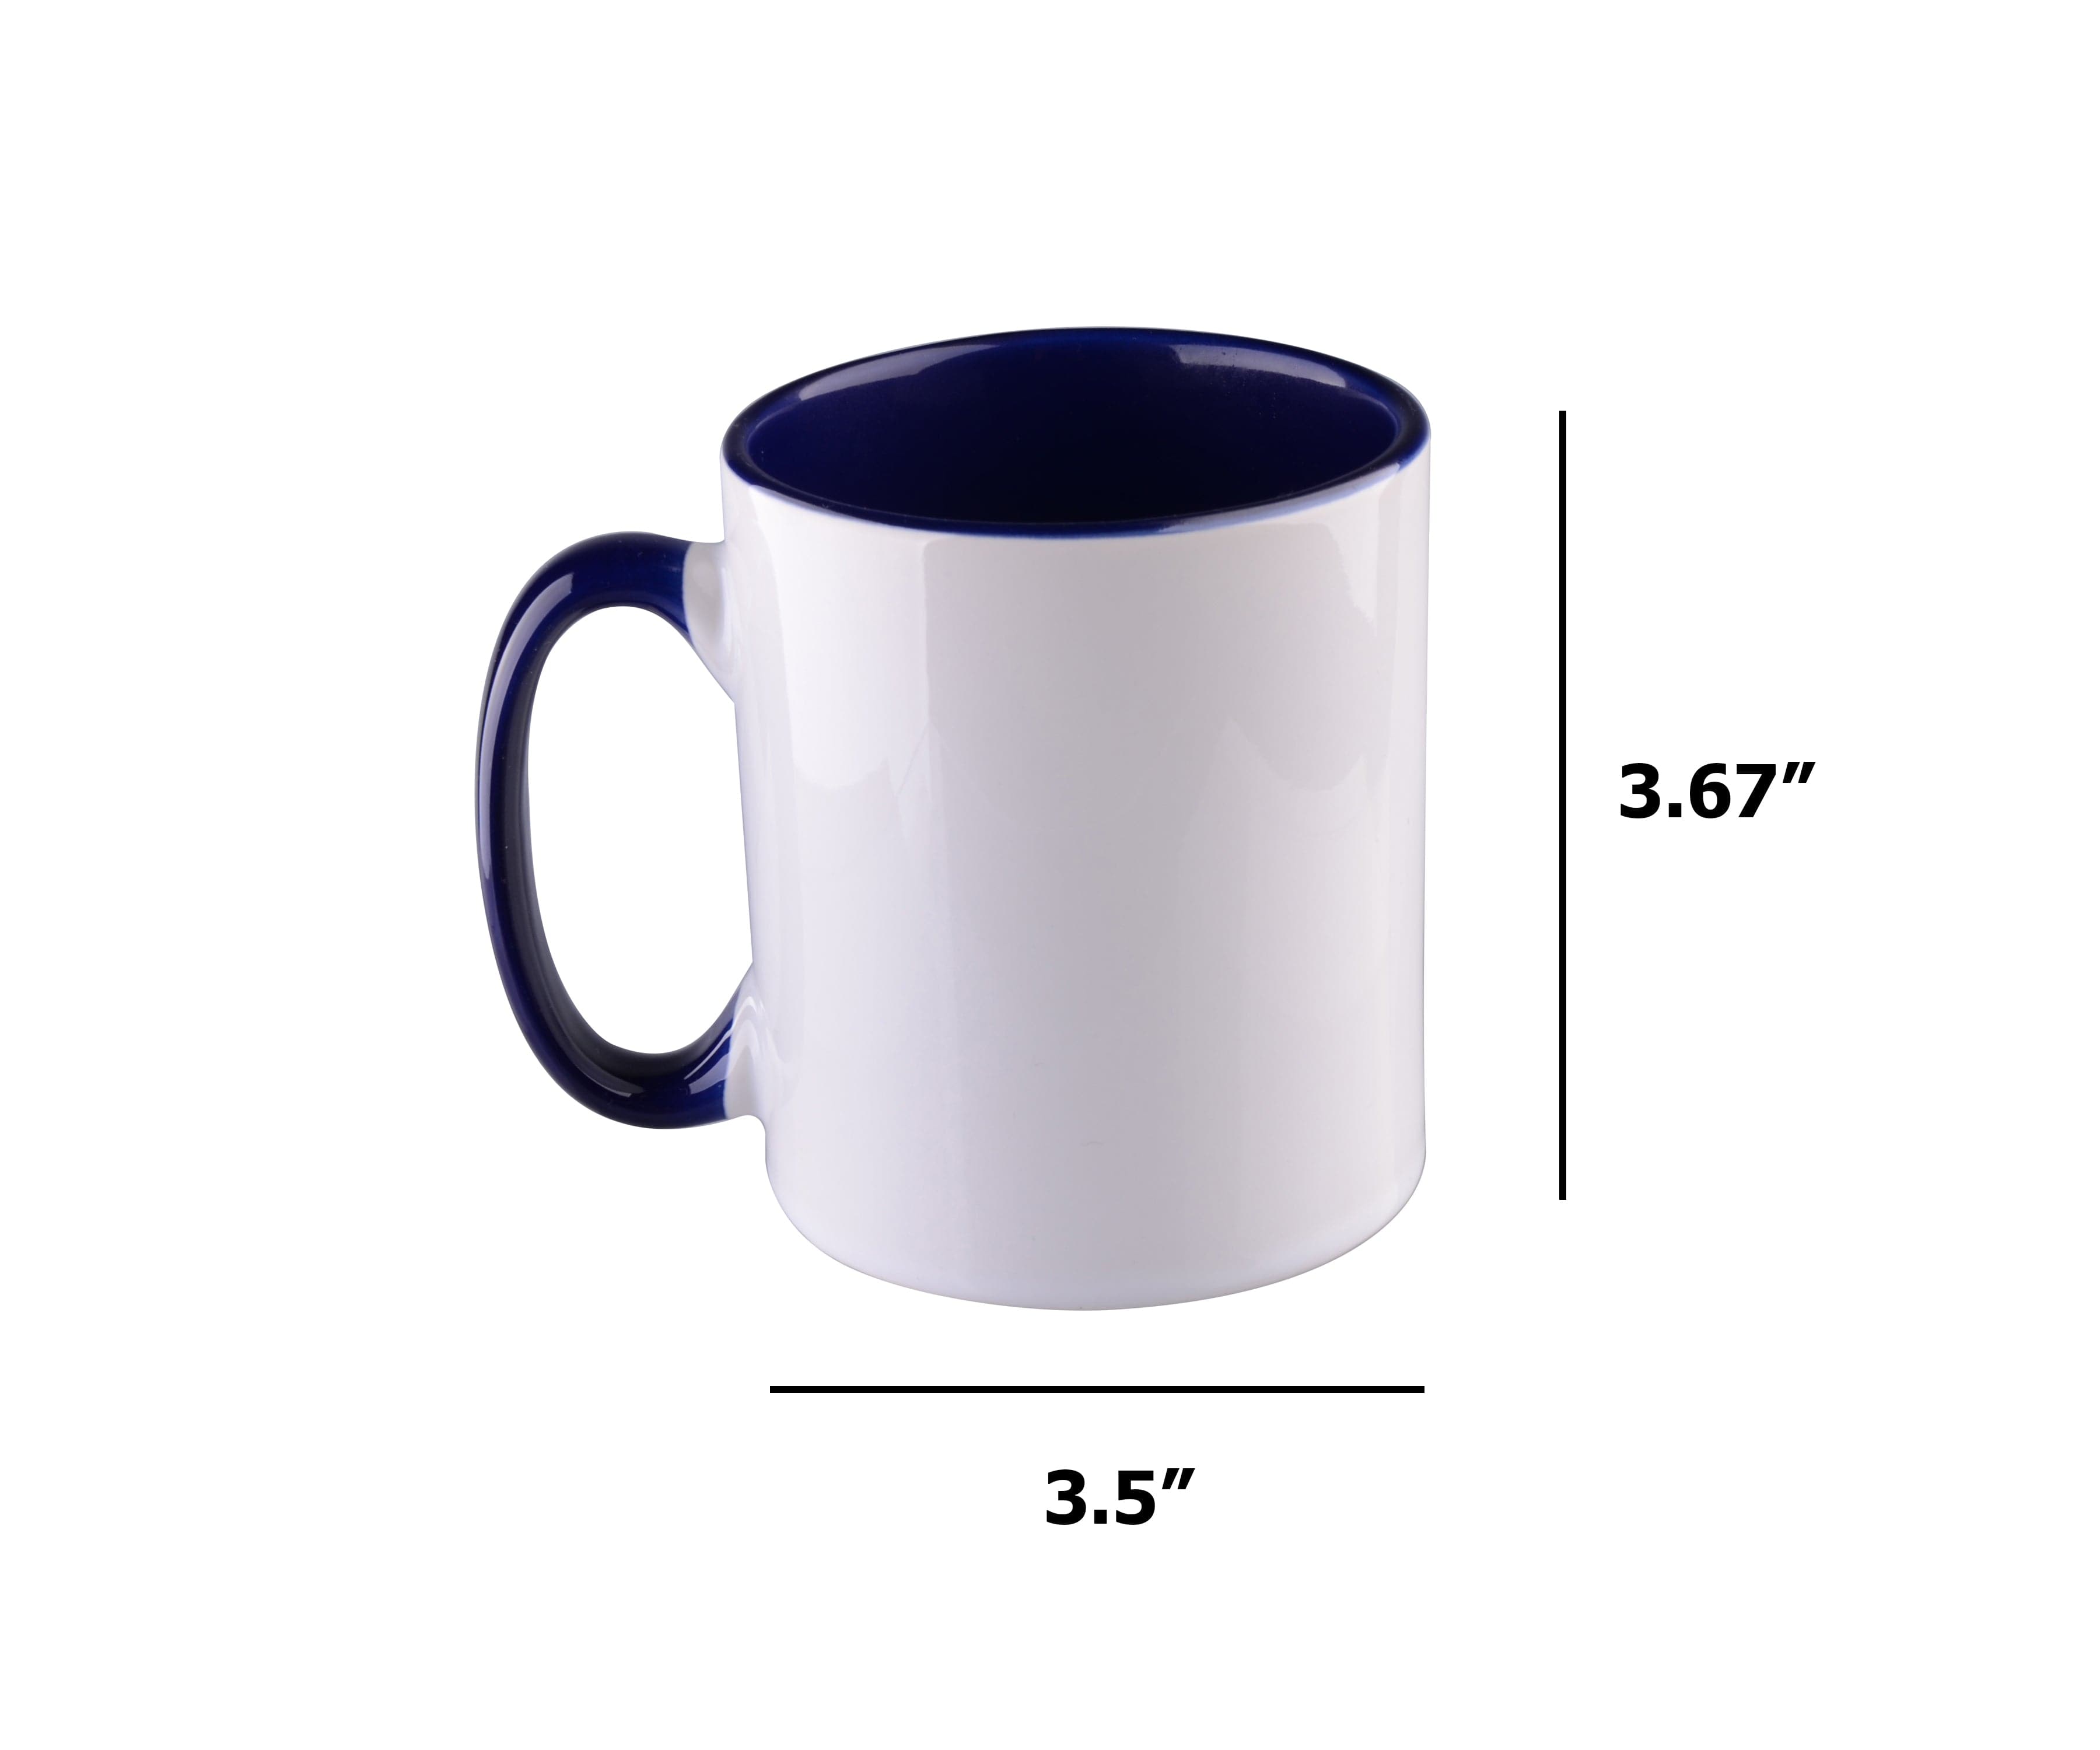
- Design at real size. A standard 11oz mug is about 9.5–10 cm tall and 21 cm around, set your canvas to match these dimensions so you see the actual print size as you work.
This simple habit can save you time, ink, paper, and frustration, and lead to mugs that look exactly how you imagined them.
Print like a pro: getting your design on paper
Once your design is finalized and ready, the next step is transferring it to sublimation paper using the right tools and settings. This is a critical part of the process, if your print is low quality, even the best press won’t save the final result.
🖼️ Use a Sublimation Printer
Not all printers work for sublimation. You need a printer that either:
- Was made specifically for sublimation (like the Sawgrass SG500 or Epson F170), or
- Has been properly converted and loaded with sublimation ink (if using select Epson models with refillable tanks).
⚠️ Regular inkjet or laser printers will not work.
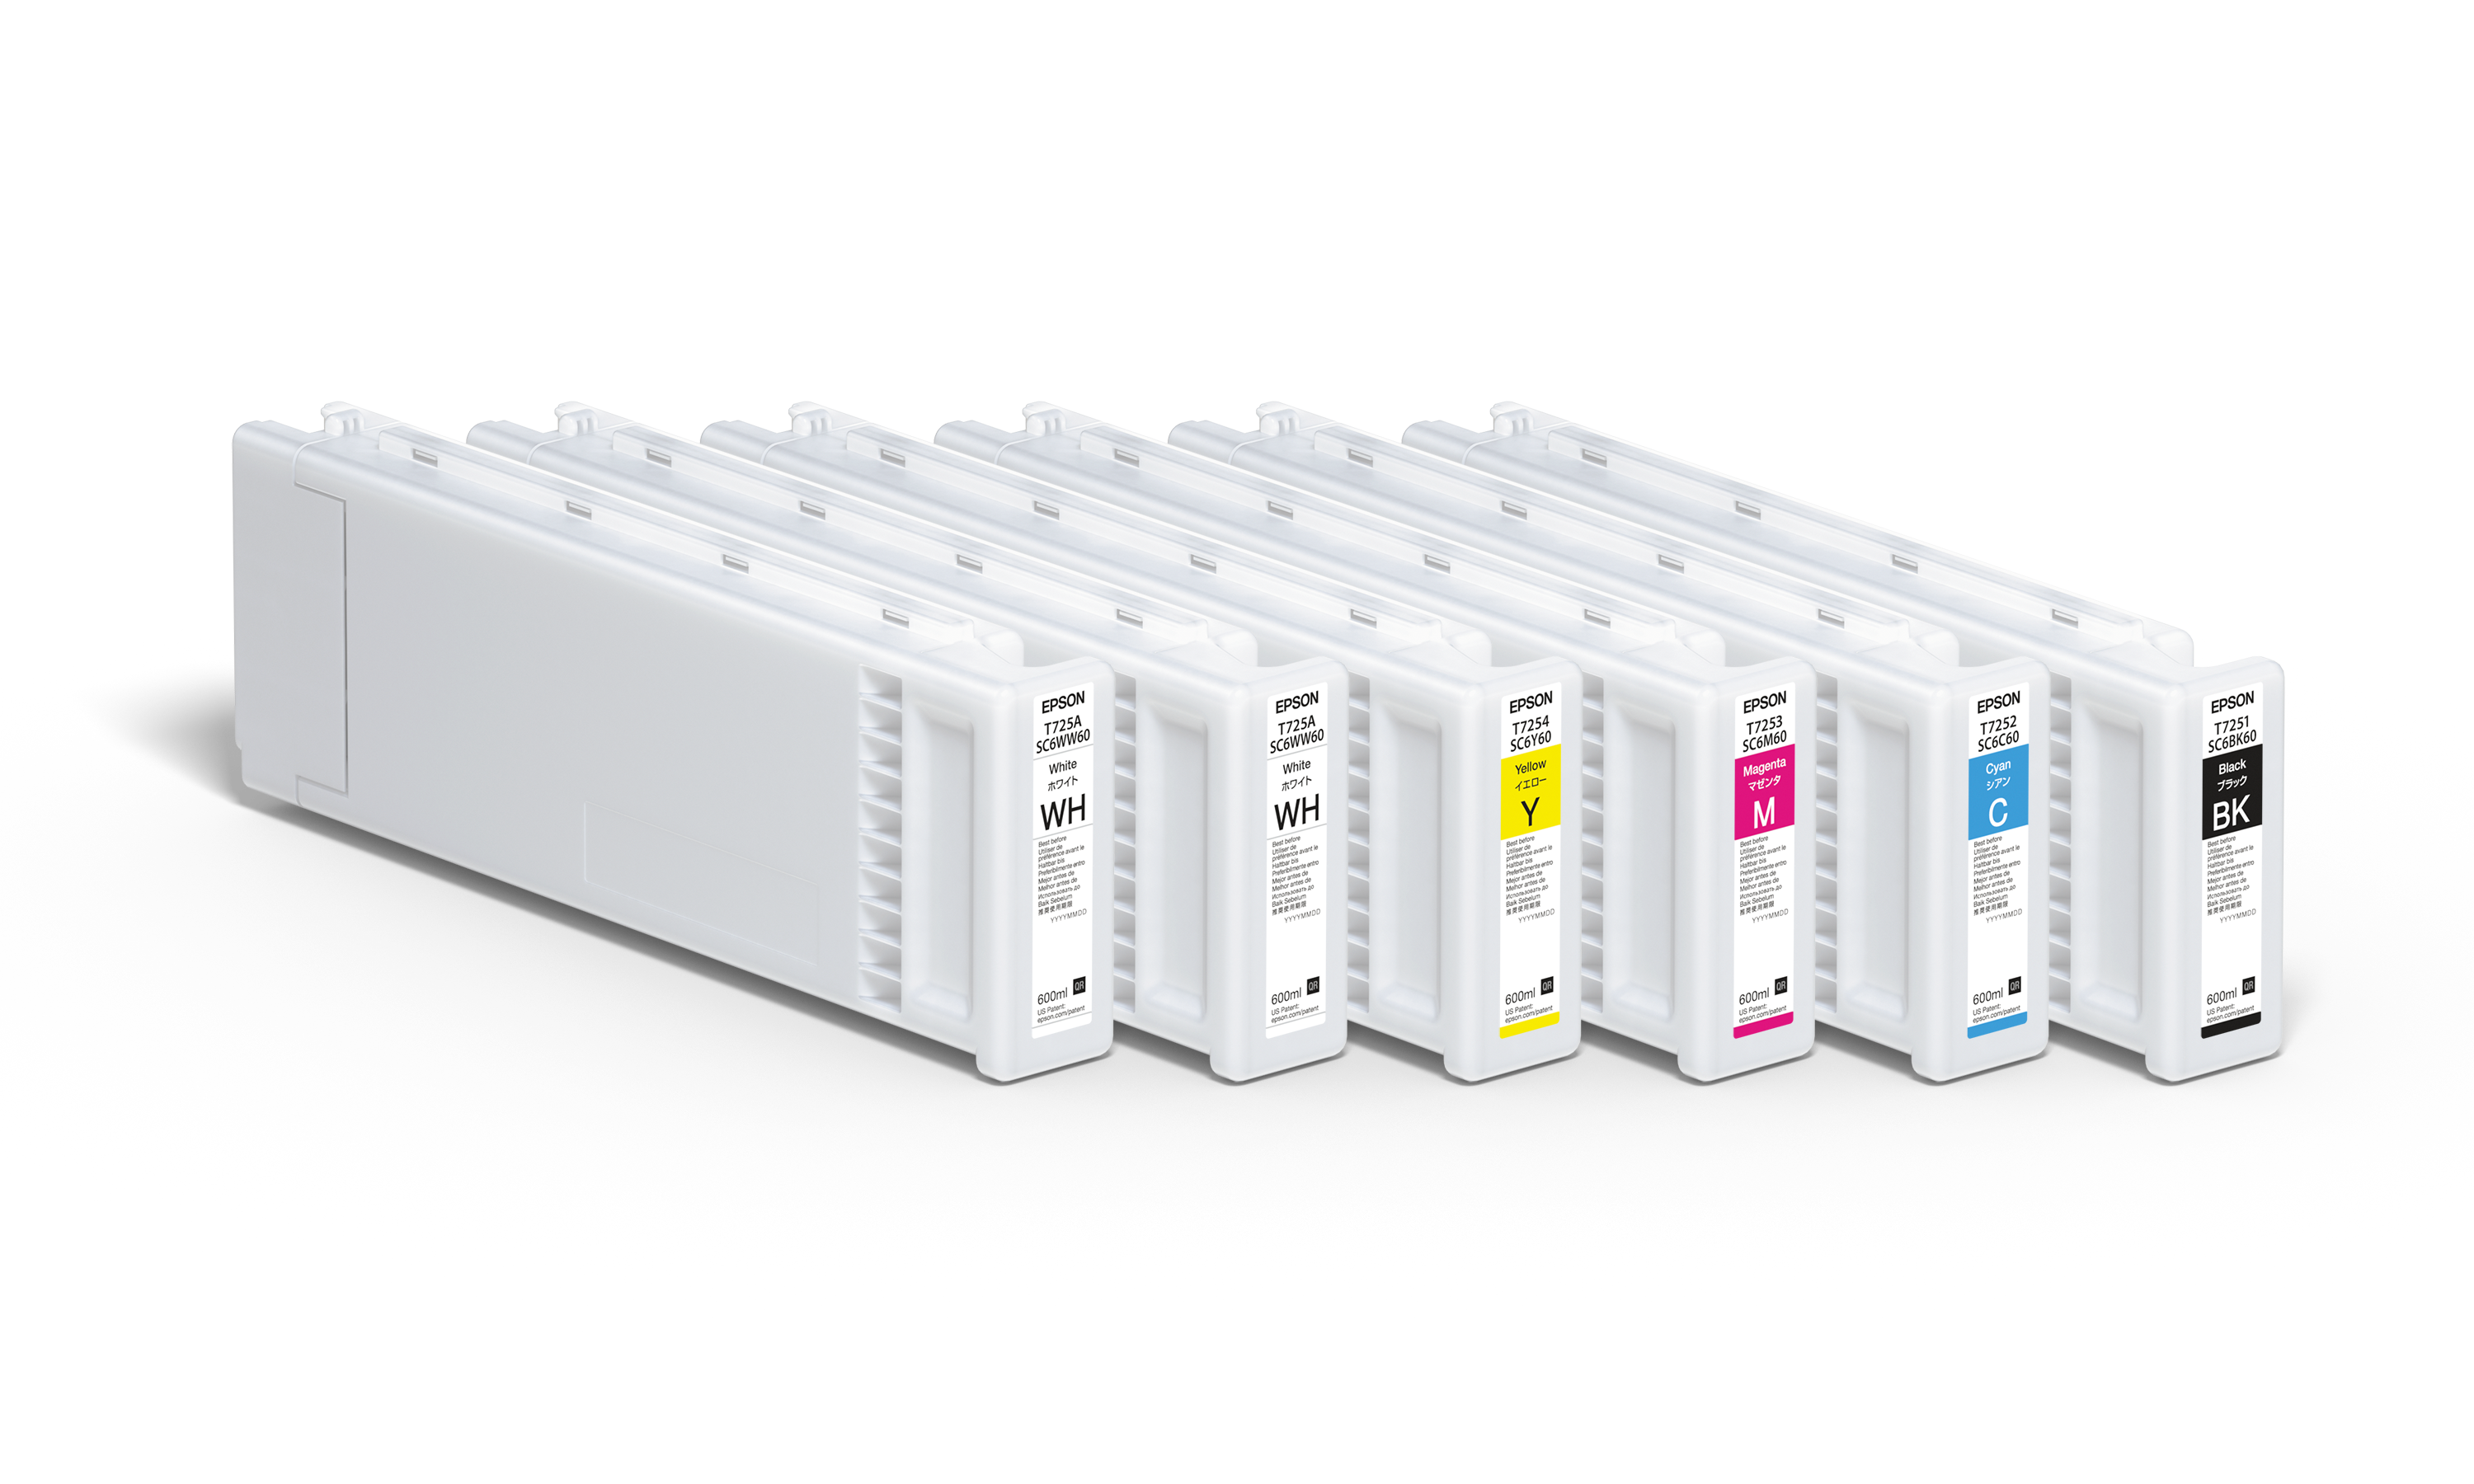
🧴 Use Sublimation Inks Only
Use inks that are formulated for sublimation, like:
- SubliJet® inks for Sawgrass printers
- Genuine Epson® sublimation inks (for supported models)
- Or trusted third-party brands, as long as they are compatible and high quality
Using low-quality or incompatible ink may result in faded prints, clogged heads, or poor transfer.
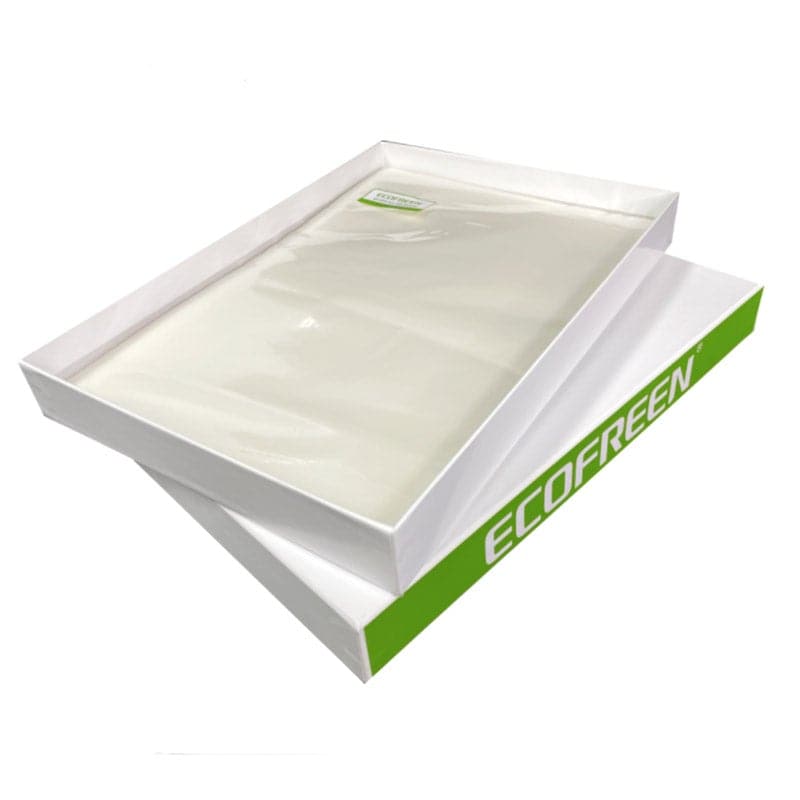
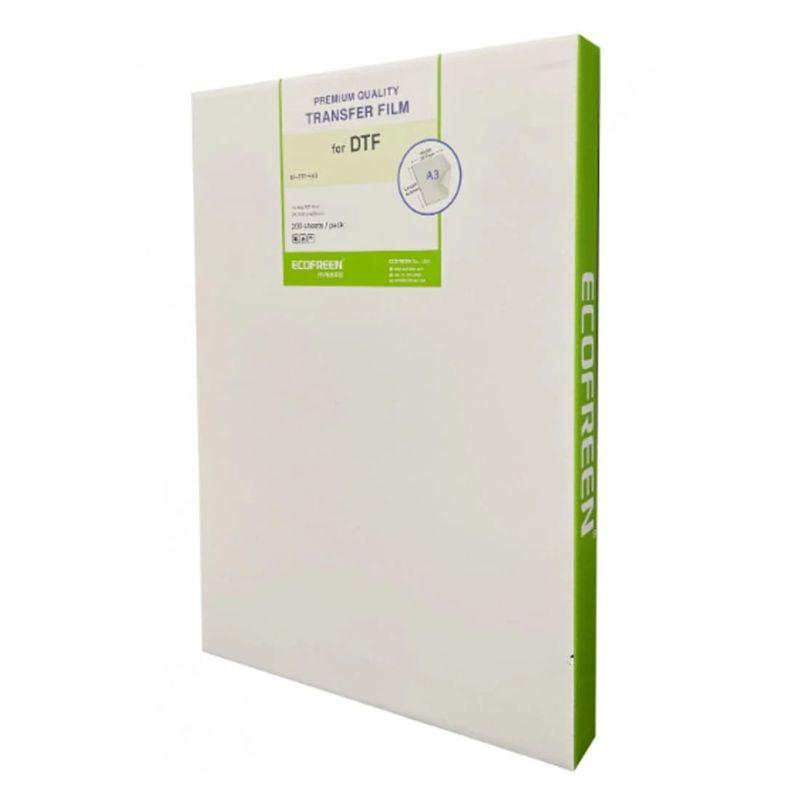
📄 Choose the Right Sublimation Paper
Sublimation paper is designed to release dye efficiently when heat is applied. Always make sure you're using paper rated for your printer and ink combination.
🔁 Print your design in mirror mode (flipped horizontally), this is crucial so it appears correctly when transferred onto the mug.
💡 Pro Tip: Maximize Your Paper Usage
A standard A4 sublimation sheet is about 29–30 cm tall. Since a typical 11oz mug design is only ~9.5 cm high, you can fit up to three mug prints on a single sheet.
This simple trick helps you:
- Reduce material waste
- Speed up production
- Save money over time
✂️ Just be sure to leave a small gap between designs for cutting, and trim them cleanly before pressing.
🧼 Prepare your mug: start with the right blank
This is where many beginners make their first mistake, not all mugs are created equal. You can’t just grab a ceramic mug from your local store and expect sublimation to work.
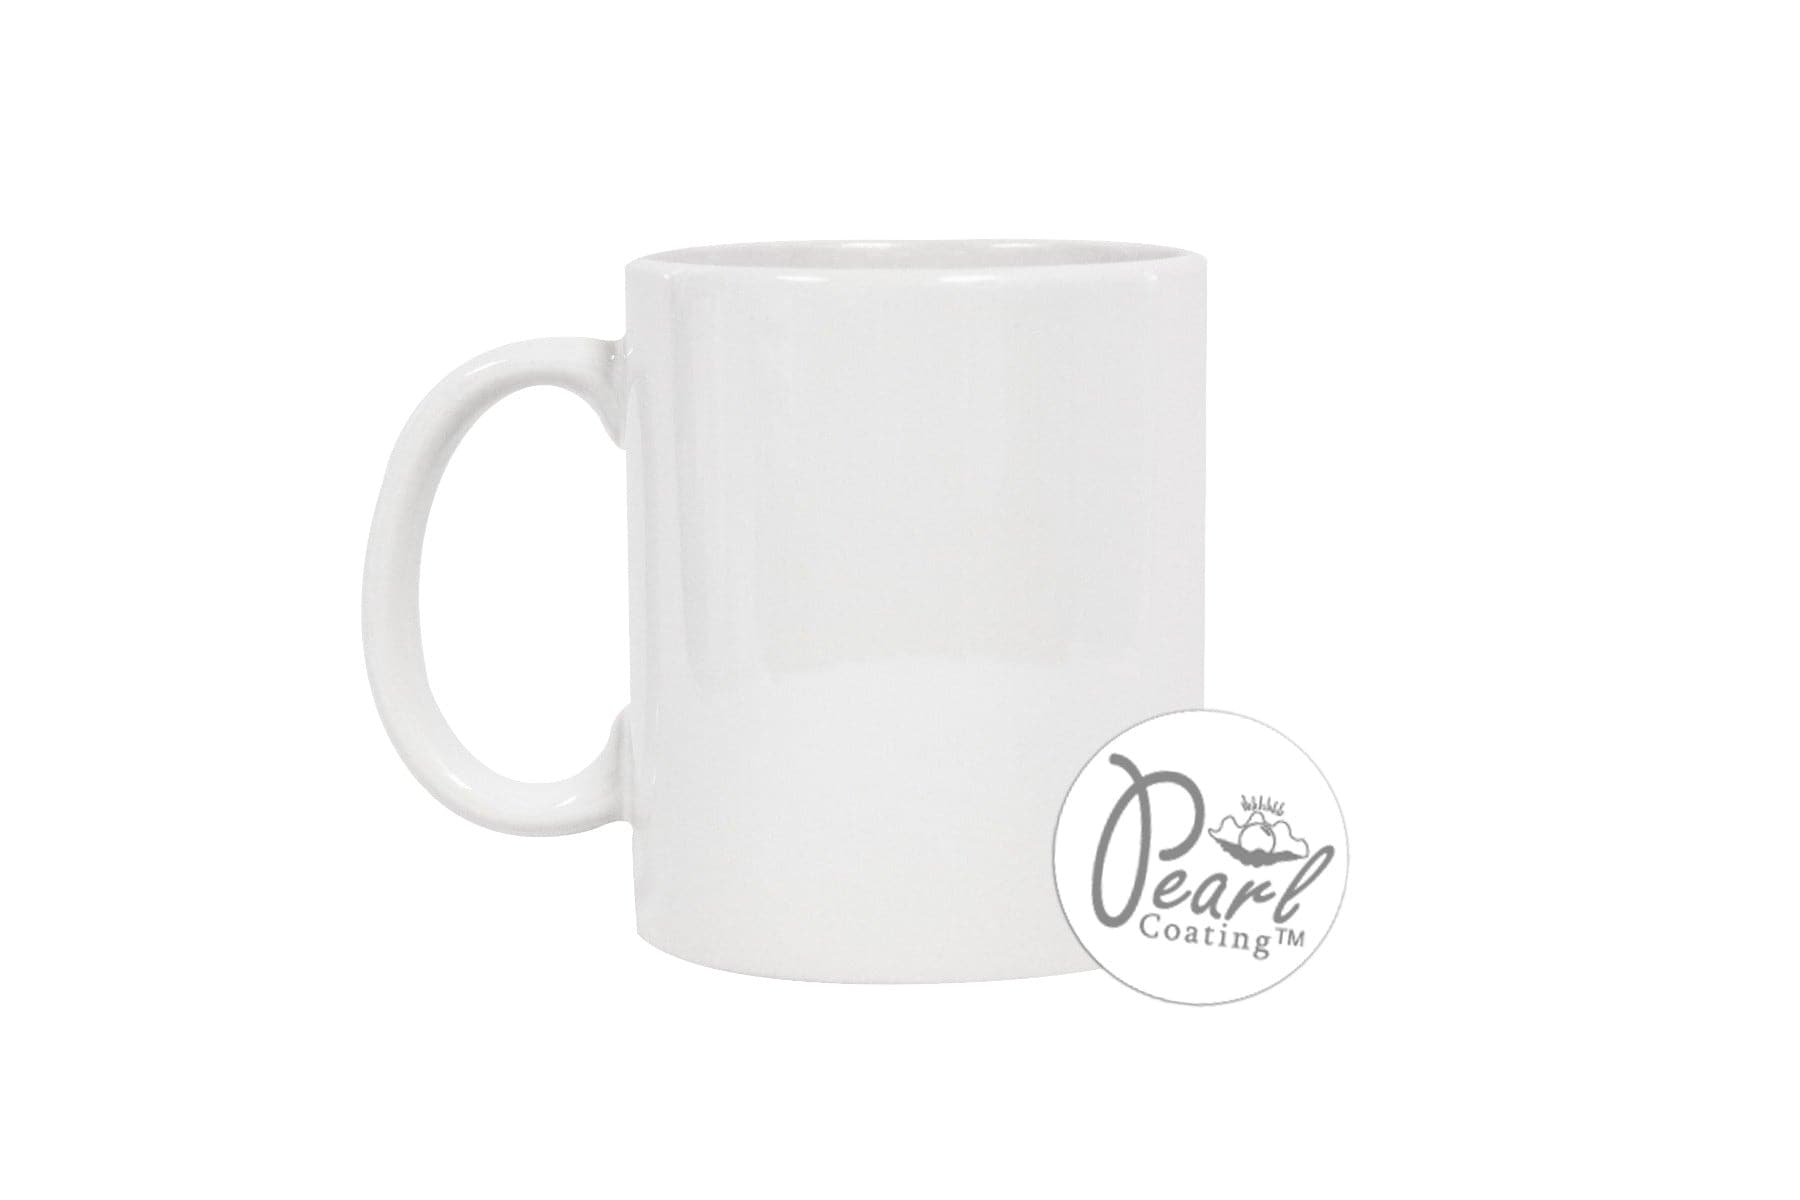
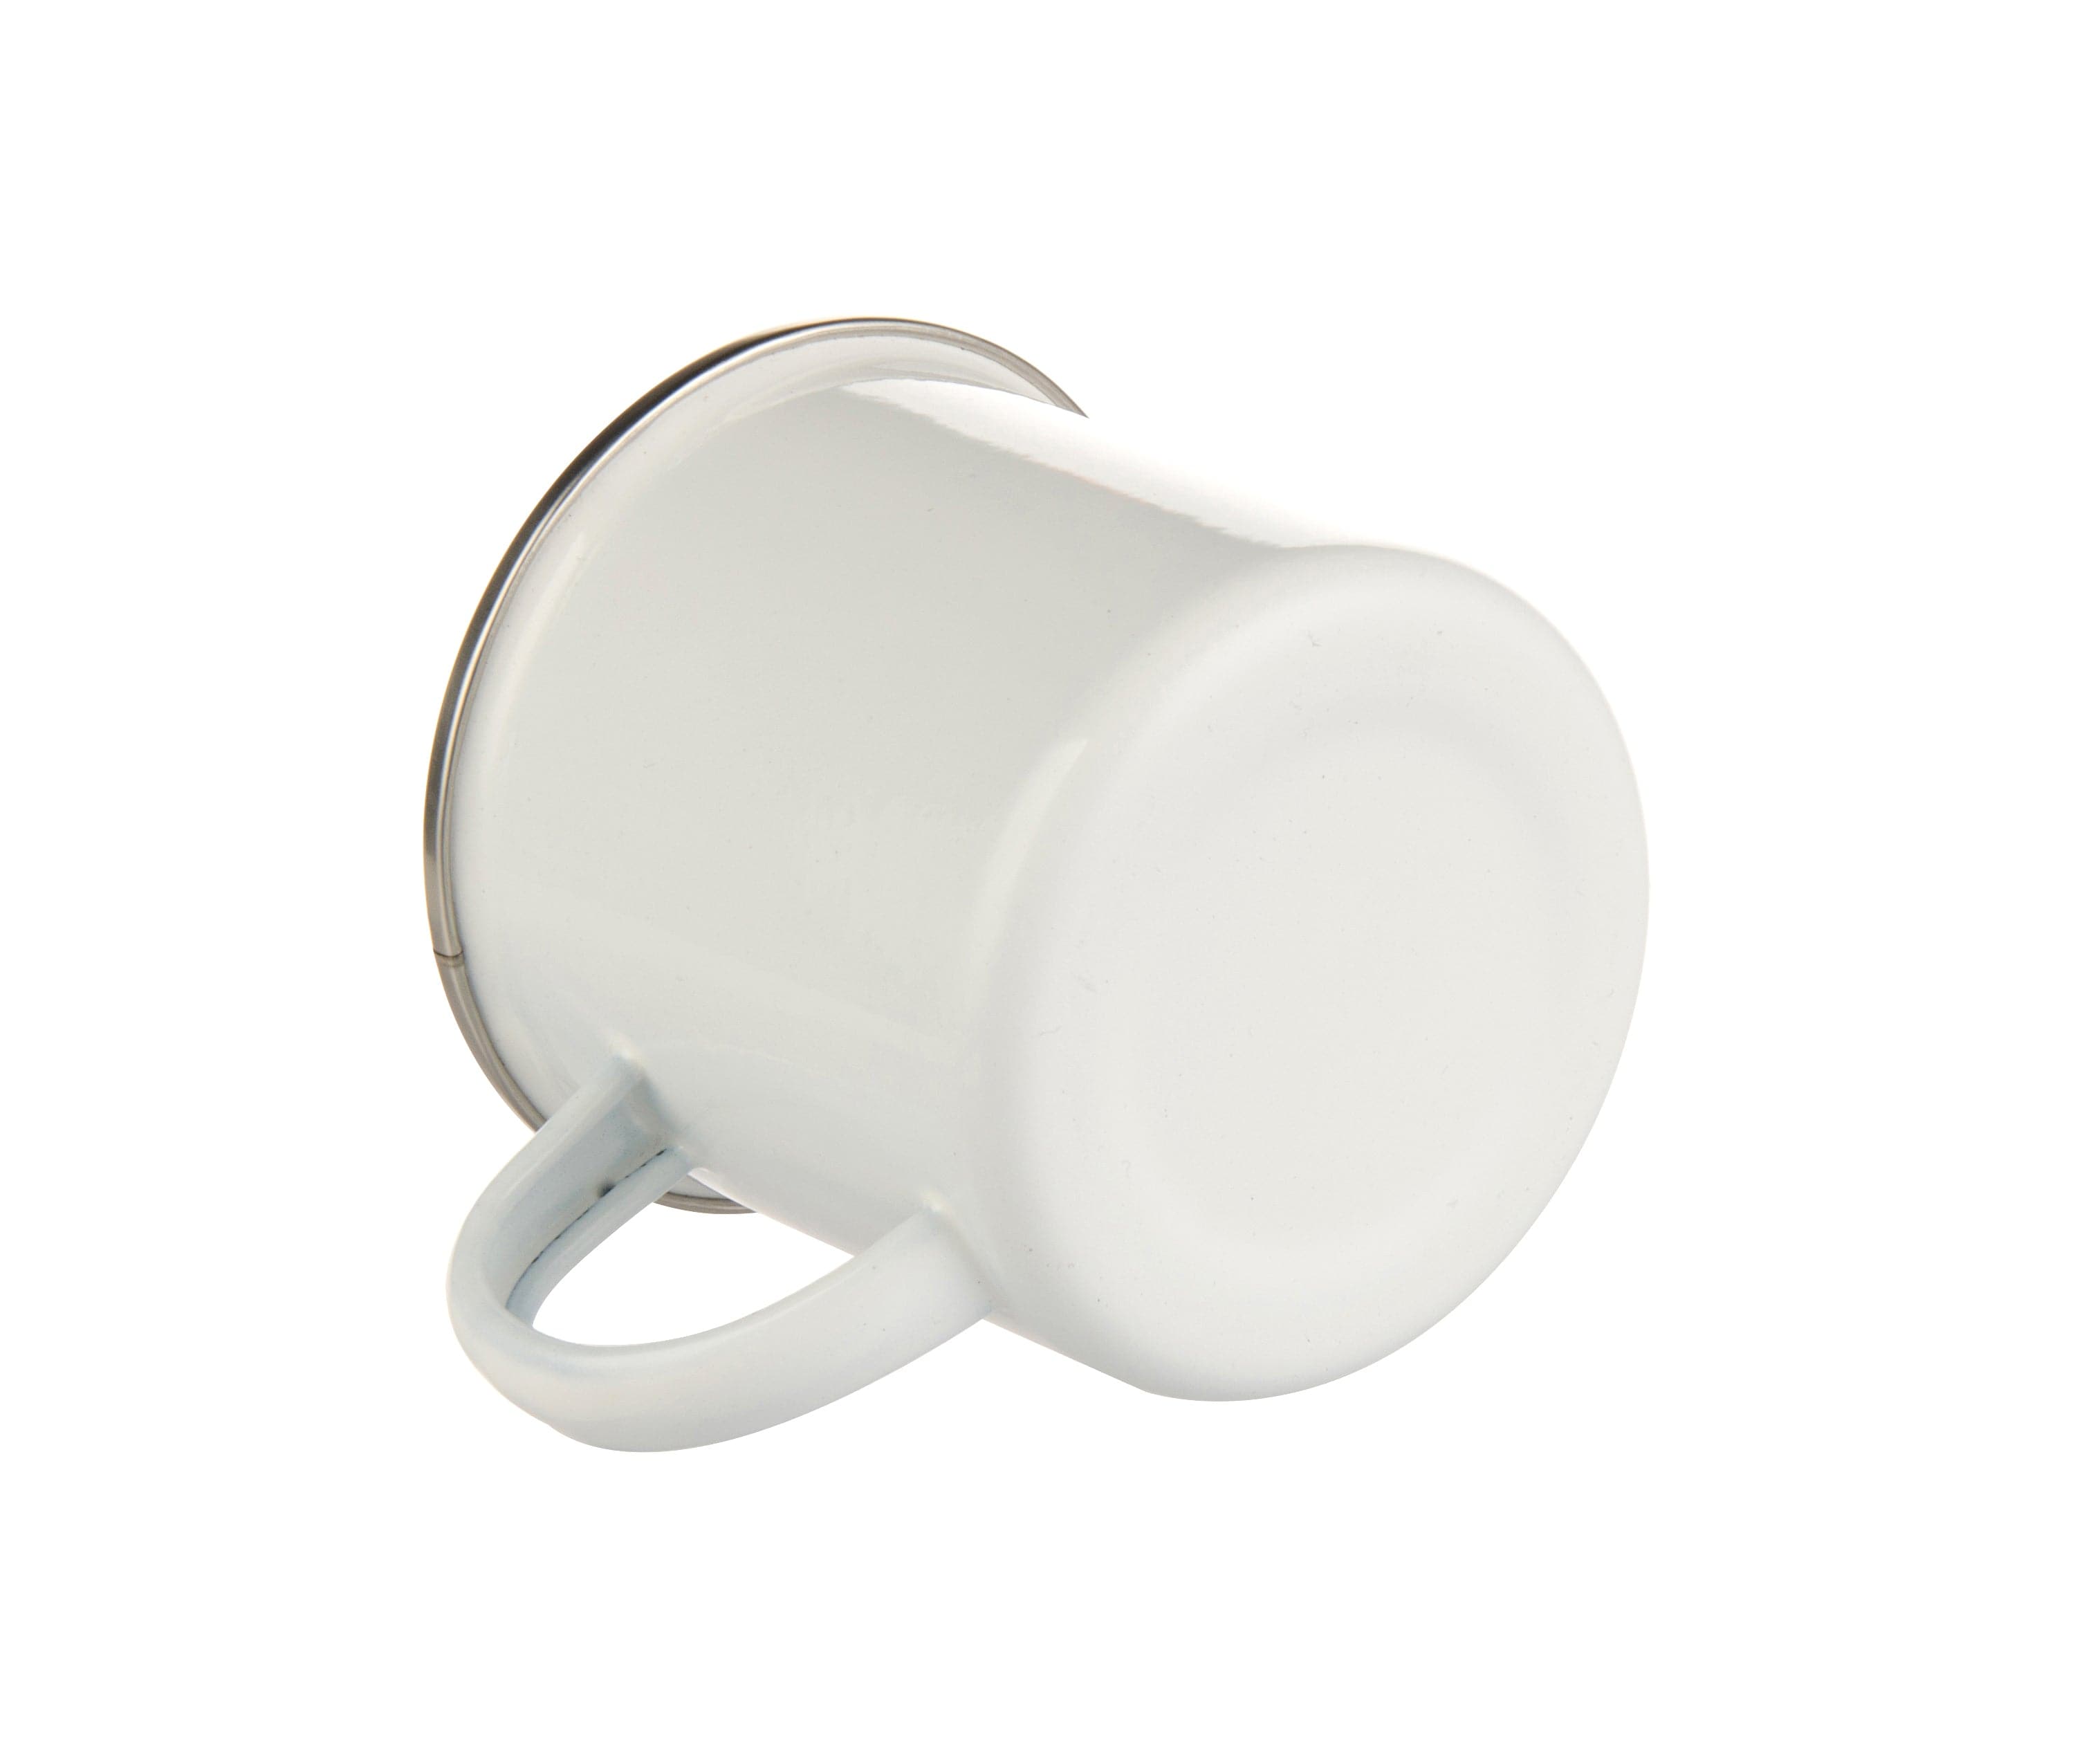
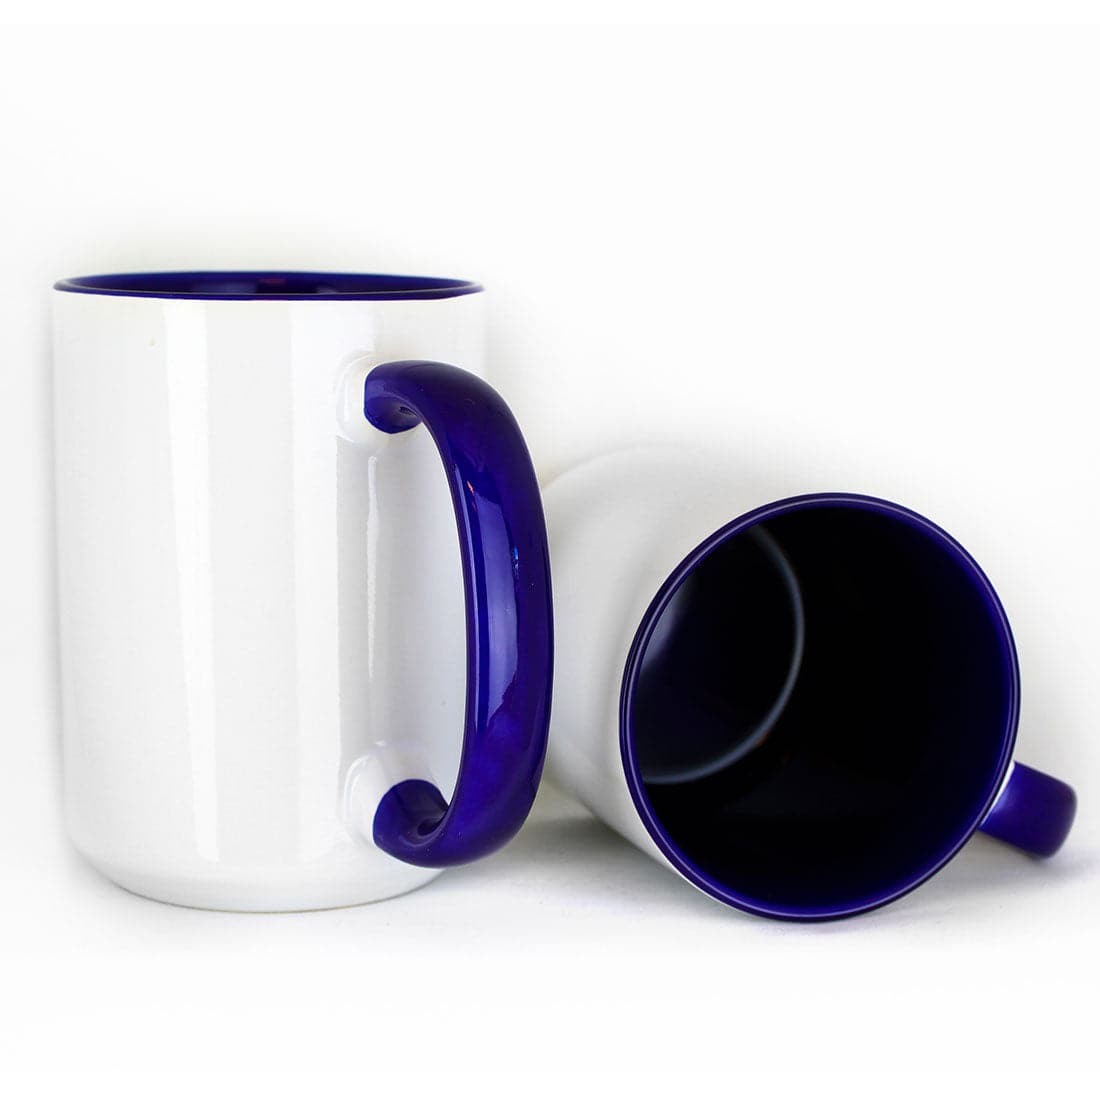
🏆 Use Sublimation-Ready Mugs

To achieve a vibrant and permanent transfer, the mug must be coated with a polymer-based sublimation coating. These mugs are specifically manufactured to bond with sublimation ink when exposed to heat and pressure.
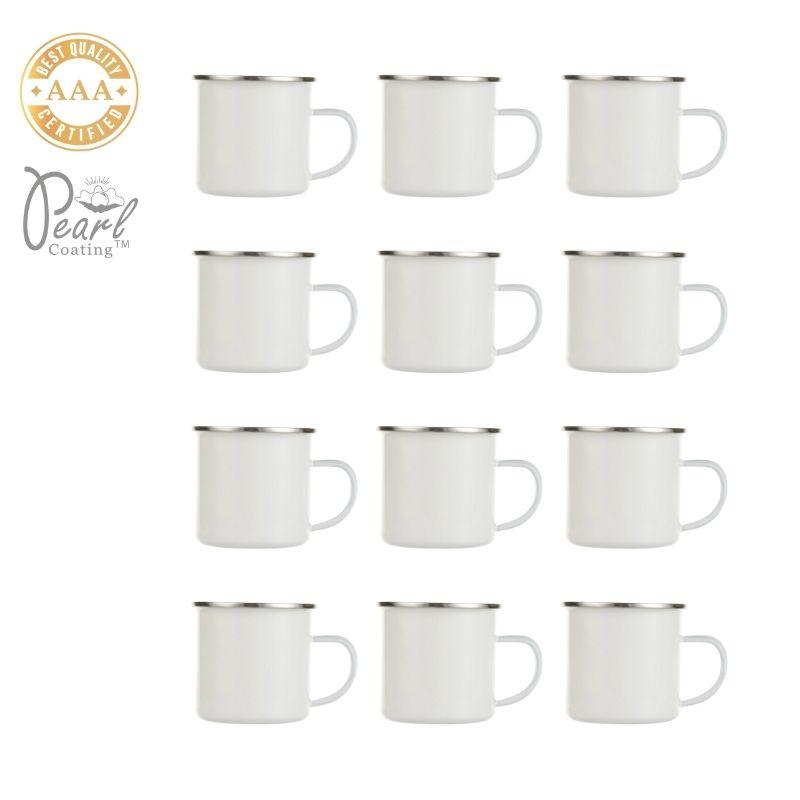
At Joto Imaging Supplies, all of our sublimation mugs are tested and coated for maximum ink absorption and durability. Look for terms like:
- “Sublimation-ready”
- “Poly-coated”
- “Polymer-coated”
- Or our branded Pearl Coating™ mugs
⚠️ Regular ceramic mugs will not work, the ink will not transfer properly, and the design will fade, flake, or wash off.
🧽 Clean the Mug Before Use
Even if the mug looks clean, you should always:
- Wipe it down with alcohol or a lint-free cloth
- Remove any fingerprints, dust, or residue
- Avoid touching the printing area again before pressing
Any dirt or oil can interfere with the transfer process and cause faded or uneven areas in your design.
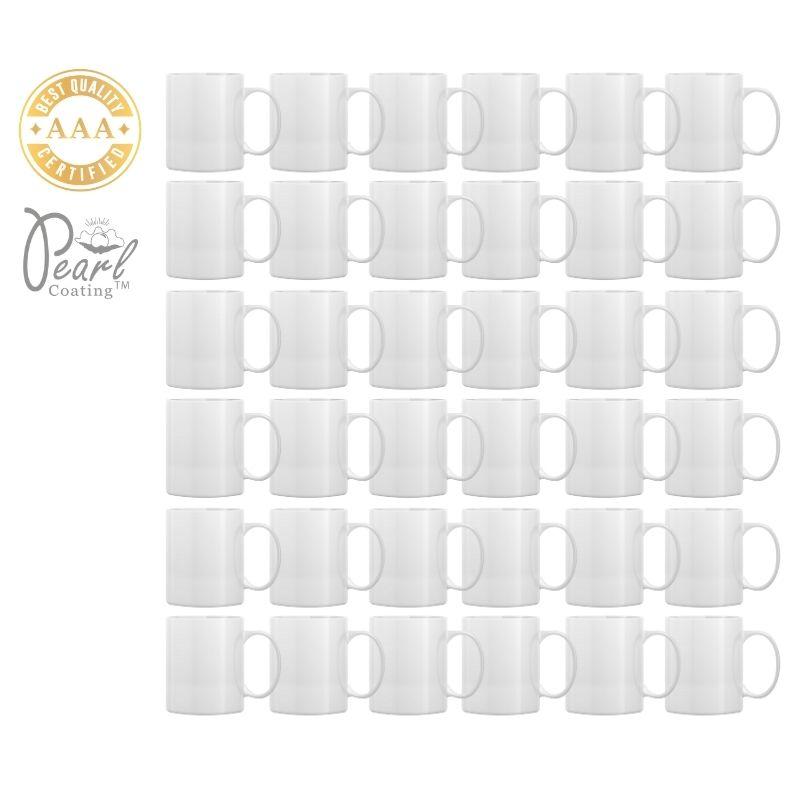
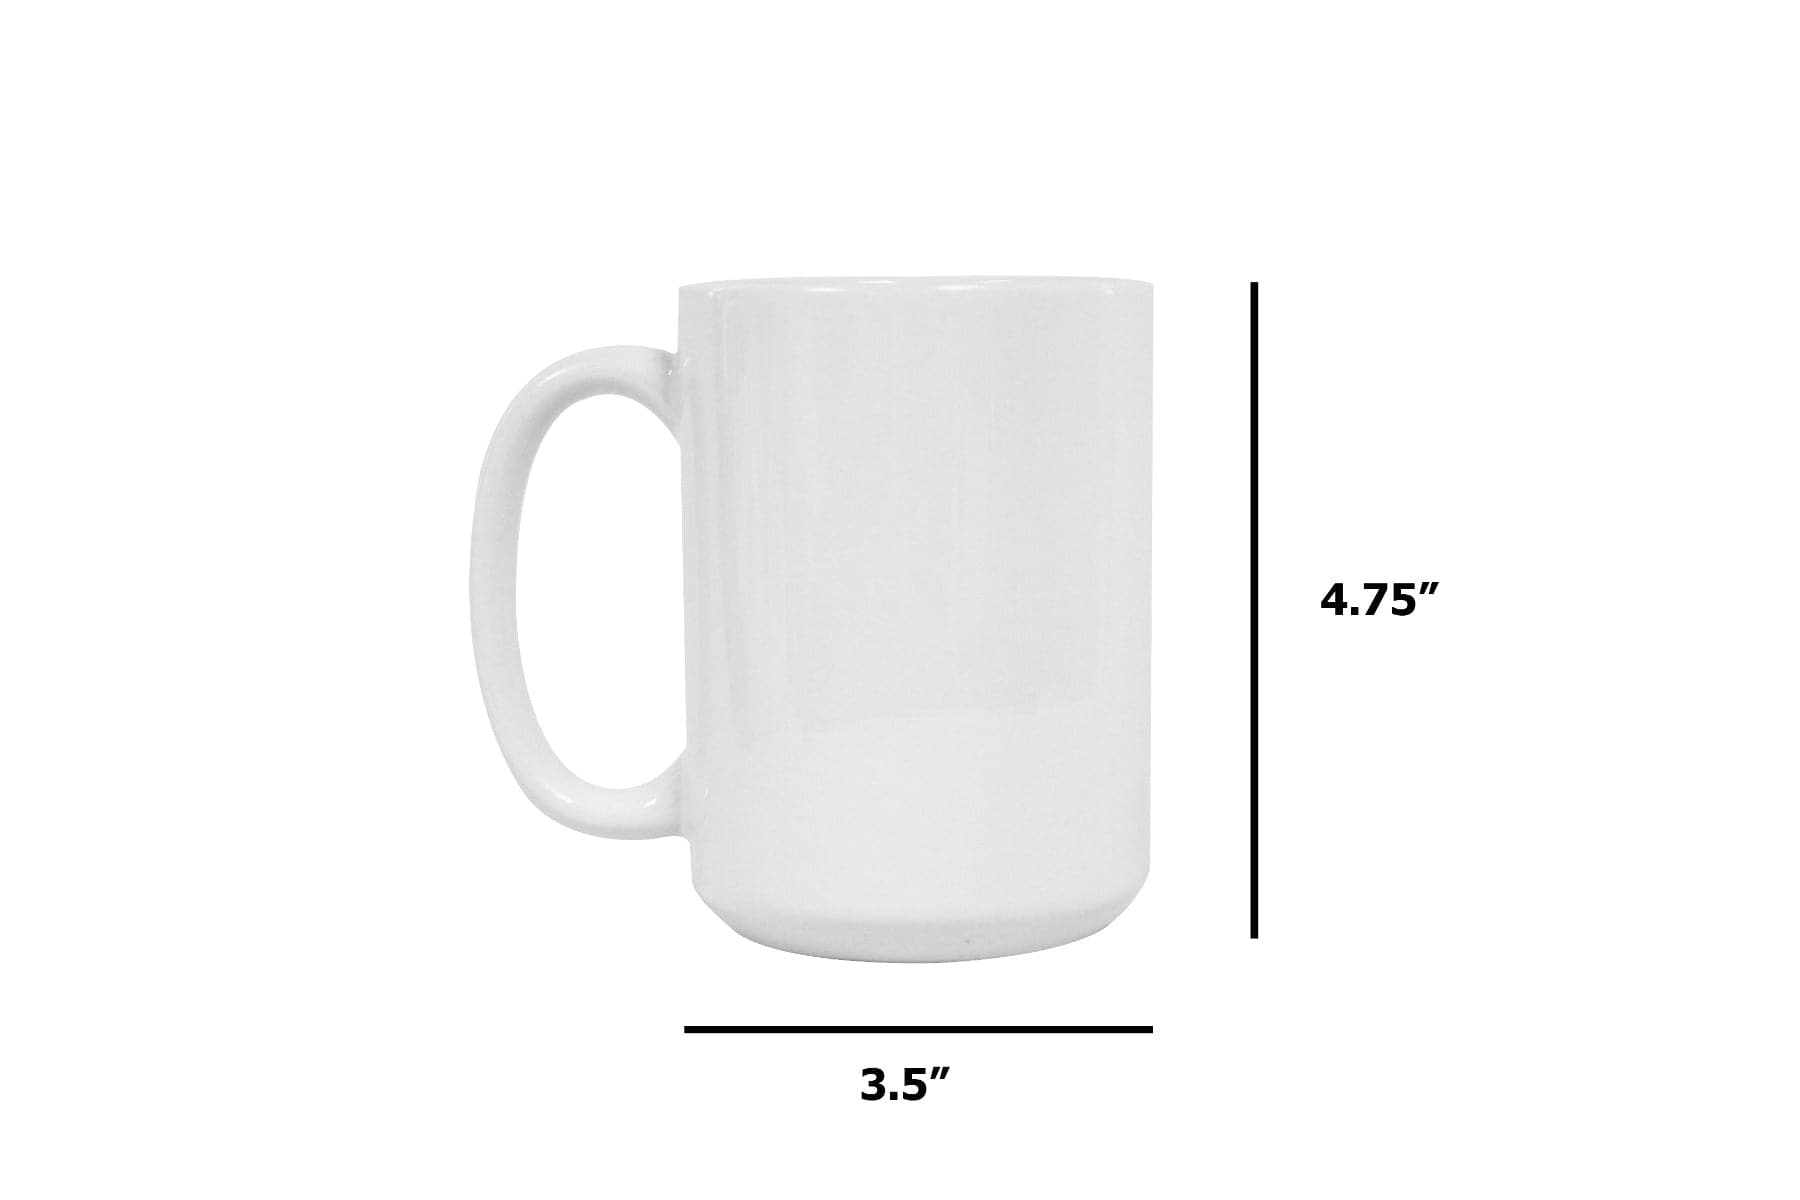
🛑 Quick Reminder: Size matters
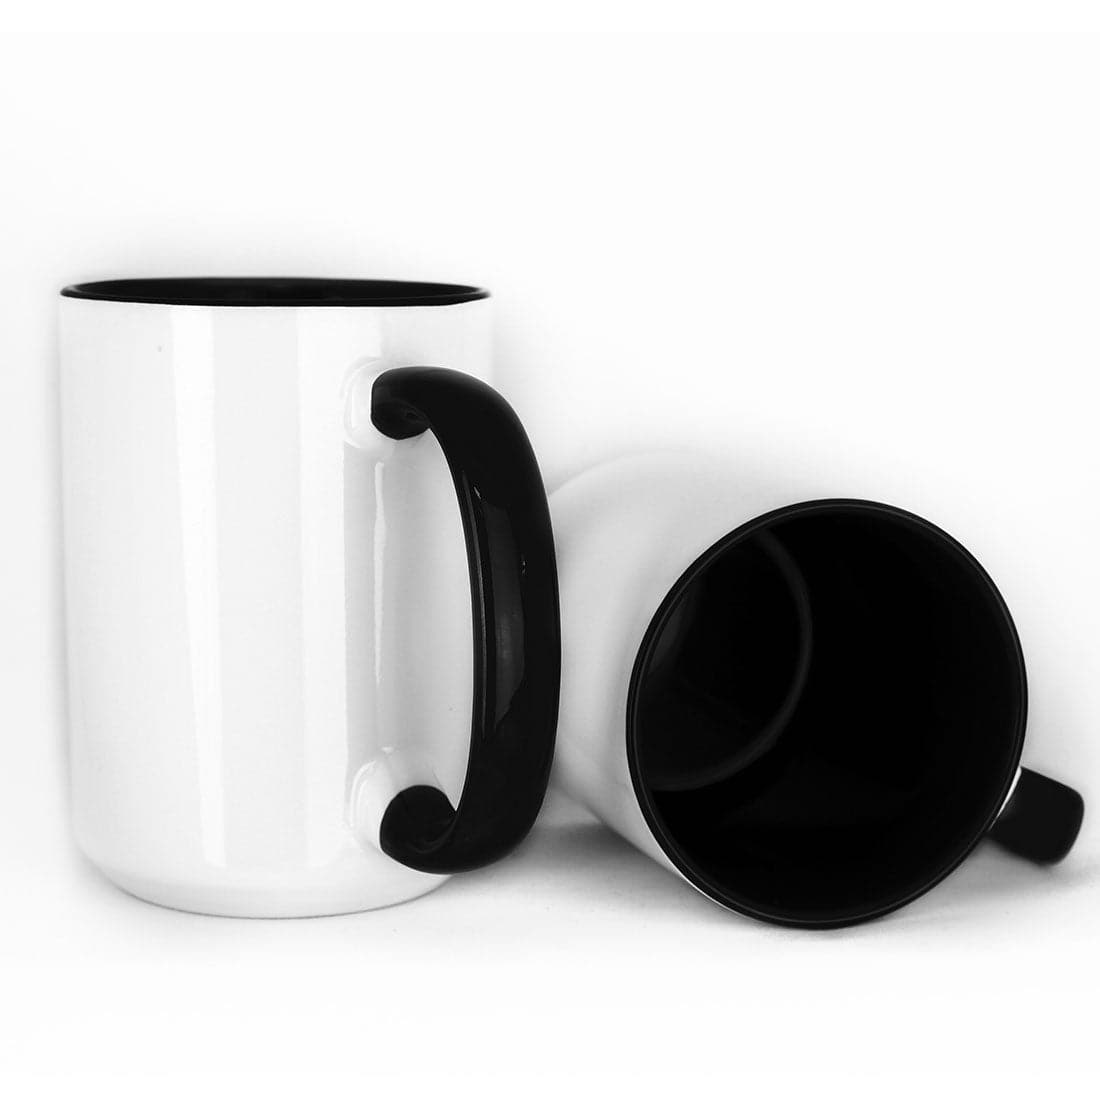
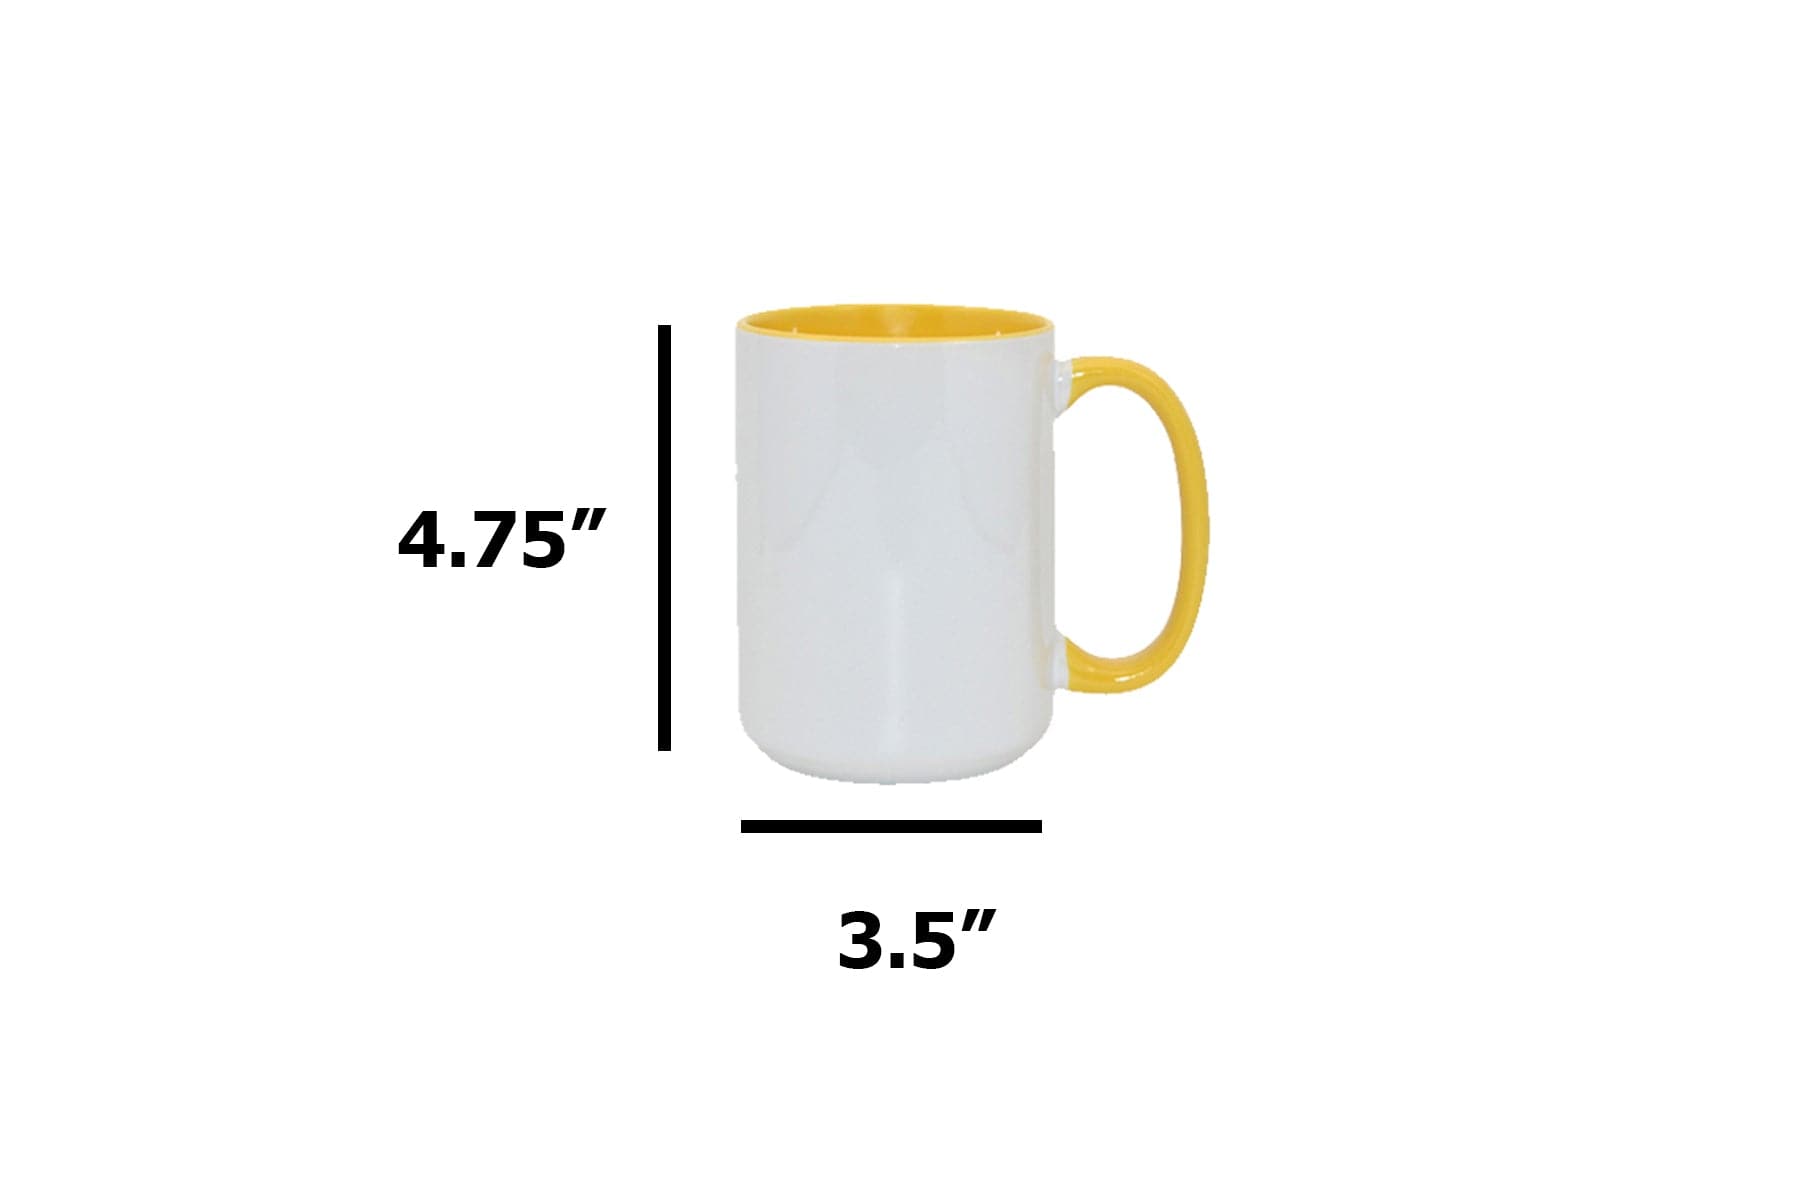
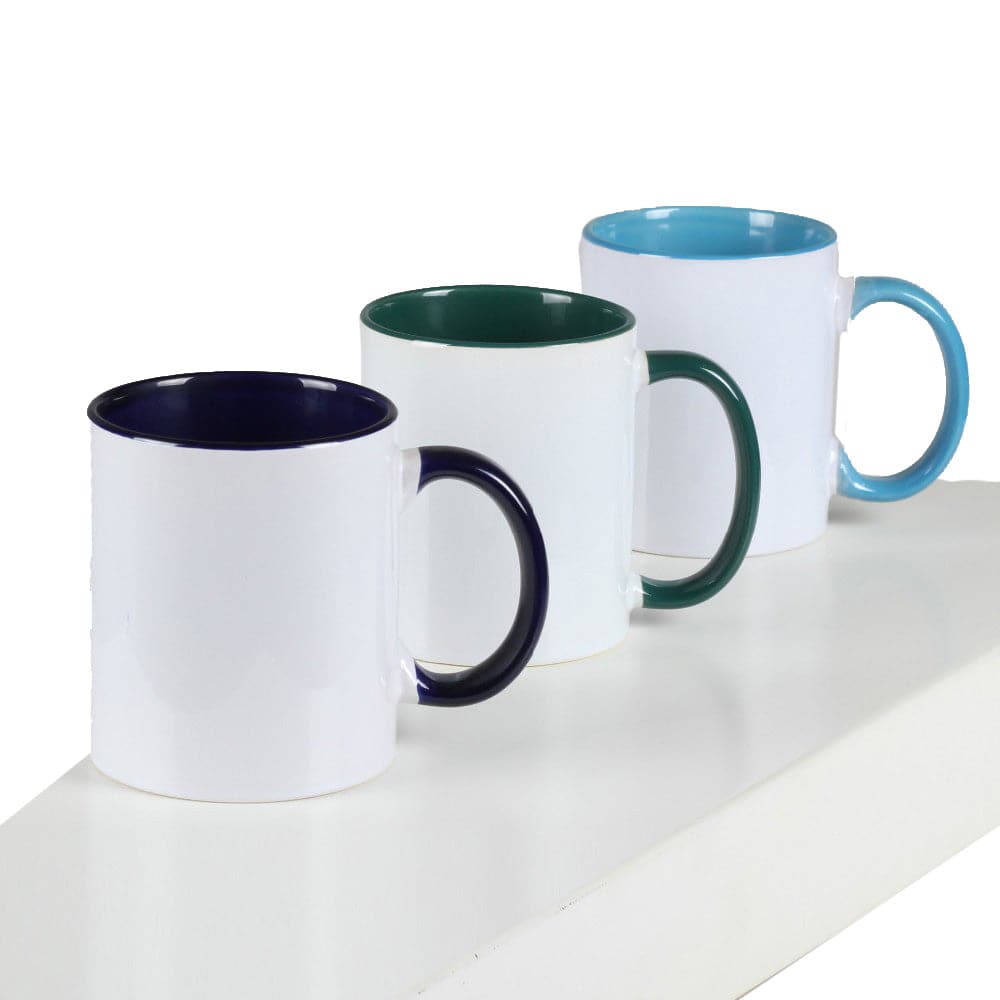
Most standard sublimation mugs come in:
- 11 oz (common for everyday use)
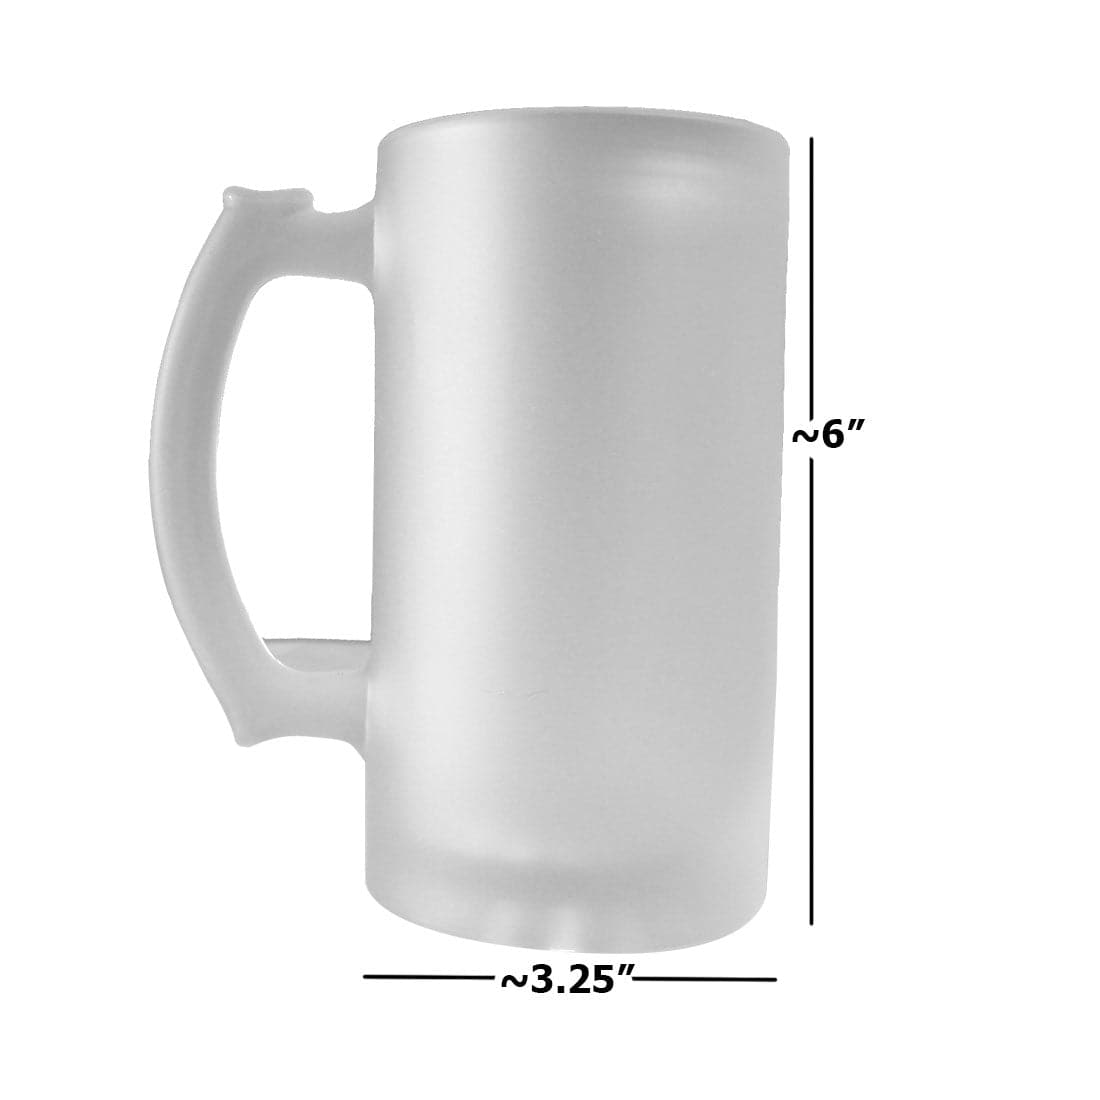
- 15 oz (great for larger designs)
- Specialty sizes like travel mugs, color-changing mugs, or metallic finishes
Make sure your press or oven setup matches the size of your mug to ensure even pressure and correct fit.
🎯 Attach and position your design correctly
Now that your mug is clean and your design is printed, it’s time to position the transfer paper on the mug, and this part matters more than many think.
If the design is crooked, too low, or shifts during pressing, your final result will look unprofessional. Here’s how to do it right:
📐 Align the Design
- Wrap the sublimation paper around the mug, ensuring the design is centered and level.
- Most mug designs are positioned about 1–2 cm from the top and bottom edges for a balanced look.
- If you’re doing full wraps, make sure both ends of the design align cleanly at the back.
💡 Pro tip: Hold the mug at eye level and rotate it slowly to check for alignment before taping.
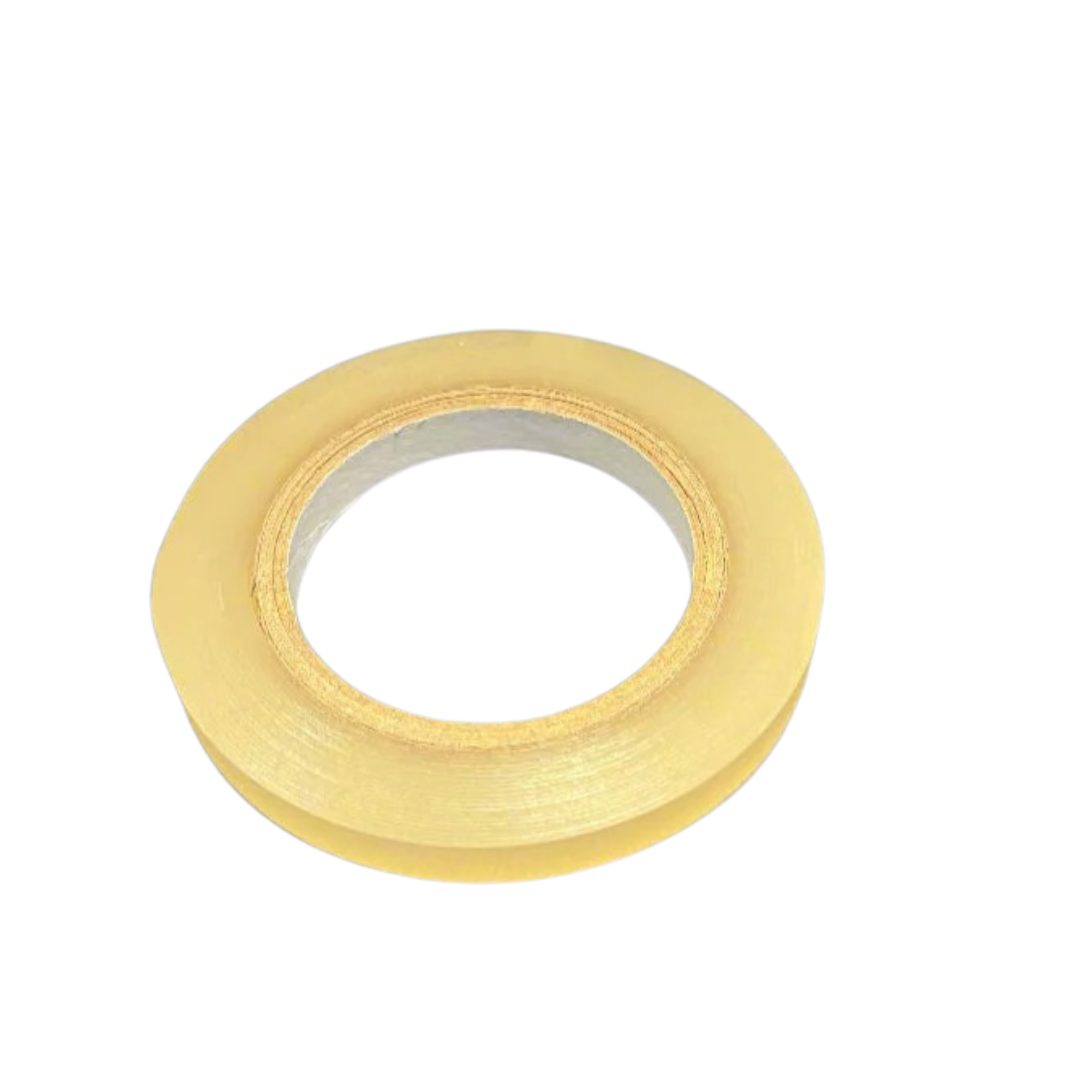
🧵 Secure with Heat-Resistant Tape
- Use heat-resistant sublimation tape to hold the transfer paper in place.
- Tape both edges and apply pressure to ensure it sticks well.
- Avoid over-taping, too much tape can block heat and cause uneven transfers.
❌ Never use regular tape, it will melt in the heat press and damage your mug or equipment.
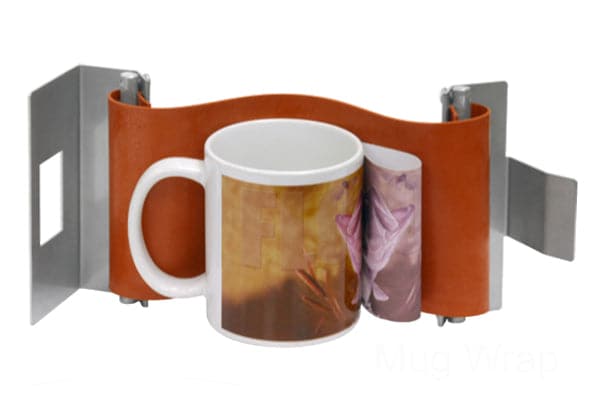
🔄 Optional: Use a Silicone Wrap (for Oven Method)
If you’re using a convection oven instead of a mug press:
- Wrap your taped design with a silicone mug wrap or shrink wrap sleeve to apply even pressure during baking.
- Make sure it’s snug and secure to avoid air gaps.
This step ensures the transfer remains flat and evenly bonded to the mug surface throughout the heating process.
🔥 Heat press settings: time, temperature & pressure
Once your mug is prepped and wrapped with the design, it’s time to apply heat. This is where the magic of sublimation happens, sublimation ink turns into gas and bonds with the mug’s special coating.
But to get consistent, professional results, you need the correct time, temperature, and pressure settings based on your equipment.
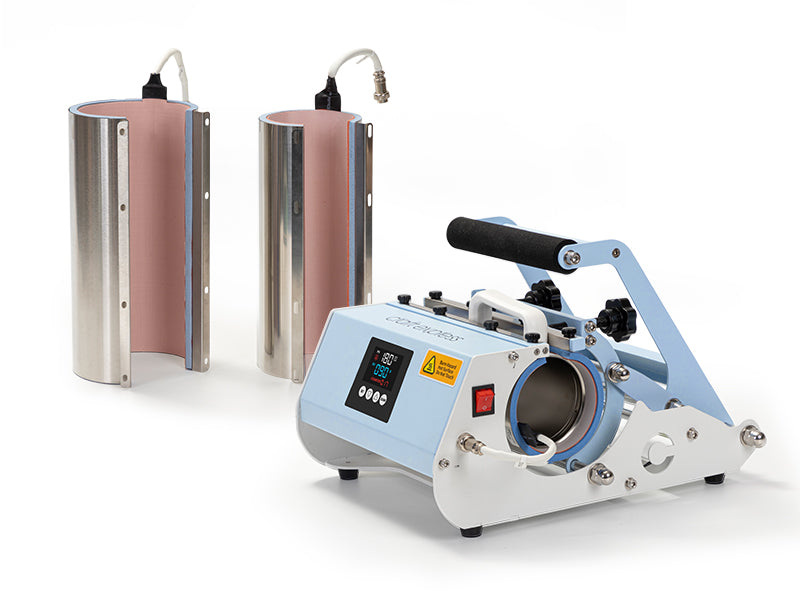
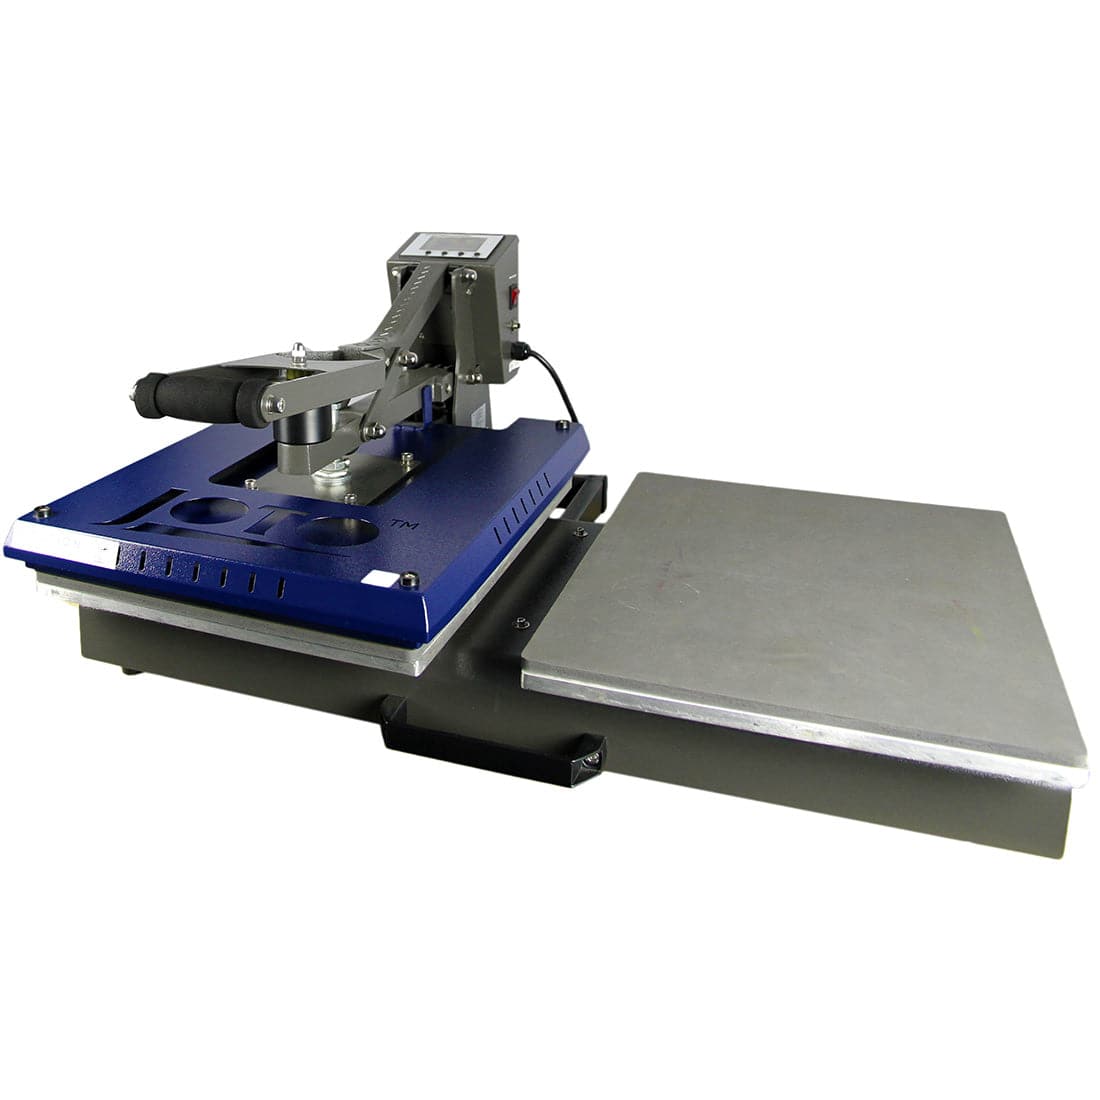
🧰 Using a mug press
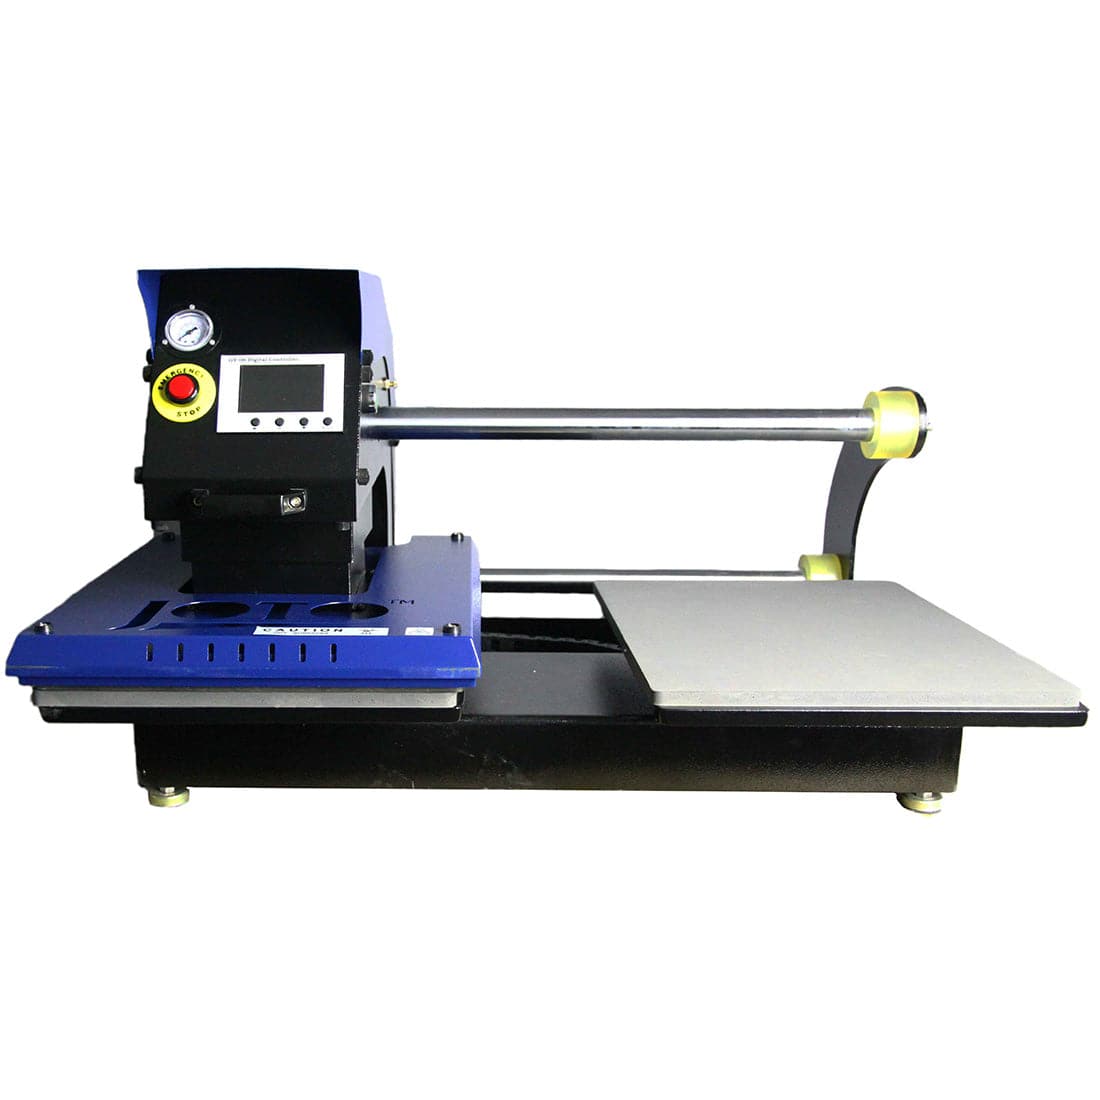
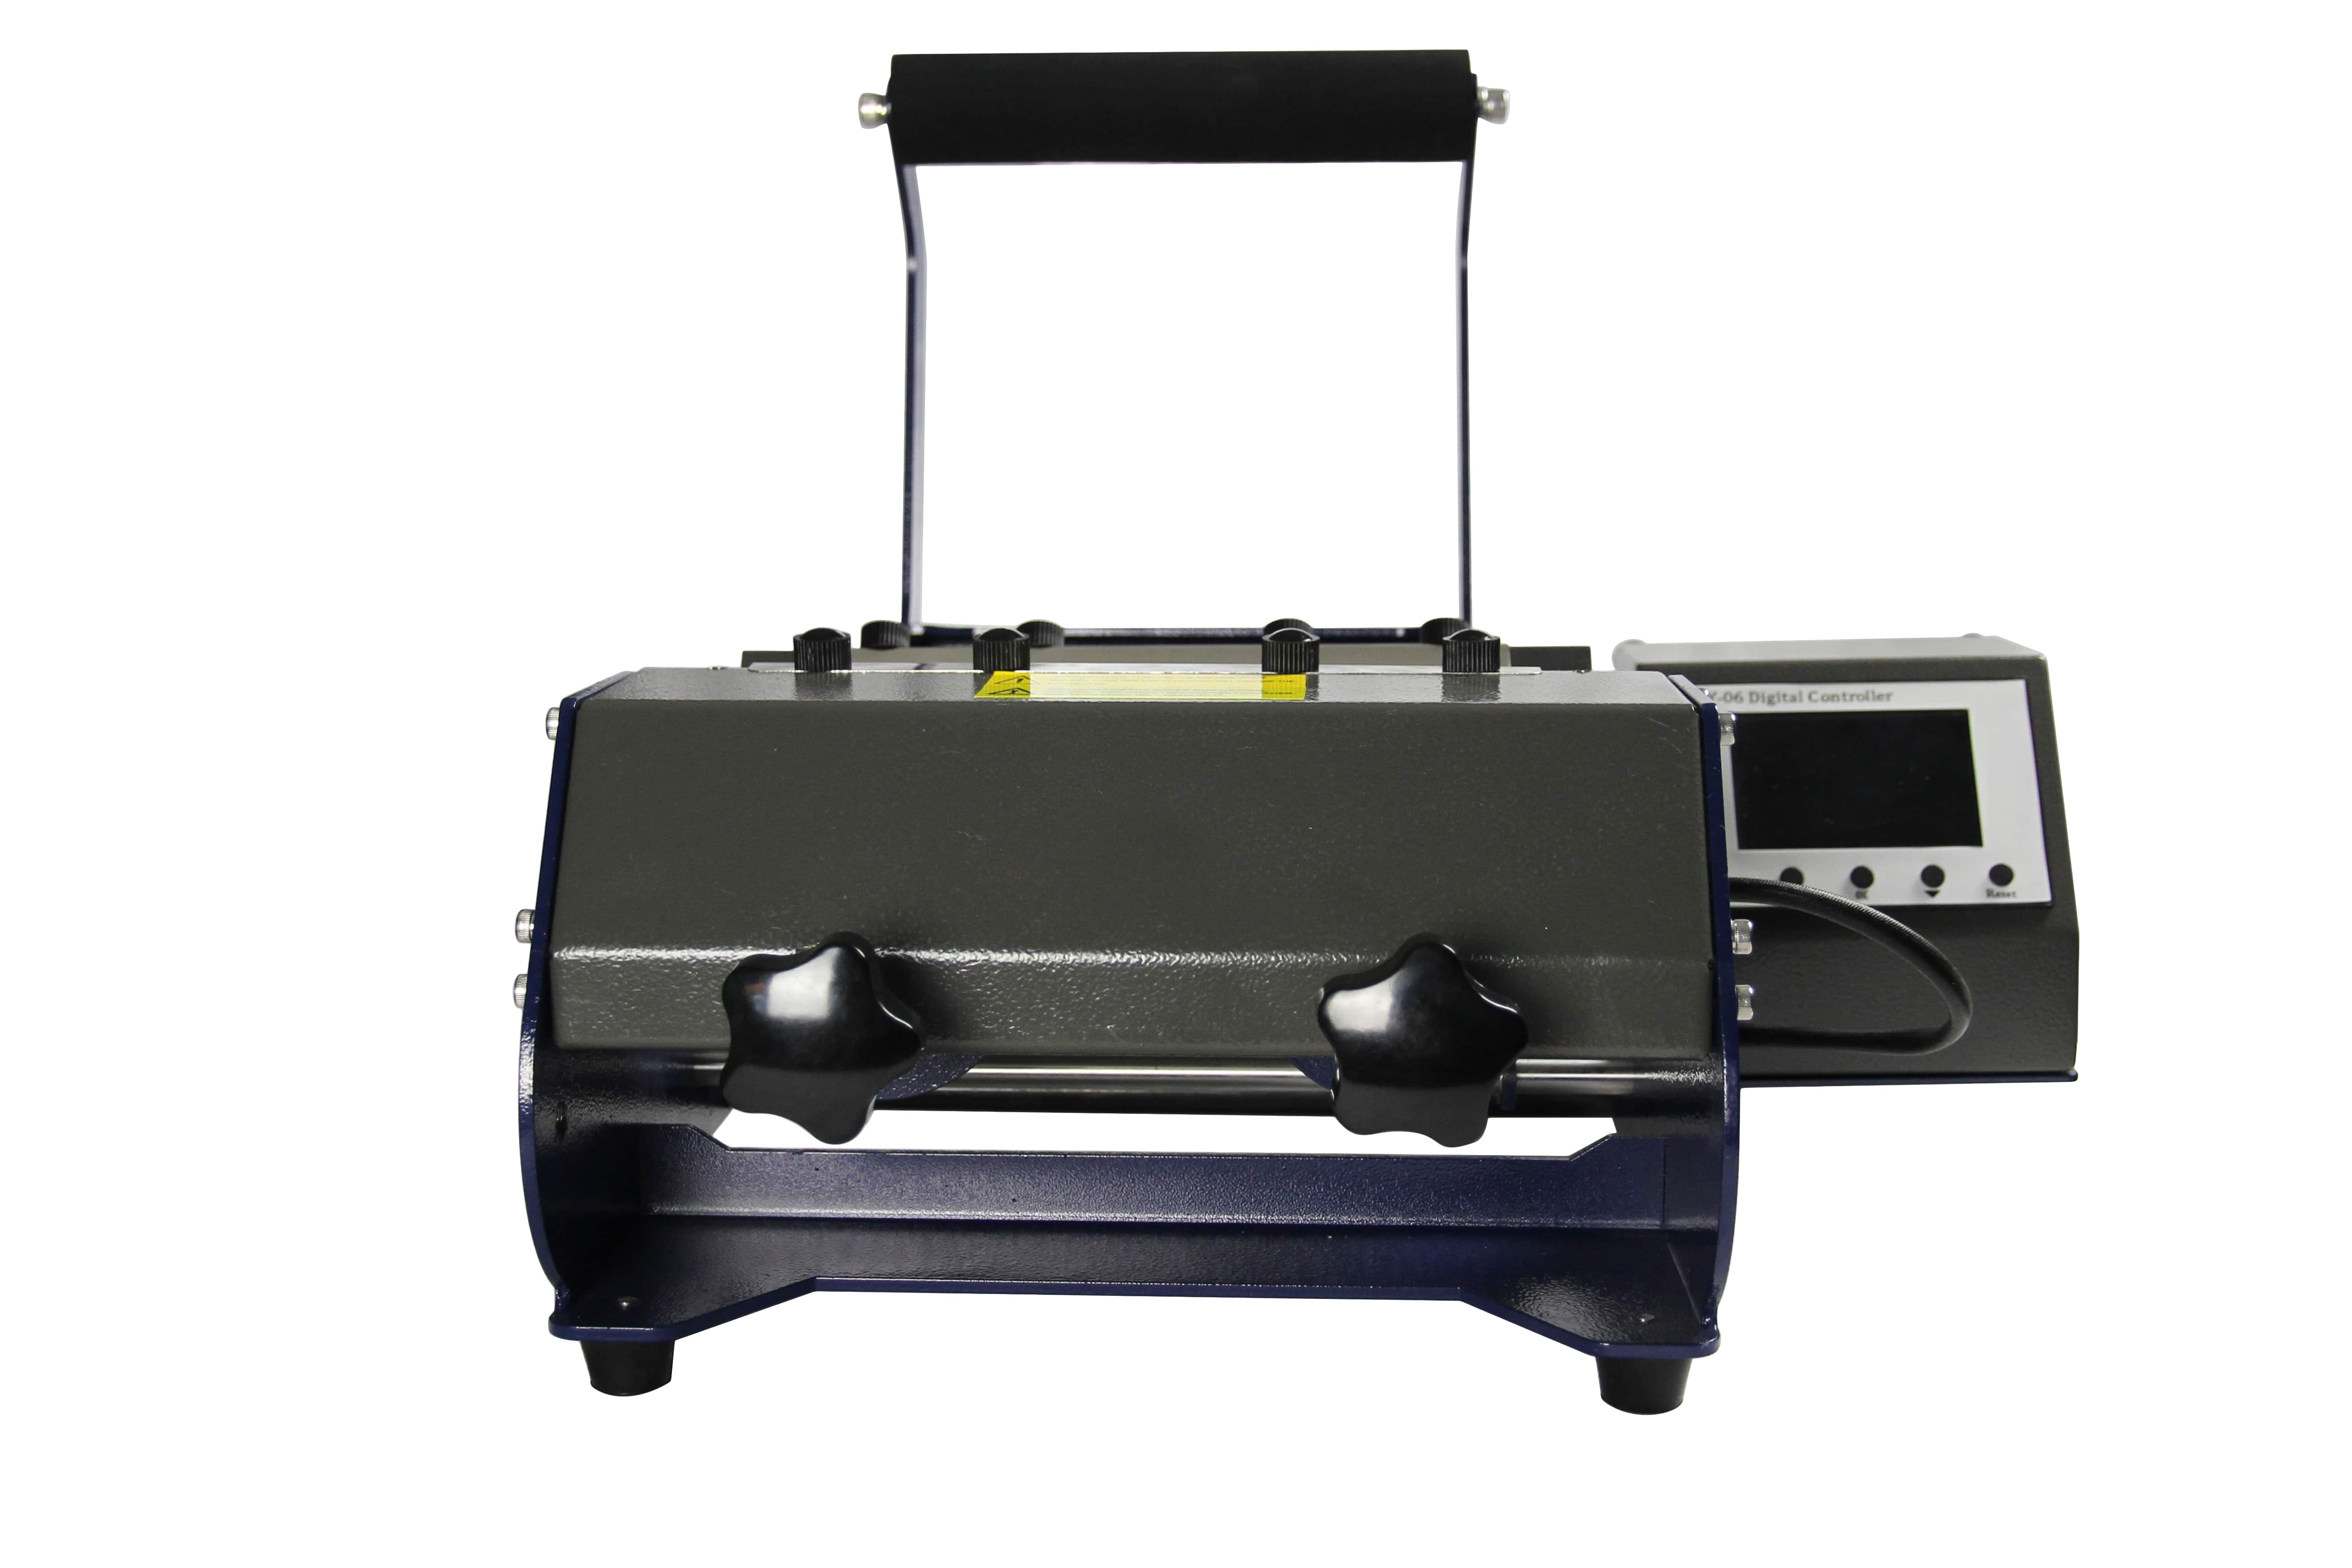
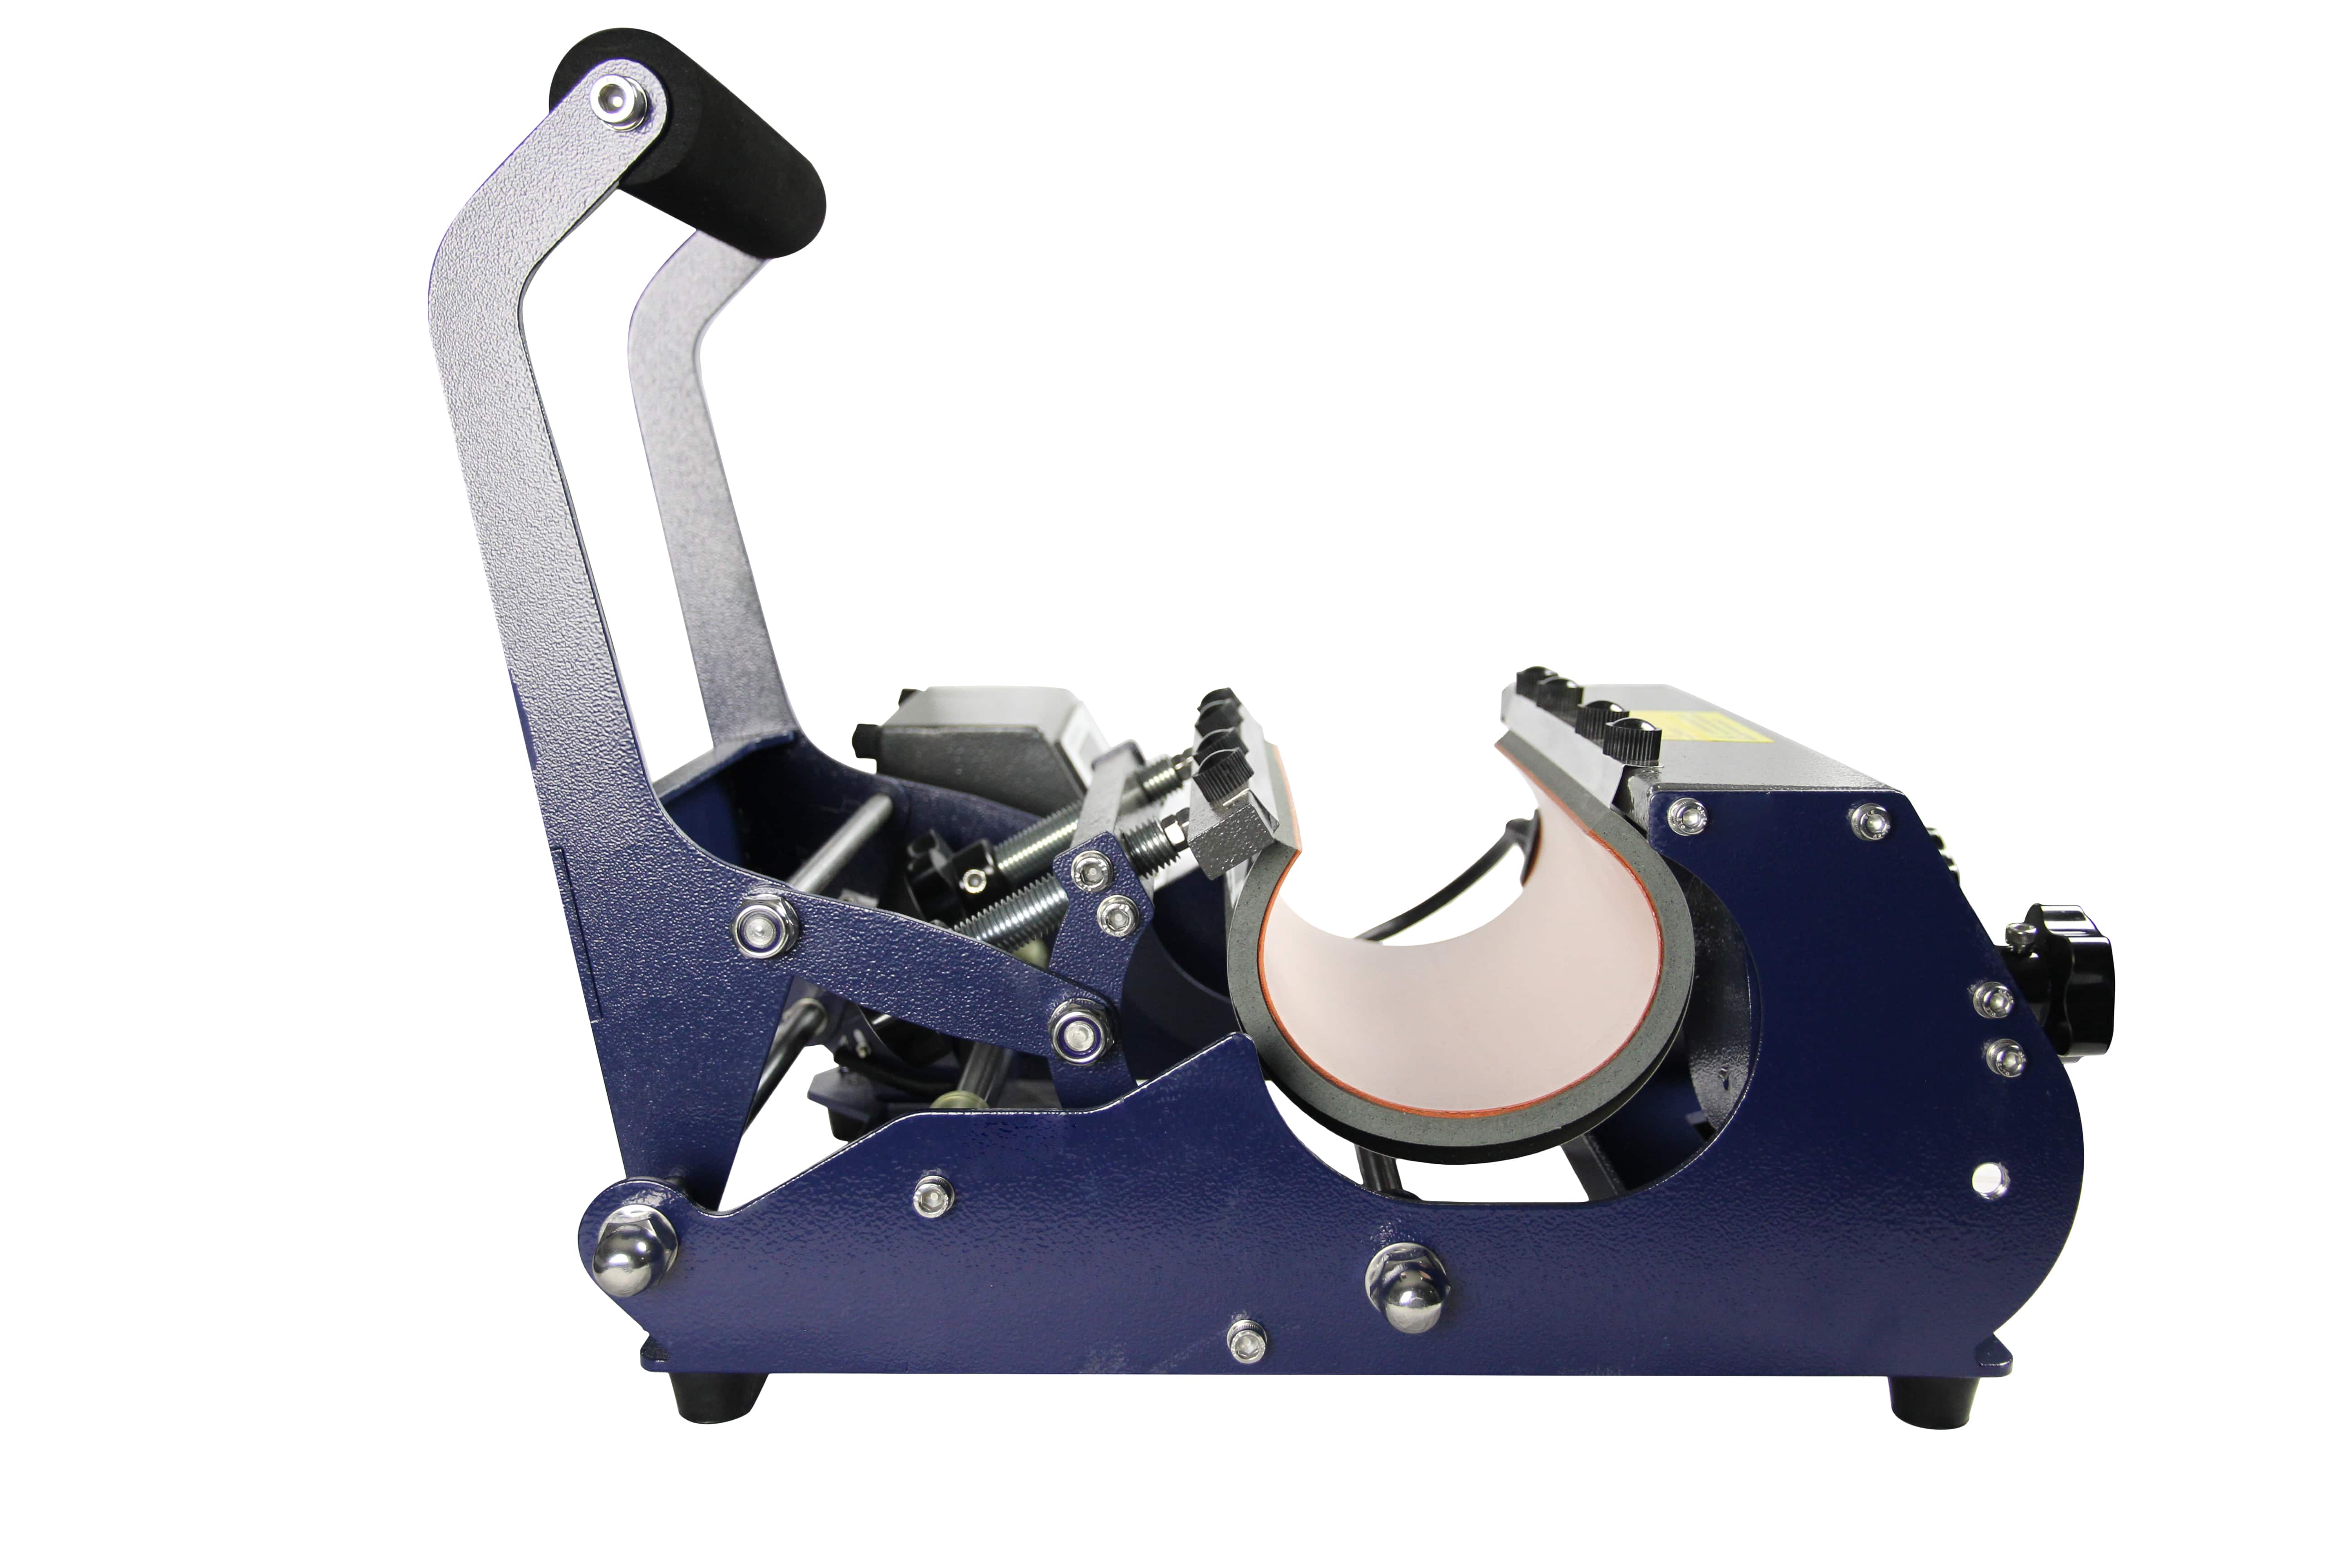
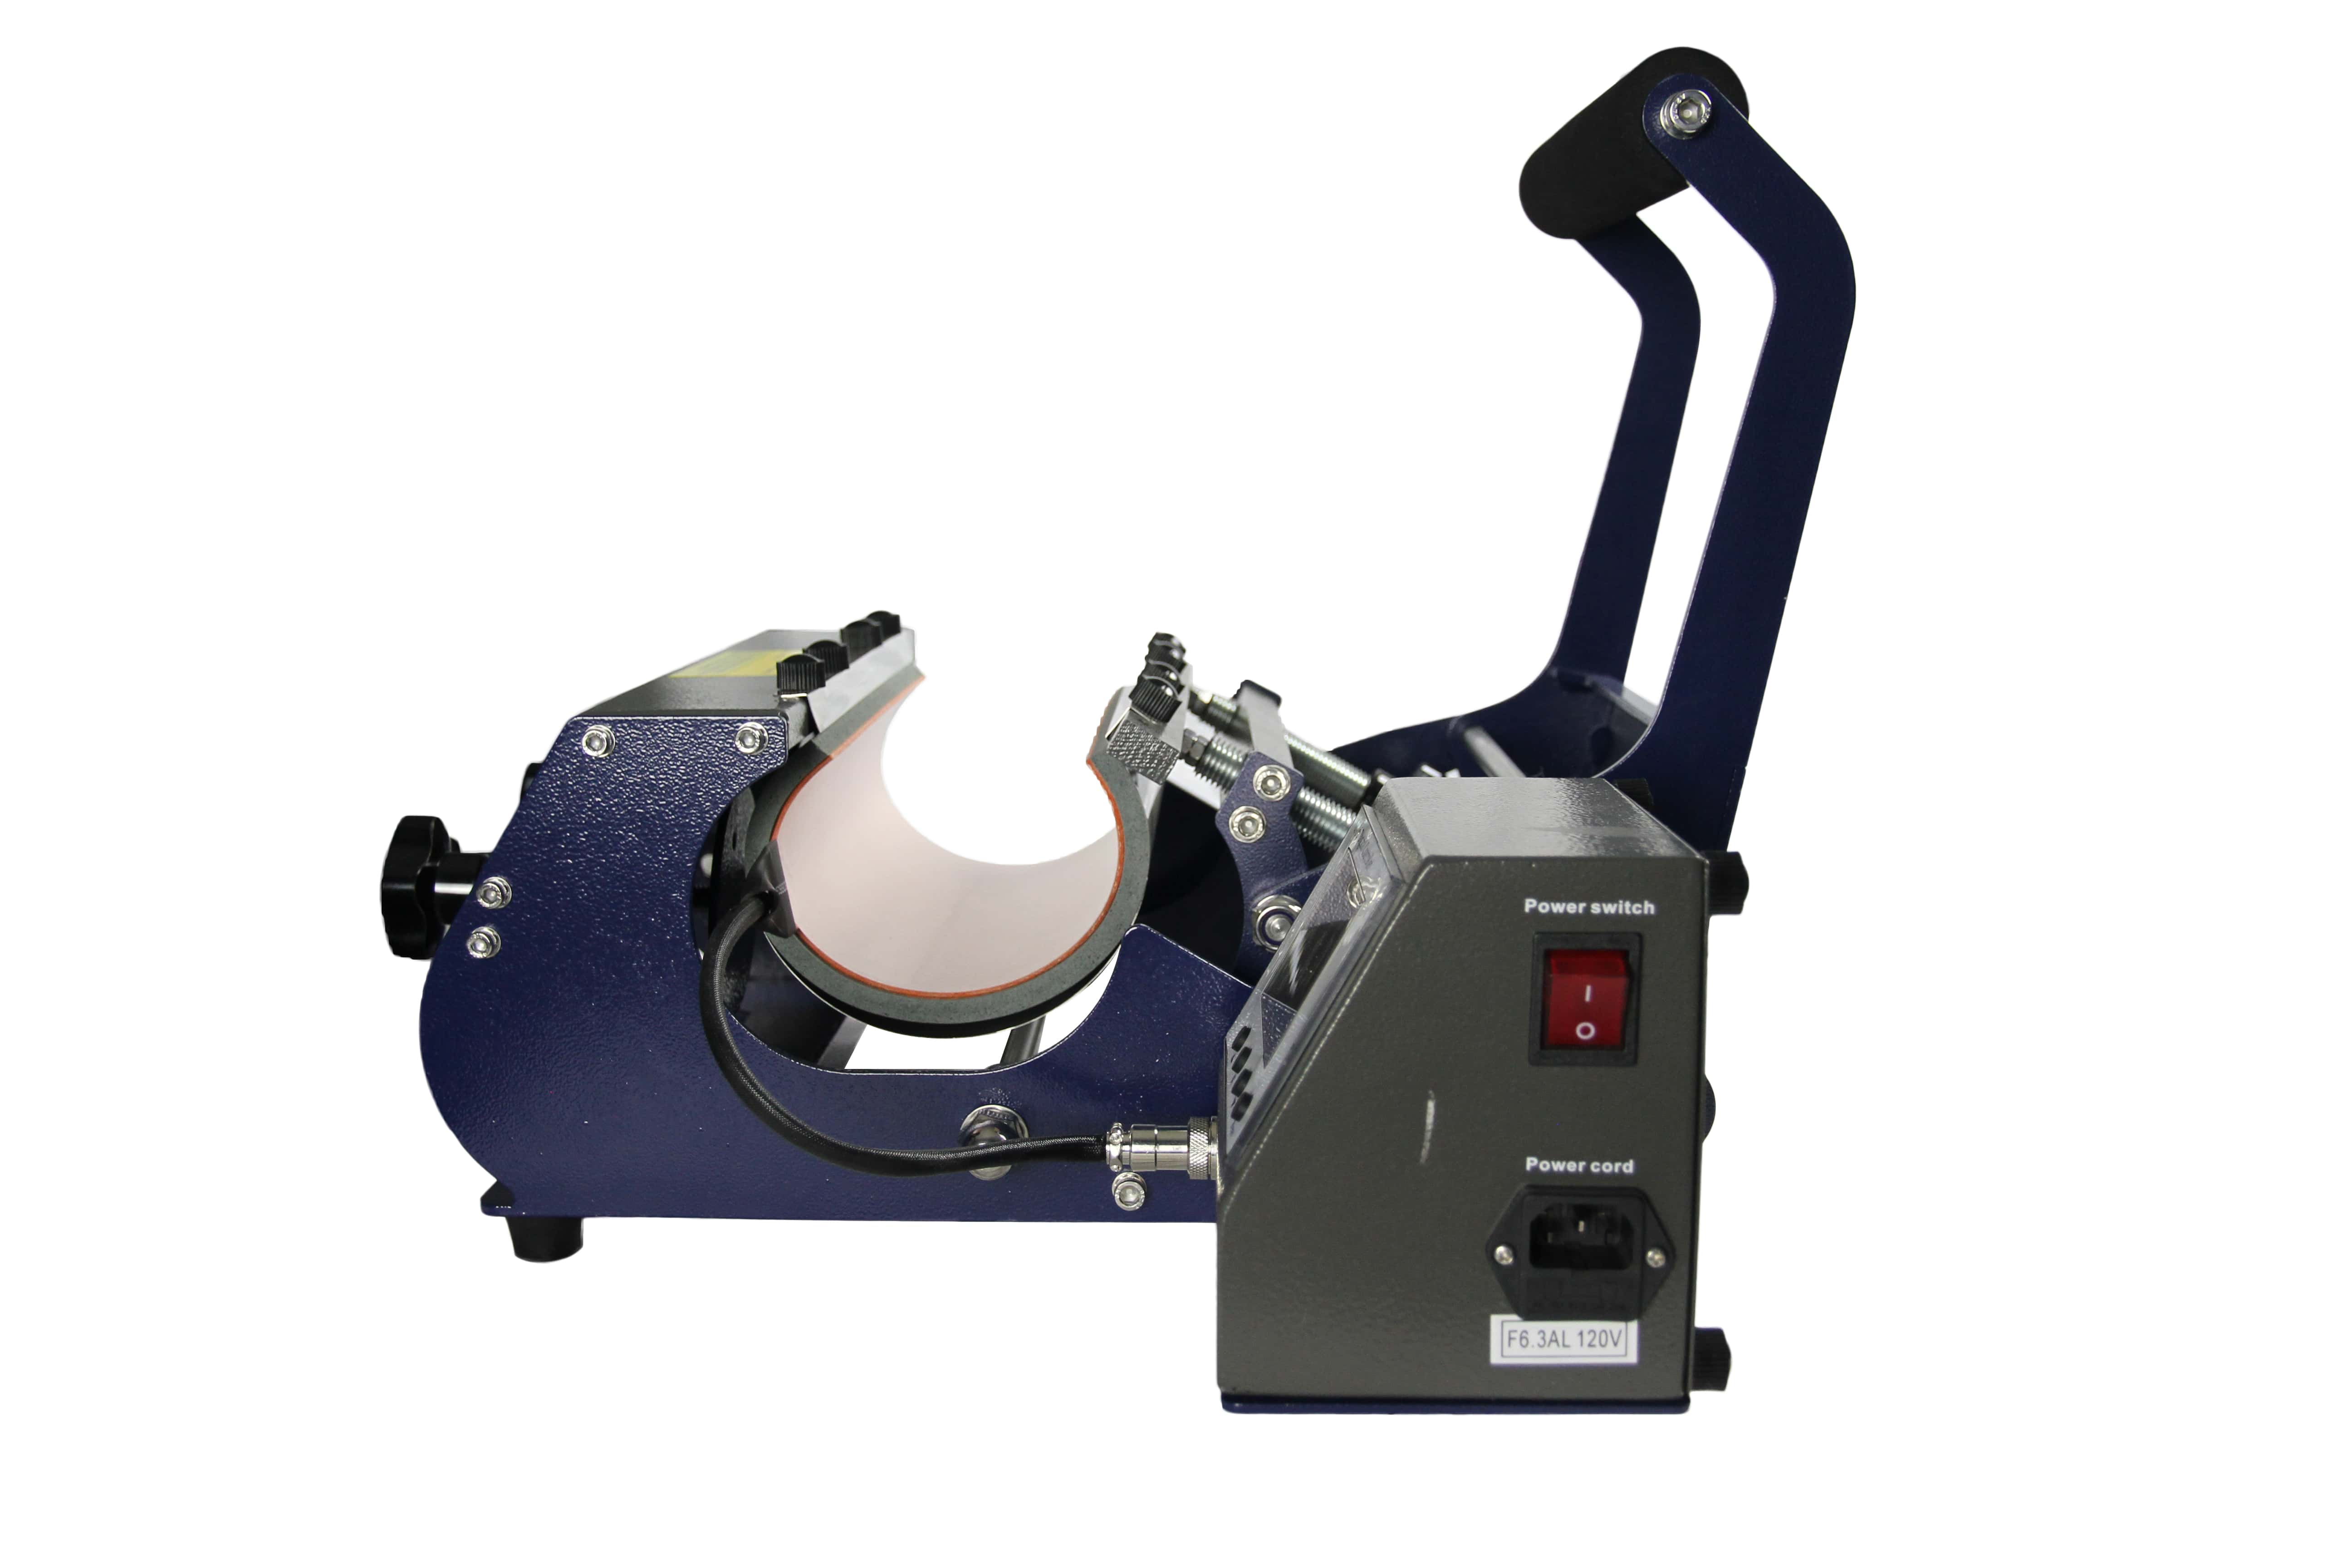
If you're working with a Joto Single Station, Dual Station, or 5-in-1 Mug Press, follow these guidelines:
- Temperature: 360°F (180°C)
- Time: 160 seconds
- Pressure: Light to medium (if you van press it with two fingers, that's ok)
Steps:
- Make sure the press is preheated to the target temperature.
- Insert the mug carefully and close the press.
- Let the cycle run. It’s normal for the temperature to drop slightly when you close the press, this is expected.
- Once done, open the press slowly and peel the paper off immediately.
⚠️ Excessive pressure can damage both your mug and your press. Always test pressure with a blank mug first.
🔥 Using a convection oven
No mug press? No problem. You can use a dedicated convection oven:
- Temperature: 400°F (204°C)
- Time: 12–15 minutes
- Wrap: Use a silicone mug wrap or shrink sleeve for even pressure
Important notes:
- Never use your food oven for sublimation, inks release fumes that are unsafe for food contact.
- Always rotate mugs halfway through the process if your oven doesn’t circulate heat evenly.
🌡️ Quick reference chart
| Method | Temp | Time | Notes |
|---|---|---|---|
| Mug Press | 360°F / 180°C | 160 sec | Use light pressure |
| Phoenix Mug Press | 360°F / 180°C | 240 sec | Includes idle temp: 300°F (150°C) |
| Convection Oven | 400°F / 204°C | 12–15 min | Use silicone wrap or shrink sleeve |
Handle with care: safety first when sublimating
Mug sublimation involves extremely high temperatures, so safety should always be a priority, especially during and after the pressing process.
Whether you're using a heat press or a convection oven, the mug will come out hot enough to cause burns if handled improperly.
🧤 Always Use Heat-Resistant Gloves
Once the press cycle ends, the mug is usually between 180°C and 200°C (360–400°F). That’s hot enough to:
- Burn skin on contact
- Melt tape if left too long
- Crack ceramic if cooled too quickly
Protect yourself by:
- Wearing heat-resistant gloves designed for sublimation or grilling
- Removing the paper gently (without dragging it)
- Letting the mug cool naturally on a flat, heat-safe surface
💡 Do not place mugs directly under cold water after pressing, as thermal shock can cause them to crack.
🧯 Workspace Safety Tips
- Keep your work area ventilated, especially if you're sublimating in large quantities.
- Never leave the press or oven unattended during operation.
- Keep flammable materials away from the heat zone.
- Allow sufficient time for cool down between presses to prevent overheating your machine.
By following basic safety practices, you’ll protect both yourself and your equipment, ensuring a smooth, injury-free workflow every time.
Press & reveal: The final step
This is the most satisfying part of the process, watching your design come to life on the mug. But even in this final step, technique matters. Timing, movement, and handling will affect the final result.
Here’s how to do it right:
🕒 Remove the mug carefully
As soon as the press or oven cycle ends:
- Open the press slowly (or remove the mug from the oven using heat-resistant gloves).
- Peel the sublimation paper off immediately, do it carefully but quickly to avoid leaving ghost lines or shadows.
- Place the mug on a heat-safe surface to cool naturally.
⚠️ Avoid sliding the paper across the mug surface, this can create a double image or “ghosting.”
💧 Optional: warm water dunk
To speed up the cooling process:
- Prepare a bowl or tub of warm (not cold) water.
- Dip the mug in for 5–10 seconds to stabilize the temperature.
- Let it air dry afterward.
This trick is especially helpful when you’re doing multiple mugs in a row and need to cool them faster before packing or handling.
🧐 Check for transfer quality
Look for:
- Sharpness: Lines and text should be crisp.
- Color: Bright and accurate, not faded.
- Placement: Straight and properly aligned.
- No gaps or streaks: Which could signal poor pressure or surface contamination.
If any issues appear, check your printer settings, mug quality, or pressing process. Most problems have simple fixes once identified.
⚠️ Common mistakes and how to avoid them
Even experienced sublimators occasionally run into issues, but most problems in mug sublimation are avoidable with the right knowledge. Below are the most common mistakes and how you can prevent them:
❌ 1. Using the wrong type of mug
- Problem: The design doesn’t transfer, looks faded, or washes off.
- Cause: Trying to sublimate a regular ceramic mug.
- Solution: Always use sublimation-ready mugs with a polymer coating. At JotoImaging Supplies, all our mugs are tested and certified for sublimation.
❌ 2. Low-Quality paper or ink
- Problem: Dull colors, poor detail, or smudging.
- Cause: Using standard printer ink or low-grade sublimation supplies.
- Solution: Use genuine sublimation ink and paper from reputable sources, and print at 300 DPI for optimal results.
❌ 3. Misaligned or crooked designs
- Problem: The design is not centered or is tilted.
- Cause: Poor positioning before pressing.
- Solution: Use a ruler or mockup to align the design. Wrap it tightly and use heat-resistant tape to secure it evenly.
❌ 4. Ghosting or double images
- Problem: A blurry “shadow” around the design.
- Cause: The paper shifted during or after pressing.
- Solution: Tape the design firmly, and remove the paper immediately after pressing, without dragging it across the mug surface.
❌ 5. Uneven Colors or Faded Areas
- Problem: Some parts of the design look faded or pale.
- Cause: Uneven pressure or inconsistent heat.
- Solution: Ensure correct pressure settings and preheat your press properly. If using an oven, always use a silicone wrap or shrink sleeve to apply uniform pressure.
❌ 6. Burn Marks or Overcooked Transfers
- Problem: Yellowing or browning around the design.
- Cause: Excessive time or temperature.
- Solution: Stick to the recommended settings (e.g. 360°F for 160 seconds in a Joto mug press) and do not exceed them.
Learning to identify and correct these mistakes will significantly improve your print quality and consistency, and save you money in wasted materials.
Frequently Asked Questions (FAQs)
Responding to common doubts helps your audience feel more confident and reduces frustration, especially for beginners. Here are some of the most frequently asked questions about sublimating mugs:
- Can I use any ceramic mug for sublimation?
No. Regular ceramic mugs won’t work because they lack the polymer coating required for sublimation. You must use sublimation-ready mugs specifically designed to bond with sublimation ink under heat and pressure.
- What’s the best printer for sublimation mugs?
Two of the most reliable options are:
- Sawgrass SG500, made specifically for sublimation
- Epson F570, affordable and professional-level options
Always pair your printer with compatible sublimation inks and papers.
- Why do the colors look faded on the paper?
That’s normal. Sublimation ink looks dull before heat is applied. Once transferred, the colors will become vibrant and fully saturated.
- Can I reuse sublimation paper for another mug?
No. Once pressed, sublimation paper releases most of its ink. Reusing it won’t produce a quality transfer.
- How do I avoid ghosting or blurry images?
Secure the paper tightly with heat-resistant tape, use proper pressure, and remove the paper immediately after pressing without dragging it.
- How long do sublimated mugs last?
When made with high-quality materials and proper technique, sublimated mugs are dishwasher-safe (top rack) and resistant to fading, cracking, or peeling. They can last for years with normal use.
🚀 Beyond mugs: Expand your product line
Once you master sublimation on mugs, you’ll quickly realize you can apply the same technique to many other products, and grow your business in exciting ways.
Sublimation is versatile, and with the right blanks and equipment, you can create:
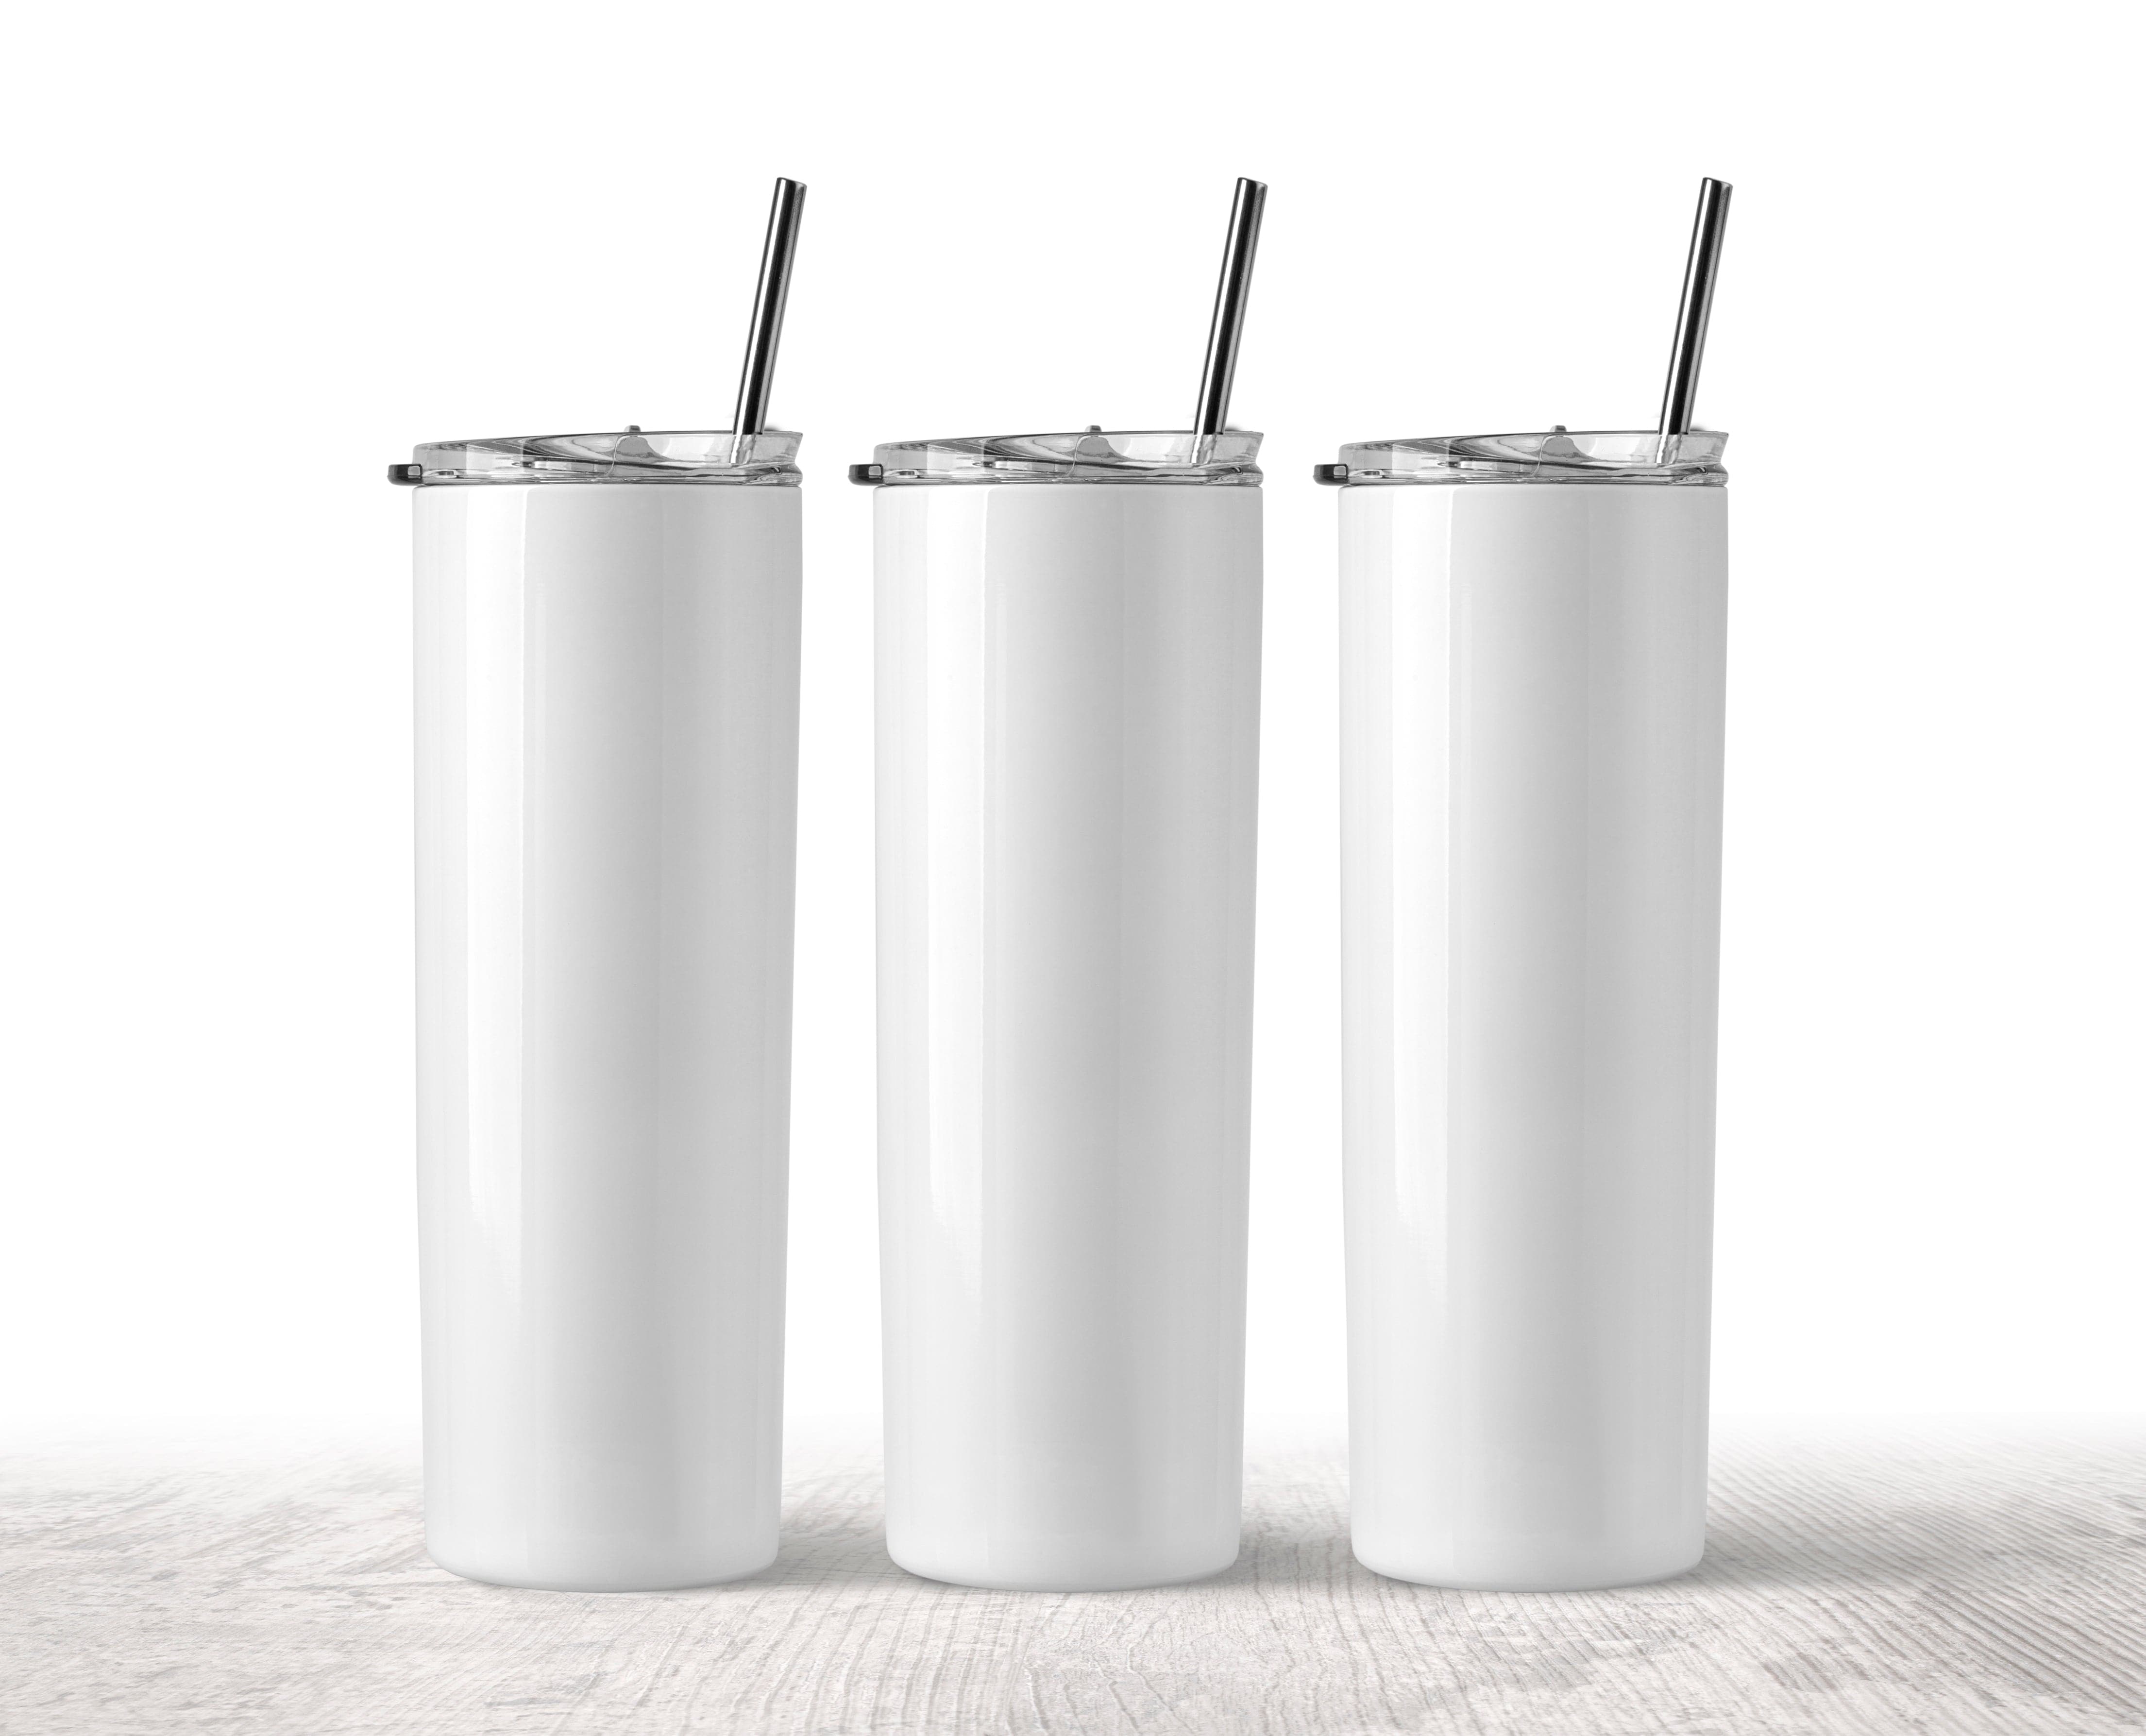
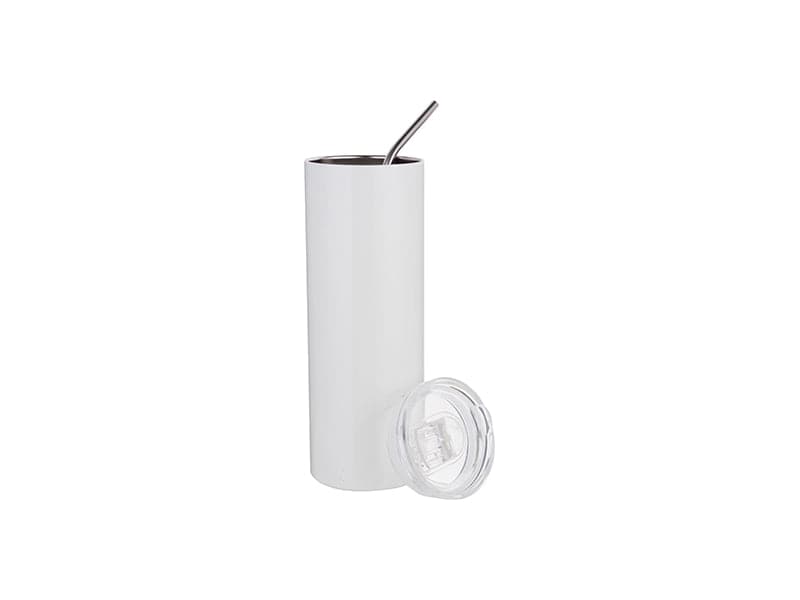
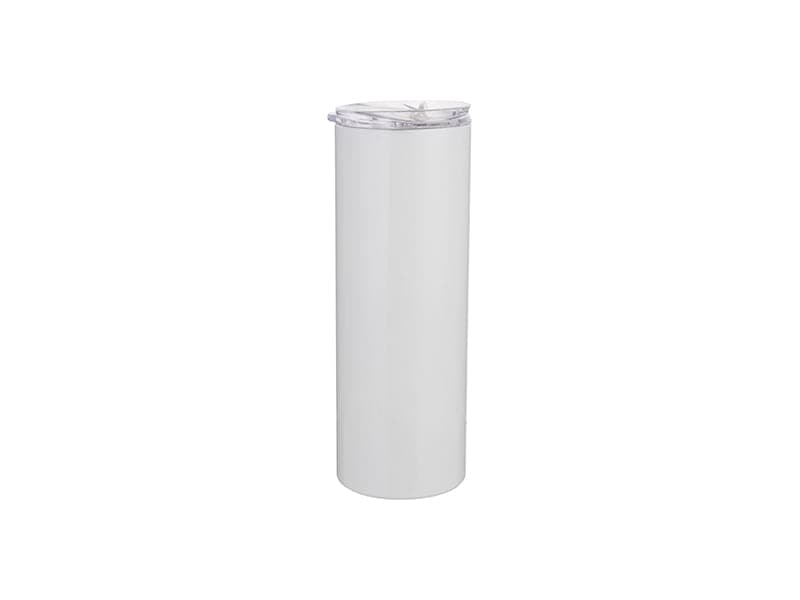
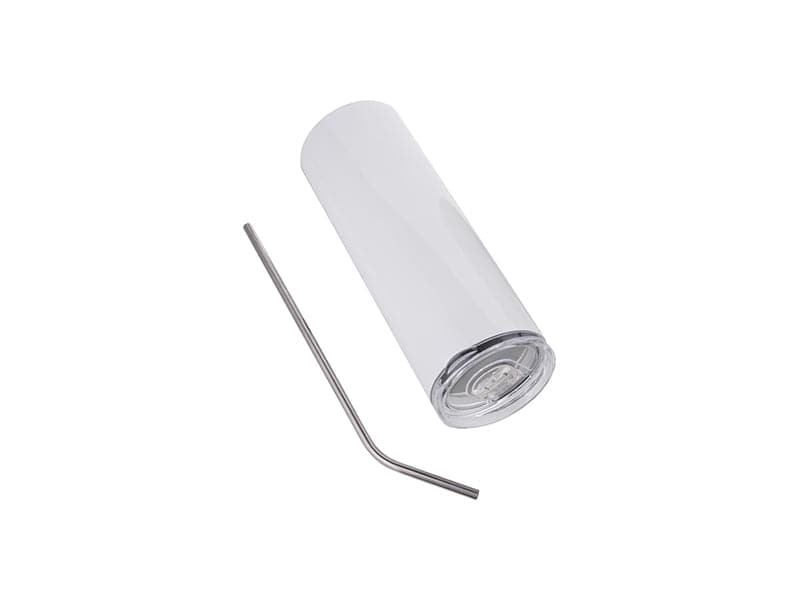
- Tumblers and travel mugs – Popular for on-the-go customers
- Water bottles – Great for sports teams, schools, or branded merch
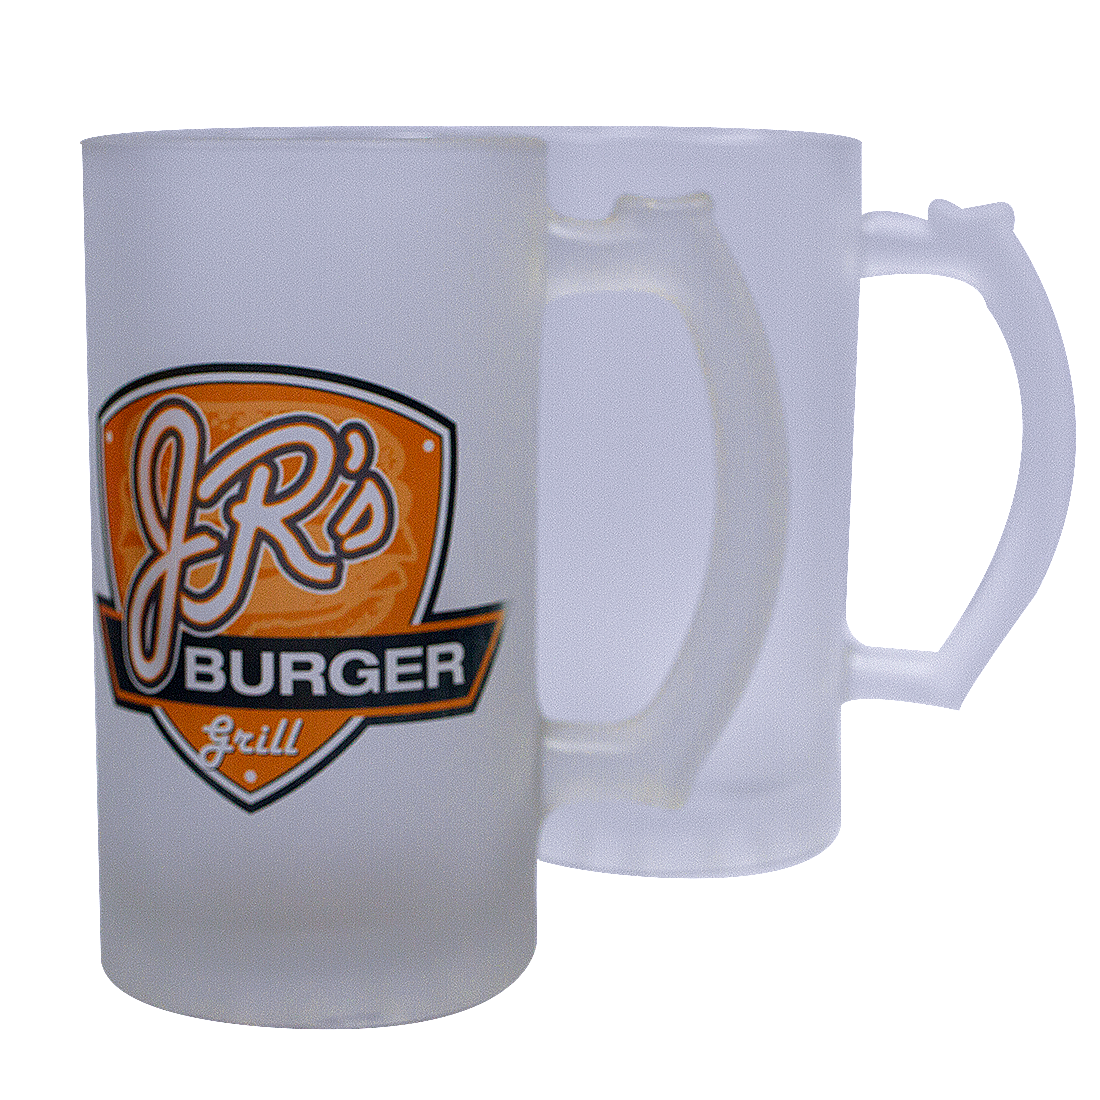
- Glass mugs – Sleek and modern, ideal for specialty drinks
- Aluminum bottles – Durable and lightweight, ideal for outdoor gear
- Shot glasses and espresso cups – Perfect for event favors and niche gifts
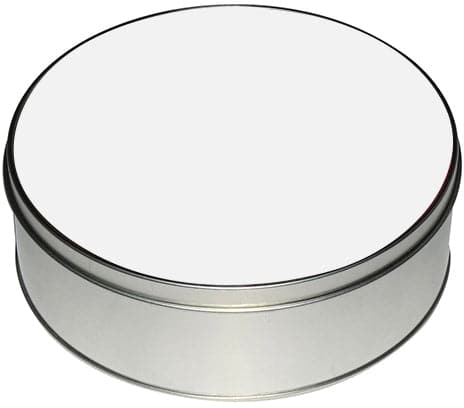
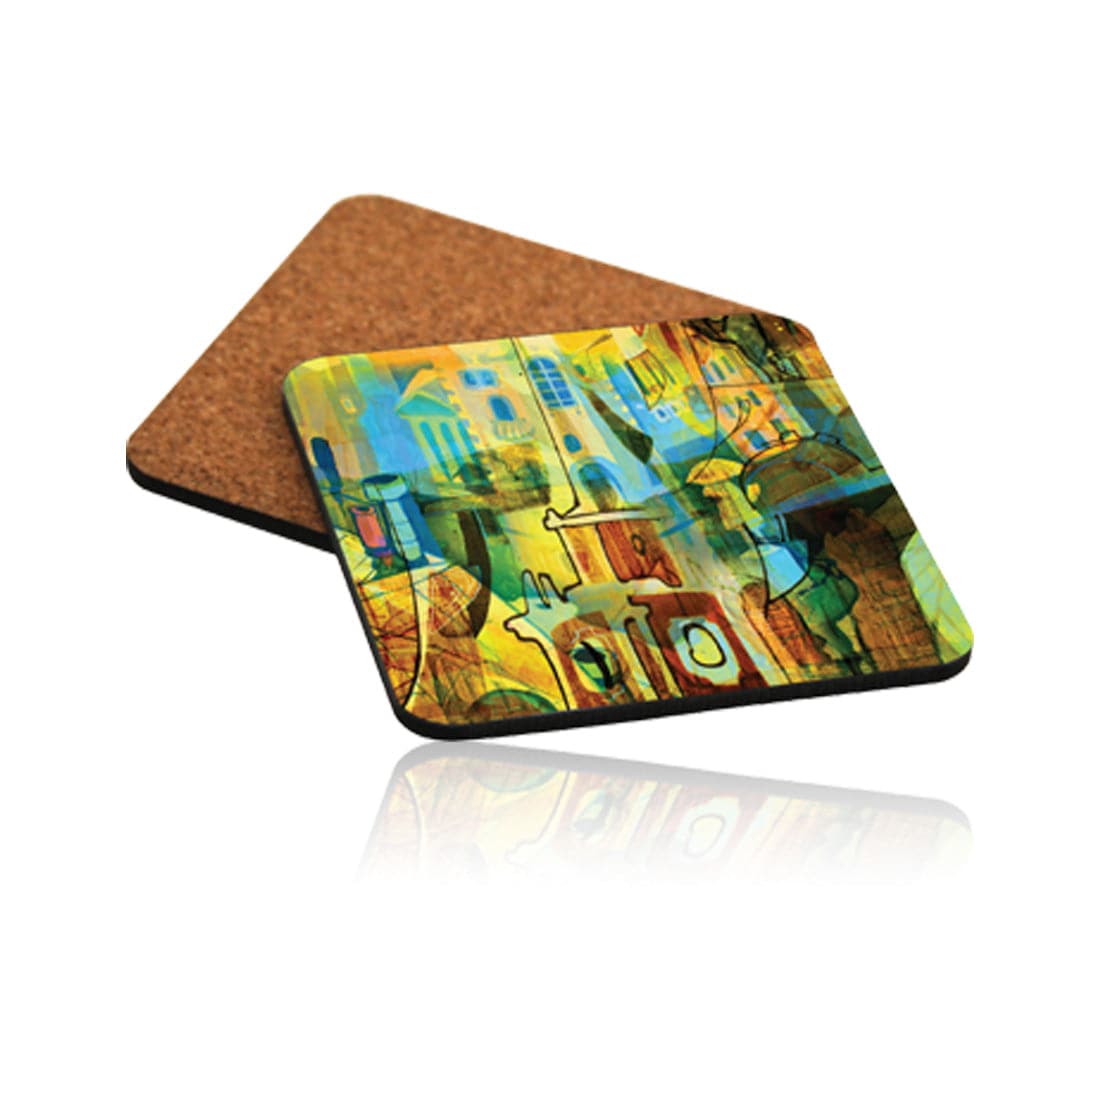
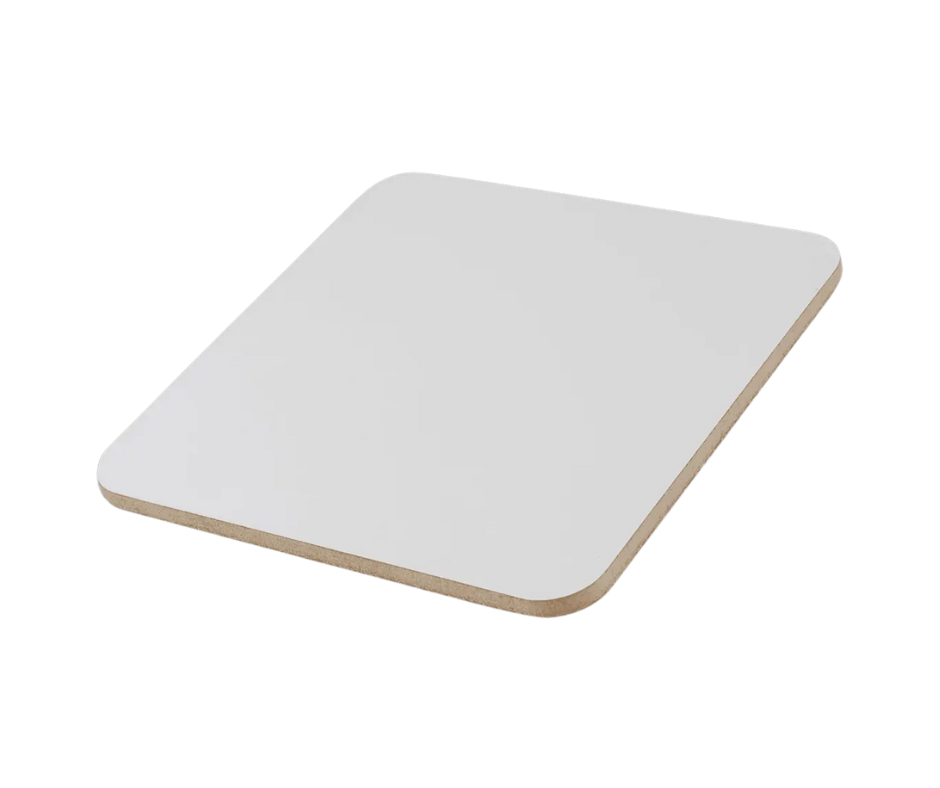
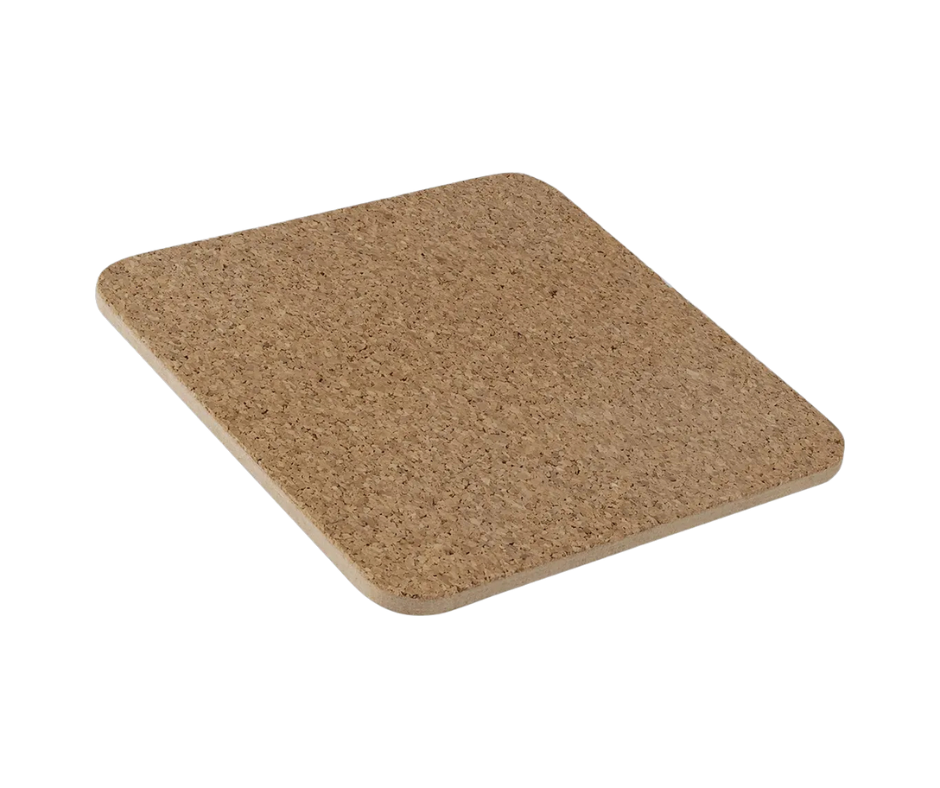
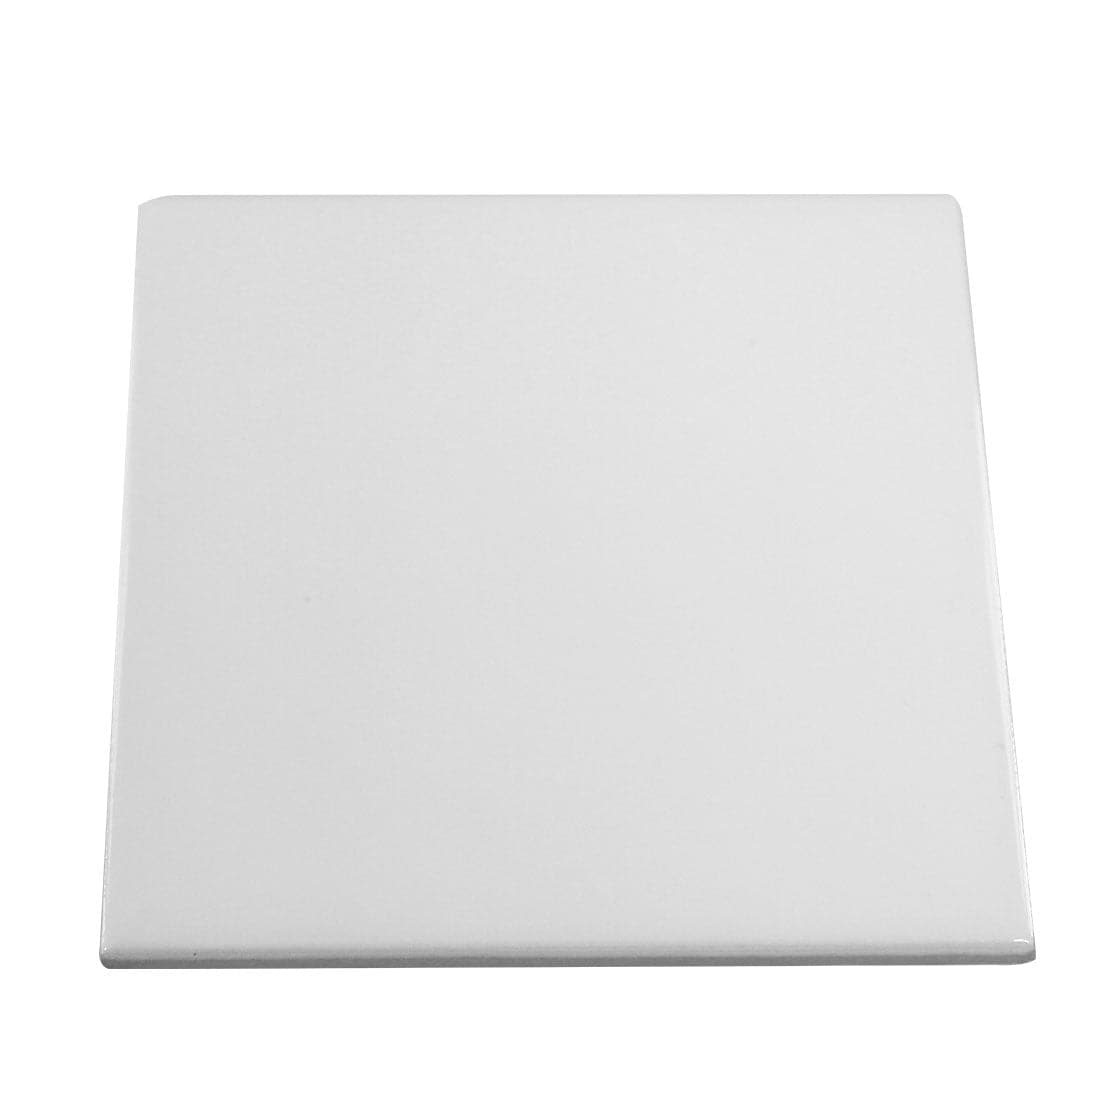
- Ceramic tiles and coasters – Excellent for home decor or custom gifts
💡 Many of these products require a different wrap, press attachment, or oven setting, but the sublimation principles remain the same.
By offering a wider range of items, you can attract new customer segments, upsell bundles, and turn a mug business into a full personalization brand.
Start creating mugs that sell (and wow)
Sublimation mug printing is more than just a hobby, it’s a powerful way to share your creativity, build your brand, and offer products people love to use and gift.
Whether you're just getting started or looking to level up your production, quality tools, the right technique, and a bit of patience make all the difference. From design setup to pressing and peeling, every step plays a role in delivering a final product that looks and feels professional.
At Joto Imaging Supplies, we're proud to support creators, entrepreneurs, and growing businesses across North America with trusted blanks, reliable equipment, and expert support.
Let’s create something unforgettable, one mug at a time.