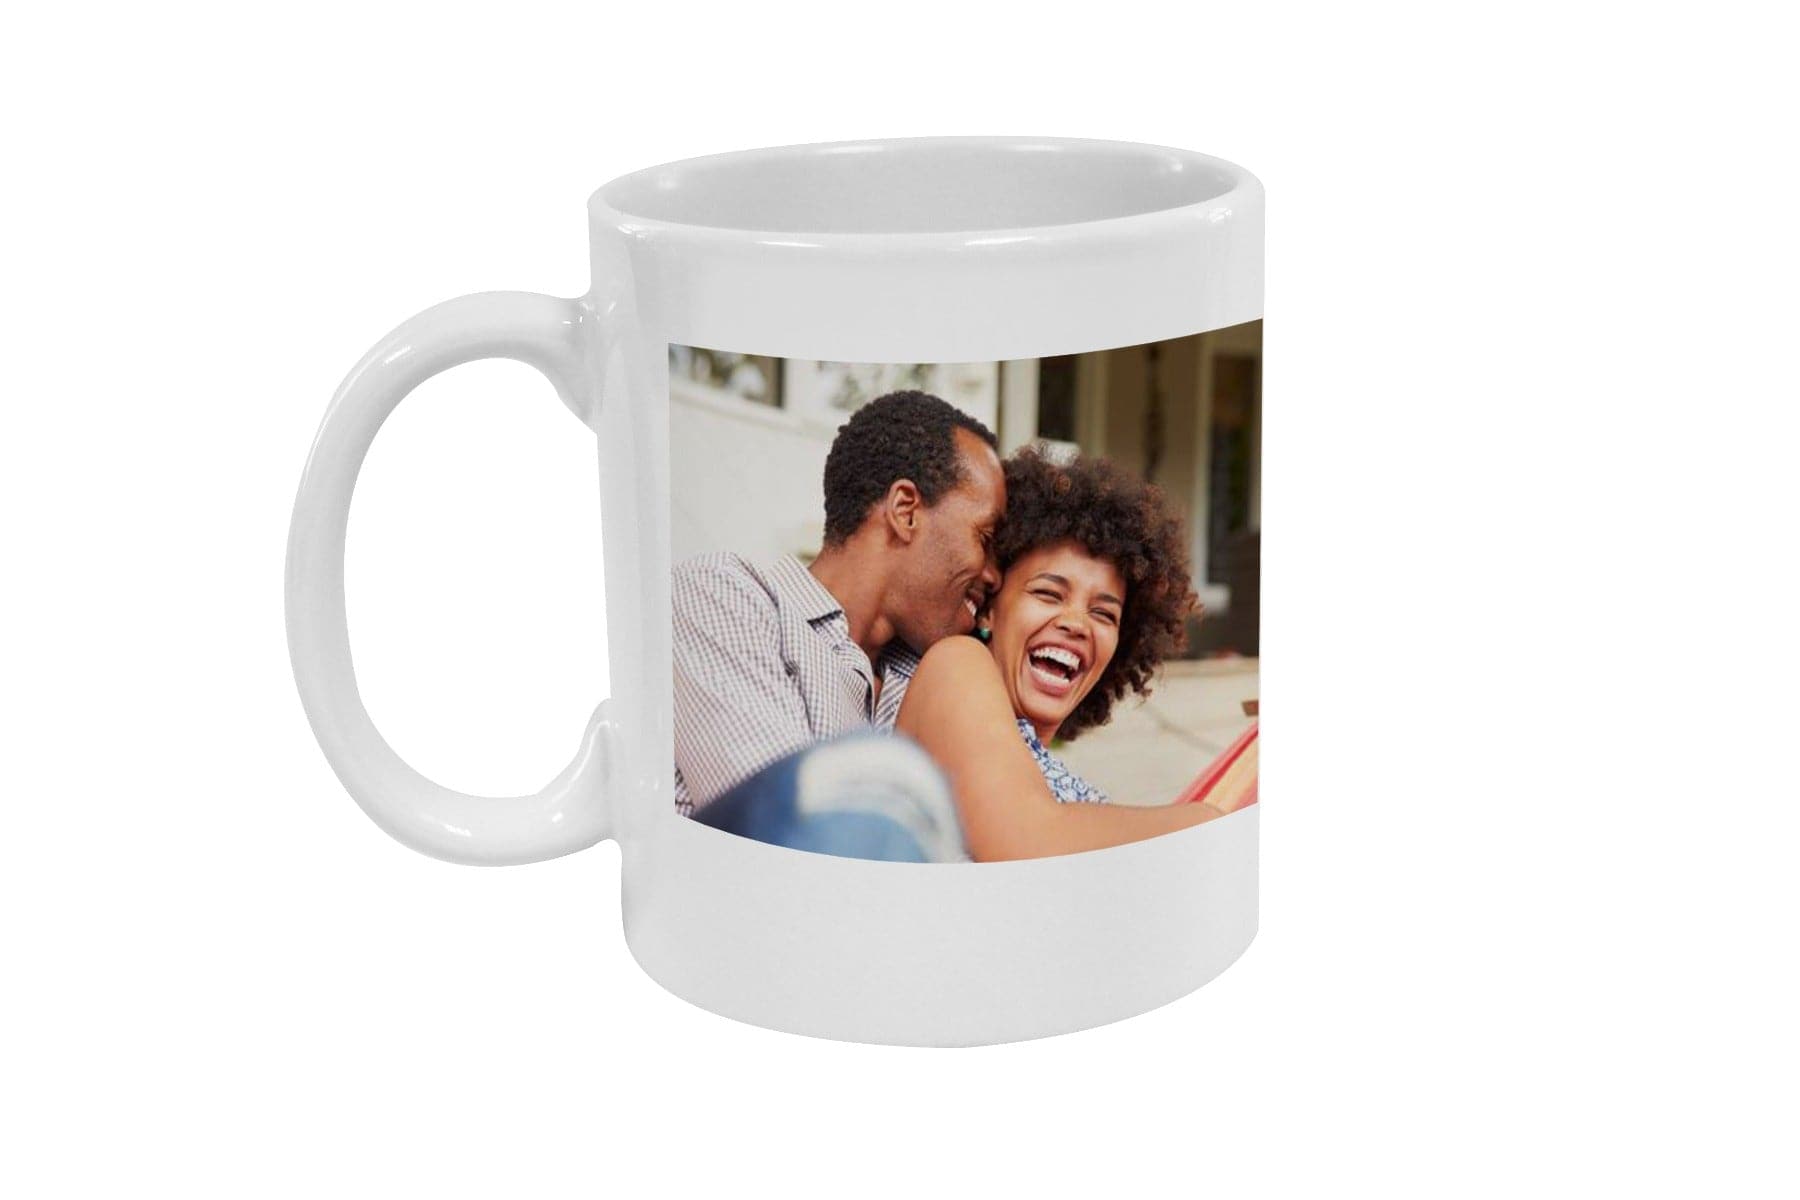


As the holiday season approaches, personalized ornaments become one of the hottest items in the personalization industry. At Joto Imaging Supplies, we know that aluminum ornaments—specifically our Pearl Coating™ Sublimation Metal Ornaments—are a favorite for their durability, lightweight shipping profile, and stunning glossy finish.
However, many creators struggle with a common issue when working with metal: heat spots, clouding, or uneven transfers.
If you’ve ever pulled an ornament off the press only to find "splotches" or a hazy finish, you aren't alone. The good news? The solution is likely in how you are stacking your materials.
In this guide, we are sharing a critical "Pro Tip" from our latest video tutorial that will change how you press metal forever.
Watch: Step-by-Step Metal Ornament Sublimation
The Common Mistake: Why Your Metal Gets "Spots"
When sublimating traditional substrates like ceramic mugs or mousepads, we often focus purely on time and temperature. But aluminum is highly conductive.
If you place your transfer paper on top of the metal and press directly against the transfer (Face-Up), you risk the heat platen coming into uneven contact with the metal. This can cause:
-
Gassing Out: The ink turns into gas too quickly in certain spots before the rest of the image is ready.
-
Platen Marks: The texture or heating element pattern of your heat press might transfer onto the glossy surface.
-
Heat Spots: Uneven pressure distribution leads to blotchy colors.
The Solution: The "Face-Down" Method
As Michael demonstrates in the video (around the 0:45 mark), the secret to a perfect, glass-like finish on Joto’s Pearl Coating™ ornaments is to flip the script—literally.
We recommend pressing these ornaments FACE DOWN.
This means the stack order on your heat press should be:
-
Bottom: Protective paper (on the rubber mat).
-
Middle: Sublimation Transfer Paper (Image facing UP).
-
Top: Metal Ornament (Coated side facing DOWN, touching the paper).
-
Cover: Another sheet of protective paper.
Why this works: By heating through the metal from the back (the non-coated side), the aluminum acts as a buffer. It distributes the heat evenly across the surface before it activates the ink on the coating. This creates a uniform, gentle activation of the sublimation process, eliminating spots and "splotches."
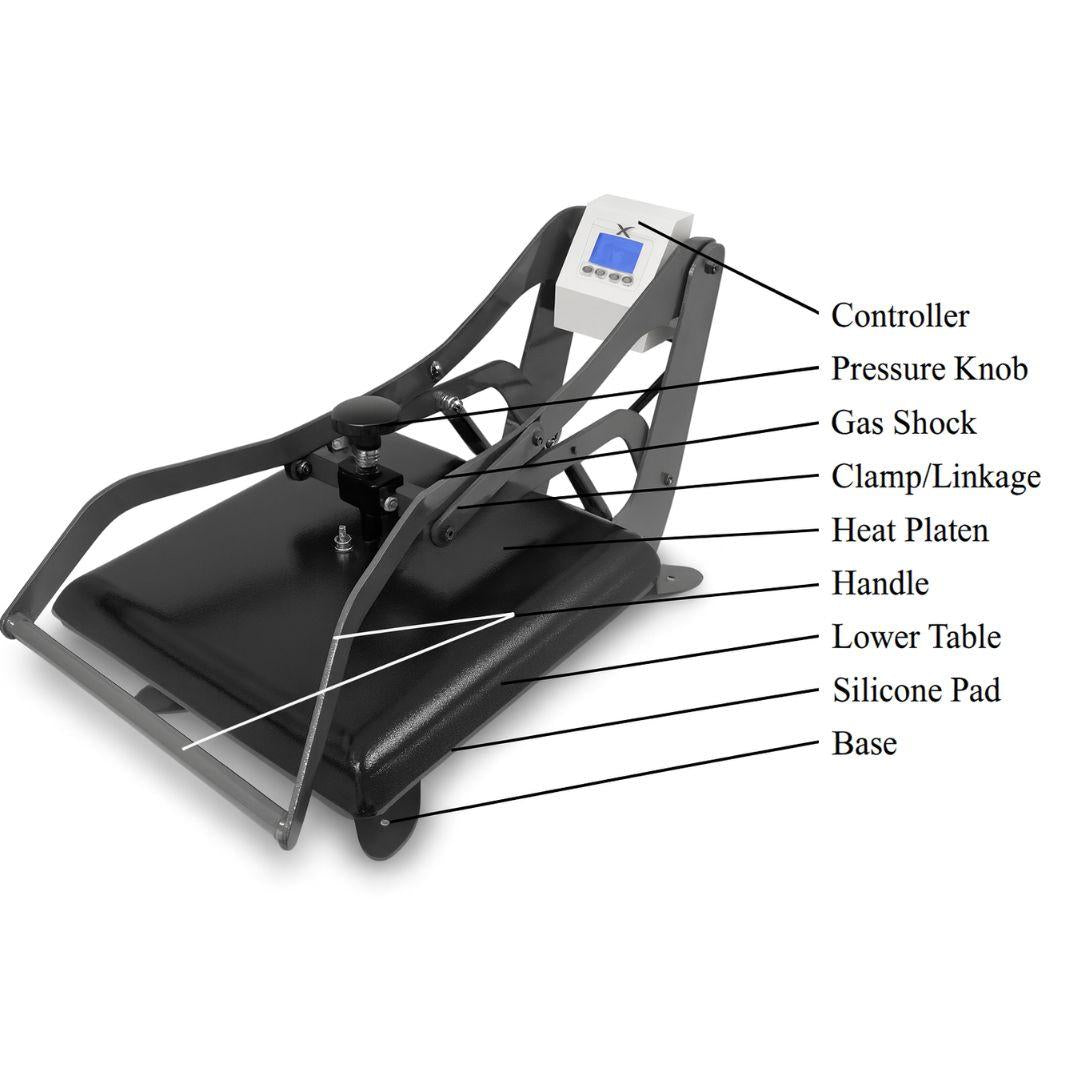
Official Joto Heat Press Settings (Pearl Coating™ Metal)
Follow these exact settings derived from our lab testing for the best results.
-
Temperature: 340°F (171°C)
-
Time: 90 Seconds
-
Pressure: Light to Medium
-
Peel: Hot (Remove paper immediately)
Pro Tip: Always double-check if your ornament is Single-Sided or Double-Sided. The Pearl Coating™ ornaments used in this tutorial are Single-Sided. Ensure you are sublimating on the bright white, glossy side, not the brushed aluminum back!
Step-by-Step Instructions
1. Prepare Your Design
Create your artwork using your preferred software. Remember to add a small bleed (about 1/8") around the edge of the ornament shape (Round, Snowflake, Tree, or Snowman) to ensure full coverage. Mirror your image before printing.
2. Print on High-Quality Paper
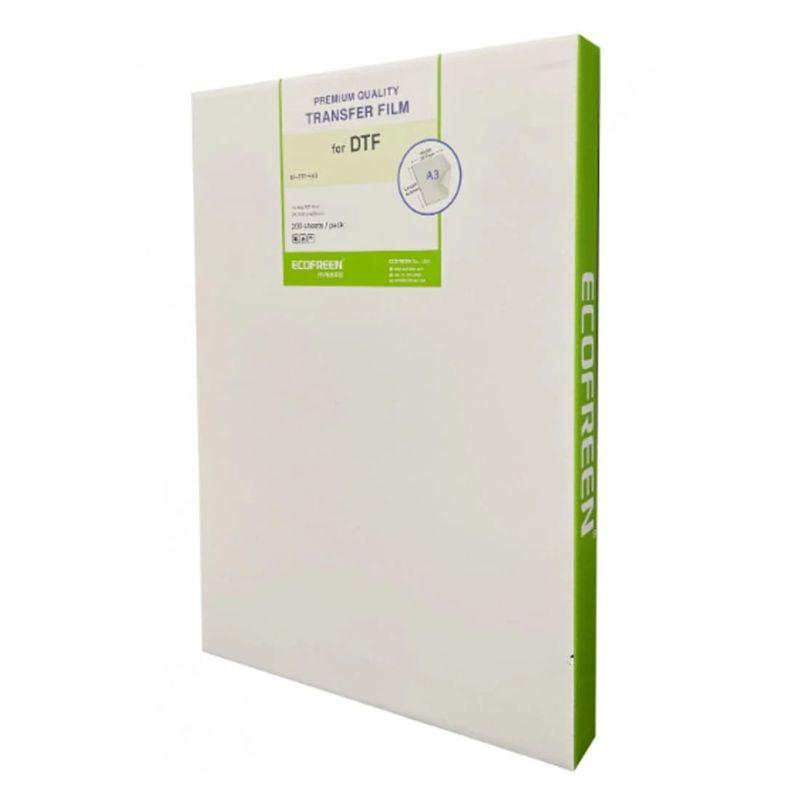
We used Paropy™ 120g Sublimation Paper for this project. Its high release factor ensures that the maximum amount of ink transfers to the hard surface of the metal, resulting in deeper blacks and more vibrant reds.
3. Secure the Transfer
Place your ornament on the printed transfer paper. Use Heat Tape to secure the ornament to the paper.
-
Note: Do not tape over the important parts of your design if possible, although high-quality heat tape shouldn't leave marks.
4. The "Face-Down" Press
Preheat your press to 340°F. Place a sheet of protective paper on your press. Lay your project down so the paper is on the bottom and the metal ornament is on top. Cover with a second protective sheet. Press for 90 seconds with light-medium pressure.
5. Reveal and Cool
Once the timer beeps, open the press gently. Because metal holds heat, the ornament will be extremely hot. Use heat-resistant gloves or let it cool for a moment. Peel the paper off quickly and smoothly.
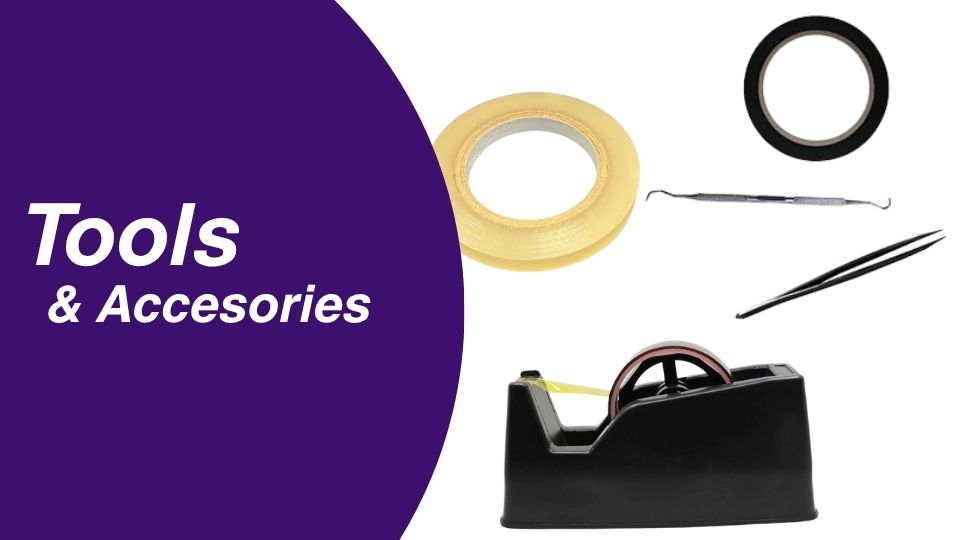
Materials Used in This Project
Ready to start production? Here are the exact supplies Michael used in the video:
-
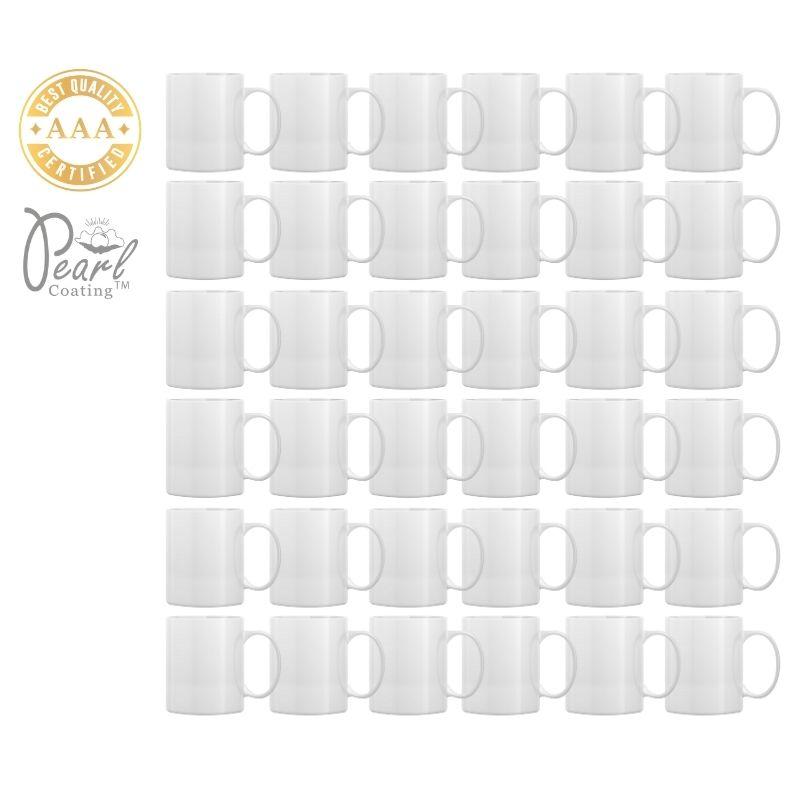
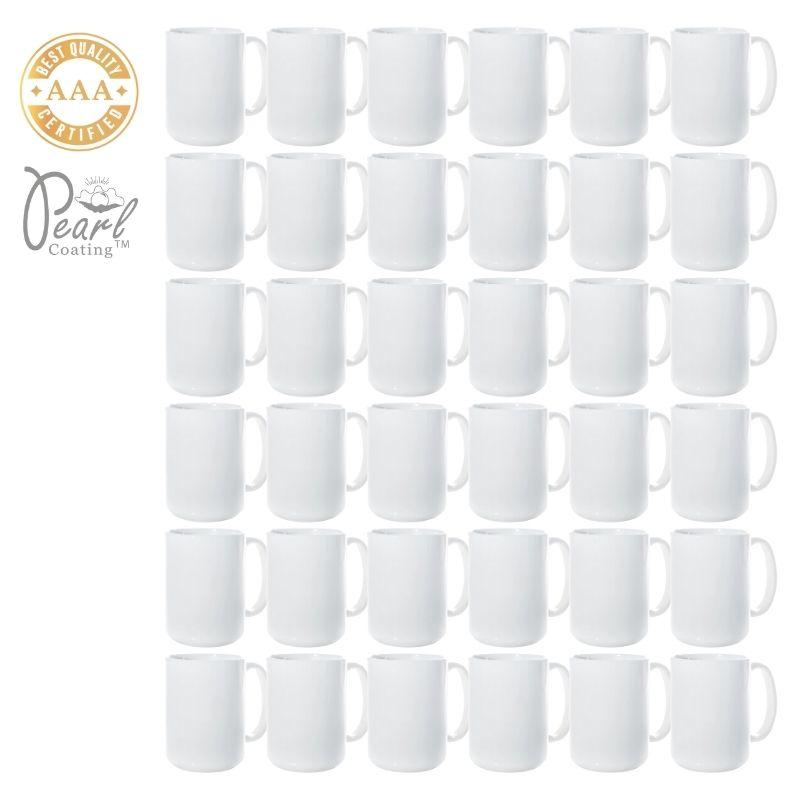
The Blanks: Pearl Coating™ Sublimation Metal Ornaments (Pack of 40)
-
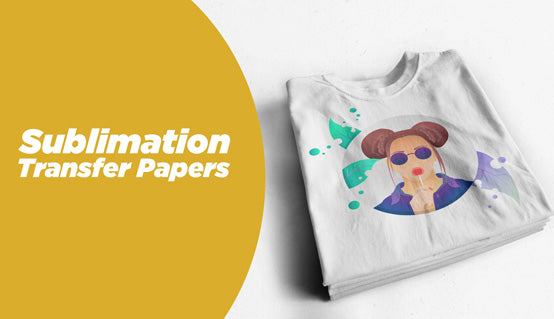
The Paper: Paropy™ 120gsm Sublimation Paper
-
The Tape: Thermo Tape (Heat Resistant)
-
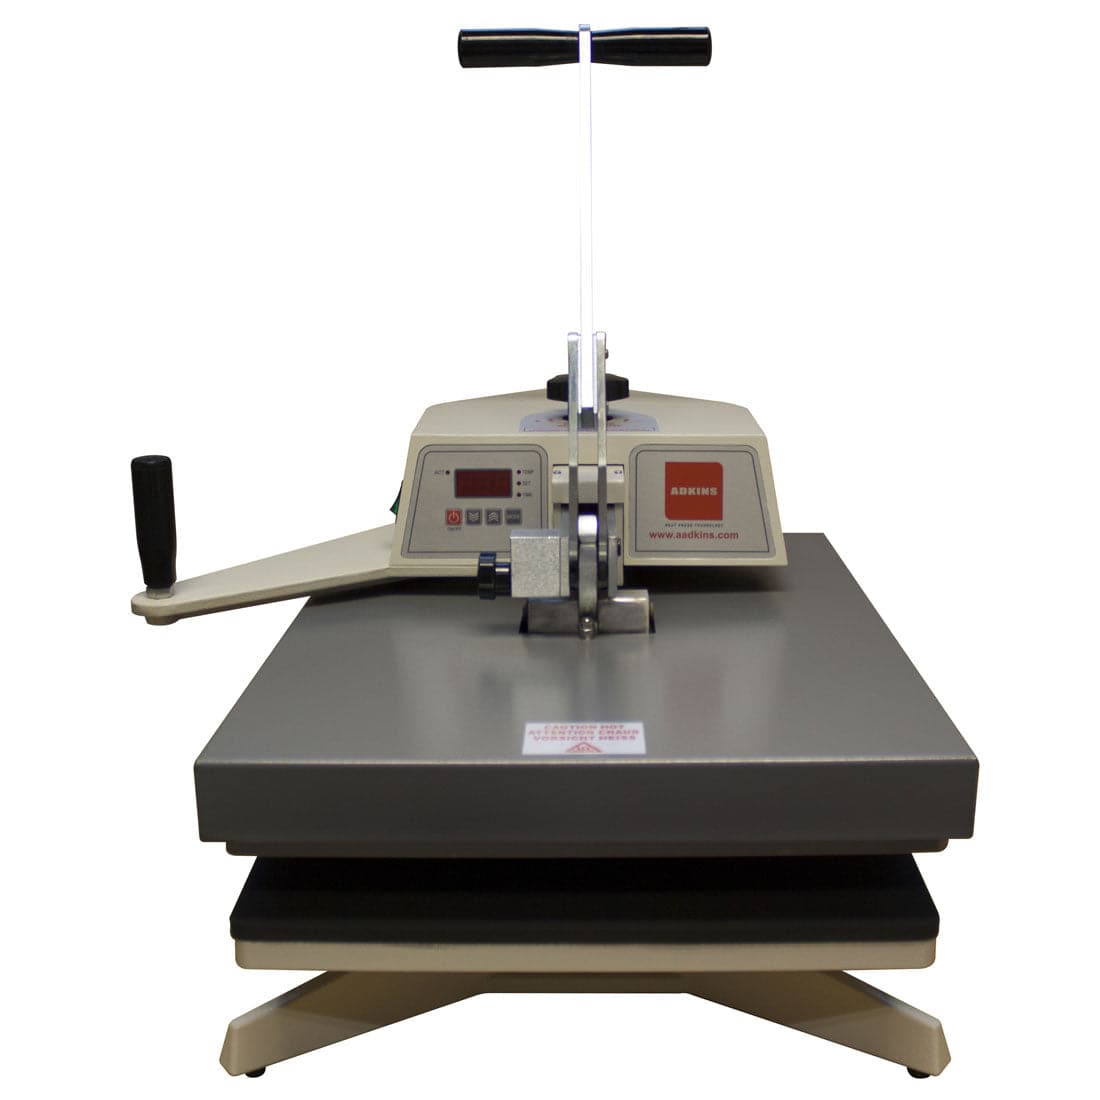
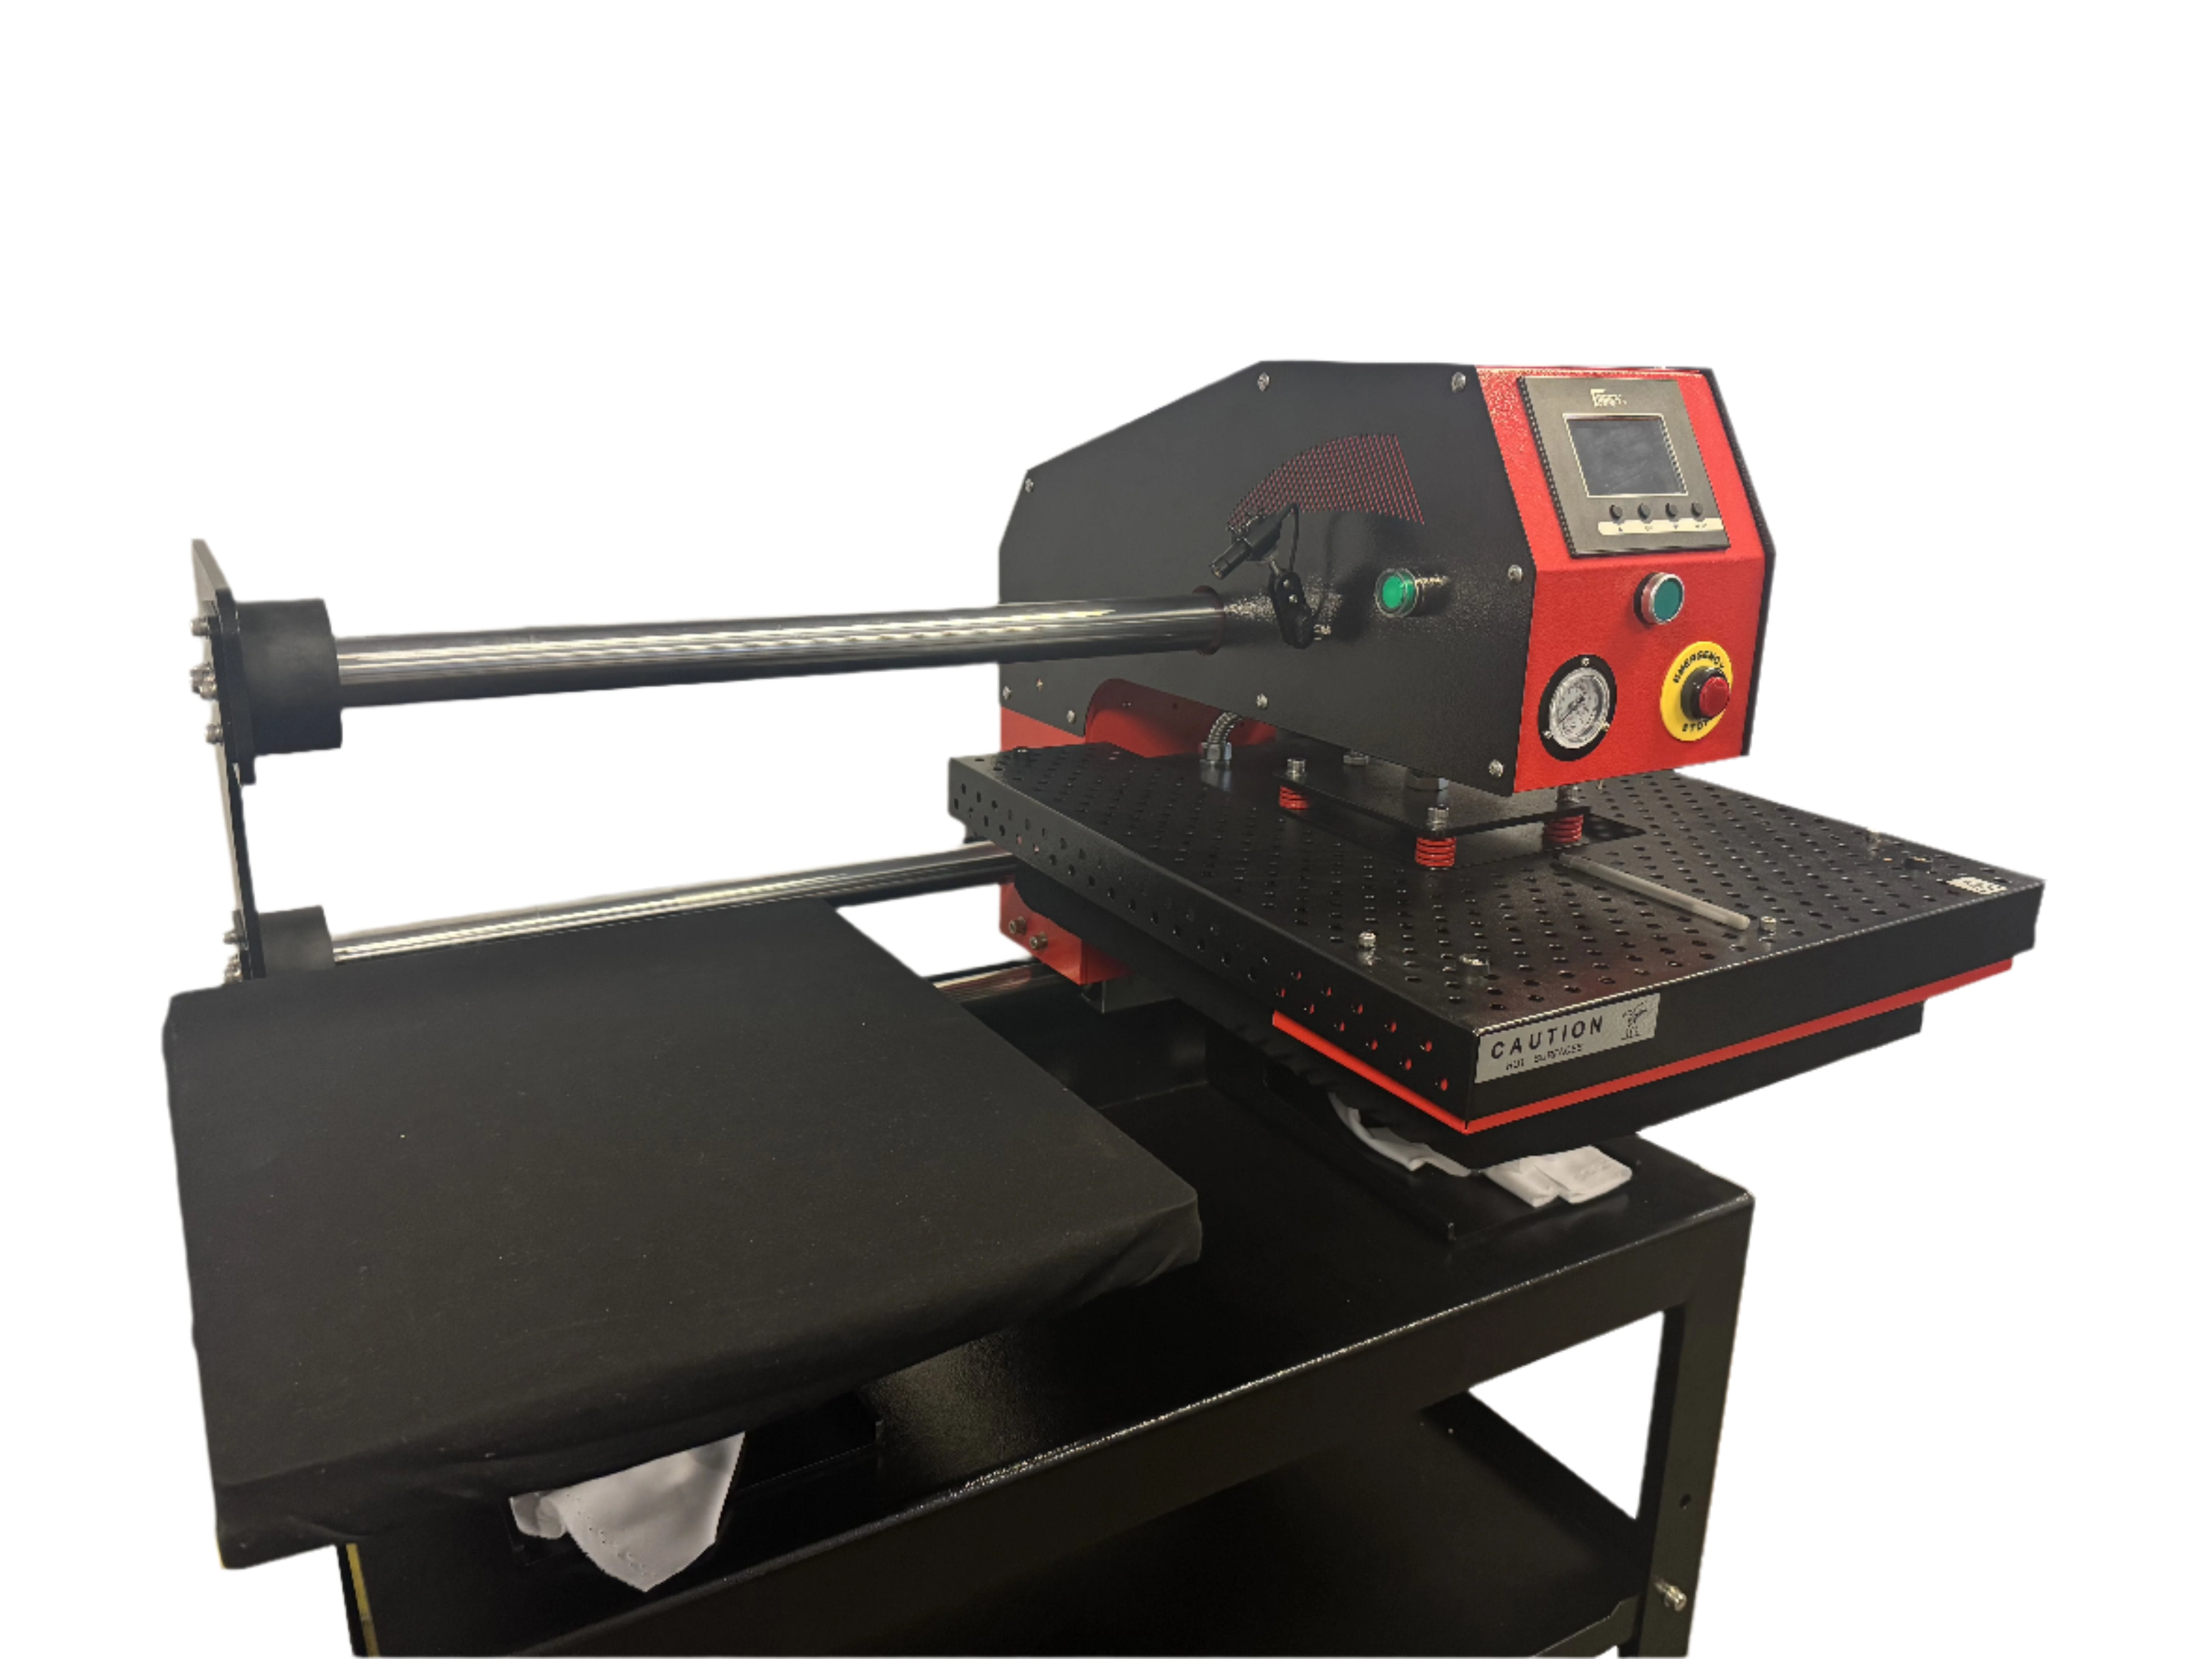
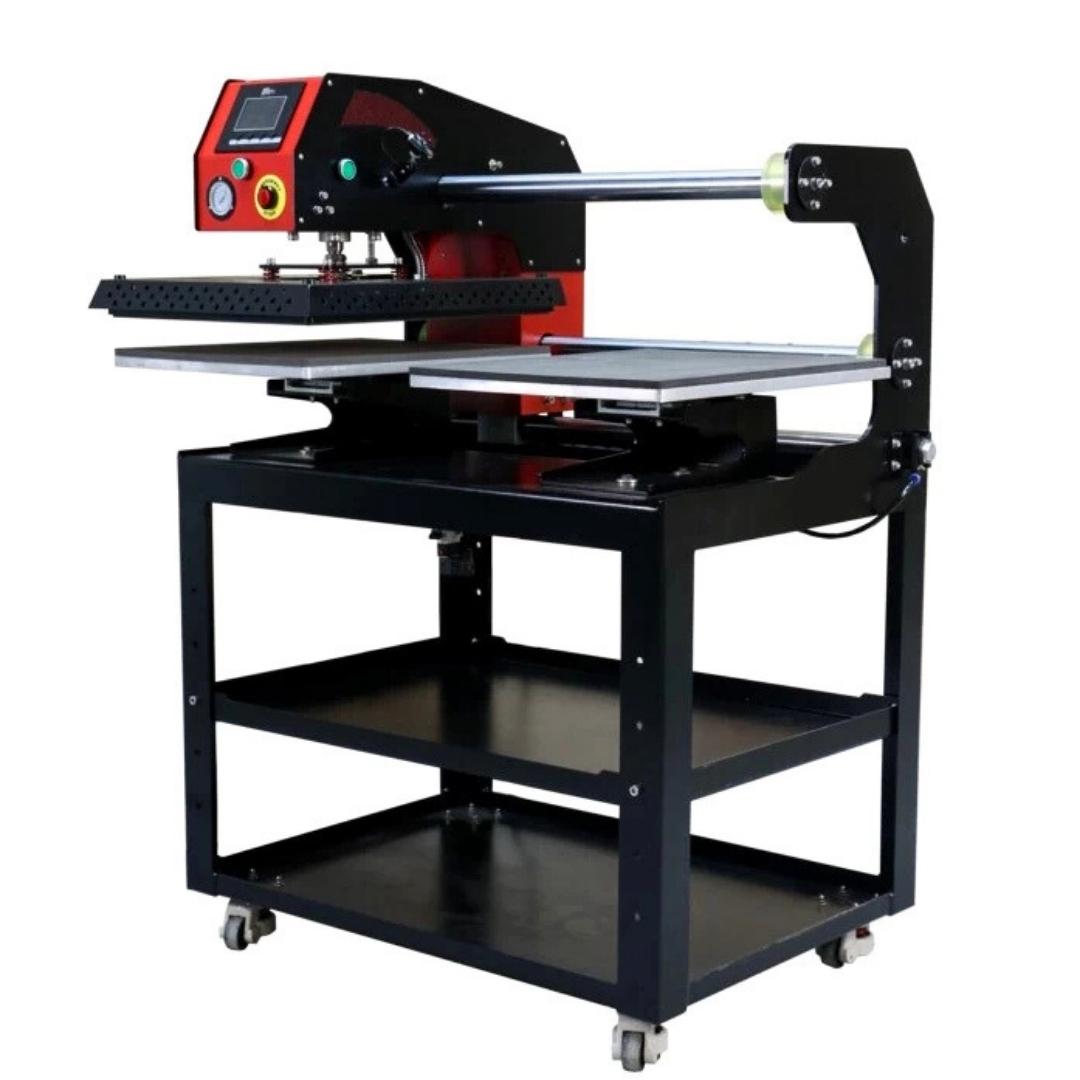
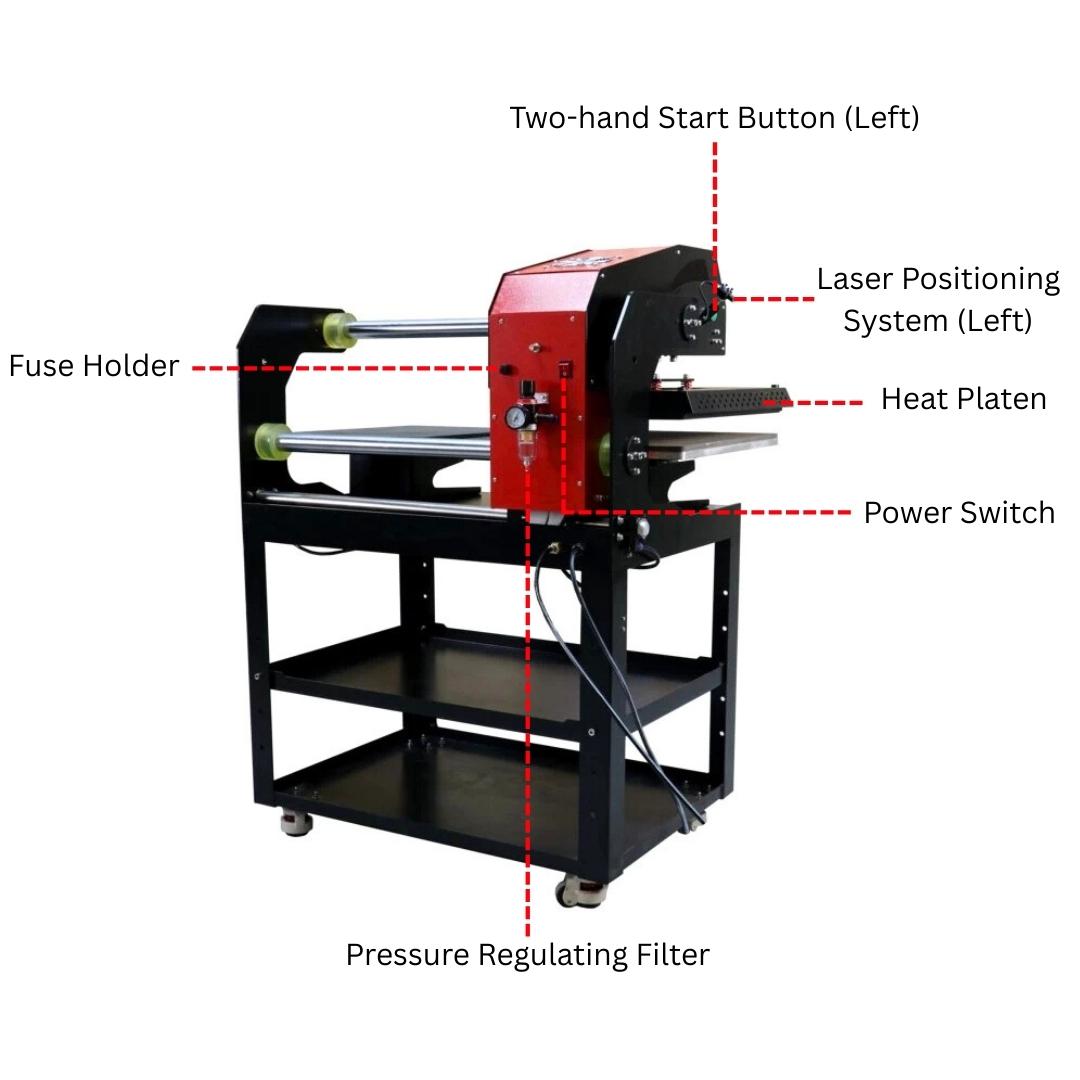
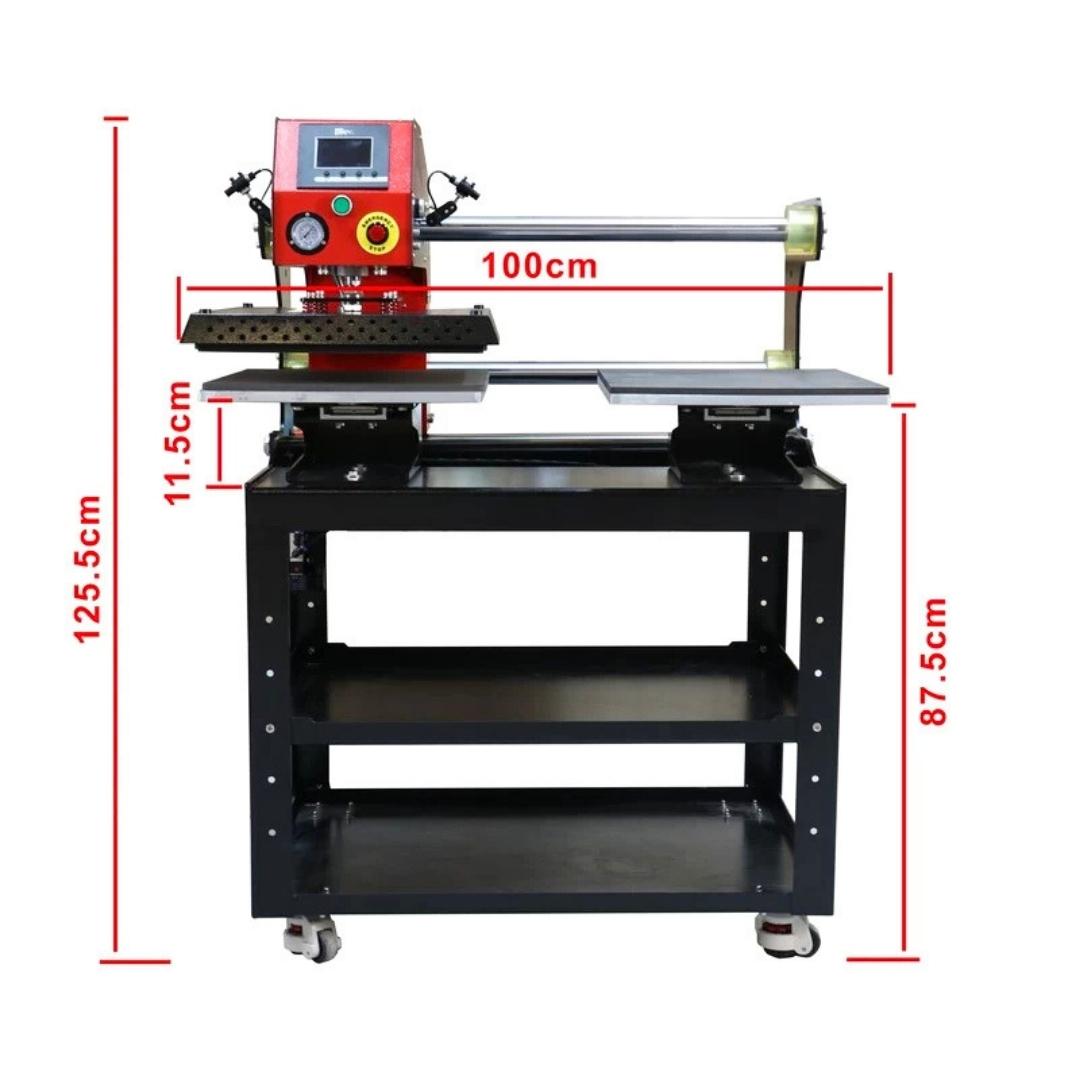
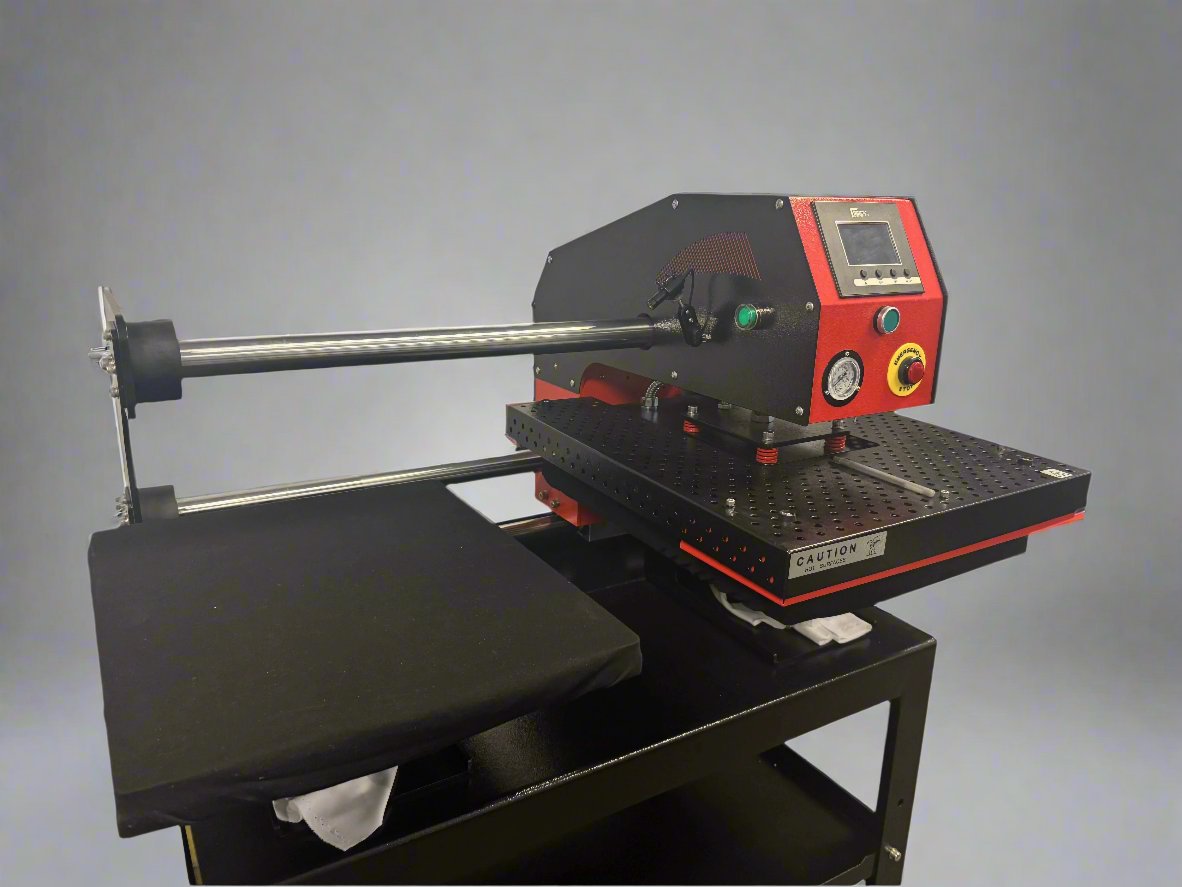
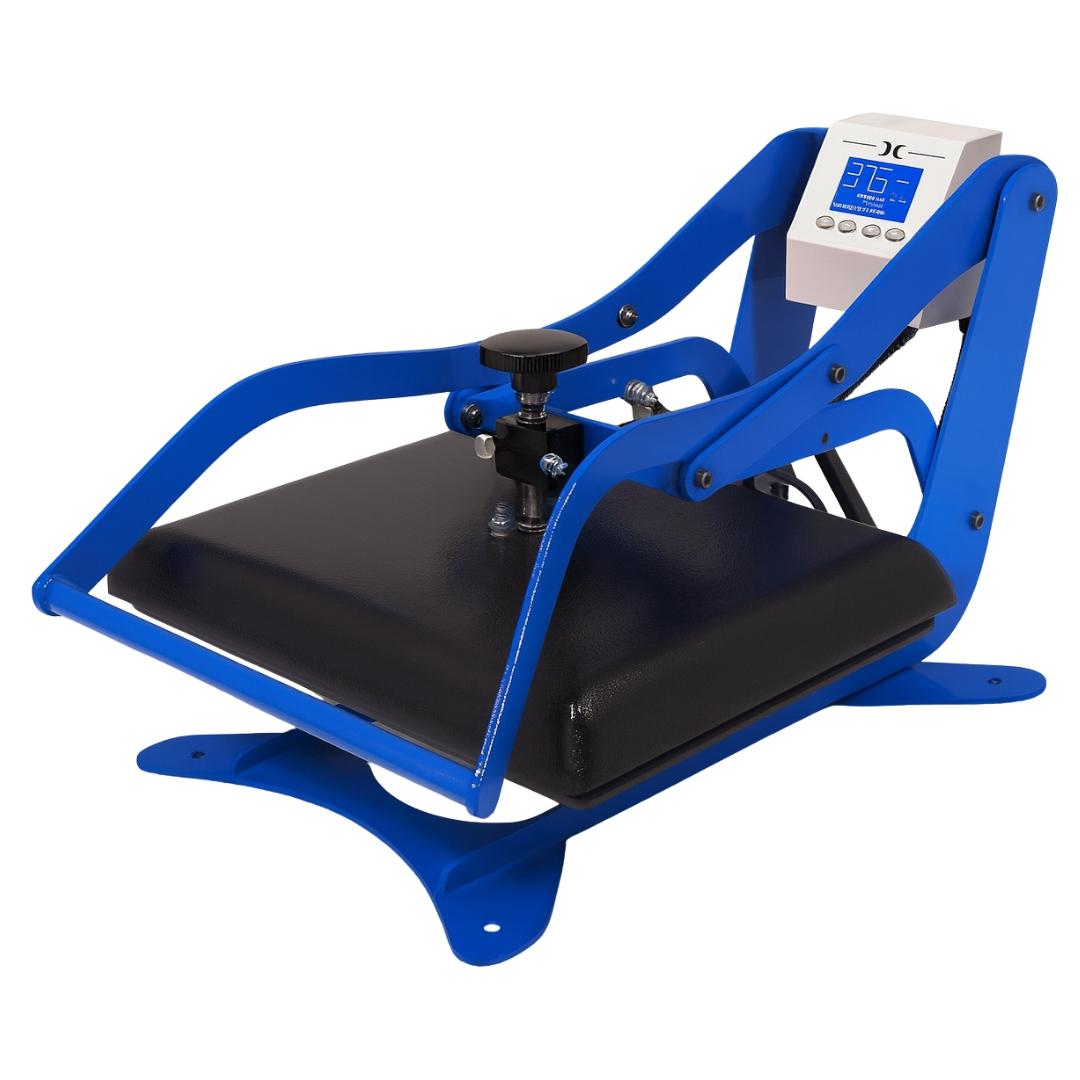
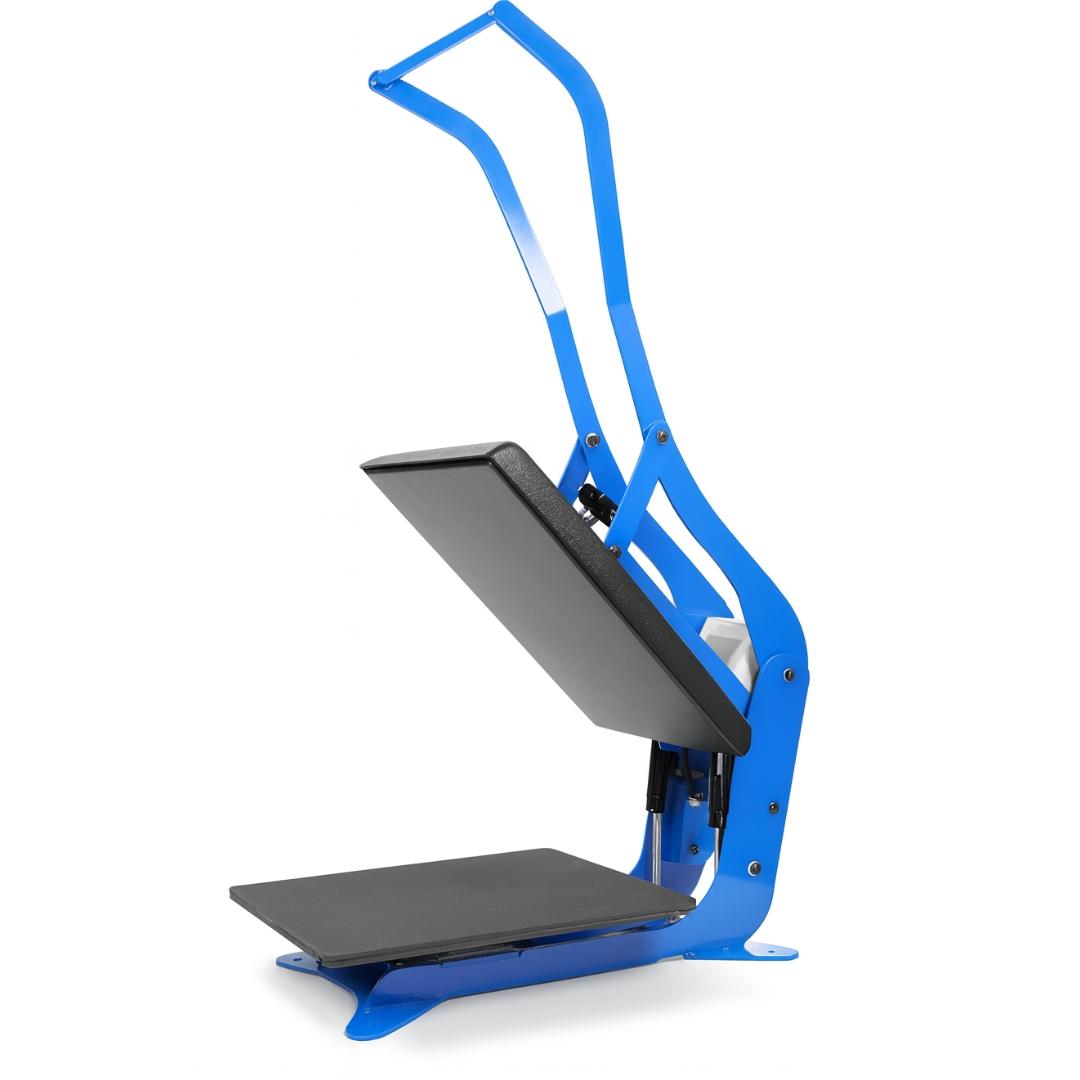
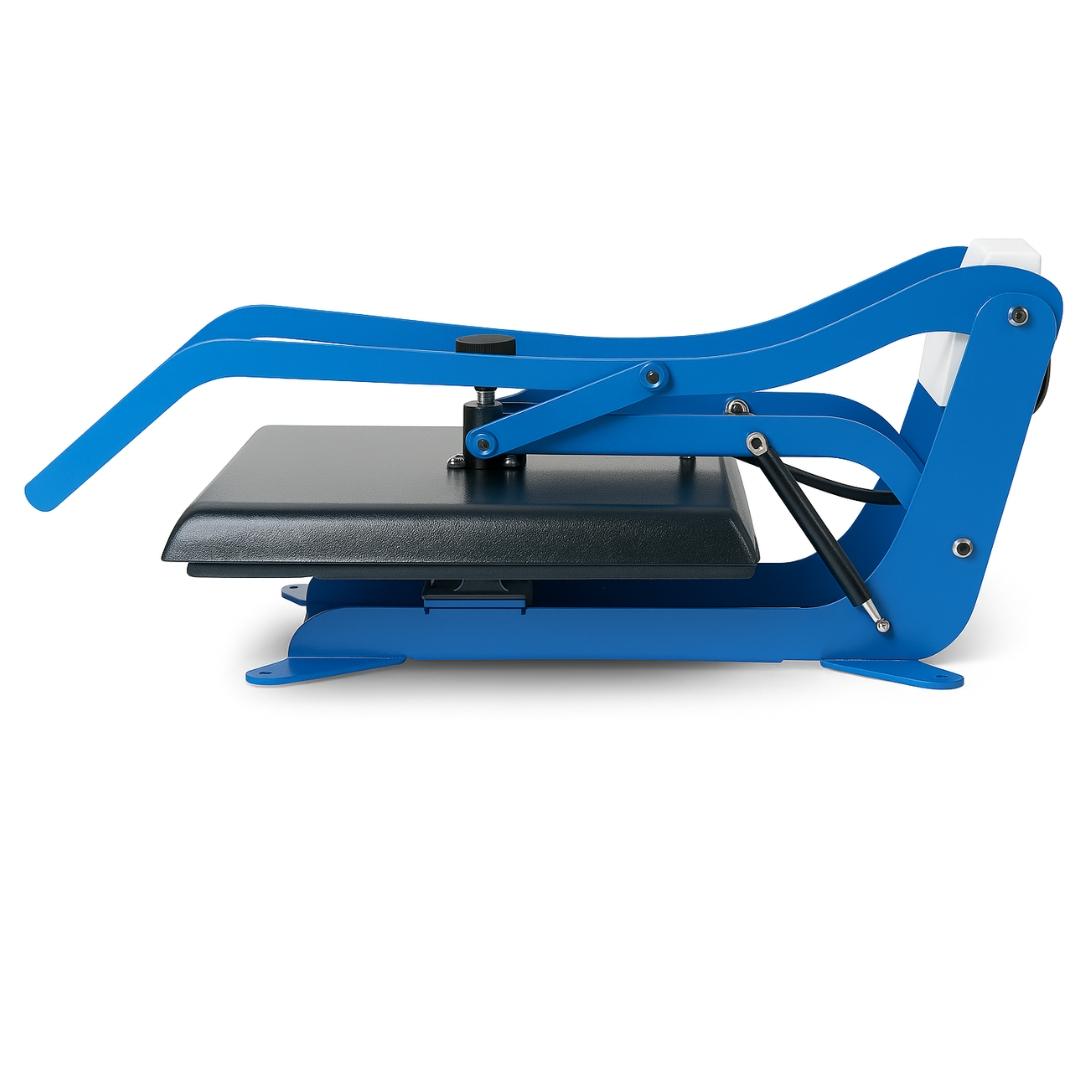
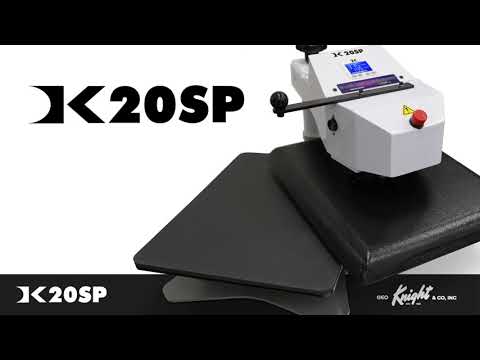
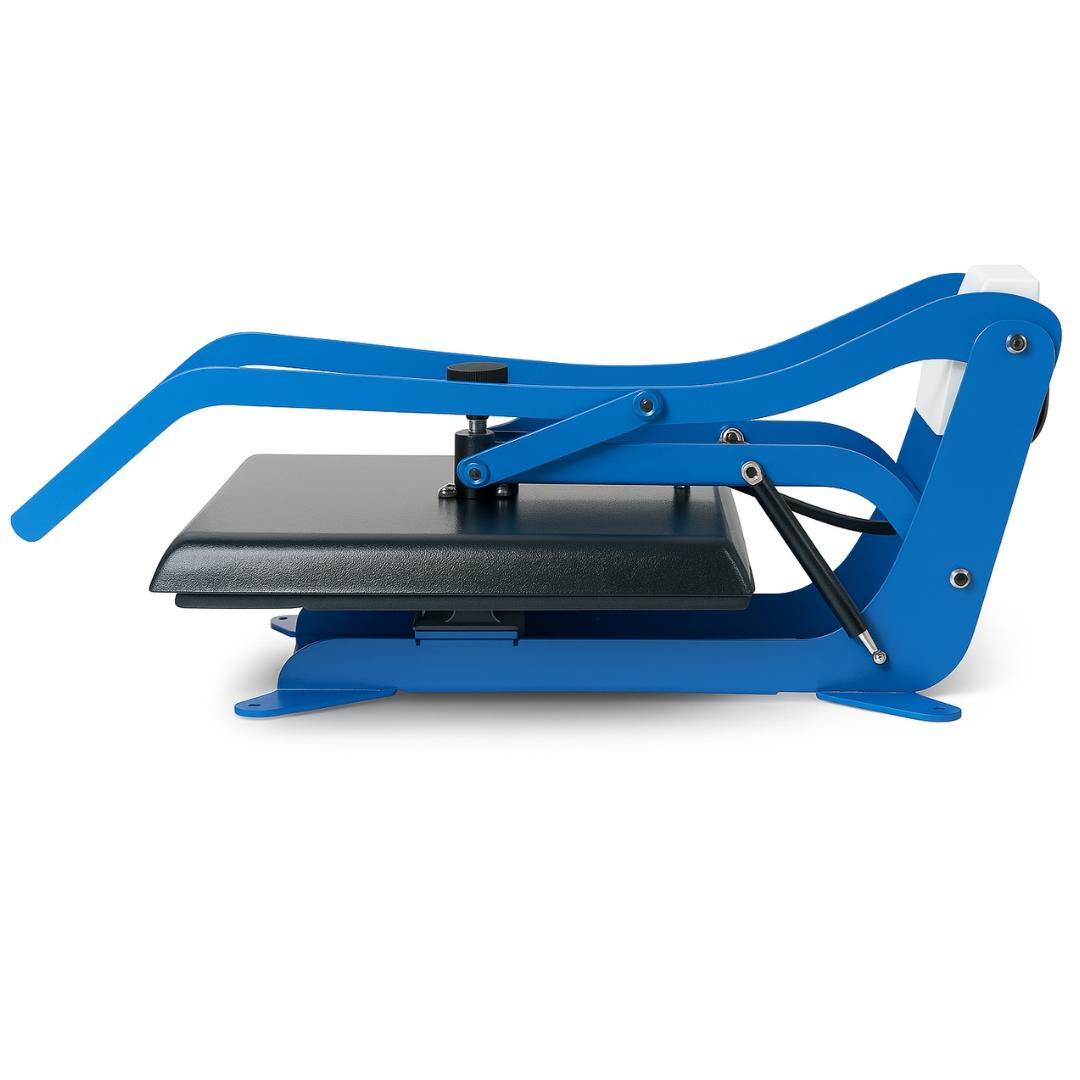
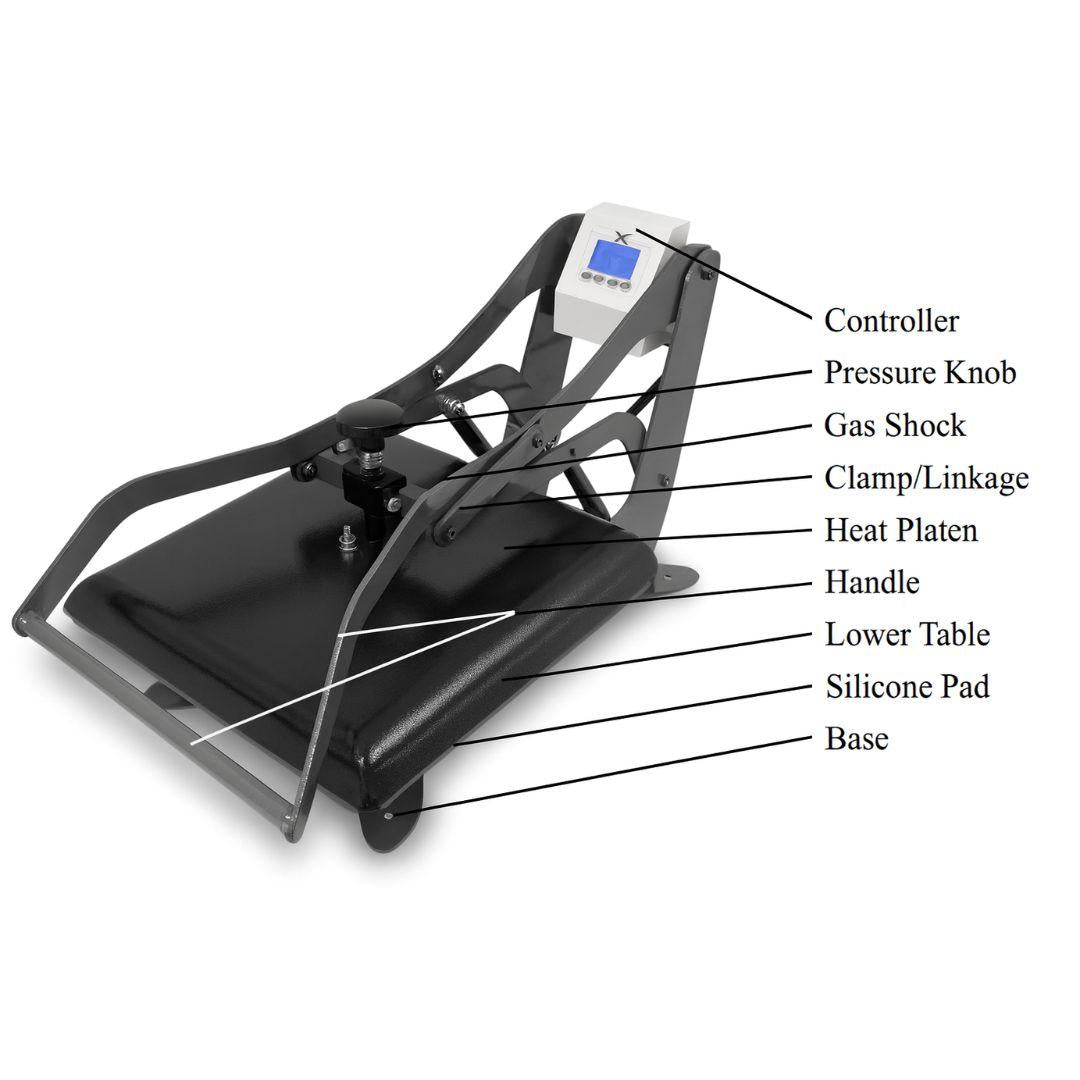
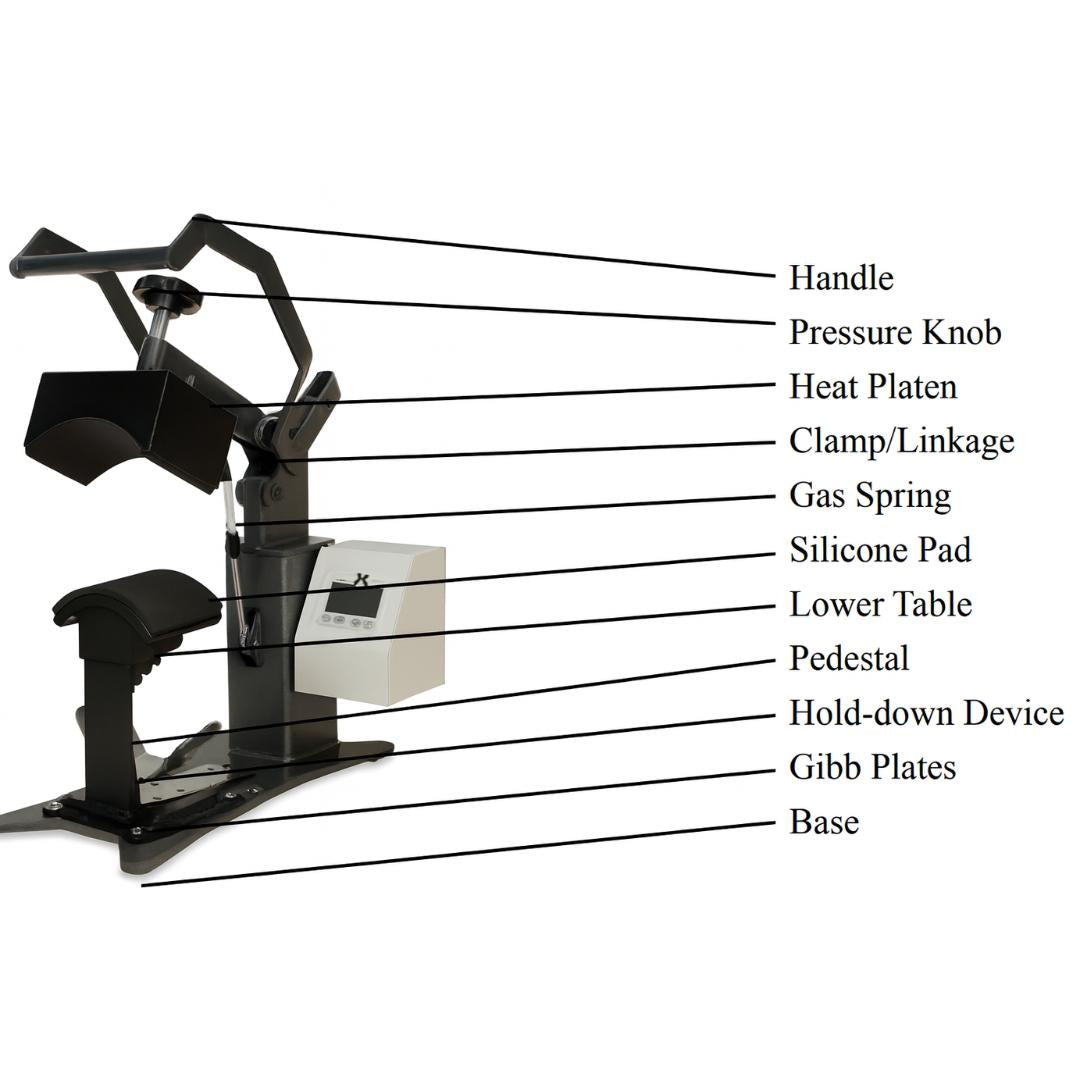
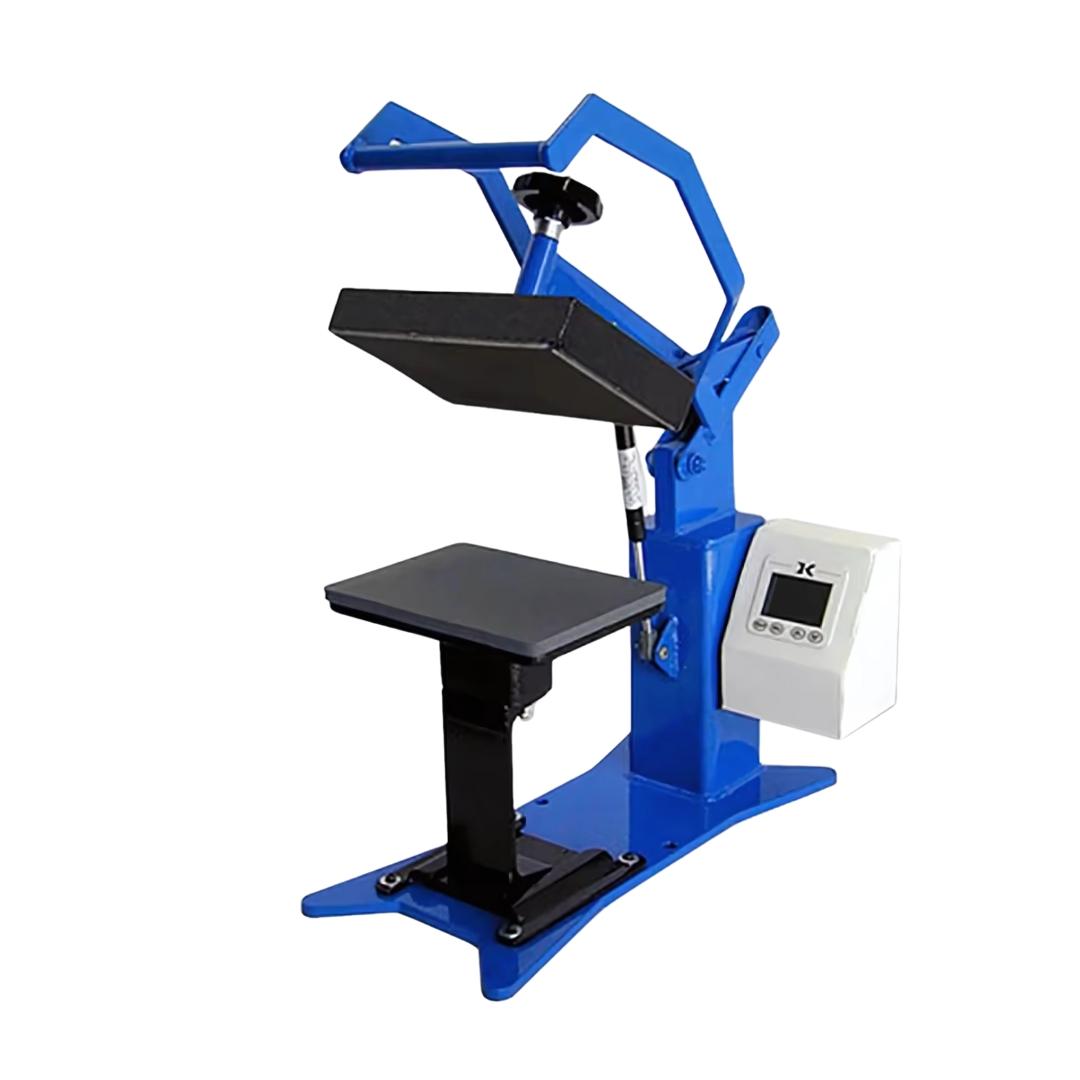
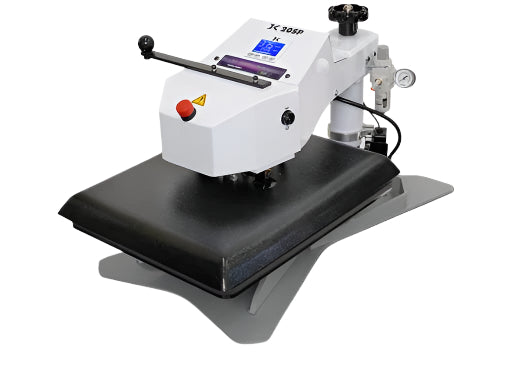
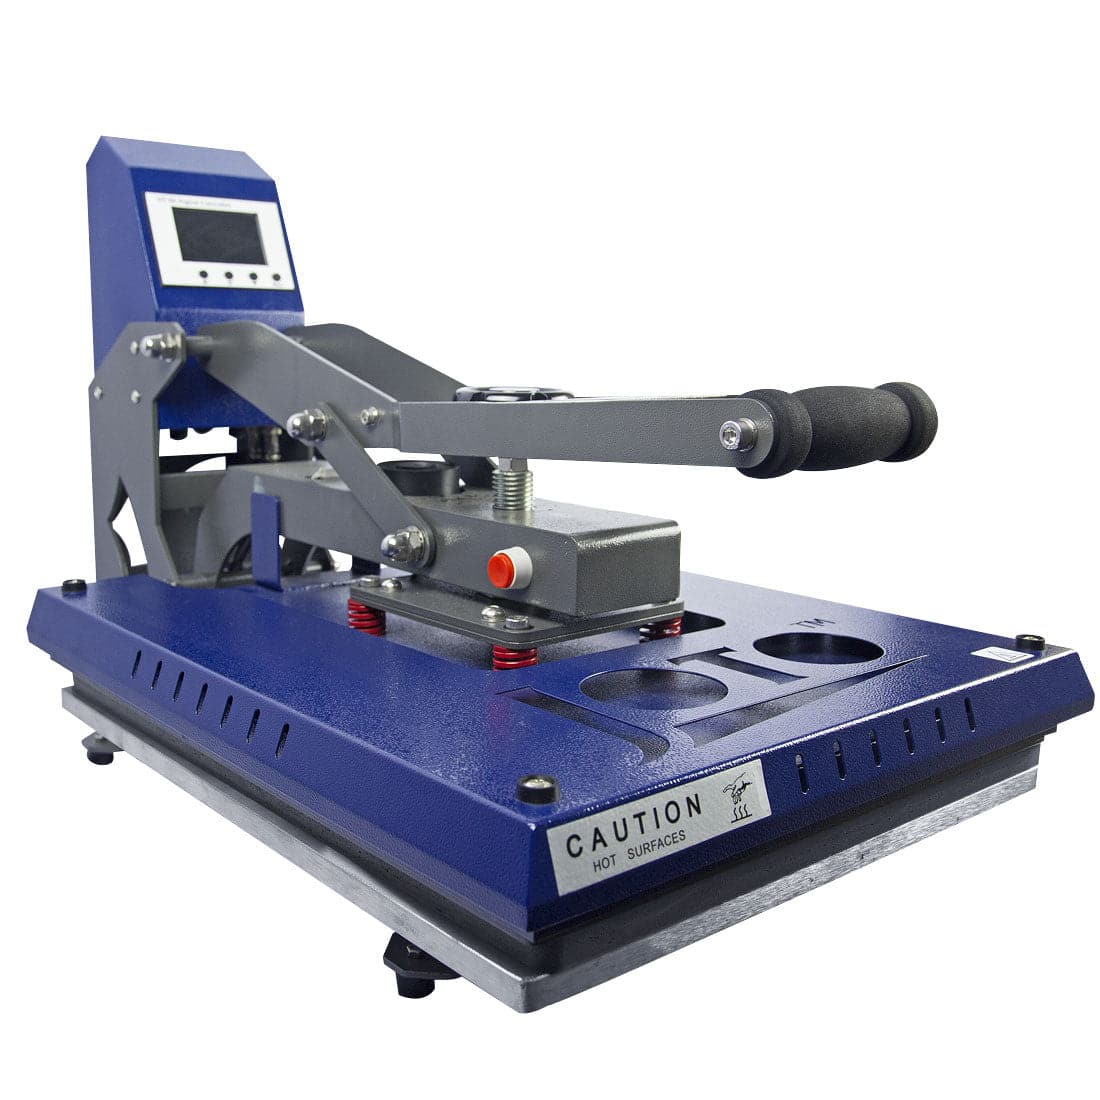
The Press: Joto High-Pressure Heat Press
Why Choose Aluminum Ornaments for Your Business?
If you are running a personalization business, these ornaments are a high-margin addition to your catalog.
-
Shatterproof: Unlike ceramic, they won't break during shipping to your customers.
-
Low Shipping Cost: They are incredibly lightweight.
-
High Perceived Value: The "Pearl Coating" gives them a premium, high-end look that justifies a higher price point.
Need help? If you have questions about settings or compatibility with your printer, contact our support team or drop a comment on our YouTube channel!