


If you’re new to sublimation printing, you’ve probably heard about sublimation paper—but how does it actually work? And why is it so important to your results?
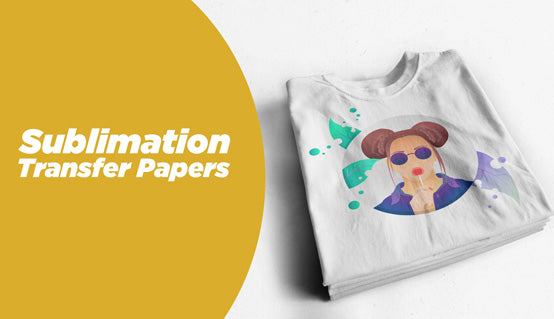
Sublimation paper is one of the key components in the heat transfer process that allows you to apply vibrant, full-color designs to everything from mugs and tumblers to T-shirts, coasters, and more. It may look like ordinary paper, but it’s specially designed to hold sublimation ink and release it under heat and pressure—so your artwork becomes part of the surface you're decorating.
In this beginner-friendly guide, we’ll break down exactly how sublimation paper works, how to choose the right kind, and how to get the best results when printing. Whether you’re just getting started or looking to troubleshoot your first few projects, this quick guide will give you the confidence to print, press, and create like a pro.
Let’s dive into the science, setup, and best practices that will help your designs shine—every time.
What Is Sublimation Paper and How Does It Work?
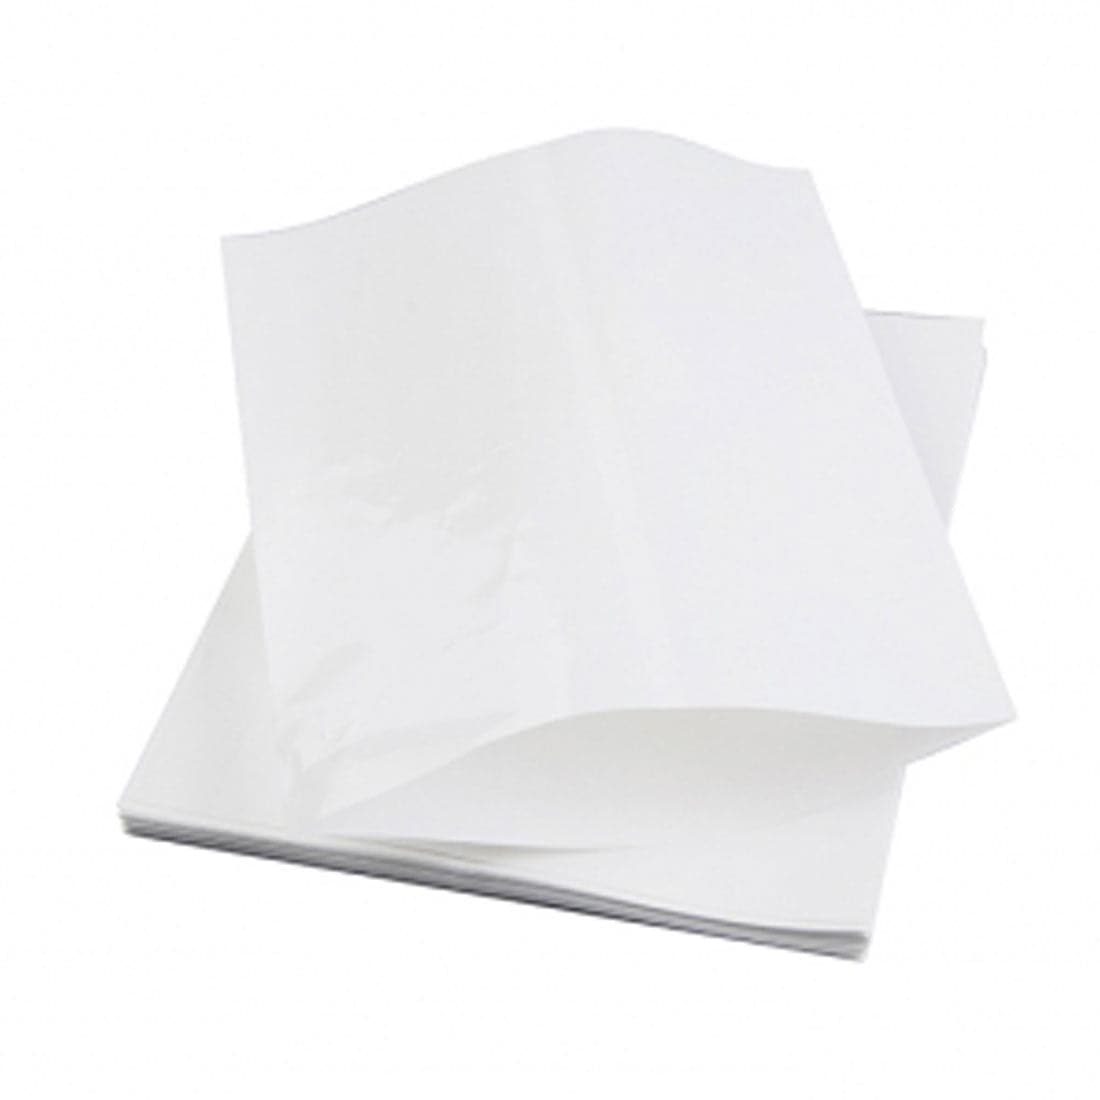
At first glance, sublimation paper might look like any other sheet of paper—but don’t let its appearance fool you. Sublimation paper is a specially coated medium designed to work with sublimation ink and high heat to transfer your design onto a variety of compatible surfaces.
Here’s how it works:
When you print a design using sublimation ink onto sublimation paper, the ink sits on top of the coated surface and remains in its solid state until it’s exposed to heat. When heat and pressure are applied (typically using a heat press), the ink turns into a gas without becoming a liquid—a process called sublimation. This gas then penetrates the polymer-coated surface of your blank item (like a mug, metal plate, or polyester shirt) and becomes permanently embedded into the material.
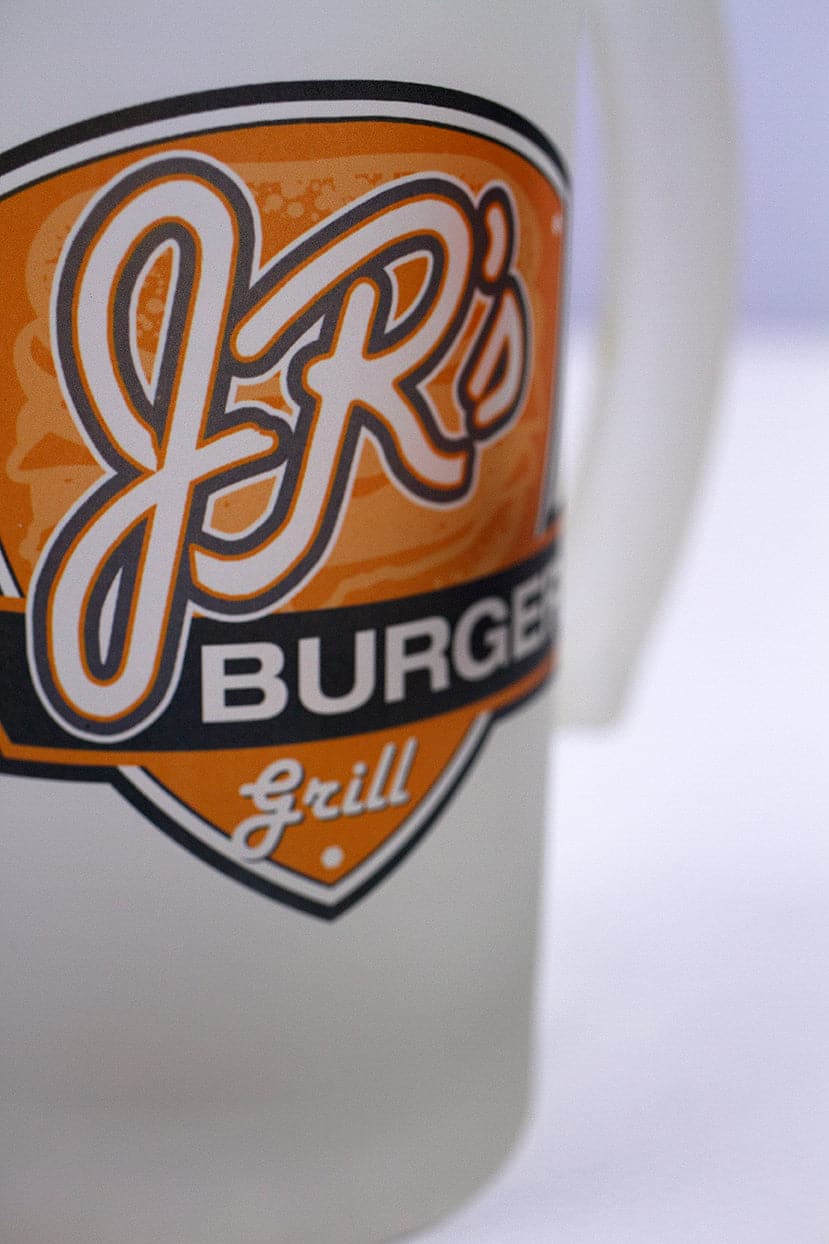
Because the ink becomes part of the surface instead of sitting on top, the result is a vibrant, long-lasting image that won’t peel, crack, or fade like traditional printing methods. That’s why sublimation is a favorite for high-quality custom products, promotional items, and durable apparel.
But remember: this process only works on sublimation-compatible blanks, like those with a Pearl Coating™ or high polyester content.
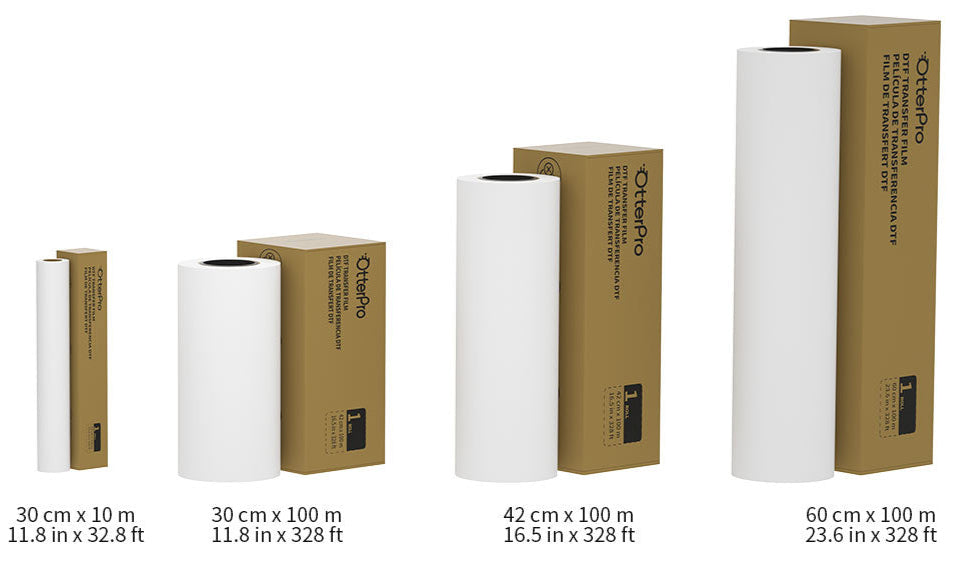
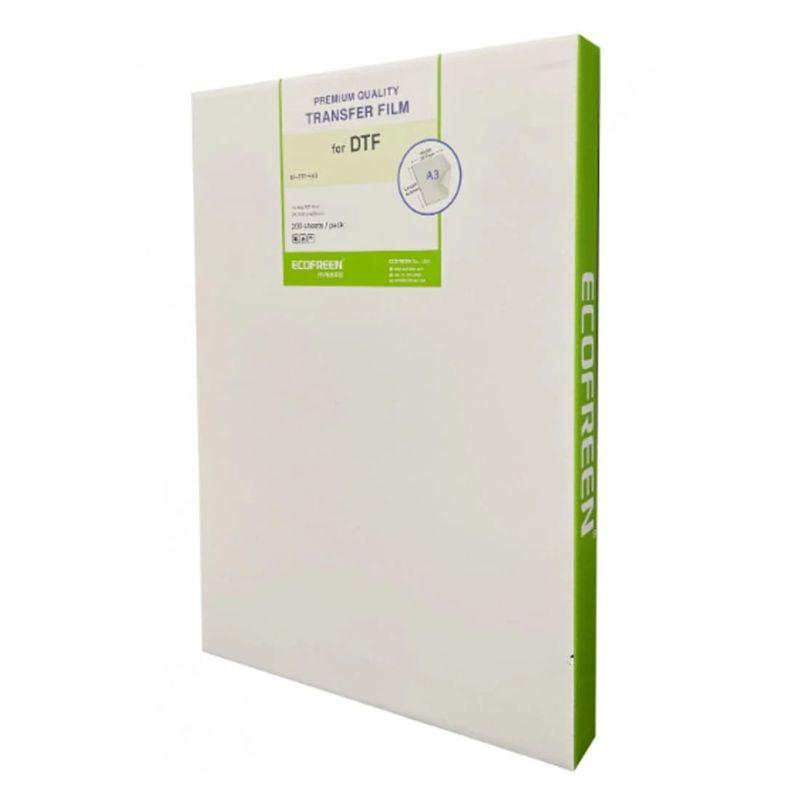
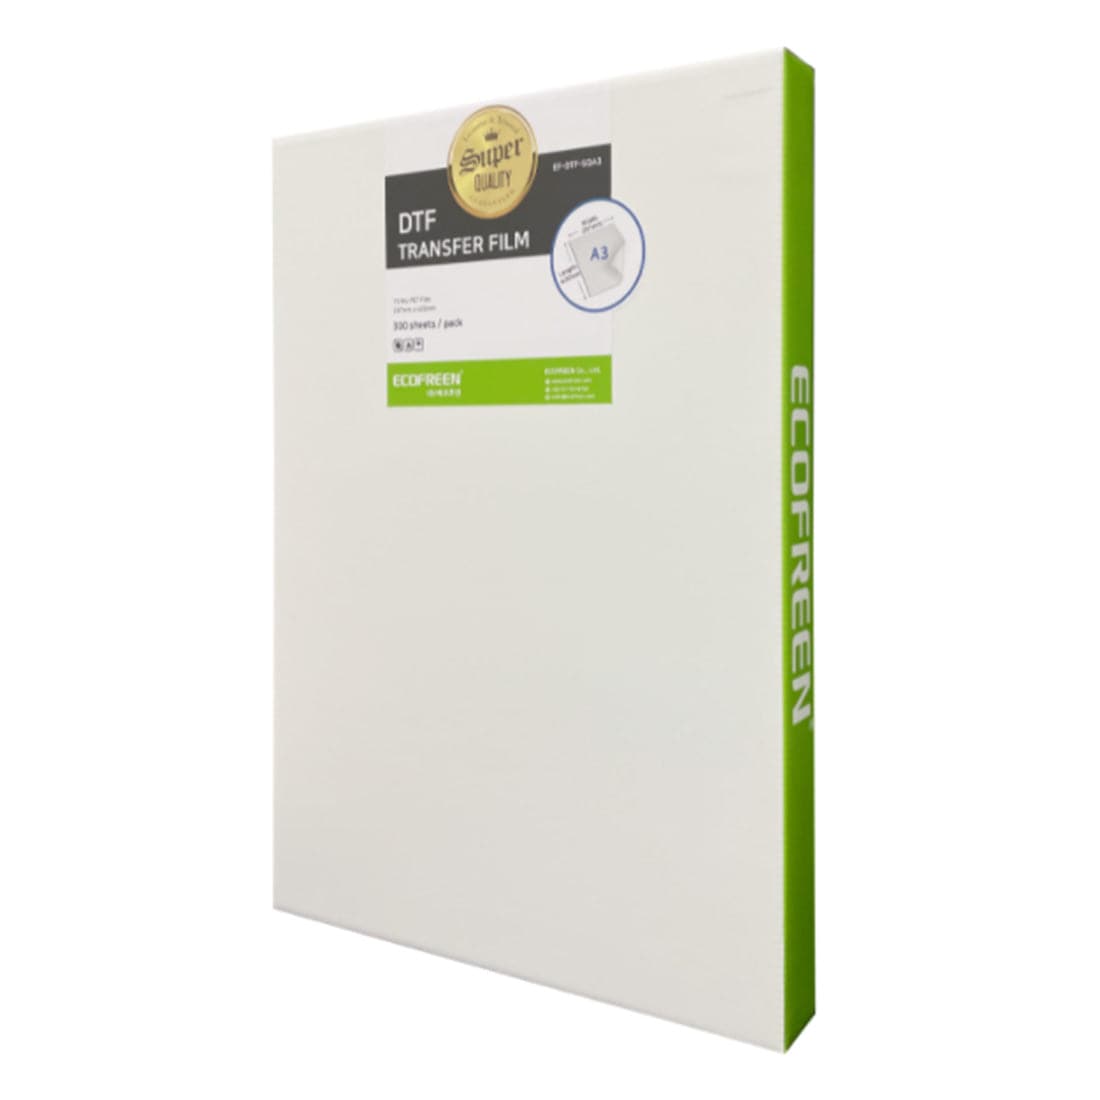
Choosing the Best Sublimation Paper
Not all sublimation paper is created equal—and using the wrong one can mean the difference between a sharp, vibrant design and a faded, disappointing transfer. Whether you’re printing on drinkware, apparel, or hard substrates, choosing the right sublimation paper for your setup and application is crucial.
What to Look For:
- High Transfer Rate
Look for sublimation paper with a transfer rate of 90% or higher. This ensures that most of the ink moves from the paper to your blank, giving you richer colors and sharper detail with minimal waste.
- Fast Drying Time
A good sublimation paper dries quickly after printing, which reduces smudging and allows you to work more efficiently. This is especially helpful in high-humidity environments or for bulk production.
-
Ink Efficiency
Premium sublimation paper doesn’t require you to overload your designs with ink. With the right balance, you’ll use less ink while still getting bold, vibrant results—saving money over time.
-
Paper Weight and Thickness
Choose the appropriate GSM (grams per square meter) for your printer and project type. Lightweight papers (around 100 GSM) are ideal for fabric, while thicker papers (up to 120 GSM) work better on hard surfaces like metal or ceramic.
Bonus Tip: Some sublimation papers are optimized for different ink formulations (like gel-based vs water-based inks), so always check for compatibility with your printer model and ink brand.
How to choose the right sublimation paper for your printer and blanks
When selecting sublimation paper, it’s not just about choosing the highest-rated brand. It’s about making sure the paper works with your printer and the types of blanks you plan to use. Compatibility is key.
Match paper to your printer
Some sublimation papers are optimized for:
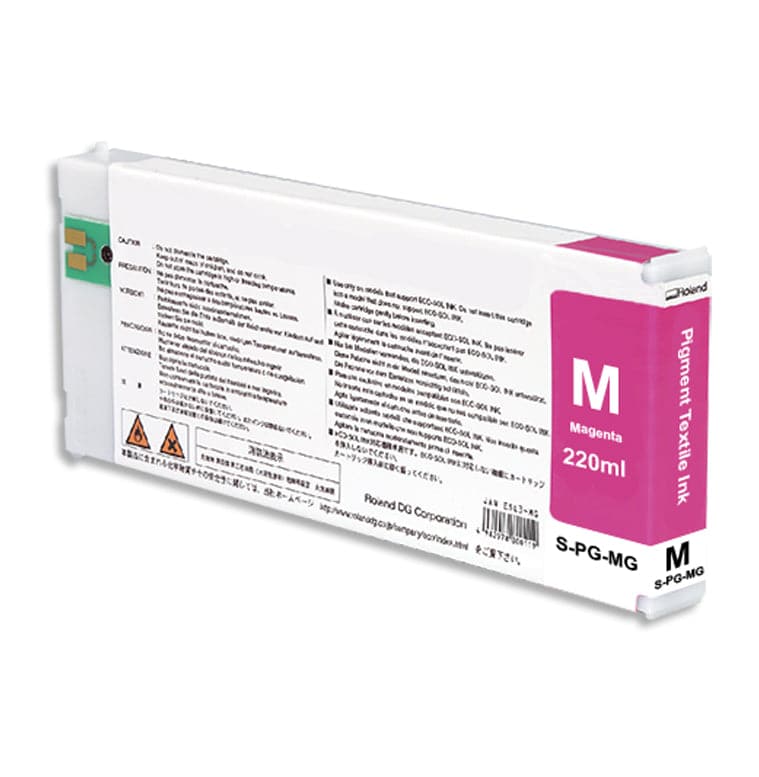
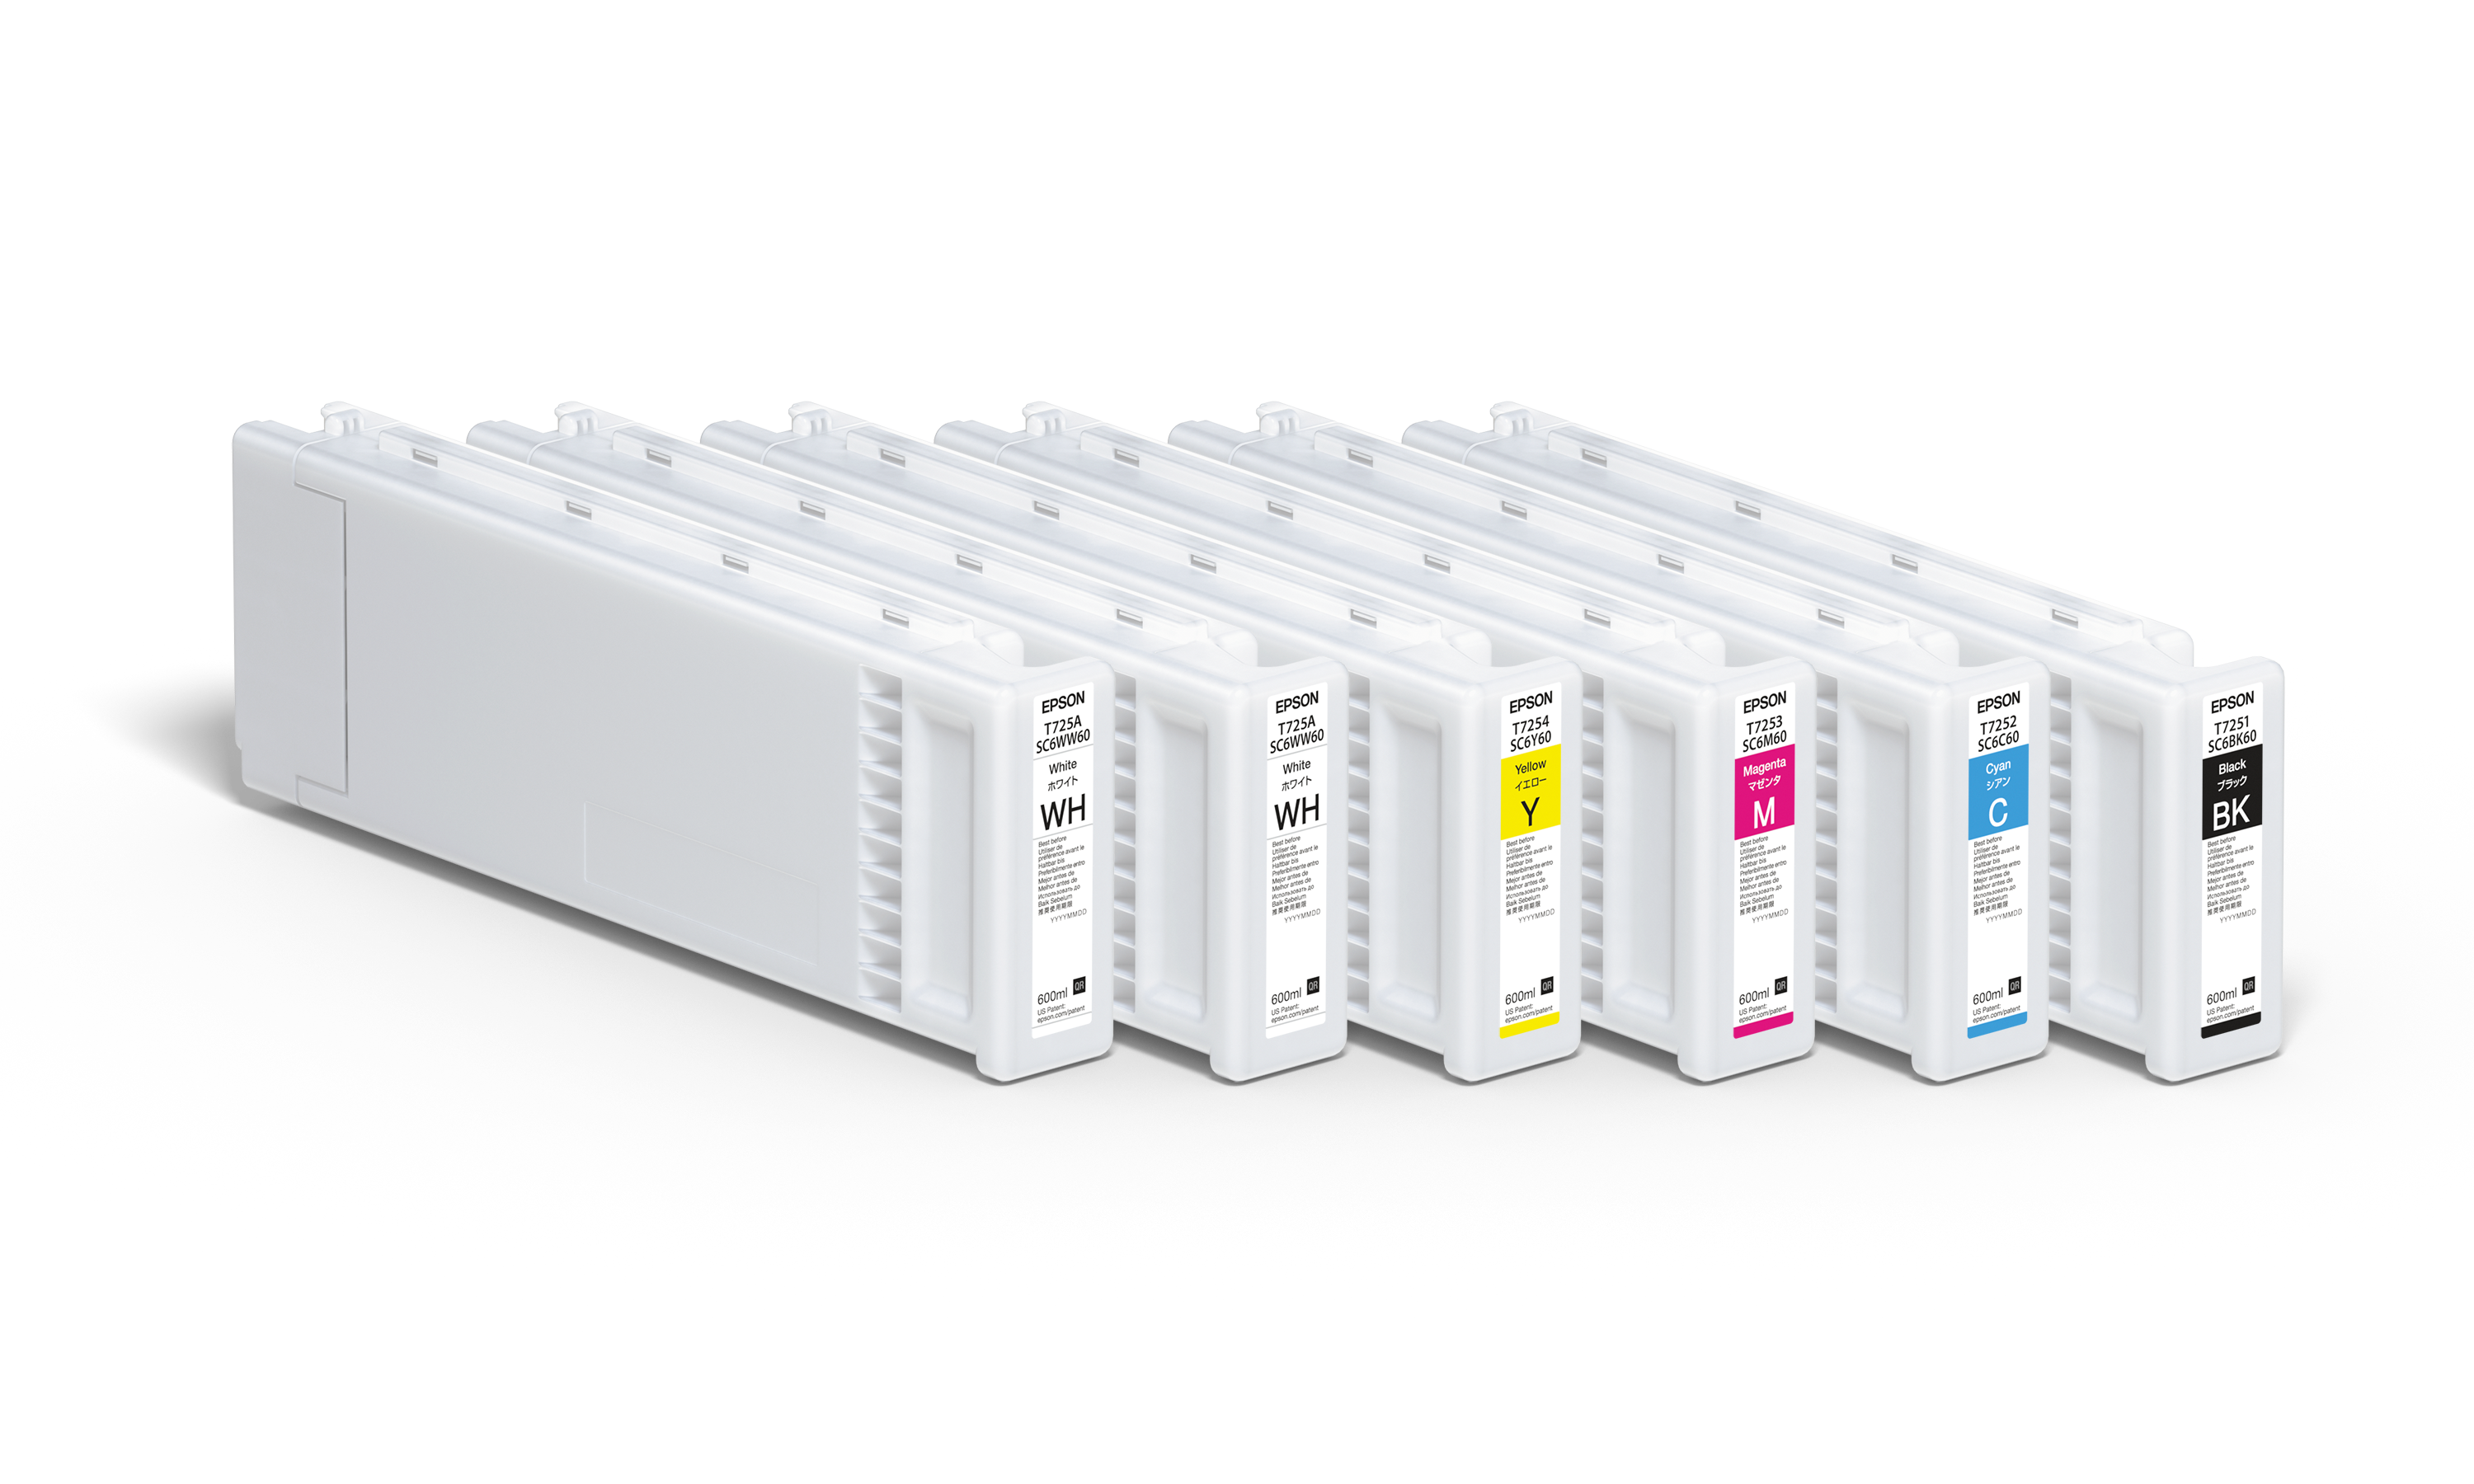
- Epson printers (typically water-based sublimation ink)
- Sawgrass printers (gel-based sublimation ink)
- Converted EcoTank printers
Using the wrong type of paper can result in excess ink absorption, slower drying times, or poor transfer quality. Always check the paper’s product description for compatible ink types and printers.
Match paper to your substrate
Are you sublimating onto fabric, ceramic, glass, metal, or wood? The paper weight and coating affect how well ink transfers depending on the material surface.
- Use lightweight paper (100–105 GSM) for fabrics like polyester apparel.
- Use medium-to-heavyweight paper (110–120 GSM) for hard substrates like mugs, tiles, or aluminum panels.
Environmental factors matter too
If you’re working in a high-humidity environment, your paper might absorb moisture, affecting ink transfer. Store sublimation paper in a cool, dry area and avoid printing too far in advance.
By choosing sublimation paper that’s tailored to your workflow, you’ll get more consistent results, and fewer wasted blanks.
How to print on sublimation paper
Printing on sublimation paper might seem intimidating at first, but once you understand the workflow, it’s surprisingly simple. Here’s a step-by-step breakdown to help beginners get great results right out of the gate.

Step 1: Adjust Printer Settings
Before printing your design:
- Set your printer to “High Quality” or “Best” mode to ensure crisp lines and bold colors.
- Select the right paper type in your print settings (some printers have a sublimation paper setting).
- Mirror your image before printing. This is especially important for text—otherwise, your design will transfer backwards.
Step 2: Identify the print side
Most sublimation paper has a bright white, coated side—that’s where the ink should go. The reverse side is usually off-white or slightly textured. If you’re unsure, lightly moisten your finger and touch a corner—the coated side will feel slightly tacky or smoother.
Step 3: Pre-Press your blanks
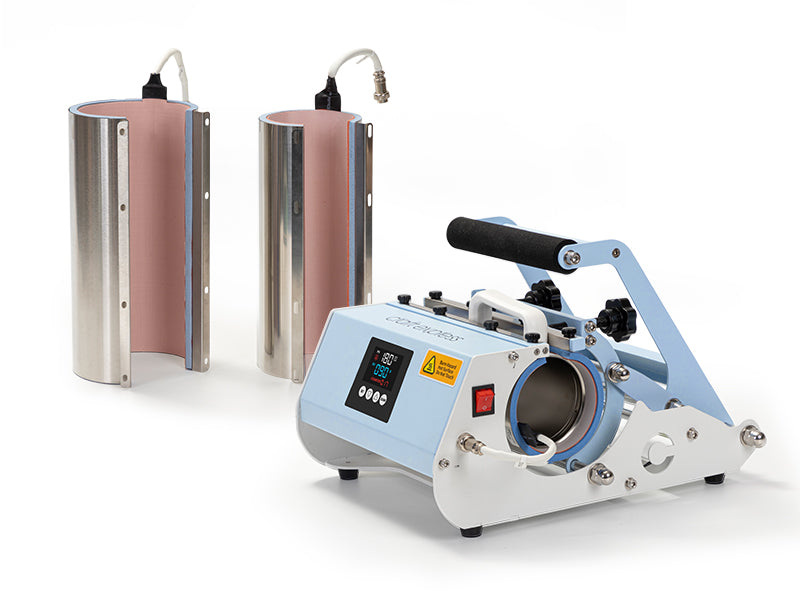
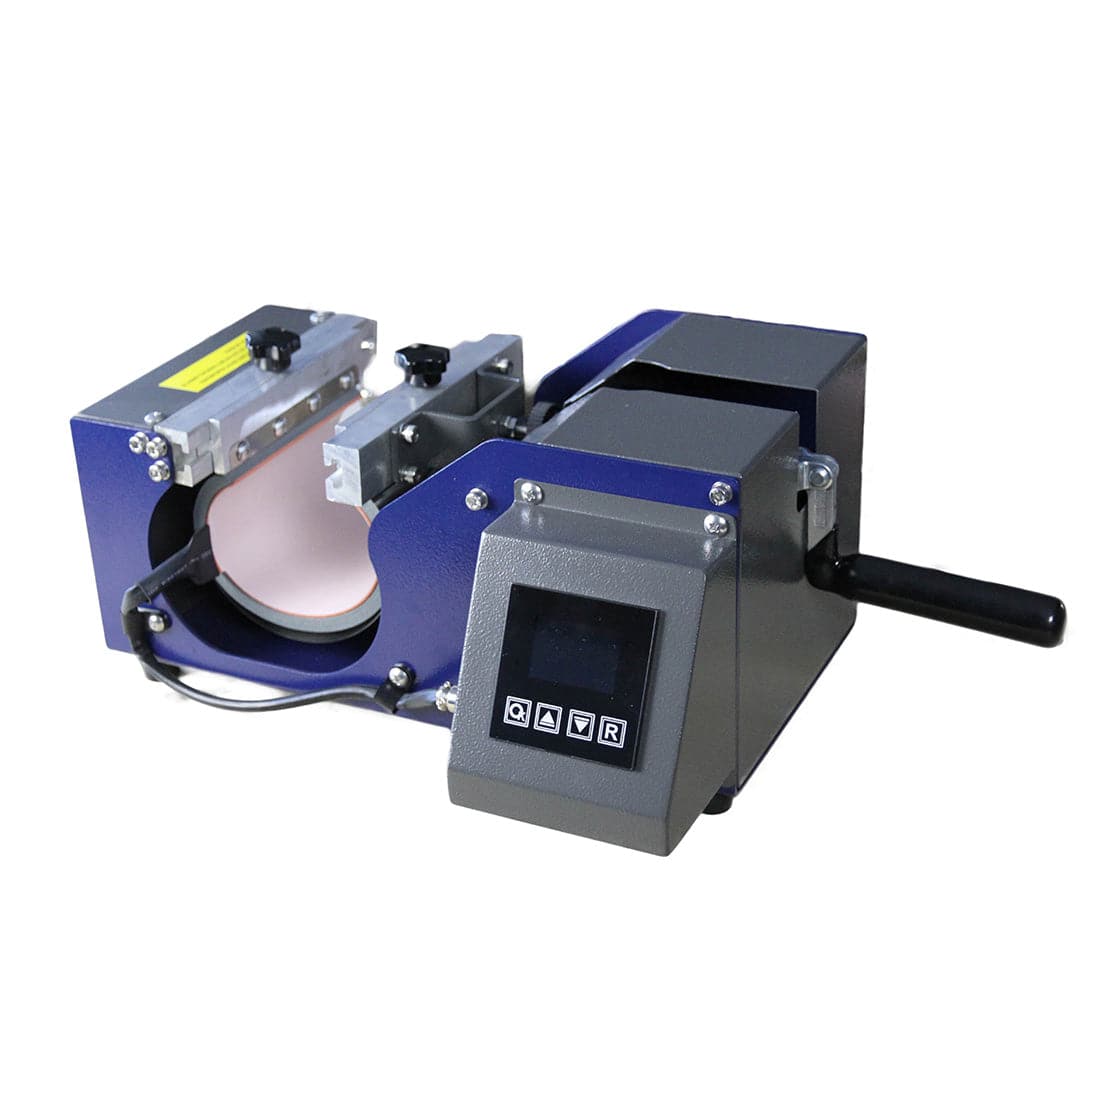
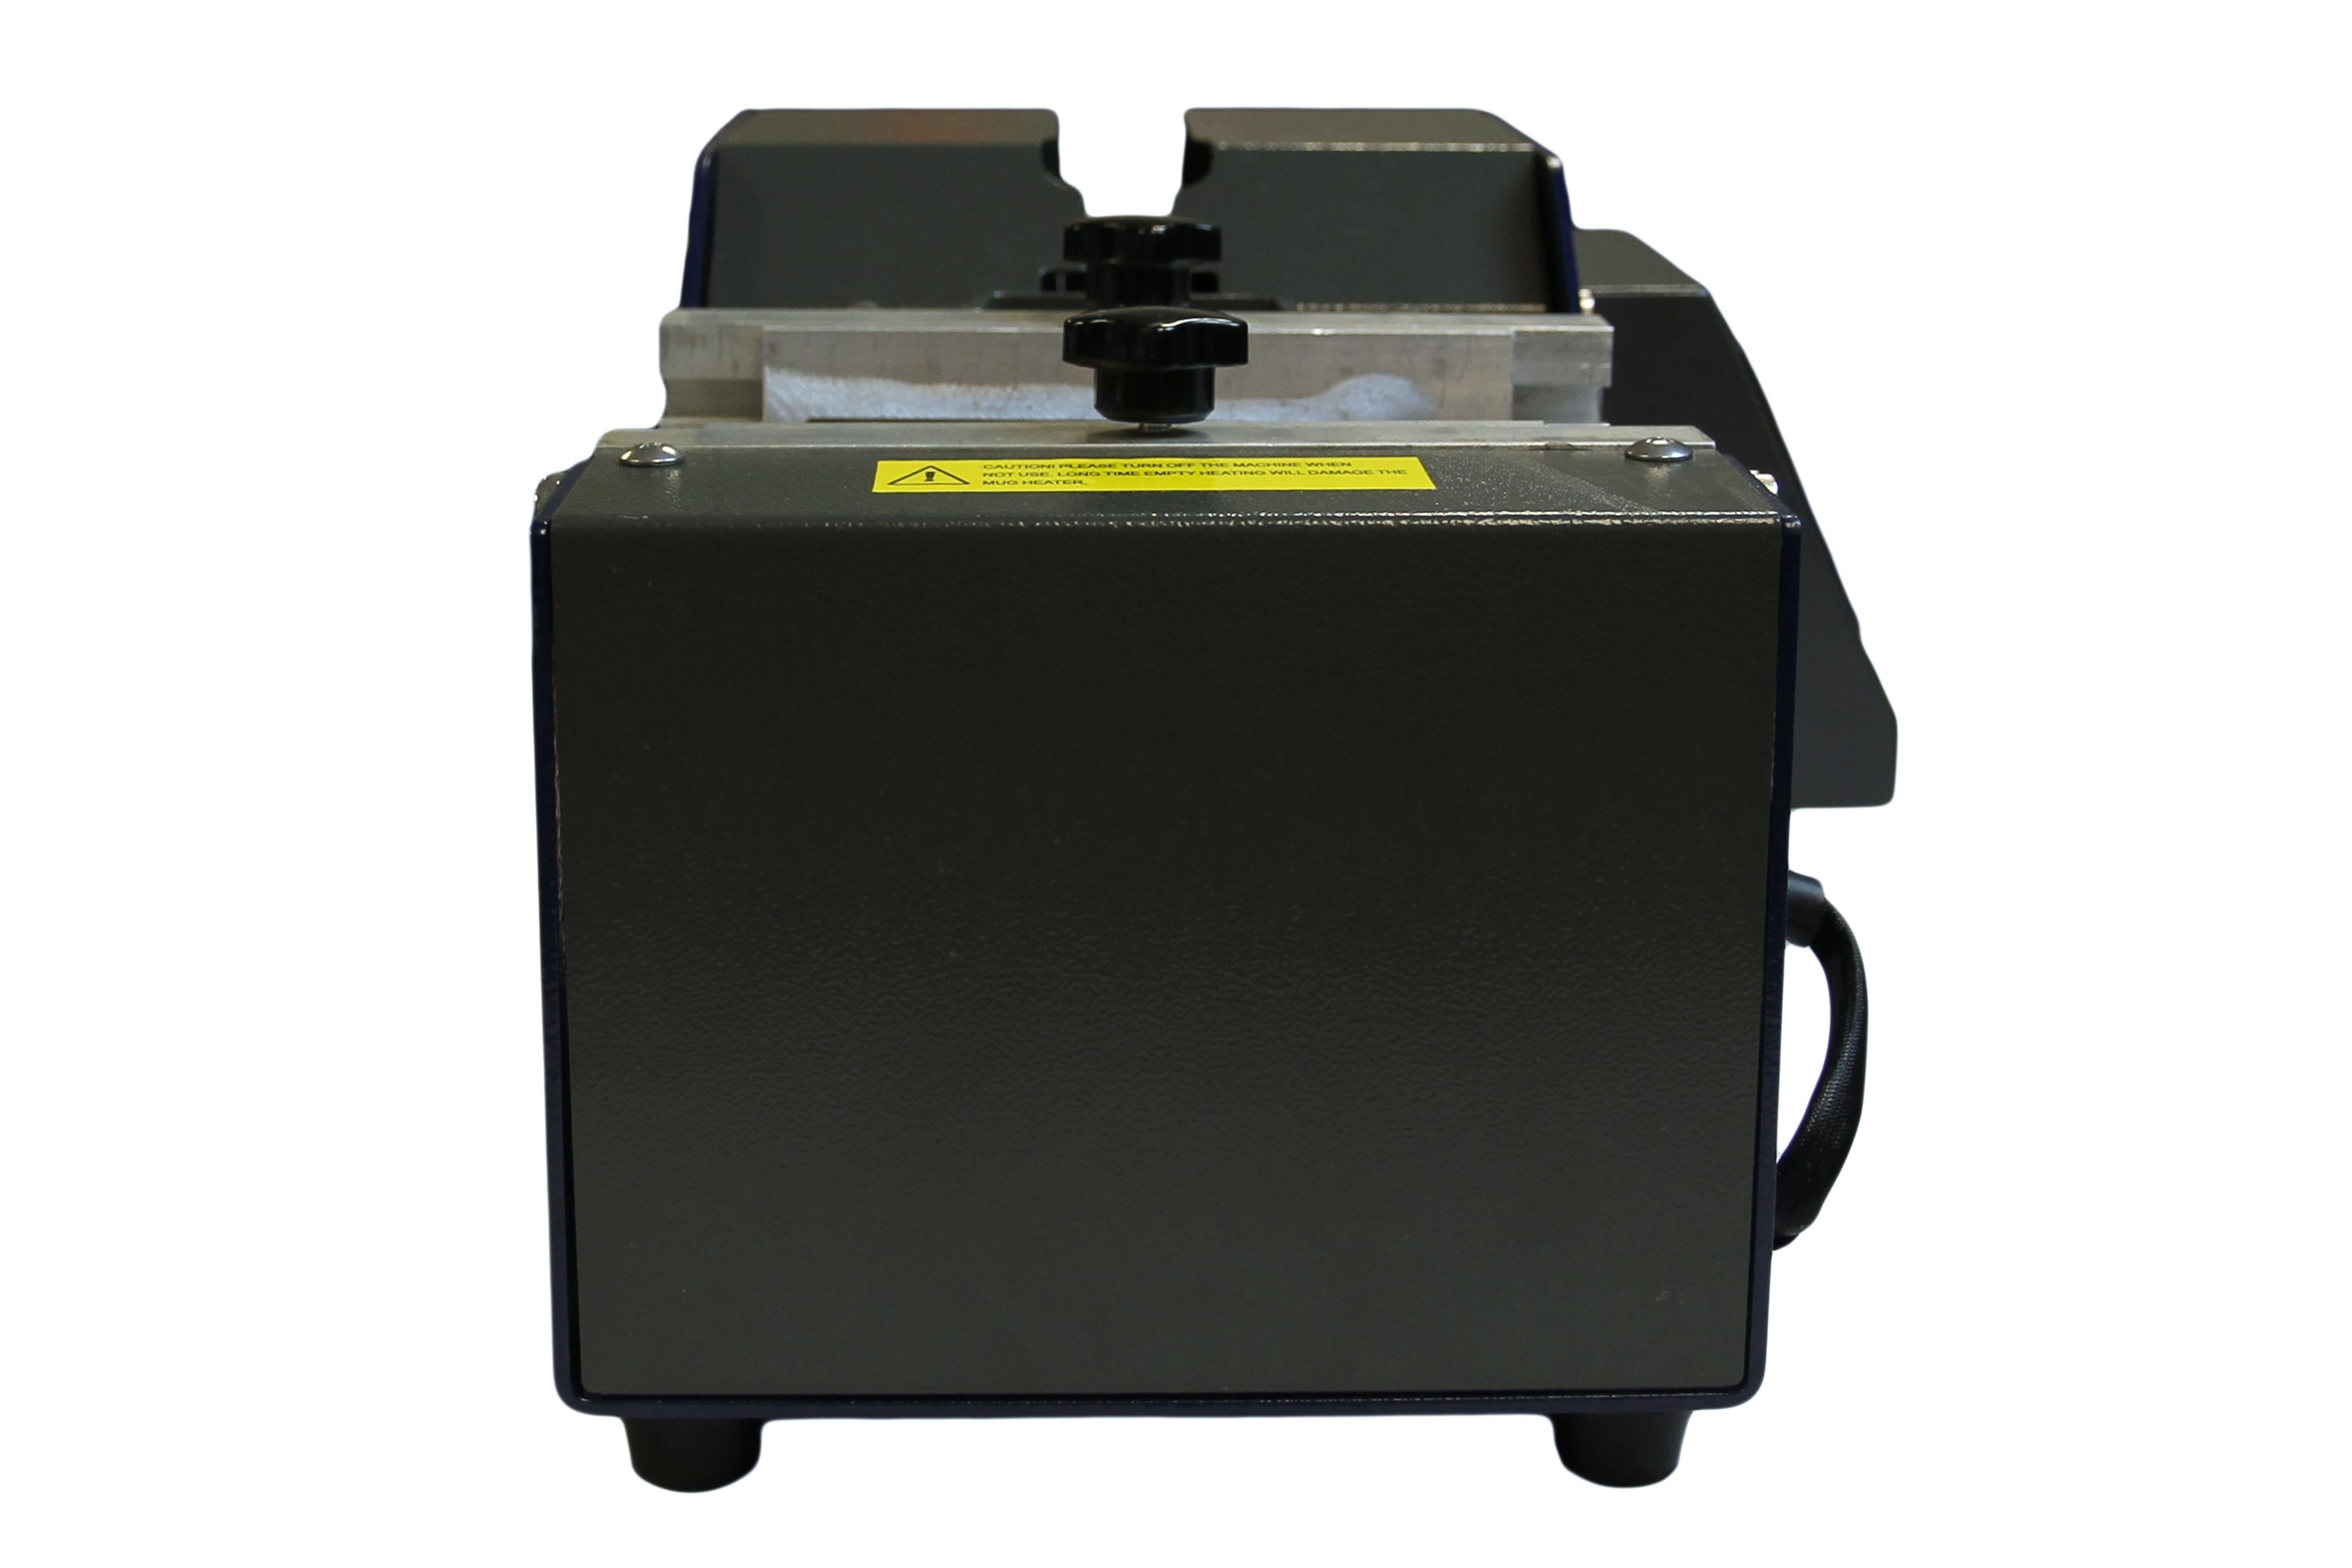
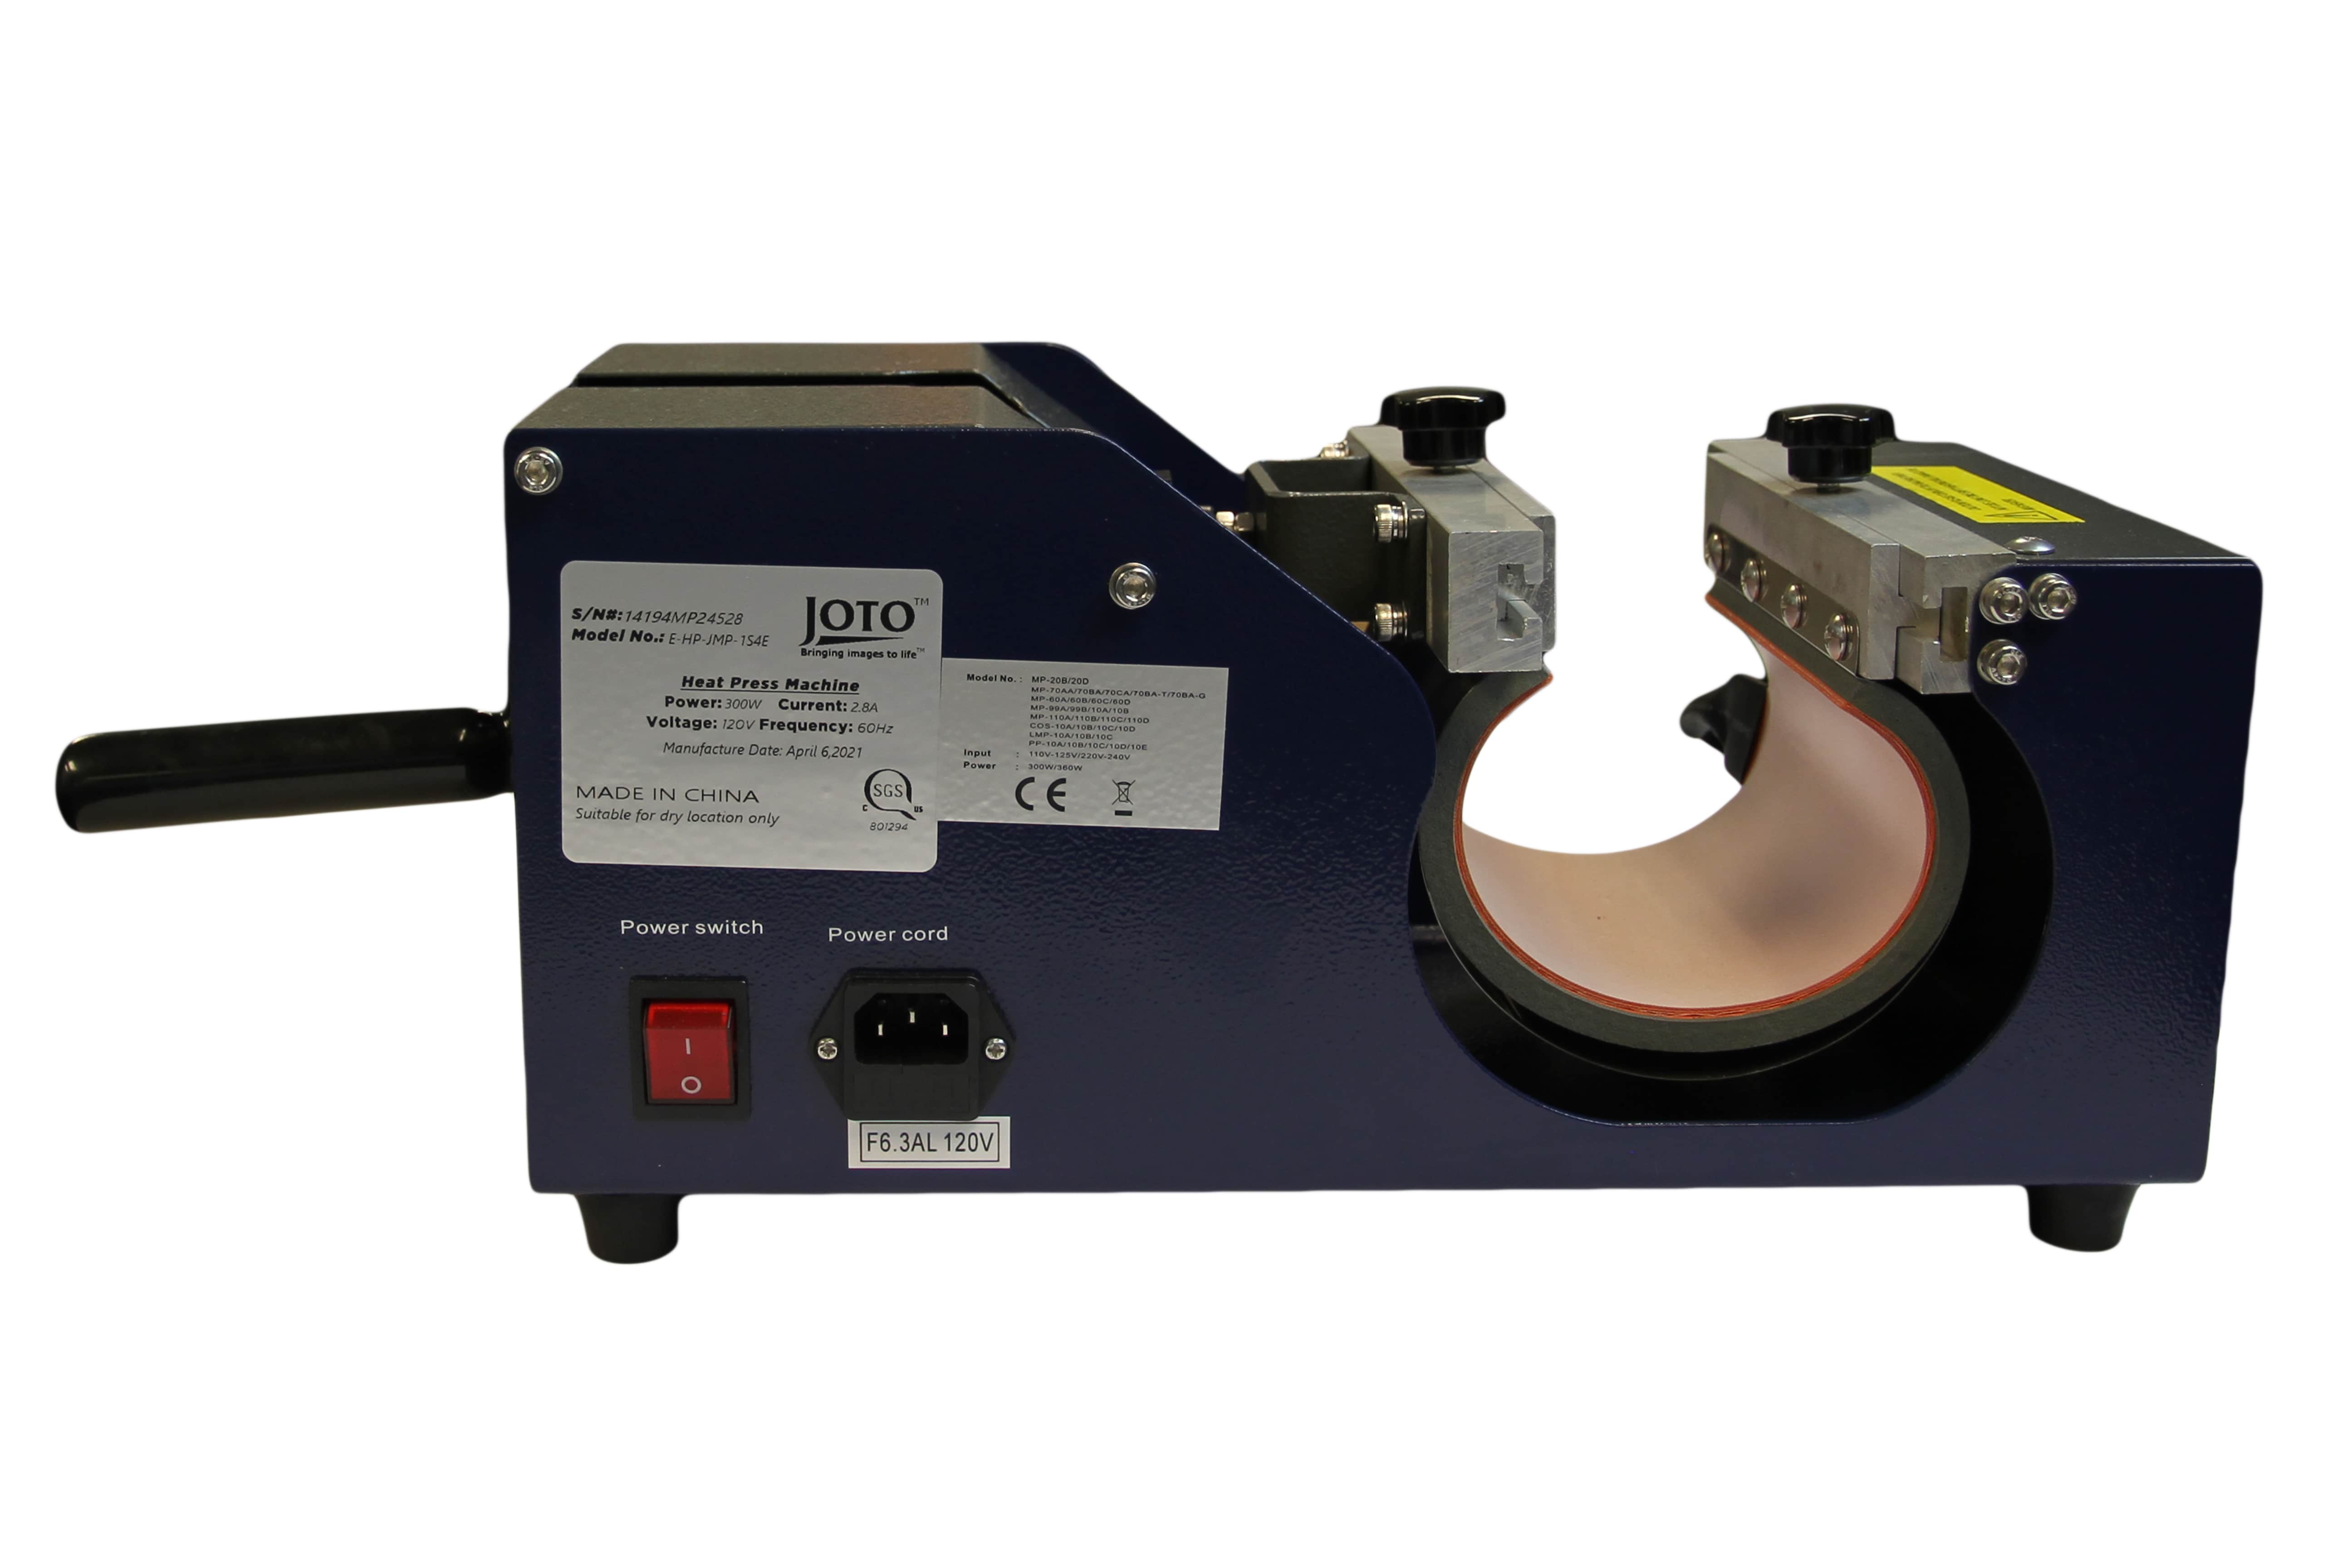
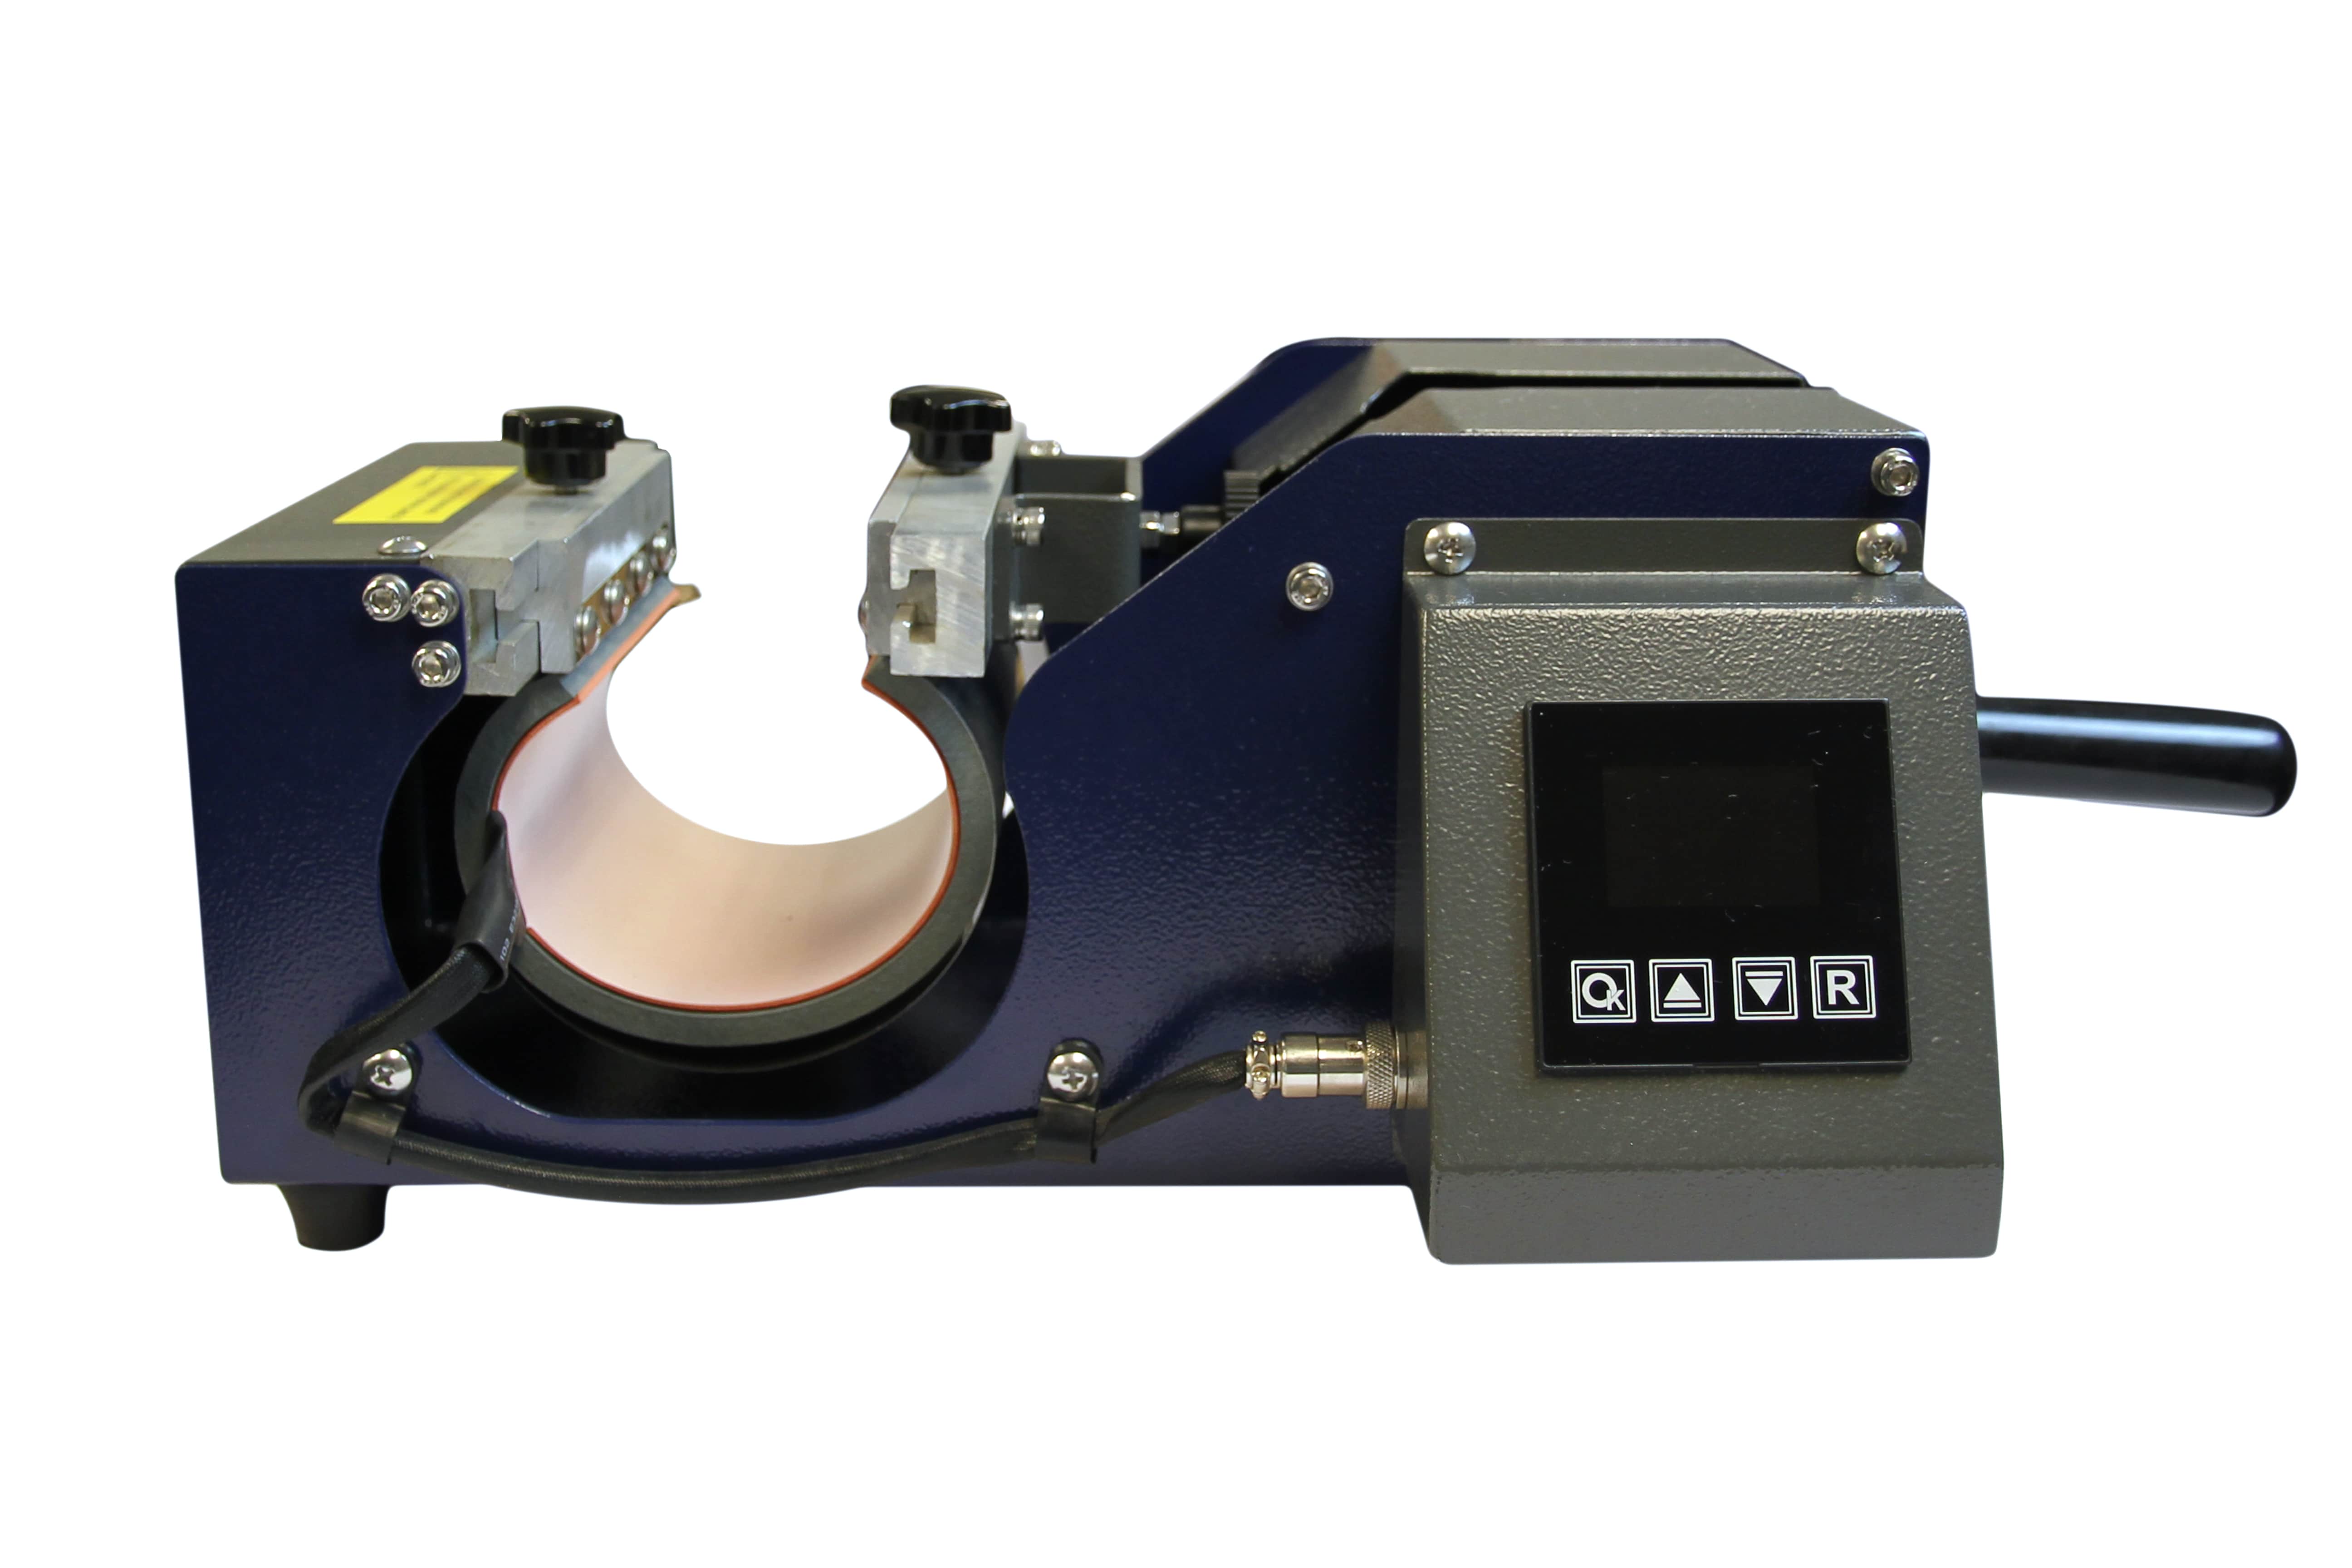
Before transferring your design, give your blank (e.g. shirt, mug, or metal sheet) a quick press:
- For fabrics: 3–5 seconds to remove wrinkles and moisture
- For hard surfaces: wipe clean with a lint-free cloth and alcohol
Moisture or dust can cause ghosting, blurry edges, or uneven color transfer.
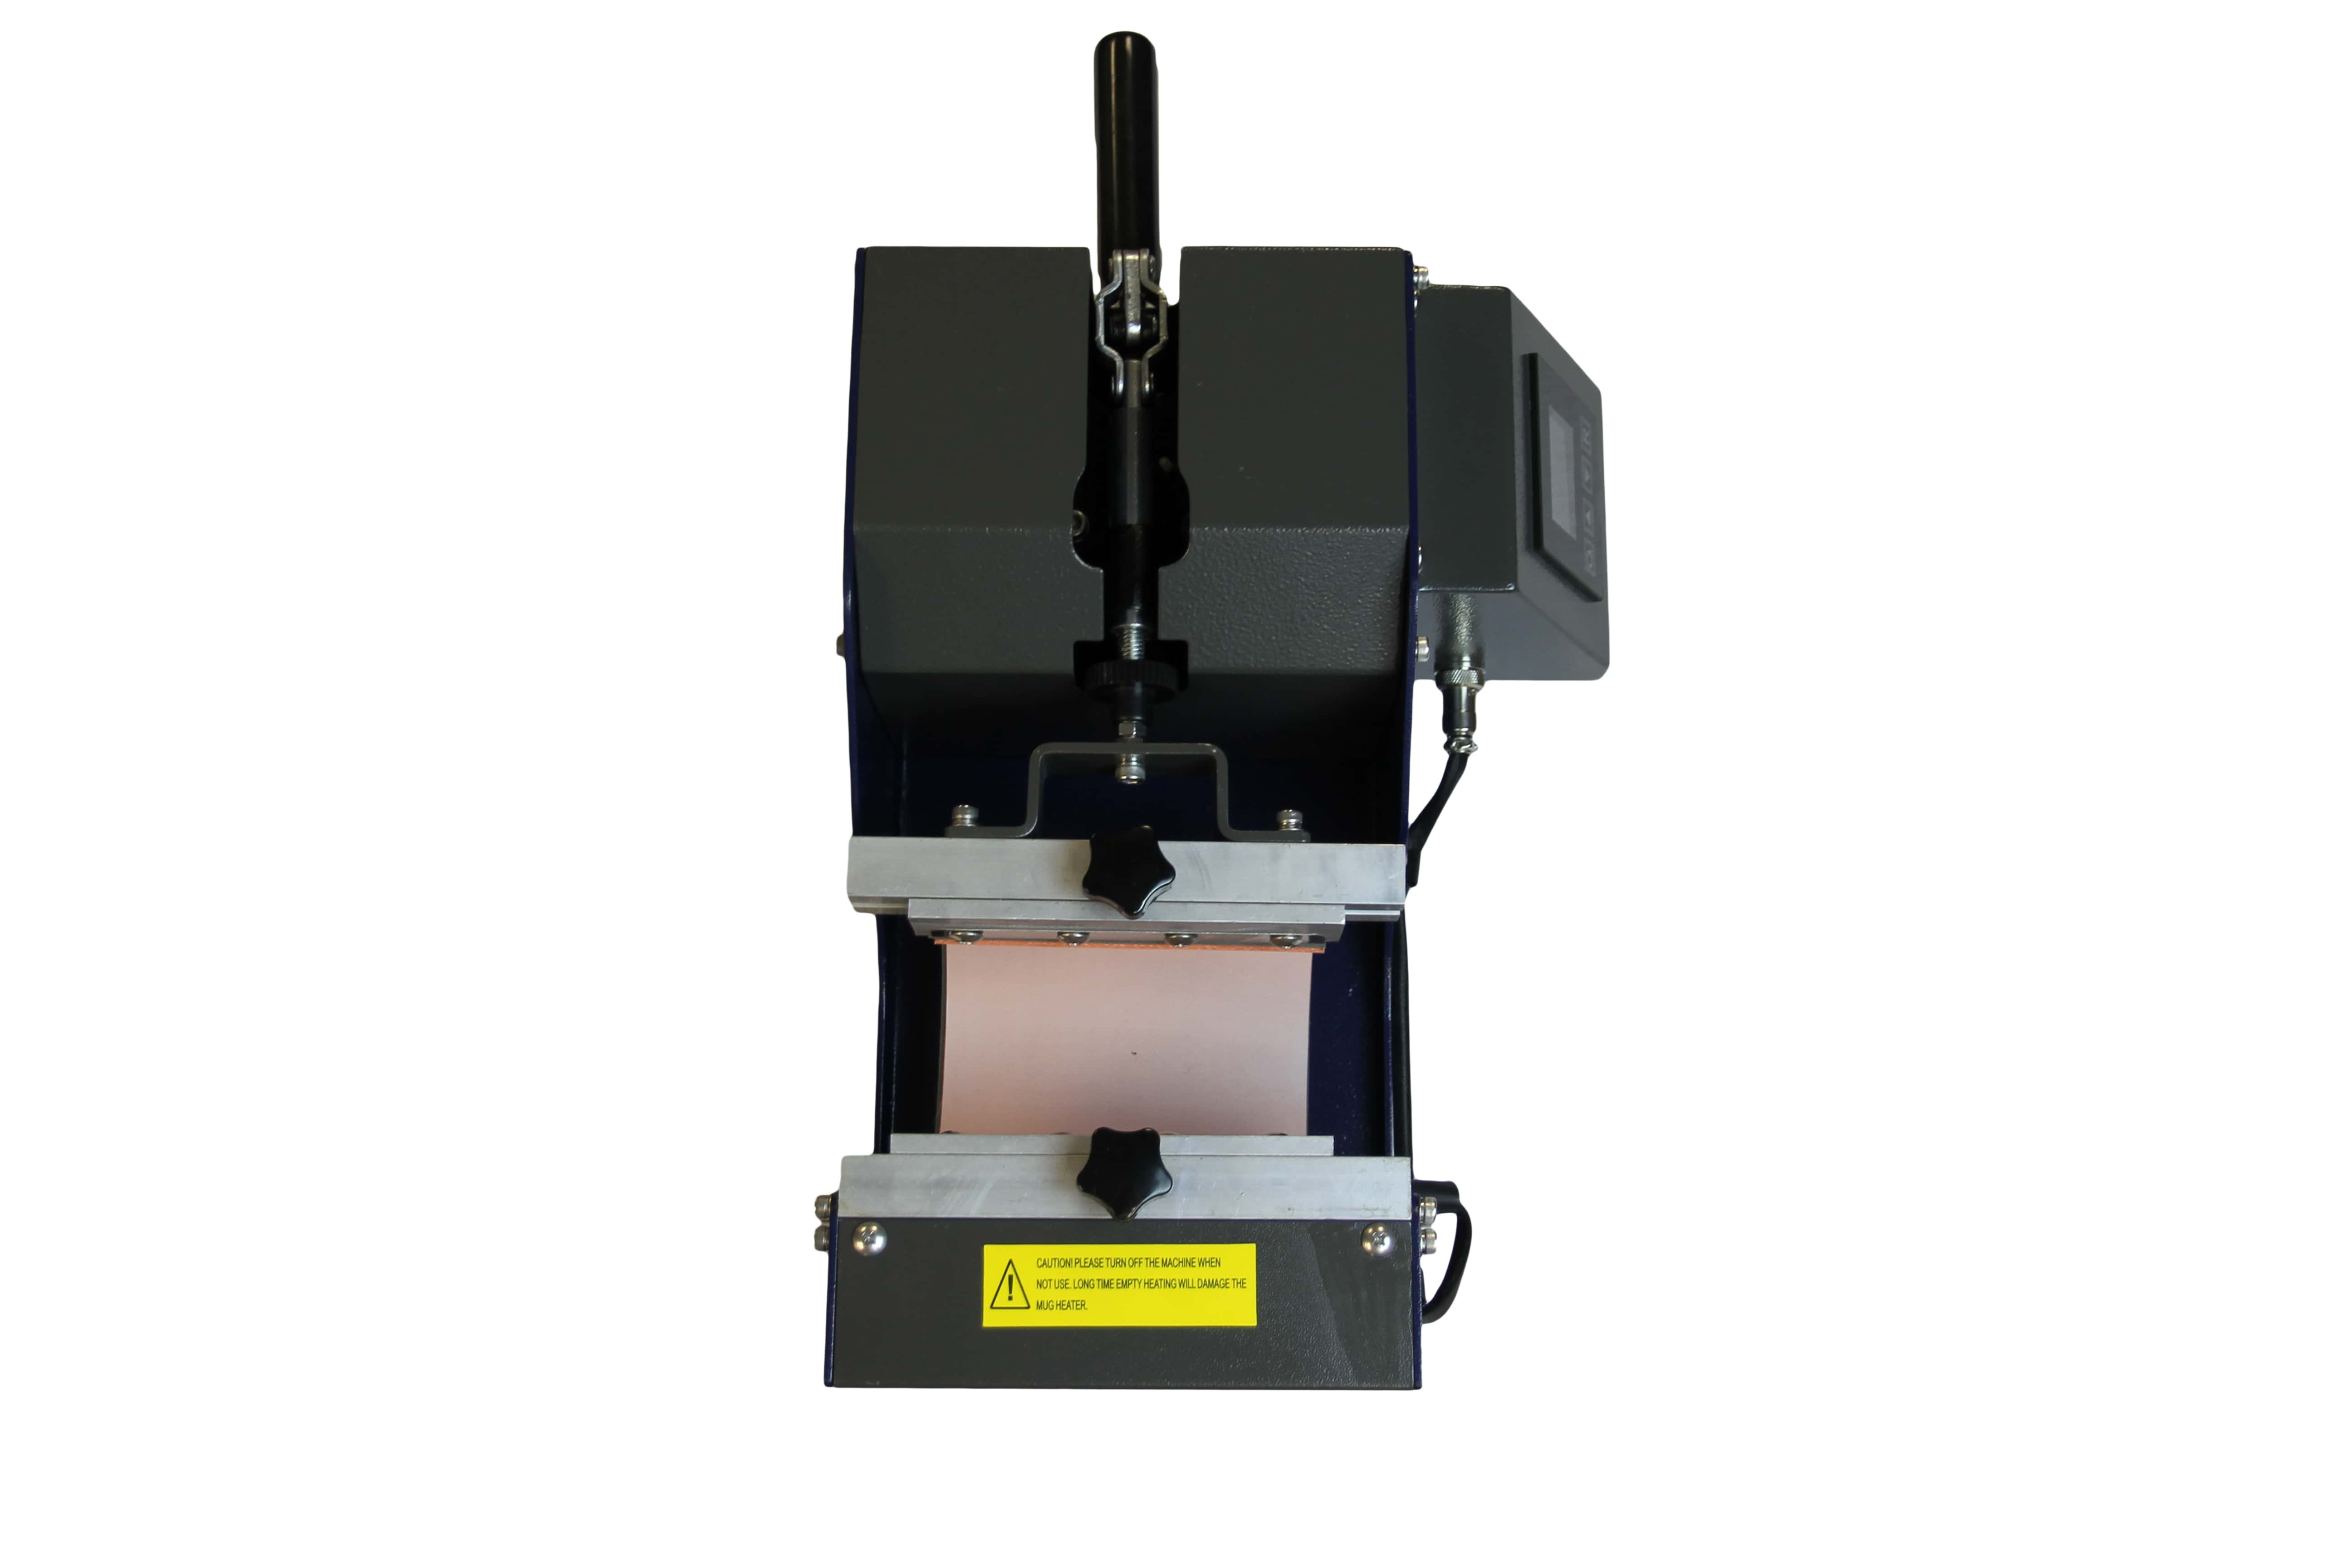
Step 4: Secure the design
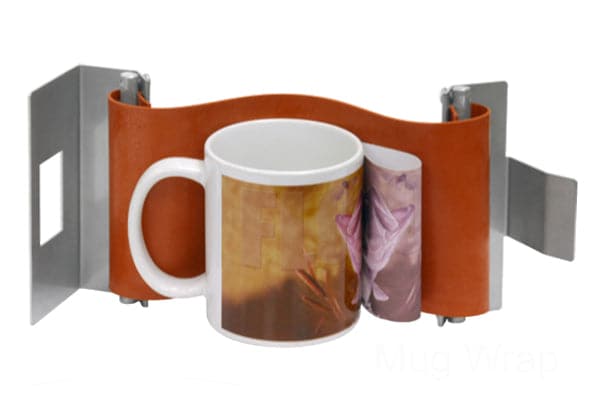
Place your sublimation paper print-side down onto your blank and tape it in place using heat-resistant tape. This prevents shifting during pressing, which can cause ghosting or blurry double images.
By following these steps, you'll set yourself up for clean, professional-quality results—every time.
Sublimation paper vs. other transfer methods
If you’re exploring printing options, you’ve probably come across other popular methods like heat transfer paper, DTF (Direct to Film), or even vinyl cutting. So how does sublimation paper compare?
Let’s break it down.
Sublimation Paper vs. Heat Transfer Paper
Sublimation paper works by embedding ink into polymer-coated surfaces, producing permanent, vibrant designs that won’t peel, crack, or fade.
Heat transfer paper prints the design onto a film or layer that sits on top of the fabric or surface, which can feel heavier and is more prone to wear over time.
- Use sublimation for polyester garments, coated drinkware, or hard substrates.
- Use heat transfer paper for cotton or dark fabrics that aren’t compatible with sublimation.
Sublimation vs. Vinyl
- Vinyl requires weeding and layering—great for bold, single-color designs.
- Sublimation handles photo-quality, full-color gradients with ease and speed, without layering.
Why Sublimation Wins (When Possible)
- No texture (design becomes part of the surface)
- More professional, long-lasting look
- Perfect for personalized gifts, promo items, and custom retail products
However, sublimation does have its limitations. It only works on light-colored, polyester-based materials or items with a sublimation coating.
Still, if your blank is compatible, sublimation is hard to beat for durability, efficiency, and color brilliance.
Tips for Using Sublimation Paper Like a Pro
Once you've got the basics down, these expert tips will help you get the most out of your sublimation paper—and avoid common beginner mistakes.
1. Start with High-Quality Images
Sublimation captures fine detail, so start with 300 DPI resolution images or higher. Avoid blurry or pixelated artwork, especially for large formats. The sharper your design, the better the final result.
2. Always Mirror Your Design
Don’t forget to flip your image horizontally before printing! This ensures your text and layout appear correctly once transferred onto the substrate.
3. Use Protective Paper
Always place butcher paper or blowout paper between your press and your blank. This prevents ink bleed and protects your heat press from stains.
4. Clean and Pre-Press
Clean your blank thoroughly—use a lint roller for garments and alcohol wipes for mugs, metal, or glass. Then pre-press to remove moisture or wrinkles. Moisture can cause faded colors or ghosting during the transfer.
5. Secure Your Transfer
Use heat-resistant tape or a tacky spray adhesive to keep your sublimation paper firmly in place. Even slight shifts can cause ghosting or blurry outlines.
6. Test Before Full Production
Different materials and press setups may require slight changes to temperature, time, and pressure. Always run a test transfer before starting a batch order.
With these tips, your prints will look sharper, your colors will pop, and your blanks will come out flawless more often than not.
Best practices for long-lasting sublimation results
Creating a great-looking sublimation project is only half the battle, keeping it looking great is just as important. Follow these best practices to make sure your sublimated items stay vibrant and professional-looking for years to come.

1. Wash with care (for Fabrics)
Sublimated apparel should be washed:
- In cold water
- On a gentle cycle
- Inside out to protect the design
- Without bleach or fabric softeners
Air drying is best, but a low tumble dry setting is usually safe. These habits help preserve the print and prevent fading.
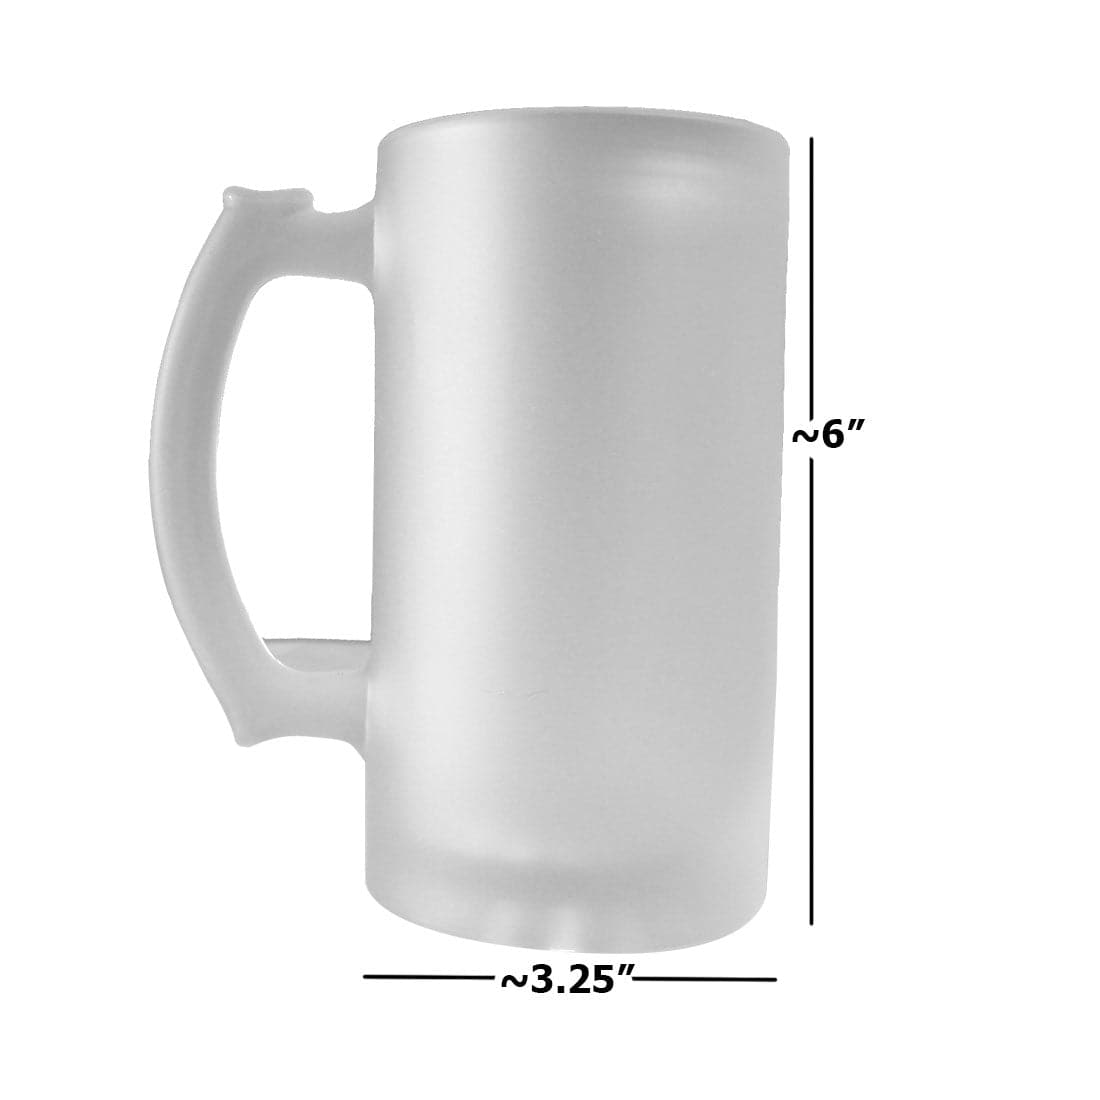
2. Handle drinkware gently
Sublimated mugs and tumblers are often top-rack dishwasher safe, but hand-washing is still recommended for maximum longevity—especially for full-wrap or metallic finishes. Avoid scrubbing the design directly with rough pads.
3. Avoid harsh chemicals
For hard surfaces (like aluminum panels or keychains), clean with a soft cloth and mild soap only. Abrasive cleaners or solvents may dull the design or damage the sublimation coating.
4. Limit Sun Exposure
Prolonged UV exposure can break down sublimation dyes over time. Store or display your items out of direct sunlight, especially for outdoor décor or signage.
With the right care, your sublimated products can maintain their vibrant, high-quality look for years—keeping your customers (or gift recipients) happy long after the press.
Frequently asked questions about sublimation paper
Sublimation is exciting, but it also comes with a learning curve. Here are answers to the most common questions beginners ask about sublimation paper.
-
❓ Can I use a regular printer for sublimation paper?
No. Sublimation paper only works with sublimation printers or converted inkjet printers that use sublimation ink. Regular printers use dye or pigment inks that won’t sublimate, and may ruin your blanks and paper.
-
❓ Can I use regular ink on sublimation paper?
No again. Sublimation paper requires sublimation ink, which turns into gas under heat. Regular ink won’t transfer and will just sit on the surface—or worse, burn or blur during pressing.
-
❓ Can I use photo paper instead of sublimation paper?
No. Photo paper isn’t heat-resistant and doesn’t release ink through the sublimation process. It may melt, smudge, or damage your press. Always use paper specifically designed for sublimation.
-
❓ What can I make with sublimation paper?
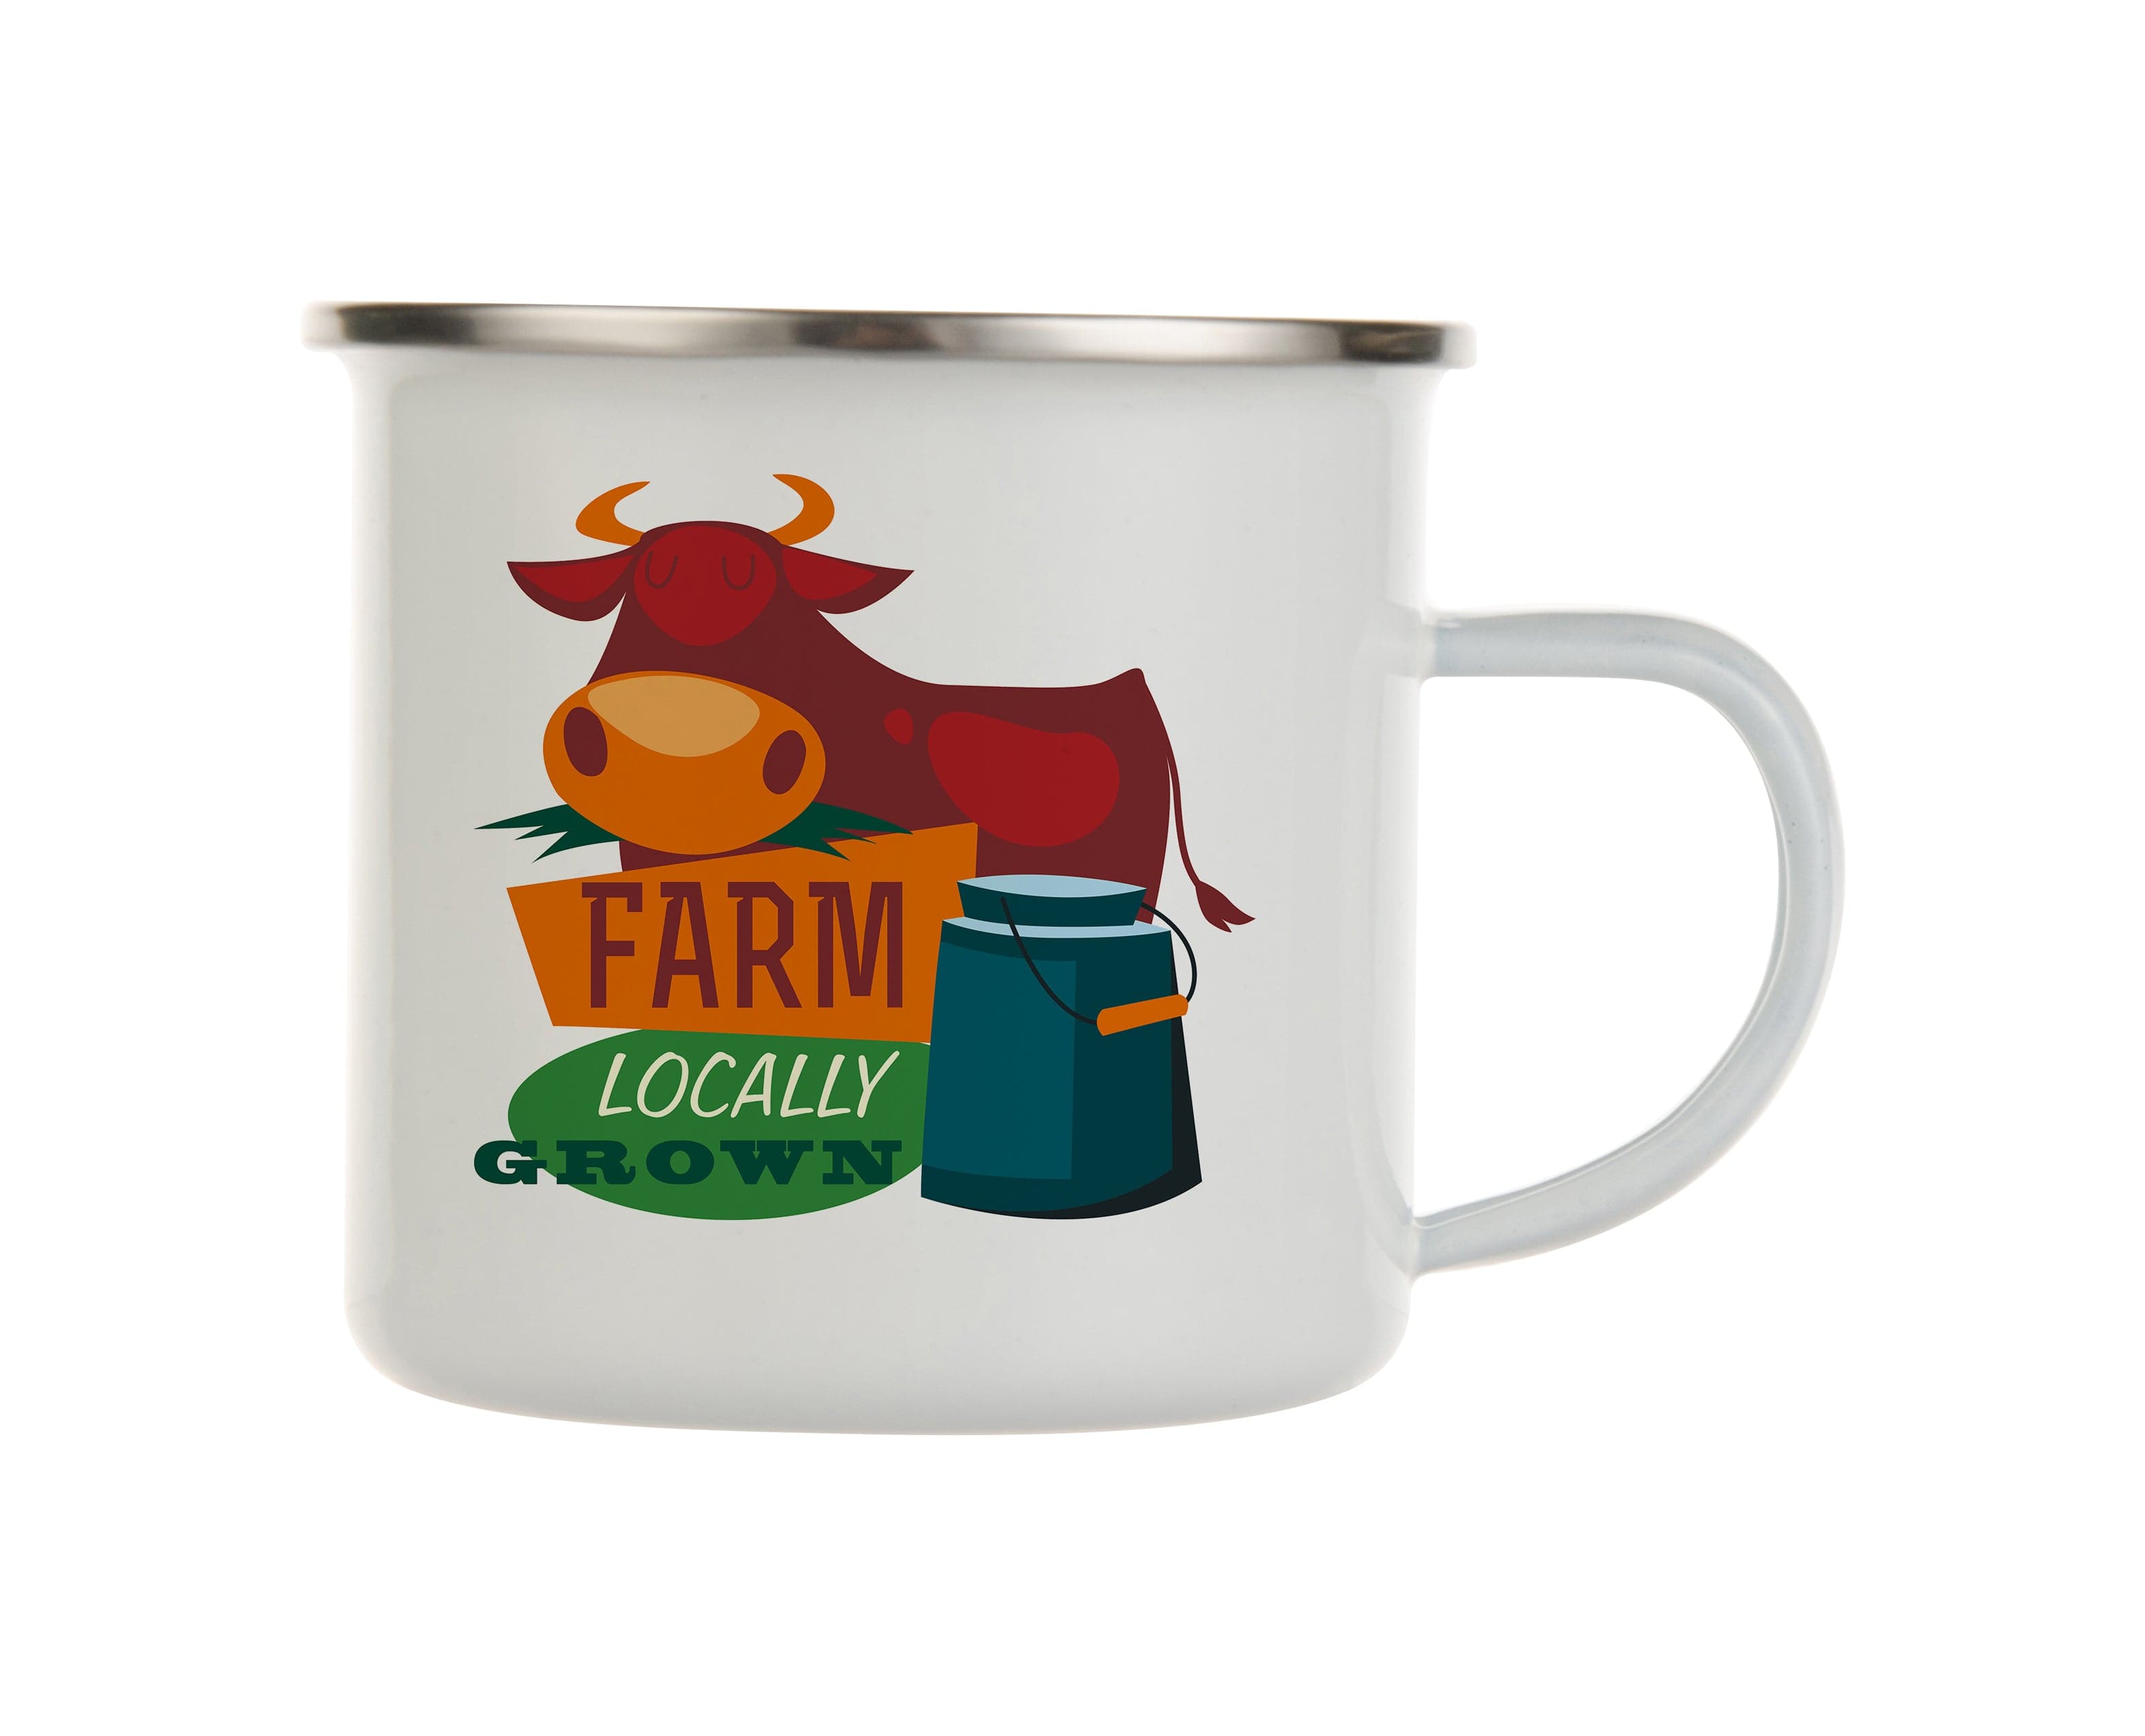
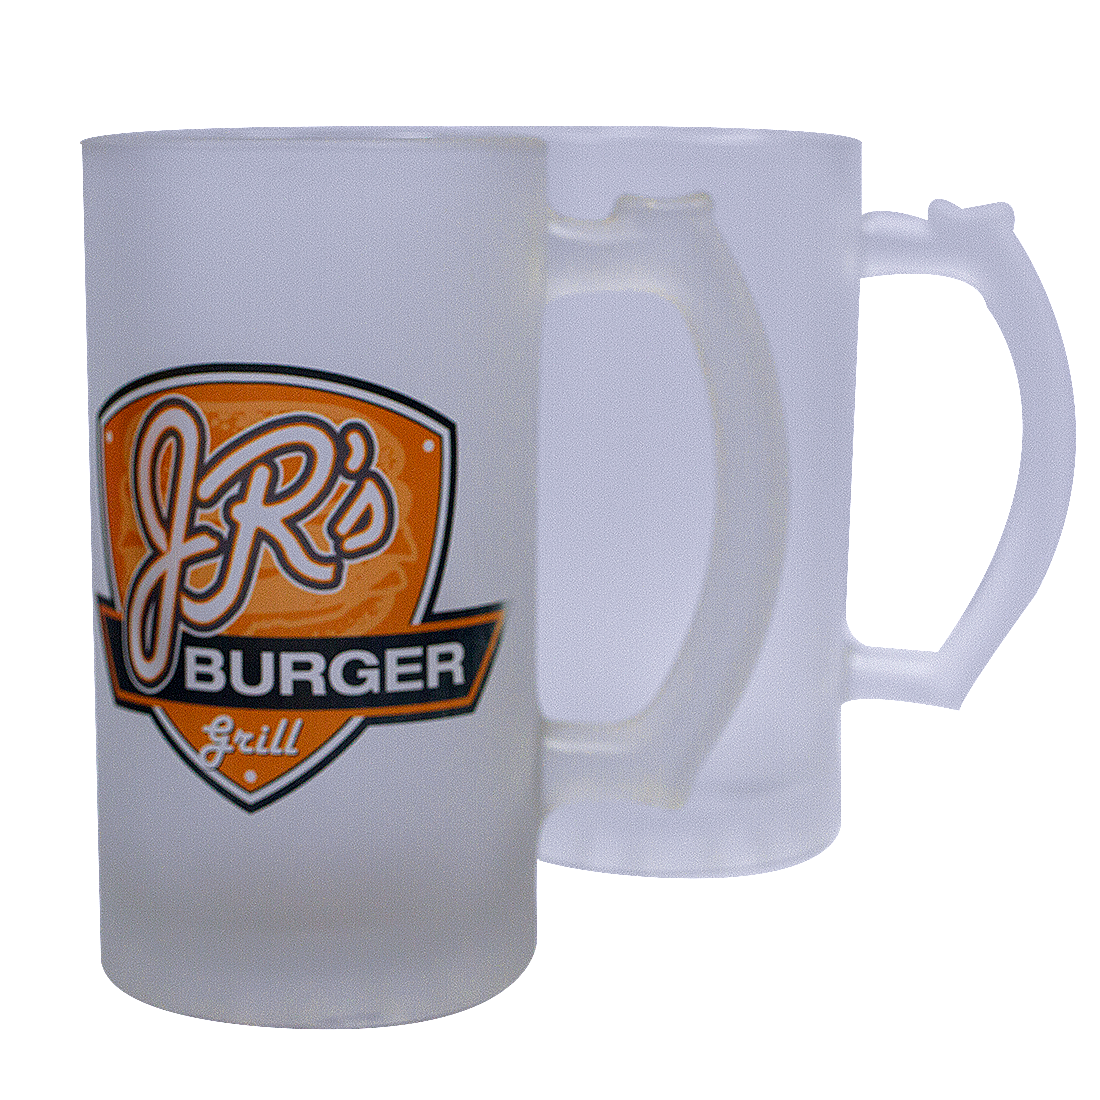
Tons of things! As long as the item is coated for sublimation or made from polyester (for fabric), you can customize:
-
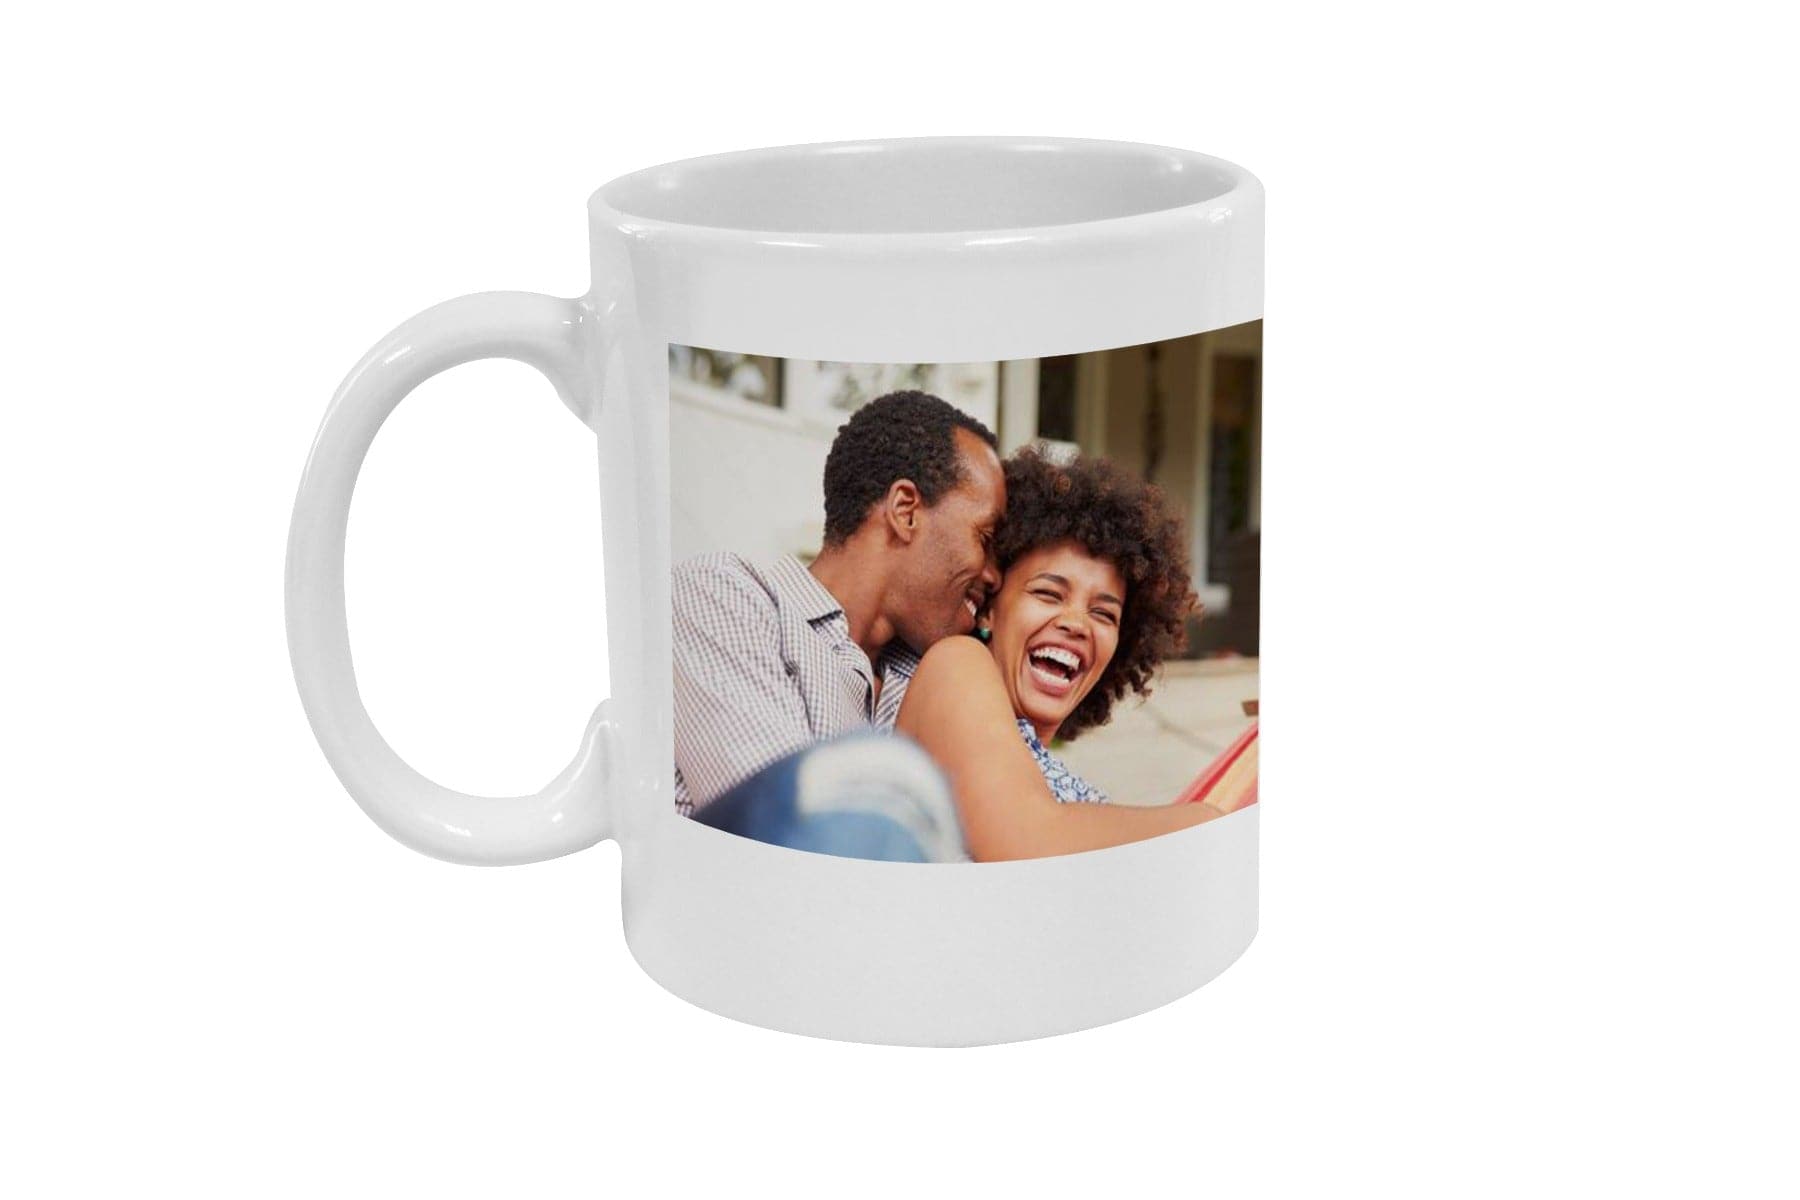
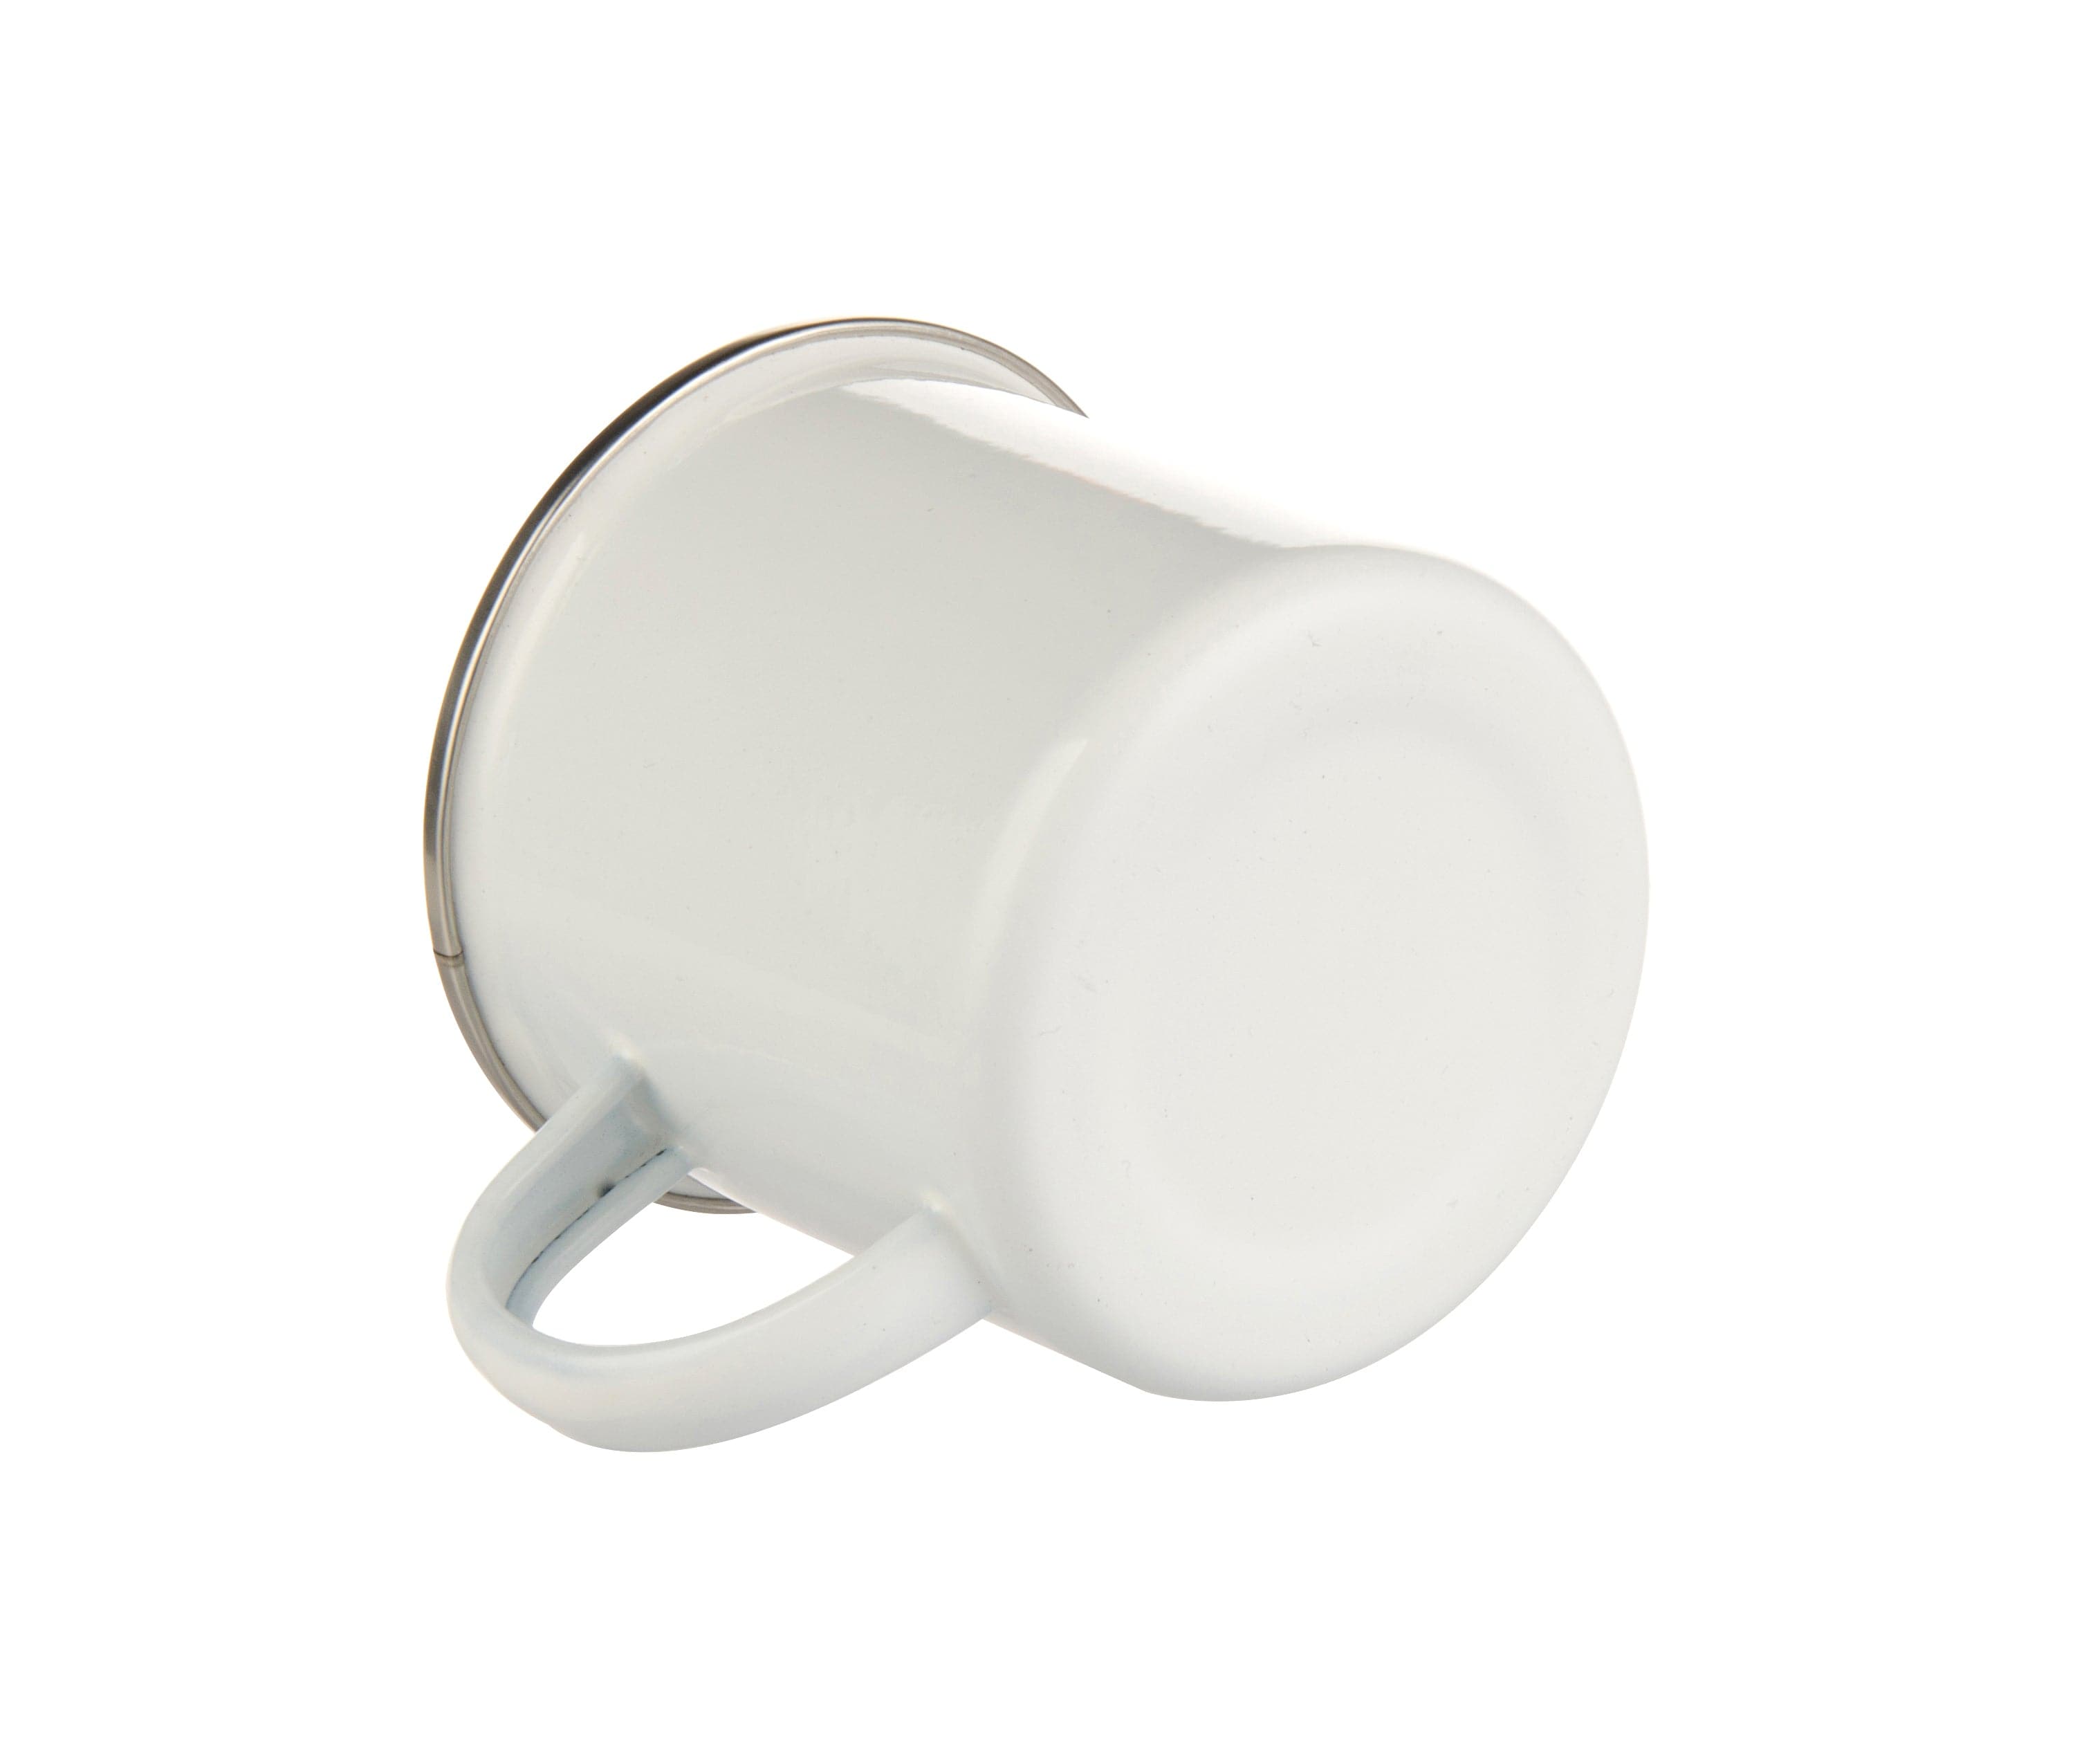
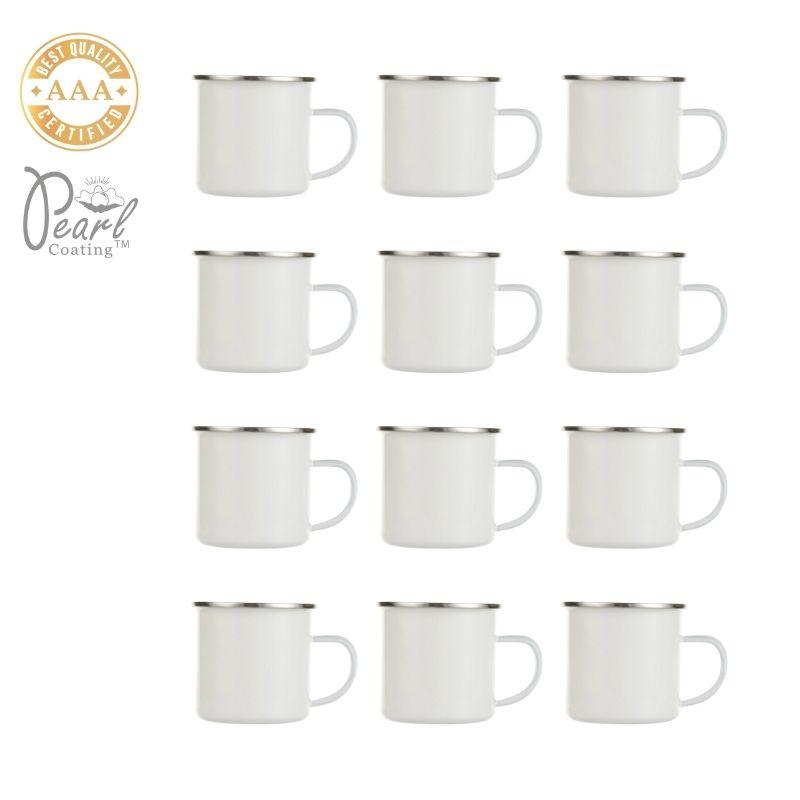
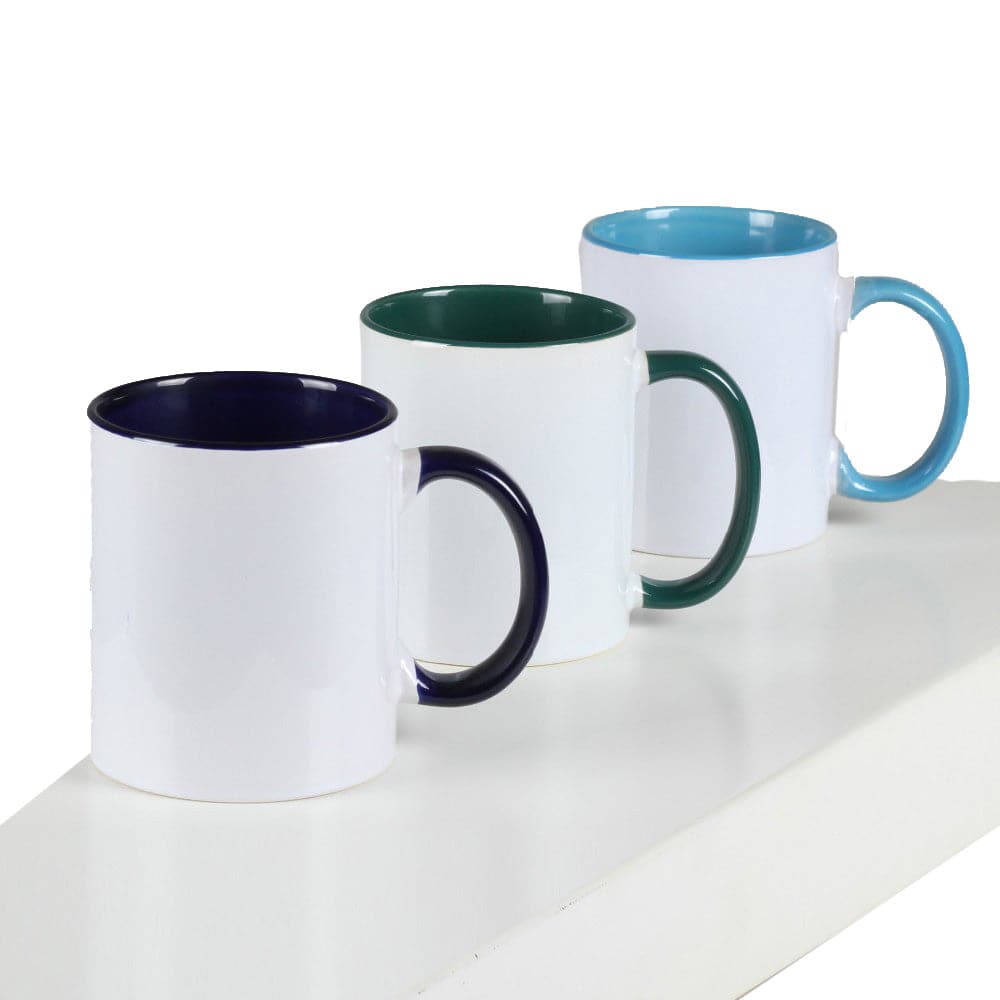
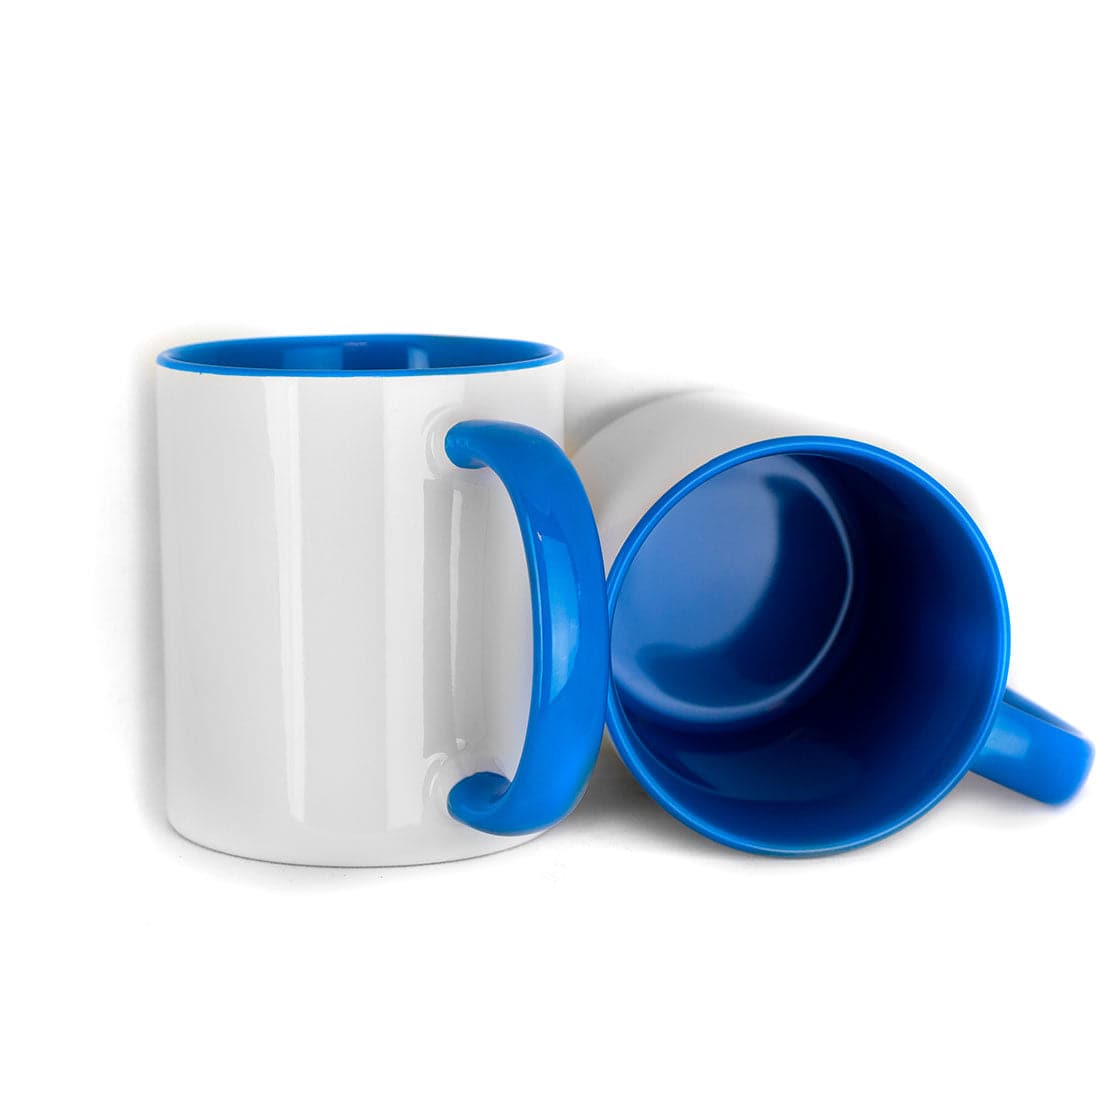
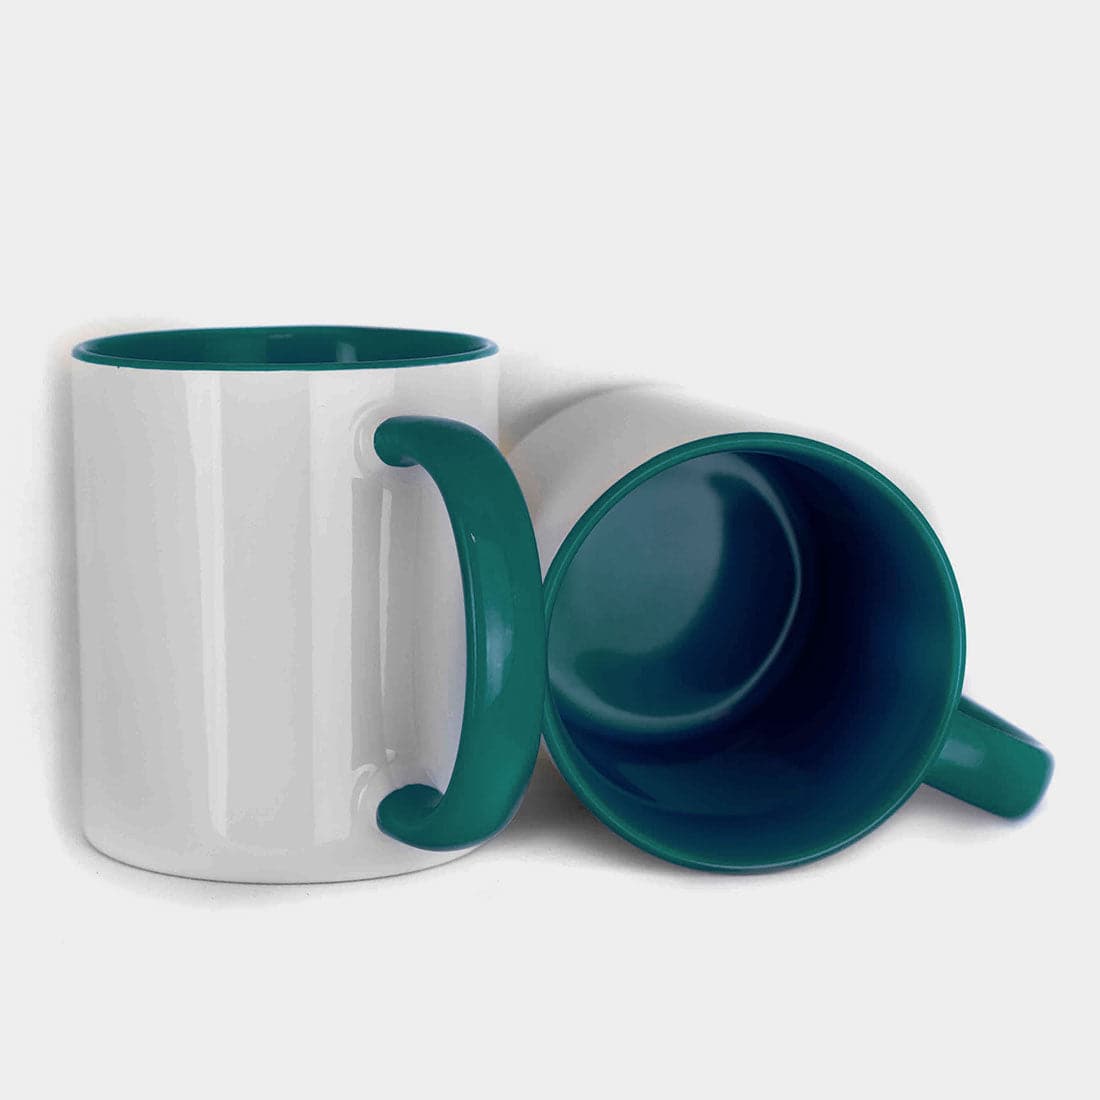
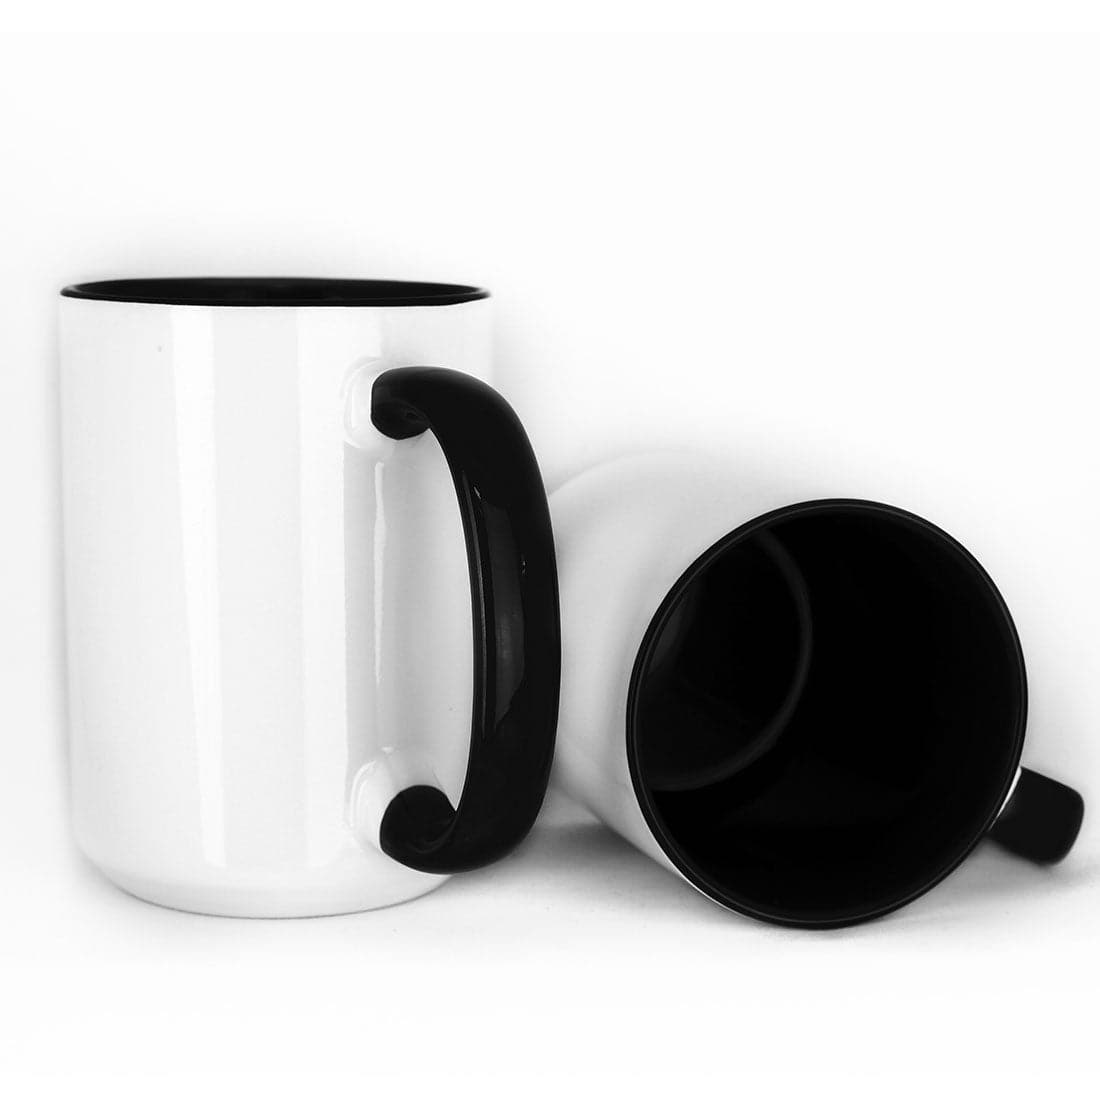
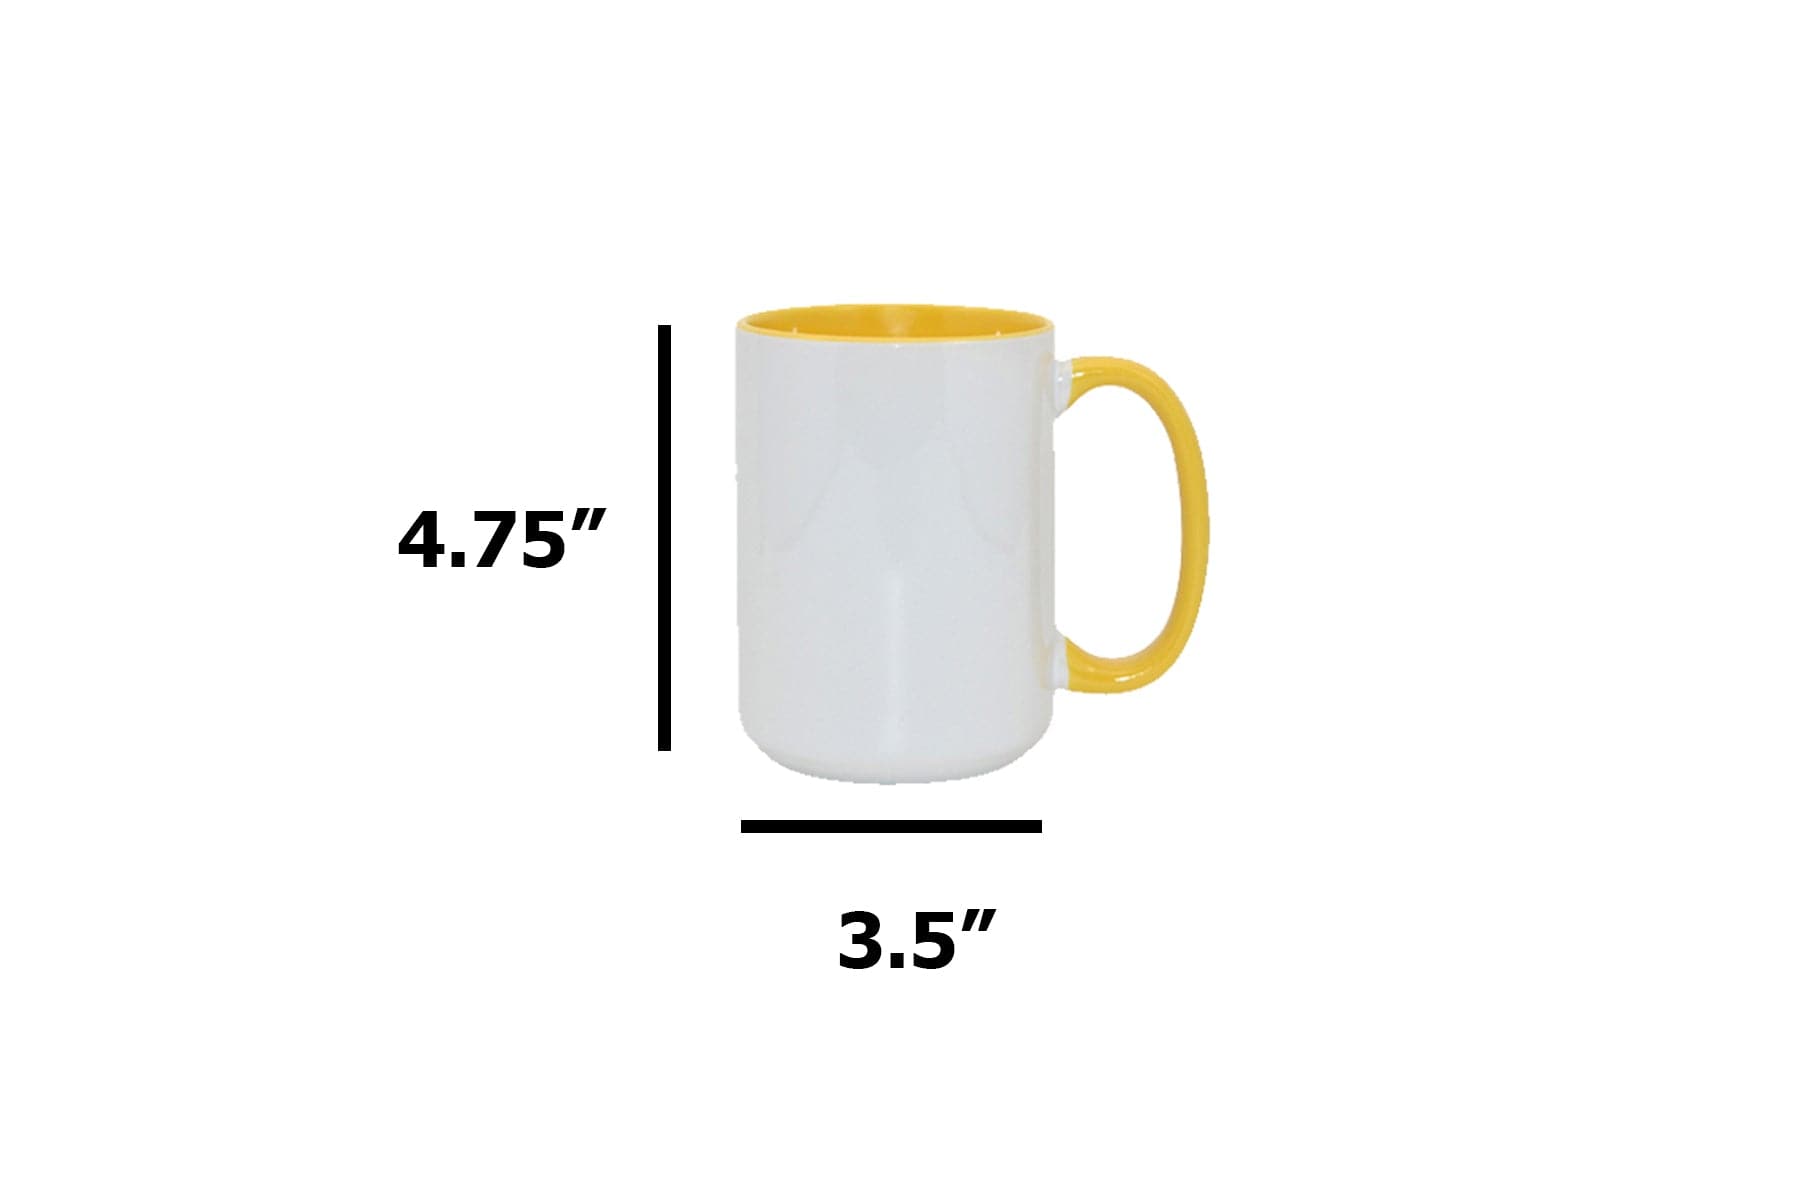
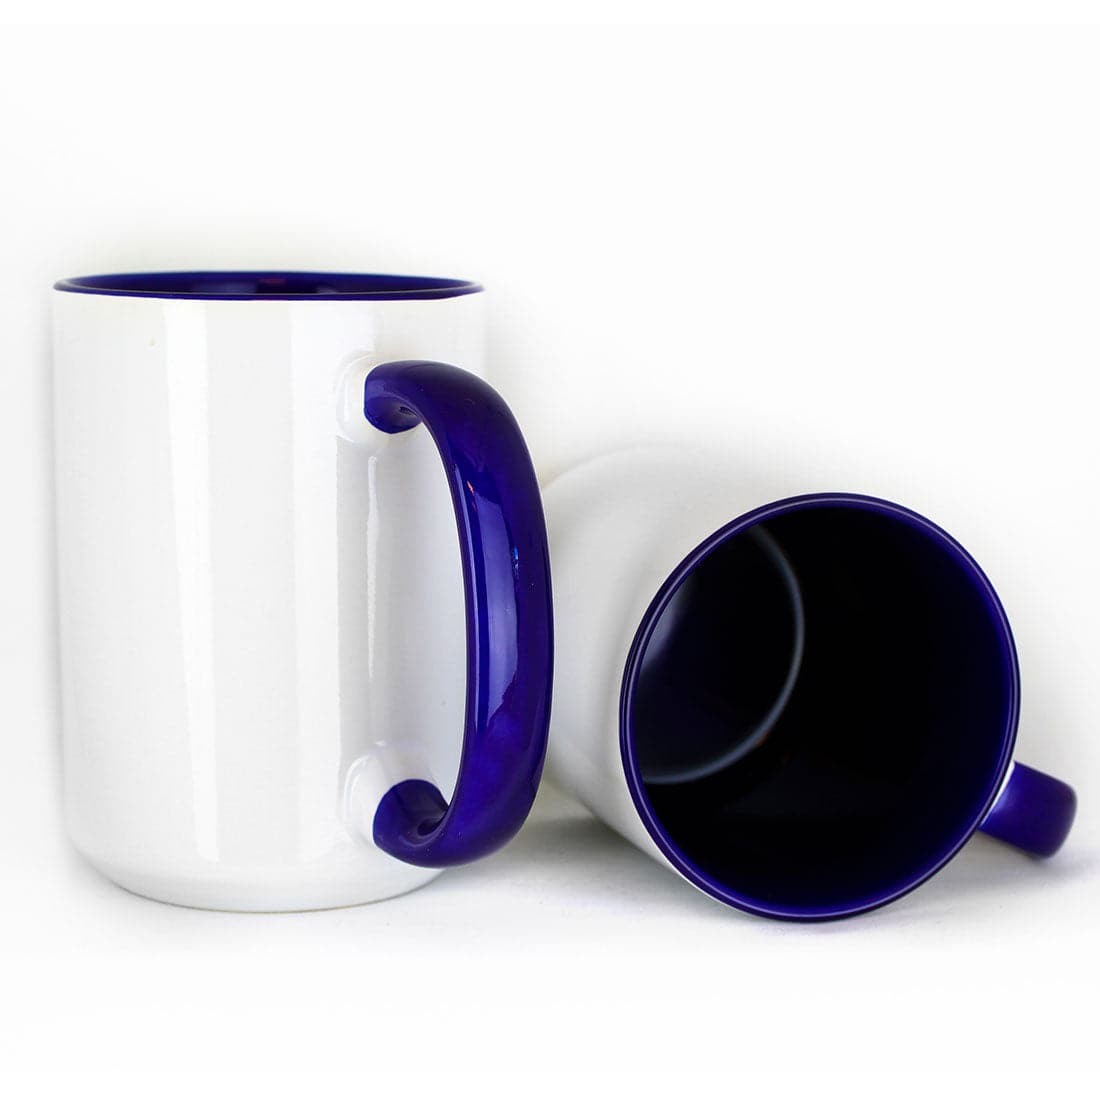
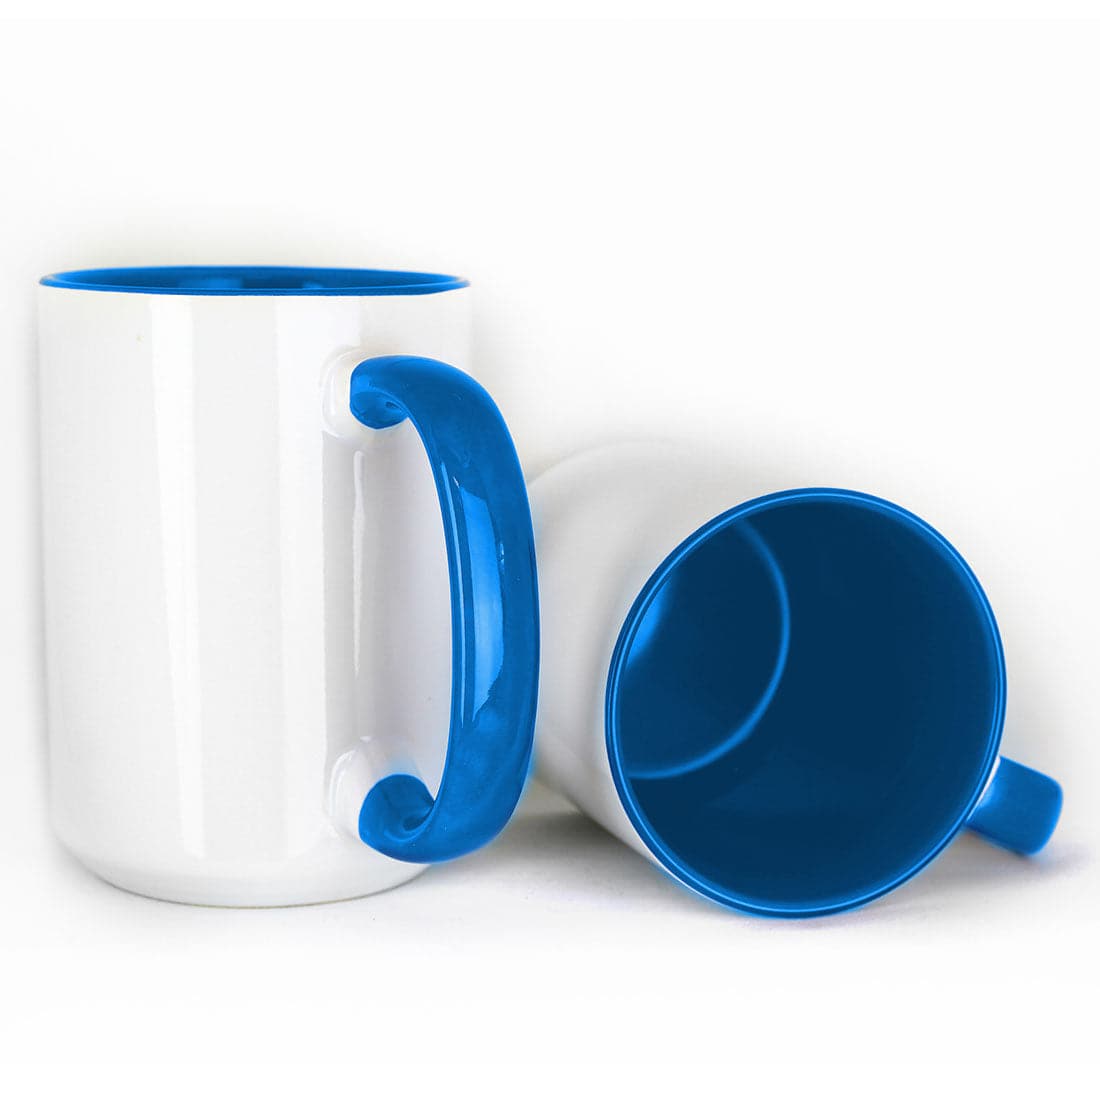
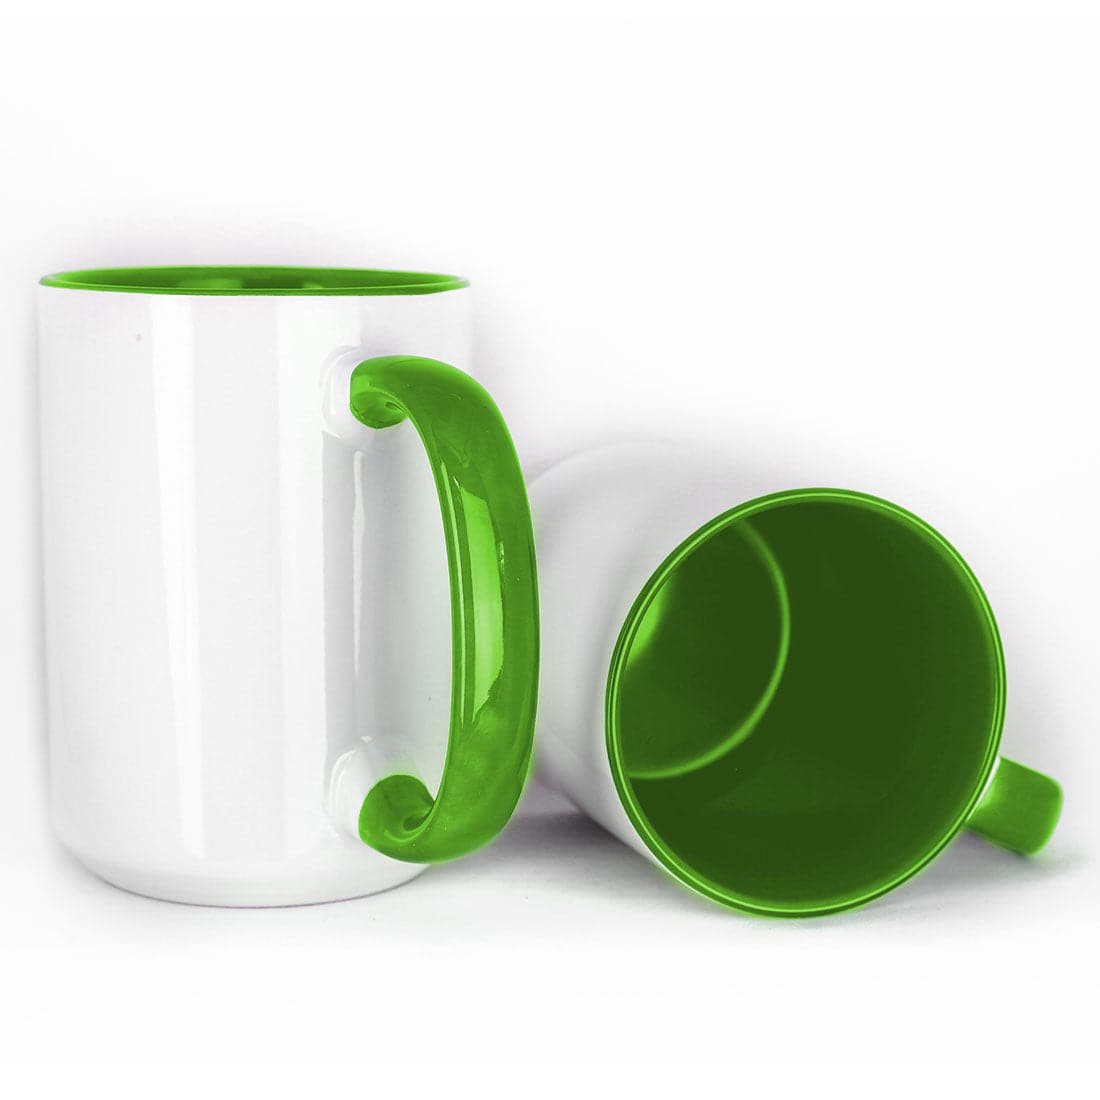
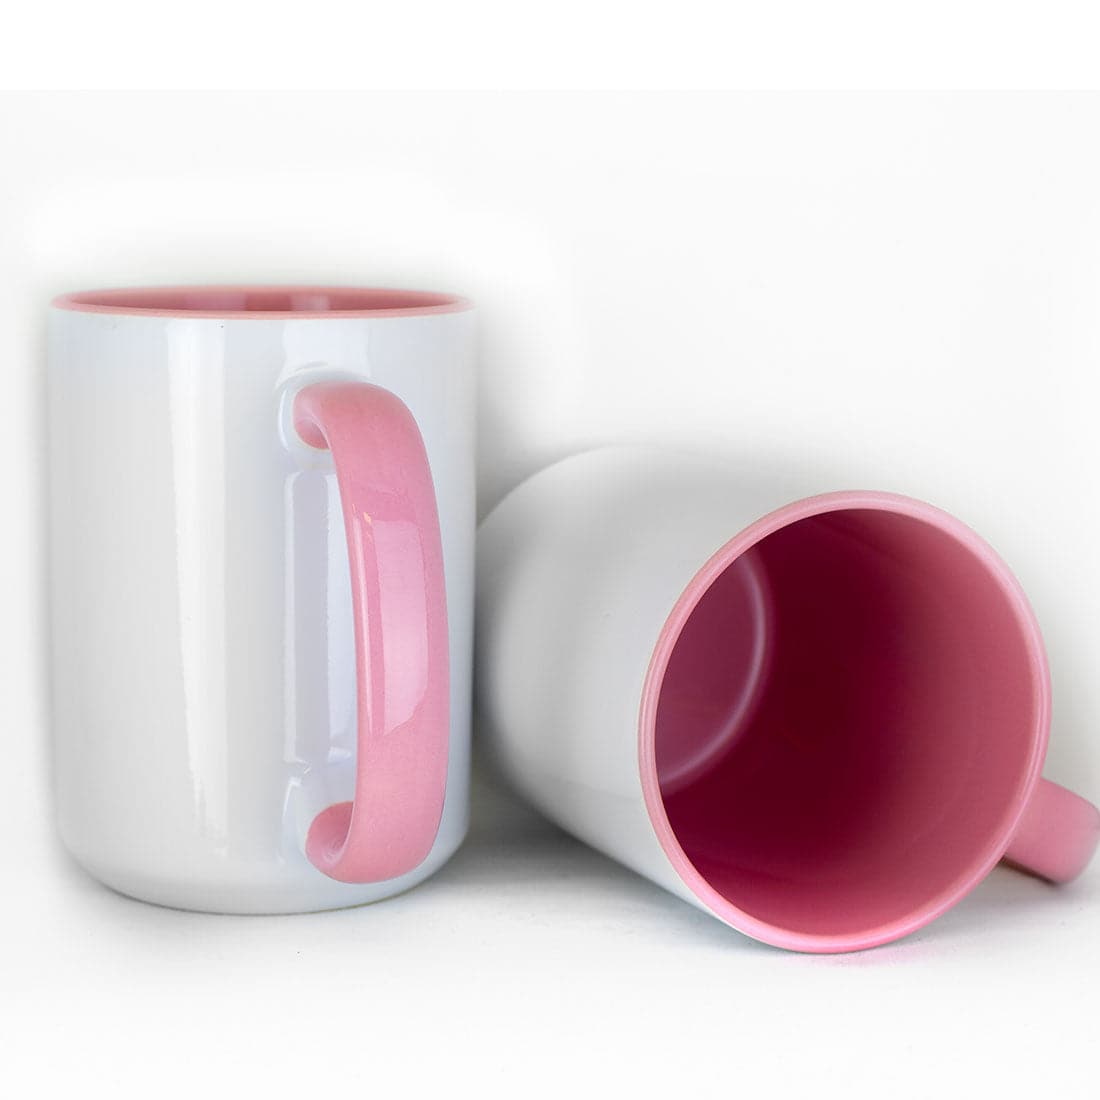
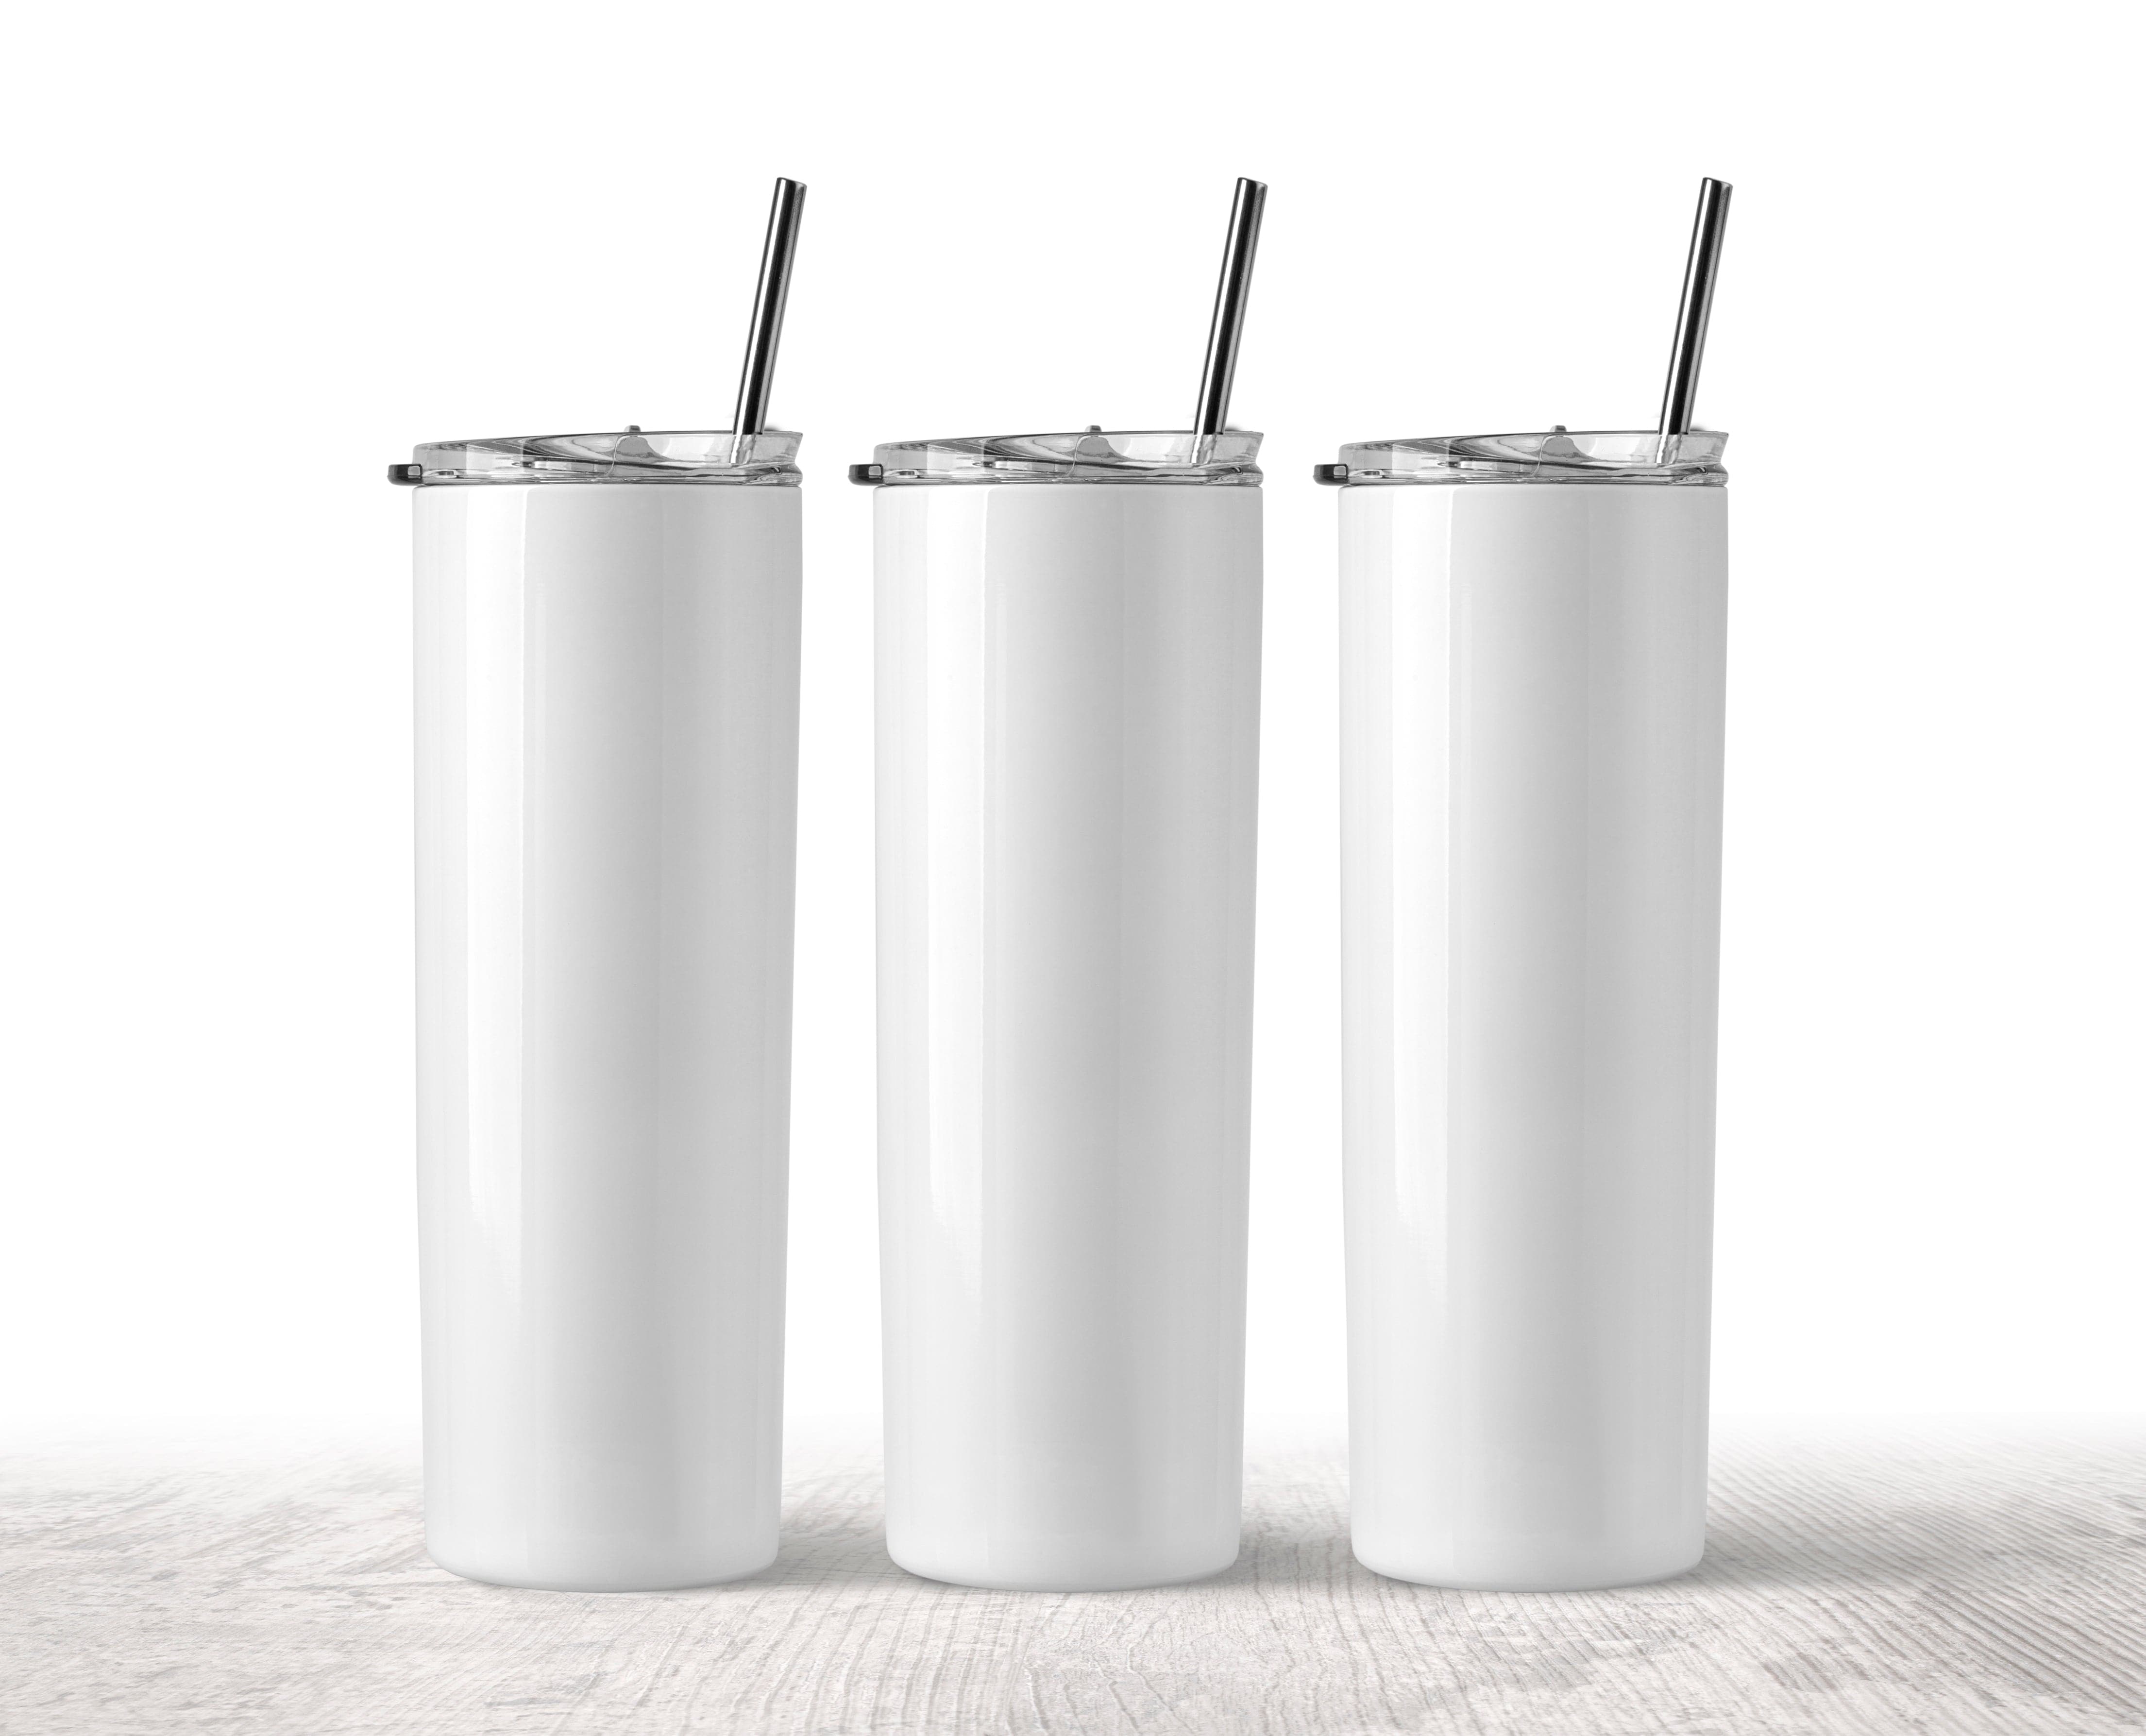
- Mugs, tumblers, bottles
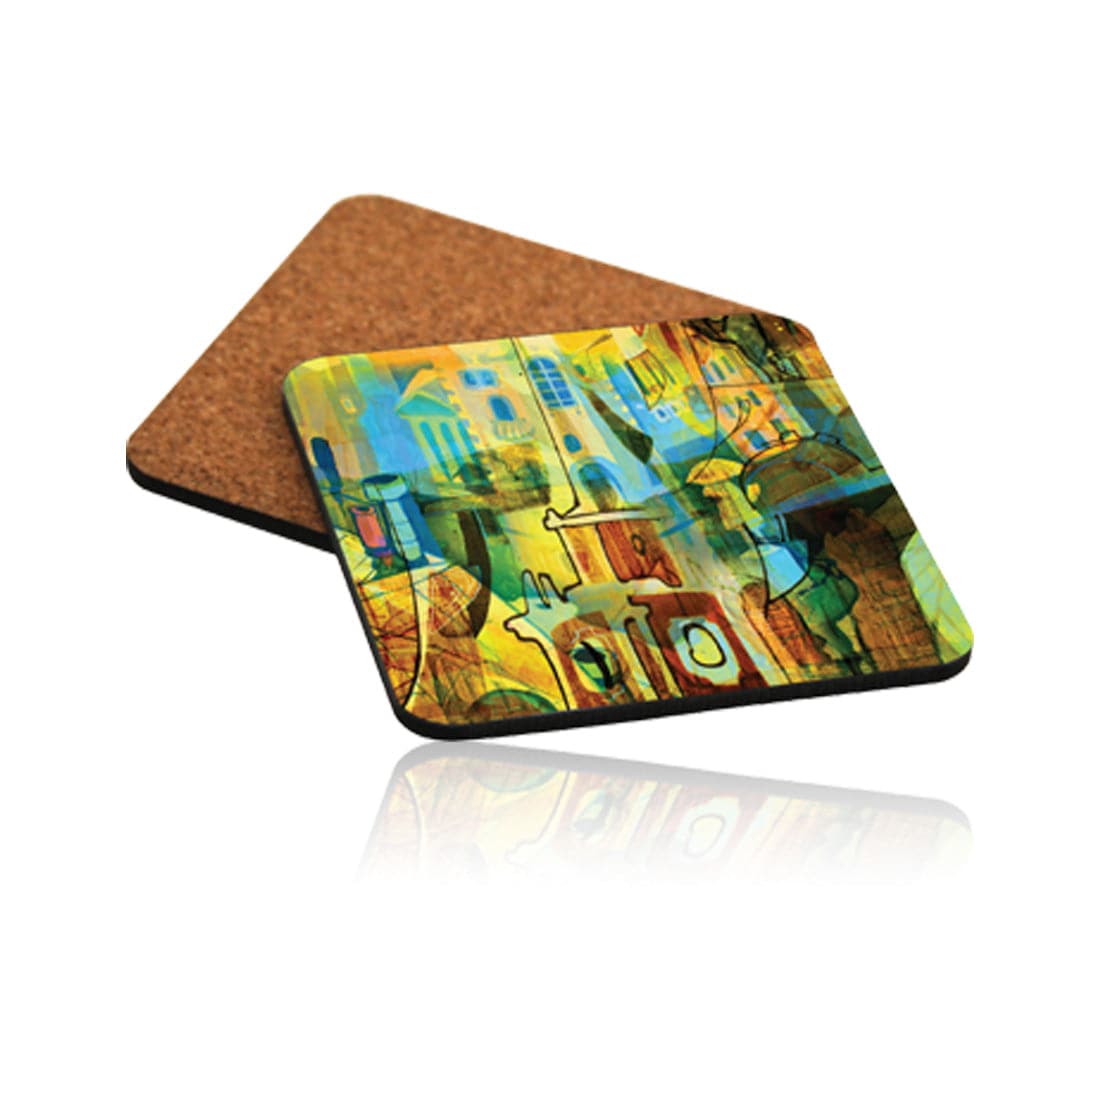
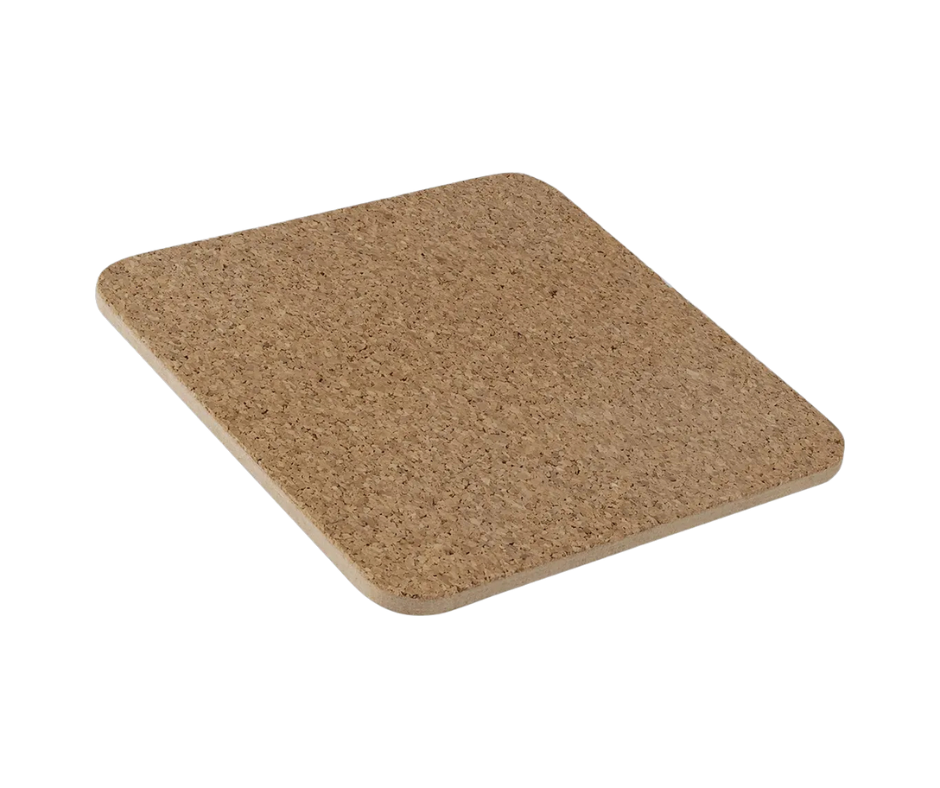
- Mousepads and coasters
- Shirts, socks, totes
- Aluminum signs and keychains
- Slate, wood, and glass blanks (with coatings)
-
❓ How do I know which side to print on?
Most sublimation paper has a bright white, smooth side (print side) and a duller backing. Some brands label the back to make it obvious.
Final thoughts on sublimation paper
Sublimation paper is more than just a sheet, it’s a critical part of the sublimation process that directly affects the quality, vibrancy, and durability of your finished products. Whether you’re printing on mugs, apparel, or photo panels, the right sublimation paper helps bring your designs to life with brilliant color and professional results.
By understanding how sublimation paper works, choosing the best type for your printer and blanks, and following the proper techniques for printing and pressing, you’ll avoid common mistakes and produce long-lasting, flawless transfers.
From first-time hobbyists to growing print businesses, mastering sublimation paper is one of the most important steps in elevating your craft. Remember: success comes down to a mix of the right materials, tested settings, and a bit of patience.
So whether you’re just getting started or fine-tuning your workflow, keep this guide handy, and don’t be afraid to experiment. Sublimation is a journey of creativity, and the more you learn, the better your results will be.
Ready to press? Grab your favorite sublimation paper, load up your design, and let the magic happen!