
































































Most sublimation failures come from four places: the printer, the paper, the press, or the blank. Work through them in that order and you will find the cause faster than by changing settings at random, because a symptom that looks like an ink problem is usually a heat problem, and a symptom that looks like a printer problem is usually a substrate problem.
The difficulty is that sublimation gives you almost no feedback until the transfer is already permanent. The print on paper looks nothing like the finished product, the press hides the substrate while the reaction is happening, and by the time you lift the transfer the blank is either right or scrap. This guide takes the failures that come back most often and puts each one next to its actual mechanism, so you know which variable to move.
Diagnose in the right order or you will fix the wrong thing
The single most expensive habit in a small shop is changing two things at once. A press comes up faded, the operator raises temperature and extends dwell time in the same run, the next print scorches, and now there are two failures and no information. Change one variable per test press.
This table maps the symptom to the thing that causes it most often, and to the first place to look. It is deliberately not a list of every possible cause. It is the order to check them in.
| Symptom | Usual cause | Check this first |
|---|---|---|
| Faded or washed out color | Transfer never fully developed | Dwell time, then platen temperature |
| Missing lines or streaks in the print | Blocked nozzles | A nozzle check printed before the job, not after |
| Blurred or doubled image | Transfer shifted during pressing | Tape placement and how the platen closes |
| Patchy areas with no ink at all | Uneven contact between platen and blank | Seams, zippers, pad wear, platen flatness |
| Yellow or brown marks on polyester | Platen hotter than the fabric tolerates | Temperature, before touching dwell time |
| Print correct on paper, wrong on the blank | Coating or polymer content of the substrate | The blank specification, not the printer |
| Color on screen does not match the product | Profile mismatch in the print path | ICC profile and paper selection in the driver |
Mistake 1: treating a blocked nozzle as a cleaning problem
Missing lines, faint bands or a color that prints weak across the whole sheet are nozzle problems, and running three cleaning cycles in a row is the wrong response. Each cleaning cycle pushes a measurable volume of ink through the head and into the waste tank, so repeated cleanings on a head that is genuinely blocked burn ink without clearing it.
Print a nozzle check first and read it. A pattern with a few broken segments usually clears with one cleaning. A pattern missing an entire color channel is a different problem, and more cleanings will not solve it.
Why sitting idle is worse than heavy use
Sublimation ink is a dye suspension. When a printer sits unused, the ink at the nozzle face dries and the pigment settles in the lines, which is why the machines that clog hardest are the ones in shops that print in bursts and then leave the printer alone for weeks. A shop printing every day rarely has clogging as its main complaint.
The prevention is a short print, in all four colors, on a fixed schedule. A small color block once or twice a week keeps ink moving through every channel and costs far less than the recovery sequence after a full block.
Running a cartridge to empty
Letting a cartridge run dry pulls air into the line, and air in the line is a longer repair than a low ink warning. Replace at the warning rather than at the stop. It is a scheduling decision, not a technical one, and it prevents a class of failure entirely.

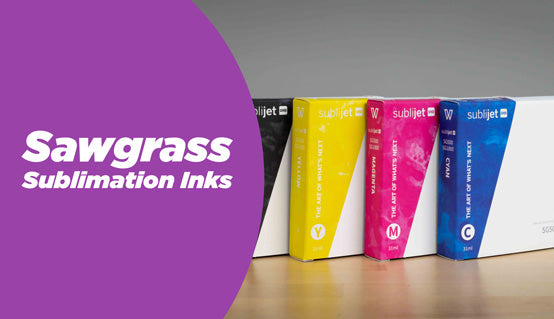
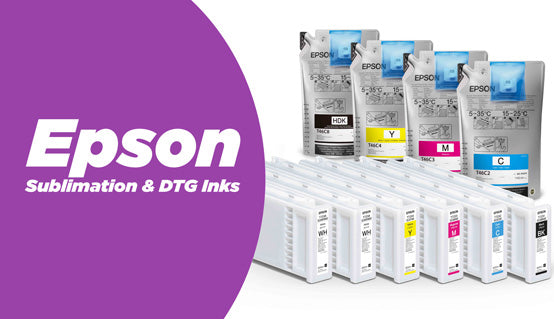
Sealed cartridges carry the ink formulation the printhead was engineered around, which removes the largest variable when clogging keeps coming back.
Shop Now →Mistake 2: printing on the wrong side of the paper
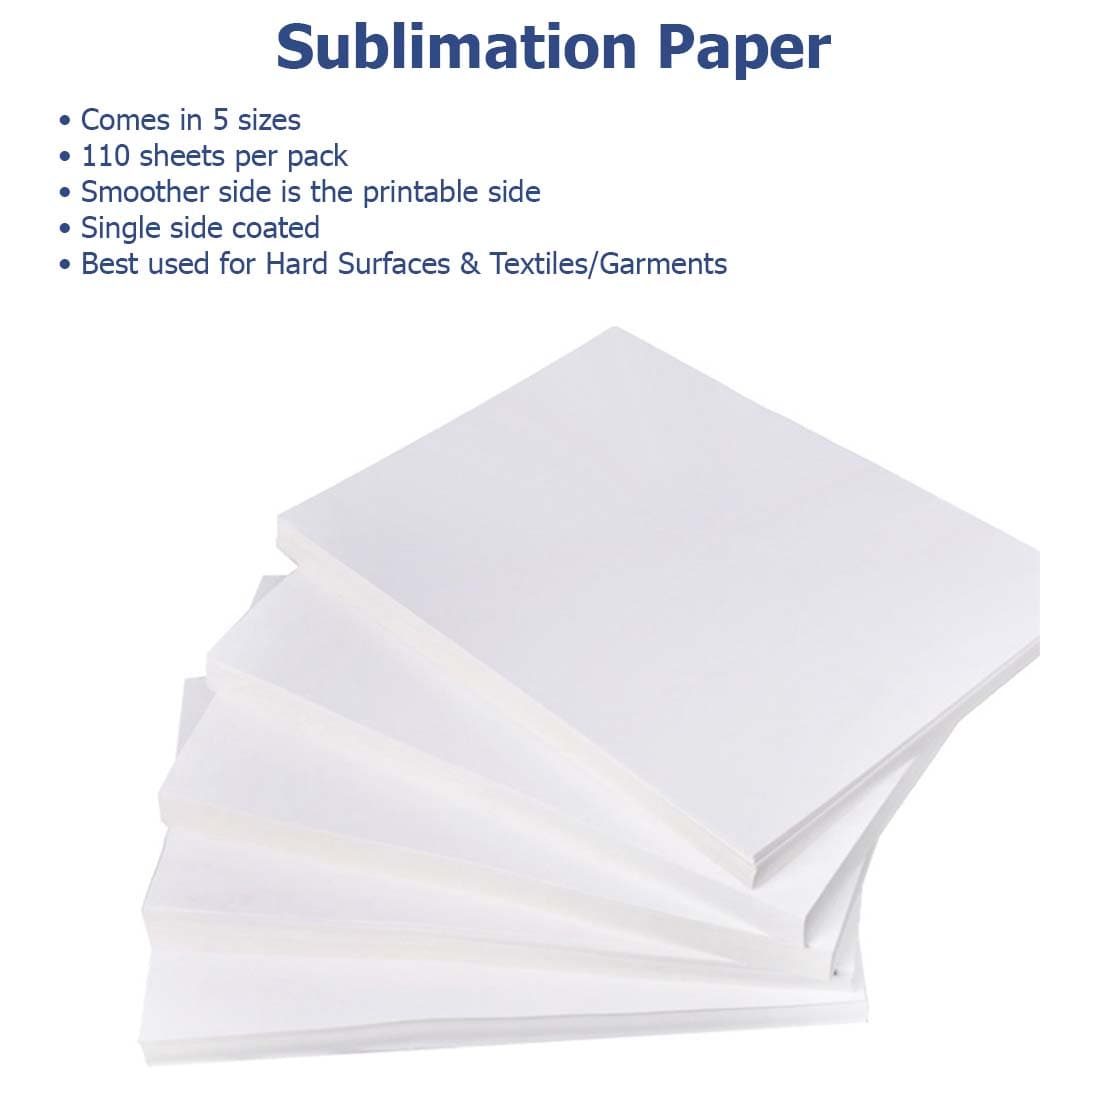
Sublimation paper is coated on one side only. The coating holds the ink at the surface so that almost all of it releases into the substrate under heat. Print on the uncoated side and the ink soaks into the fiber instead, which produces a transfer that looks acceptable on paper and comes out pale on the blank.
The coated side is the whiter, smoother face, and it is the side that squeaks slightly under a dry fingertip. On most packs the sheets are stacked coated side up. If a batch is genuinely ambiguous, press one sheet and compare, because a single test costs less than a run of weak transfers. There is more on how the coating works in our guide to how sublimation paper works.
Paper weight and heavy ink loads
Lighter paper carries less ink before it buckles. On a dense full-coverage design, a light sheet can cockle inside the printer, lift away from the blank in the press, and produce patchy release in the areas where contact was lost. Heavier stock holds a saturated design flat, which is why shops printing photographic work tend to move up in weight and stay there.

A heavier sheet stays flat under full coverage, which is exactly where light paper starts cockling and releasing unevenly.
Shop Now →Mistake 3: reading dull color on paper as an ink problem
A sublimation print is supposed to look flat and muted before it is pressed. The dye has not sublimated yet, so what you are looking at on the sheet is not the color you will get. Judging ink quality from the printed transfer is the most common false diagnosis in sublimation, and it sends people to buy ink when nothing was wrong with the ink.
Dull color on the finished product is a different matter, and it has three usual causes. The transfer did not reach full development, meaning dwell time or temperature was short. The profile in the print path did not match the paper, so the driver sent the wrong ink volumes. Or the substrate simply does not have enough polymer to accept the dye.
The profile is part of the print path, not an optional extra
Sublimation ink prints in colors that look wrong on purpose. The ICC profile exists to compensate for the shift that happens during the heat reaction, and it is matched to a specific combination of ink, paper and printer. Change the paper and keep the old profile and the color will move, usually toward flat reds and muddy skin tones. Select the profile that matches the paper actually loaded.
Mistake 4: ghosting, blur and circular marks
Ghosting is a movement problem, not a settings problem. If the transfer shifts even slightly against the blank while the dye is still in gas phase, you get a soft second edge on the image. The most common moment for it is the lift, when the paper releases and slides a fraction before it comes clear.
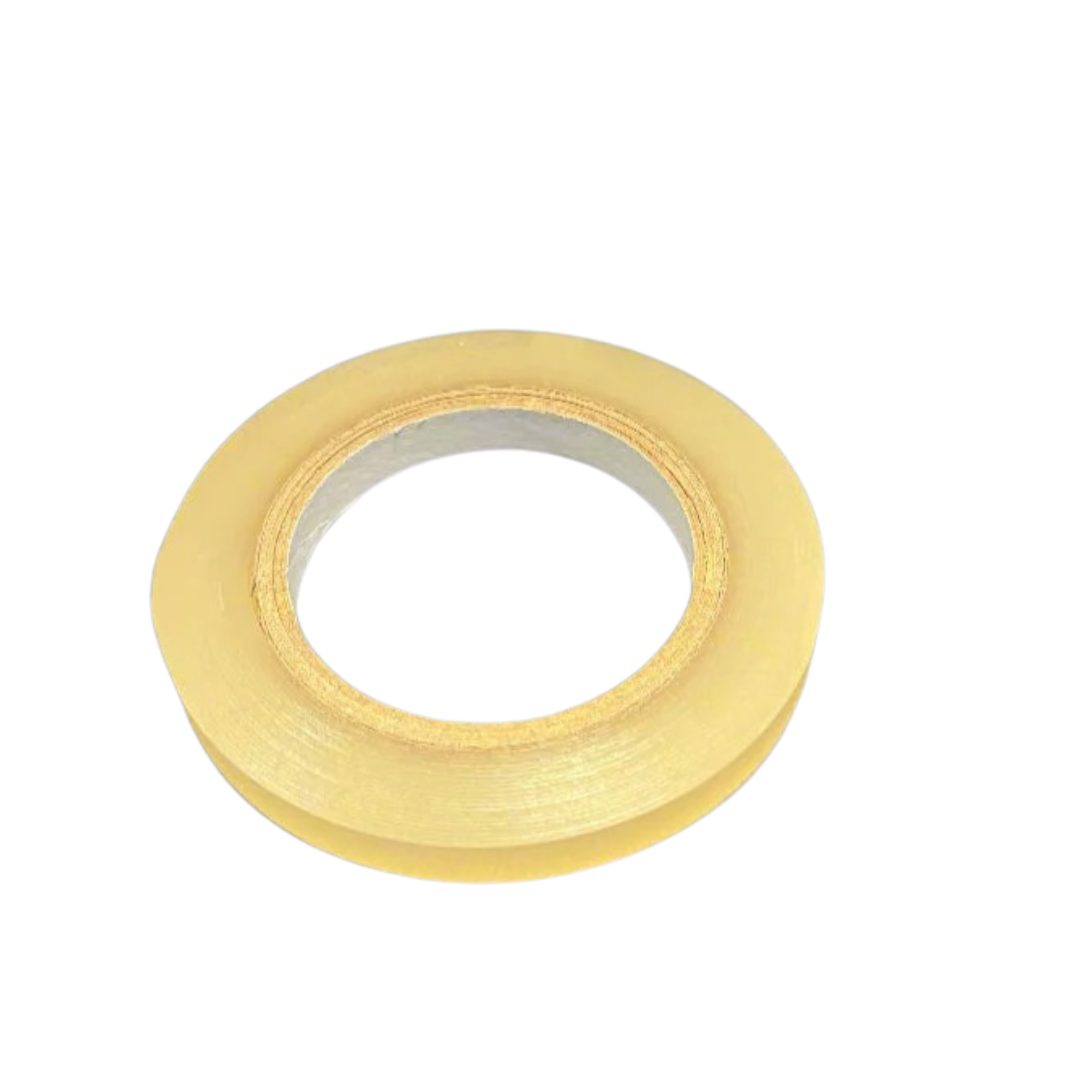
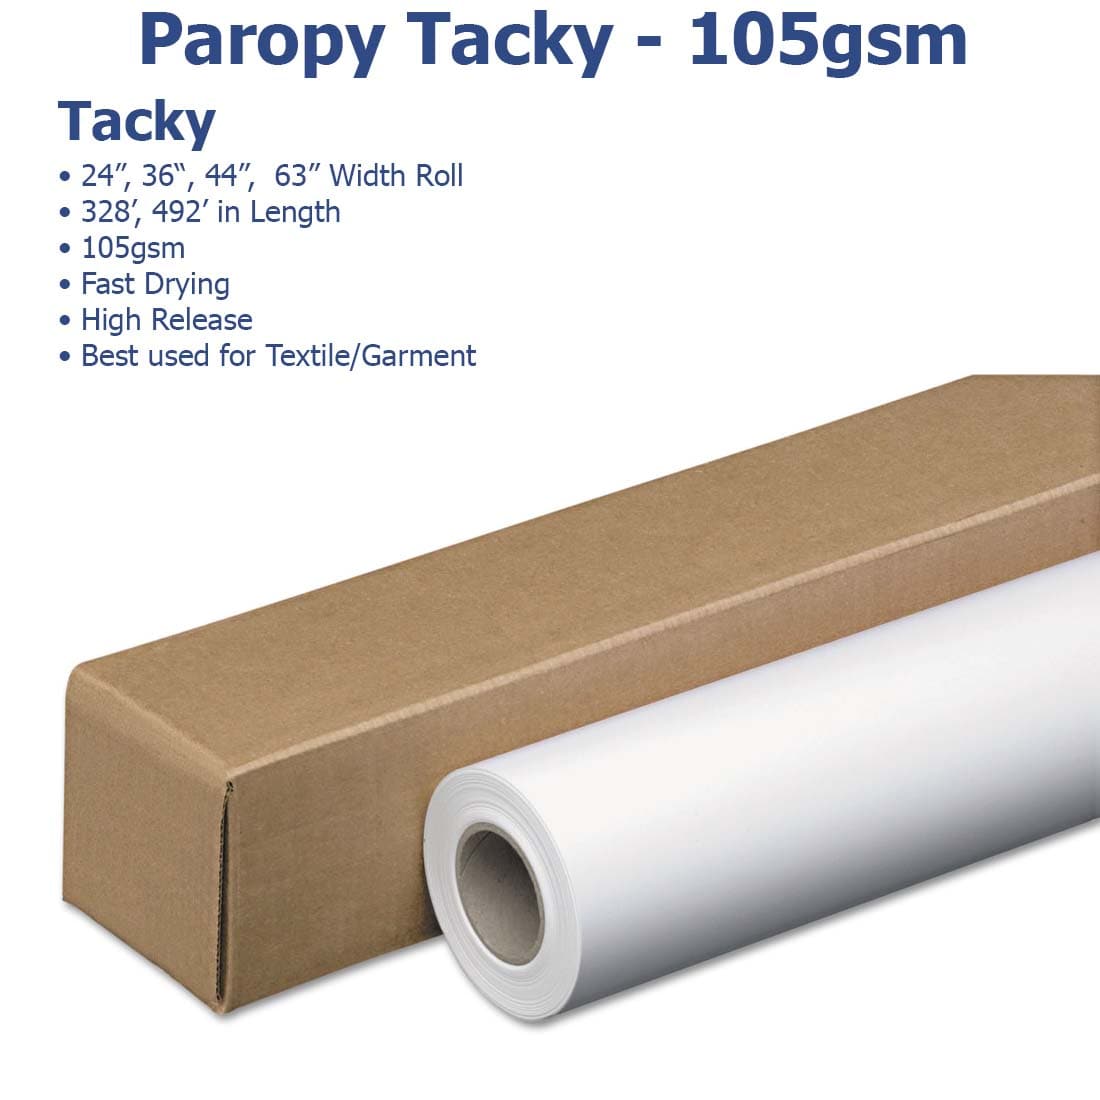
Heat tape on all four sides holds the sheet in registration. A tacky paper, which grips the substrate under heat, removes the problem more reliably than tape alone on curved and awkward items. Our 105gsm tacky sublimation paper is built for exactly that job.
Circular or repeating marks in the printed area, which some operators call pinwheels, are a different failure. They come from ink pooling where the sheet cannot absorb what the driver is sending, usually because the media setting in the driver does not match the paper loaded, or because a third party ink is laying down more volume than the paper was designed to hold. Reduce saturation in the driver before changing anything else.
Moisture is the cause nobody checks
Paper and blanks both hold atmospheric moisture, and moisture turns to steam under the platen. That steam has to escape somewhere, and it escapes through the print, which produces blur, small light spots, and inconsistent release across the same sheet. A shop with a humidity problem sees the failure rate move with the weather and cannot explain why.
Store paper flat and sealed, and pre-press garments for a few seconds to drive the moisture out before the transfer goes on. Pre-pressing also flattens the fibers, which improves contact at the same time, so one step removes two separate failure modes.
Mistake 5: guessing at pressure
Temperature and time get all the attention because they are numbers on a display. Pressure is the variable most shops set once and never revisit, and it is the one that changes silently as pads compress and covers wear.
Low pressure produces patchy transfer in the areas that lost contact. High pressure on a garment produces a visible platen edge line and can crush the fabric hand. The setting that matters is even contact across the whole print area, which is not the same as high force. Working settings by substrate are collected in our sublimation heat press settings guide and in the time and temperature chart for sublimation blanks.
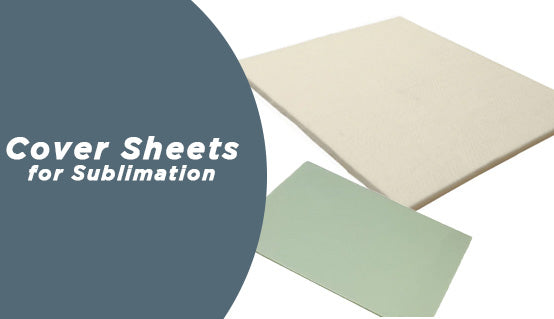
Seams, zippers, collars and pockets all sit above the print area and steal pressure from it. A foam pad lifts the print zone above them so the platen meets one flat plane. Keeping the press itself in condition matters here too, and the routine is covered in heat press maintenance.

Raises the print area above seams and zippers so the platen meets one flat surface instead of three different heights.
Shop Now →Mistake 6: pressing a blank that was never going to work
Sublimation dye bonds to polymer. On a hard substrate that means a polyester coating applied at the factory, and on fabric it means the polyester content of the fiber itself. A blank without either will take almost no dye no matter how the press is set, and no adjustment recovers it.
On apparel, results weaken as polyester content drops, and a blend low in polyester produces a faded, vintage looking result rather than a failure. That effect is sometimes wanted and sometimes a complaint, which is why it is worth agreeing on before the run rather than after. Fabric color matters just as much, because sublimation dye is translucent and adds to whatever is underneath it. We cover that in what counts as a light colored fabric.
On coated hard goods the failure is usually coating quality rather than its absence. A thin or unevenly sprayed coating gives patchy color and poor wash durability, and neither problem is visible until after the press. Coating grade is the variable, and it is set at the factory. There is more on how blanks are built in our overview of sublimation blanks and how to use them.
The mistakes that cost the most at volume
Individually these are small. At a hundred pieces a week they are the difference between a profitable run and a break even one.
- No test press on a new blank: one sacrificial piece from every new batch is cheaper than finding out at piece forty that the coating changed.
- Trusting the press display: platen readings drift and the sensor reports one point, not the whole surface. Verify against a known good result rather than the number.
- Changing two variables at once: it destroys the information the test press exists to produce.
- No written settings log: settings that live in one operator's memory leave the building when that operator does.
- Skipping the pre-press: a few seconds removes moisture and flattens fibers, and it prevents two separate failure modes at the same time.
- Reusing protective paper too long: transferred dye on an old sheet ends up on the next garment as a ghost image.
Frequently asked questions
Why are my sublimation prints coming out faded?
Faded results almost always mean the transfer never fully developed, so start with dwell time and platen temperature rather than ink. If the settings are correct for the substrate, the next candidate is the blank itself: low polyester content in fabric, or a thin coating on hard goods, both limit how much dye the surface can accept.
Why does my sublimation print look dull before I press it?
Because it is supposed to. The dye has not sublimated yet, so the printed sheet shows muted, shifted color by design. The ICC profile compensates for the change that happens under heat. Judge color on the finished product, never on the transfer, and do not buy new ink based on how the paper looks.
Why is my sublimation printer leaving lines in the print?
Streaks and missing lines indicate blocked nozzles. Print a nozzle check and read the pattern before running any cleaning cycles. A few broken segments usually clear with one cleaning, while a missing color channel needs a recovery sequence. Repeated cleanings on a fully blocked head consume ink without clearing the blockage.
What causes ghosting in sublimation?
Ghosting is movement. The transfer shifted against the blank while the dye was still in gas phase, most often during the lift. Heat tape on all four sides holds registration, and tacky paper grips the substrate under heat, which is more reliable than tape on curved or awkward items. Moisture in the paper makes it worse.
Can a sublimation mistake be fixed after pressing?
No. The dye bonds into the polymer and the result is permanent, so a bad transfer is scrap rather than a rework. What can be fixed is the next one. Change a single variable, press a test piece, and read the result before committing the rest of the batch.
Why did my design not transfer to the blank at all?
Either the substrate has no polymer for the dye to bond to, or the print was made on the uncoated side of the paper. Check the blank specification first, since it takes seconds. If the blank is correct, print a fresh transfer and confirm you are printing on the coated face.
Ready to Take the Guesswork Out of Your Sublimation Runs?
Genuine sublimation inks for Sawgrass, Ricoh and Epson systems, matched to the printer they were formulated for.
Shop Sublimation Inks →Related Posts

California's New Textile Rule Is Already in Effect: What Apparel Decorators Should Know
California's Responsible Textile Recovery Act, known as SB 707, took effect on July 1, 2026. It's the first extended producer...
Read More
CL Dark vs CL Dark Premium vs CL TrimFree Dark: Which Color Laser Transfer Paper Fits Your Shop
The right color laser transfer paper for dark garments comes down to one trade-off: how much heat you're willing to...
Read More
Cold Peel vs Hot Peel DTF Film
Hot peel film comes off immediately after pressing, cold peel has to sit until it reaches room temperature. Hot peel...
Read More