


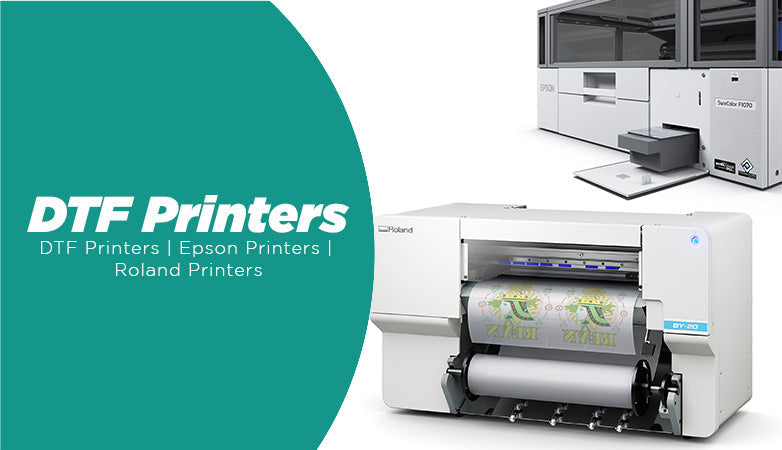


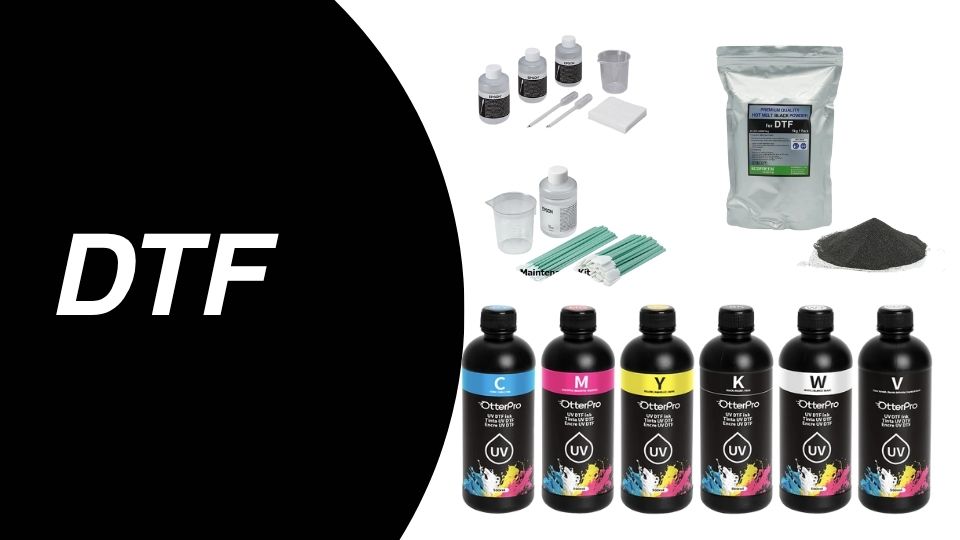


DTF (Direct to Film) printing has become a go-to solution for decorators, small print shops, and entrepreneurs due to its versatility, vibrant results, and compatibility with a wide range of fabrics. But despite the growing popularity of DTF, it’s also one of the most error-prone processes, especially when users fail to understand the mechanics behind the ink, film, powder, and heat.
This guide will help you identify and fix the most common printing mistakes that can waste film, ruin garments, and damage your reputation.
Let’s break down the top 10 mistakes and how to fix them like a pro.
1. Low resolution designs
“It looked great on screen... but printed blurry or pixelated.”
This is one of the most common beginner mistakes, and at Joto Imaging Supplies, we've seen it more than a thousand times. Our support team constantly gets the same call: a customer uploads a design that looks crisp on their screen, but once it's printed, it turns out blurry or pixelated.

Why does this happen? Because what looks good on a monitor doesn’t always meet the resolution requirements for high-quality printing. To get the best results, always make sure your artwork is set up in high resolution (at least 300 DPI) before submitting it to print.
What’s going wrong?
Designs created in low resolution (usually 72 DPI) are fine for social media, but terrible for DTF printing. When enlarged, these files become blurry, with jagged edges that show up clearly after heat transfer.
✅ How to fix it:
- Always design at 300 DPI or higher.
- Set your canvas size to match the final print dimensions (e.g., 12"x14").
- Avoid stretching small images, use vector graphics when possible.
- Tools like Adobe Photoshop or Illustrator give you full control over image resolution.
Pro tip: Before printing on film, do a test print on plain paper to catch quality issues early.
2. Sticky, glossy, or "sweating" transfers
“The film looks shiny or oily. It doesn’t feel right.”
This is often a humidity issue, or it could be related to over-inking or improper powder curing.
What’s going wrong?
When the ambient humidity is too high (above 60%), DTF inks struggle to dry properly on the film. Combined with too much ink or poorly cured powder, this creates a glossy, sticky transfer that doesn’t adhere well.
✅ How to fix it:
- Use a hygrometer to monitor room humidity (ideal range: 40–50%).
- If needed, run a dehumidifier in your print room, especially during summer or in basements.
- Adjust your RIP software to reduce ink load (typically 80–90% total ink).
- Ensure the powder is fully cured before pressing, this might mean longer curing time or higher temp in your oven or heat press.
Expert tip: If your transfer feels greasy, it’s likely undercured. Always double-check that powder turns matte and dry before pressing.
3. Not cleaning the garment before pressing
“Why is my transfer peeling or bubbling after one wash?”
This issue often traces back to garment prep, or lack thereof. Even if a shirt looks clean, oils, lint, or finishing agents can interfere with adhesion.
What’s going wrong?
DTF transfers rely on a clean, dry, and debris-free surface. Lint, dust, or invisible coatings can prevent the adhesive layer from bonding properly, leading to peeling edges, bubbling, or inconsistent texture after heat pressing.
✅ How to fix it:
- Always lint roll the garment before pressing, especially cotton or blends.
- For even better results, use a heat press pre-press (3–5 seconds) to remove moisture and flatten fibers.
- If you're printing on treated or sublimated garments, wipe the area with a light solvent or garment cleaner approved for pre-treatment.
Pro tip: Make garment prep a non-negotiable step in your workflow. A few seconds can save you a reprint.
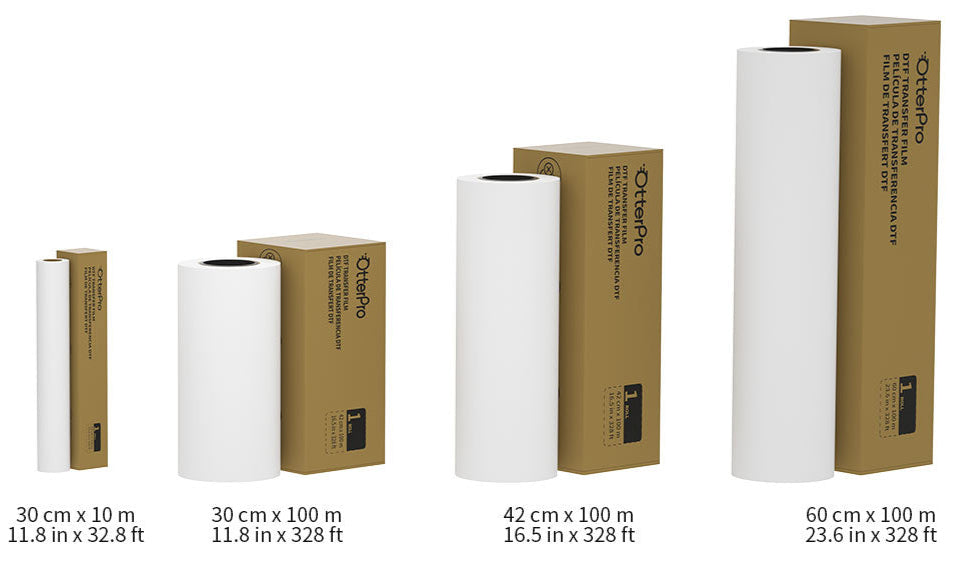
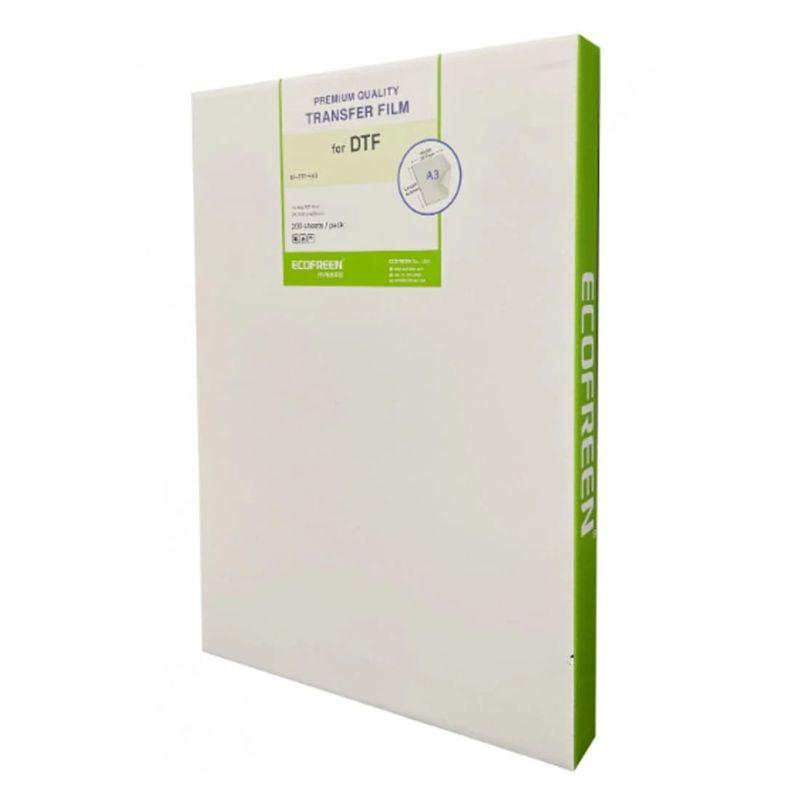
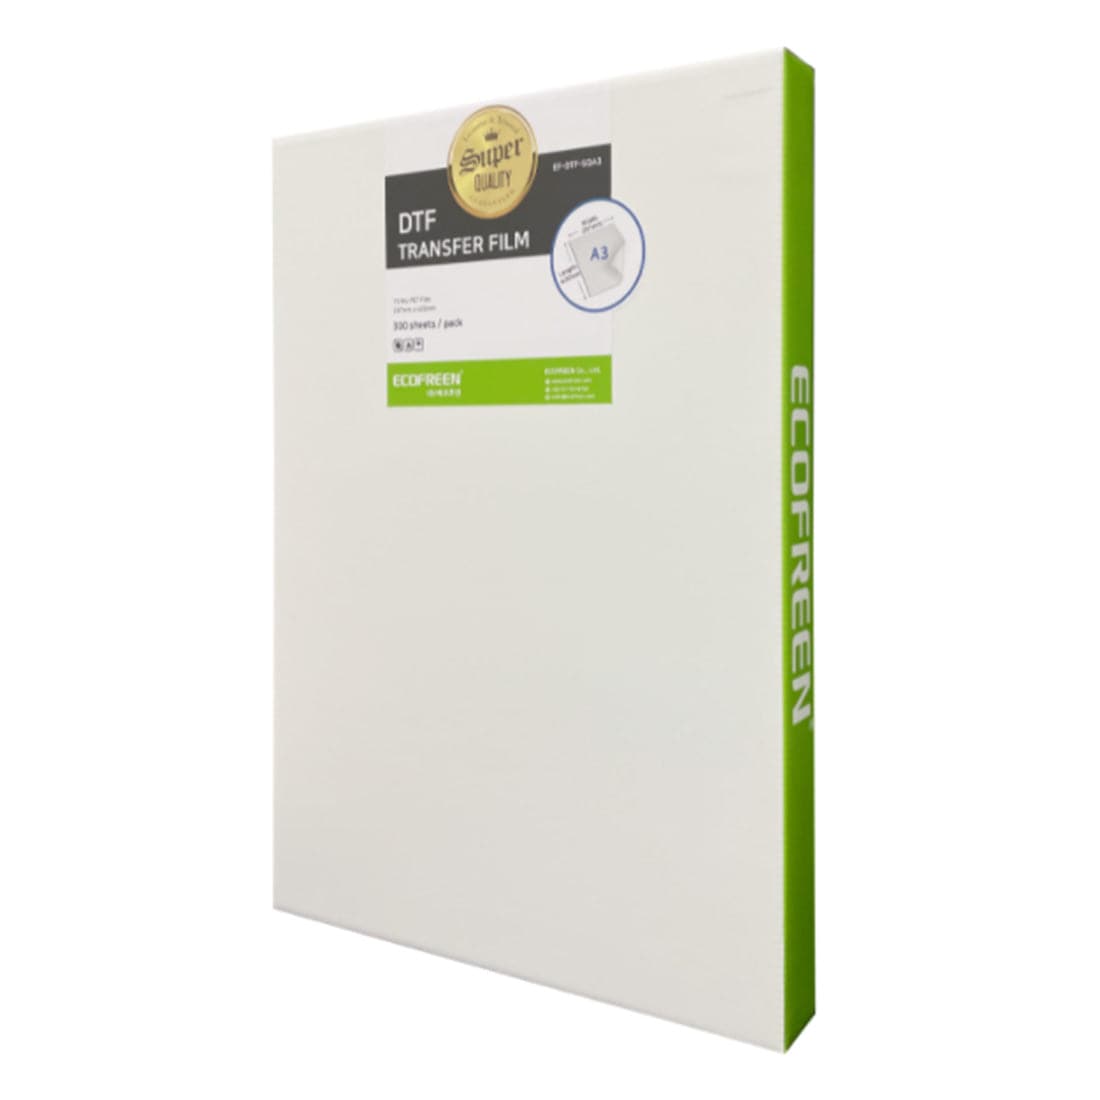
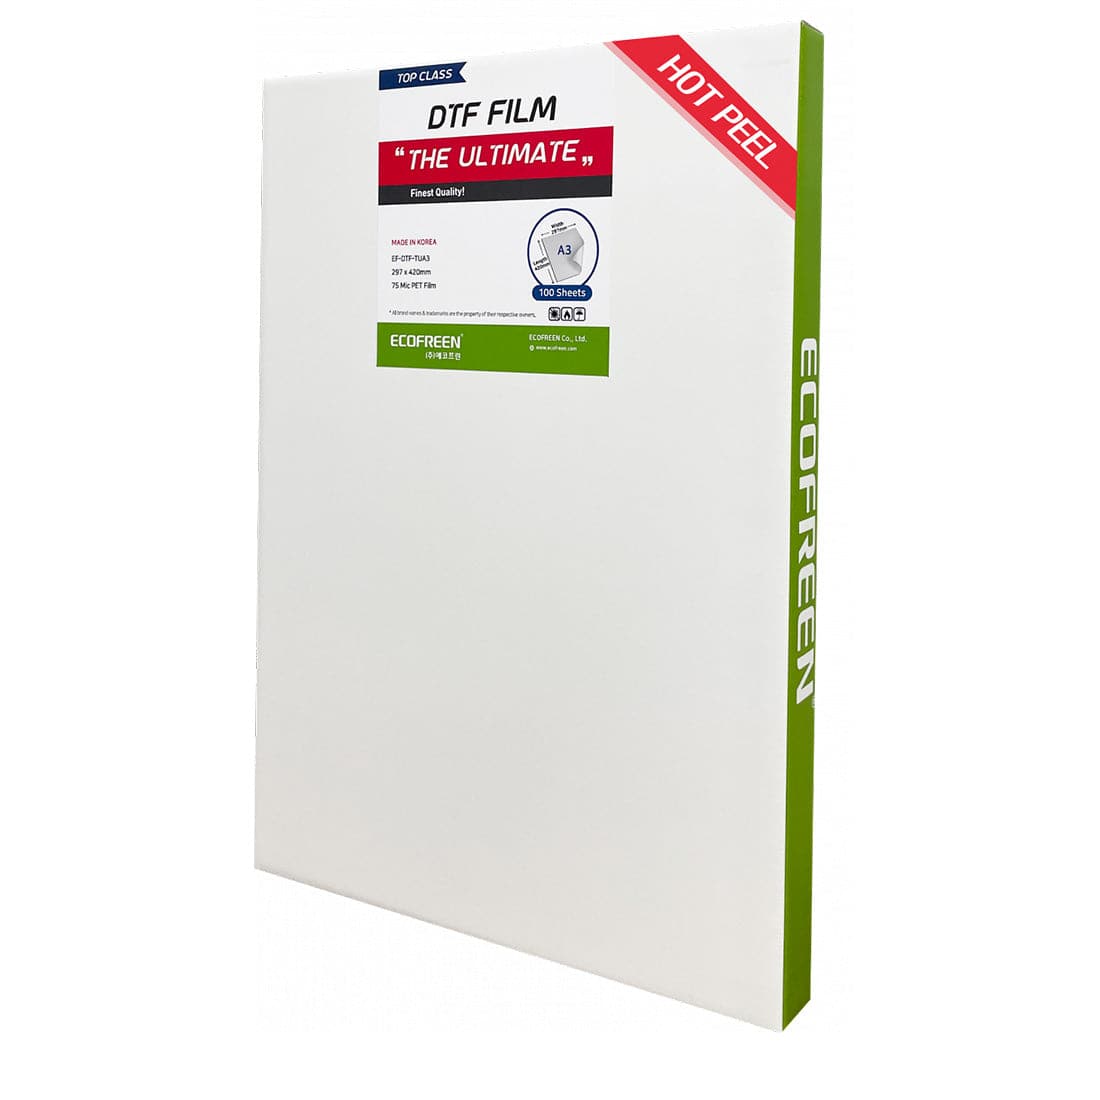
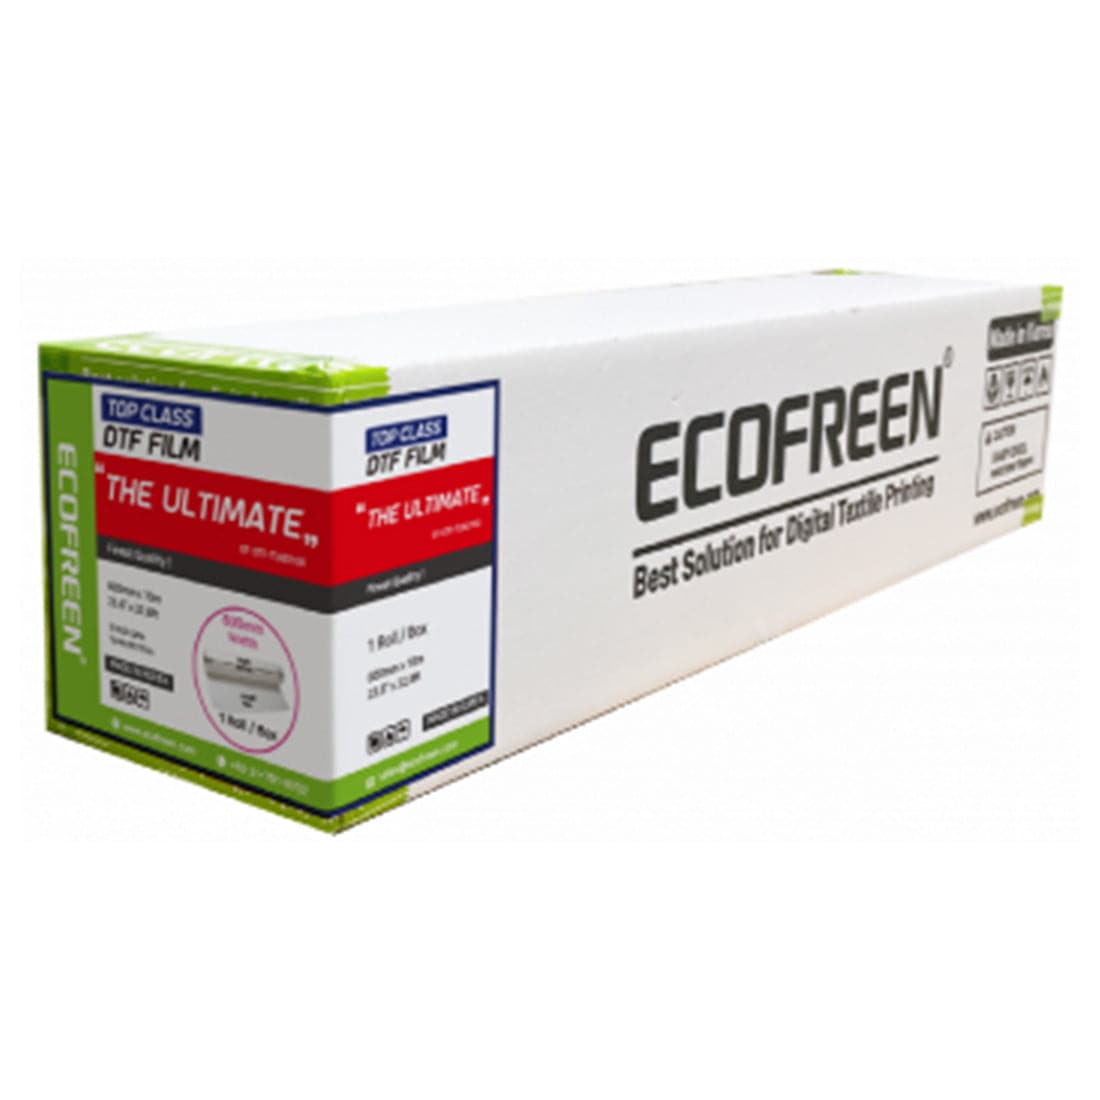
4. Using cheap or expired film
“The film wrinkled under the press, or worse, tore when I peeled it off.”

DTF film is not all created equal. If you’re trying to cut costs by using third-party or outdated film, you’re likely to lose more in ruined shirts than you save.
What’s going wrong?
Cheap or expired films can have coating issues that lead to:
- Warping under heat
- Tearing during cold peel
- Poor powder adhesion
- Inconsistent ink absorption
Even humidity can affect the performance of older or improperly stored film rolls.
✅ How to fix it:
- Use high-quality PET film specifically designed for DTF (like Joto's branded film).
- Store film sealed and flat, away from heat or humidity.
- Always check the expiration date or production batch, old coating chemistry can degrade over time.
- If the film curls or buckles, your storage environment may be too moist.
Pro tip: When in doubt, test a corner of the film before a full run. If it peels unevenly or leaves residue, discard it.
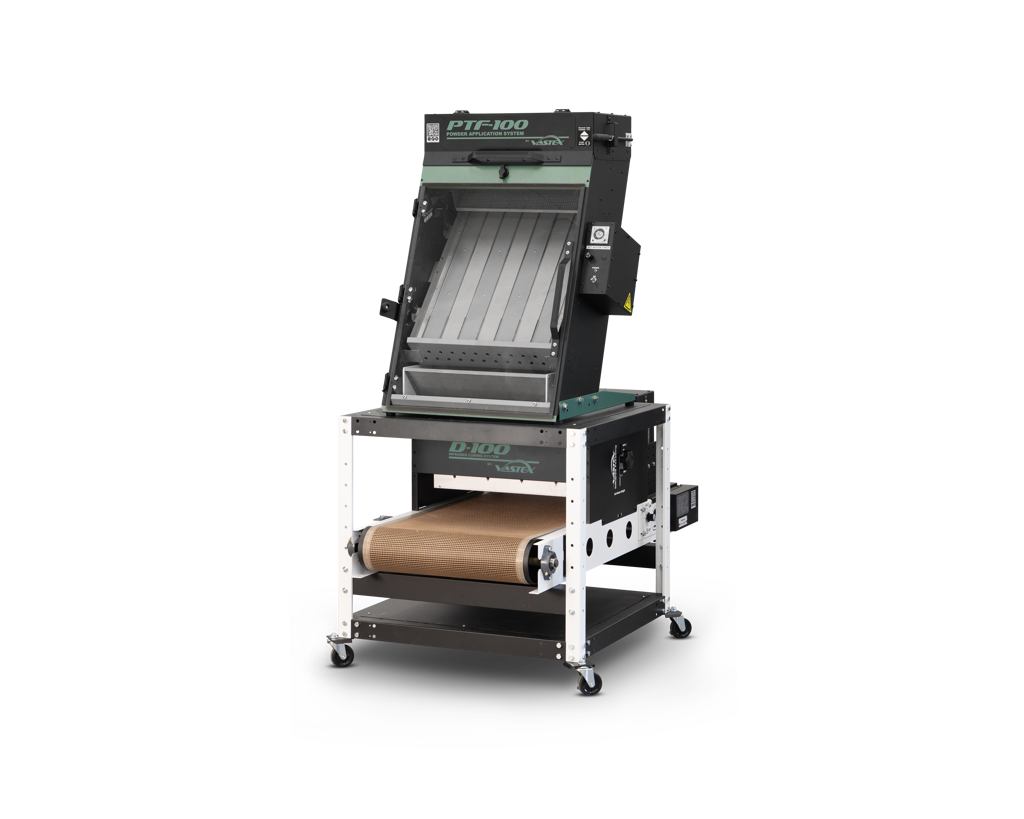
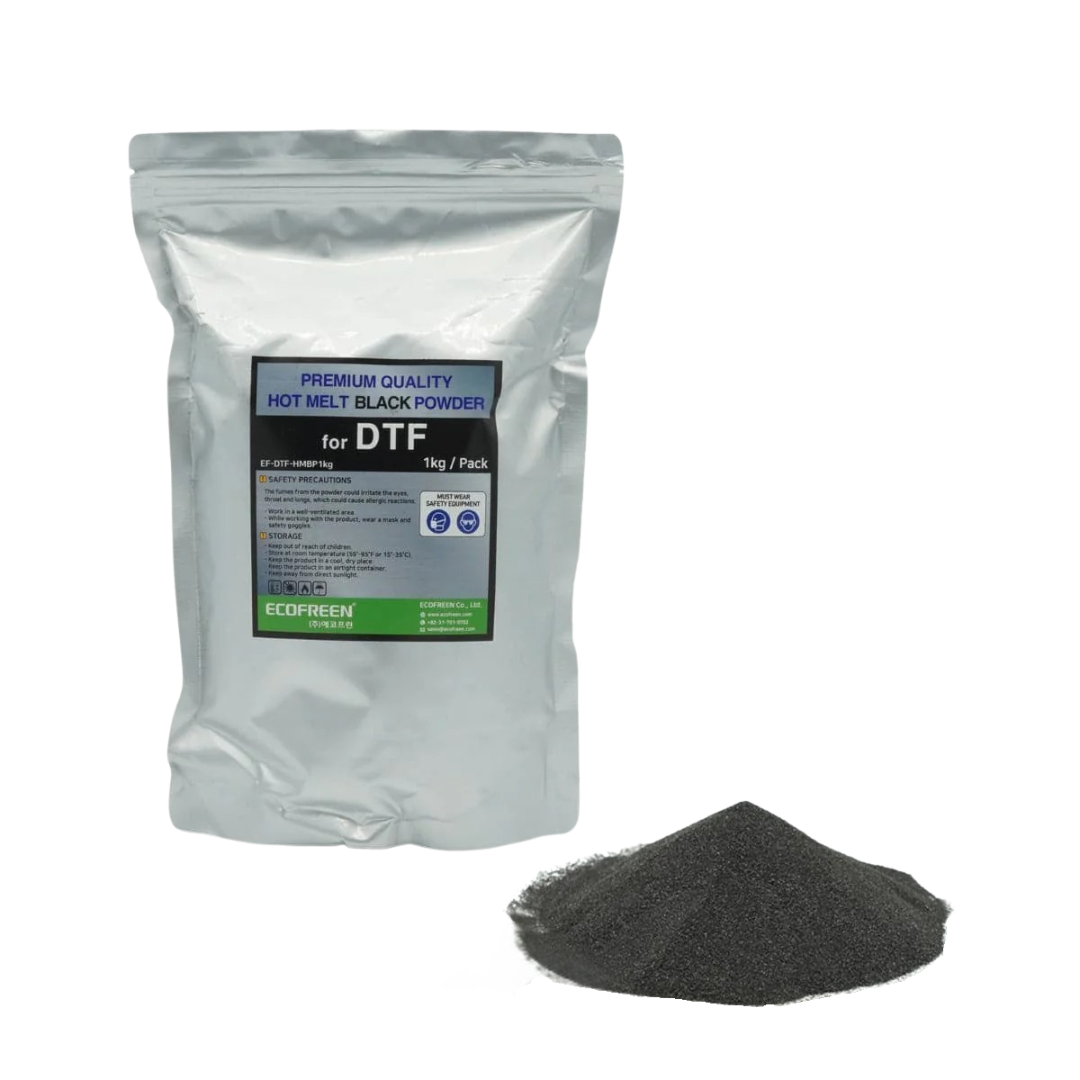
5. Overcured or over-powdered transfers
“My design cracked after the first wash, or peeled off in chunks.”
This is often a powder or curing issue. Using too much adhesive powder or curing it improperly can lead to brittle transfers that can’t withstand stretching or washing.
What’s going wrong?
When you apply too much adhesive powder, the layer becomes too thick. If you overcure it, meaning too high a temperature or too much time in the oven, it hardens and loses flexibility. That’s why your transfers might crack or break when the fabric stretches or bends.
✅ How to fix it:
- Apply a thin, even coat of powder, just enough to cover the wet ink. Shake off the excess.
- Cure at 320°F (160°C) for 2-3 minutes in a DTF oven or until the powder turns from glossy to matte.
- Avoid using a heat press to cure the film, it doesn’t offer even heating and can damage the film surface.
- For manual curing setups, always monitor the time and distance from the heat source carefully.
Pro tip: A cured transfer should feel dry, not sticky. If it’s brittle or yellowed, you’ve overcured.
6. Incorrect temperature and pressure settings
“My transfer didn’t stick, or looks burned.”
Your heat press is the final and most critical step in DTF. Incorrect settings can cause under-pressing (poor adhesion) or over-pressing (discoloration, fabric damage, or ink bleed).
What’s going wrong?
DTF film requires precise heat and pressure to properly melt the adhesive and bond to the fabric. Too low, and the transfer won’t stick. Too high, and it may burn the ink, wrinkle the film, or distort the design.
✅ How to fix it:
- Use the recommended press settings
- Temperature: 320–330°F (160–165°C)
- Time: 20–30 seconds
- Pressure: Medium to firm (adjust based on fabric type)
- Use a temperature gun or heat strips to verify your press is accurate across all areas.
- Always press on a flat, stable surface, uneven pressure leads to partial adhesion.
Pro tip: Don’t guess, run a test press with a small logo in the corner of the garment before committing to a full run.

7. Peeling too early (hot vs. cold peel)
“The transfer lifted or tore when I peeled it off, now I have to reprint.”
DTF is not a one-size-fits-all process when it comes to peeling the film. Many users rush this step and ruin an otherwise perfect transfer by peeling too soon.
What’s going wrong?
Most DTF films are designed for cold peel. Peeling too early, while the adhesive is still hot, causes incomplete transfer, warping, or tearing of the film, especially around fine details.
✅ How to fix it:
- Always read your film specs. Most Joto films are cold peel unless specifically marked otherwise.
- After pressing, let the garment cool completely (60–90 seconds) before peeling.
- Don’t wave it around or blow on it, just lay it flat on a clean surface.
- For hot peel films, you’ll get different results: faster workflow, but potentially less durability.
Pro tip: If you're in a high-volume shop, use a cooling station or fan table to speed up the process safely.
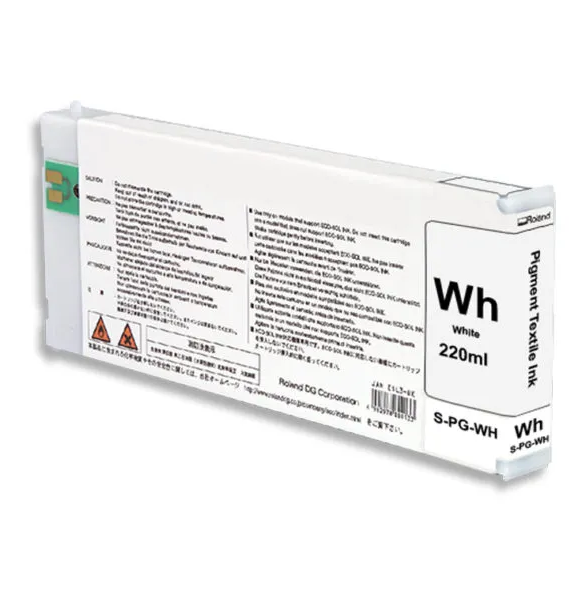
8. Misconfigured white layer
“Why does my transfer have white edges or ghosting?”
The white layer is critical in DTF printing, it acts as the base that gives color vibrancy and opacity on dark garments. But if it’s not aligned or configured properly, it can ruin the design.
What’s going wrong?
If your RIP software (Raster Image Processor) is not properly set up, the white underbase may:
- Bleed outside the color layer
- Be misaligned, creating visible white borders
- Print inconsistently, leaving patches or missing areas
This is especially noticeable on transparent areas, gradients, or fine text.
✅ How to fix it:
- In your RIP software (e.g., CadLink, Acrorip, DigiRIP), ensure the white layer is set to “underprint” only where color exists.
- Use settings like “Choke” or “Knockout” to slightly reduce the size of the white layer (typically by 1–2 pixels), so it doesn’t extend past the top layer.
- Preview the white channel before printing. Most RIPs let you toggle views.
- Check your film alignment and printer calibration to ensure perfect layer registration.
Pro tip: Always run a few small test prints with new designs to verify white layer behavior before committing to large runs.
9. Misaligned designs
“The print looks great, but it’s crooked on the shirt.”
This is a workflow problem, not a printer issue. Even if your transfer is perfect, a misaligned press ruins the final product and almost guarantees a customer complaint or return.
What’s going wrong?
Without proper alignment tools or a consistent process, it’s easy to place the transfer too high, low, or off-center. Eyeballing doesn't scale, especially in production environments.
✅ How to fix it:
- Use alignment rulers or T-shirt templates (physical or printed).
- Invest in a laser alignment guide if you’re doing volume work.
- Mark your platen with guidelines using heat-resistant tape.
- Always fold the shirt in half and press lightly to create a center crease for reference.
Pro tip: Build a standard operating procedure (SOP) for garment alignment and train your team. Precision = professionalism.
10. Cracking on Stretch
“The design looks fine… until the customer wears the shirt.”
If your design cracks when the fabric stretches, it’s not a fabric issue, it’s a transfer failure. This is a sign of poor flexibility, which can result from incorrect curing or poor-quality materials.
🔍 What’s going wrong?
There are two main culprits:
- Overcuring the transfer, makes the adhesive layer brittle.
- Low-quality powder or ink, doesn’t flex with the fabric.
This becomes especially obvious on garments like athletic wear, leggings, or slim-fit shirts that experience more tension.
✅ How to fix it:
- Use premium hot-melt powder designed for stretchable fabrics.
- Ensure you’re curing within recommended time/temp, avoid “just to be sure” overcuring.
- When printing on performance or stretch fabrics, consider a flexible DTF ink and powder combo.
- Run stretch tests as part of your quality control, especially for first-time prints on new fabric types.
Pro tip: If your designs consistently crack on stretch, test switching to low-temp flexible powder and dial in a slightly lower press temp (e.g., 300–310°F) with longer press time.
DTF quality is in the details
DTF printing offers incredible versatility and results, but only if every step of the process is dialed in. From RIP configuration to humidity control, garment prep to film quality, these 10 common mistakes are completely avoidable with the right systems in place.
Want to go even further? Create your own DTF Quality Checklist, test every new setup before full production, and invest in education, not guesswork.