


DTF Printing: A Comprehensive Guide to Custom Apparel and Fabric Design

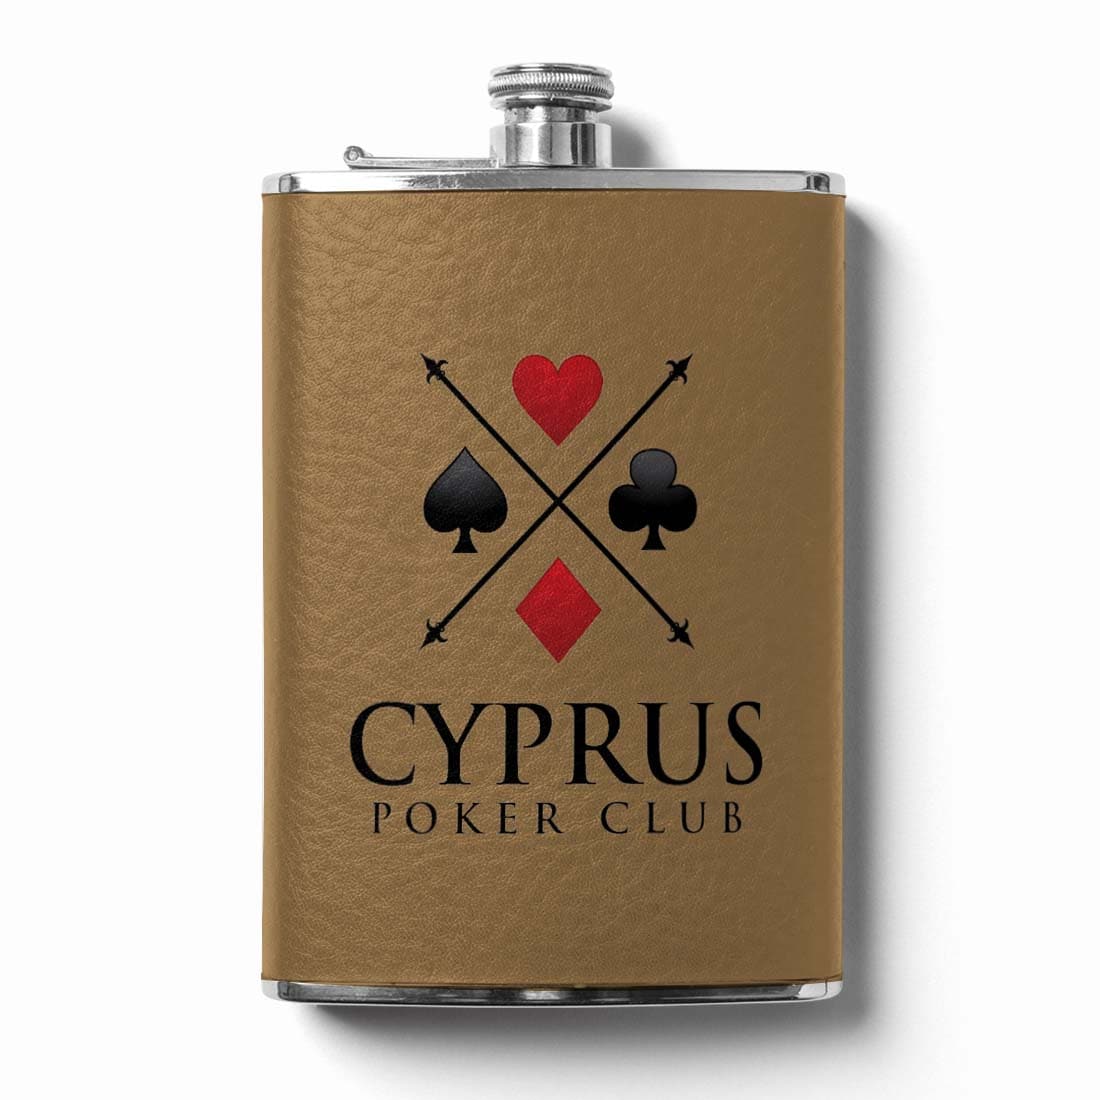
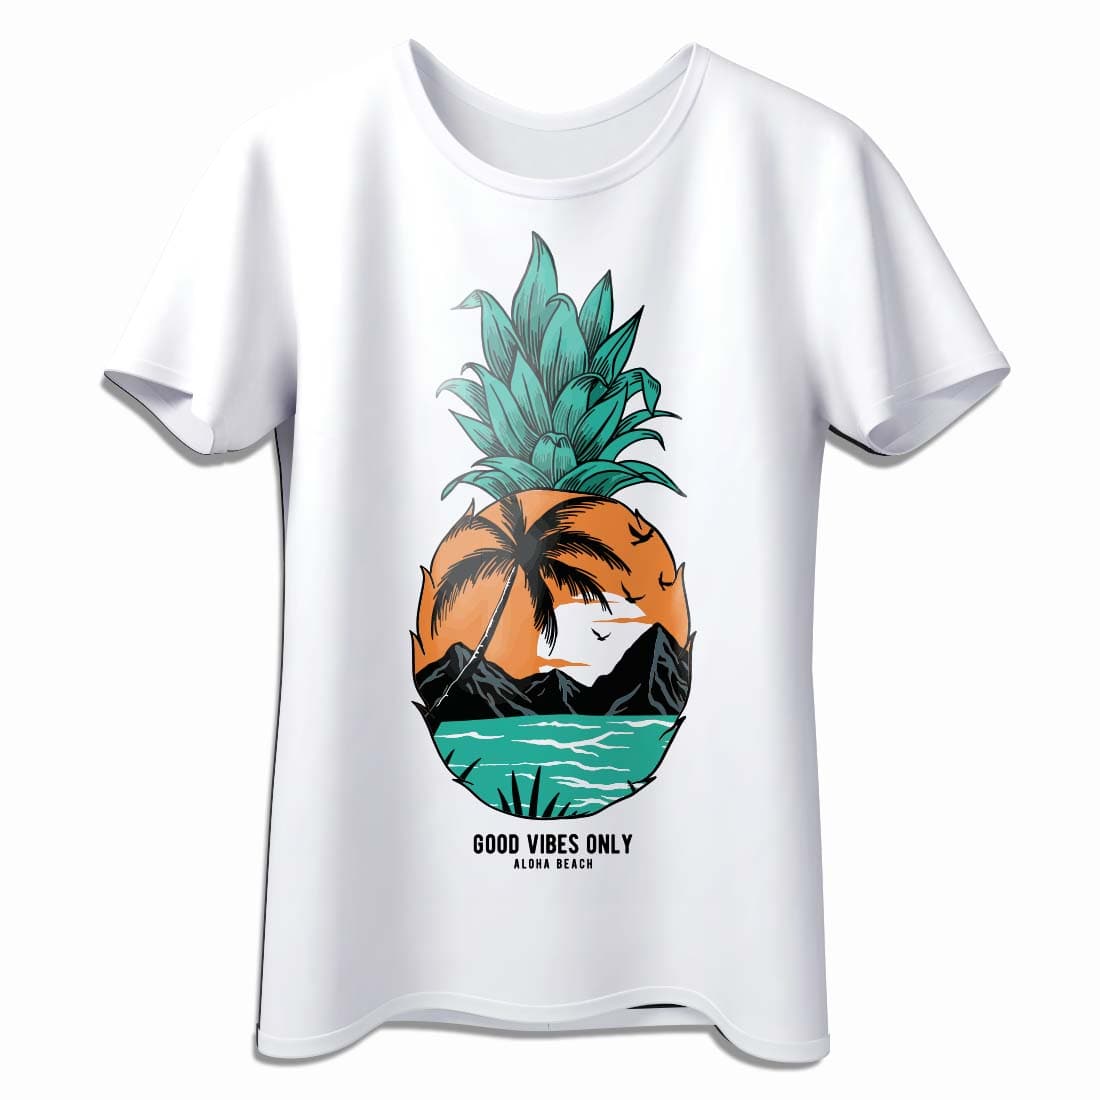
Direct-to-Film (DTF) printing is revolutionizing the world of custom apparel and fabric decoration. This innovative method allows you to create vibrant, durable transfers that can be applied to a wide range of materials—including cotton, polyester, blends, and more. Unlike traditional printing methods, DTF offers flexibility, efficiency, and incredible image quality without the need for pre-treatment or weeding.
But to achieve professional results with DTF, the printer you choose plays a critical role. Whether you're just starting out or looking to upgrade your current setup, selecting the right DTF-compatible printer can make the difference between smooth production and costly headaches.
In this comprehensive guide, we’ll walk you through everything you need to know about DTF printing, from the essential materials and tools, to a step-by-step overview of the process, and most importantly, how to choose the best printer for your needs.
Whether you're a small business owner, apparel decorator, or print shop operator, this guide will help you get started with confidence and deliver prints your customers will love.
Materials and tools needed for DTF printing
Before you can start printing with DTF technology, it’s important to understand the core components of the process. While the workflow is relatively simple, using the right materials and tools is key to achieving professional, long-lasting results.
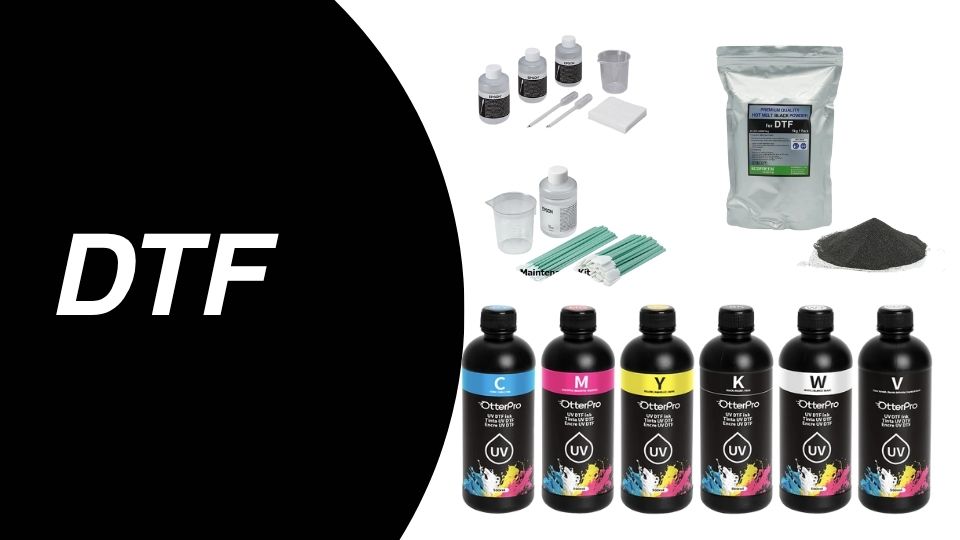
Here’s a breakdown of the essential items you’ll need to produce high-quality DTF transfers:
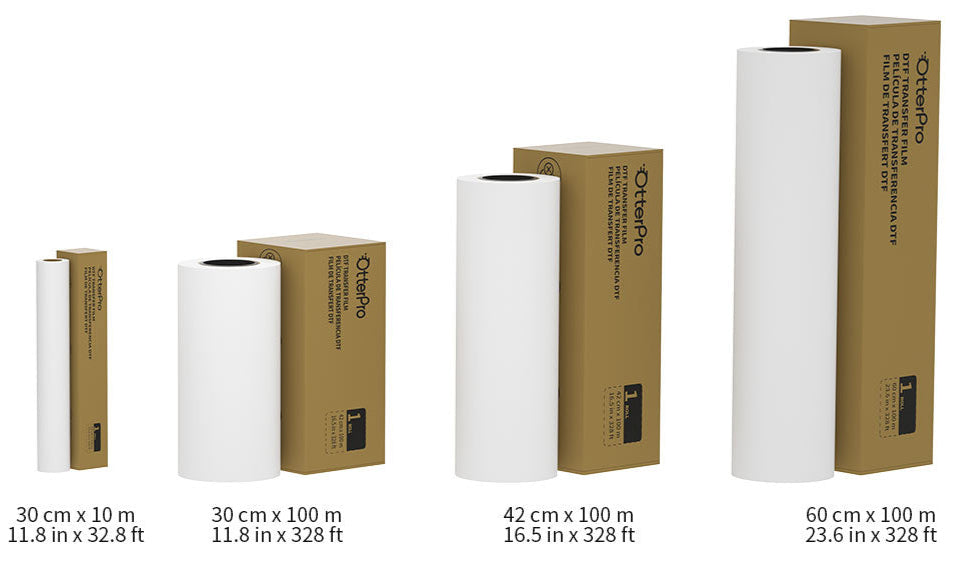
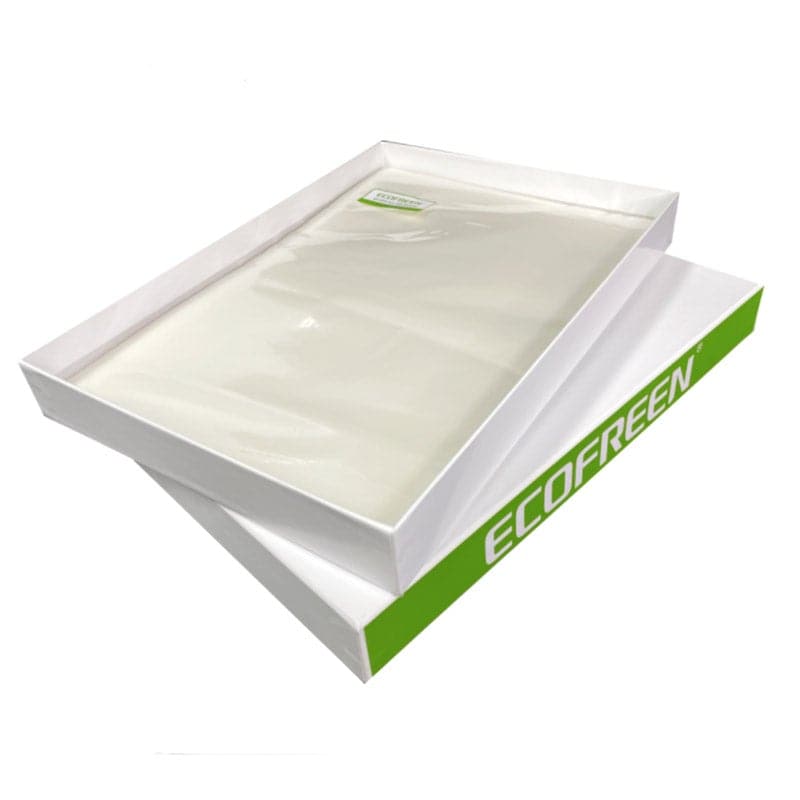
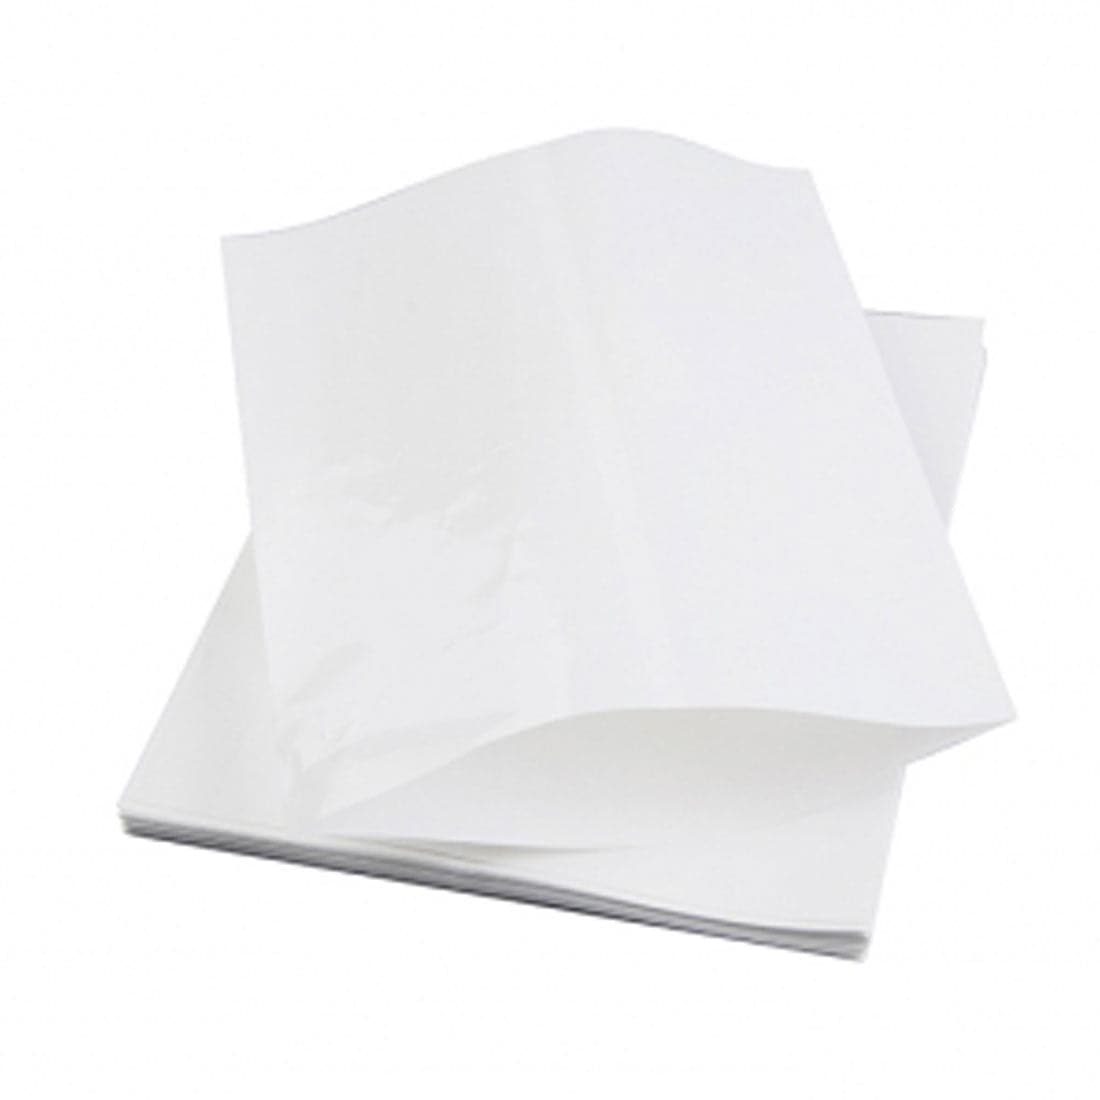
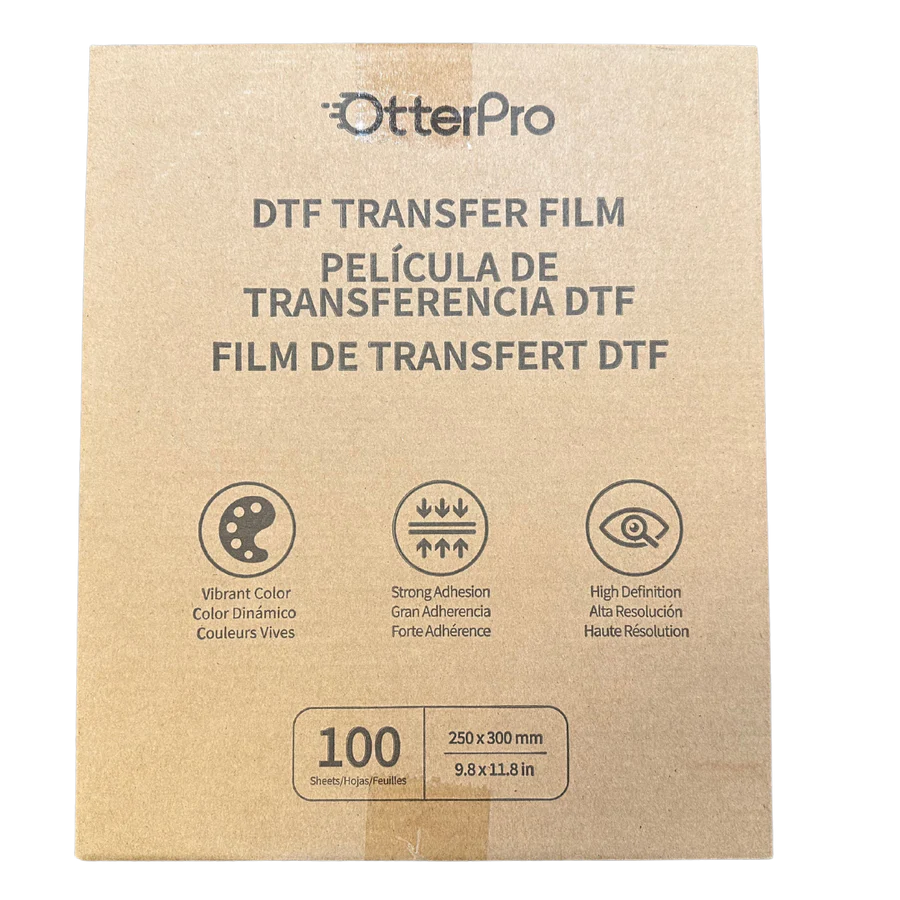
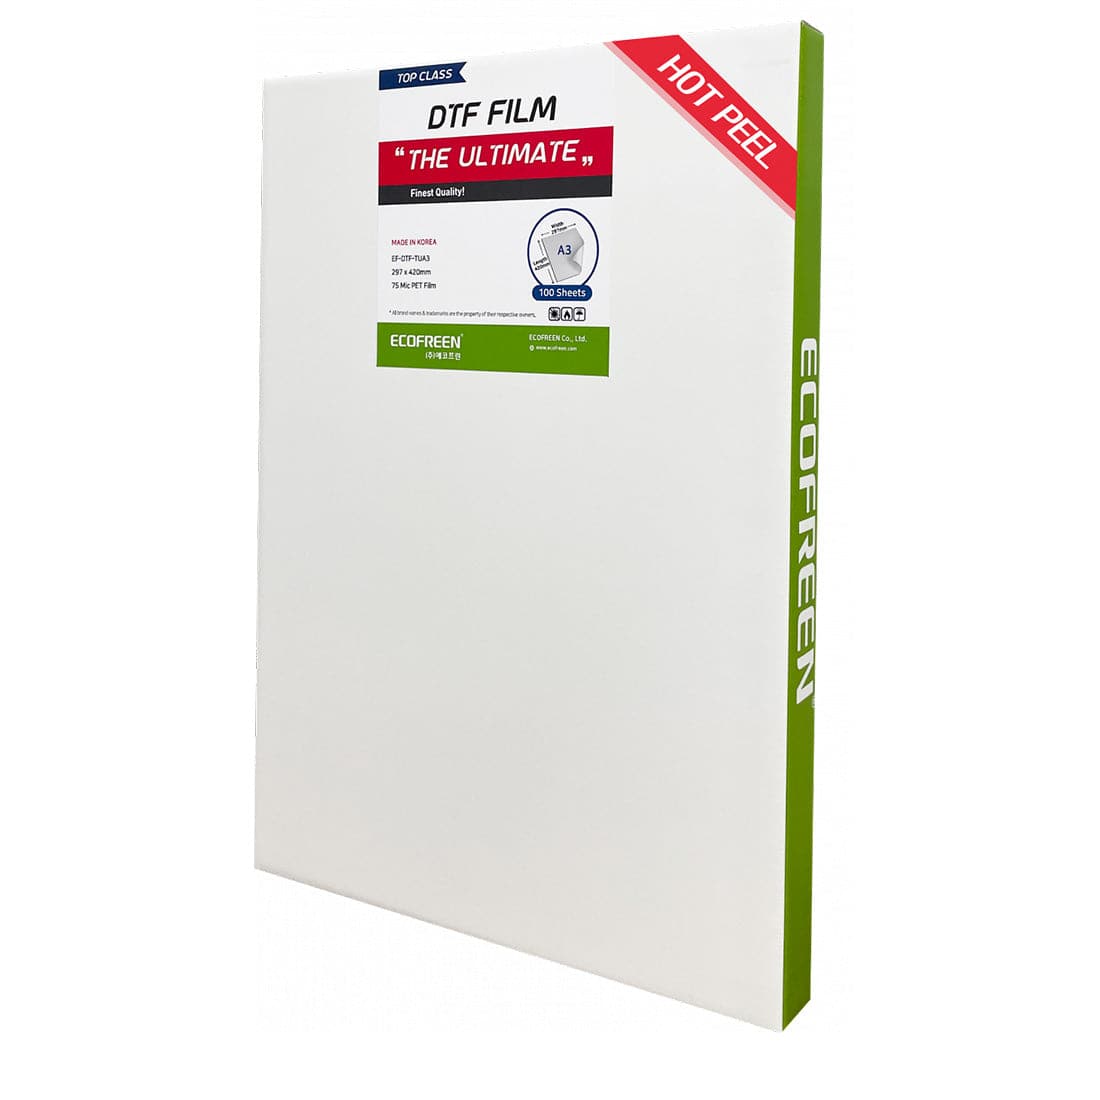
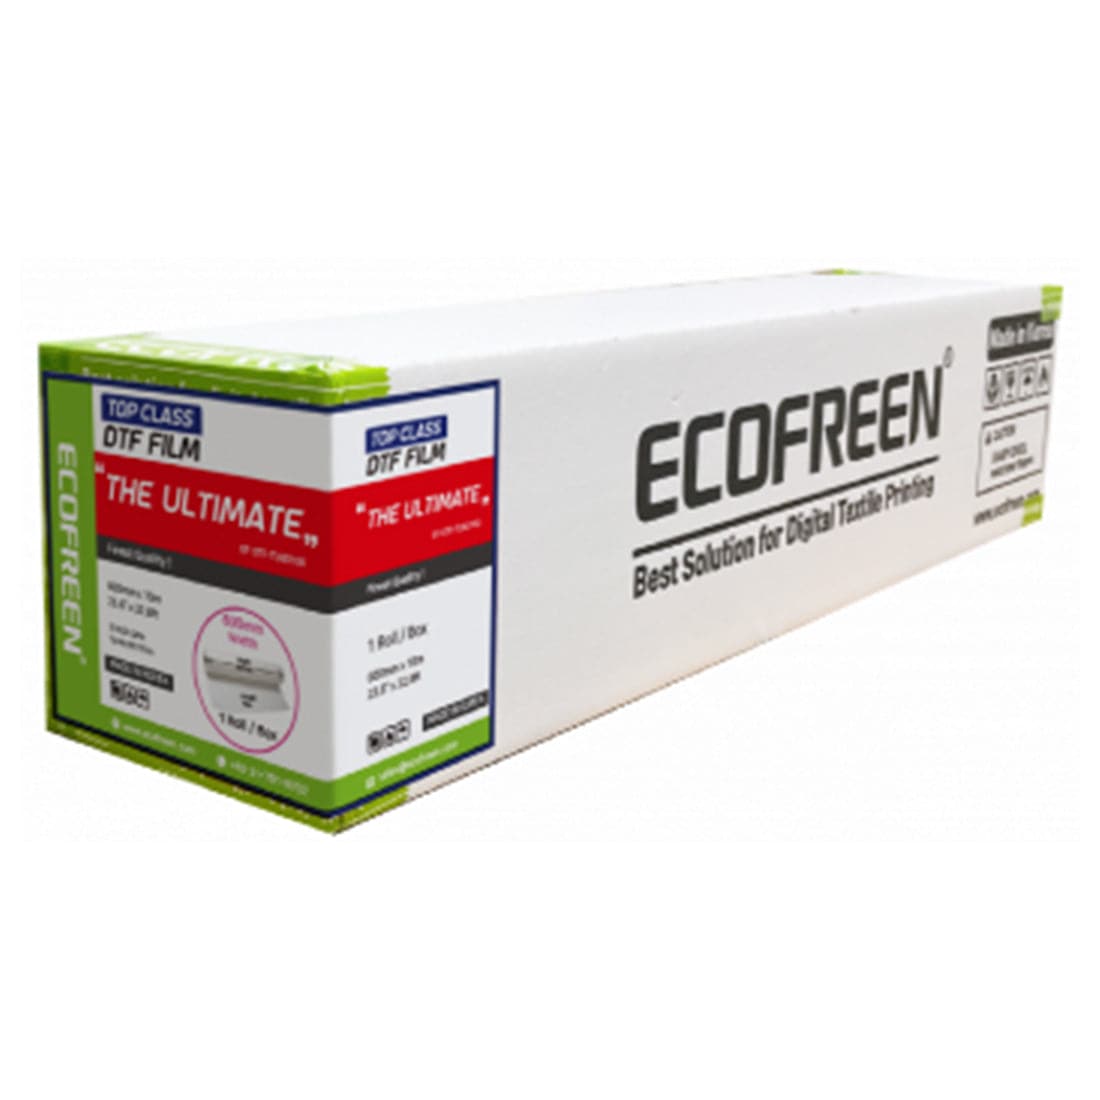
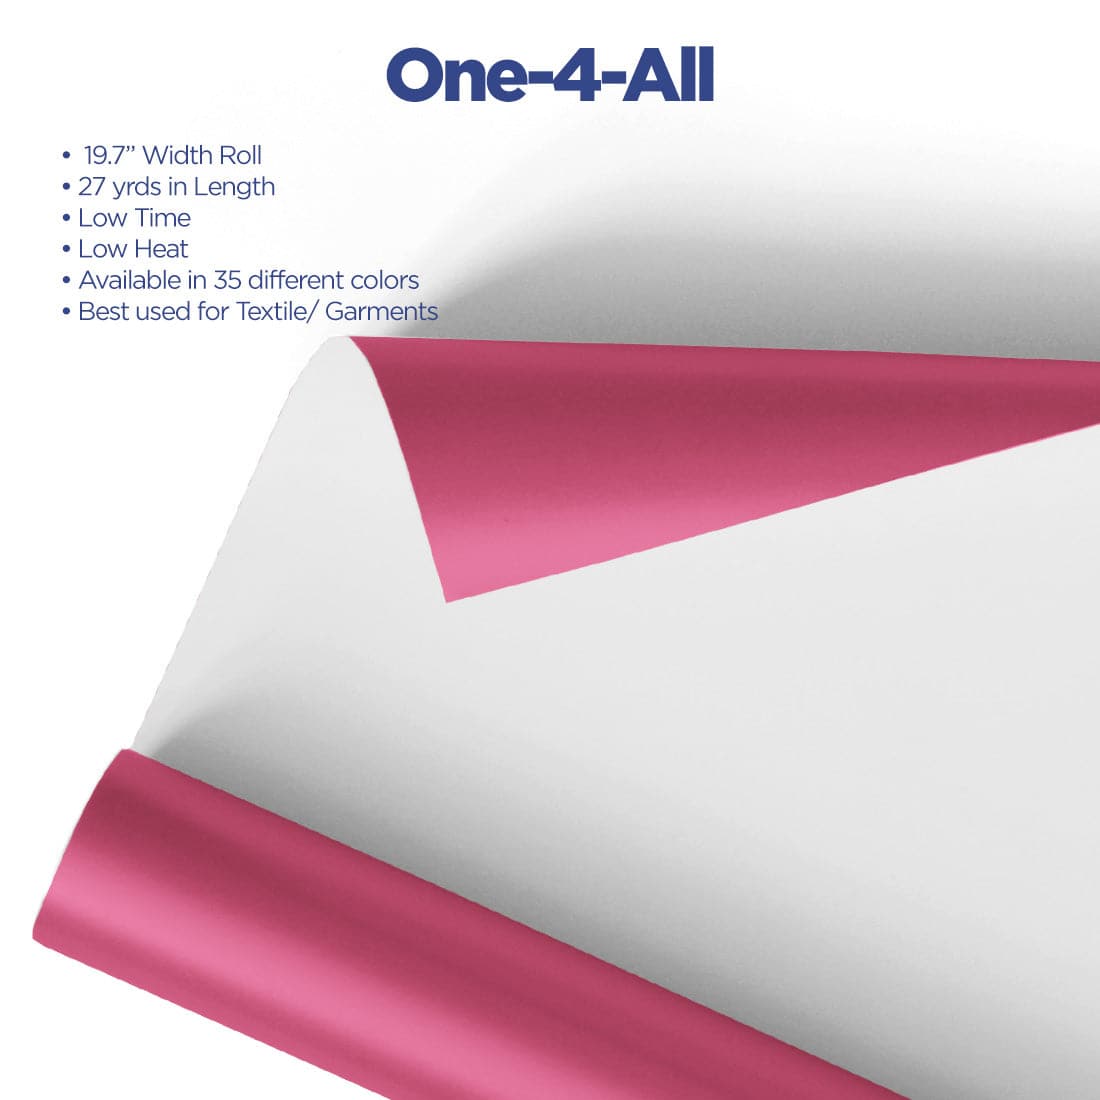
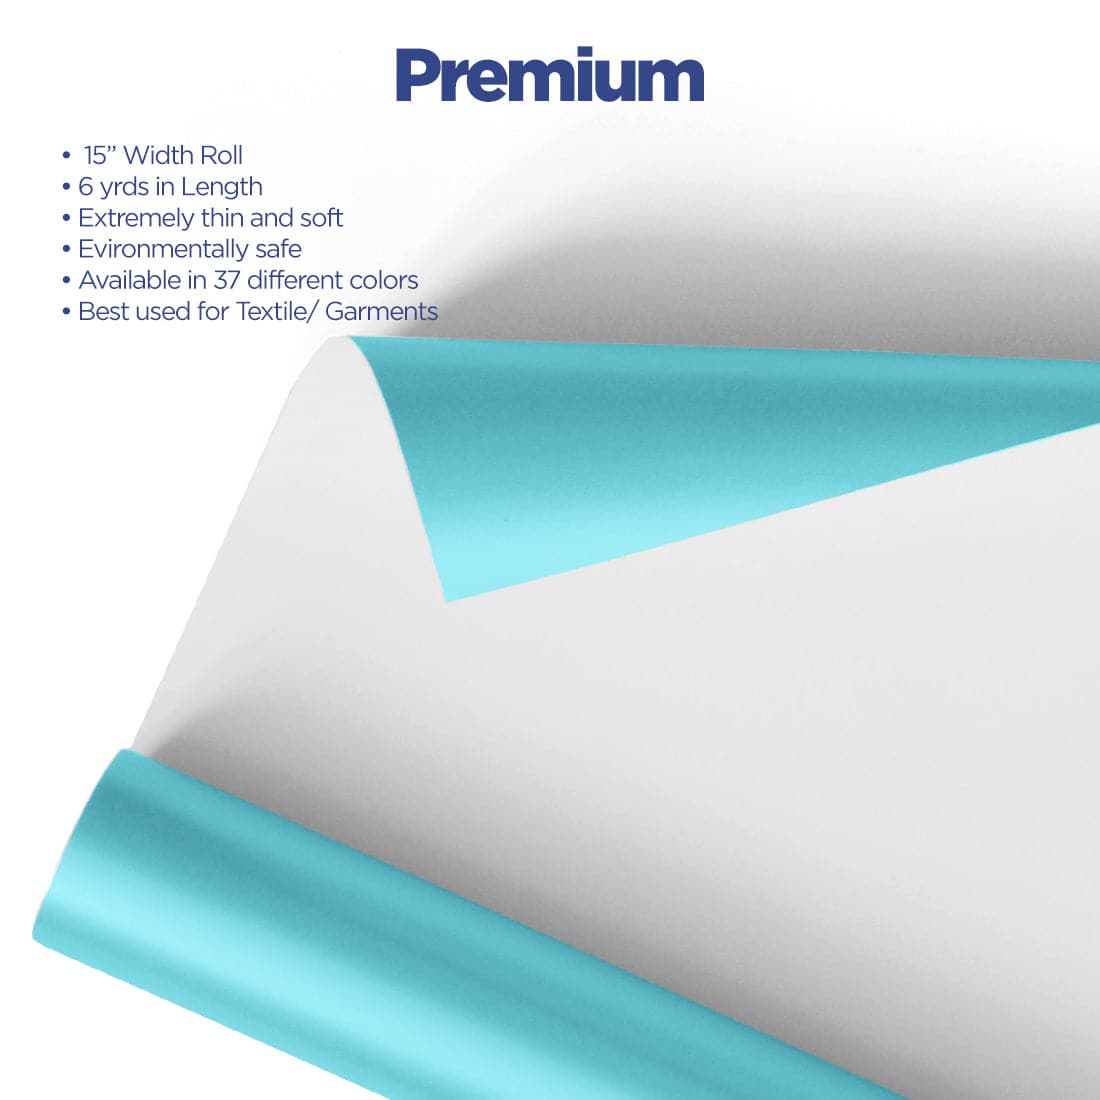
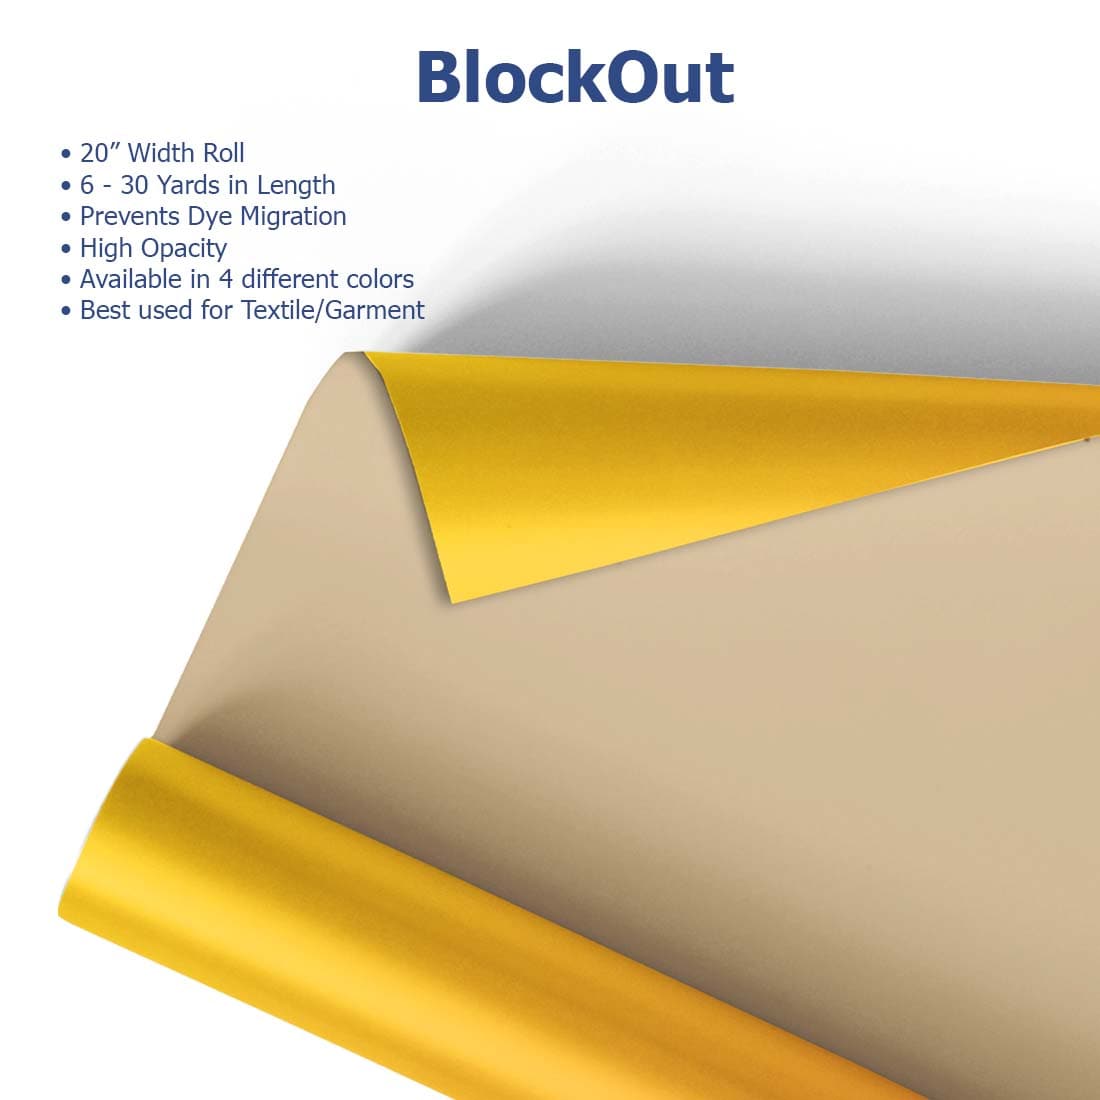
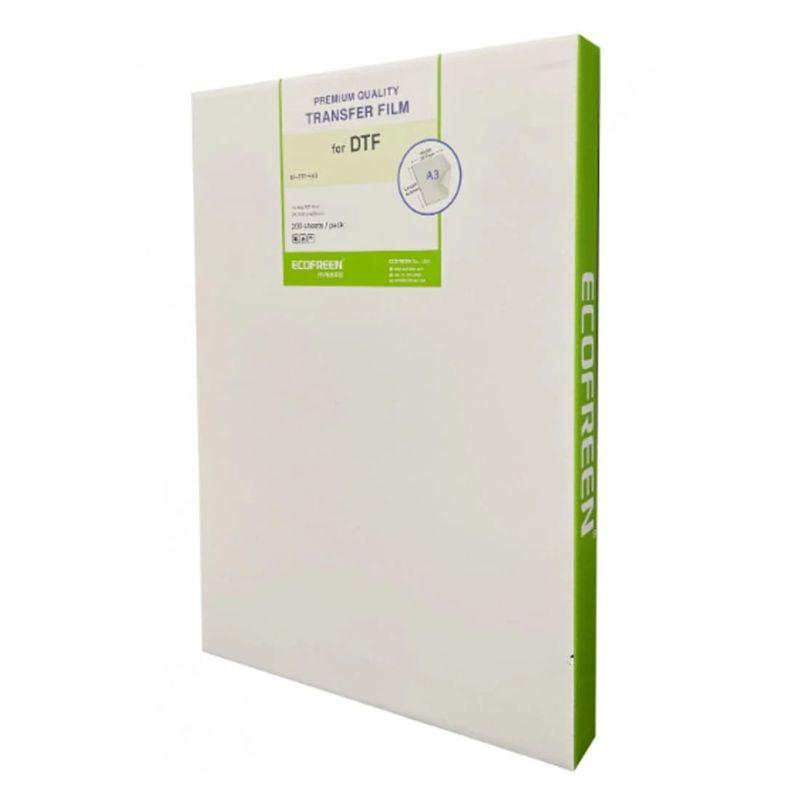
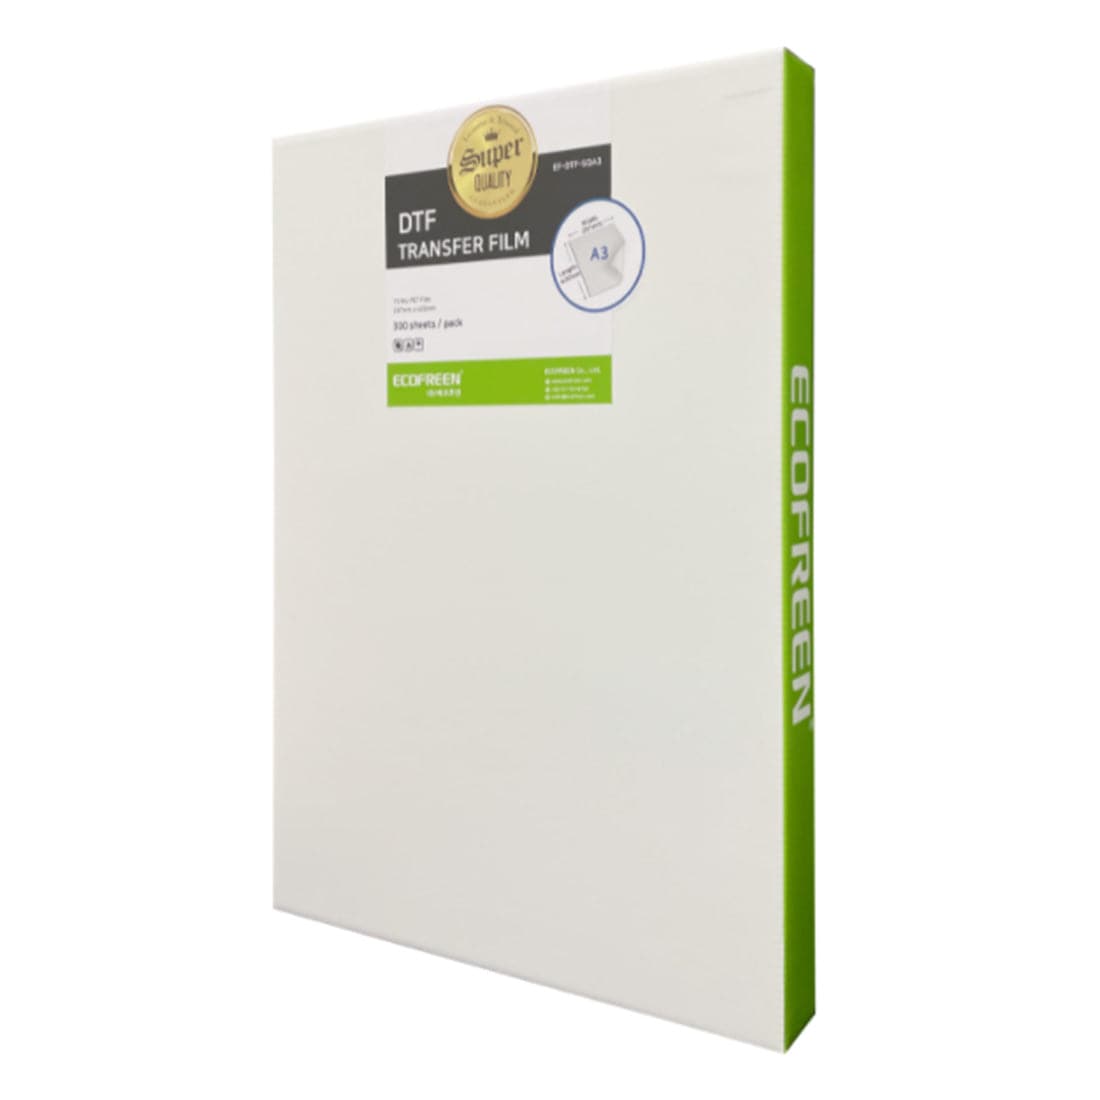
1. DTF transfer film

This is the special film where your design is printed. It’s coated to hold DTF inks and release them during heat transfer. Always choose high-quality, double-sided matte film to prevent smudging and ensure even ink coverage.
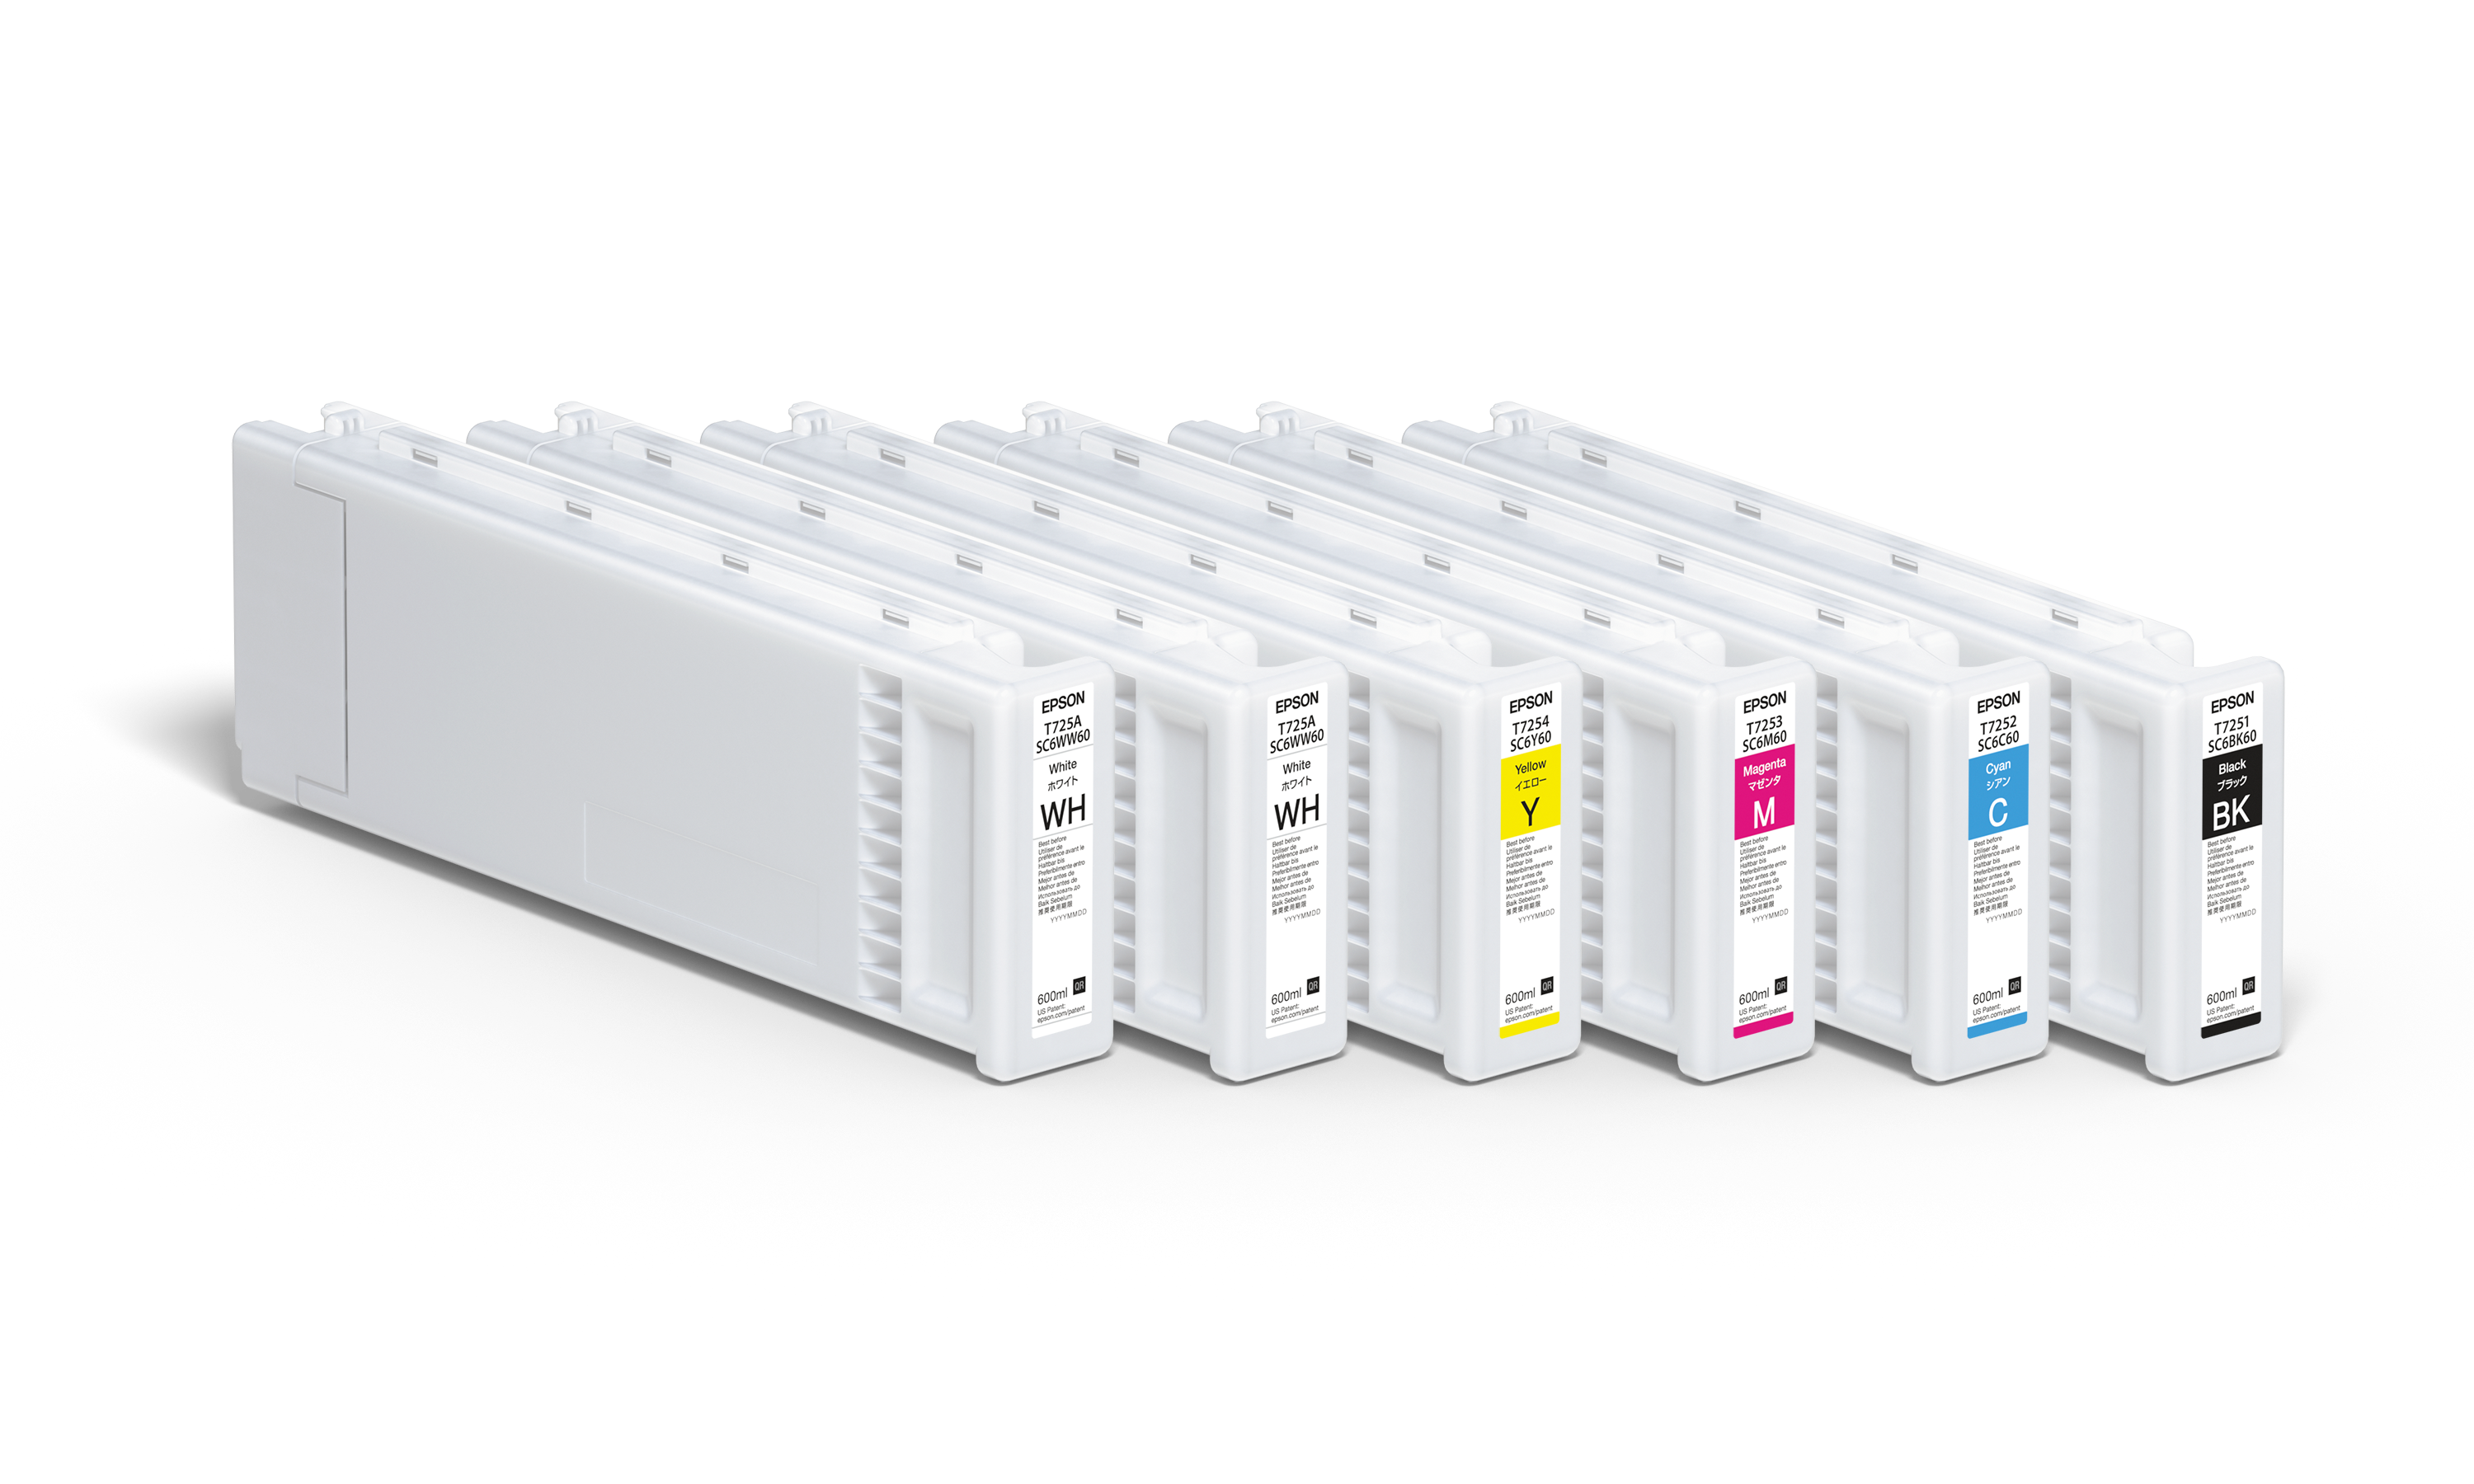
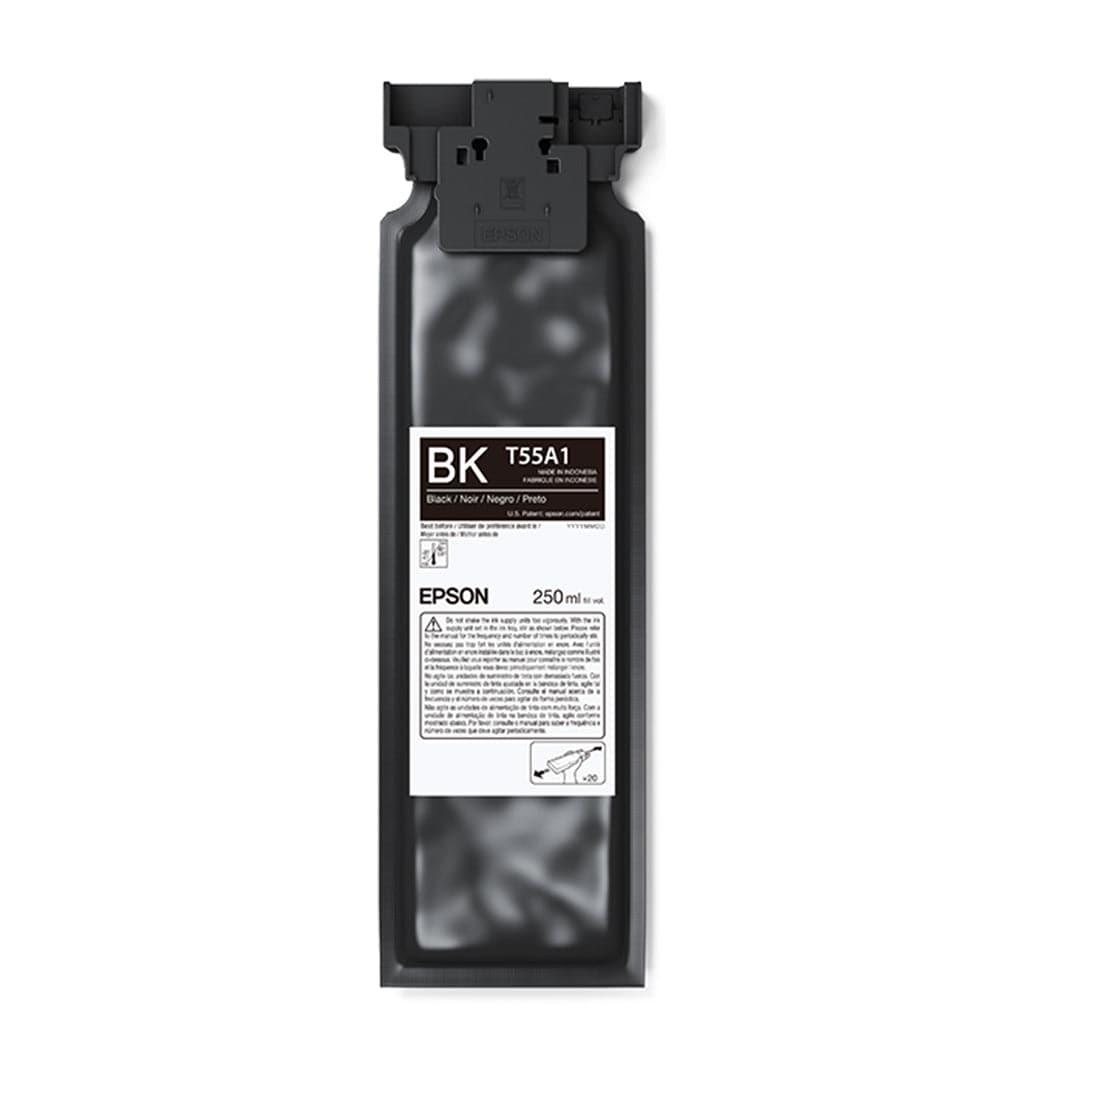
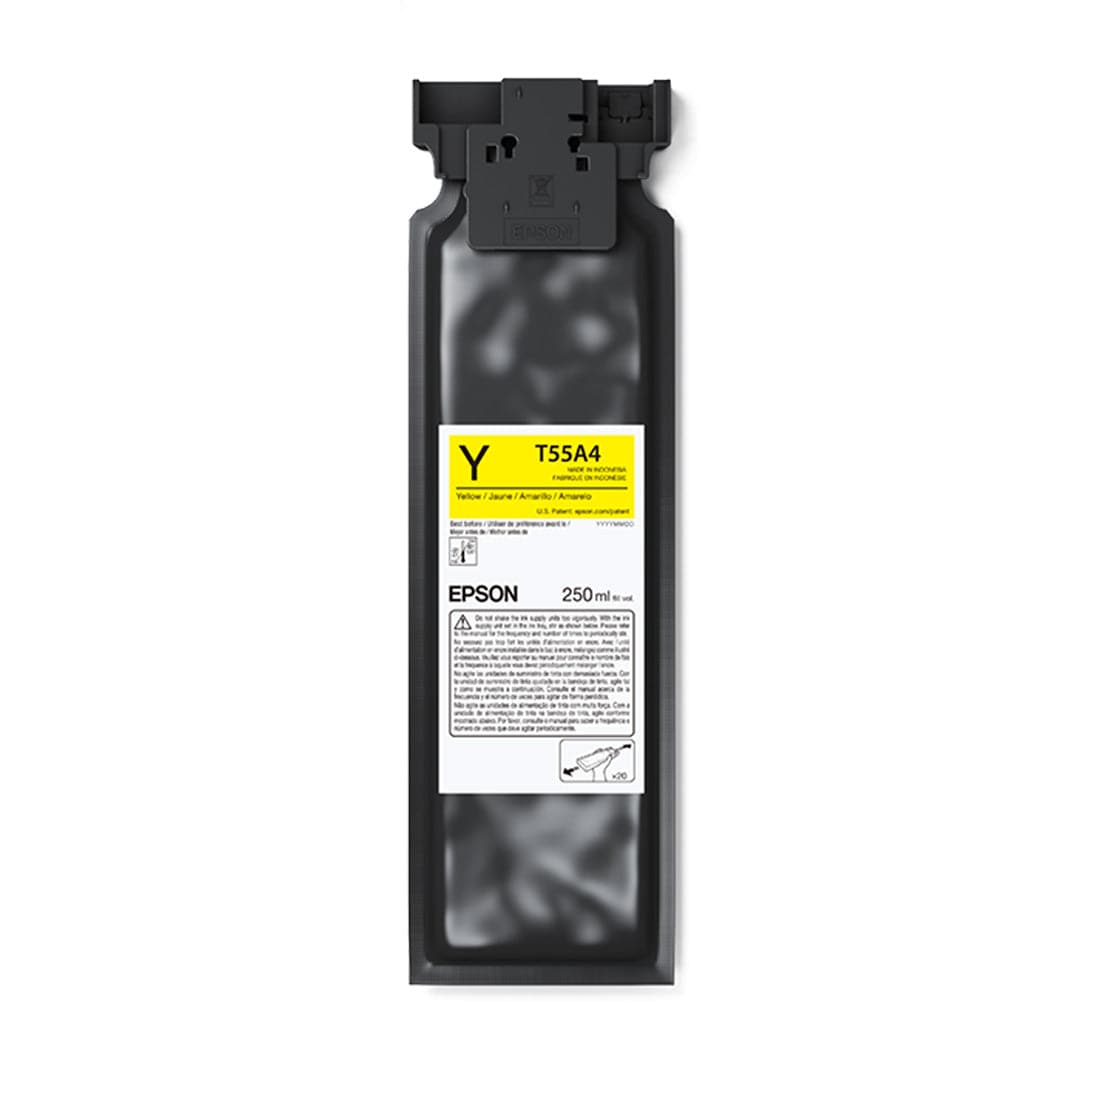
2. DTF inks
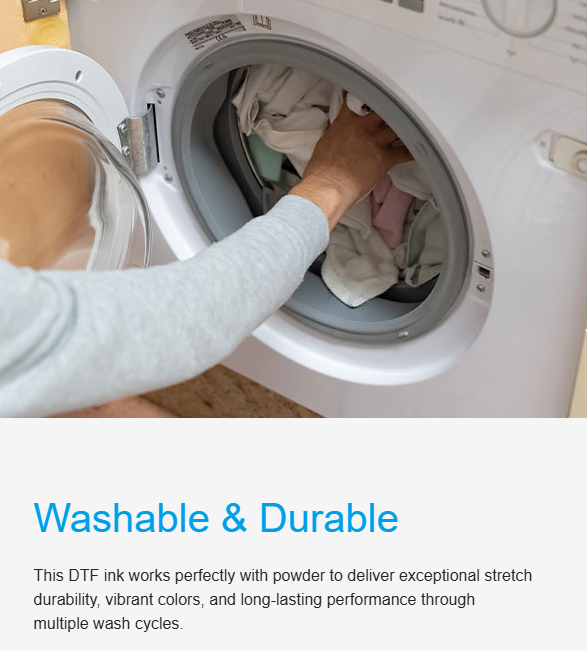
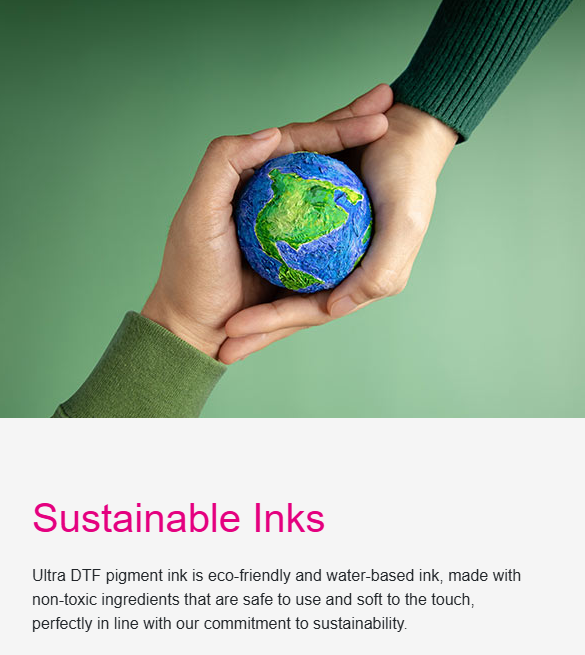
DTF printing uses water-based pigment inks formulated specifically for DTF technology. These inks deliver vibrant color, strong adhesion, and excellent durability on fabric surfaces.

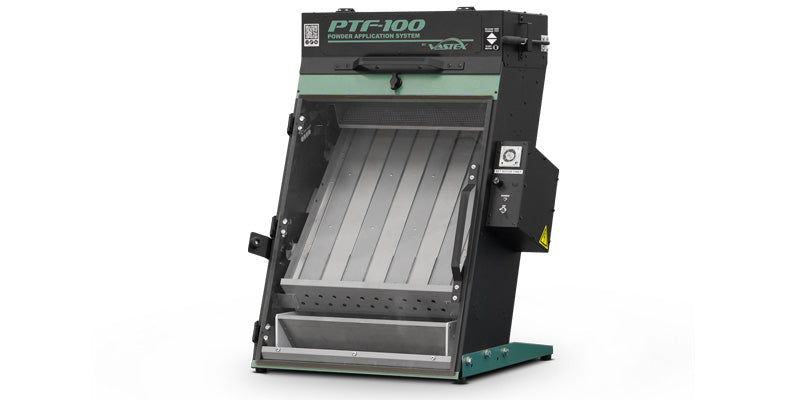
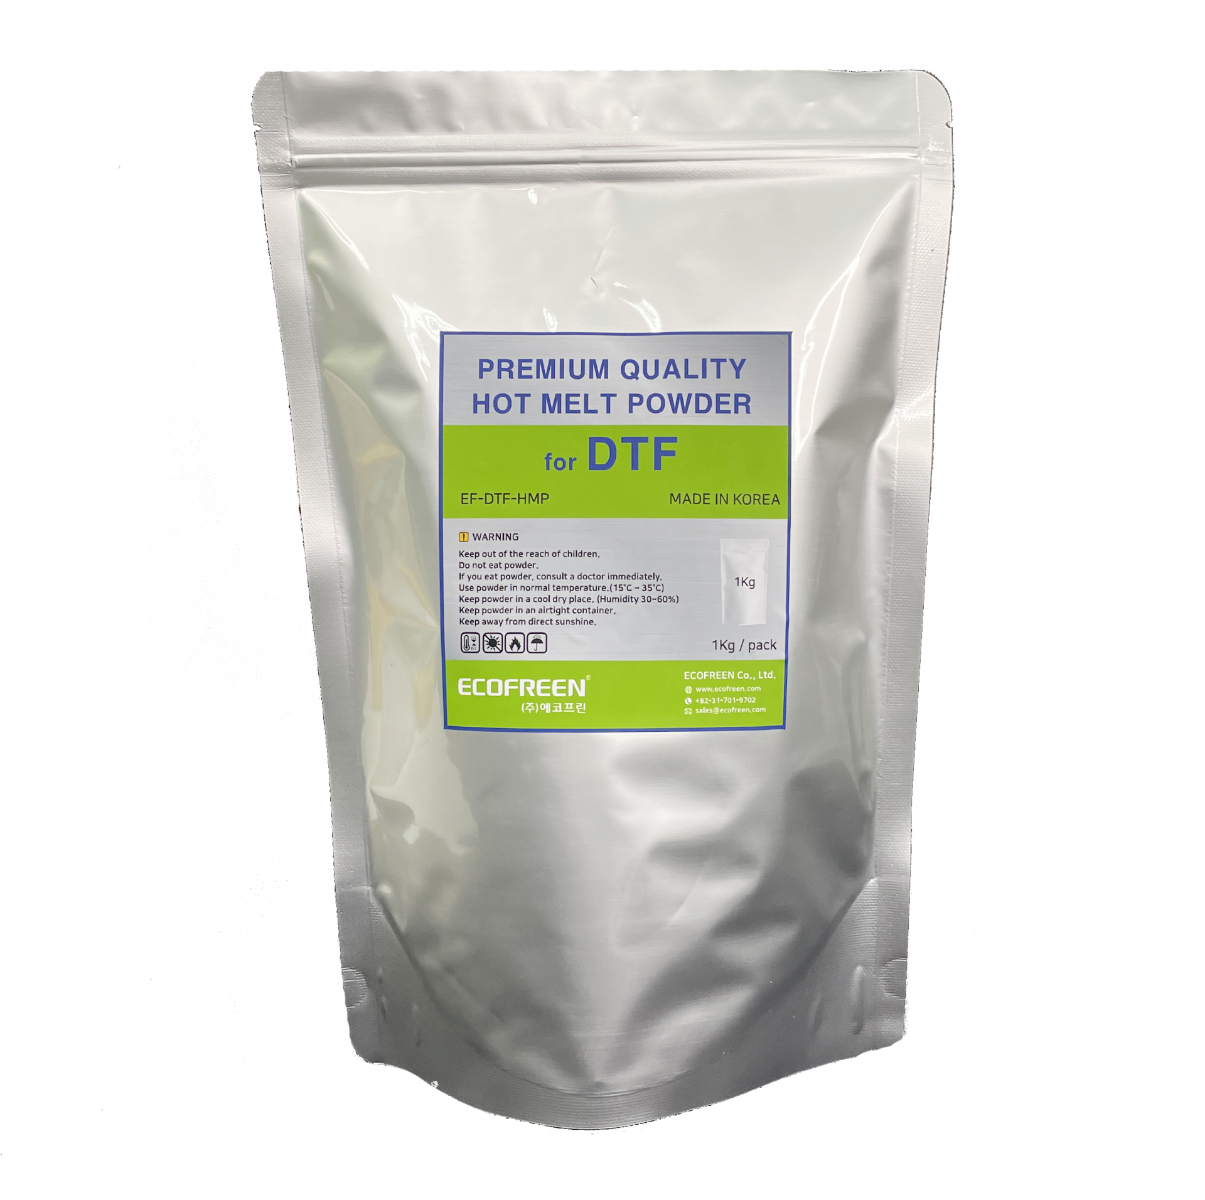
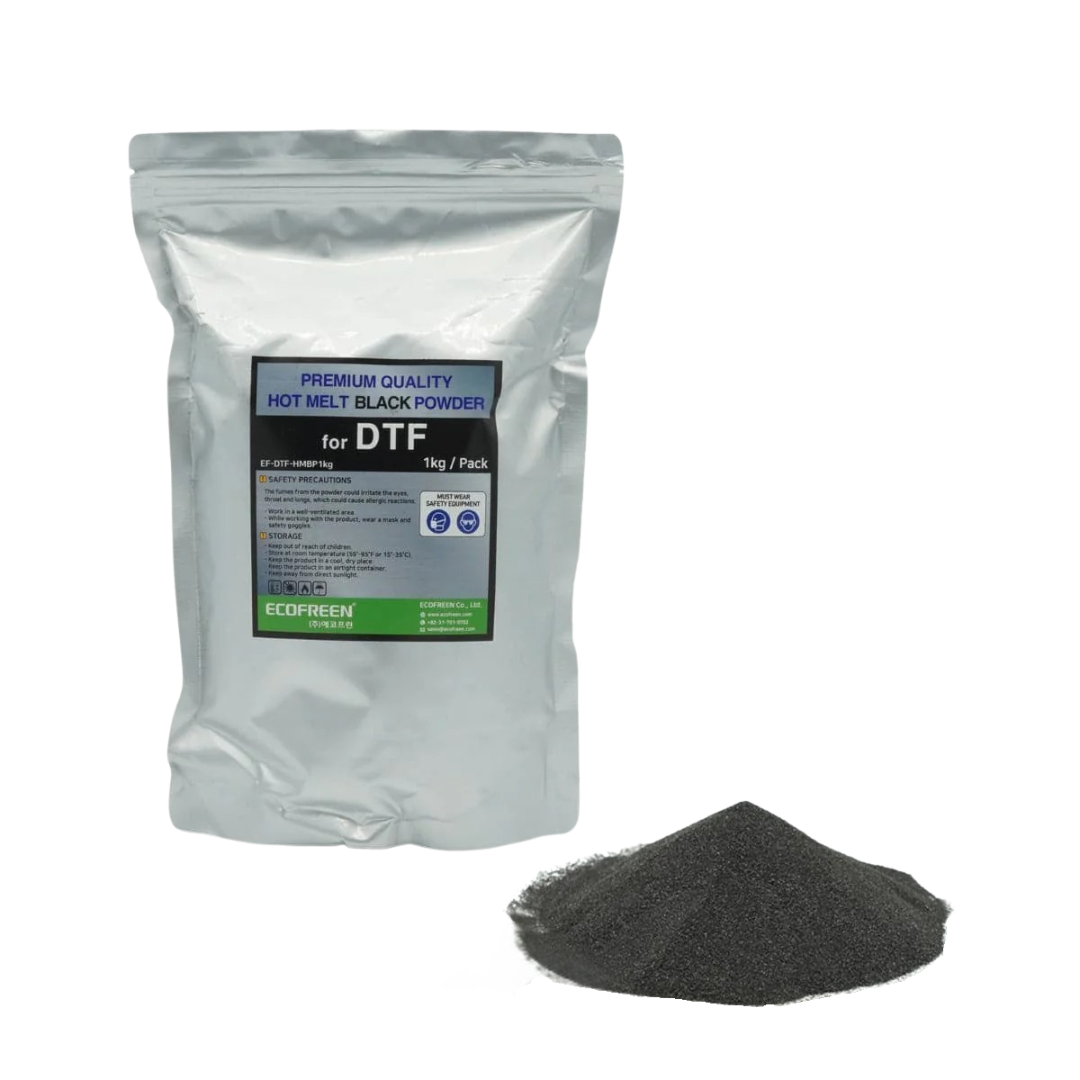
3. Adhesive powder

After printing, a hot-melt adhesive powder is applied to the wet ink. This powder melts during the curing process and acts as the bonding agent between the design and the fabric.
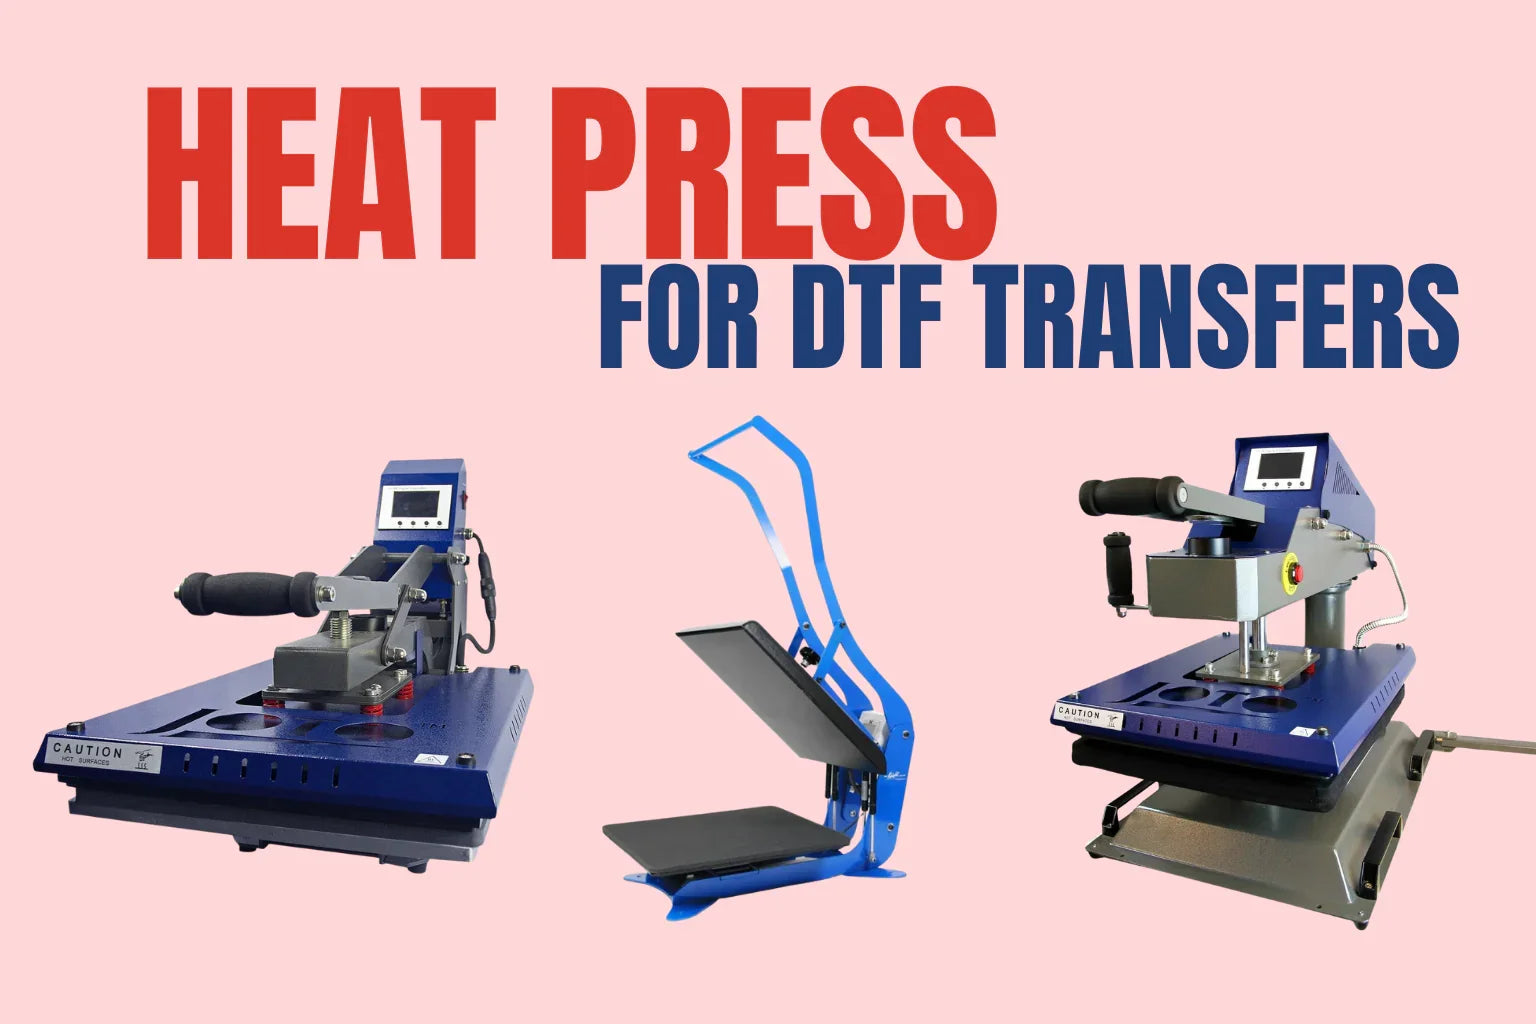
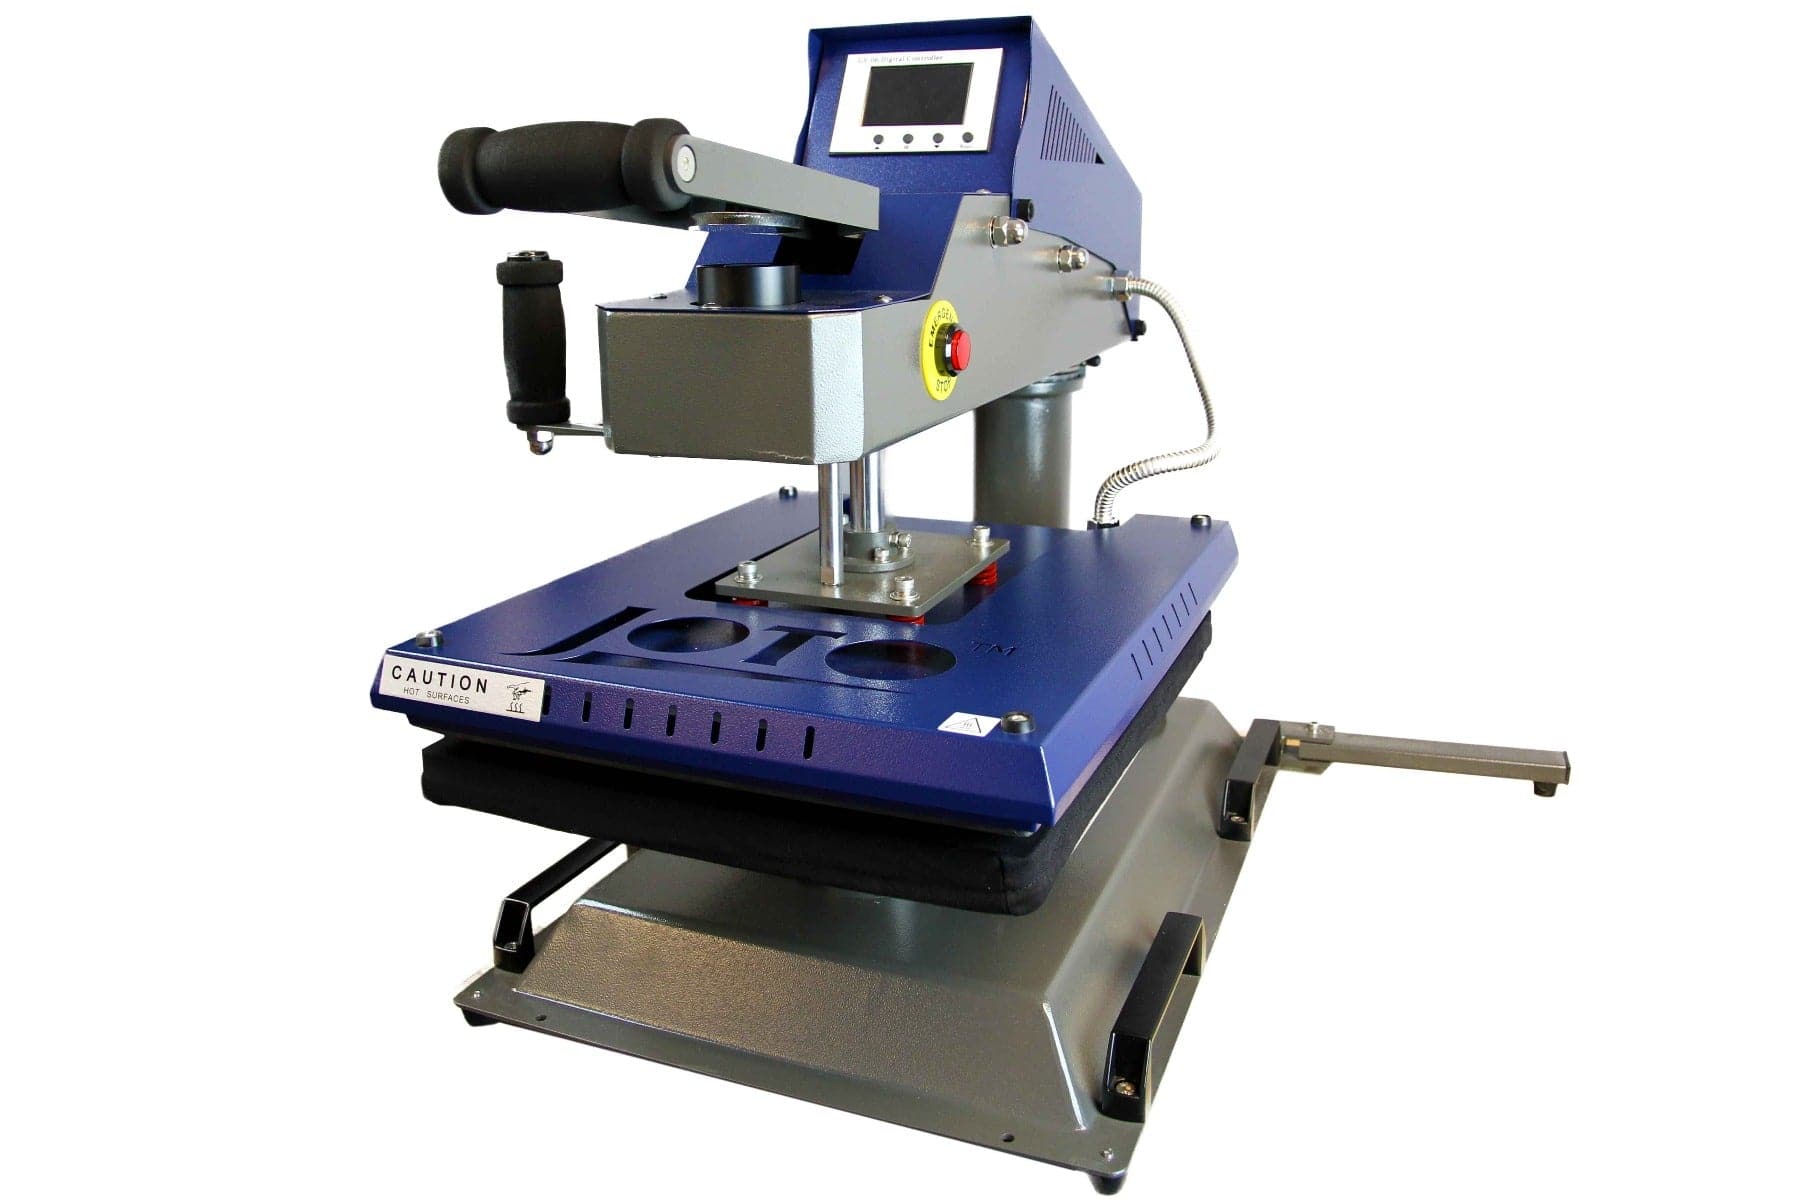
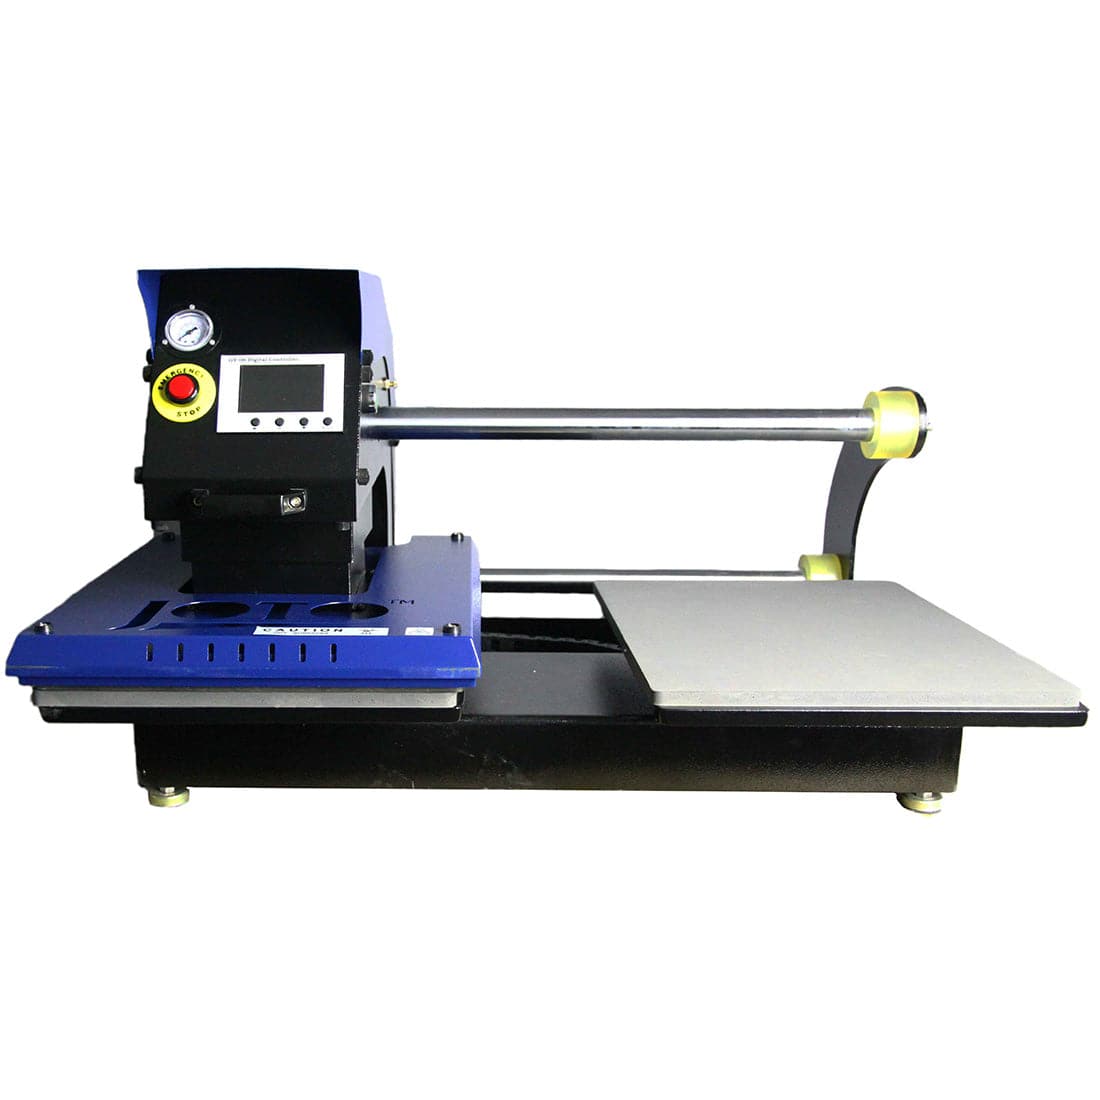
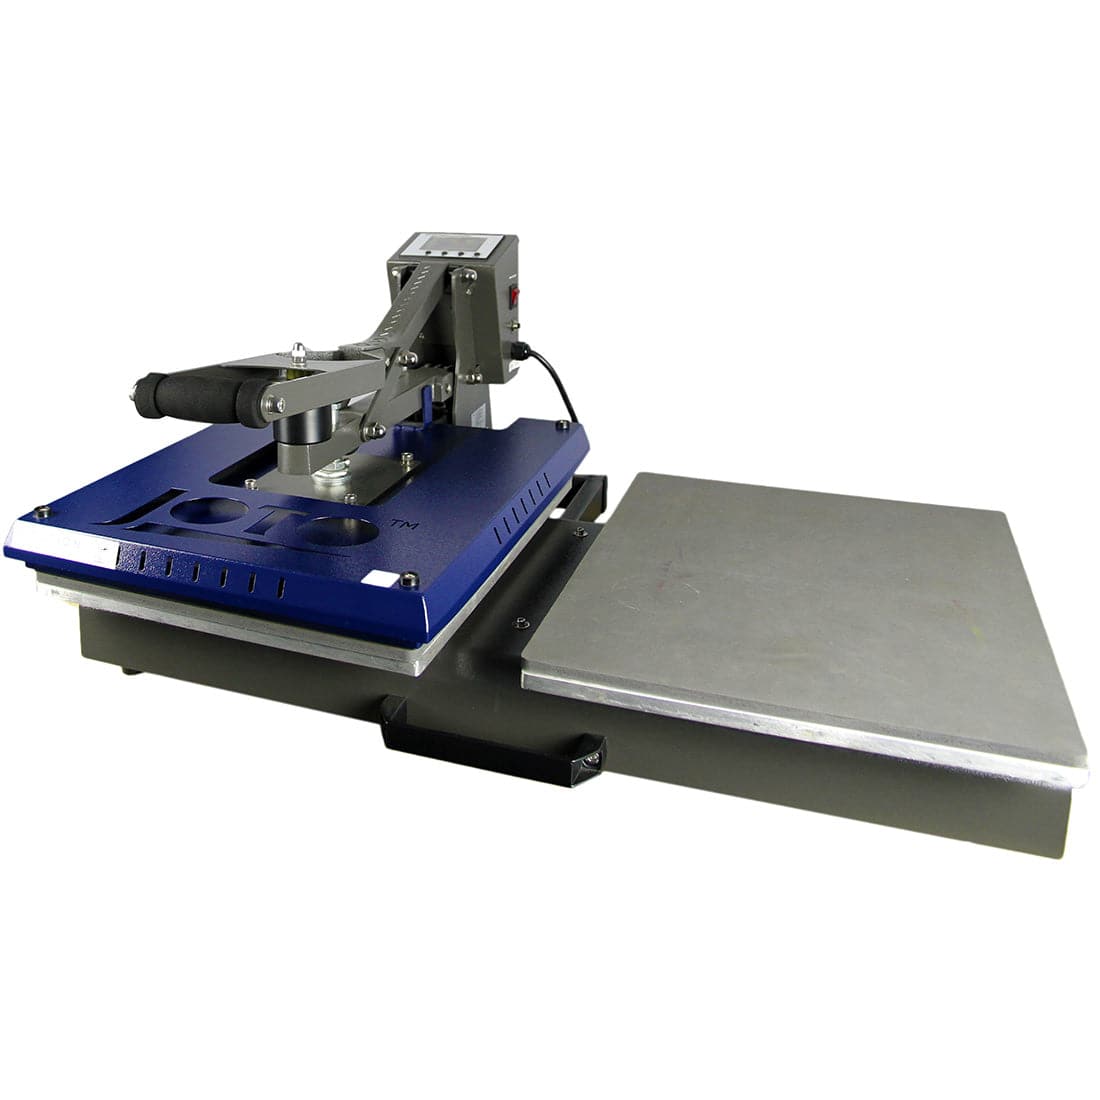
4. Heat press

You’ll need a heat press to both cure the adhesive powder and transfer your design to the garment. Consistent temperature and pressure are essential for proper adhesion and durability.
5. RIP software
Raster Image Processor (RIP) software is required to control ink output, color profiles, and layout settings. It also allows for white ink control, which is critical in DTF printing for proper opacity and contrast on dark fabrics.
6. Graphic design software
Create or prepare your artwork using design tools like Adobe Photoshop, Illustrator, or CorelDRAW. These programs give you full control over design resolution, layering, and print formatting.
Using the correct combination of these materials ensures smoother production, better image quality, and more consistent results—whether you're printing 10 shirts or 1,000.
Step-by-step guide: creating a DTF transfer
The DTF process may sound complex at first, but once broken down, it becomes a straightforward and repeatable workflow. Here's a step-by-step guide to creating high-quality, long-lasting DTF transfers from start to finish.
Step 1: design creation
Begin by creating your artwork in a graphic design program like Adobe Illustrator, Photoshop, or CorelDRAW.
- Set your document to 300 DPI for high-resolution output.
- Use CMYK color mode for accurate print colors.
- Ensure any text is converted to outlines or rasterized to prevent font issues during printing.
Step 2: print on DTF film
Load your DTF printer with DTF inks and DTF transfer film. Using RIP software, print your design in two layers:
- First layer: CMYK colors
- Second layer: White ink, printed on top of the color layer to provide opacity and vibrancy
The design should be printed in reverse (mirrored) since it will be flipped during application.
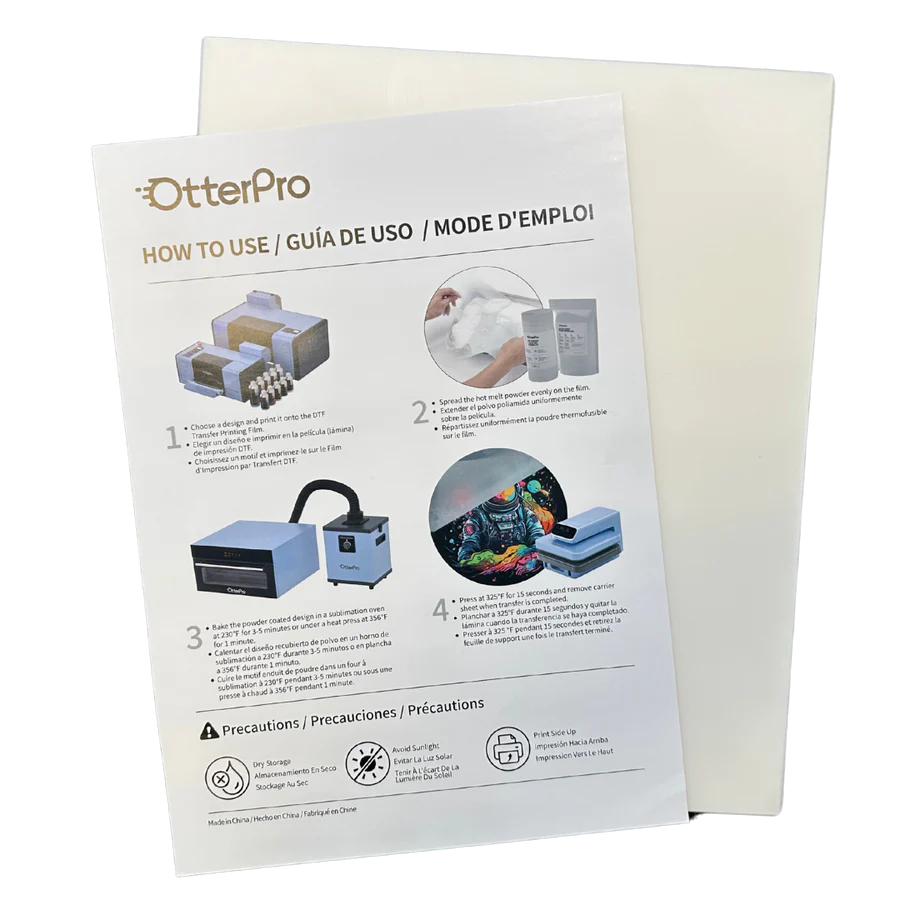
Step 3: Apply adhesive powder
While the ink on the film is still wet, sprinkle hot-melt adhesive powder evenly across the printed area. Shake off the excess powder carefully.
Make sure the powder covers all inked areas for proper adhesion during heat transfer.
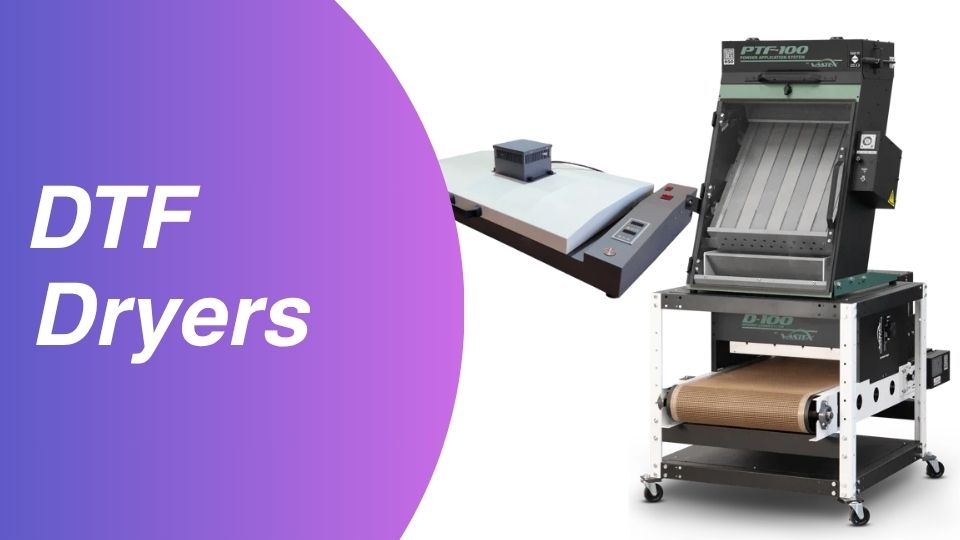
Step 4: Cure the adhesive powder
Use a curing oven or heat press (hover mode) to melt and set the adhesive powder:
- Temperature: Around 250°F (120°C)
-
Time: 2–5 minutes, or until the powder becomes glossy and fully melted
Avoid over-curing, which can affect the transfer’s flexibility and adhesion.
Step 5: transfer to fabric
Place the cured film onto your garment, design-side down. Use a heat press to apply the transfer:
- Temperature: 320°F (160°C)
- Time: 15–20 seconds
- Pressure: Medium to firm
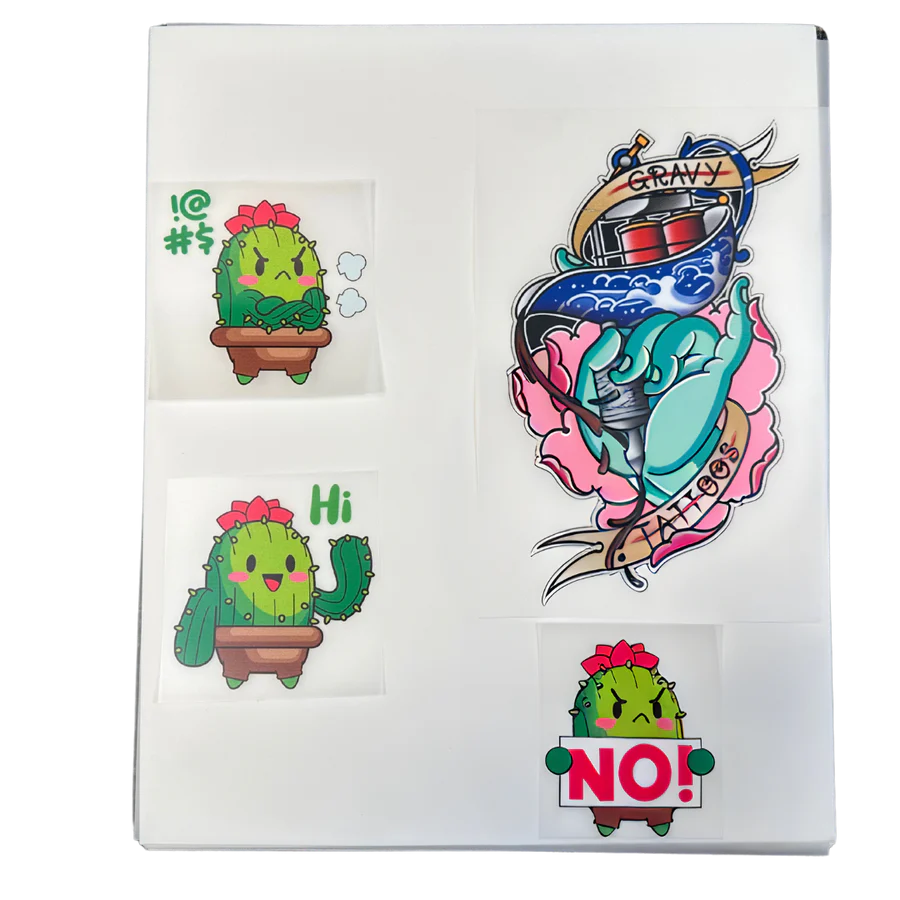
Allow the transfer to cool (cold peel), then gently remove the film to reveal the design.
Step 6: Optional post-press
For added durability and wash resistance, you can press the garment again for 10–15 seconds with a protective sheet (such as parchment paper or a Teflon sheet).
Following these steps helps ensure crisp, vibrant results that hold up through repeated washes and wear.
Types of printers for DTF transfers
Choosing the right printer is one of the most important decisions in your DTF printing setup. The printer you select will determine not only the quality of your transfers but also the scalability, maintenance requirements, and overall workflow of your business.
Here are the main types of printers used for DTF transfers:
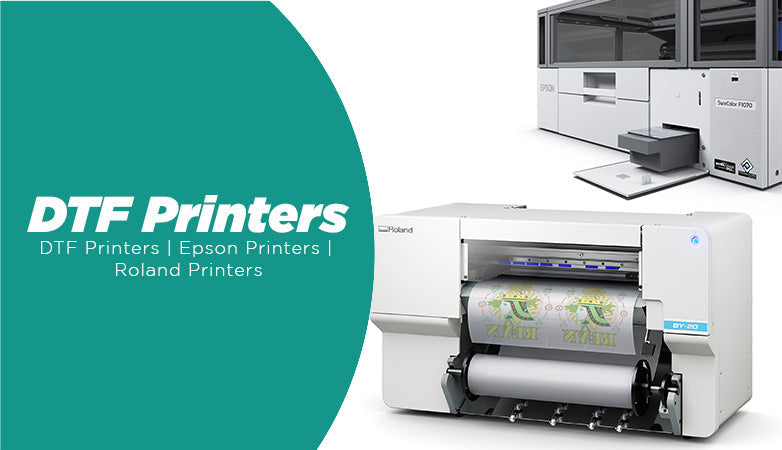
1. Dedicated DTF printers
These printers are purpose-built for DTF printing, designed to handle the ink system, film feeding, and white ink management out of the box.
Advantages:
- Seamless integration with DTF inks and films
- Built-in circulation systems to prevent white ink clogging
- Often include dual print heads for faster production
- Designed for reliability and high-volume output
Best for: Businesses looking for professional results with minimal setup and optimal efficiency.
2. Converted inkjet printers
Some users convert standard Epson inkjet printers (such as the L1800 or XP-15000) for DTF by replacing the ink system and using RIP software.
Advantages:
- Lower initial cost
- Good for hobbyists or startups
Drawbacks:
- More frequent maintenance required
- Risk of clogging or hardware failure
- Not always covered under manufacturer warranty
Best for: Startups or small-scale users on a limited budget who are comfortable with DIY setups.
3. Automatic DTF printers (roll-to-roll systems)
These are industrial-grade DTF printers that include automated feeding, curing, and take-up systems. They’re built for continuous, high-volume production.
Advantages:
- Fully automated printing and curing
- High-speed, high-capacity output
- Reduced labor and increased consistency
Best for: Established businesses and print shops with high demand or wholesale operations.
4. Hybrid DTG/DTF printers
Some Direct-to-Garment (DTG) printers, particularly Epson models, can be adapted for DTF printing with software and workflow adjustments.
Advantages:
- Flexibility to offer both DTG and DTF services
- Efficient use of existing equipment
Best for: Businesses already using DTG who want to expand into DTF without purchasing a new machine.
Understanding the capabilities and limitations of each printer type will help you make an informed decision based on your production needs, budget, and long-term business goals.
Key features to consider in a DTF printer
Not all DTF printers are created equal. Whether you're investing in your first machine or upgrading to a more advanced setup, knowing what features to look for can save time, reduce waste, and improve print quality.
Here are the most important factors to evaluate when choosing a DTF printer:
1. Print quality and resolution
Look for a printer that offers a minimum resolution of 1440 dpi (dots per inch). Higher resolution ensures:
- Crisp, clean lines
- Smooth gradients
- High-detail prints, especially for text or photo-based designs
For professional results, consistent image quality is essential—especially when offering custom designs to clients.
2. Ink compatibility and circulation
Your printer must be compatible with DTF-specific water-based pigment inks, including white ink. Look for features like:
- White ink circulation systems to prevent clogging
- Separate channels for CMYK + White
- Easy refill or cartridge access
White ink management is particularly important, as it's prone to settling and drying if not continuously circulated.
3. RIP software support
Your printer should work with professional RIP software (Raster Image Processor), which allows you to:
- Control ink density
- Manage white layer application
- Arrange print layouts and nesting
- Preview designs before printing
RIP software is a must for DTF printing—avoid any printer that doesn’t support it.
4. Print speed and efficiency
Speed matters, especially if you're fulfilling bulk orders or operating on tight deadlines. Compare:
- Prints per hour (PPH)
- Sheet-fed vs. roll-fed mechanisms
- Dual print heads for faster performance
Balance speed with quality. Faster isn’t always better if it sacrifices precision or consistency.
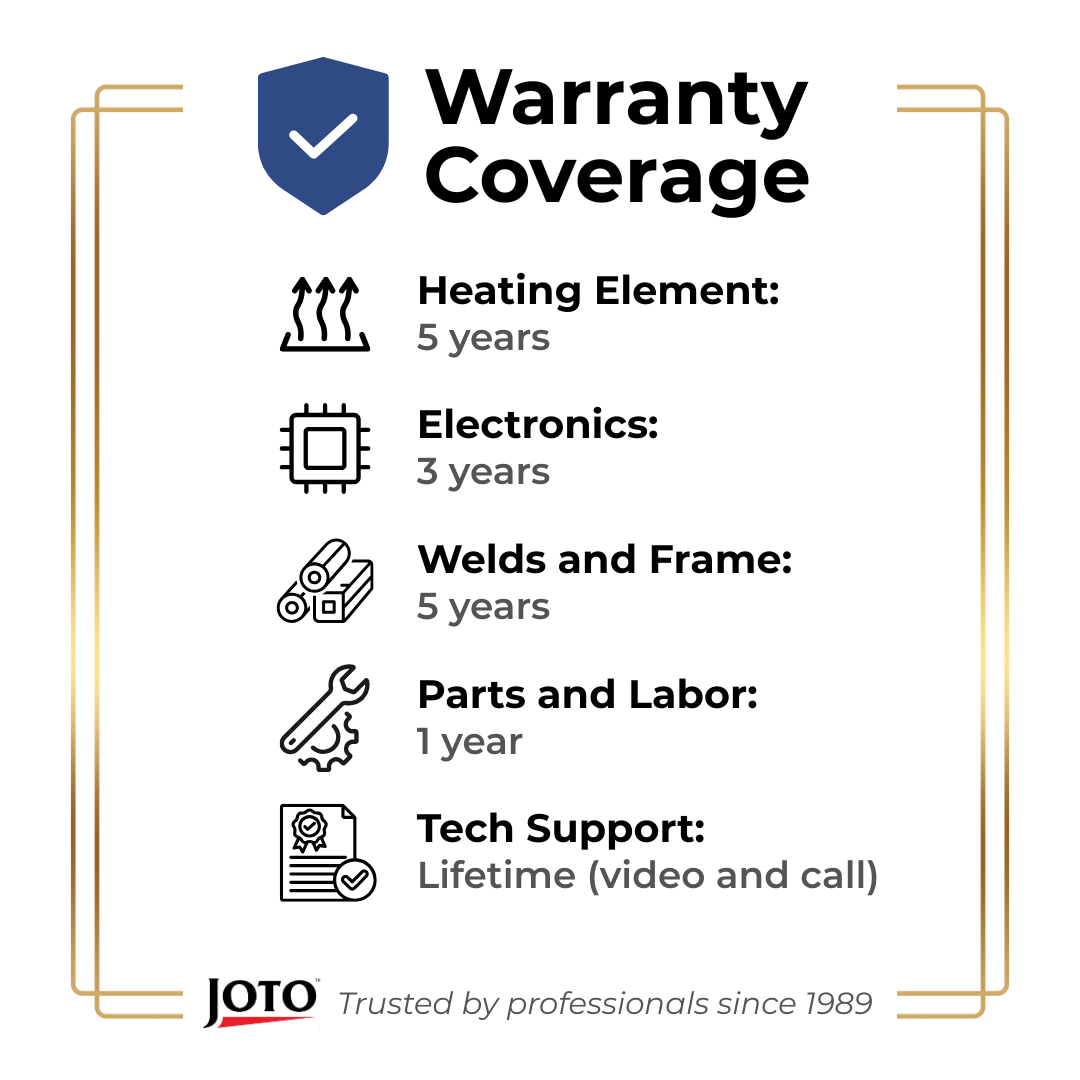
5. Maintenance and support
DTF printers require regular maintenance. When choosing a model, consider:
- Ease of head cleaning and ink line flushing
- Access to replacement parts
- Manufacturer or reseller support
- Availability of training and tutorials
Printers sold by Joto Imaging Supplies include ongoing support and technical assistance to help ensure long-term performance.
6. Media handling
If you plan to scale, consider whether the printer can handle:
- Roll-fed film (for automated printing)
- Sheet-fed film (for small-batch jobs)
- Film width compatibility, especially for wide-format applications
Choosing the right film size and feed method can significantly streamline your workflow.
Conclusion: choosing the right DTF printer for long-term success
DTF printing has quickly become one of the most versatile and in-demand methods for producing high-quality, full-color apparel and fabric designs. With its ability to print on a wide range of materials, without the limitations of traditional processes, DTF empowers creators, apparel brands, and print shops to offer flexible, durable, and profitable solutions to their customers.
However, your success with DTF hinges on choosing the right equipment, especially the printer. By understanding the different types of DTF printers, evaluating key performance features, and using the correct materials and software, you can build a streamlined, scalable printing workflow that delivers consistent, professional results.
At Joto Imaging Supplies, we’re committed to helping businesses of all sizes thrive in the custom printing industry. Whether you're just getting started or looking to scale your production, our team is here to support you with expert guidance, industry-leading DTF solutions, and dedicated customer service.
Need help selecting the right DTF printer or starter package? Contact us or explore our full catalog of DTF printers, transfer films, inks, and accessories today.