


Why creating your own templates is a smart move
If you’ve ever tried to sublimate or laser print onto a blank that didn’t come with a template, you know the guesswork can be risky. Will the design fit? Will it get cut off by a curve, hole, or edge? Will it print centered?
That’s where creating your own templates comes in.
Making custom templates gives you full control over your layout, reduces waste, and helps ensure your design ends up exactly where you want it—whether you’re working with mugs, ornaments, phone cases, or something totally custom.
In this guide, we’ll walk you through how to create accurate, professional templates from scratch using tools you probably already have. It’s easier than it sounds—and once you learn it, you’ll never go back.
Why templates matter in sublimation and laser transfers
Templates may seem like just a nice-to-have, but in reality, they’re one of the most underrated tools in custom printing. A well-made template:
- Helps you preview your design layout on real-world objects
- Shows what parts of the artwork might be cut off by holes, curves, or trim
- Saves time by reducing trial-and-error placement
- Prevents costly mistakes like off-center prints or misaligned logos
- Speeds up production by giving you a clear, repeatable layout every time
This is especially true for small or oddly shaped blanks, like phone cases, holiday ornaments, or curved tumblers, where even a few millimeters can make a big difference.
Whether you’re printing one item or producing hundreds, having a personalized template for your blank gives you more consistency, more confidence, and way less waste.
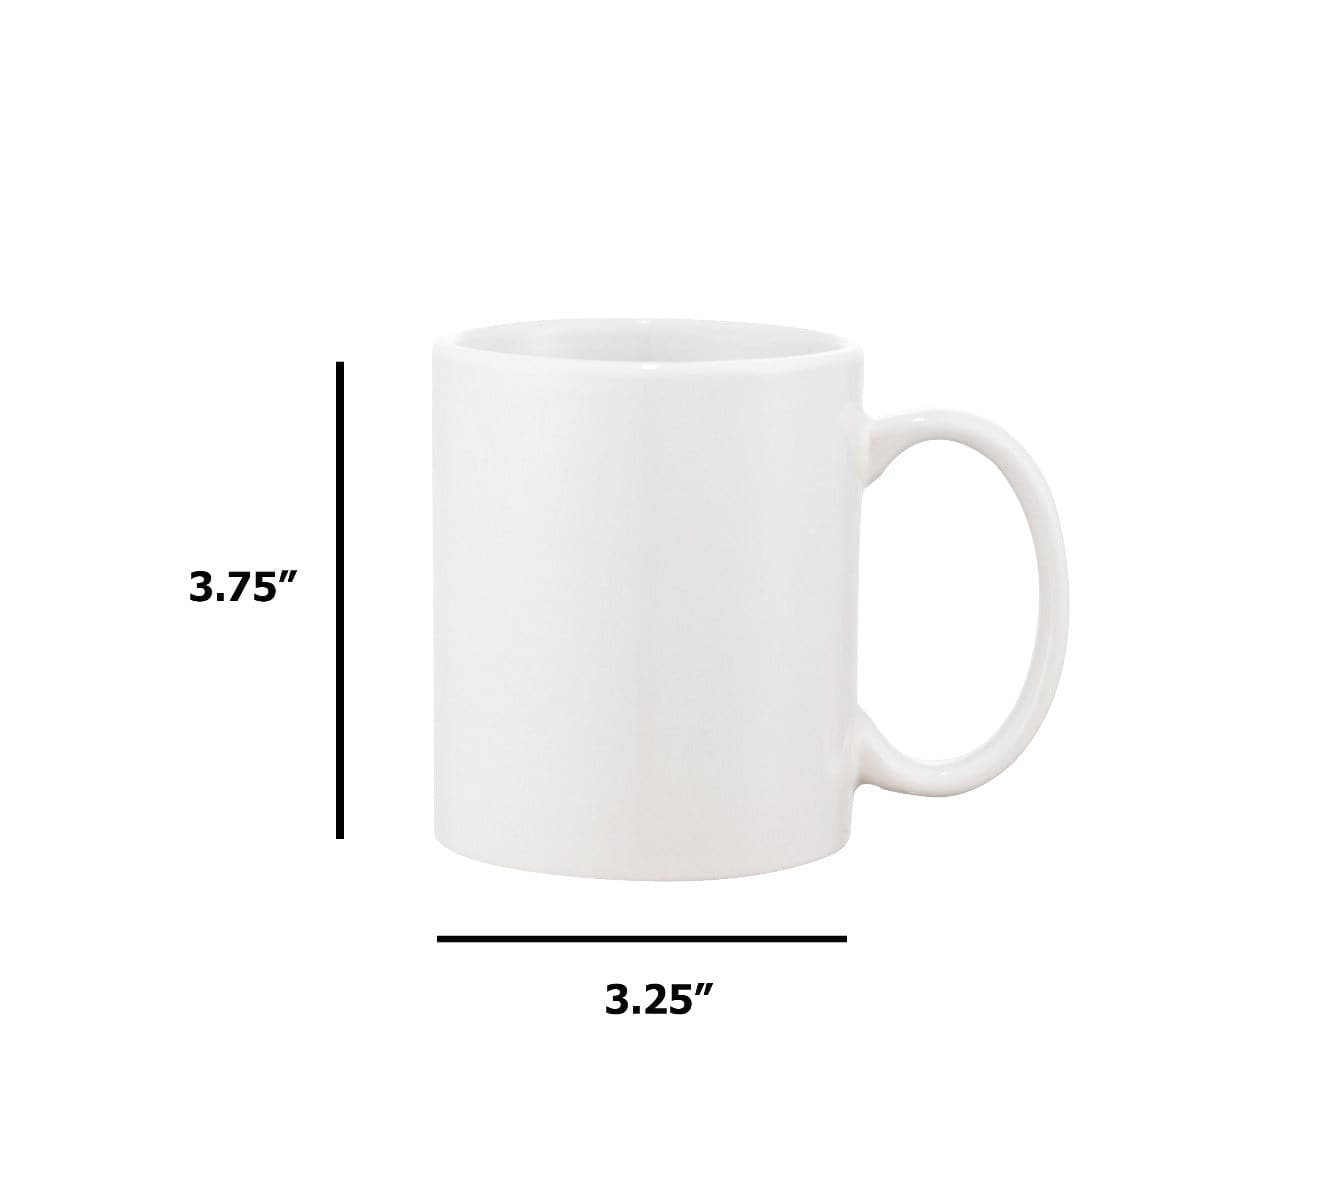
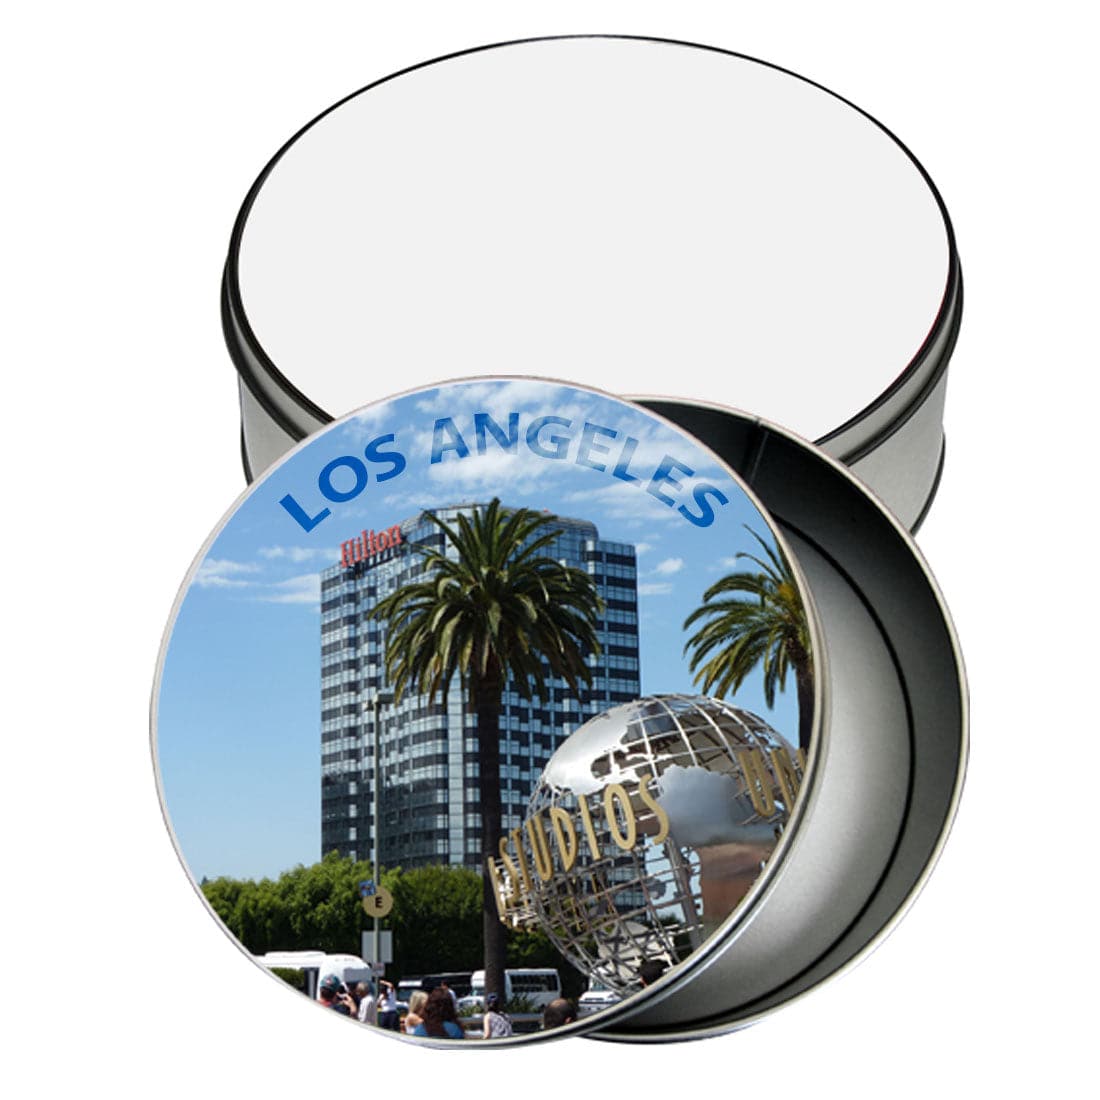
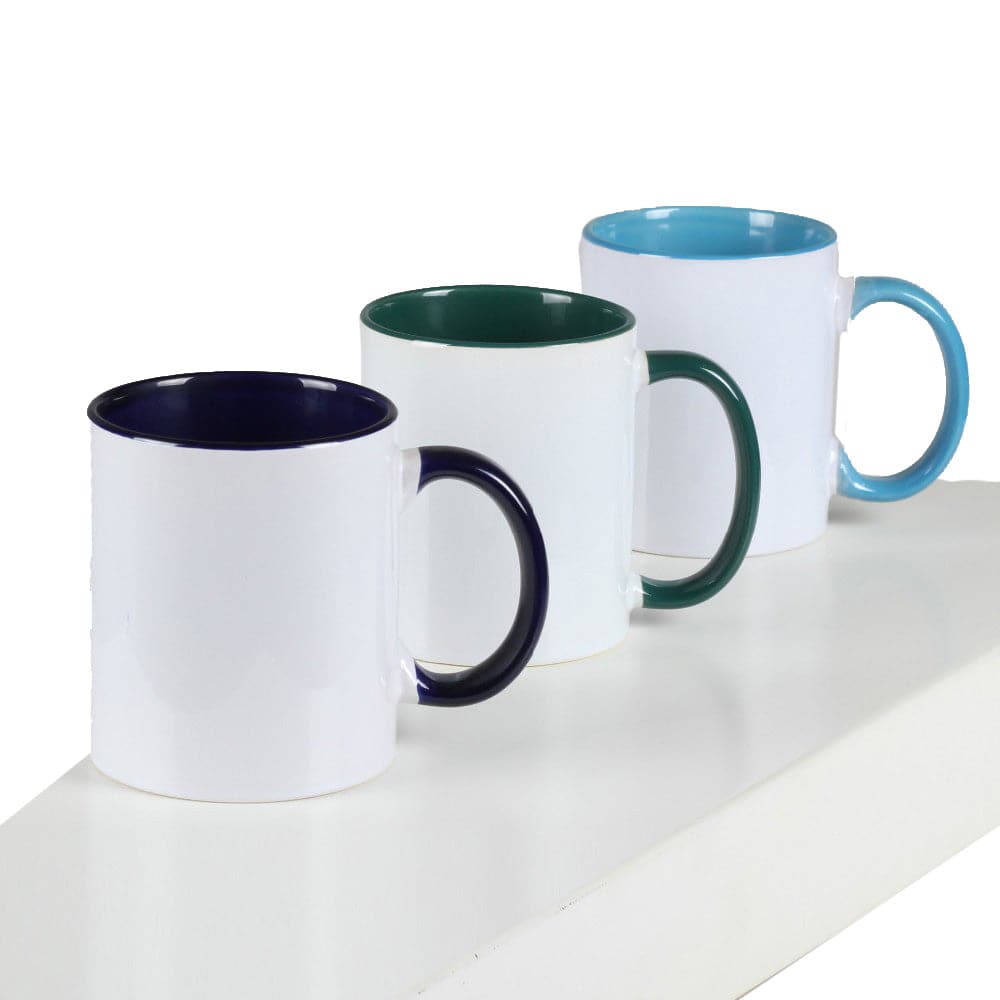
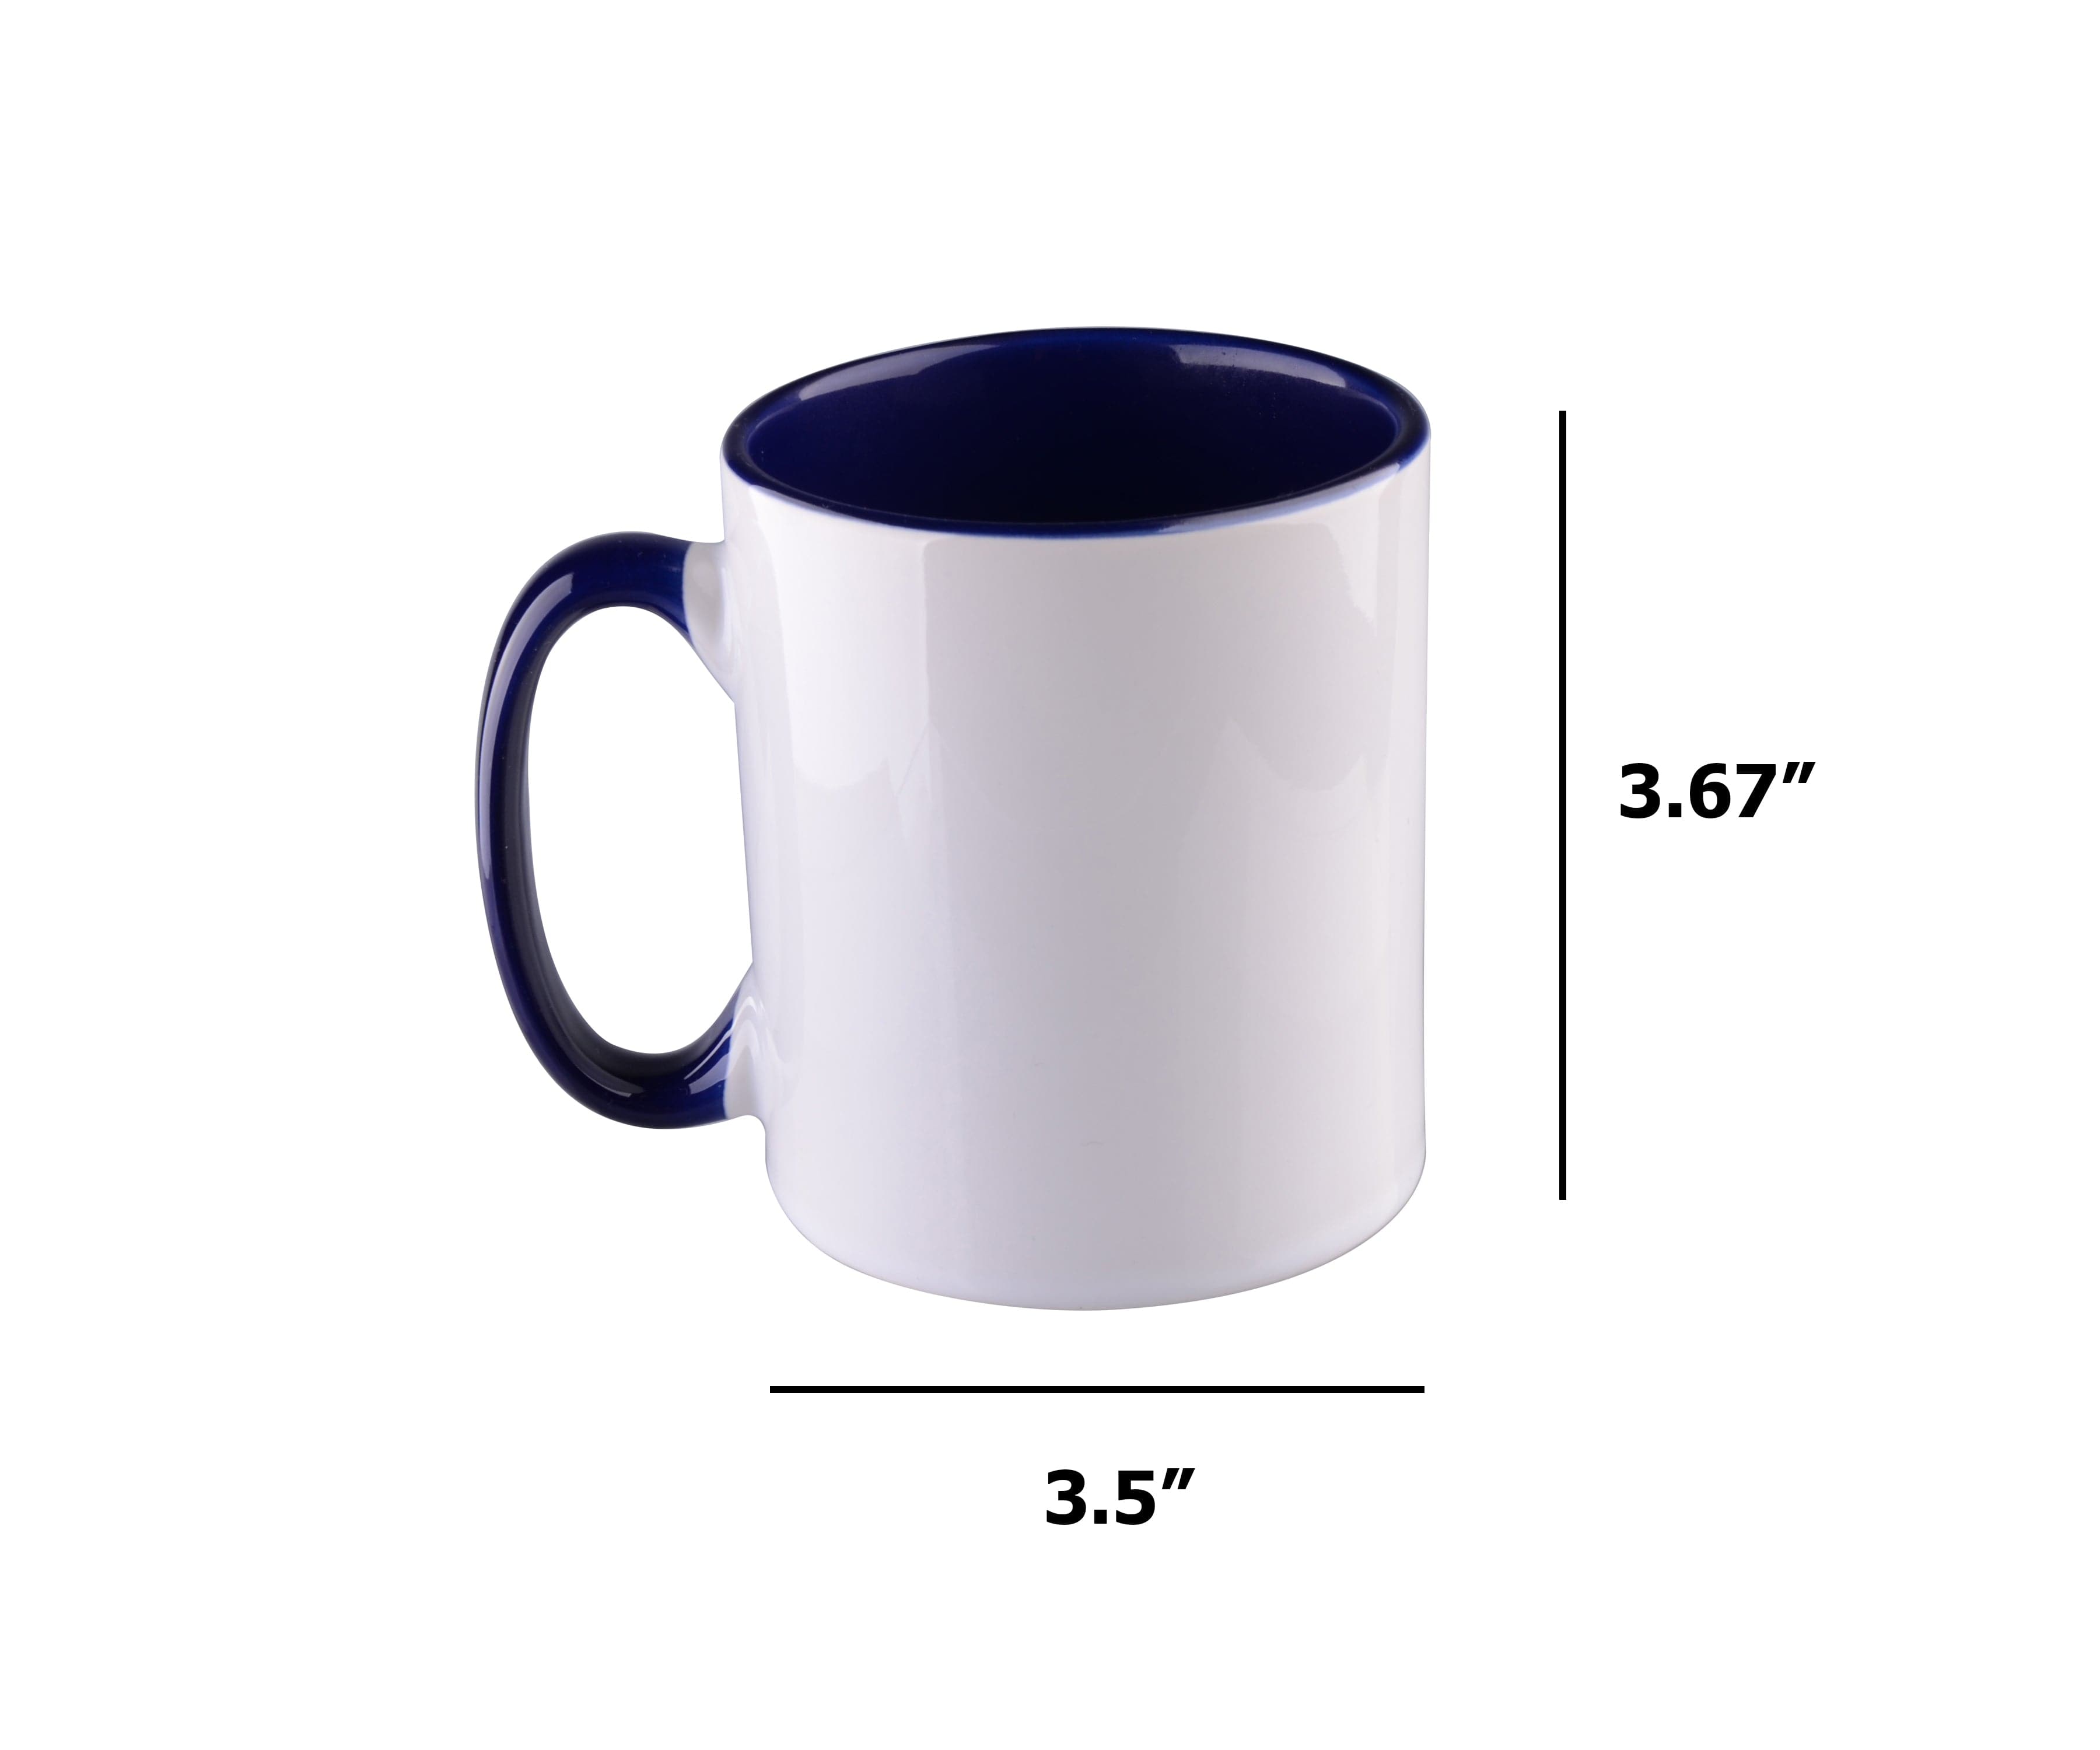
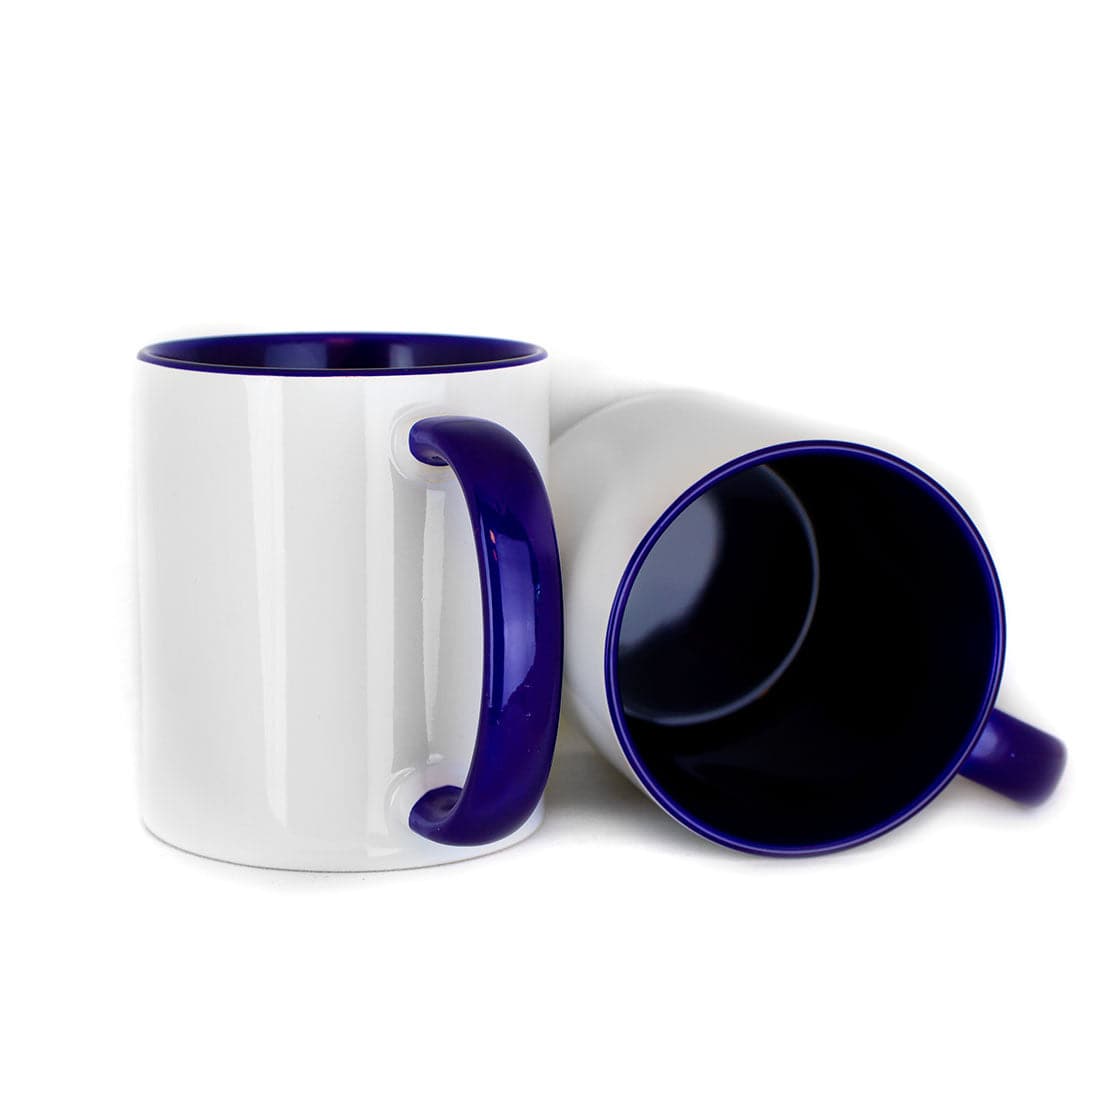
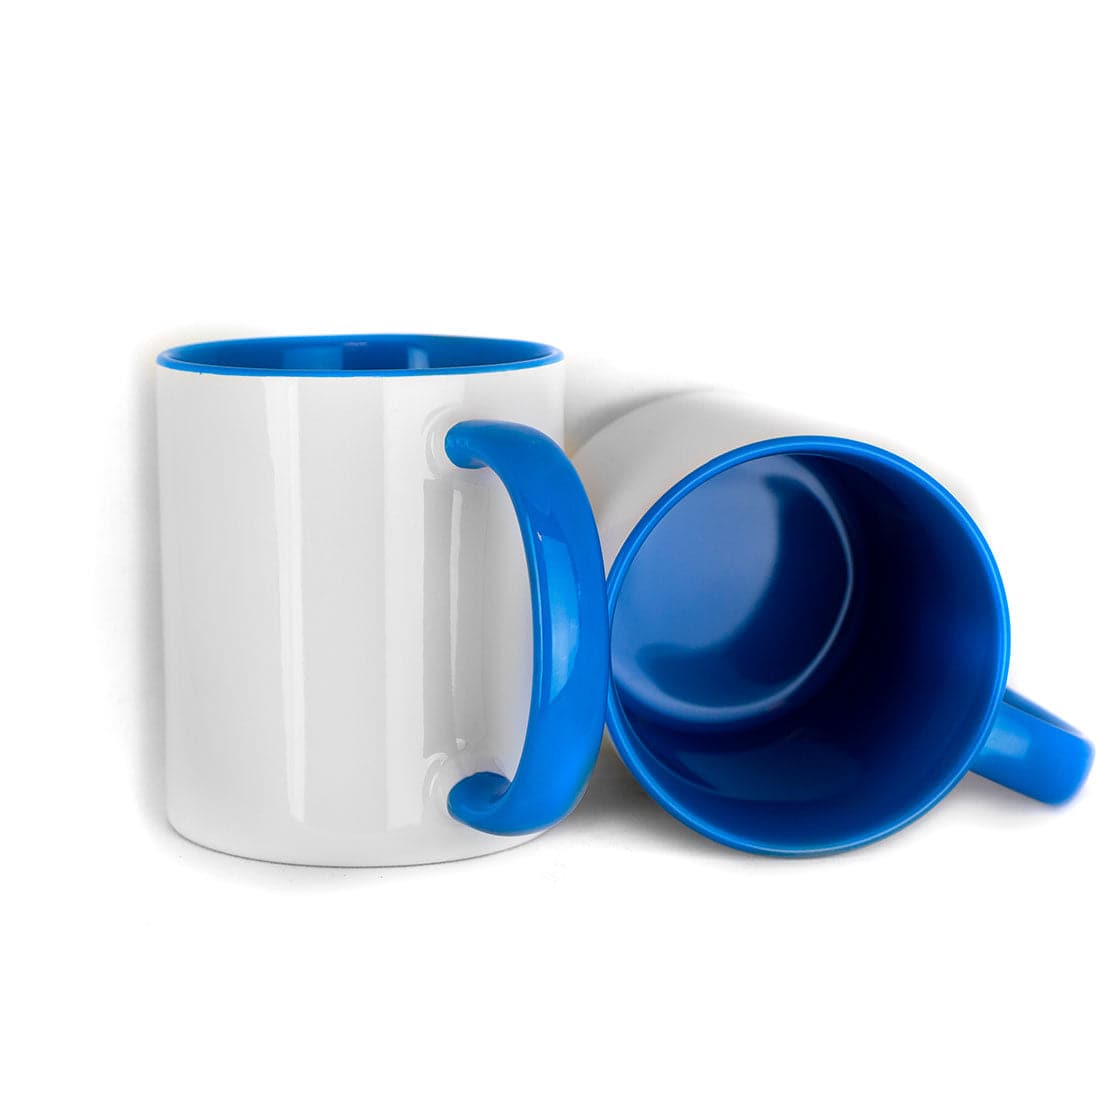
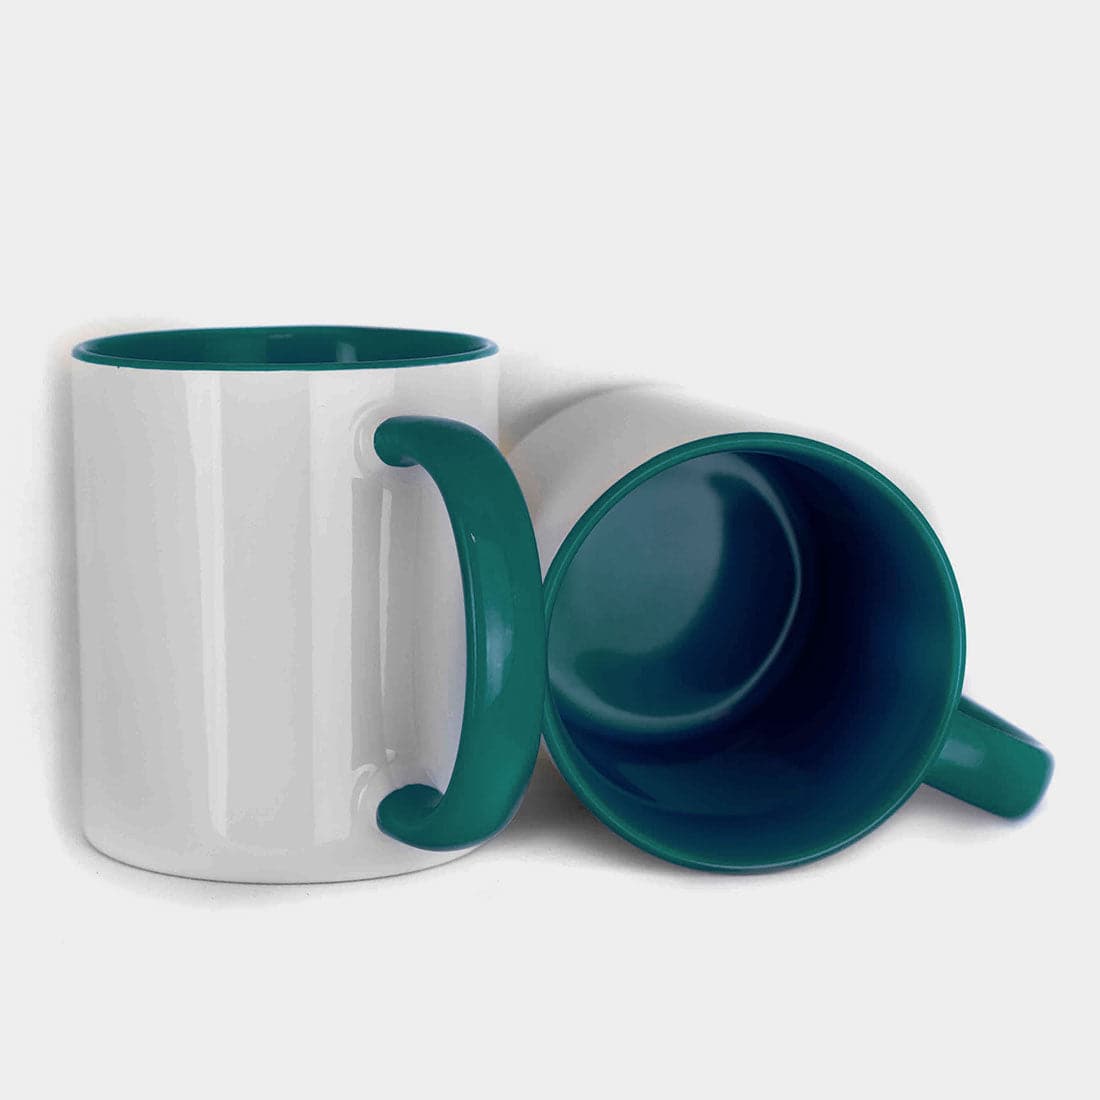
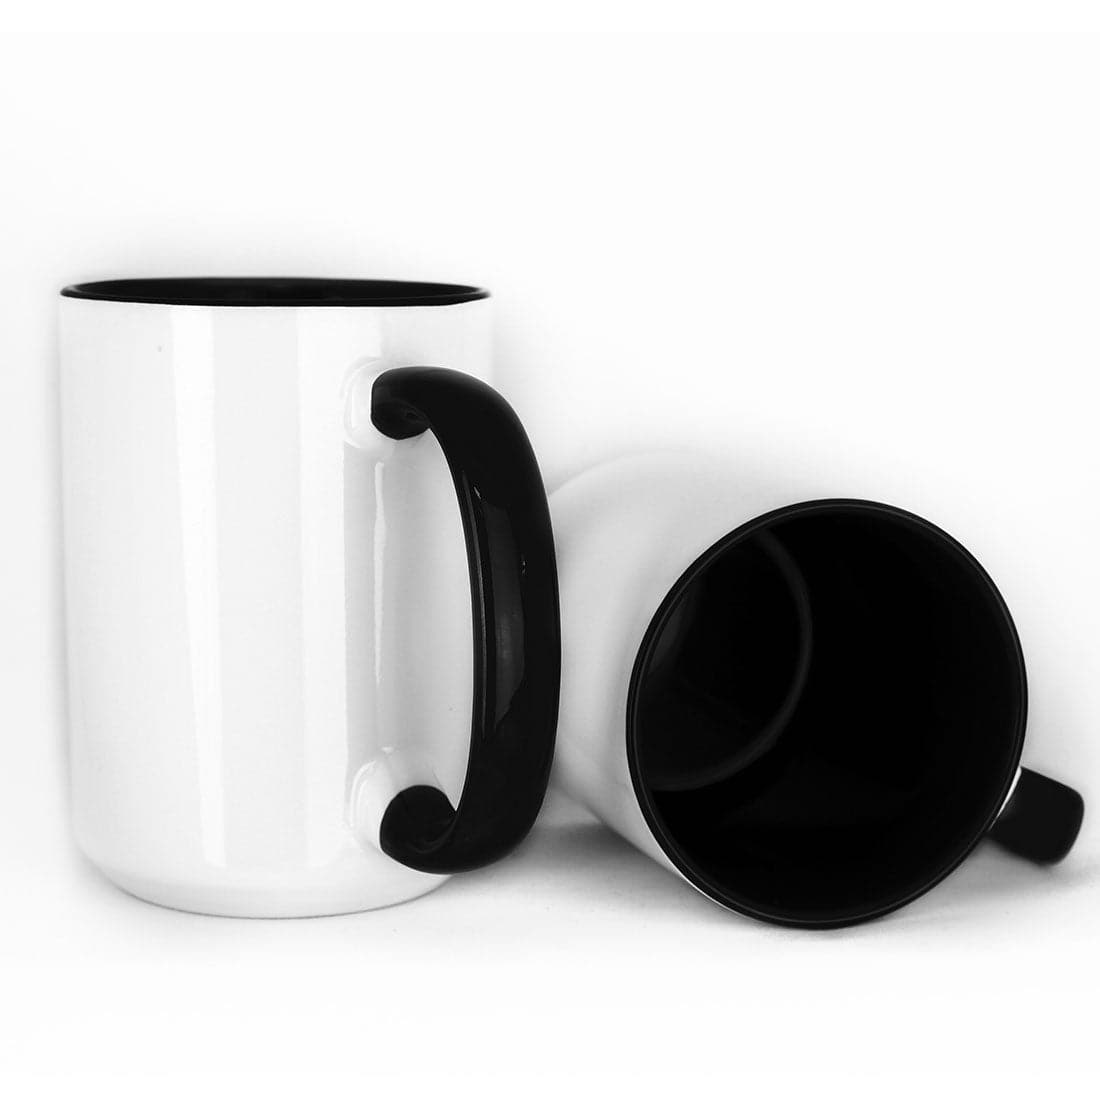
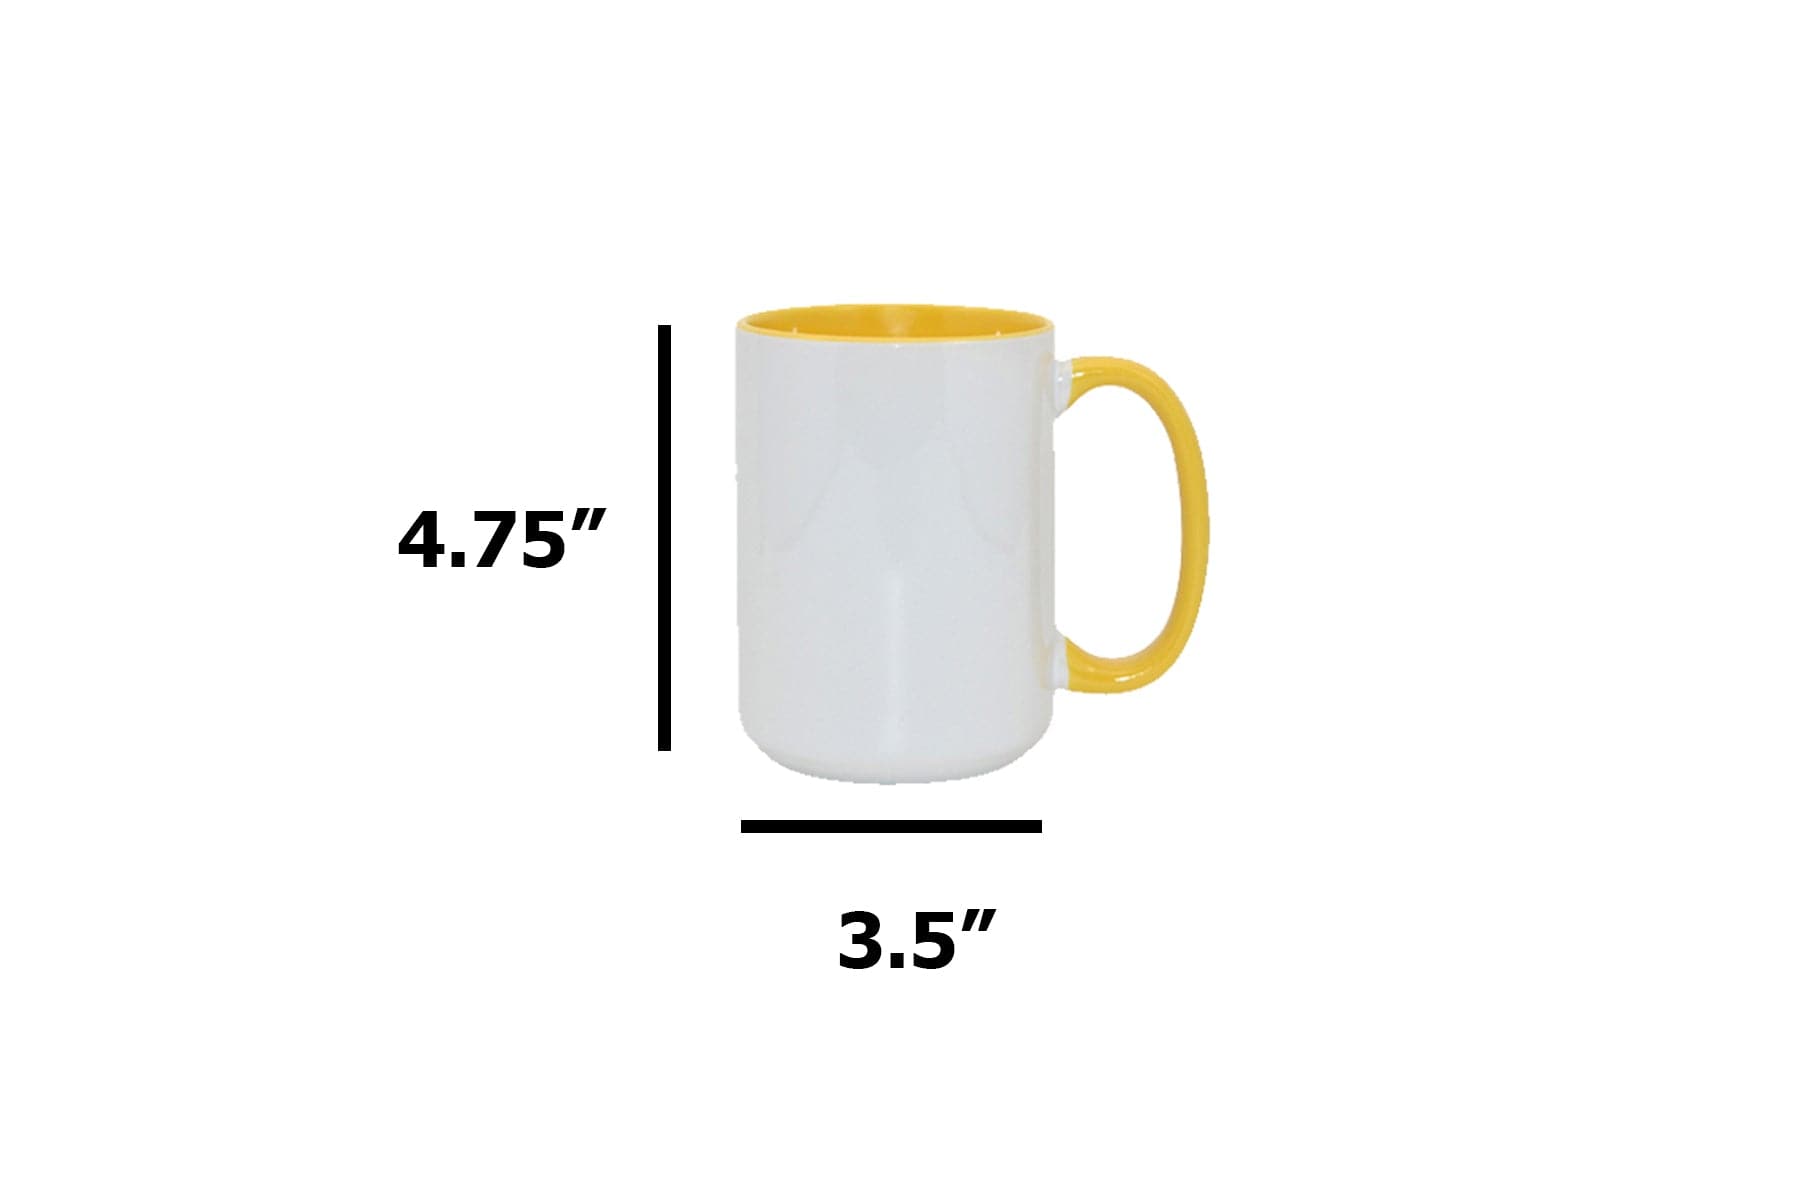
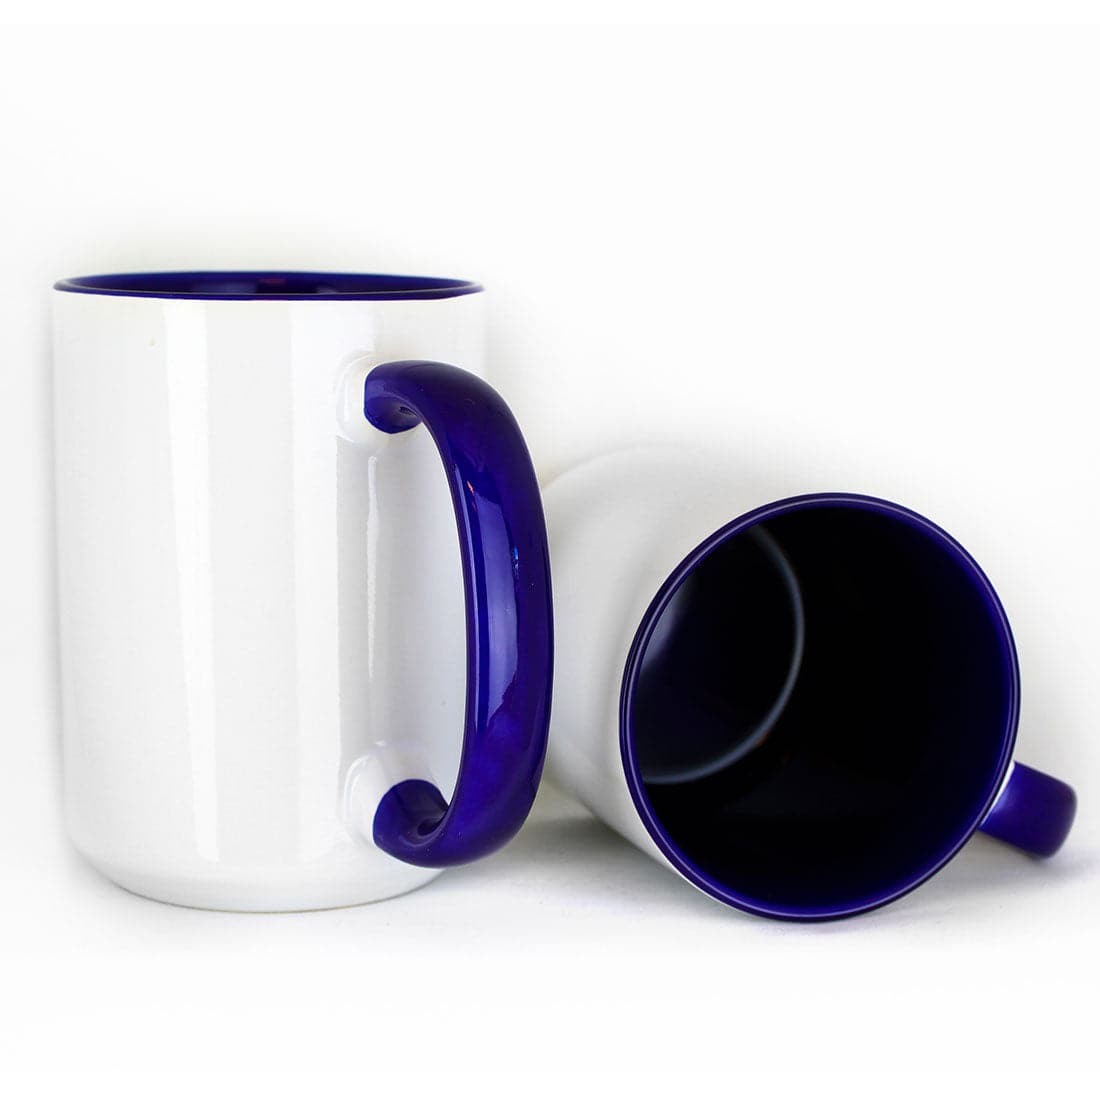
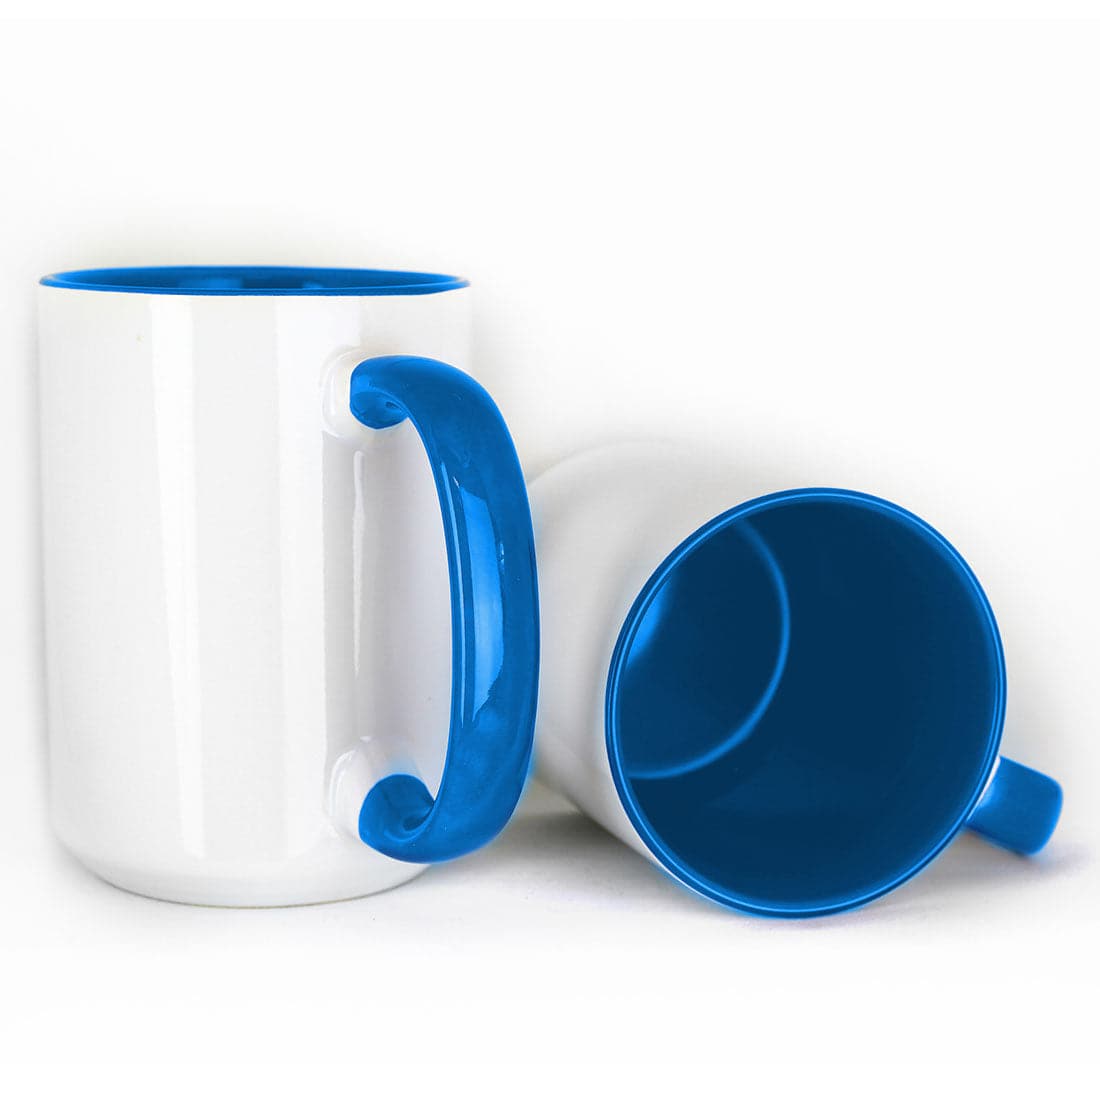
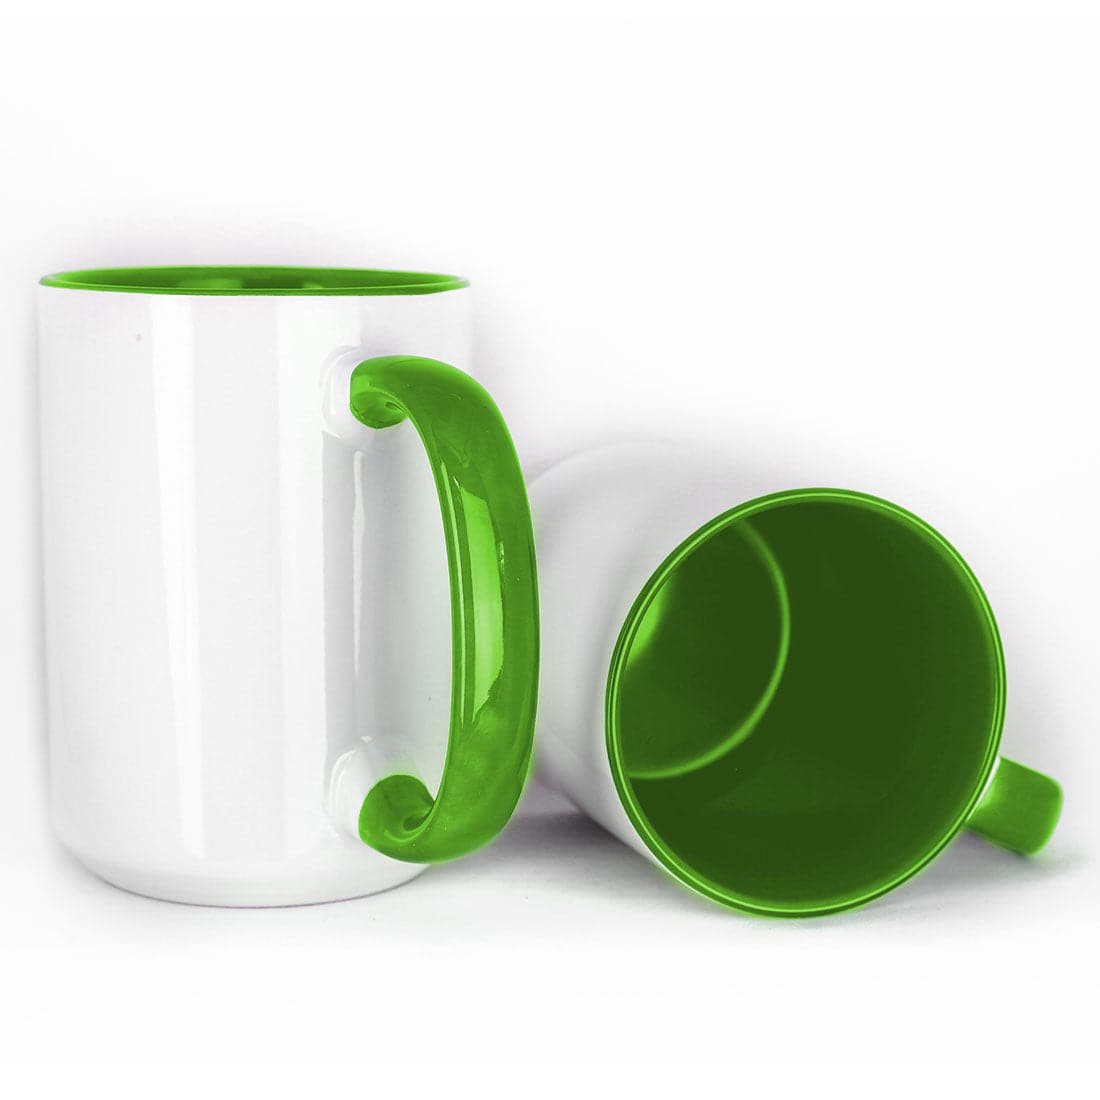
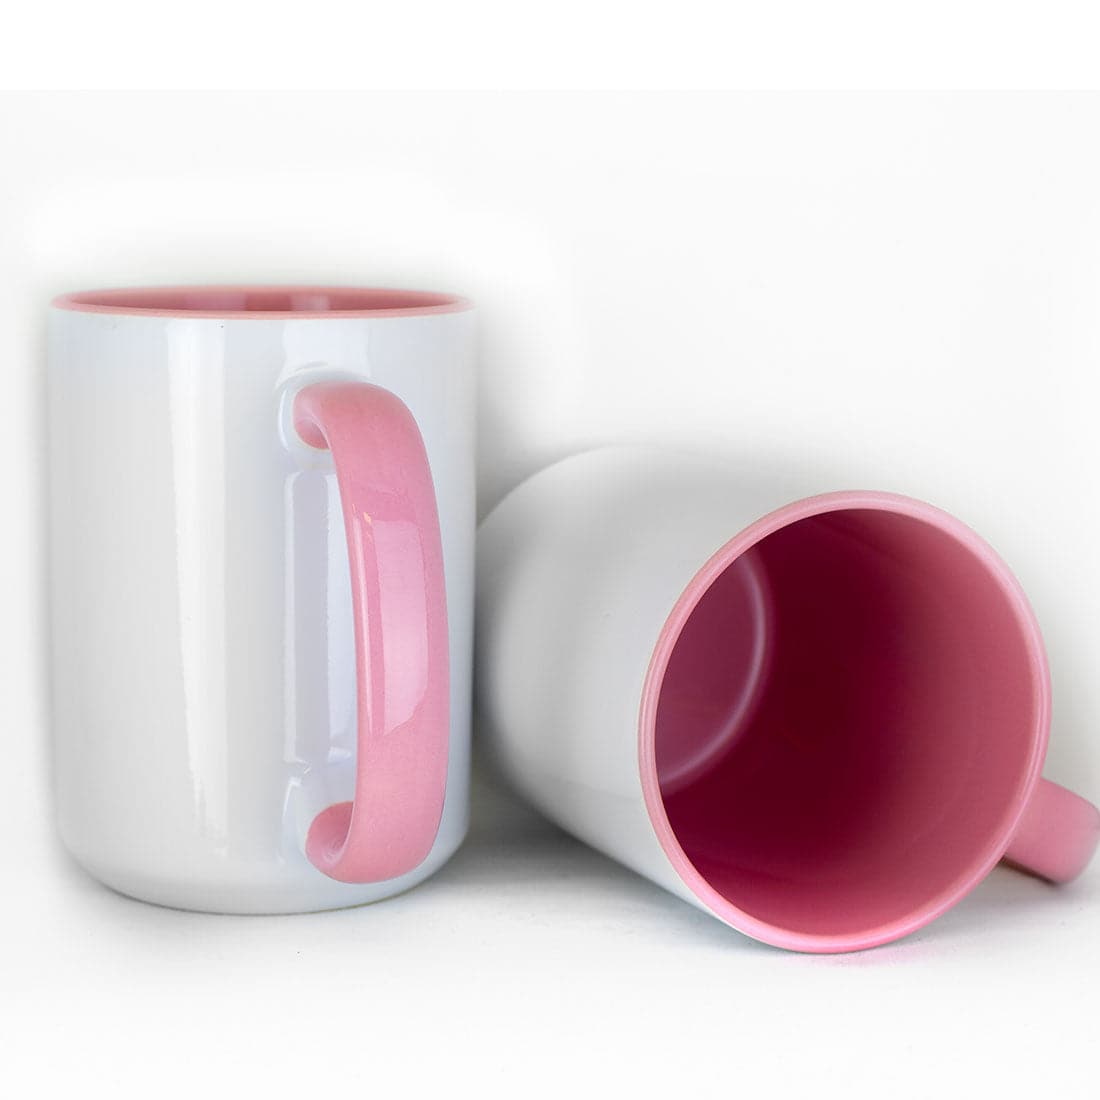
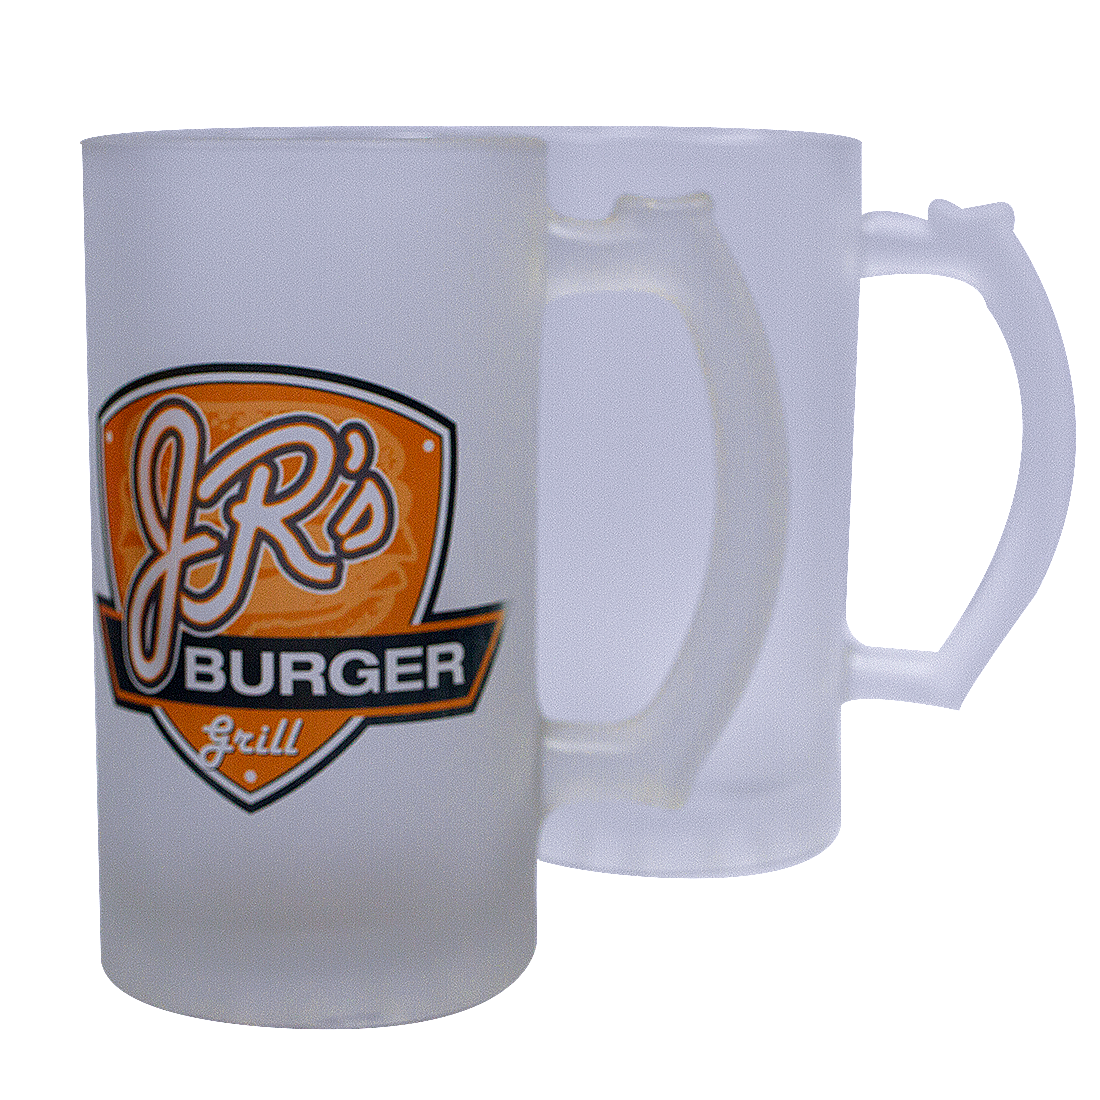
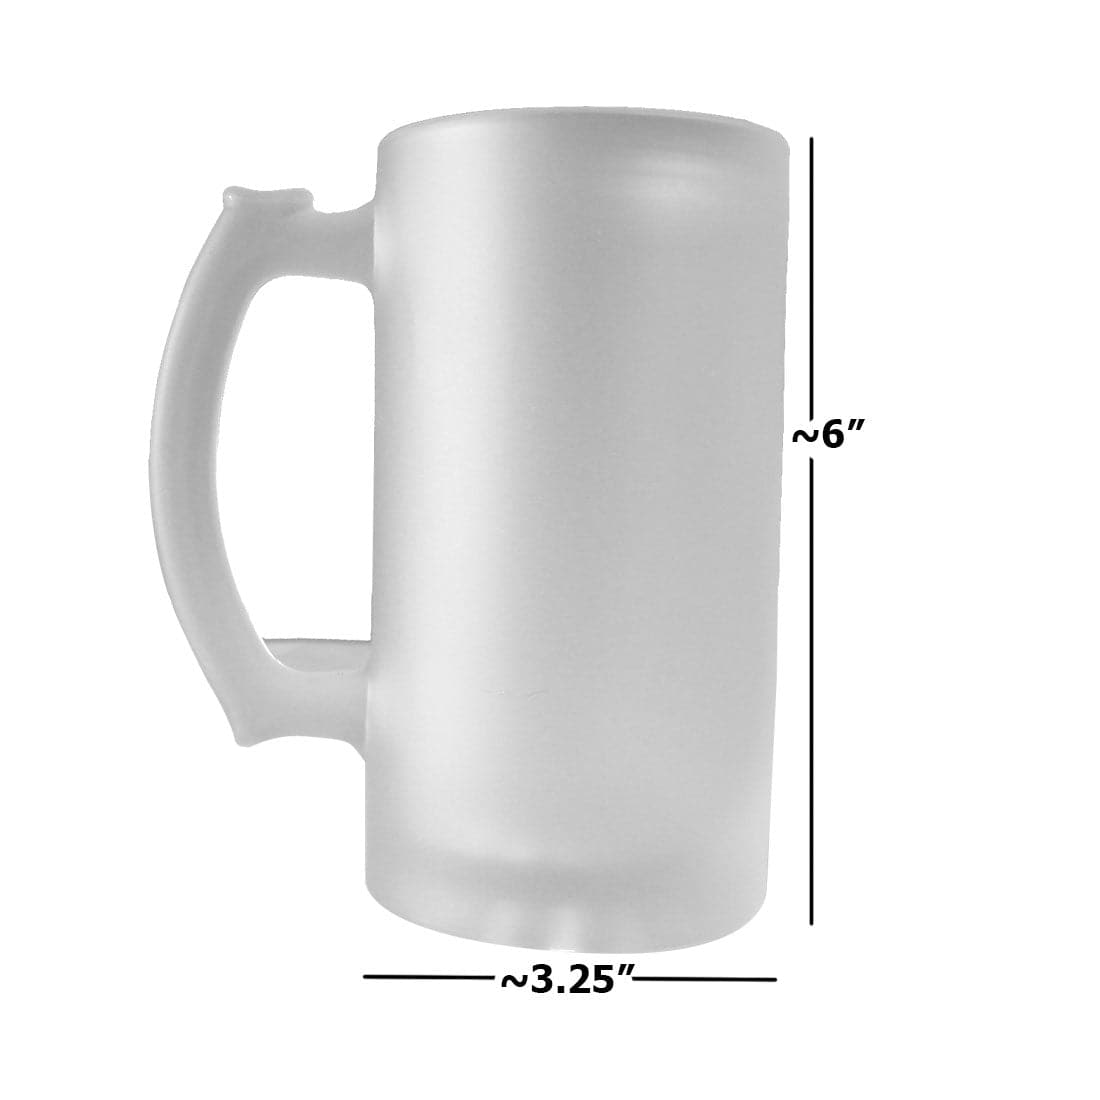
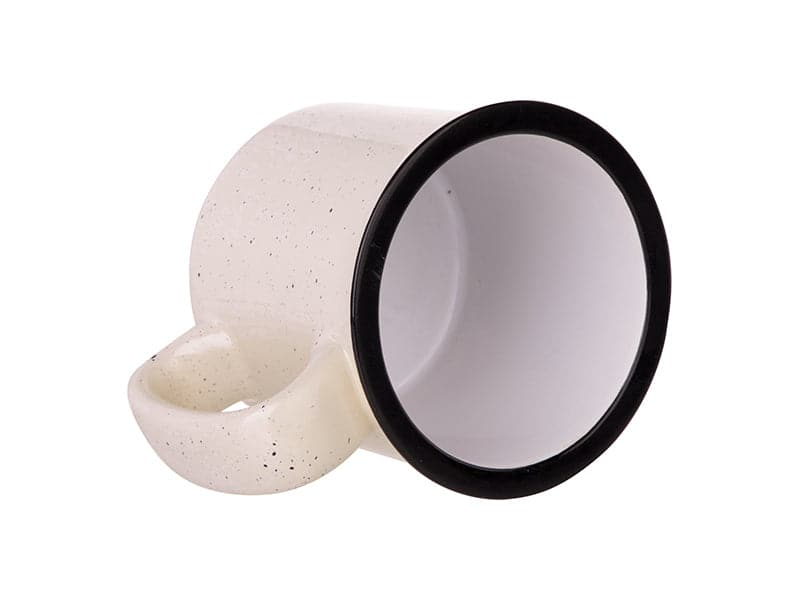
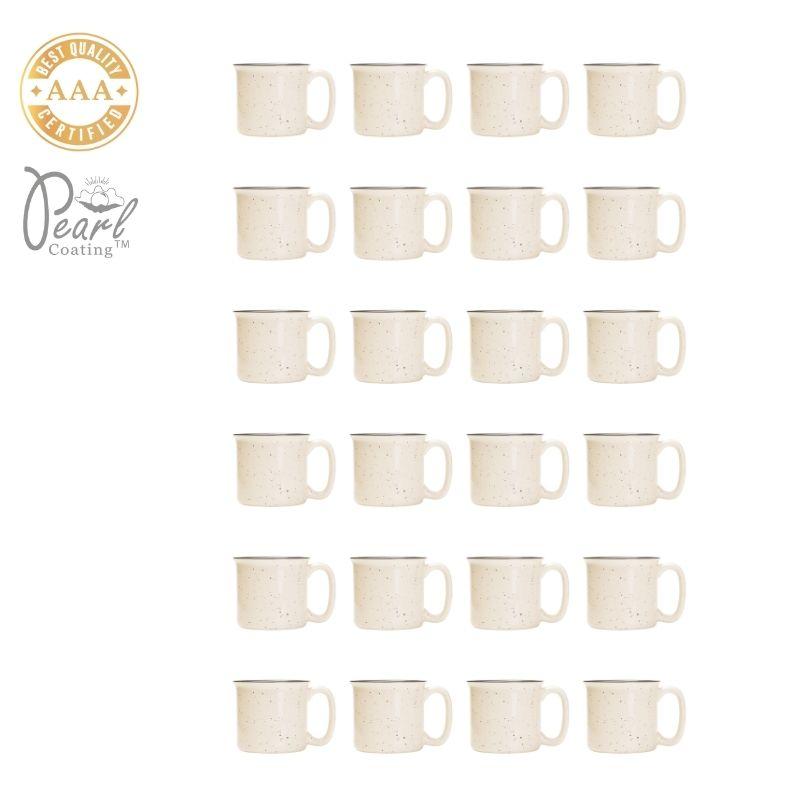
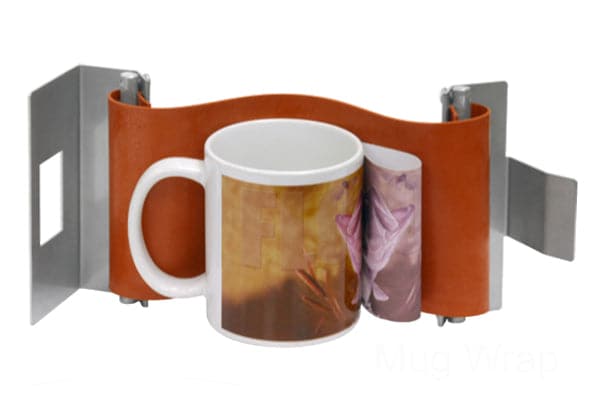
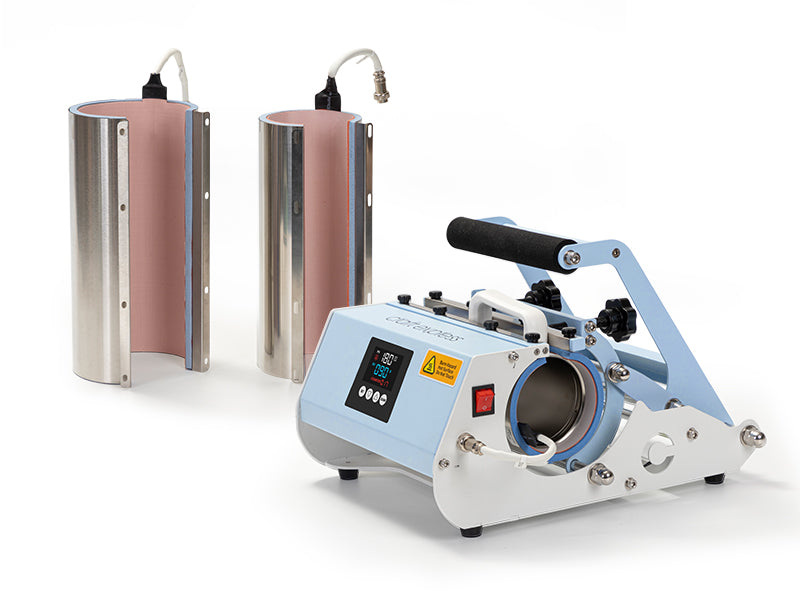
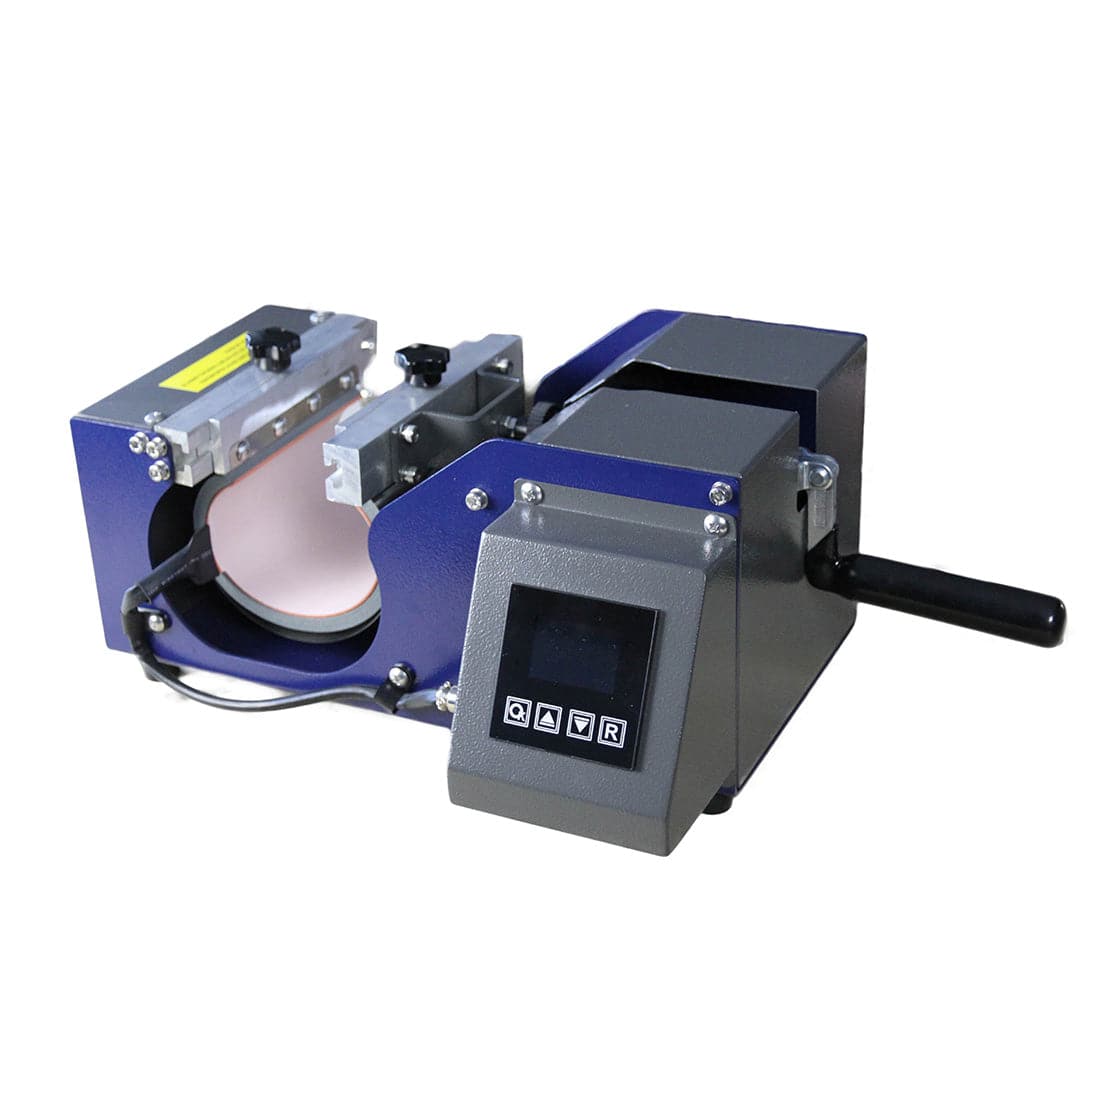
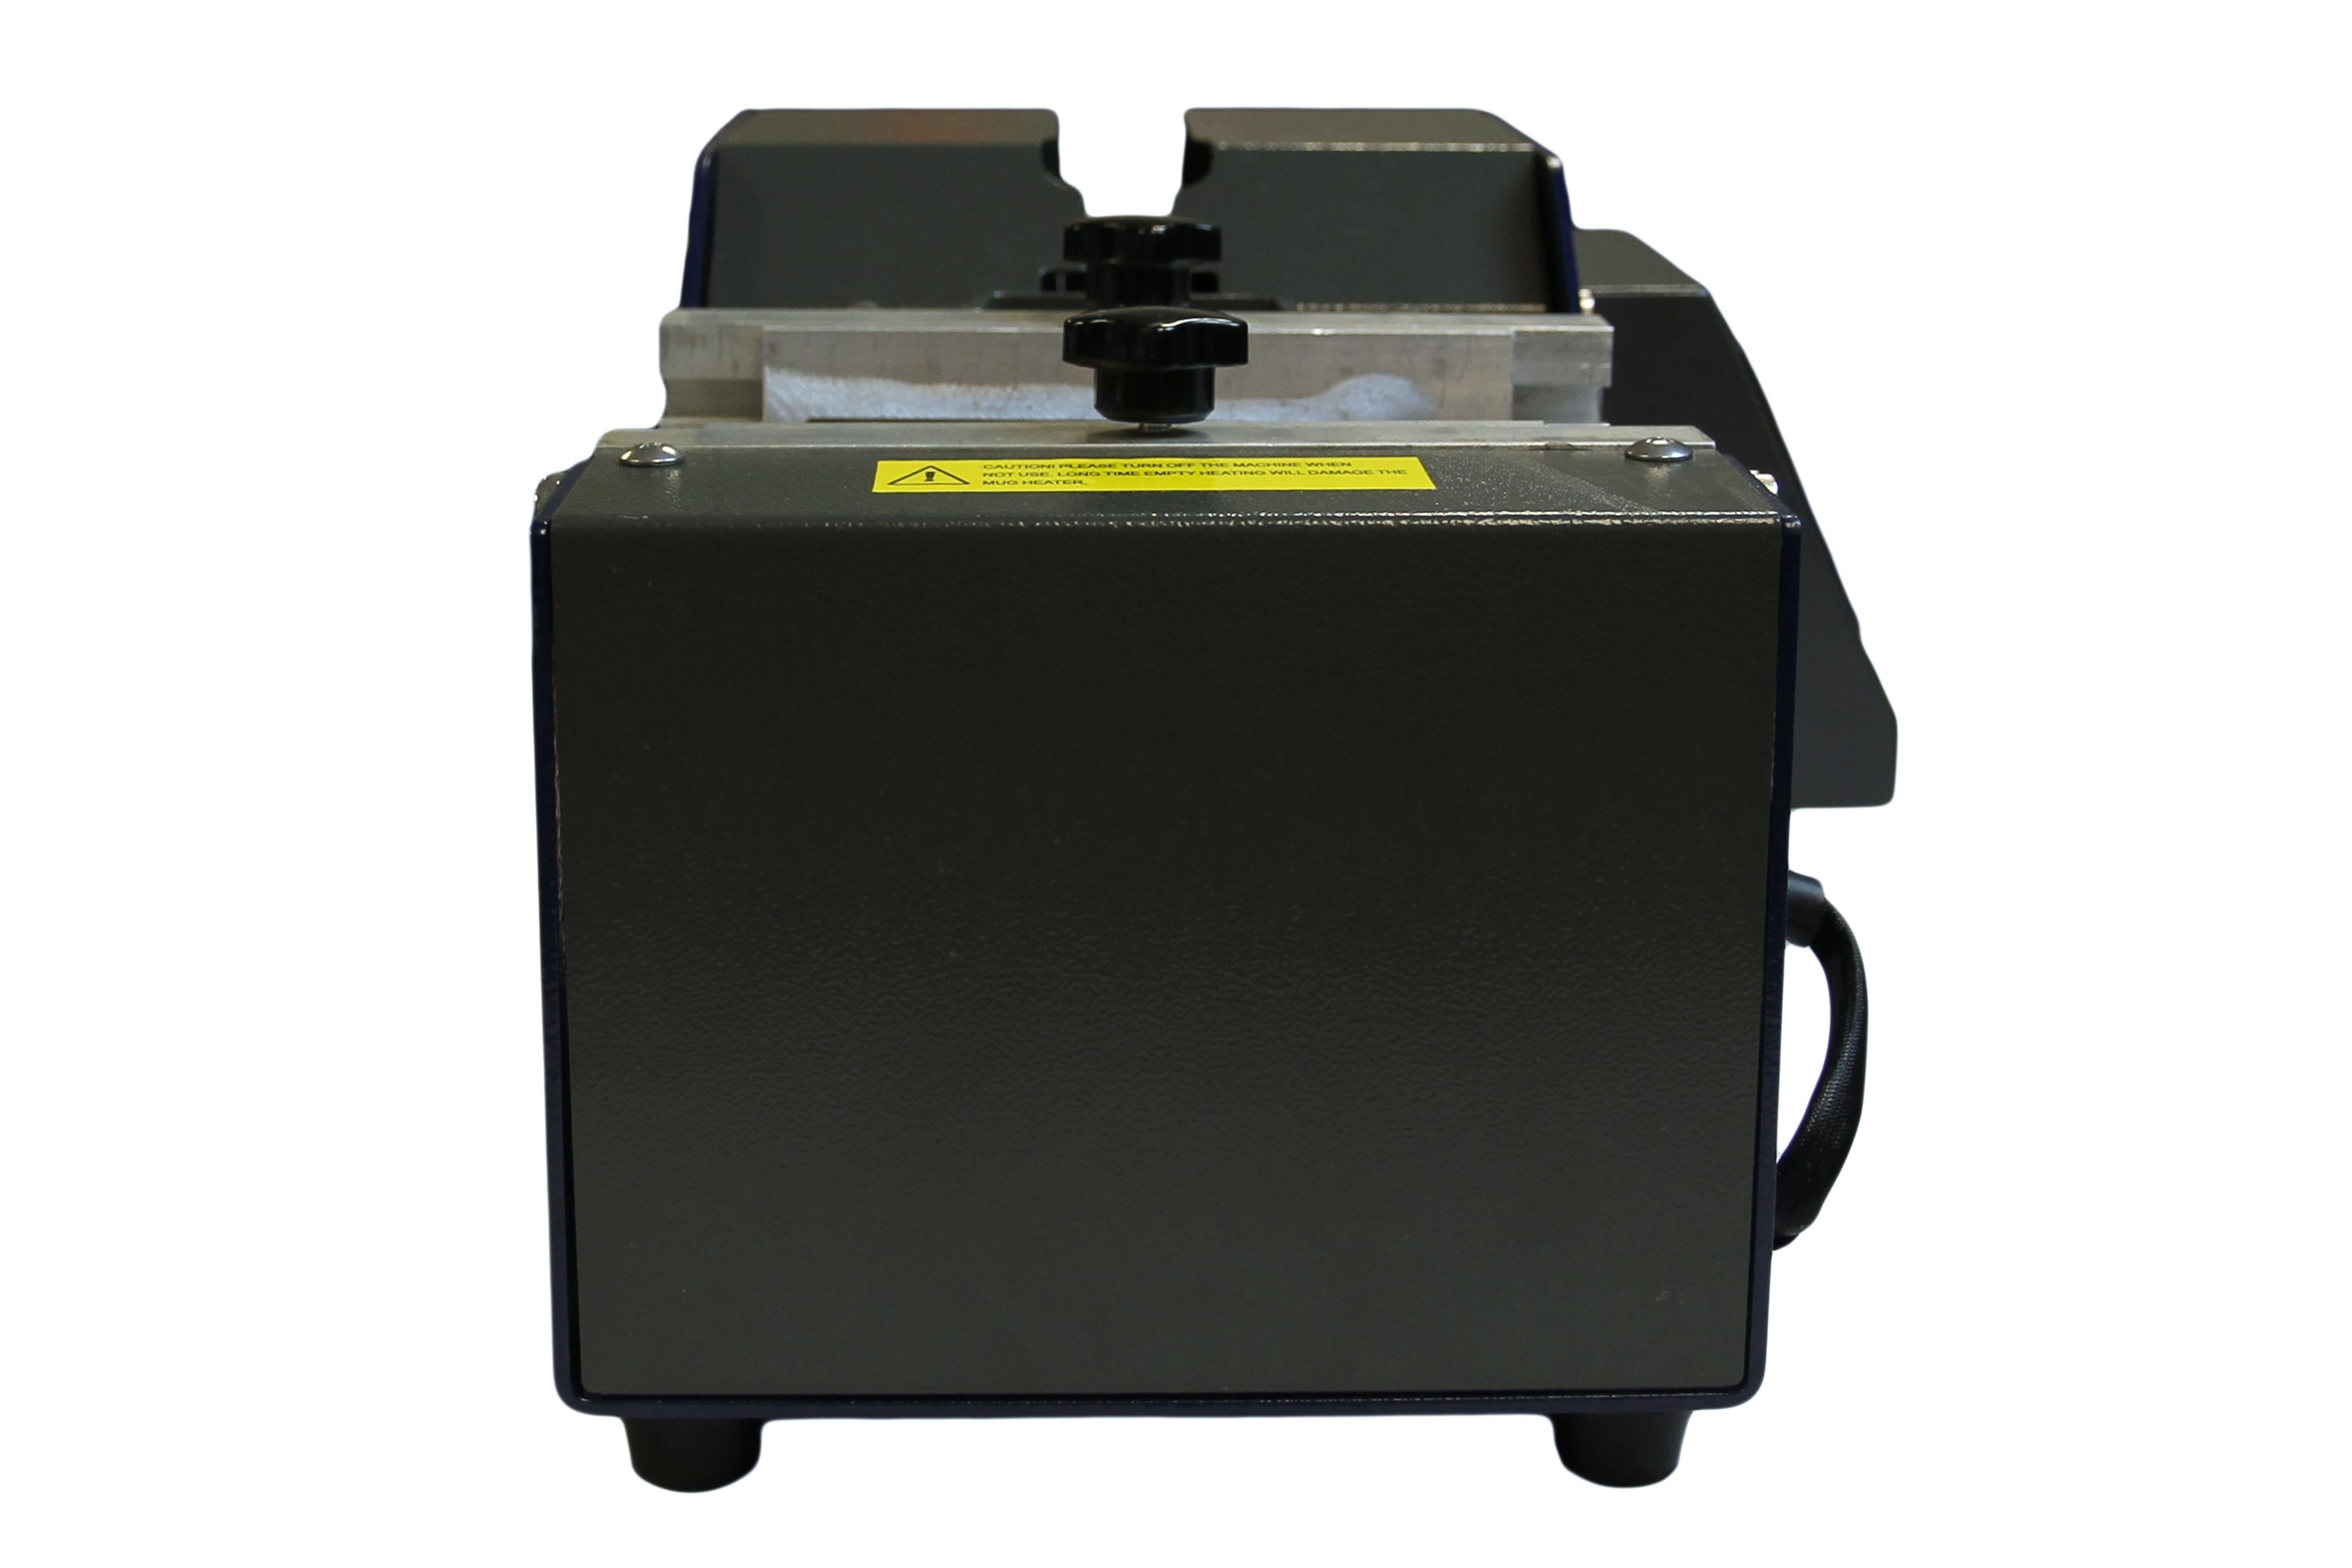
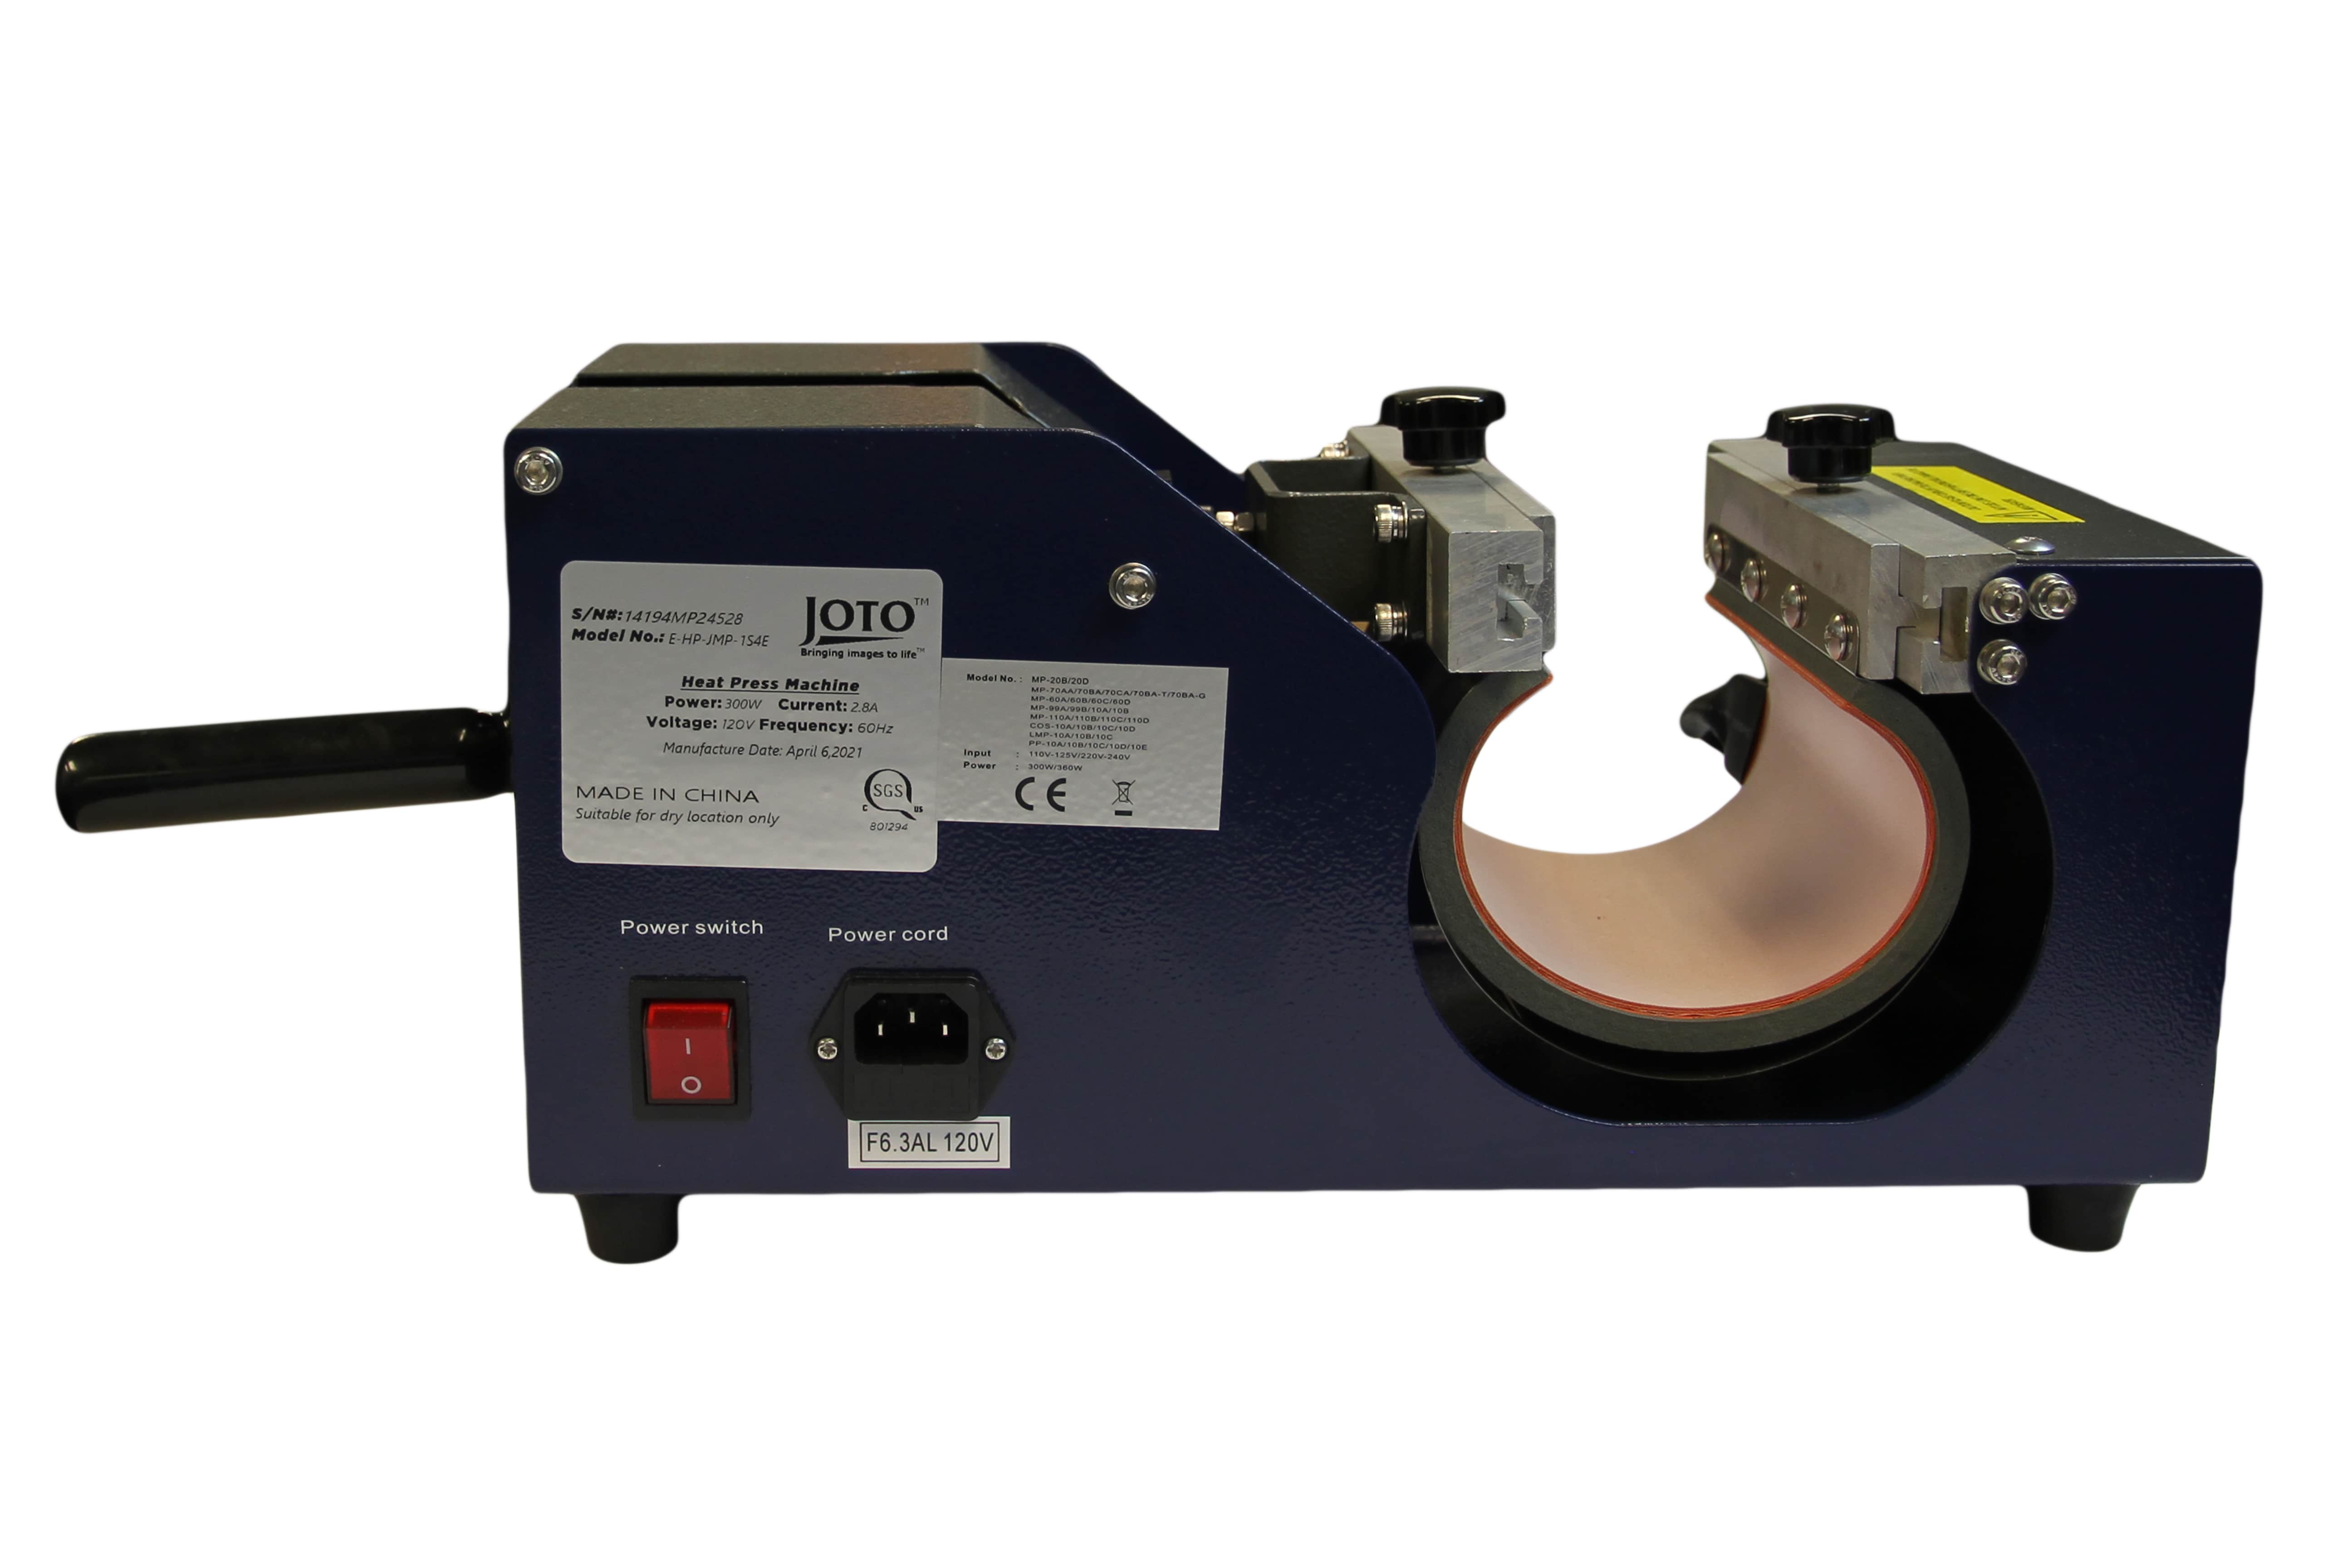
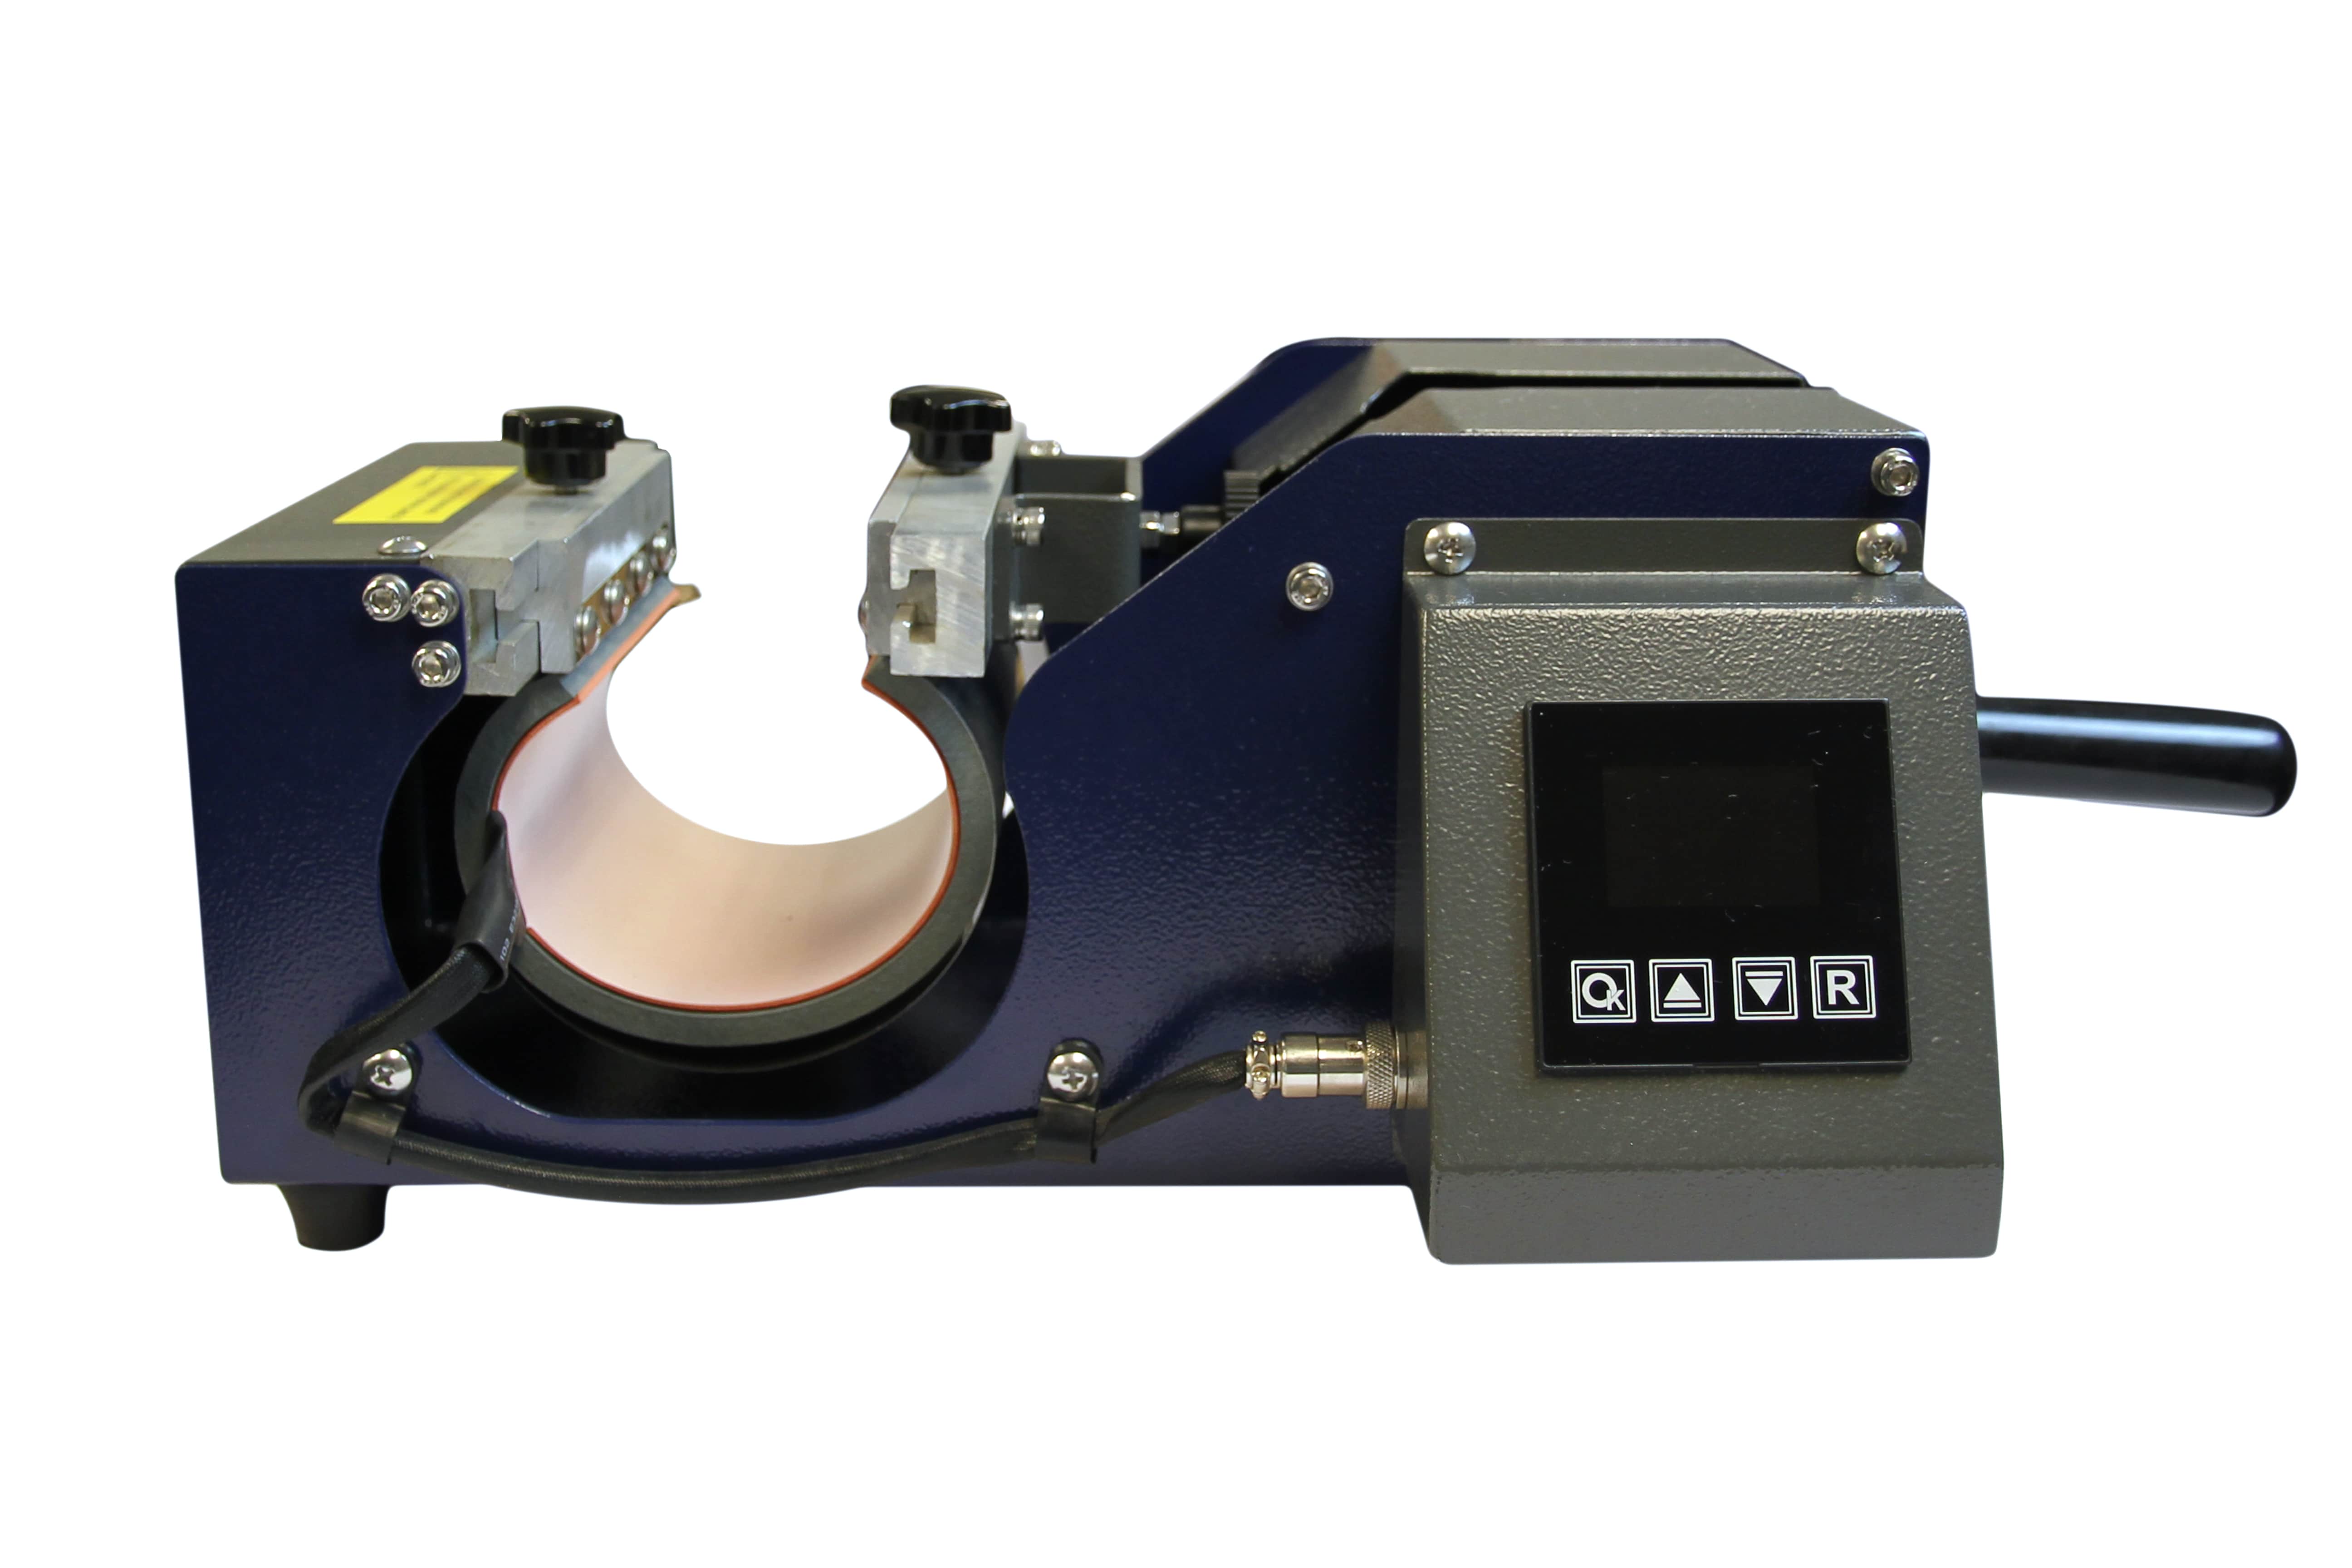
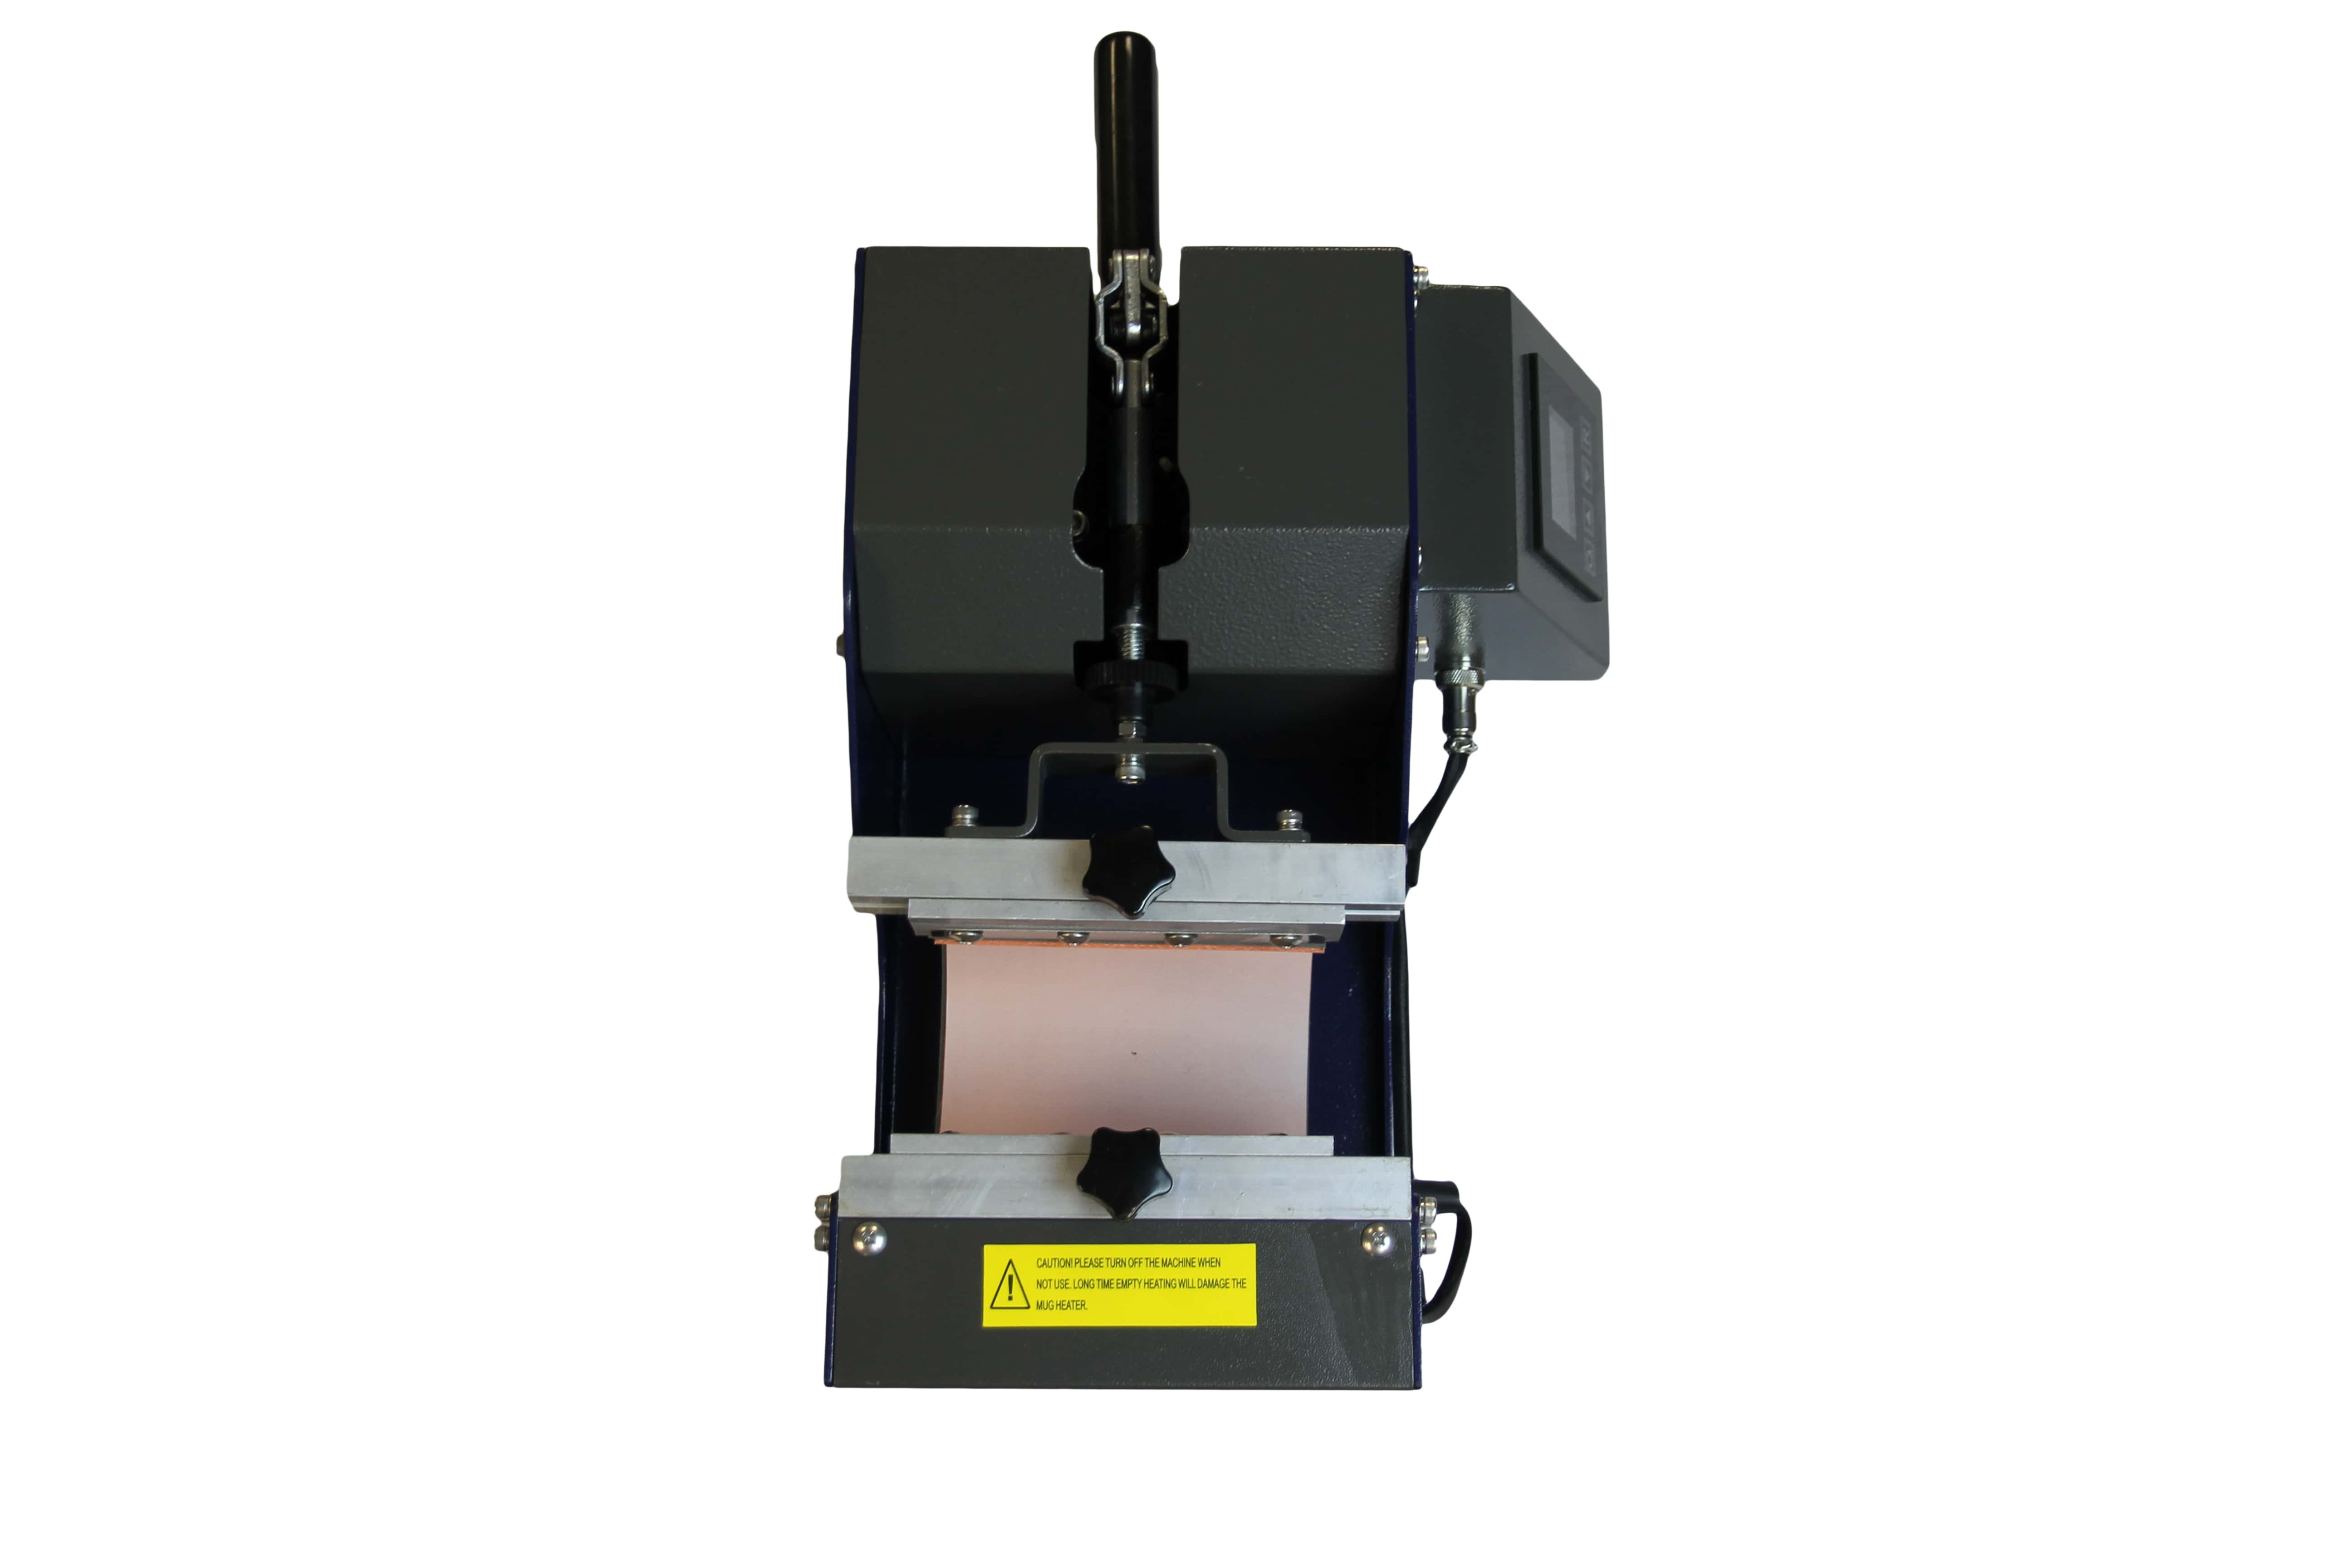
Creating templates for cylindrical objects

|
 |
 |
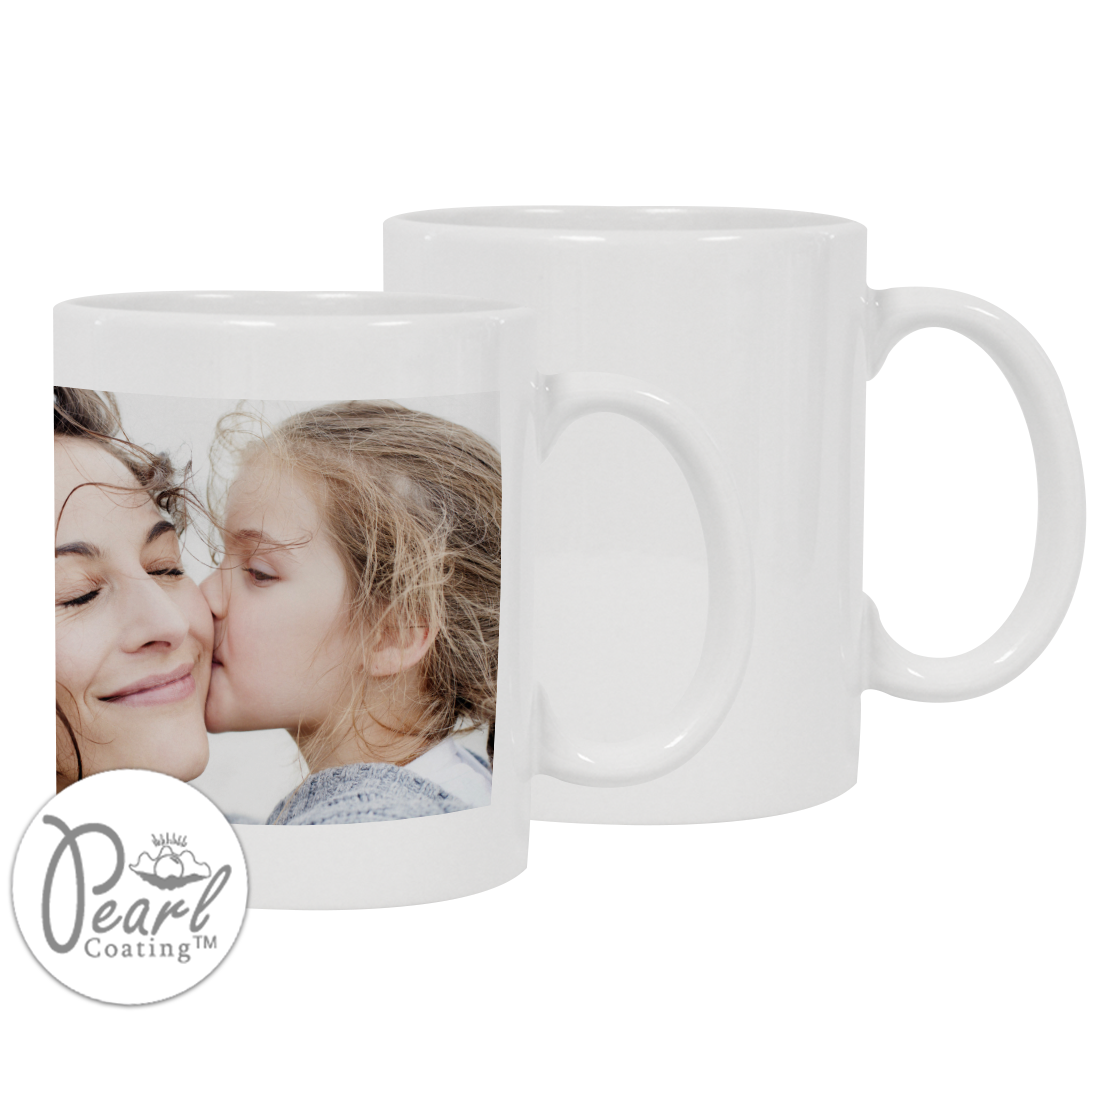
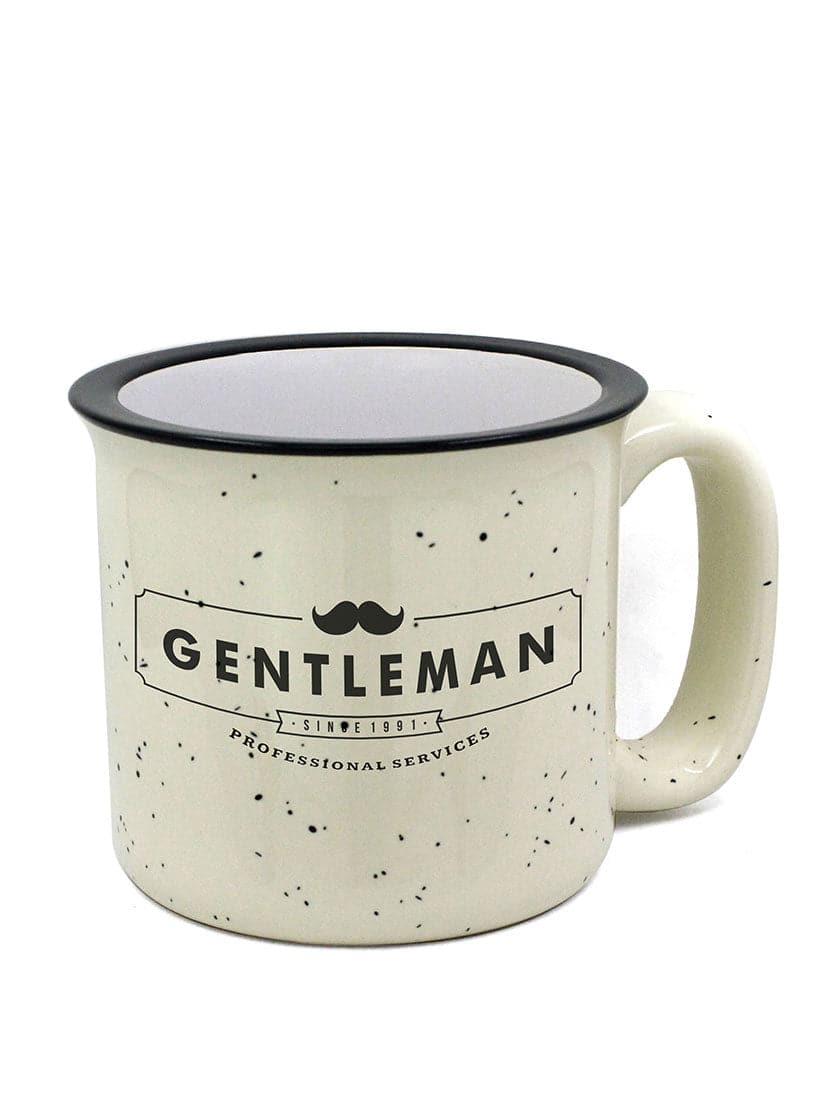
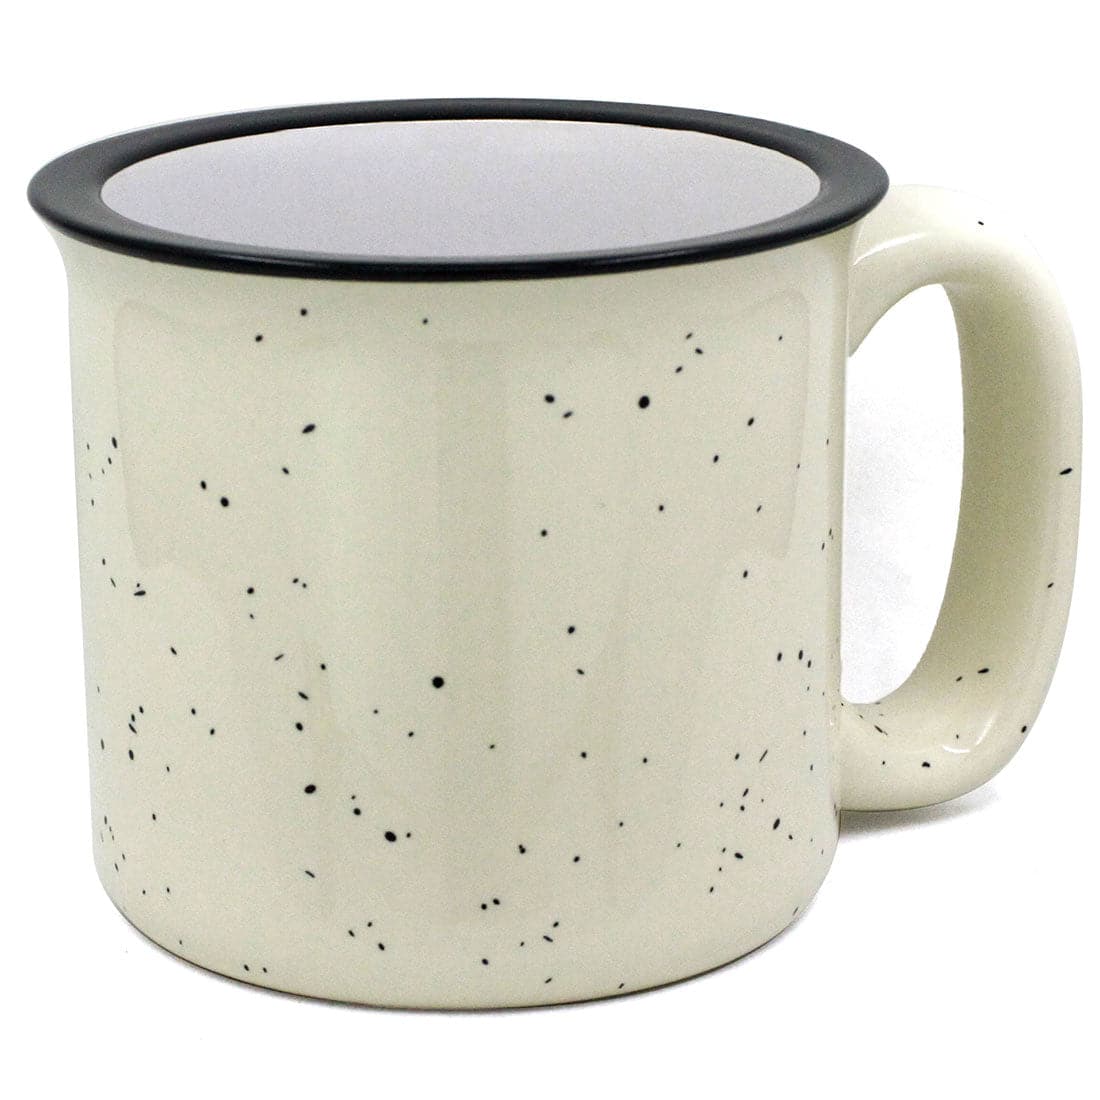
Cylindrical blanks like mugs, tumblers, and bottles can be tricky to design for, because unlike flat surfaces, their curves can distort your artwork or hide important parts of your design.
Here’s a simple, effective method to create a template:
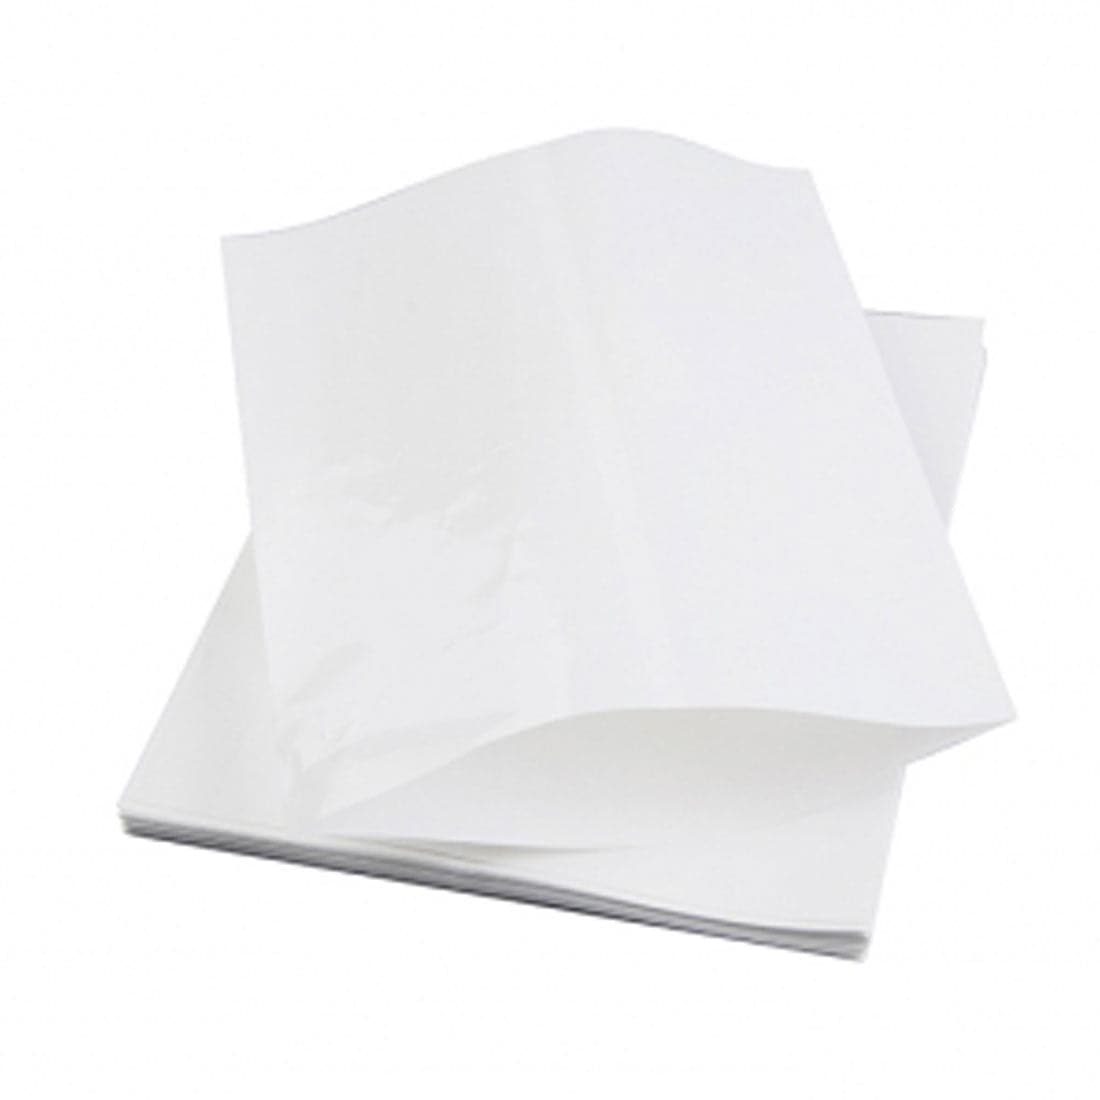
- Wrap a blank sheet of paper around the cylinder exactly where the design will go. Use tape to secure it if needed.
- Mark the edges of the printable area with a pencil—top, bottom, left, and right. Also mark any key points like handle edges or weld lines.
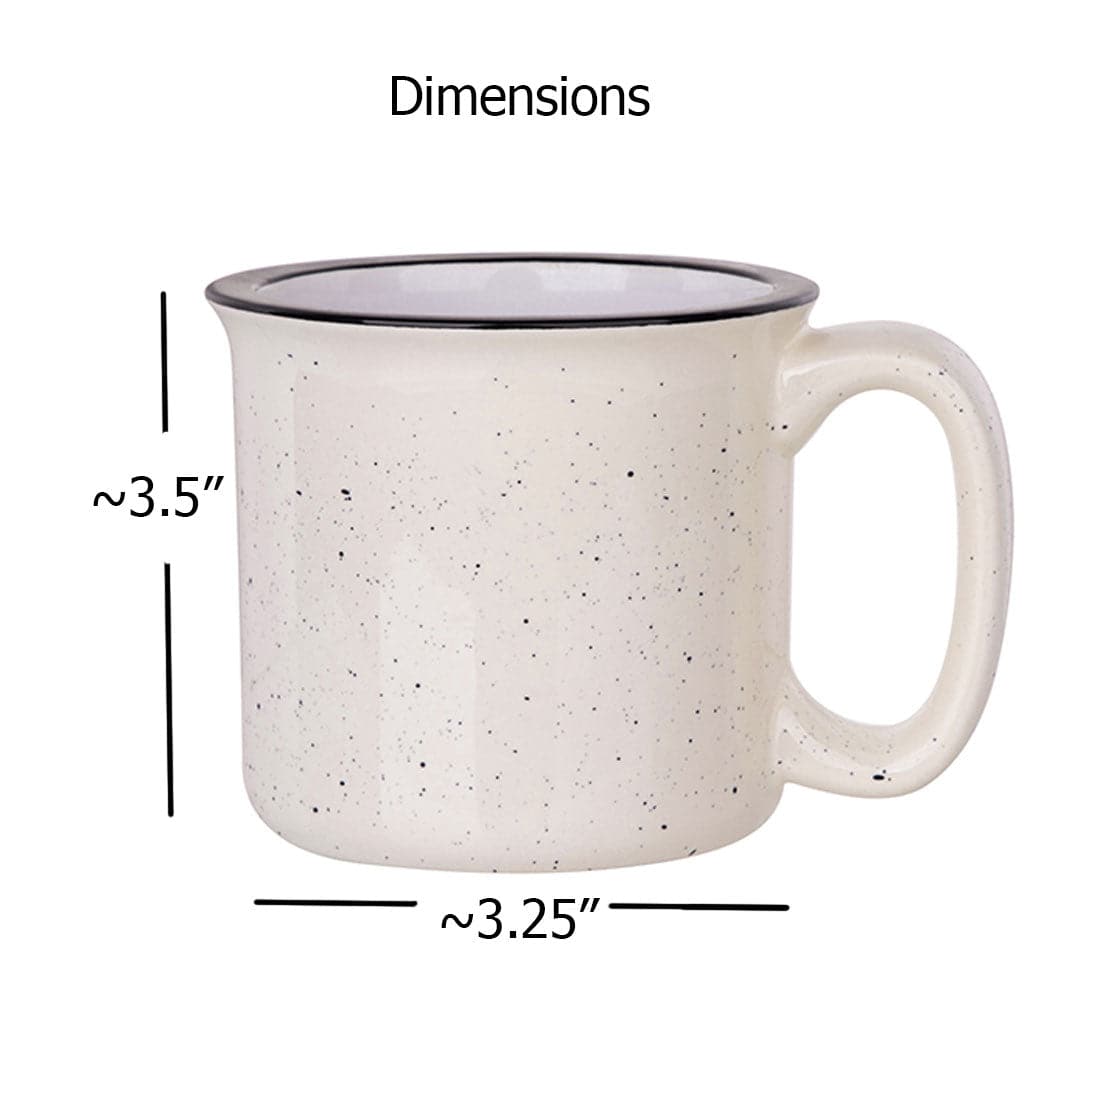
- Flatten the paper and measure the width and height between your marks. This gives you the actual printable rectangle.
- Input the dimensions into your graphic design software (like Illustrator, CorelDRAW, or Canva Pro). Create a rectangular artboard or canvas based on your measurements.
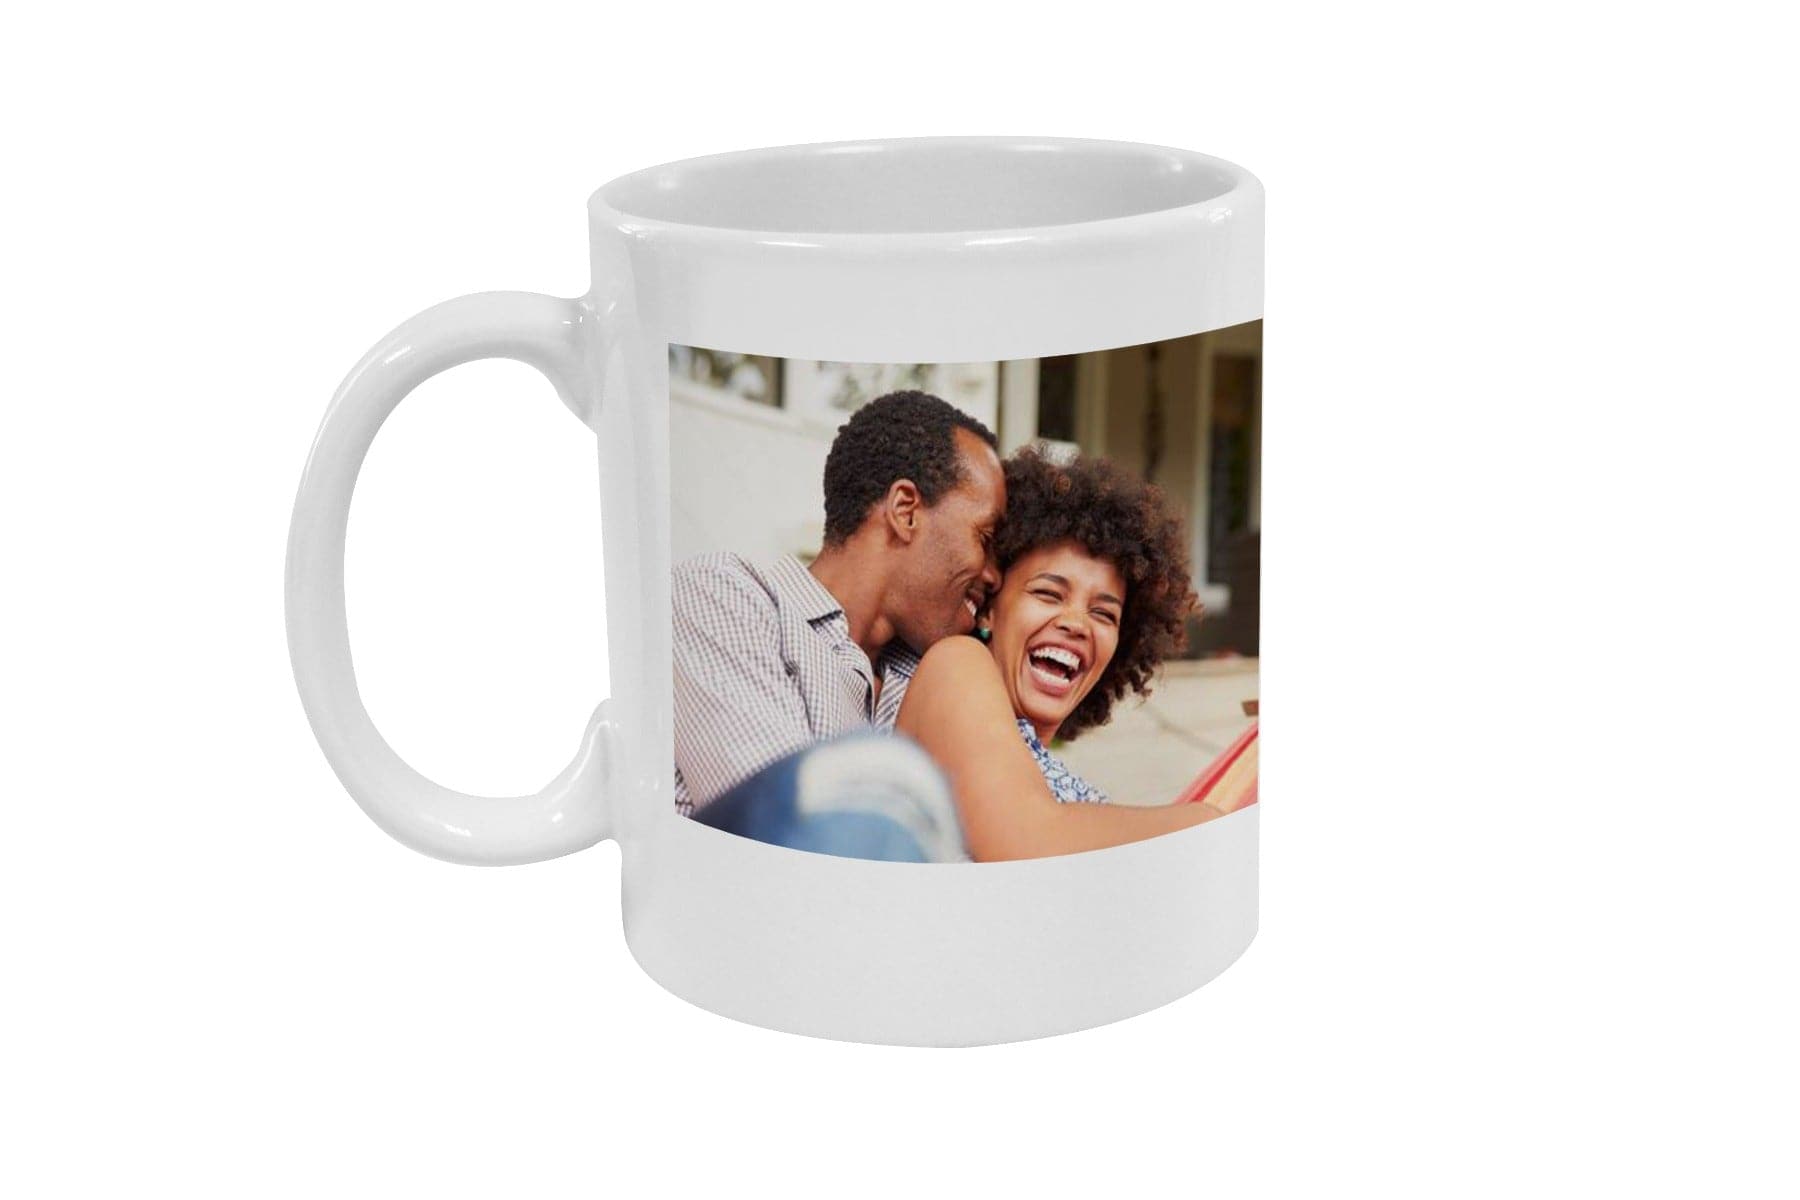
- Optional: Add a photo of the product in the background to visualize your mockup.
💡 Pro Tip: For tapered tumblers, the printable area isn’t a perfect rectangle—it’s trapezoidal. In that case, create the same paper wrap and scan or photograph it flattened to use as a custom mask in your design tool.
This process takes 5-10 minutes but saves hours (and dozens of blanks) in the long run.
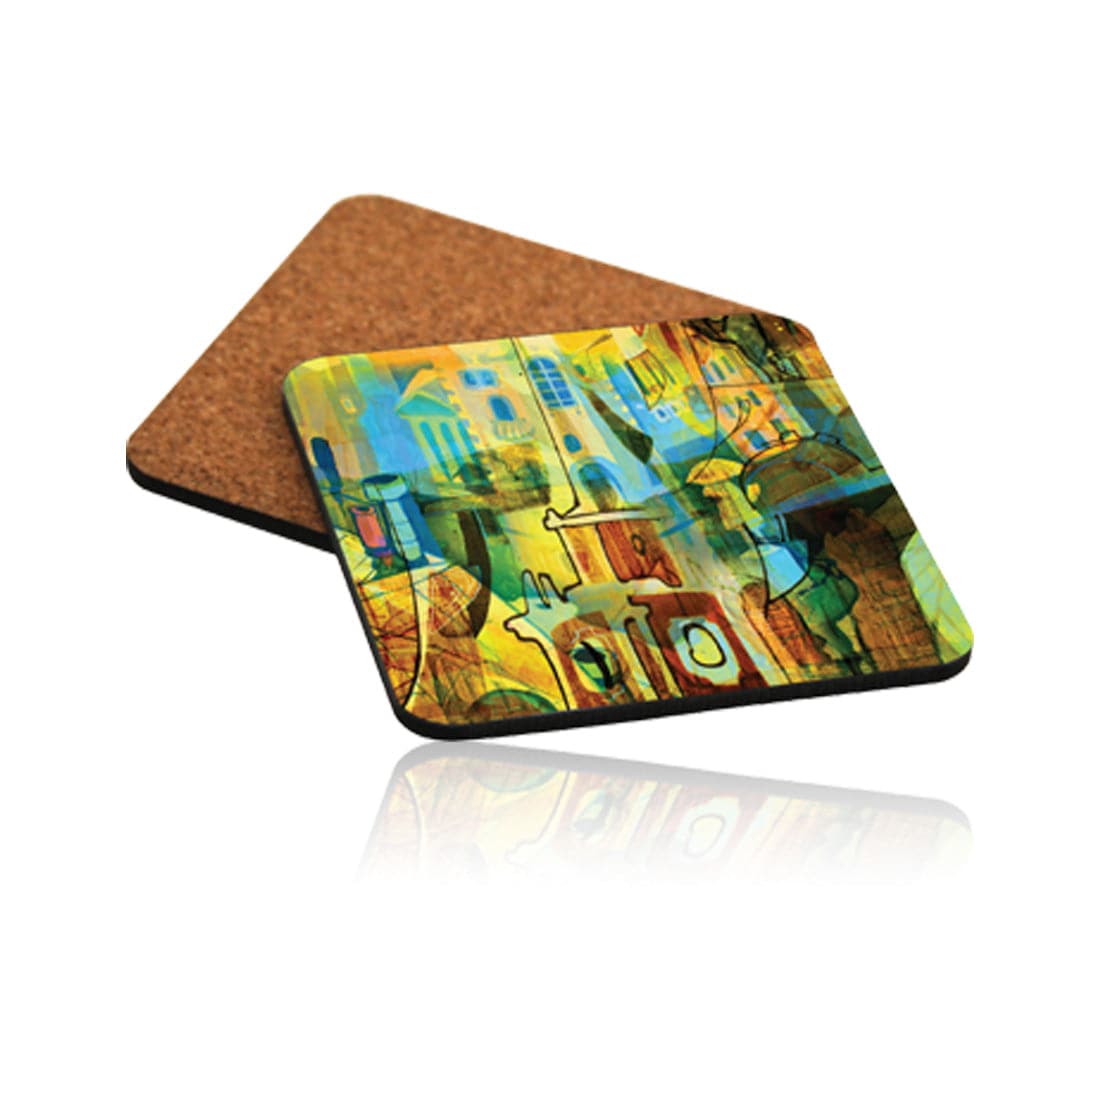
How to create templates for irregular shapes
When working with blanks like star-shaped ornaments, heart keychains, snowflakes, or phone cases with camera holes, rulers won’t help much. That’s where scanning and tracing come into play.

|
 |
Here’s how to do it:
- Place the item on white paper and carefully trace its outline with a pencil.
- Scan the traced paper using a flatbed scanner. This creates a clean, true-to-size digital image. Avoid using your phone camera—the lens distortion can throw off your sizing.
- Import the scan into your design software and use the Pen Tool or Outline Trace function to create a clean vector outline of the shape.
- Define the safe print area by subtracting a small margin (usually 1/8” or 3 mm) from the edge to account for possible misalignment during transfer.
-
Save your template with layers:
- Background/photo mockup
- Cut line (for reference only)
- Safe zone
- Bleed area
💡 Pro Tip: If the object has cutouts (like phone camera holes), scan it with a black or high-contrast background so those negative spaces are visible and can be accurately traced.
This method works great for creating accurate, reusable templates for any non-standard shape in your inventory.
Recommended tools and software
You don’t need an expensive setup to create professional templates—just a few essential tools and the right software.
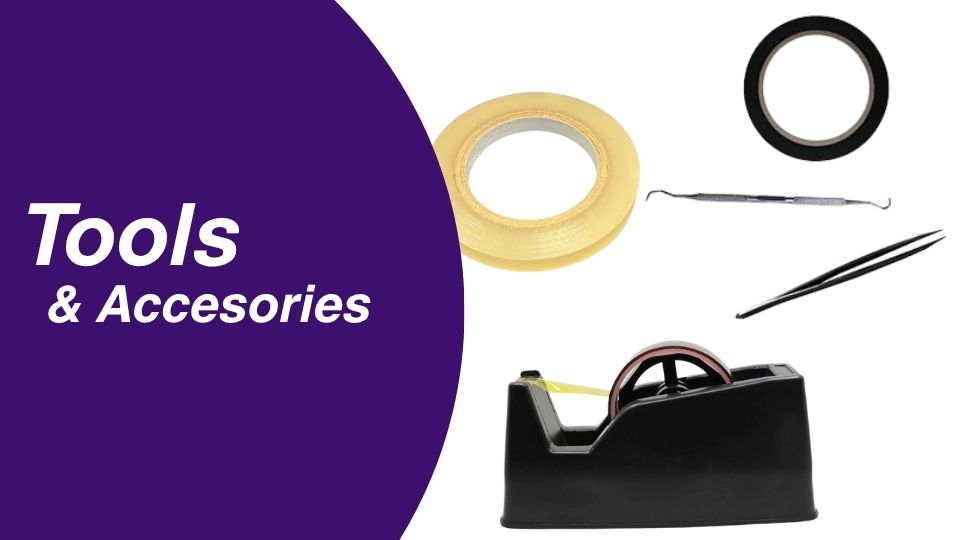
🧰 Basic Tools You’ll Need
- White printer paper: for tracing or wrapping around your blank
- Pencil or fine-tip marker: for making accurate crop marks
- Ruler or tape measure: ideal for straight edges and flat items
- Flatbed scanner: gives consistent size and sharpness (better than photos)
💻 Recommended Software
- Adobe Illustrator: Best for vector-based template creation
- CorelDRAW: Widely used in the sublimation world
- Affinity Designer: Affordable and powerful alternative
- Canva Pro: Beginner-friendly (less precise, but usable)
- Silhouette Studio / Cricut Design Space: Good for cutting and layout with hobby plotters
Most of these programs allow you to build layers, add guides, and save reusable files. You’ll also want access to basic design tools like the Pen Tool, Artboards, and Rulers/Guides for precise layout control.
The key isn’t having the fanciest setup—it’s knowing how to use what you have with accuracy and consistency.
Technical tips for using design software
Once you’ve scanned or measured your blank, it’s time to build a reusable, professional-grade template in your design software. Here’s how to do it right:
🧭 Set up your artboard or canvas
- Use the exact width and height of the printable area (based on your measurements or scan).
- Set the units to inches or millimeters—whichever matches your production workflow.
- Create a new layer structure:
- Bleed area (outer buffer to allow overprint)
- Safe print zone (inner margin to prevent cutoffs)
- Design area (main space for layout)
- Optional: Mockup or photo layer of the blank
✏️ Trace accurately
- Use the Pen Tool or Outline/Auto Trace to convert scans into clean vector shapes.
- Simplify the path where possible, but keep curves accurate.
- For holes (camera lenses, keyring cutouts), create compound paths so you can preview how the design fits.
🎯 Use guides and snapping
- Drag guides to mark margins, alignment points, and symmetry.
- Enable snapping to guides or objects to place your artwork precisely.
💡 Save your file as a template (.AIT, .CDT, etc.) to use it again later without redoing your layout from scratch.
This workflow keeps your design files clean, functional, and ready for production.
Design tips for templates that actually work
Having the right shape is only part of what makes a template useful. Good design practices ensure your artwork looks great on the final product—not just on screen.
Include a bleed area: Always extend your artwork slightly beyond the edge of the object (usually 1/8" or 3 mm) to account for small alignment shifts during pressing or cutting. This avoids unwanted white edges.
Define a safe print zone: This is an inner margin where no critical design elements (like text or logos) should be placed. It prevents cutoff designs when blanks are not perfectly aligned.
Preview in mockups: Overlay your template on a product photo or 3D render. This helps you catch awkward placements, misaligned logos, or text that curves poorly on cylindrical objects.
Account for curves and tapers: Text that looks straight on your screen may warp on a curved mug or tumbler. Test your design by wrapping a paper print around the actual object before finalizing.
Keep It editable: Save layered versions (.AI, .PSD, .CDR) so you can adjust layouts for future orders without rebuilding your template from scratch.
Clean templates mean faster work, better results, and fewer production headaches.
Frequently Asked Questions (FAQs)
1. Can I just use a camera instead of a scanner?
Technically yes, but we don’t recommend it. Cameras introduce distortion and inconsistent sizing, especially with curved or irregular objects. A flatbed scanner gives you accurate, to-scale results every time.
2. How much bleed should I add to my template?
Typically, a 1/8 inch (3 mm) bleed around all edges is safe. For very small items, you might reduce it slightly—but never skip it entirely, or you risk white edges.
3. What’s the difference between a safe zone and a bleed area?
Bleed: The part of your design that extends beyond the final cut edge.
Safe Zone: The area inside the cut line where you should keep all critical content (text, logos, faces).
Keeping both ensures your design isn’t accidentally cropped or misaligned.
4. Can I reuse a template for different blanks?
Only if the blanks are identical in size and shape. Even a small variation can throw off alignment, so create separate templates for different models or sizes when necessary.
5. Where can i find ready-made templates?
Joto Imaging Supplies offers free downloadable templates for many popular imprintable blanks. Check them out in the next section.
Conclusion: Templates make you faster, smarter, and more professional
Templates aren’t just for designers, they’re a game changer for anyone in the custom printing business. Whether you’re sublimating mugs, pressing ornaments, or applying laser transfers to shaped blanks, having the right template gives you control, consistency, and confidence.
By learning how to create your own templates, you’ll reduce errors, speed up production, and deliver more professional results. Combine that with the free resources from Joto Imaging Supplies, and you’ll be equipped to handle any blank that comes your way.
The next time you face a new substrate without a guide, don’t guess. Build your own.