














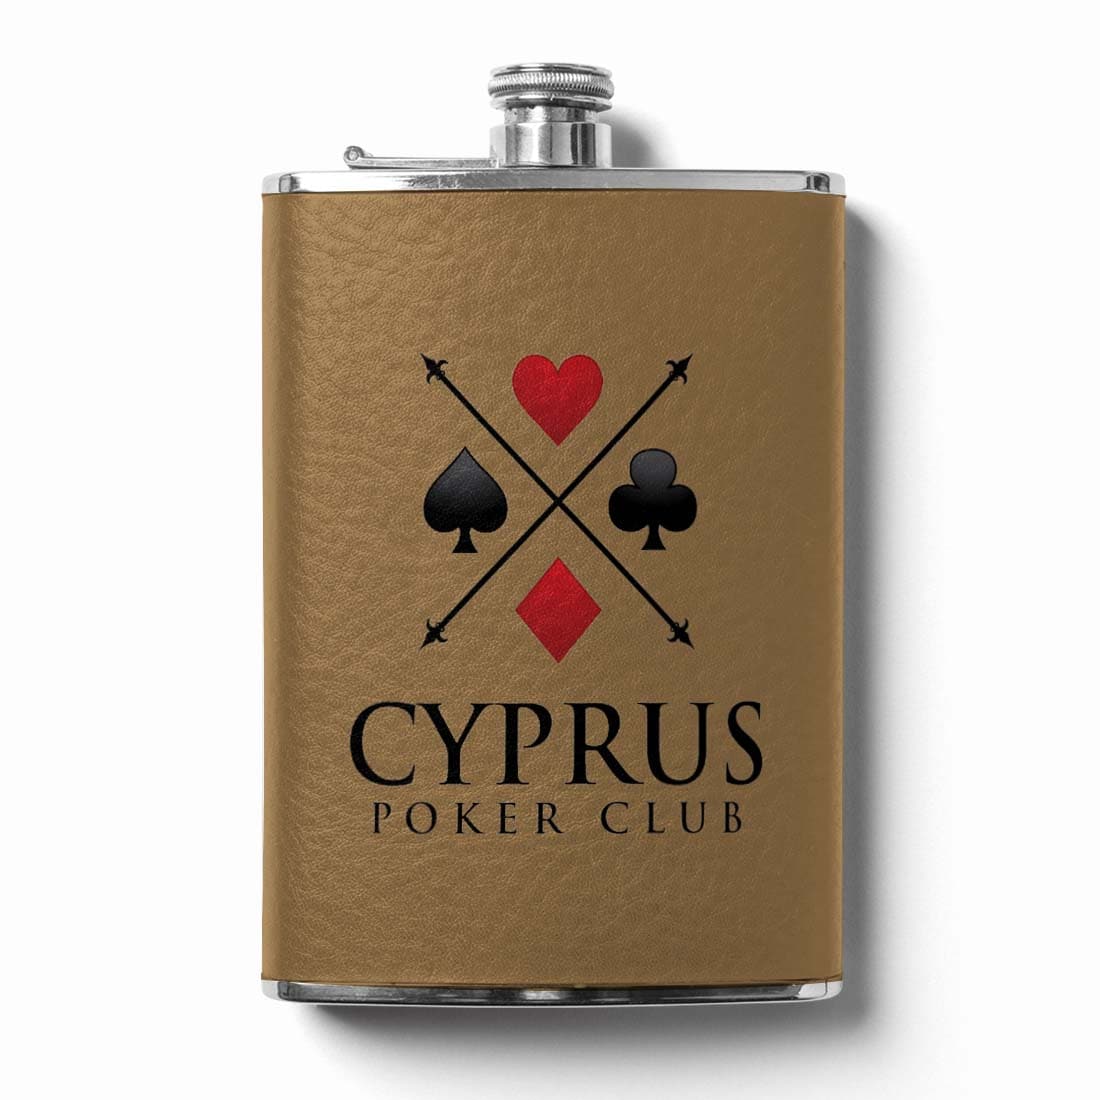






Laser engraving leather takes the right power and speed settings for your specific leather type, a light surface prep pass, and a slow enough feed rate to avoid charring past the first layer. Get those three things wrong and you end up with a cracked, brittle, or unevenly burned surface instead of a clean, sellable design. Get them right and leather becomes one of the most profitable materials a laser shop can offer, since customers pay well for engraved wallets, notebooks, keychains, and belts that feel personal.
The problem most shops run into is treating leather like wood or acrylic. It is not. Leather is an organic material with inconsistent density, natural oils, and a surface that scorches faster than most operators expect. A setting that works perfectly on a birch panel will often leave a leather notebook cover with a burnt, brittle edge instead of a crisp engraved line. This guide covers what you need, how to set up your machine, the step by step process, and the mistakes that ruin the most leather blanks.
Why Leather Behaves Differently Under a Laser
Wood and acrylic are relatively uniform. Leather is not. It carries natural oils, varies in thickness across a single hide, and reacts to heat by darkening well before the surface actually vaporizes. That darkening is the char line you see on engraved leather, and it is also the reason leather is unforgiving of settings that are even slightly too hot or too slow.
There is also a distinction that changes your settings entirely: genuine leather versus PU (polyurethane) or bonded leather. Genuine leather has natural grain and fiber structure that engraves with a soft, slightly textured char. PU leather has a synthetic coating over a fiber backing, which engraves cleaner and more consistently but can melt instead of char if the laser runs too hot. Confirm which material you are working with before you touch the settings dial, because the two require different approaches.
Reading Your Leather Before You Set Anything
Thickness matters more on leather than on almost any other laser material. A 2oz (roughly 0.8mm) leather panel used for a notebook cover reacts to heat differently than a 5oz belt blank, and running the same settings across both produces inconsistent results even from the same supplier. Before touching your machine's control panel, check the weight or thickness listed on the blank and treat that number as part of your settings decision, not an afterthought.
Color plays a role as well. Darker leather absorbs laser energy faster than lighter leather, which means a setting dialed in on a natural tan piece can run too hot on a dark brown or black piece of the same thickness. This is less of a factor on PU leather, where the surface coating behaves more uniformly regardless of color, but it is a real variable on genuine leather runs that mix multiple colorways.
What You'll Need
- A laser engraver capable of at least 5W, with a diode or IR module suited to organic materials
- Leather blanks: genuine leather for premium goods, PU leather for budget-friendly or higher-volume runs
- Painter's tape or transfer tape to mask the surface and reduce smoke residue
- A damp microfiber cloth and mild soap for post-engrave cleanup
- Scrap material from the same batch for test settings
- Ventilation or a fume extractor, since leather smoke is more acrid than wood or acrylic smoke

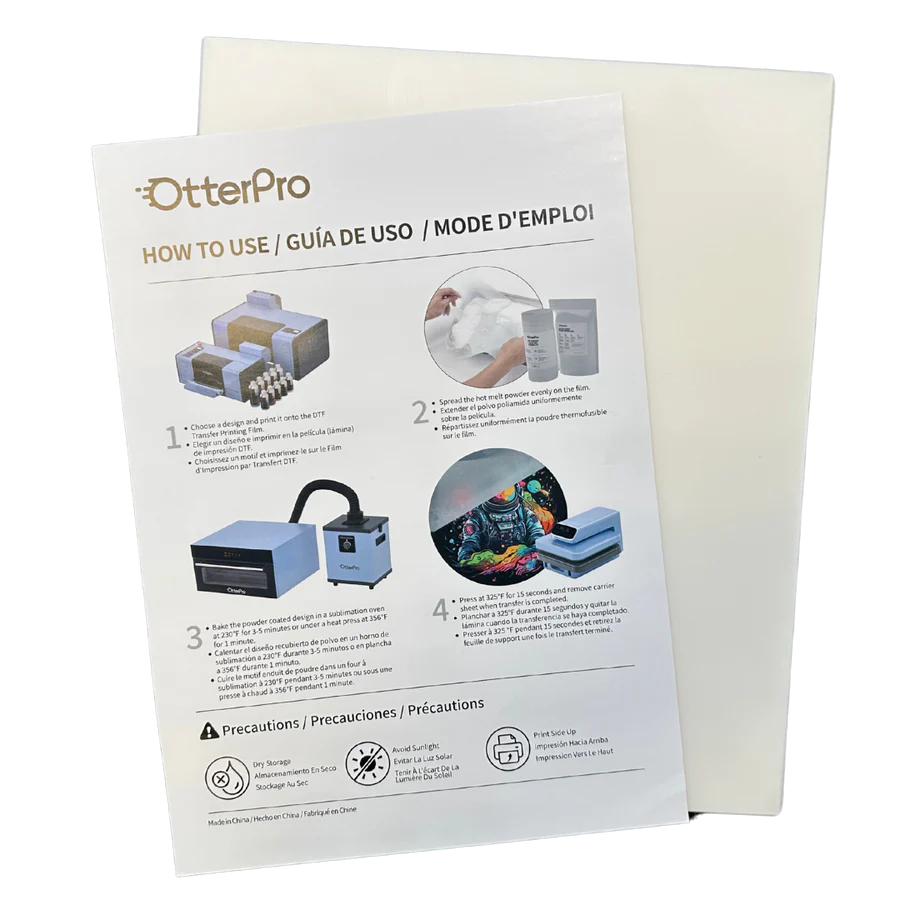
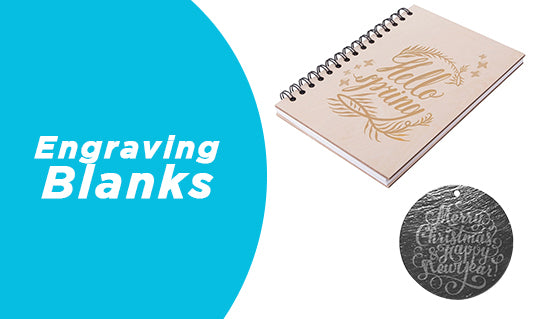
A consistent PU leather surface built for laser work, ideal for testing settings before moving to genuine leather goods.
Shop Now →Step 1: Prep the Surface
Wipe the leather down with a dry cloth to remove dust and surface oils. Natural oils sitting on top of the leather can cause inconsistent char, especially on genuine leather that has been stored for a while. If the piece has any wax finish, a light pass with isopropyl alcohol on a cloth strips it without damaging the grain underneath.
Apply painter's tape or transfer tape directly over the engraving area. This single step cuts down on the smoke residue that settles around the design and saves significant cleanup time later, particularly on lighter colored leather where residue shows clearly.
Step 2: Set Power and Speed for Your Material
Start lower than you think you need to. Leather chars quickly, and it is far easier to run a second pass at slightly higher power than to recover a piece that scorched on the first attempt. As a starting point for a 5W to 10W diode laser: genuine leather typically engraves well around 60 to 70 percent power at a faster speed, while PU leather often needs slightly less power since the synthetic coating melts before natural leather chars.
These numbers shift based on your specific machine, the leather thickness, and how dark you want the final mark. Treat any published setting, including the ones here, as a starting point rather than a fixed number.
Step 3: Always Test on Scrap First
Cut a scrap piece from the same hide or batch you are about to engrave. Run a small grid of test squares at different power and speed combinations, then check which produces the depth and contrast you want without cracking the surface. This ten minute step prevents the most expensive mistake in leather engraving: finding out your settings were wrong on the actual finished blank instead of a test scrap.

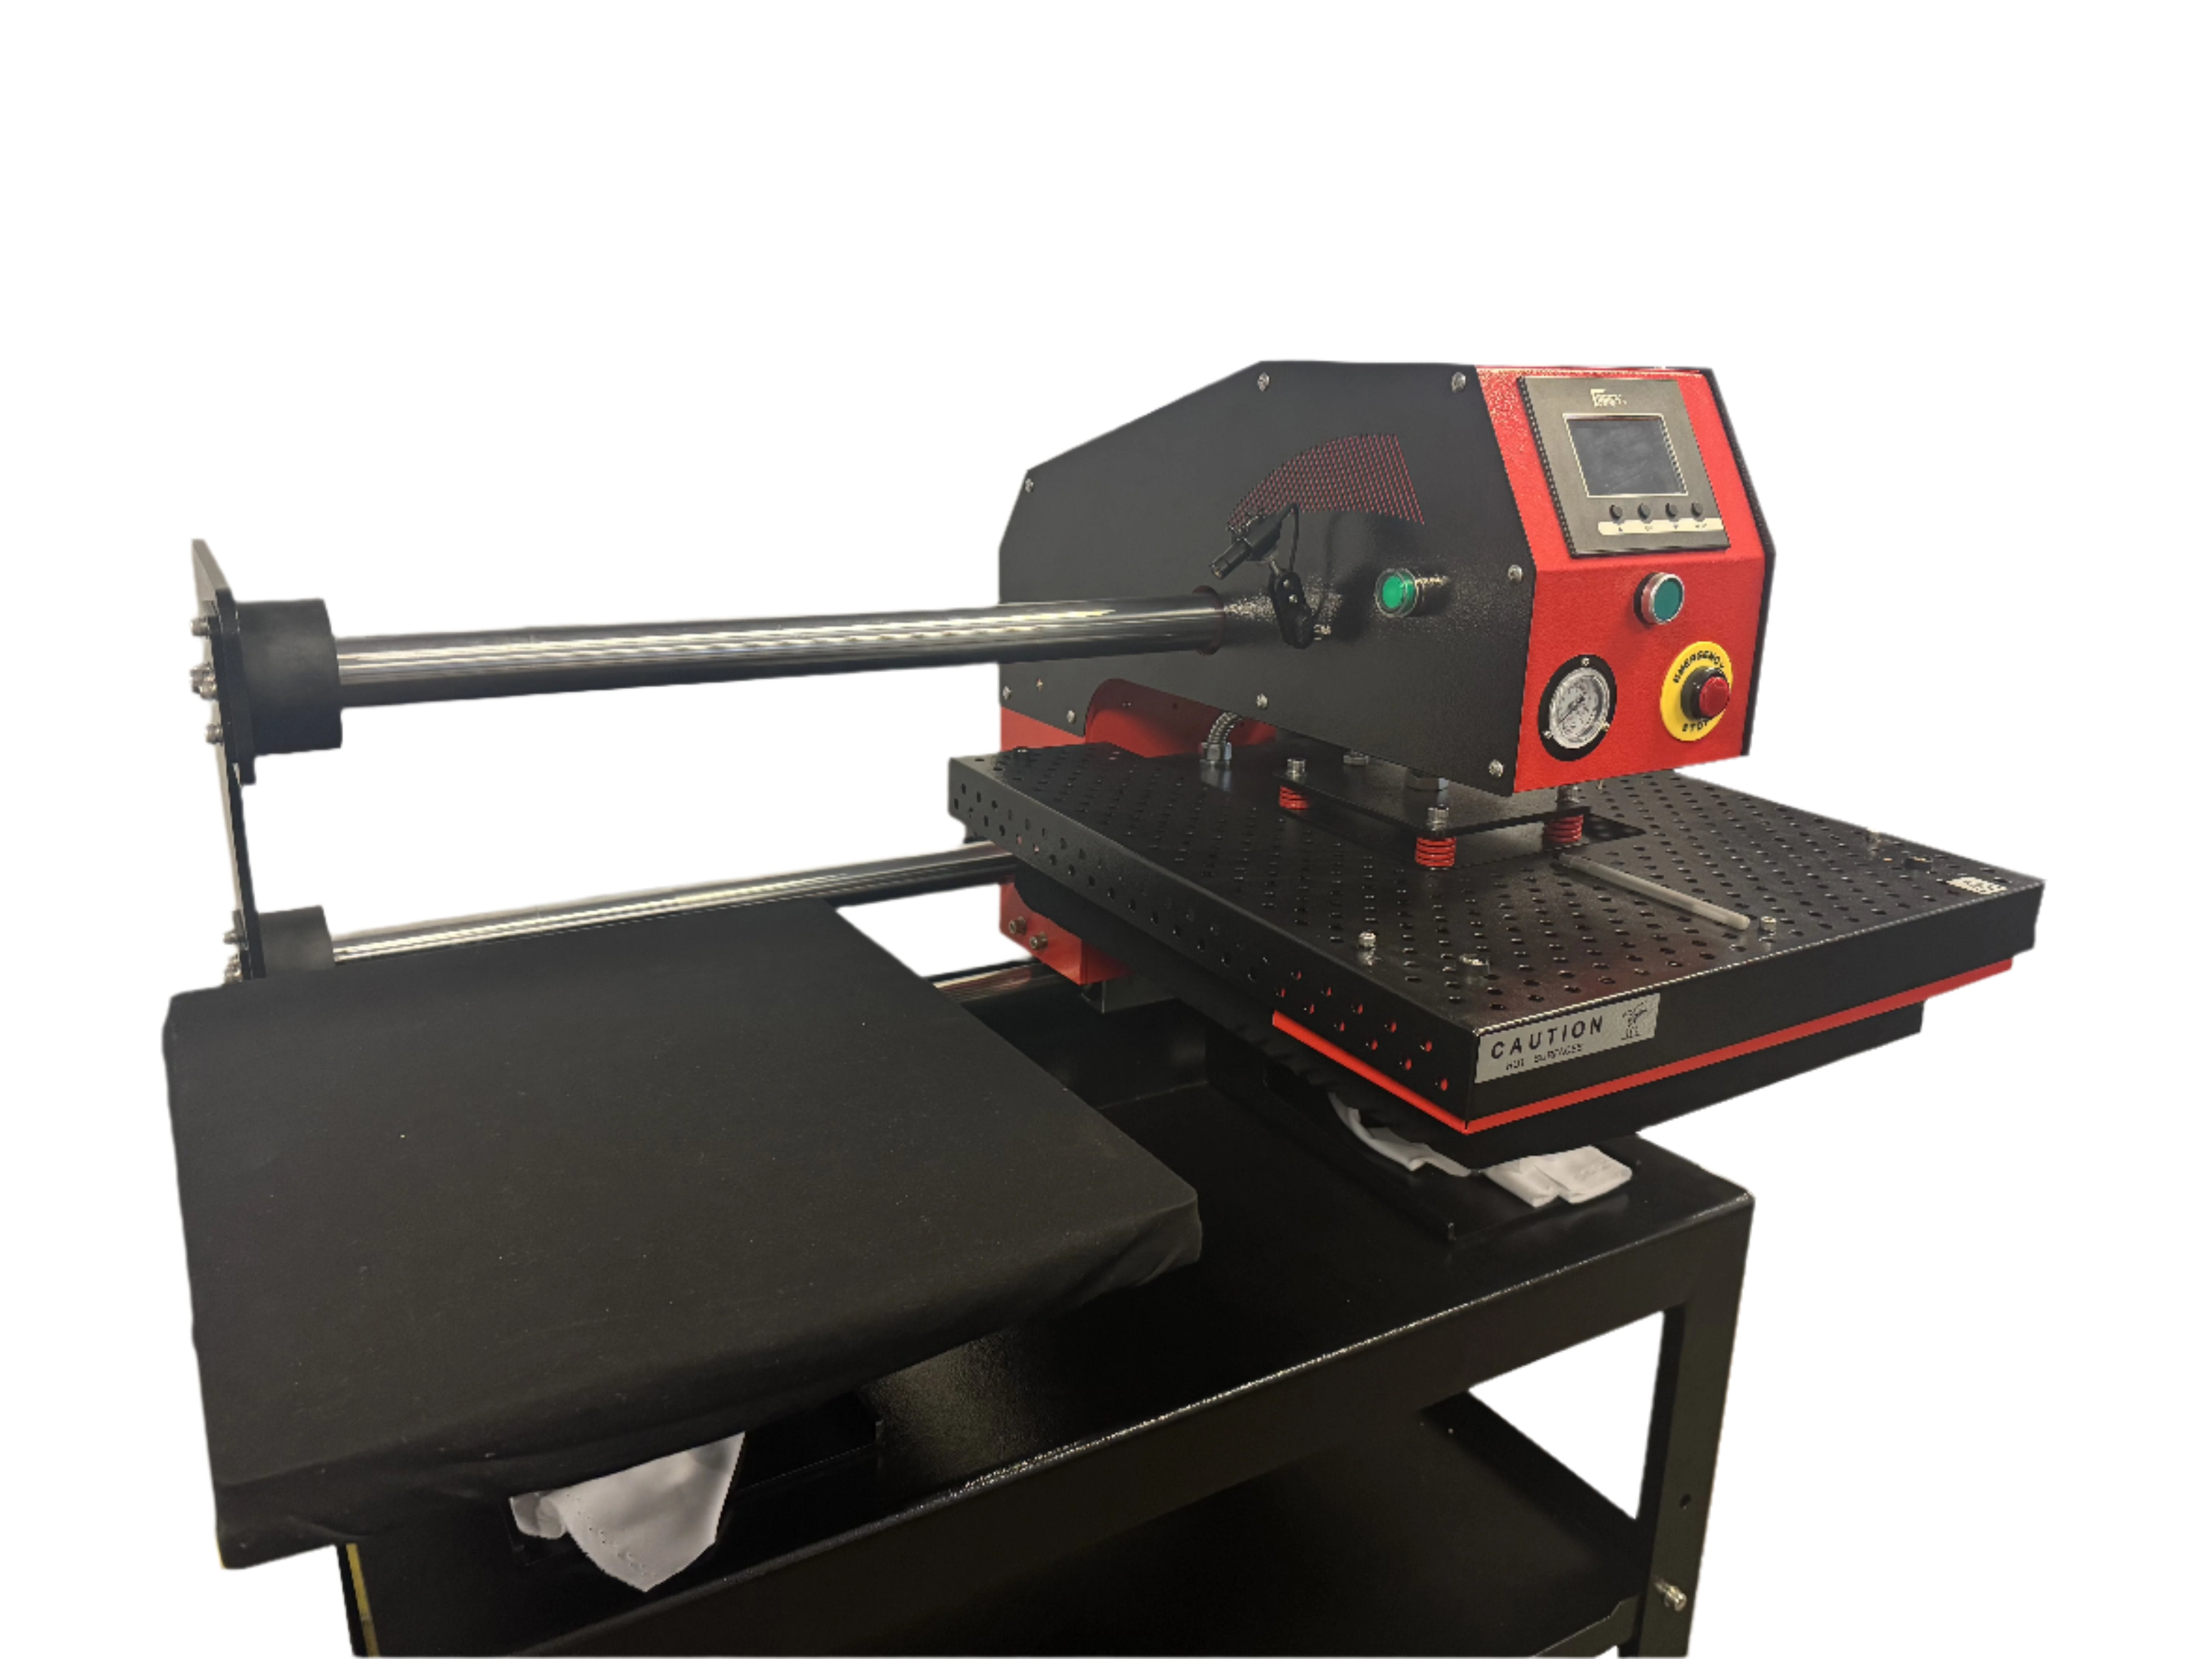
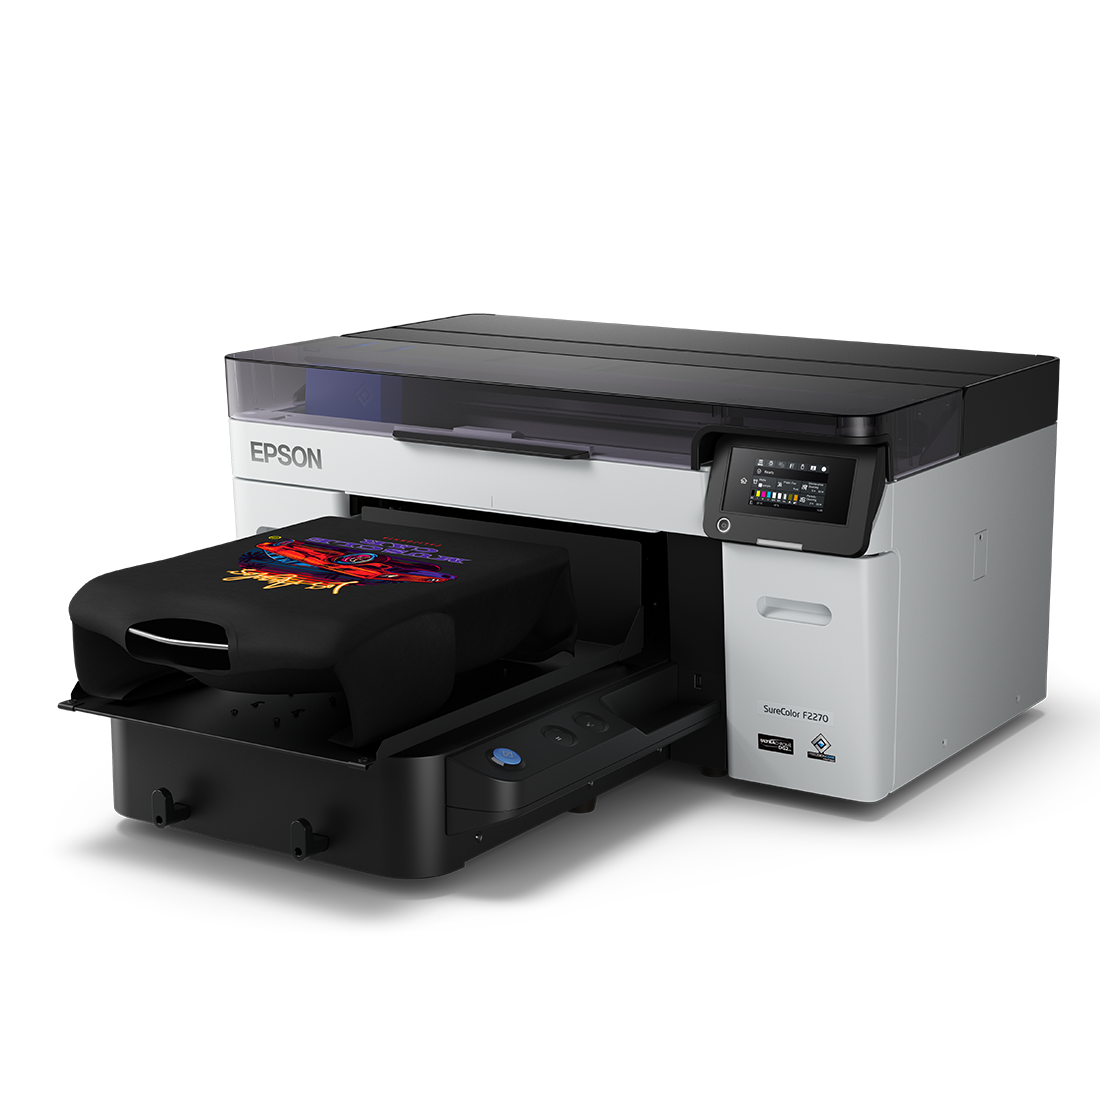
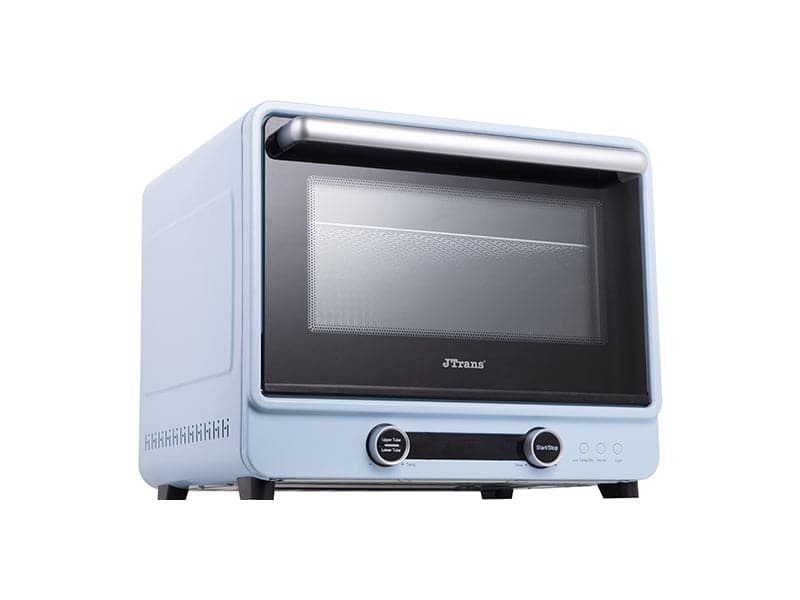
A dual IR and diode laser that handles leather, wood, and acrylic without switching machines, a practical starting point for shops adding leather goods.
Shop Now →Step 4: Engrave and Watch for Char Buildup
Run the job and keep an eye on the exhaust or fume extraction, since leather produces more visible smoke than wood. If you notice heavy black buildup collecting directly on the surface rather than lifting away, your power is set too high or your speed too slow for that material. Pause and adjust before continuing rather than finishing the pass and hoping the residue wipes off clean, since deep char does not remove without damaging the surrounding grain.
Step 5: Clean and Finish the Piece
Remove the tape carefully, working from one corner to avoid pulling at the engraved edges. Wipe the surface with a barely damp microfiber cloth to lift any remaining soot, then let it air dry fully before handling further. For genuine leather, a small amount of leather conditioner applied after cleaning restores the surface sheen around the engraved area without affecting the design itself.

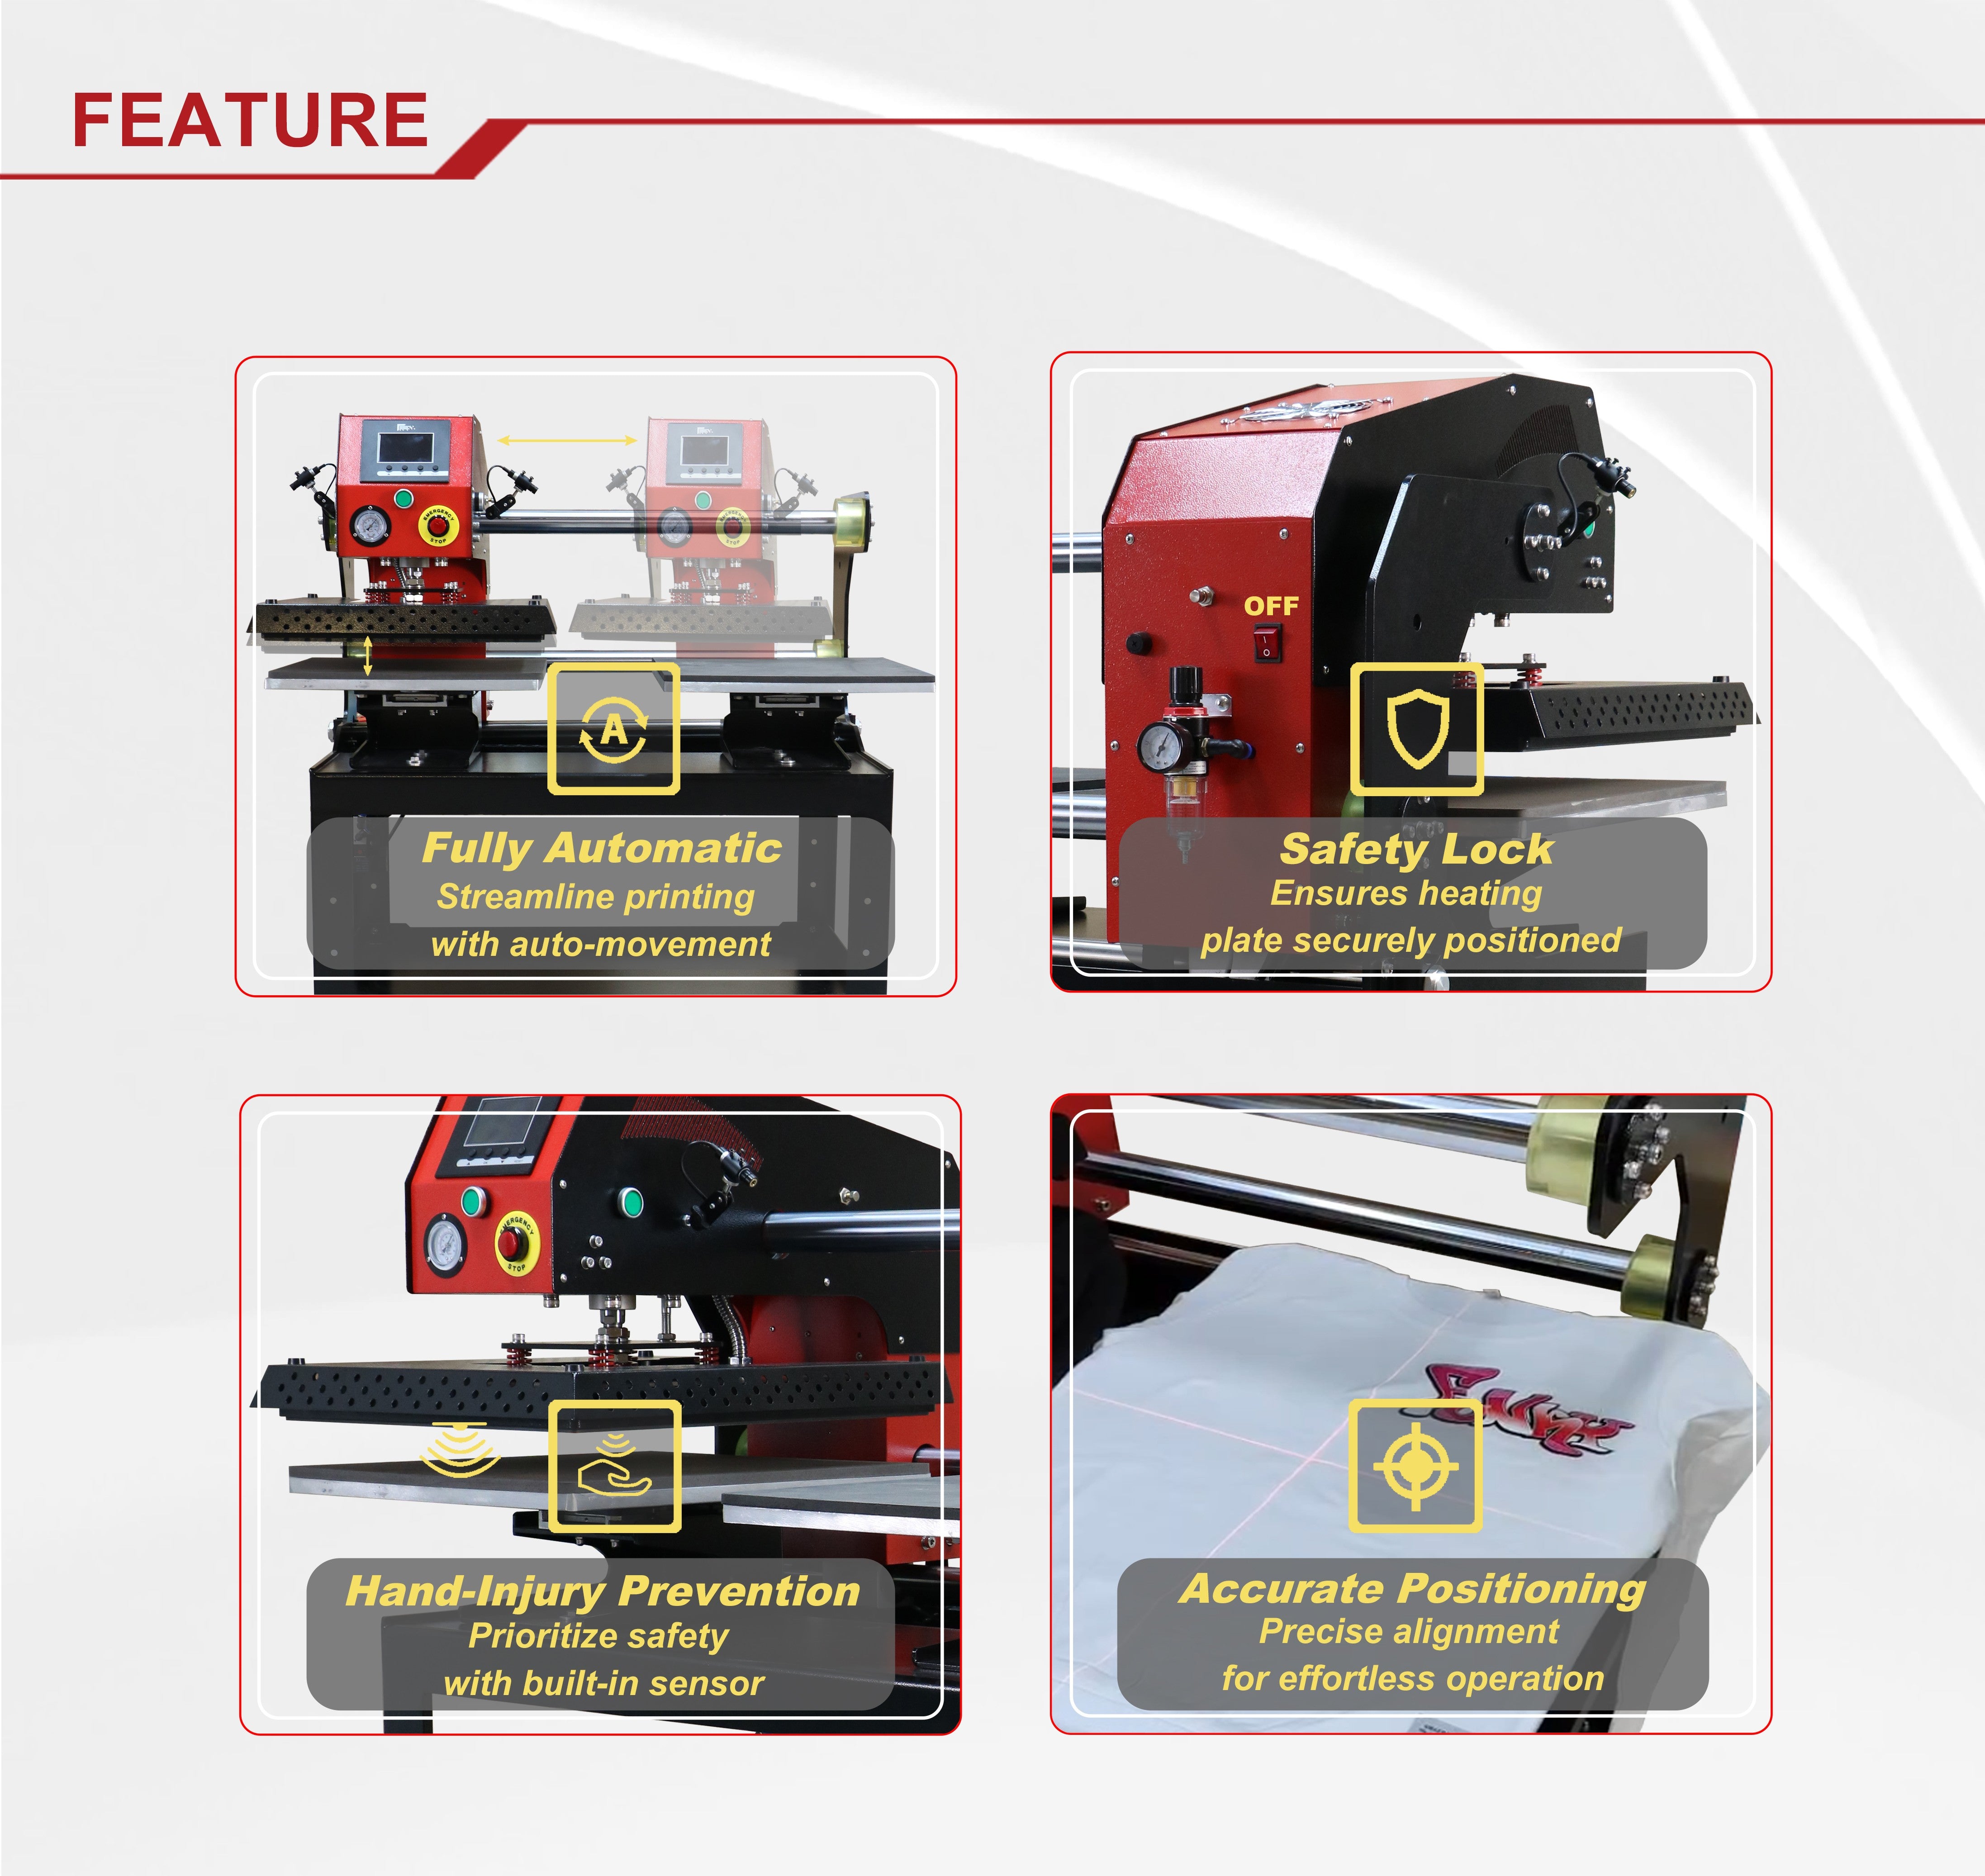
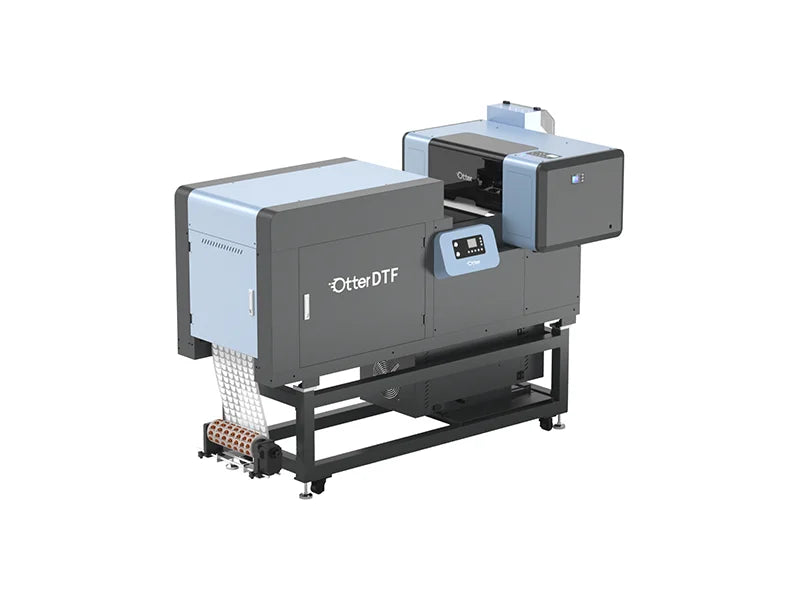
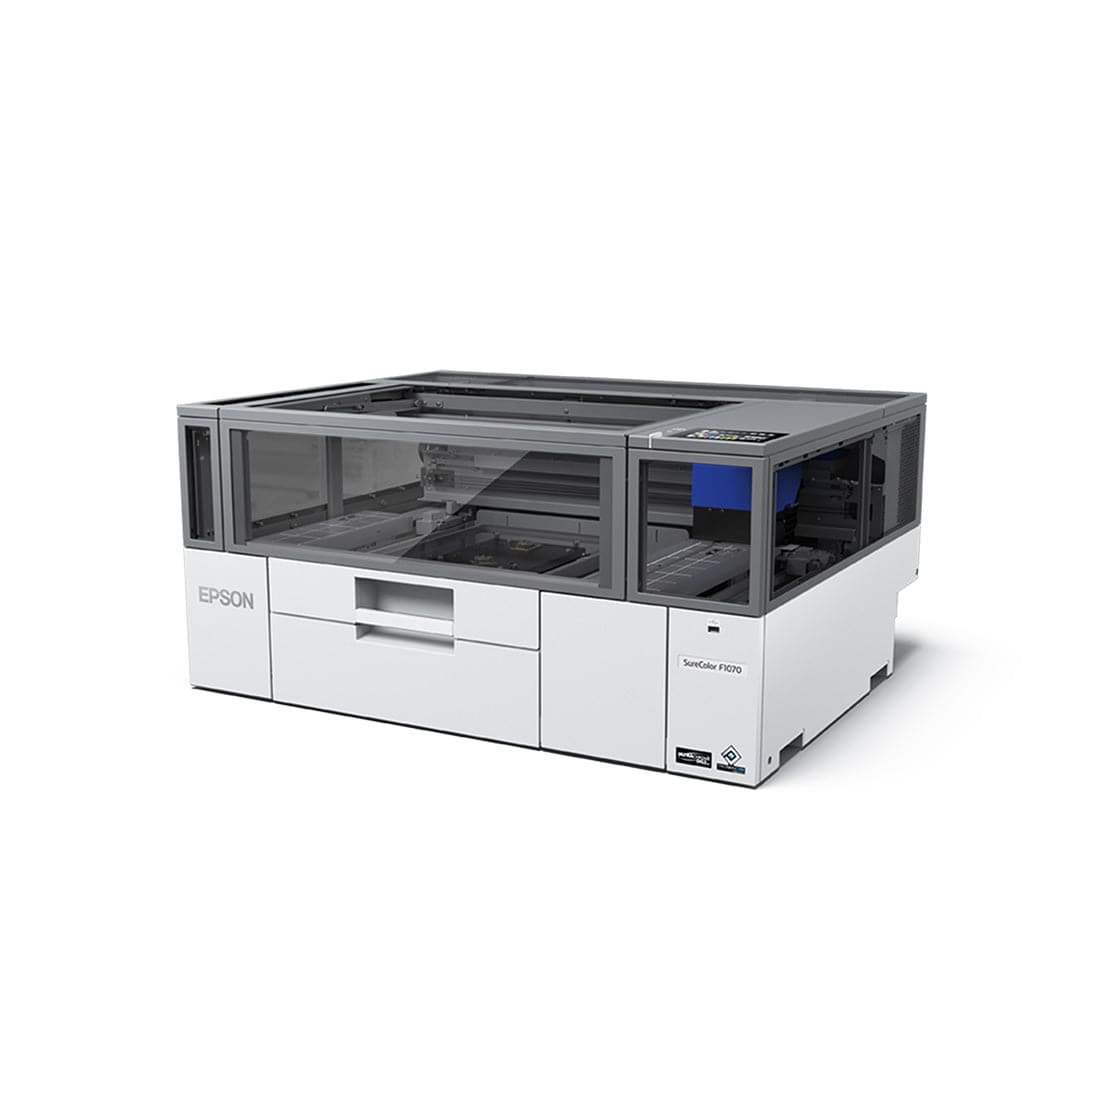
Higher power and faster throughput for shops running leather goods as a regular product line rather than an occasional add-on.
Shop Now →Genuine Leather vs PU Leather: Which Should You Engrave?
| Factor | Genuine Leather | PU Leather |
|---|---|---|
| Engraving result | Soft, textured char with natural grain variation | Clean, consistent mark across every piece |
| Risk if overheated | Cracking and brittle edges | Melting instead of charring |
| Consistency batch to batch | Varies with hide thickness and oil content | Highly consistent |
| Best for | Premium goods, gifts, retail resale | Higher volume runs, budget-friendly products |
Common Mistakes That Ruin Leather Engraving Projects
- Skipping the scrap test: Leather varies hide to hide. A setting that worked last week may not work on this batch.
- Running power too high on PU leather: Genuine leather settings will melt synthetic PU leather instead of producing a clean char.
- Not masking the surface: Smoke residue on unmasked leather is far harder to clean off than on masked leather, especially on lighter colors.
- Rushing the cooldown: Handling the piece before it fully cools can smear soot into the surrounding grain.
- Ignoring ventilation: Leather smoke is more acrid than wood smoke and settles into fabric and hair in a poorly ventilated space.
DPI and Line Spacing Change the Char, Not Just the Speed
Most operators adjust power and speed and stop there, but line spacing, usually set as DPI or lines per inch in your engraving software, has just as much effect on how leather chars. Leather has lower thermal conductivity than wood, so heat from one pass lingers in the material longer before it dissipates. Set your DPI too high, commonly above 400 for a fill engrave, and each adjacent line adds heat on top of the previous one before it has cooled, producing a darker, more brittle result than your power setting alone would predict. Set it too low, under roughly 250, and you get visible banding, thin unengraved gaps between passes that show up as faint stripes across a filled area.
For most leather fill work, 300 to 350 DPI balances solid, even coverage against the heat buildup problem. This is different from wood, where higher DPI settings around 500 or more are common without the same overheating risk, since wood dissipates heat faster between passes.
Grain Direction Affects Consistency More Than Most Operators Expect
Leather fiber density is not uniform across a hide. Cuts from the spine area of the hide are denser and more consistent than cuts from the belly, which stretches more during the tanning process and engraves slightly less predictably. If you are buying leather blanks in bulk from a supplier who does not specify which part of the hide a cut comes from, expect some batch-to-batch variation even at identical settings, and build that into your scrap testing rather than assuming one successful test grants permanent settings for that supplier's blanks going forward.
Within a single piece, engraving with the direction of the grain, visible as faint parallel lines running one direction across natural leather, tends to produce a slightly more even char than engraving directly across it. This is a minor effect compared to power, speed, and DPI, but it can explain small inconsistencies on an otherwise identical test when nothing else in your settings changed.
Settings Log for Repeatable Production
Keep a written log by material and thickness combination rather than relying on memory between production runs. A useful log records four fields per material: power percentage, speed, DPI or line spacing, and pass count, alongside the specific supplier and batch if you have noticed variation between sources. "PU leather notebook, 2mm, 65% power, 300mm/s, 300 DPI, 1 pass" is a usable reference six months from now. "Turned it down a bit and it worked" is not.
Frequently Asked Questions
Can any laser engraver work with leather?
Most diode and IR lasers rated at 5W or higher can engrave leather effectively. The key variable is not raw power but control: a machine that lets you fine tune power and speed in small increments gives more consistent results than one with only a few preset levels.
Why does my engraved leather smell so strong after laser work?
Leather releases a distinct, acrid smoke when heated, stronger than wood or acrylic. This is normal and expected, though it makes ventilation or a fume extractor more important for leather work than for other materials.
Can I laser engrave colored or dyed leather?
Yes, though dyed leather can show more inconsistent contrast than natural or vegetable tanned leather, since the dye layer chars differently than the leather fiber underneath. Test on scrap from the same dye lot before committing to a full run.
Does laser engraving weaken the leather?
A properly set engrave only affects the surface layer and does not compromise structural strength. Overheated settings that char too deep can weaken the fibers at the engraved line, which is another reason correct power and speed settings matter.
What is the difference between engraving and cutting leather with a laser?
Engraving marks the surface without cutting through the material, while cutting requires significantly higher power or slower speed to fully sever the leather. Most leather goods work, like notebooks and wallets, only need engraving settings.
Ready to Add Leather Goods to Your Product Line?
Shop laser engravers and leather-ready blanks built for consistent, retail-quality results.
Shop Laser Engravers →