


Centering your image is easy to do when you are doing a full bleed image. But what if you are doing an image with just a white background? It’s difficult to see your image as the substrate or the paper will be blocking the image.
Centering your image on small items such as name tags is quite simple and is similar to bleeding your image on a substrate. All you need is a border around your image.
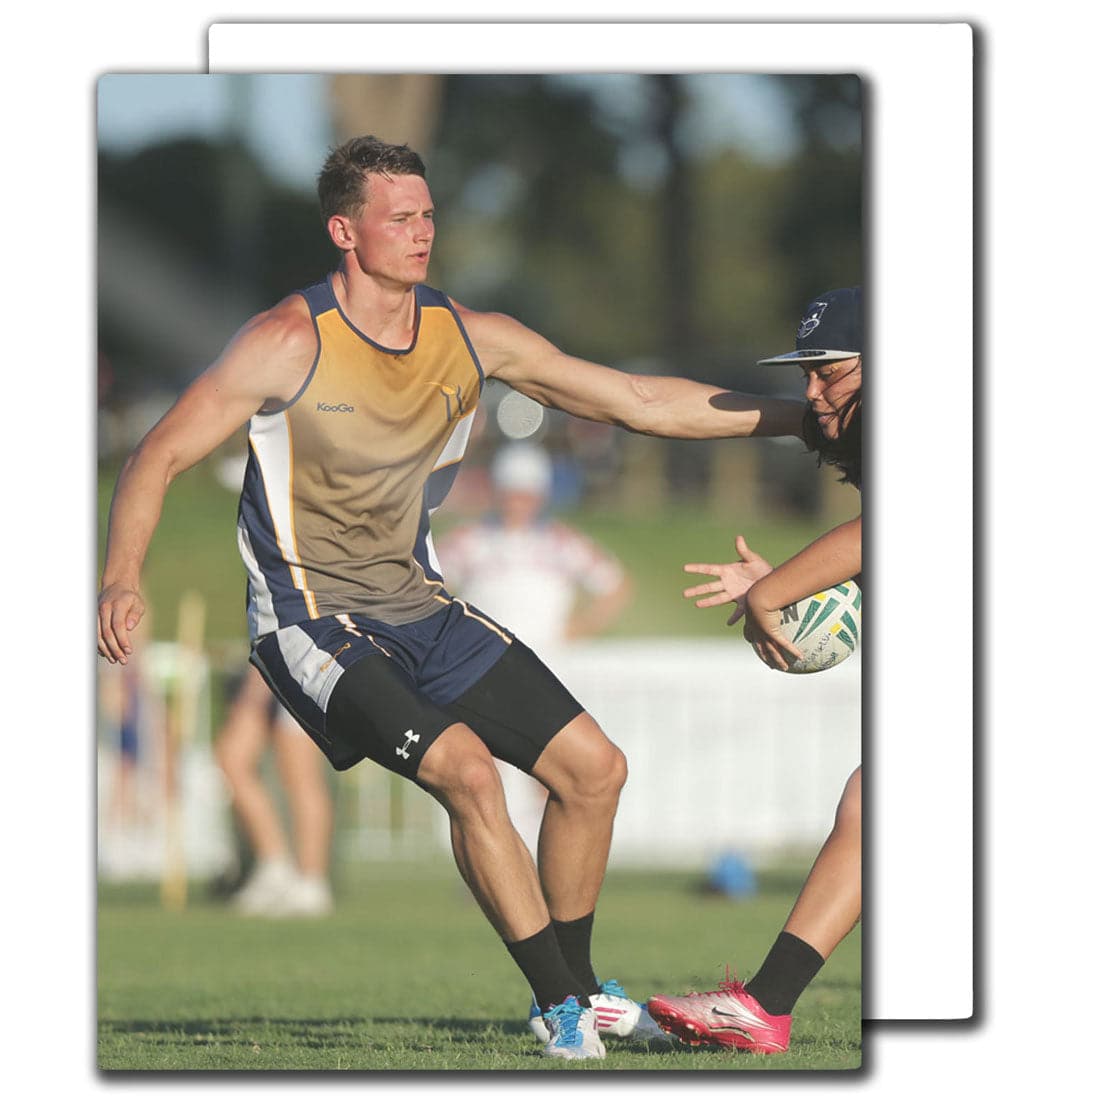
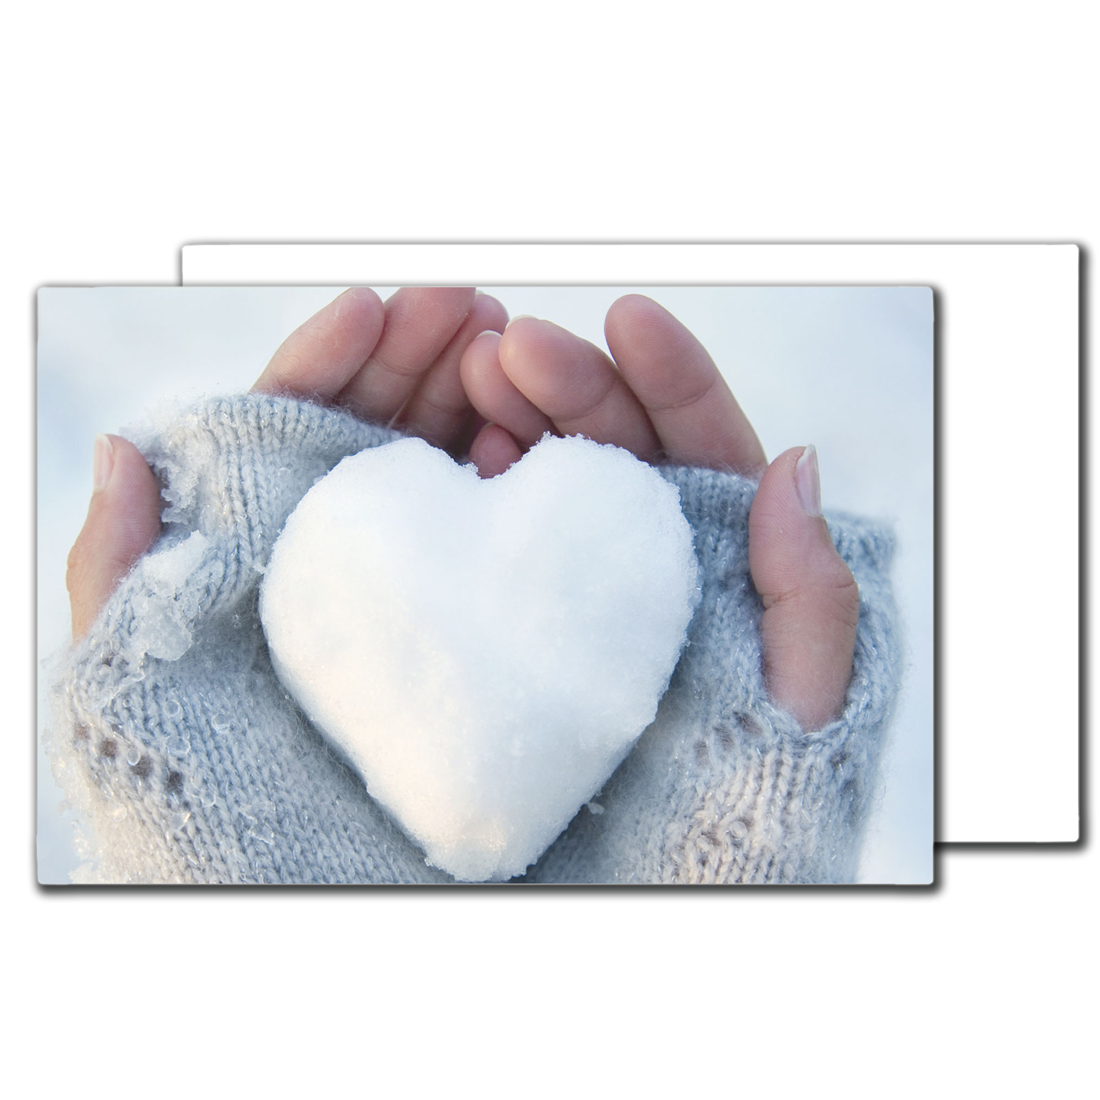
Putting a border around your image helps to center the image especially if you plan to have white as your background. Simply scan in or get the dimensions of your substrate. Remember when making a border; always make it 0.25-0.50 inches bigger than the actual printing size of the substrate. This way, you will not accidentally print the border onto your substrate but you will still be able to use it for centering purposes. Once the border is made, you can center align your image to the border and print! See picture below.

Here is an example of a name tag (1” x 3”). I have created a 1.25” x 3.25” border and have centered my image in the middle of the border. Once printed, simply place the substrate within the borders with roughly equal space between the substrate and the border on all 4 sides. Then place a blank sheet on top and press.
For items that require the paper to be put on top of substrate, simply tape the substrate onto the paper after alignment and flip over to press.
