


Why Sublimation Tote Bags Are Worth It
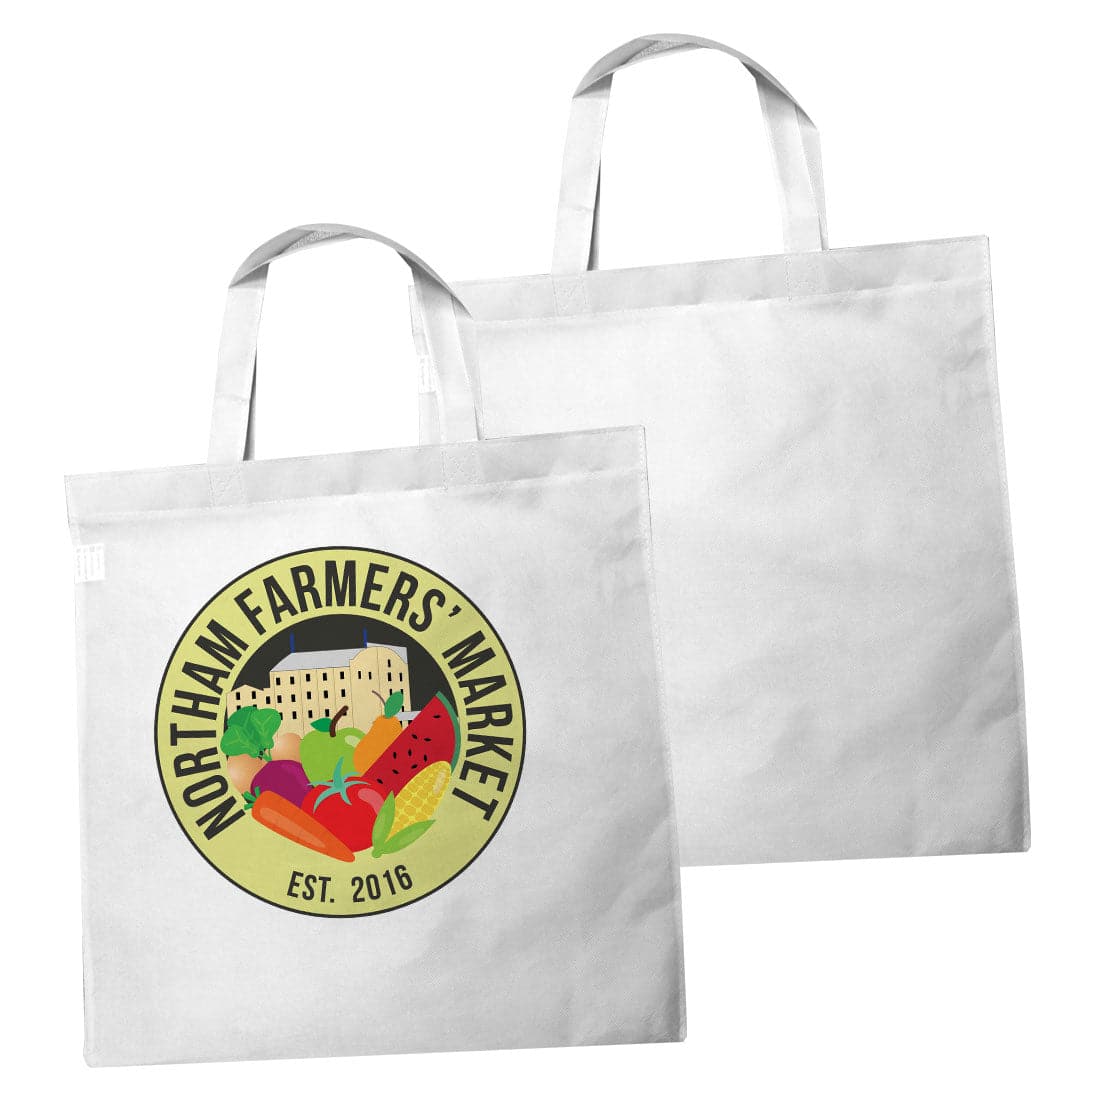
If you’re looking for a product that’s easy to make, highly customizable, and always in demand, sublimation tote bags are a perfect choice. They’re eco-friendly, stylish, and practical - ideal for customers who want reusable bags with personality and for businesses that need a strong, low-cost branding option.
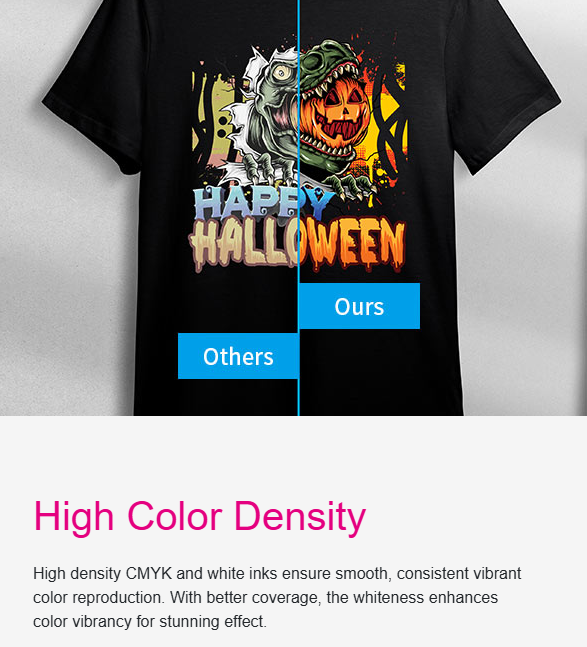
Sublimation printing lets you permanently infuse color into the fabric instead of applying ink on top. That means the design won’t peel, crack, or fade over time. For print shops, this translates into consistent quality and satisfied clients. For crafters, it means being able to offer professional-grade products straight from home.
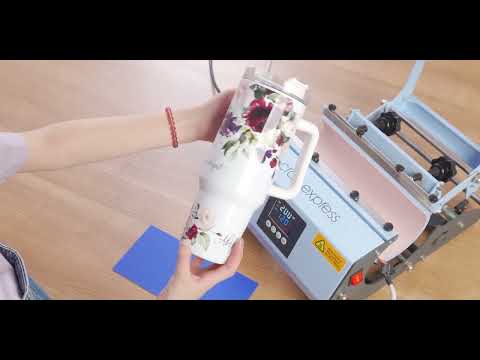
The process is simple: print your design, press it under heat, and in less than two minutes you have a full-color tote bag ready to sell or gift. With the right materials and a few smart practices, anyone can create bright, durable prints that look and feel amazing.
This guide walks you through every step, from choosing the right tote bag and equipment to pressing, troubleshooting, and getting consistent results. Whether you print for business or passion, you’ll learn exactly how to sublimate a tote bag the right way.
What You’ll Need Before You Start
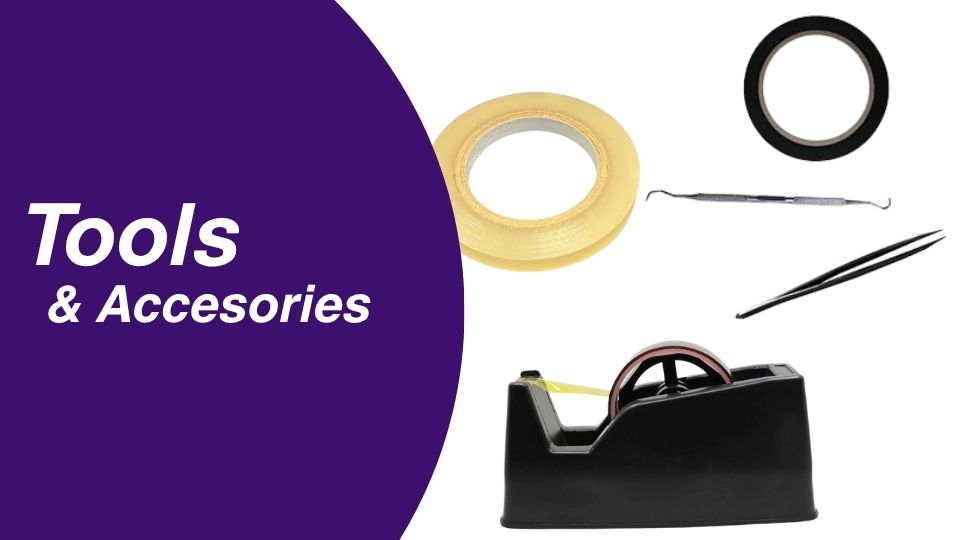
Before pressing your first tote bag, gather the right tools and materials. Having everything ready will make your workflow faster and your results more consistent.
Essential Materials
| Item | Purpose |
|---|---|
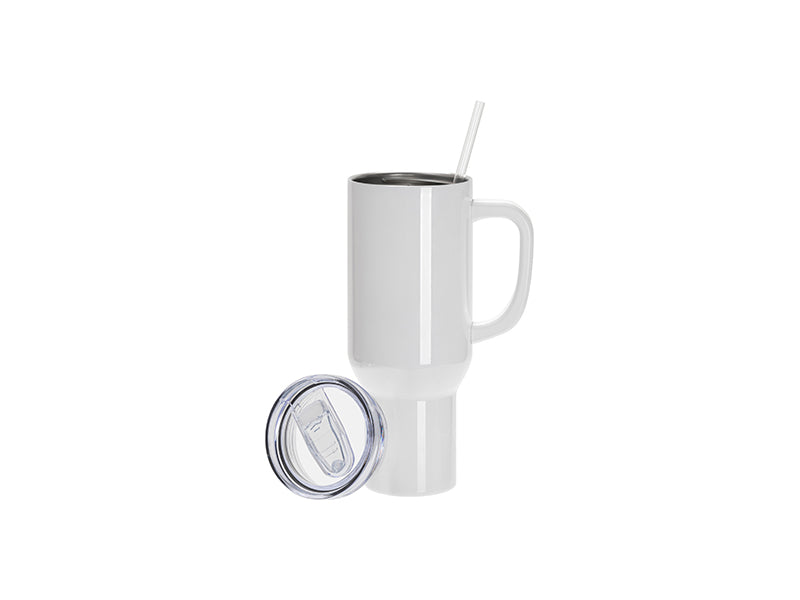
| Sublimation Tote Bag | Choose a polyester or poly-coated fabric. Linen or canvas-style bags with a smooth finish give the best color results. |
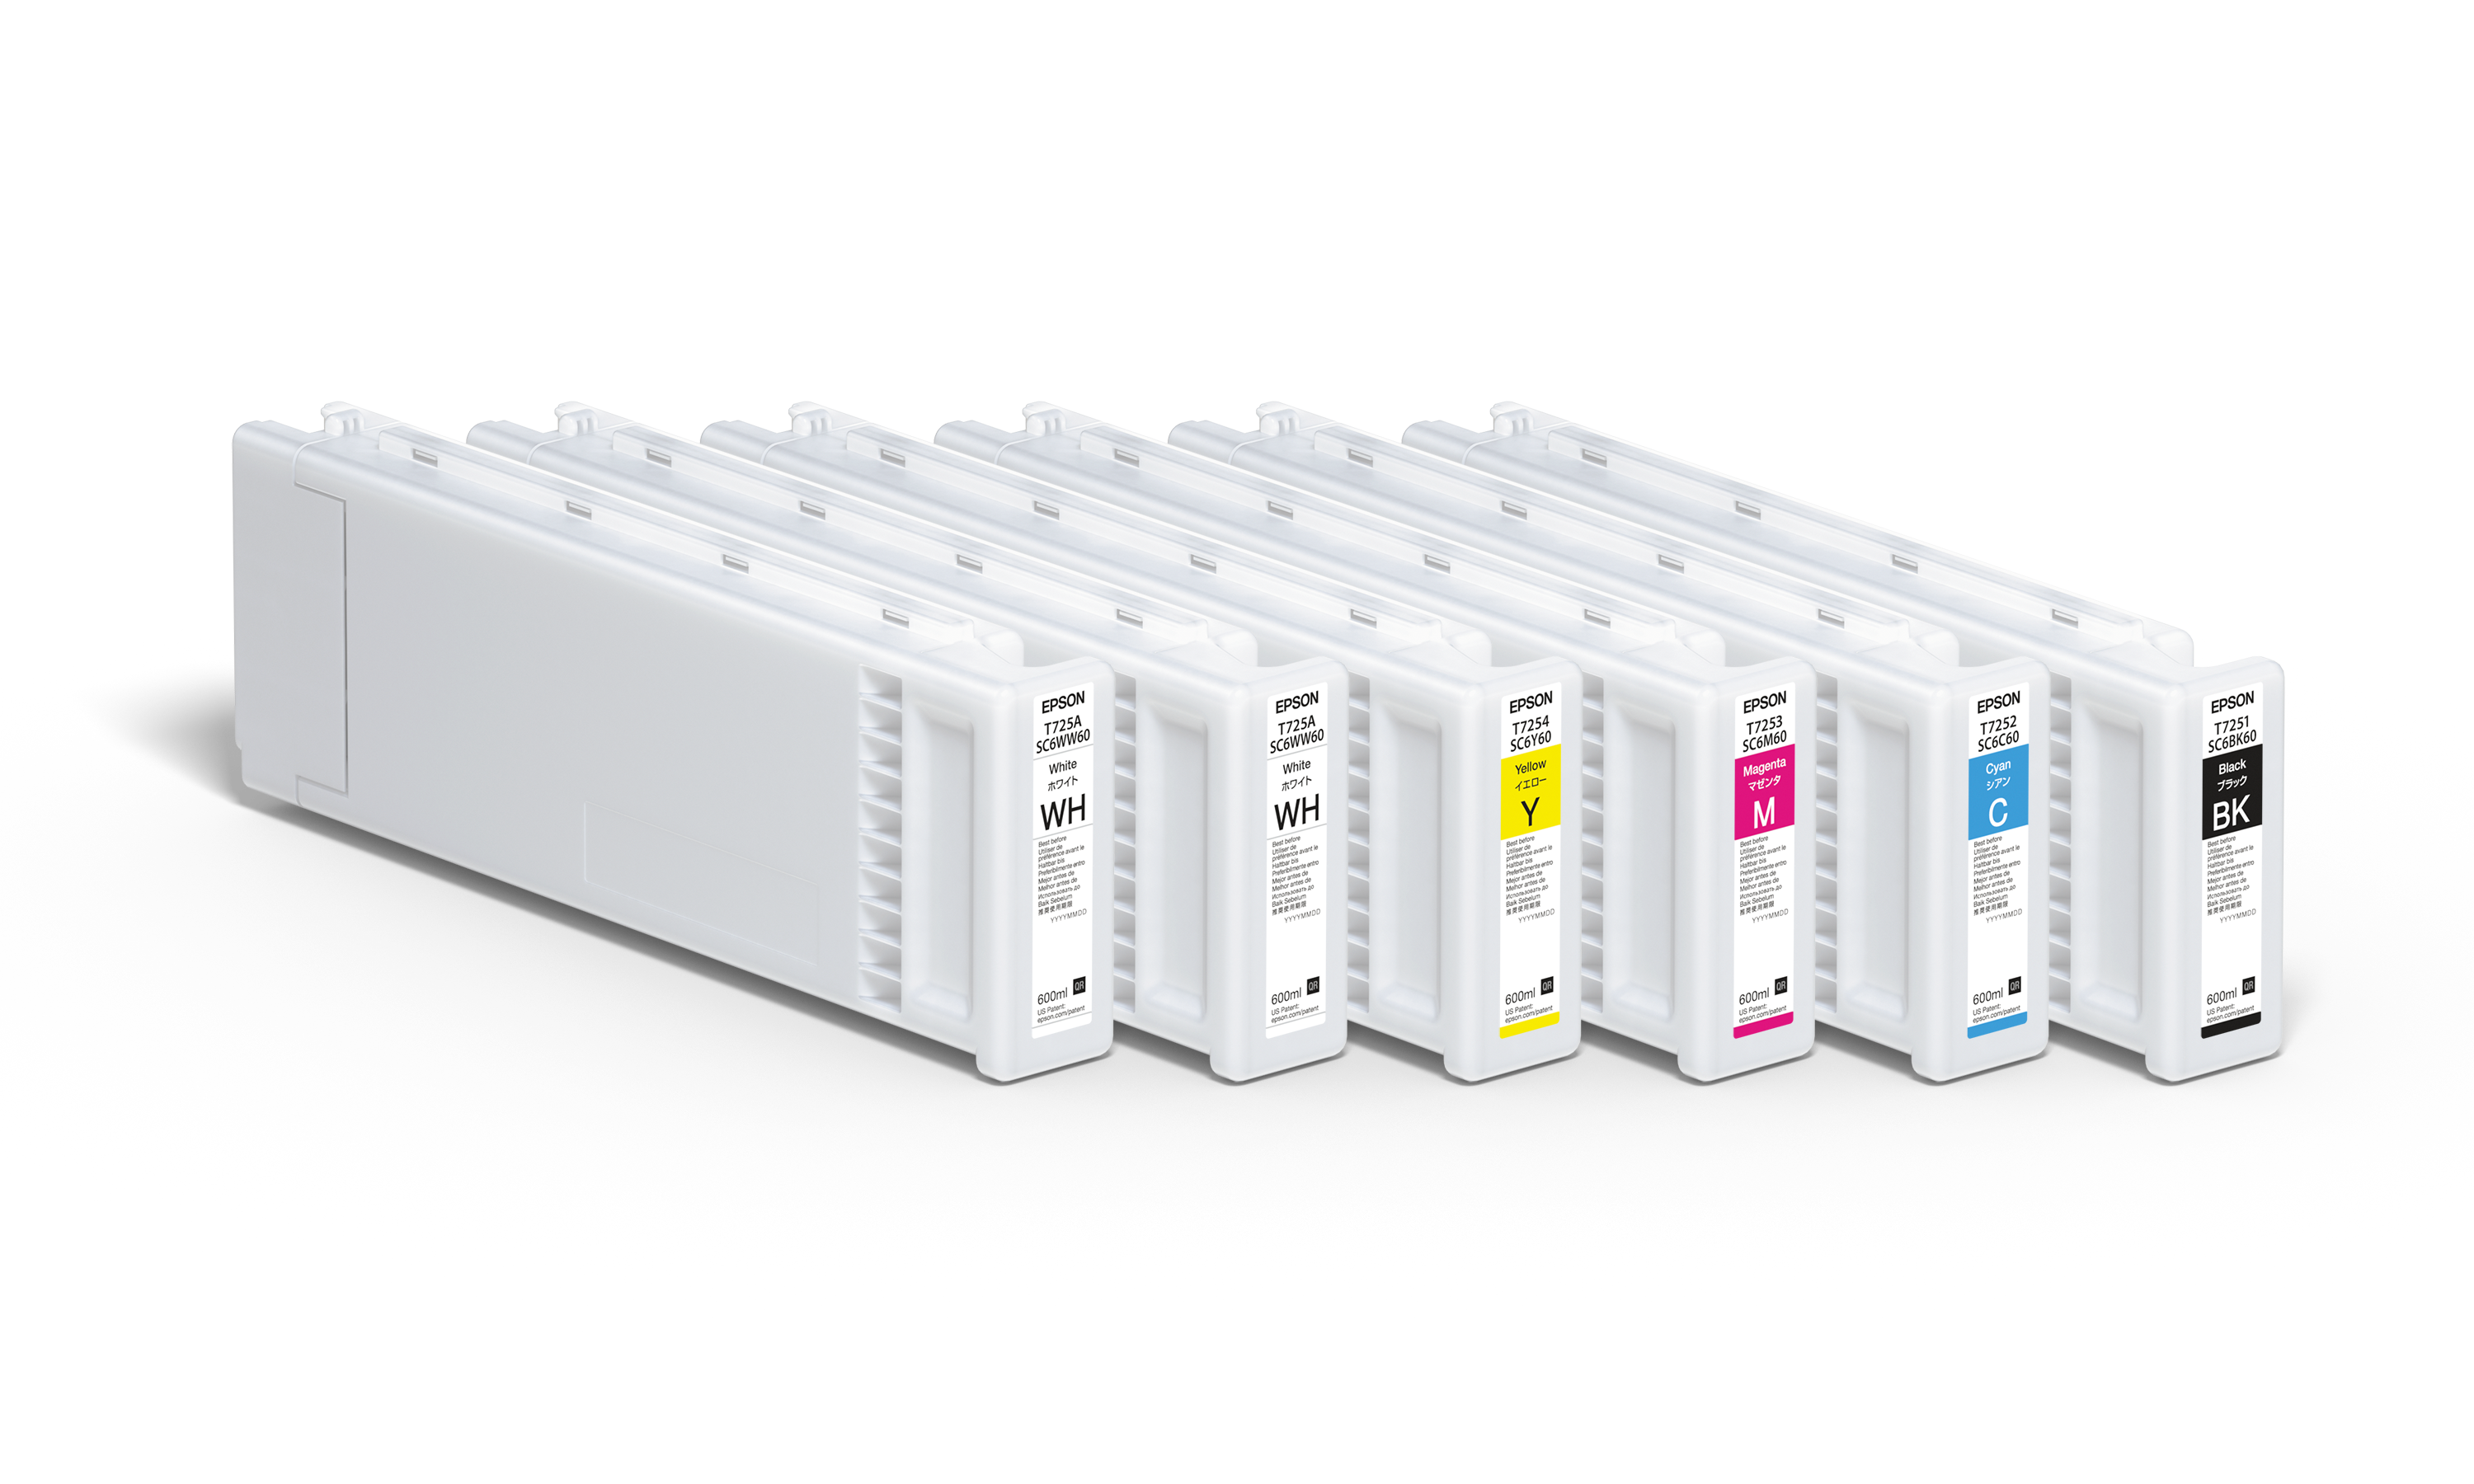
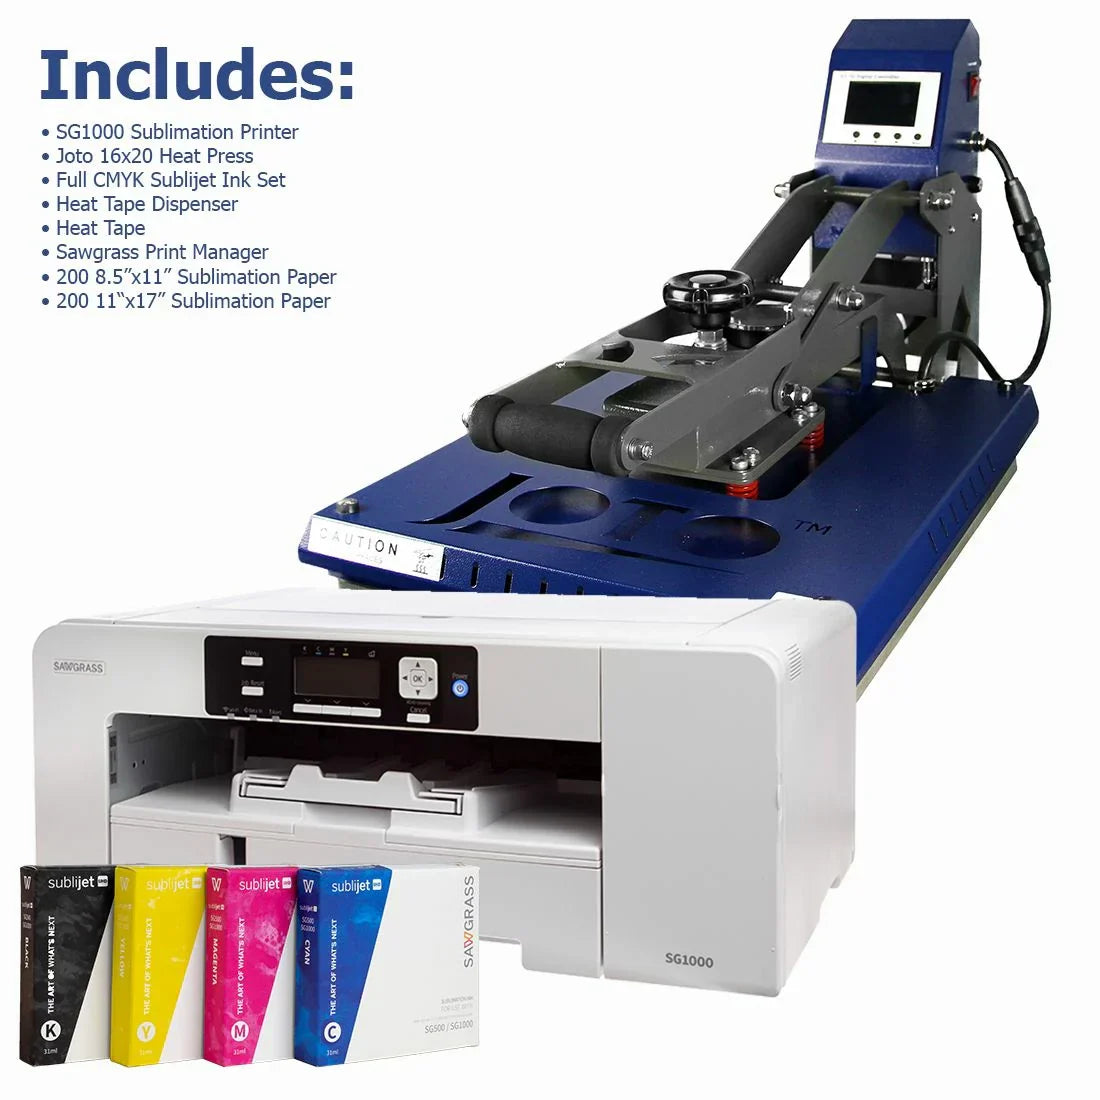
| Sublimation Printer | A printer that uses sublimation ink, such as Sawgrass or Epson. |
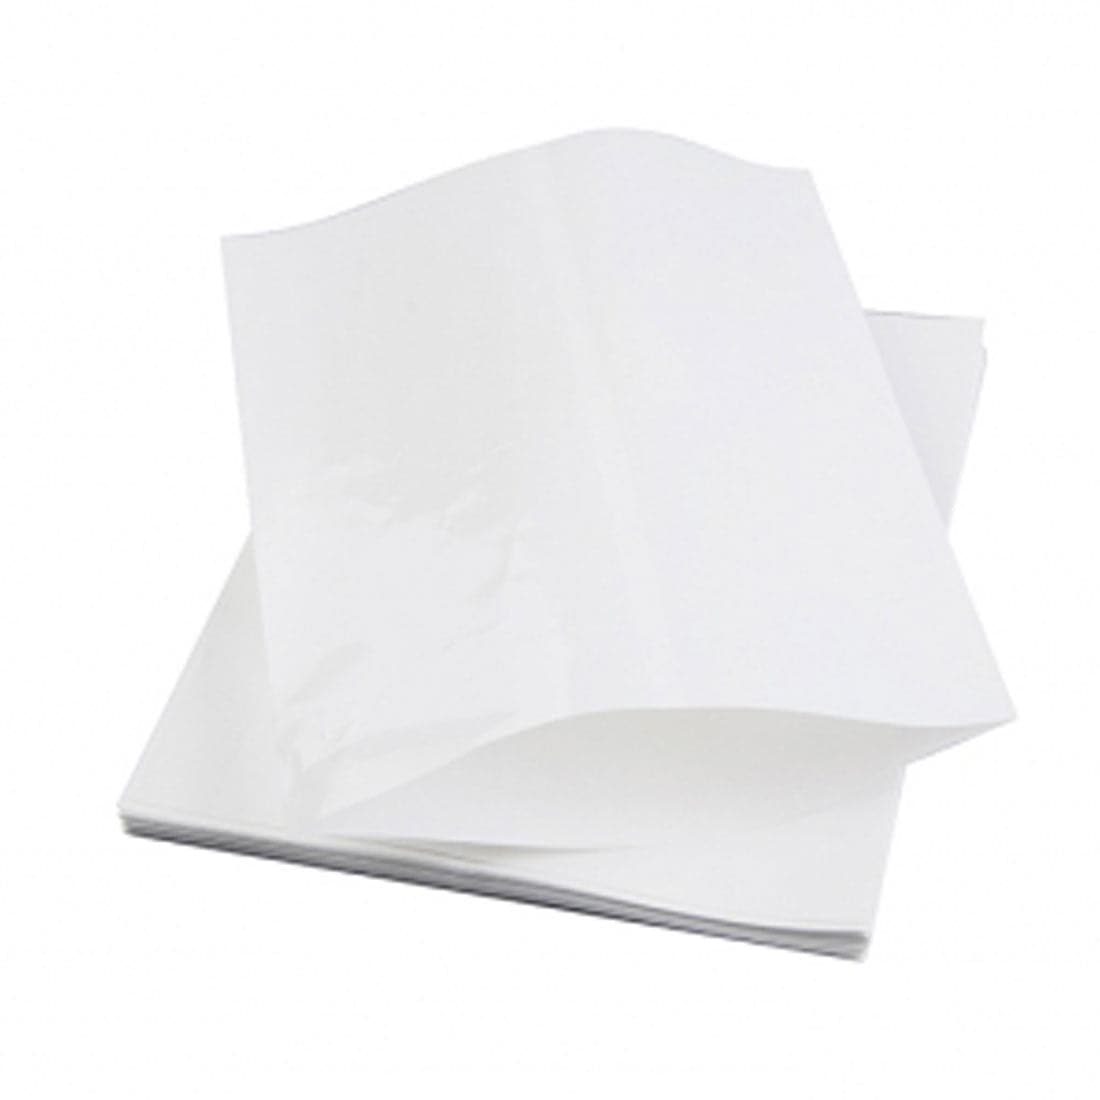
| Sublimation Paper | Special paper that transfers the printed design when heated. |
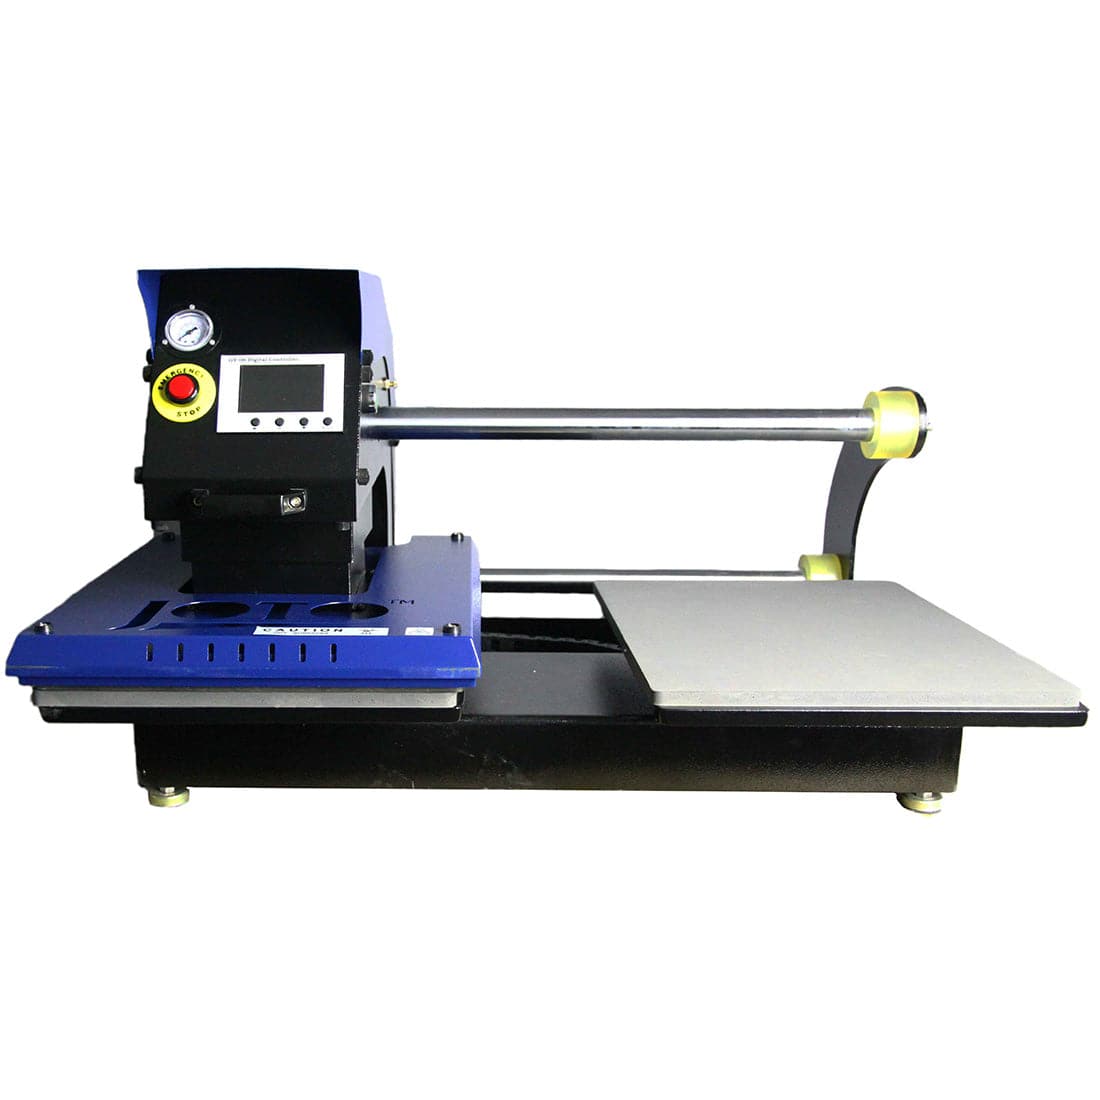
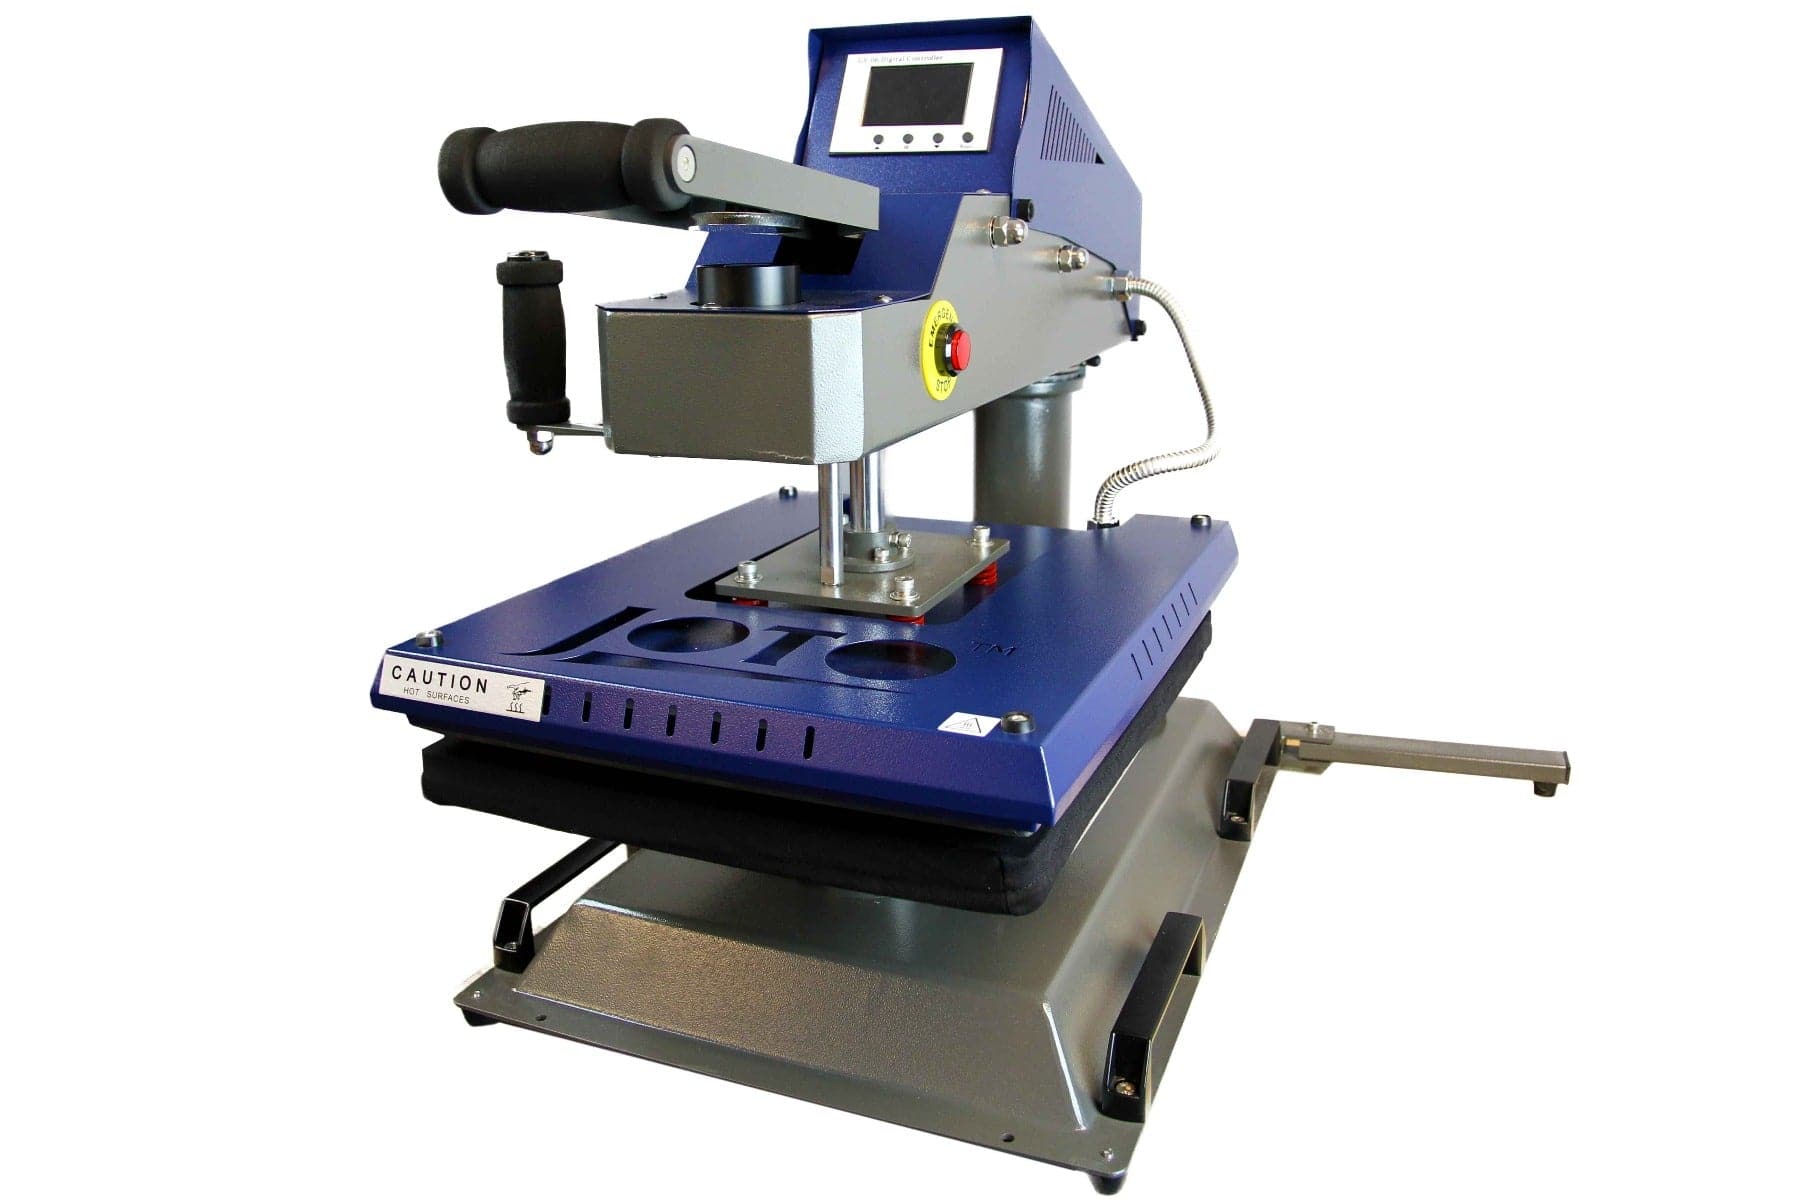
| Heat Press Machine | A clamshell or swing-away press with accurate temperature control. |
| Protective Sheets | Teflon or butcher paper to prevent ink from transferring to your platen. |
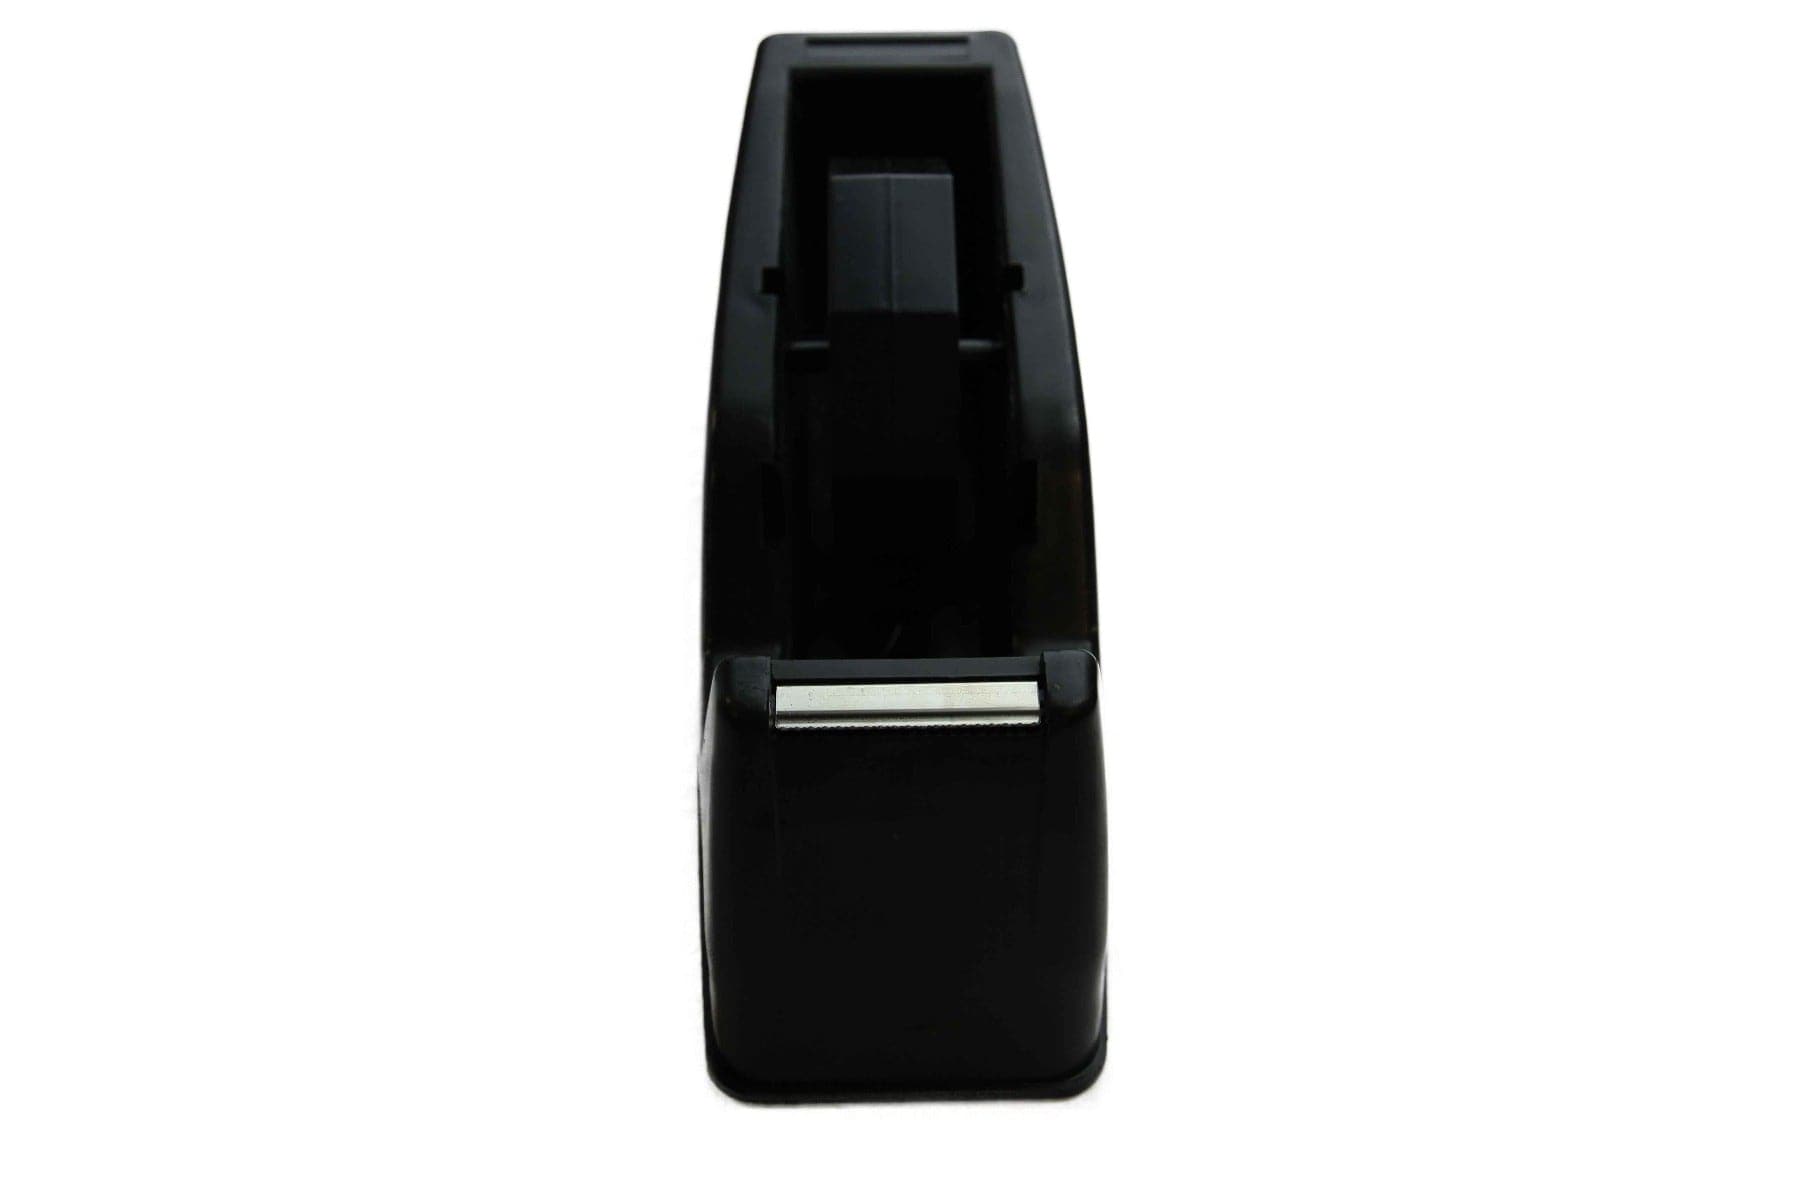
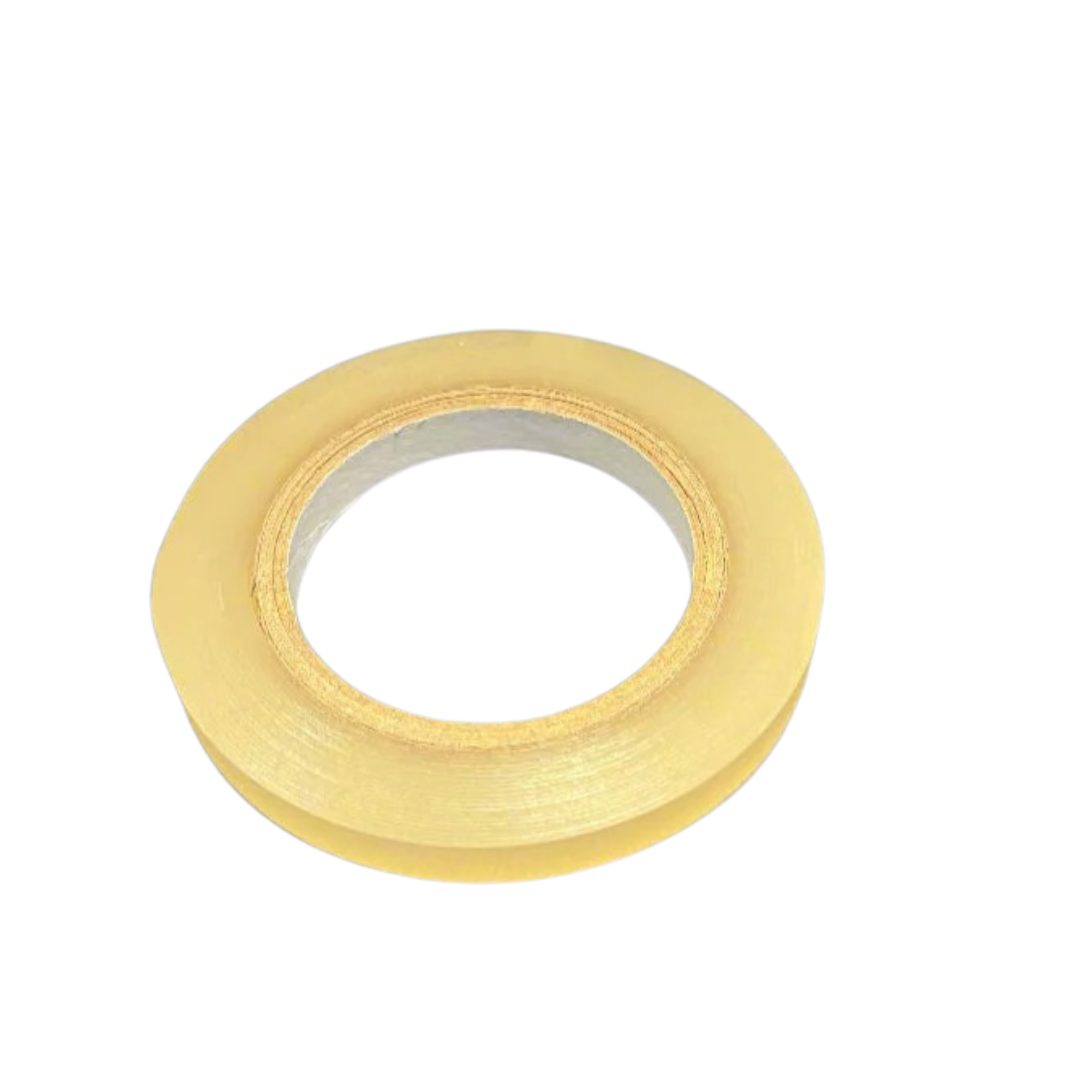
| Heat-Resistant Tape | Keeps your transfer in place during pressing. |
| Lint Roller | Removes fibers and dust that can cause white spots. |
If you want to produce in volume, consider adding a pressing pillow to help with uneven seams and a digital thermometer to double-check your press temperature. Small upgrades like these make a noticeable difference when you’re printing for clients.
Choosing the Right Tote Bag
Not all tote bags are suitable for sublimation. You’ll need one made from polyester fabric or one with a sublimation coating. Cotton bags will not absorb sublimation ink unless treated with a special coating spray.
Look for bags with:
- A white or light-colored surface.
- A smooth, flat area for printing.
- Sturdy stitching that can handle heat and pressure.
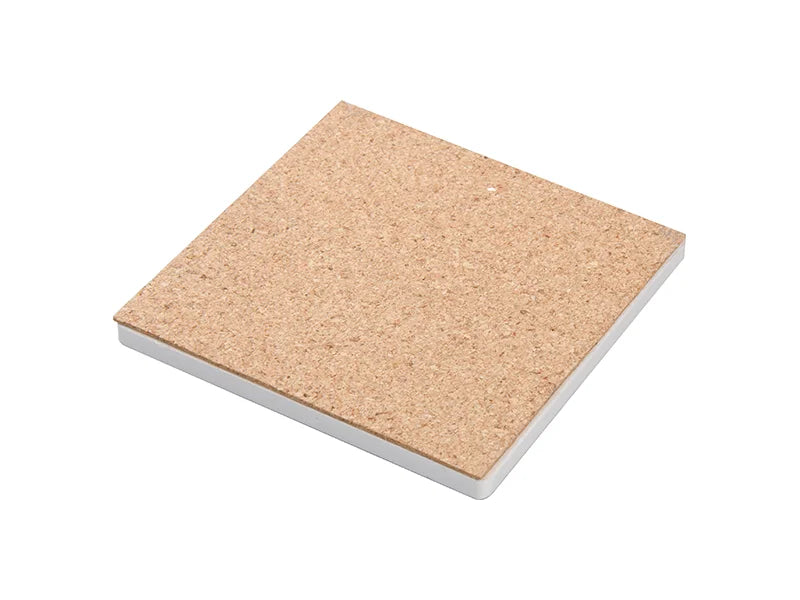
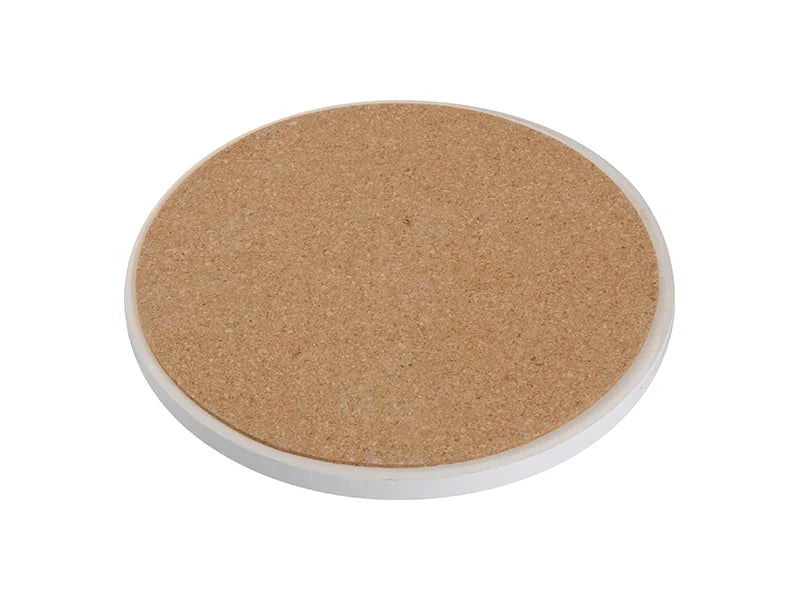
Bags that combine linen and cork are a great choice. The linen area takes color beautifully, while the cork bottom adds a natural, premium look. They’re perfect for small shops, custom gifts, or eco-friendly merchandise lines.
Setting Up Your Heat Press (Temperature, Time, and Pressure)
Your heat press is the heart of the sublimation process. Setting it up correctly ensures bright, even results every single time.
Recommended Starting Settings for Tote Bags
| Setting | Value |
|---|---|
| Temperature | 370°F (188°C) |
| Time | 110 seconds |
| Pressure | Medium |
| Preheat | Optional, 5–10 seconds |
These numbers work well for most polyester or linen-blend tote bags. Always test one blank before large production runs since small variations in material thickness or coating can slightly change the results.
Getting Your Press Ready
- Turn on your press and let it reach the target temperature: Opening and closing the press too early causes uneven heat and dull prints. Wait until it stabilizes.
- Check your pressure: Medium pressure means firm contact without straining the handle. If it feels too tight, loosen it slightly; if it closes too easily, add a bit more pressure.
- Protect your platen: Place a clean Teflon sheet or a fresh piece of butcher paper on the bottom platen. This prevents any leftover ink from transferring onto your new tote bag.
- Do a quick preheat: Before placing your actual design, press the tote bag alone for 5 to 10 seconds. This step removes moisture and wrinkles, giving you a flat surface ready for sublimation.
Getting these basics right builds consistency. Once your temperature, time, and pressure are steady, every print after that will be predictable and repeatable, exactly what you want for professional results.
Preparing and Positioning the Tote Bag
A good press starts with proper preparation. Even small steps like removing lint or adjusting placement can make or break the final print.
Step 1: Clean the Surface
Use a lint roller to remove dust, fibers, or tiny threads from the bag’s surface.
Anything left behind can block the sublimation ink and leave unwanted white spots. This quick cleaning step ensures a clean, even transfer.
Step 2: Preheat the Bag
Before applying your design, place the tote bag inside the press for 5 to 10 seconds. This short preheat helps remove any trapped moisture and smooths out wrinkles.
Moisture can turn into steam during pressing, which leads to blurry or faded areas in your print.
Step 3: Position the Bag
Lay the tote bag flat on your press with the printable area centered.
If your bag has handles, fold them inside the press so they don’t interfere with the pressure.
If the bag includes a cork or textured bottom, keep that part outside the platen. Cork doesn’t need heat and can get damaged if pressed directly.
Make sure the surface is flat and wrinkle-free. If there are seams or thick stitching near your print area, place a pressing pillow or foam pad underneath. This helps distribute pressure evenly and prevents white gaps around the edges.
Step 4: Protect the Fabric
Place a clean sheet of butcher paper or a Teflon sheet on top of the tote.
This barrier protects the fabric from any stray ink and keeps your press platen clean for the next job.
At this point, your tote bag is flat, moisture-free, and perfectly positioned. You’re ready to add your design and start pressing.
Applying and Pressing the Design
Now that your tote bag is ready, it’s time to add your design and start the sublimation process.
This is where your preparation pays off - precision and consistency make all the difference.
Step 1: Print and Align Your Design
Print your artwork on sublimation paper using sublimation ink. Make sure to mirror the image before printing so that it appears the right way once transferred.
Trim the excess paper around your design to help you position it accurately.
Place the printed design face down on the tote bag, centered in the printable area. Use heat-resistant tape to secure the paper on all sides. This keeps the transfer in place and prevents it from moving when the press closes - movement causes ghosting or double images.
Step 2: Cover and Protect
Add another sheet of butcher paper or a clean Teflon sheet over the transfer. This layer prevents any stray ink from transferring to your press and ensures an even heat distribution.
Step 3: Press the Design
With your heat press already at 370°F (188°C) and set for 110 seconds, close the press firmly with medium pressure. During this time, heat and pressure cause the sublimation ink to turn into gas and permanently bond with the fabric’s fibers.
Avoid opening the press too early or extending the time beyond what’s needed, both can affect color accuracy.
If your press has an auto-release feature, it will open automatically when the timer ends. If it’s manual, lift it smoothly once the cycle is complete.
Step 4: Remove and Cool Down
Carefully remove the top sheet and peel away the sublimation paper while it’s still warm. You might notice slight browning on the paper edges, that’s normal and means the temperature was just right.
Place the tote bag on a flat surface and allow it to cool completely before handling or folding. This prevents any color shifting or unwanted marks.
When cooled, your design should look vibrant, permanent, and smooth to the touch, not raised or stiff like vinyl. The image is now part of the fabric itself, ready for use or sale.
Checking the Results and Troubleshooting
Once your tote bag has cooled, take a moment to inspect your work.
A quick quality check helps you identify small issues before they become habits in your production process.

What a Good Print Looks Like
A successful sublimation tote bag should have:
- Bright and even colors. The design should look sharp, not faded or patchy.
- Smooth texture. The print feels like part of the fabric, not raised or sticky.
- Clean edges. Lines and text appear clear with no ghosting or shadows.
- No press marks. The surface should be flat and natural, not shiny or compressed.
If your bag looks like this, you’ve nailed it. The colors are fused into the fibers, meaning the design won’t peel or crack, even after multiple washes or daily use.
Common Issues and How to Fix Them
| Problem | Likely Cause | Solution |
|---|---|---|
| Faded or dull colors | Temperature too low or press time too short | Increase temperature by 5–10°F or time by 10–15 seconds |
| Blurry or shadowed image | Paper shifted during pressing | Use more heat-resistant tape or adjust pressure |
| Yellow or brown spots | Too much heat or old paper | Lower temperature slightly and use fresh paper |
| Uneven color areas | Wrinkles, seams, or moisture | Preheat longer and use a pressing pillow |
| White spots or fibers | Lint or dust on fabric | Always lint-roll the surface before pressing |
Pro Tip
If you notice a consistent problem across several bags, change only one setting at a time (like temperature or time) and press a test print. This helps you pinpoint the cause instead of guessing.
Sublimation is highly repeatable when the variables are under control. Once you find your perfect combination of temperature, time, and pressure for a specific tote material, write it down and use it as your shop’s standard.
Pro Tips for Better Results and Efficiency
Once you’ve mastered the basics, a few advanced habits can make your prints more consistent and your workflow faster.
These small details separate hobby printing from professional production.
1. Keep Your Heat Press Clean
Ink residue, paper dust, or loose fibers can easily transfer onto your next job. Wipe your platen regularly with a soft cloth while it’s warm (not hot).
If you notice buildup, use a non-abrasive cleaner and dry it completely before pressing again. A clean press equals cleaner results.
2. Calibrate Your Temperature Regularly
Heat presses can drift over time. Check your actual surface temperature using a laser thermometer every few weeks.
If the reading is off by more than 10°F, recalibrate your settings or adjust manually. Accurate heat keeps your colors consistent from one batch to another.
3. Prepress Every Tote Bag
Even if it looks smooth, every tote can hold hidden moisture from air humidity or storage. A short 5–10 second prepress removes that moisture and prevents faded or cloudy prints. It also flattens wrinkles, which means fewer touch-ups later.
4. Use Quality Inks and Paper
Not all sublimation supplies perform the same. Stick with inks and papers you’ve tested for your printer.
Mixing brands can create color shifts or uneven saturation.
If possible, install the ICC color profile that matches your paper and ink combination - it ensures accurate, true-to-screen colors.
5. Handle Hot Items Correctly
After pressing, don’t stack or fold tote bags while they’re still hot. Allow them to cool flat on a clean surface for at least a few minutes.
When sublimation ink is hot, it’s still slightly active, stacking hot prints can cause unwanted transfer marks or color bleed.
6. Optimize Your Workflow
When producing multiple bags, tape all your transfers ahead of time and prepare them in batches.
While one tote is pressing, the next should already be lined up and ready to go. This rhythm keeps your production efficient without sacrificing quality.
7. Store Your Materials Properly
Keep sublimation paper sealed in its original package, away from humidity. Store blank tote bags in a dry place, laying them flat to avoid creases that might affect the pressing area.
Good storage habits protect your inventory and maintain coating quality.
8. Capture and Share Your Work
Every finished tote is a marketing opportunity.
Take high-quality photos under natural light and share them on your business pages or craft groups.
Show before-and-after shots or short videos of the reveal moment. Customers love seeing real results, and that builds trust faster than any ad.
9. Combine Techniques
Try combining sublimation printing with other customization methods like laser engraving on cork areas or vinyl text overlays on blank spaces.
This creates a premium, mixed-media effect that helps your products stand out and allows you to charge higher prices.
Following these tips will help you produce tote bags that not only look professional but also last.
Consistency, maintenance, and workflow efficiency are what turn sublimation from a simple craft into a profitable business.
Wrap-Up and Next Steps
You now know everything you need to create professional-quality sublimation tote bags. The process is simple once you have the right setup, a good heat press, sublimation paper and ink, and a polyester-based tote bag.
From cleaning and preheating to pressing and cooling, every step plays a role in achieving clean, vibrant, and permanent prints.
Sublimation tote bags are more than just a creative project, they’re a solid business opportunity.
They’re lightweight, reusable, and perfect for branding, giveaways, or retail sales. Each tote can feature a logo, quote, or full-color artwork, giving you endless ways to reach customers who value personalization and sustainability.
Whether you’re printing from home or running a busy workshop, focus on consistency and presentation.
Perfect one bag, then repeat it at scale.
Once you feel confident, expand to other sublimation blanks like zipper pouches, pillow covers, and aprons.
The same principles apply - just new surfaces to explore.
If you’re ready to take the next step, here’s how to move forward:
Your Action Plan
- Prepare your workspace. Keep it clean, organized, and moisture-free.
- Test your setup. Run a few practice presses to lock in your perfect settings.
- Start small. Create a few designs for friends, clients, or events.
- Promote your results. Post your finished tote bags online and tell people how you made them.
- Scale your workflow. Once orders increase, prepare transfers in batches and use efficient routines.
Each tote you print is a chance to grow your brand, improve your skills, and create something that customers will actually use and love.
Start Creating Today
The best way to learn is by doing.
Grab your tote bags, prep your press, and create your first sublimation masterpiece. Every successful print brings you one step closer to building a reliable, profitable sublimation business.